File manager. Explorer for TV BOX

FILE MANAGER+ Best Explorer for TV BOX OVERVIEW AND SETUP

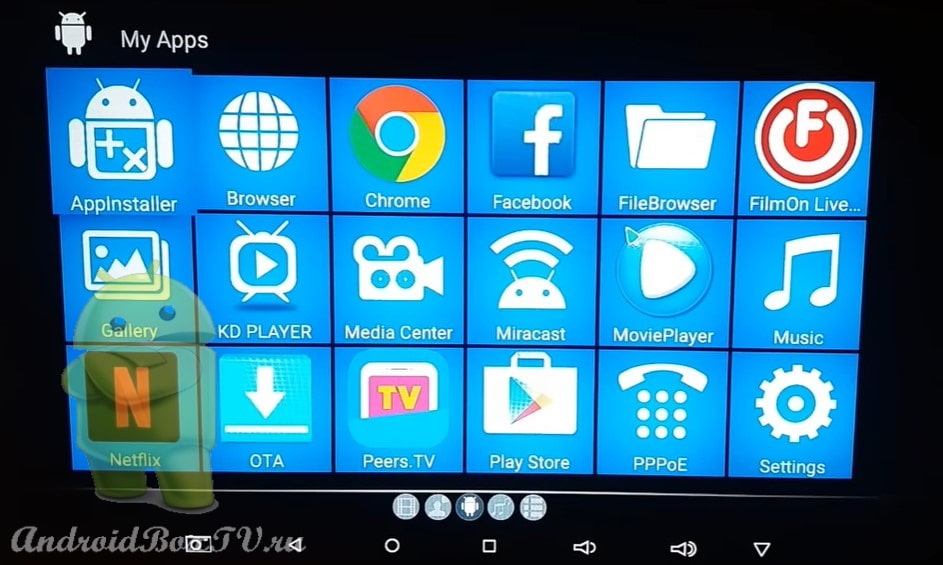
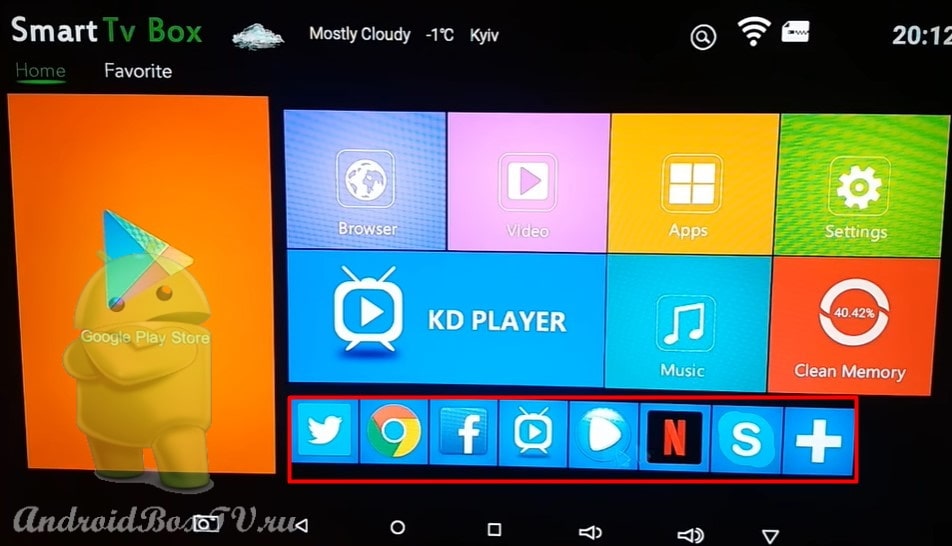
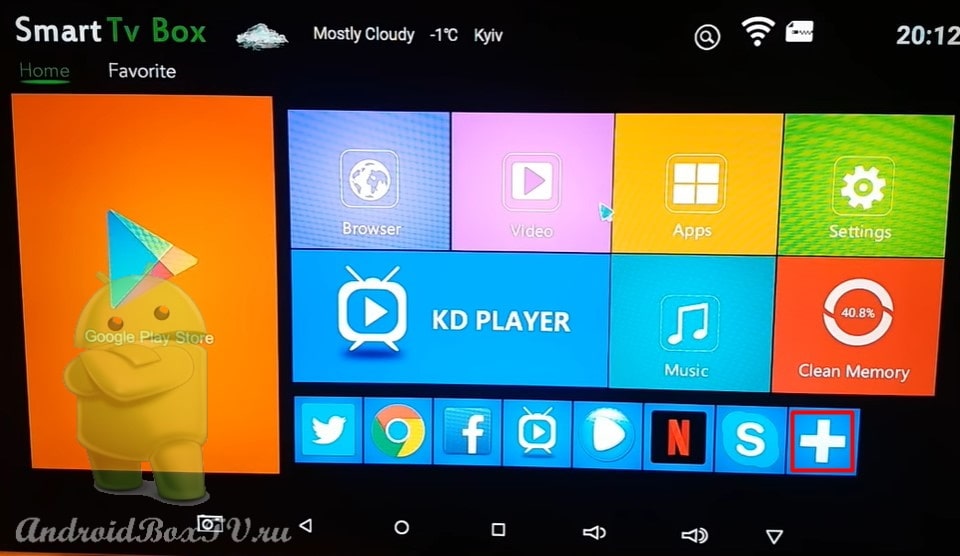
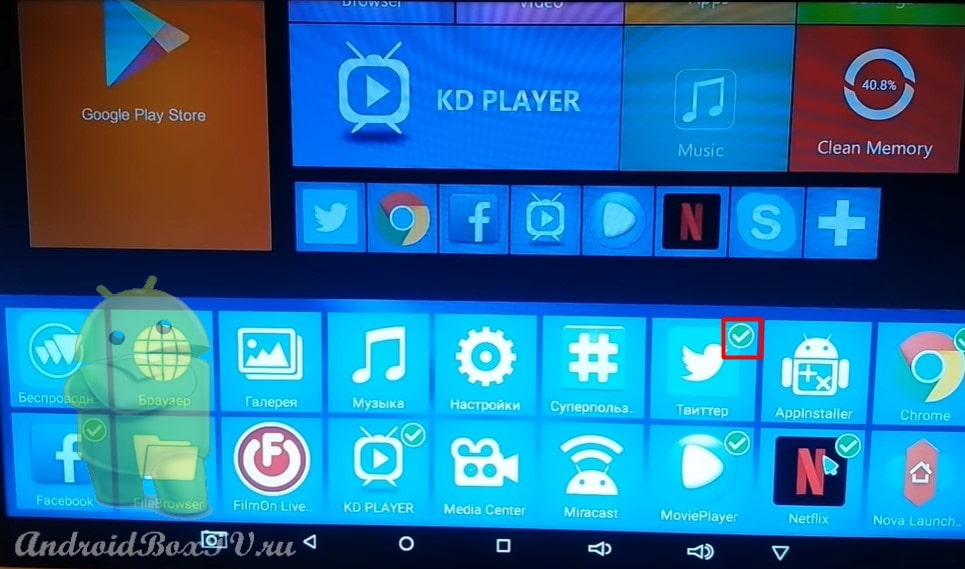
In this article, we will consider a file manager for Android TV devices. The application is called " File Manager " and you can install it from the Play Store . This application is great for editing, searching and moving various files on your Android TV device. Let's consider in more detail.

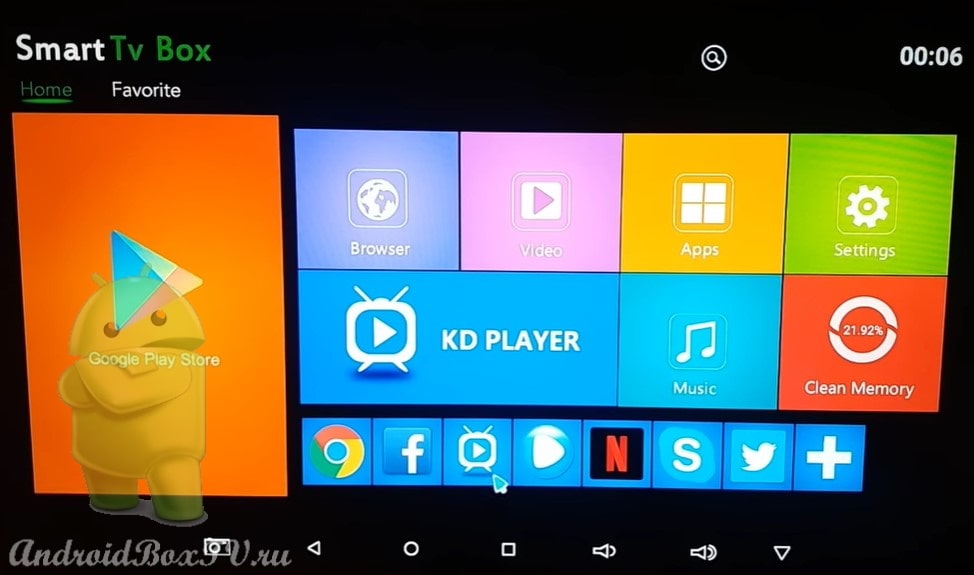
This is what the main screen looks like:

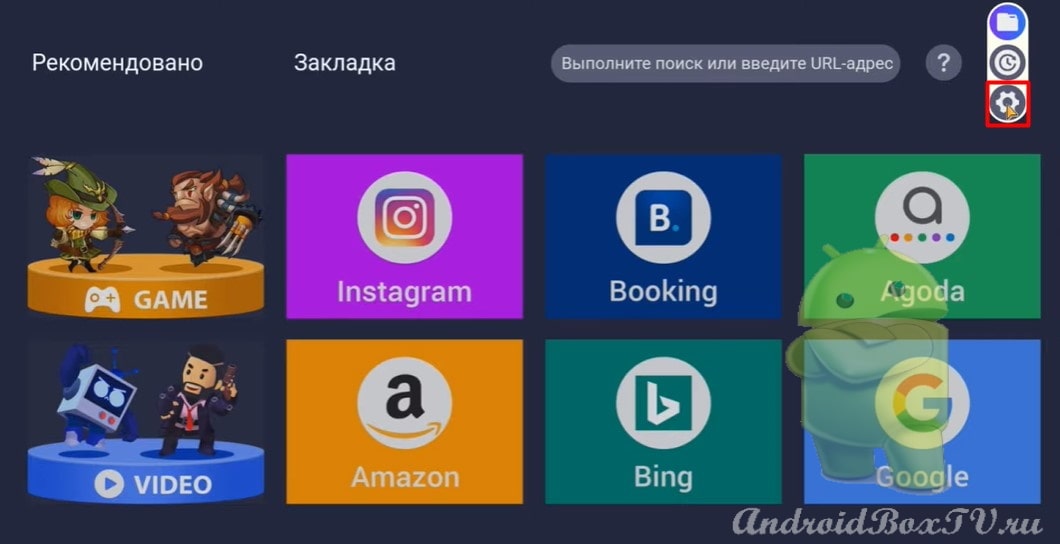
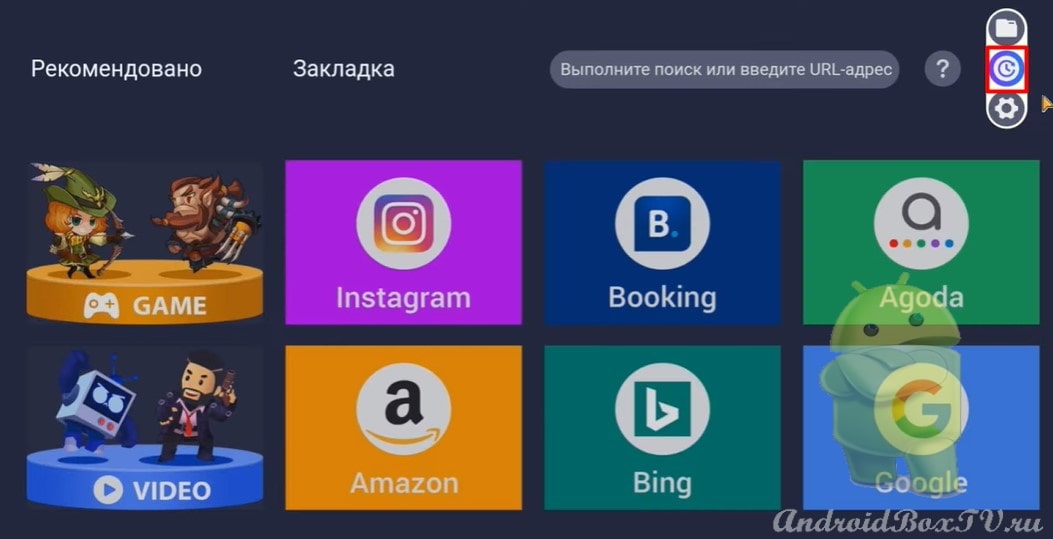
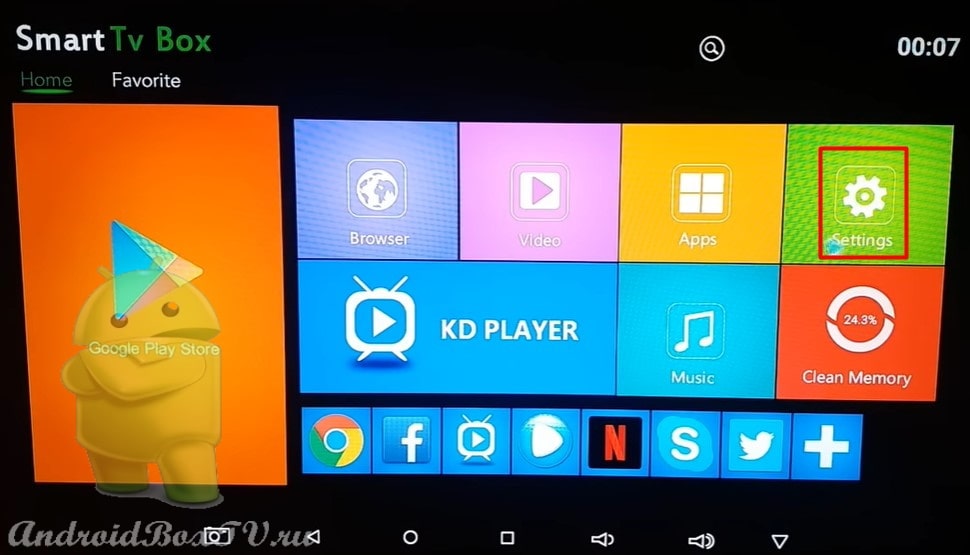
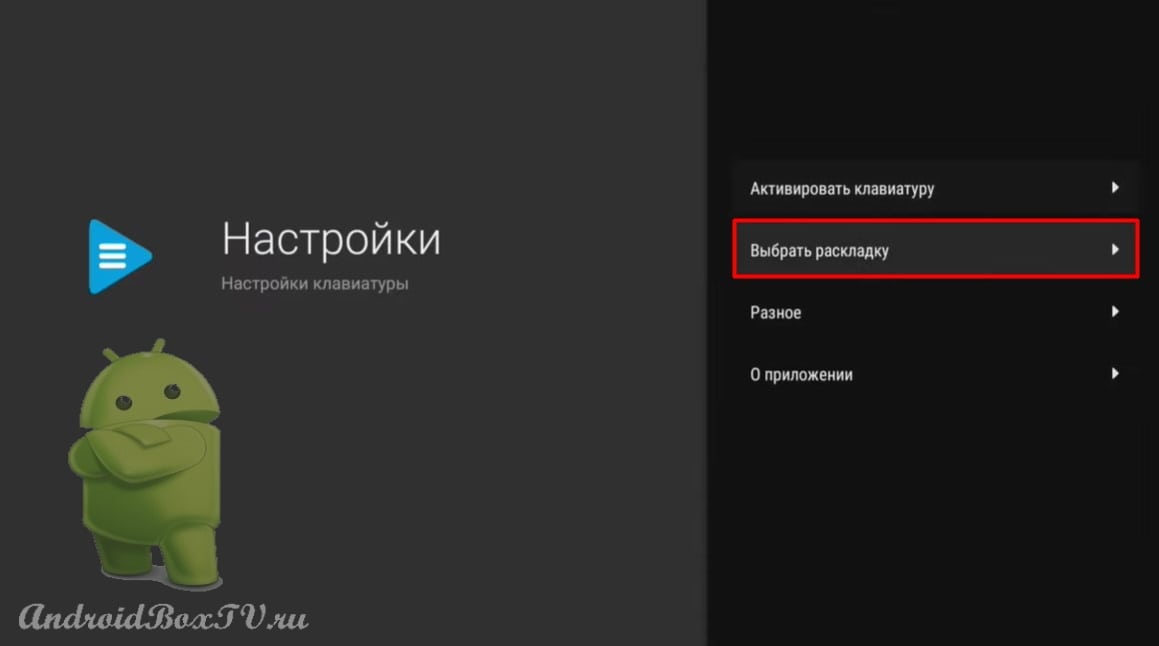
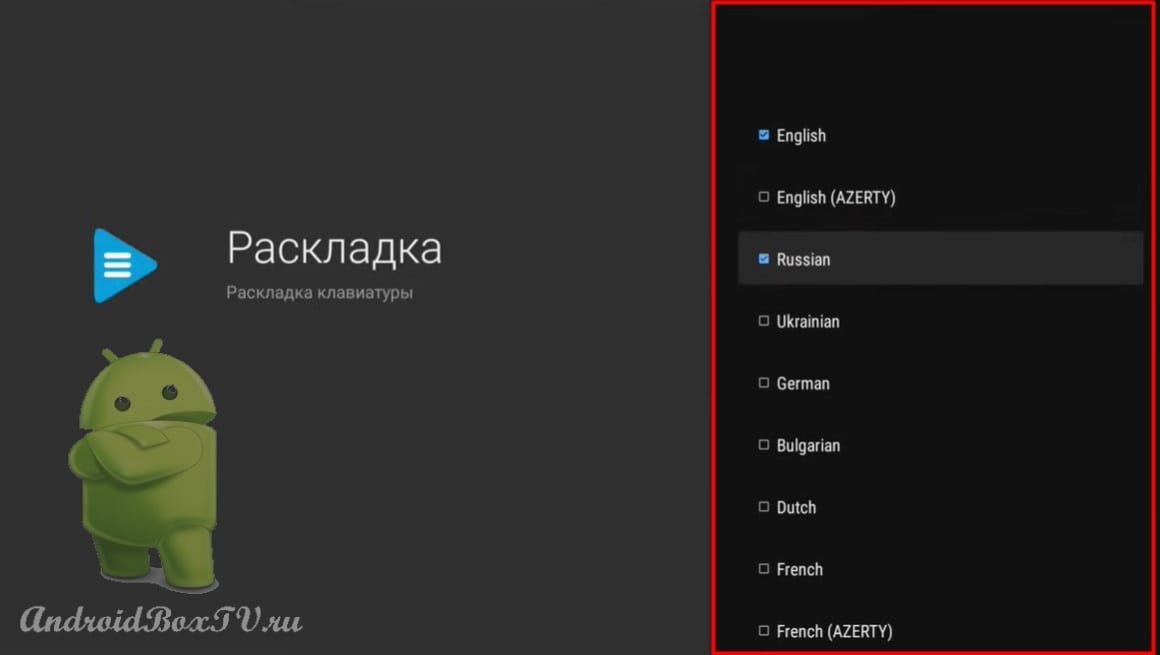
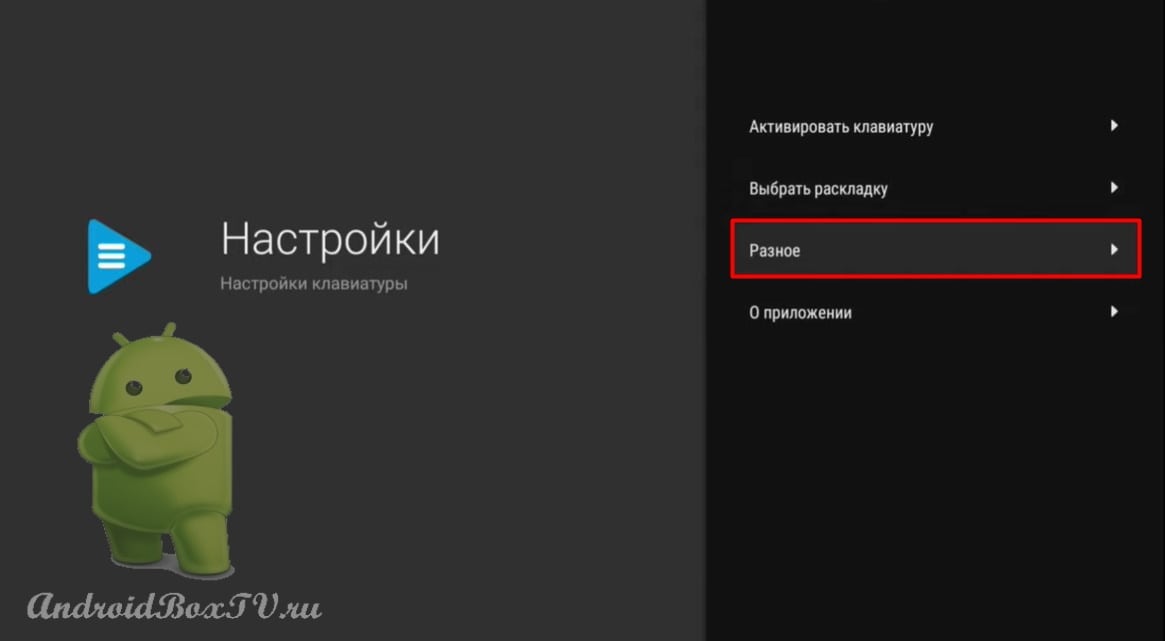
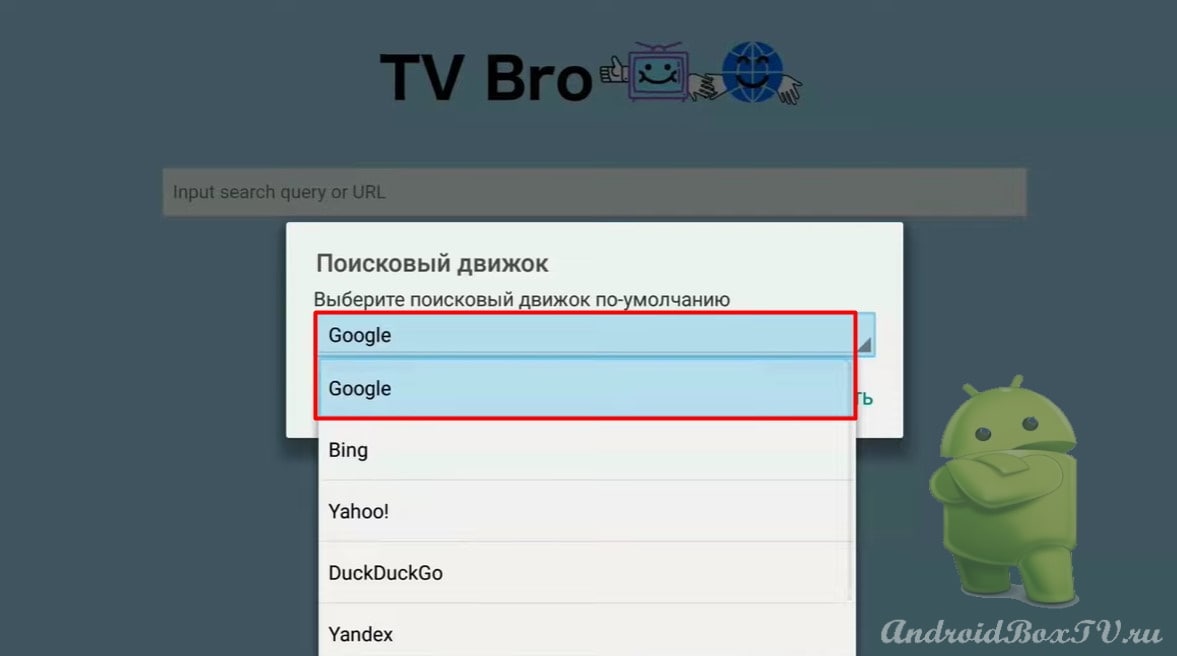
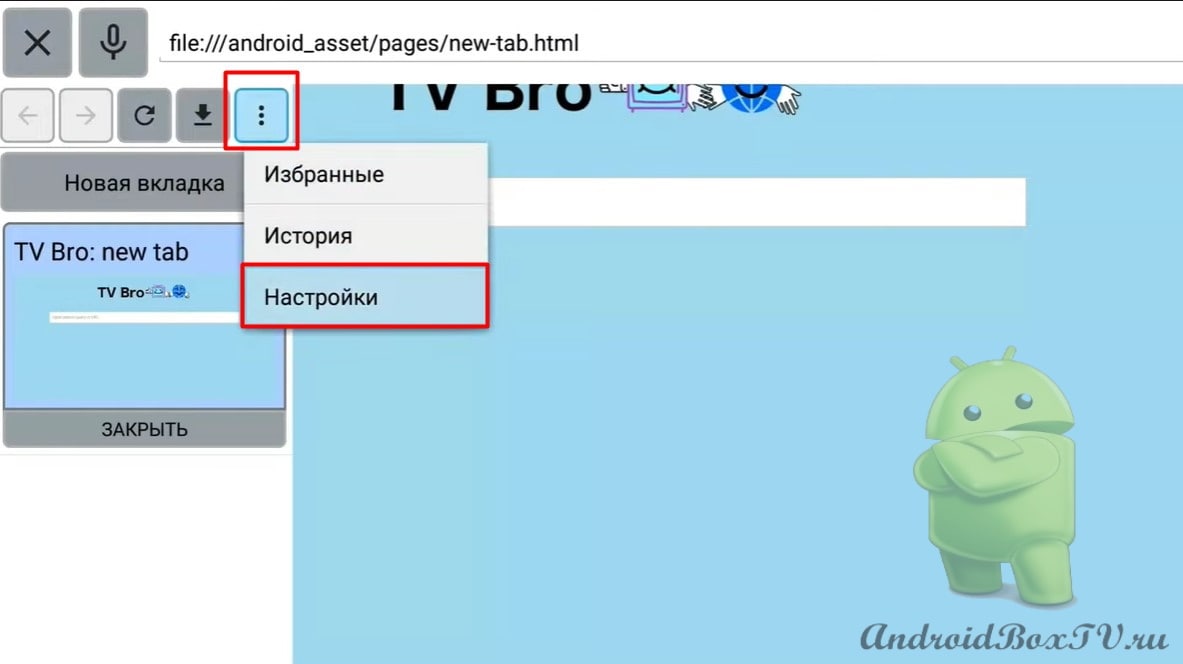
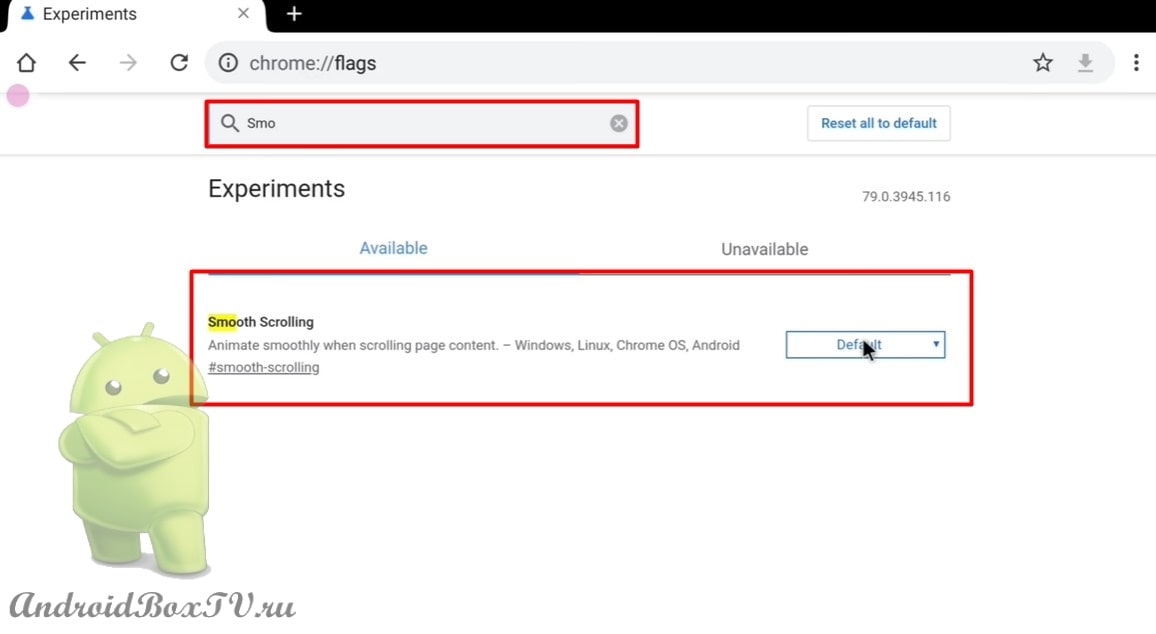
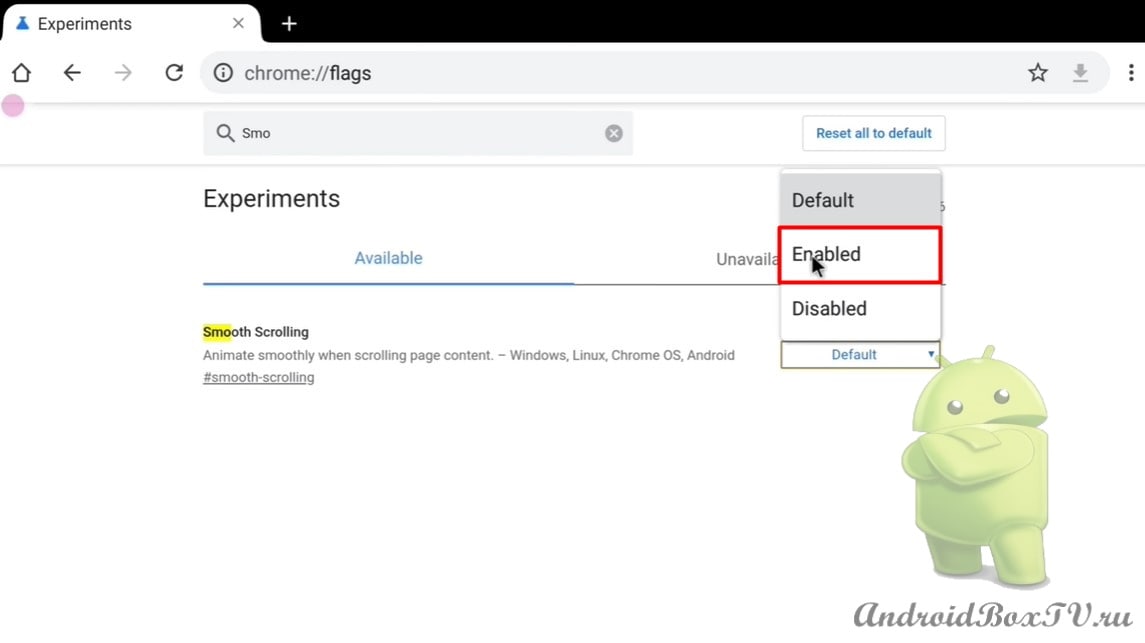
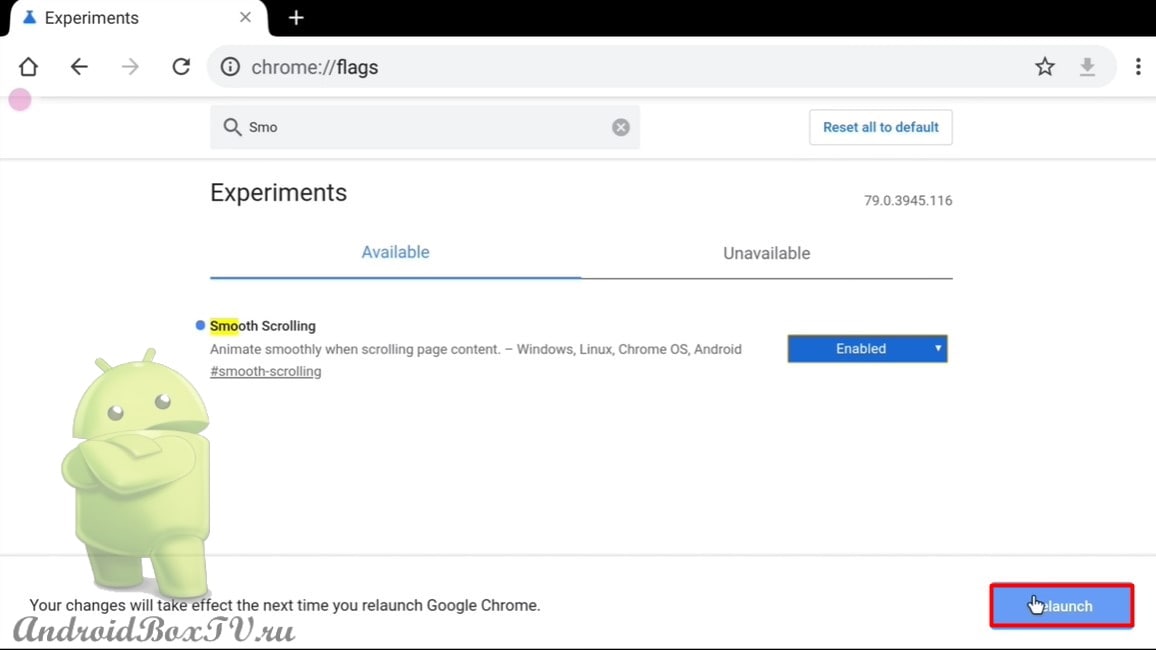
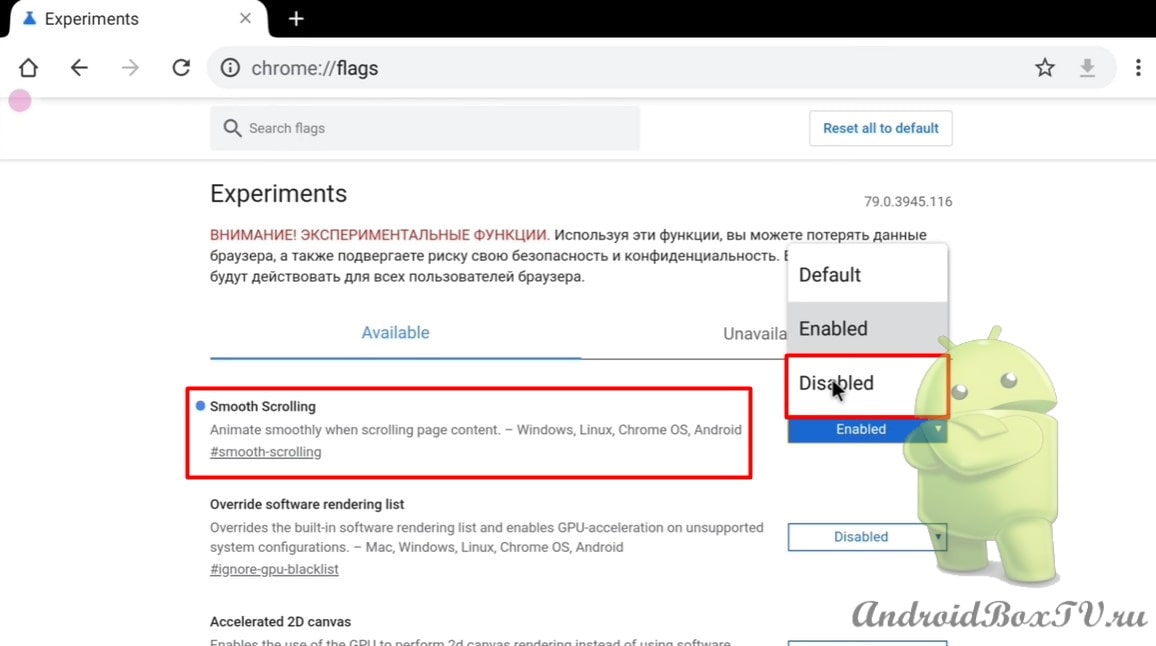
In order to go to the settings, you need to click on the three dots in the right corner of the screen:

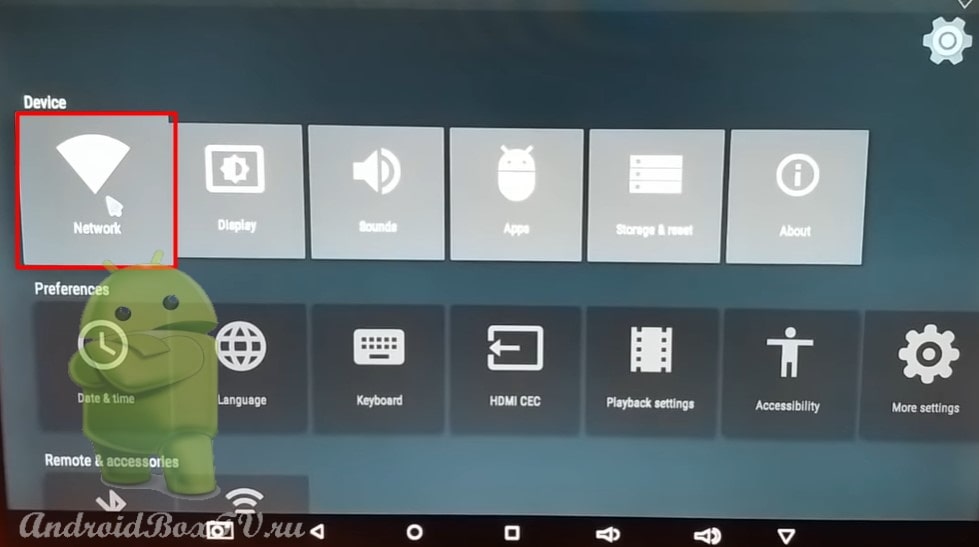
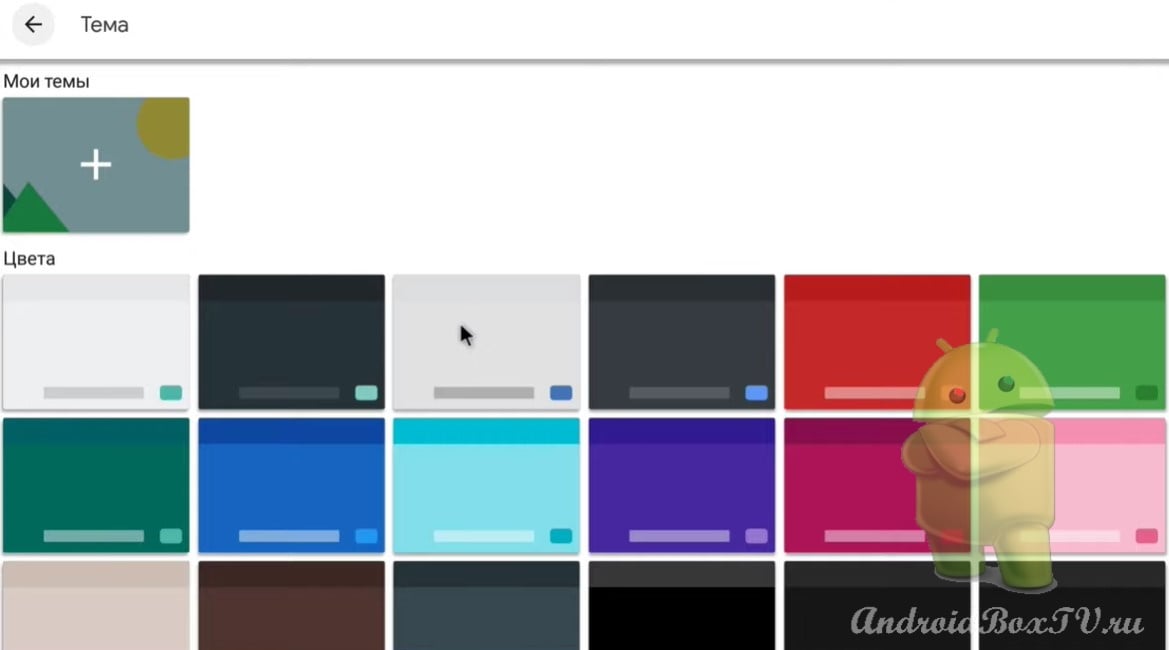
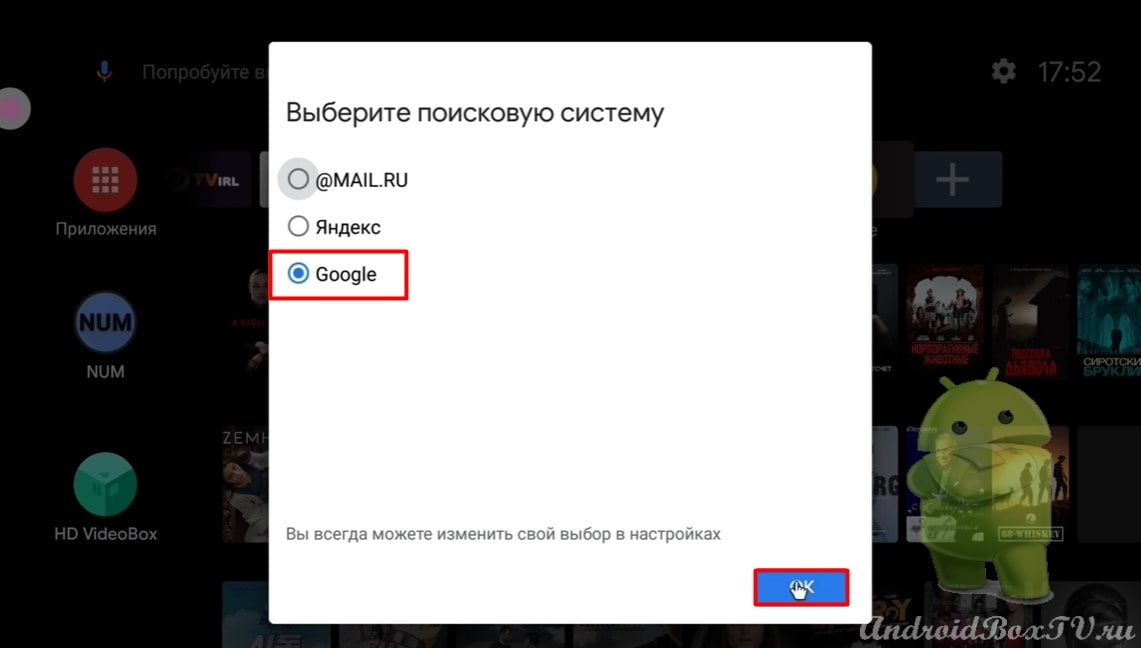
In the settings of the android device, you can select a theme:

Select default application:

Embedded apps marked:

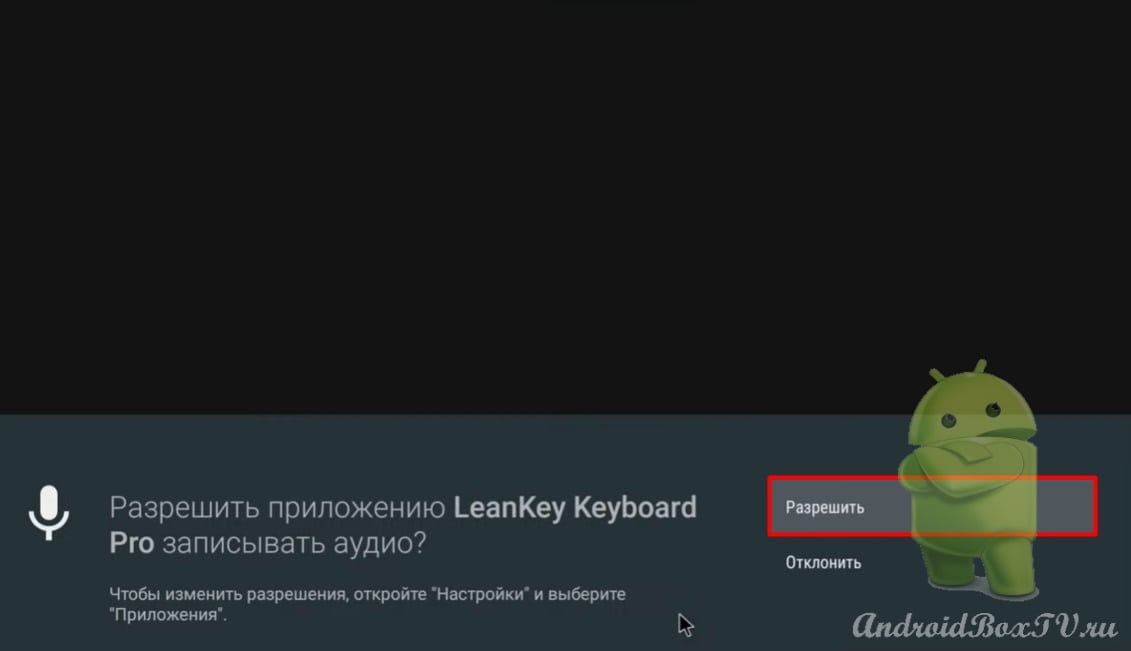
It is worth noting that this application has the function of sending notifications when the set-top box's memory is more than 98% full. The filling percentage can be set independently:
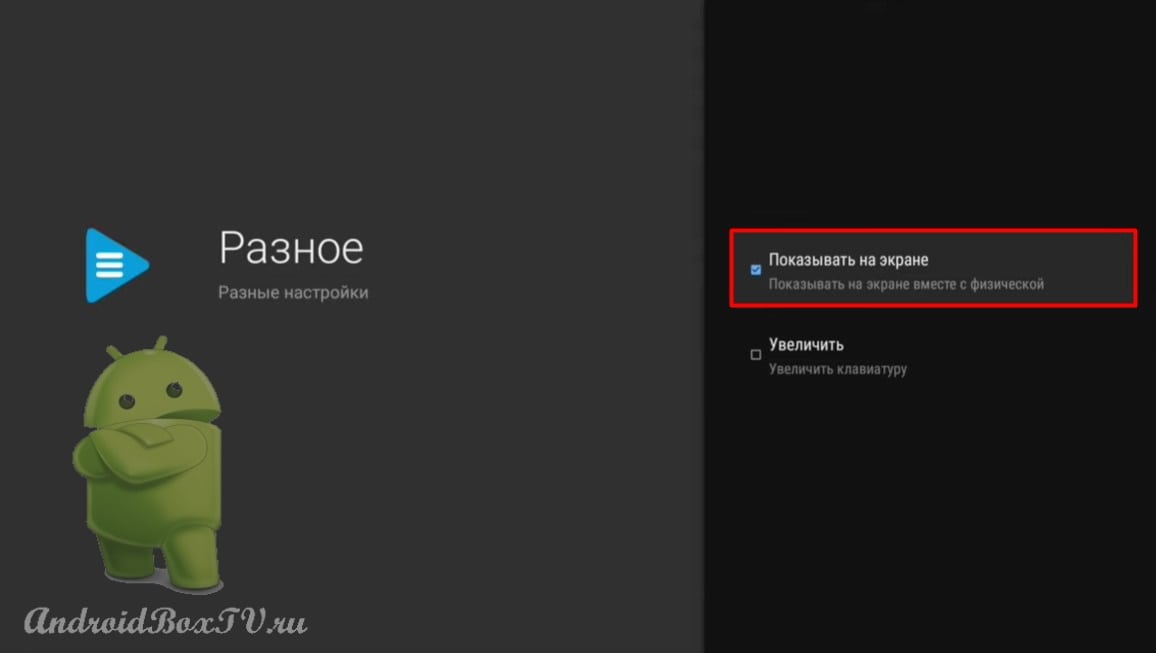
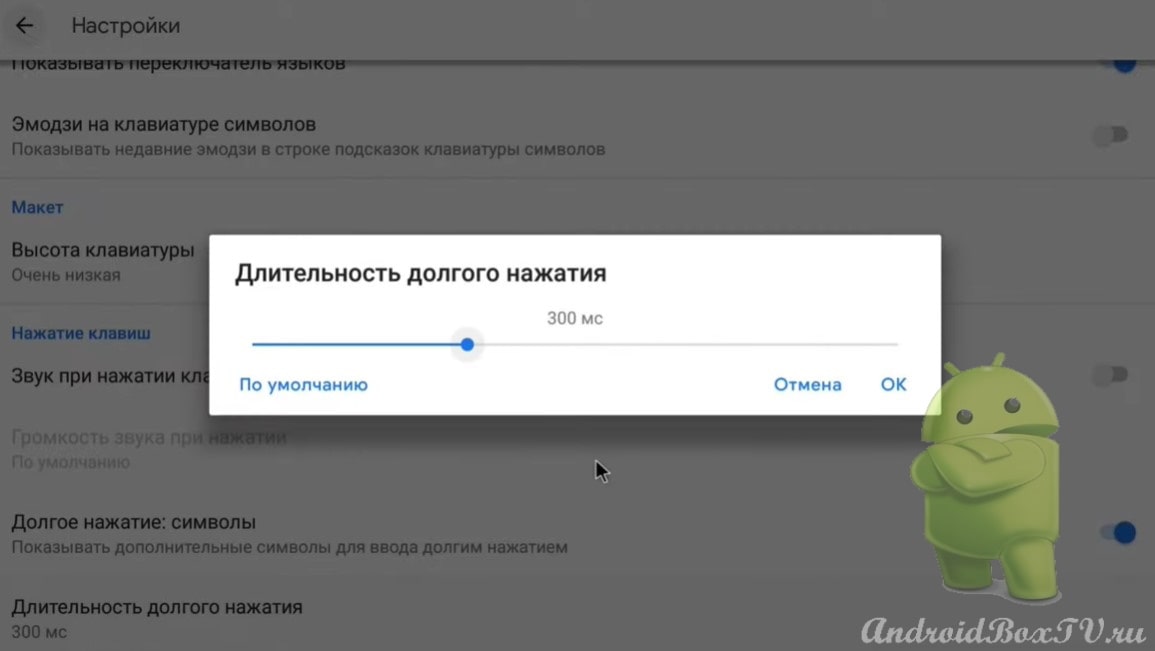
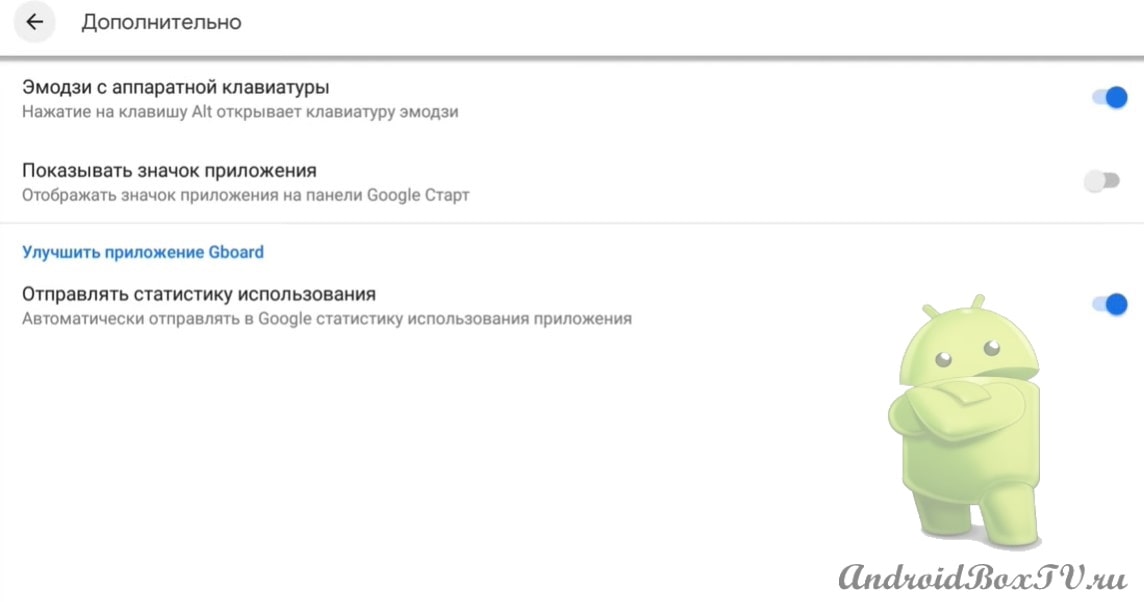
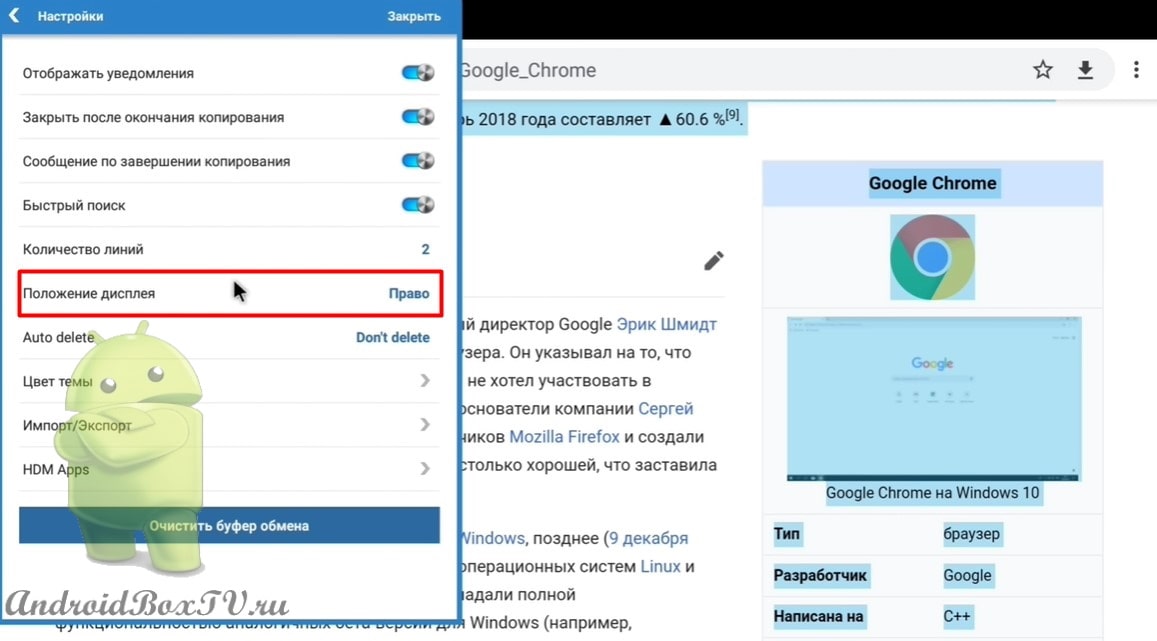
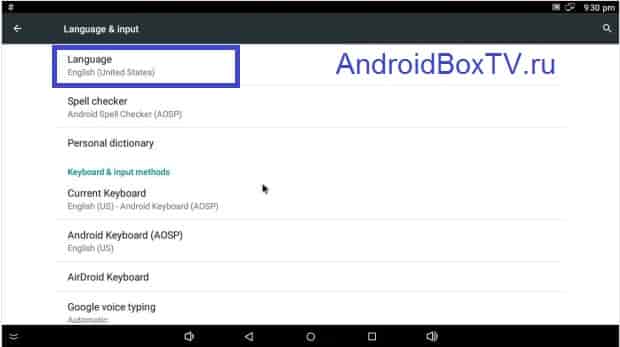
Advanced settings:

Now let's look at the functional menu of Android Box, which consists of three main parameters.

First:

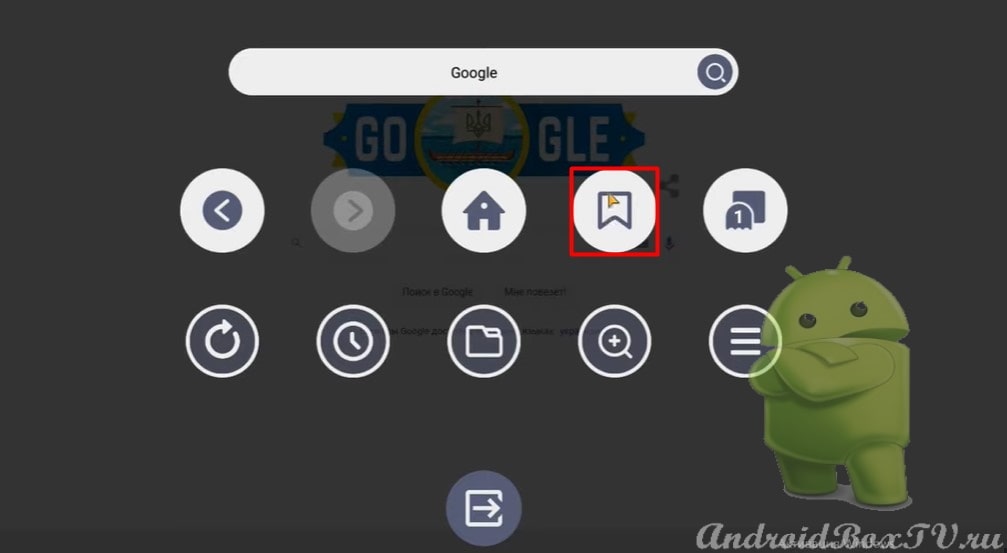
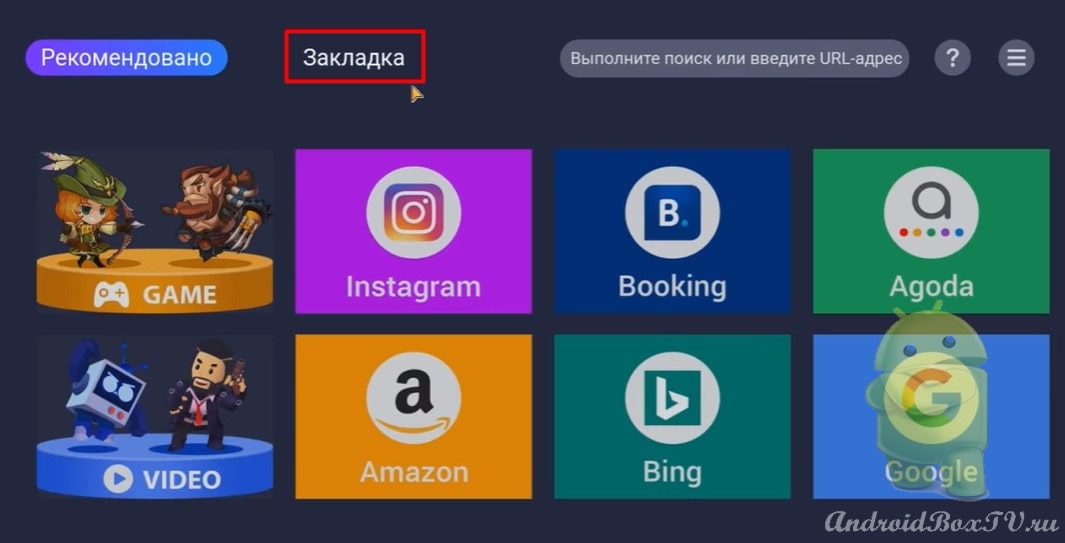
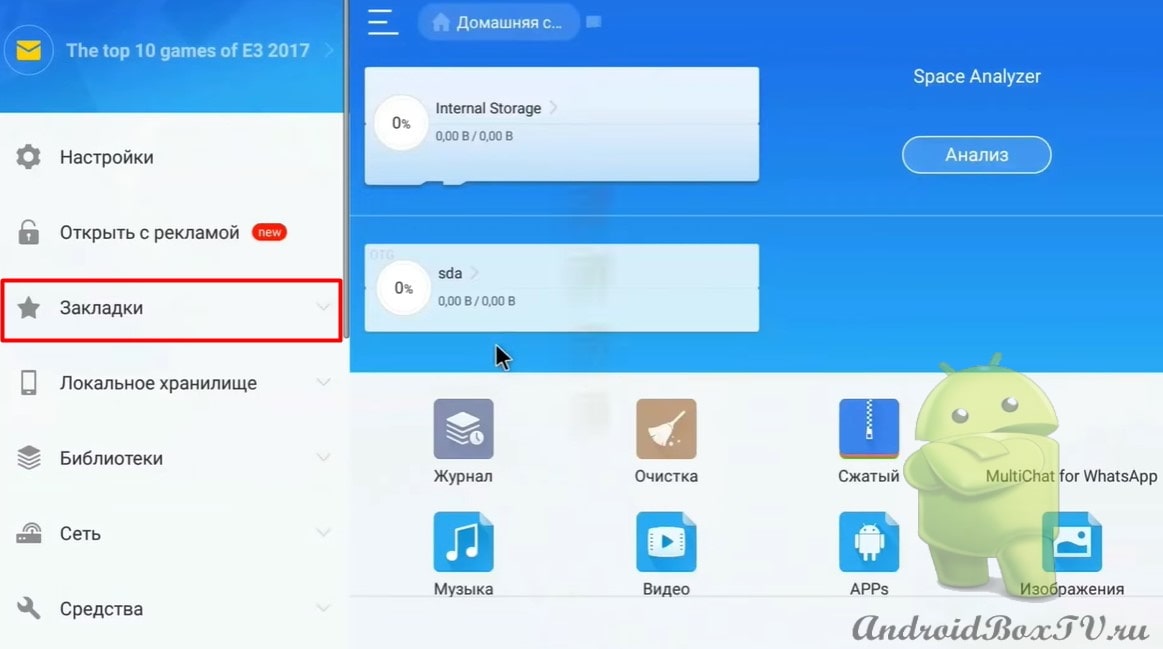
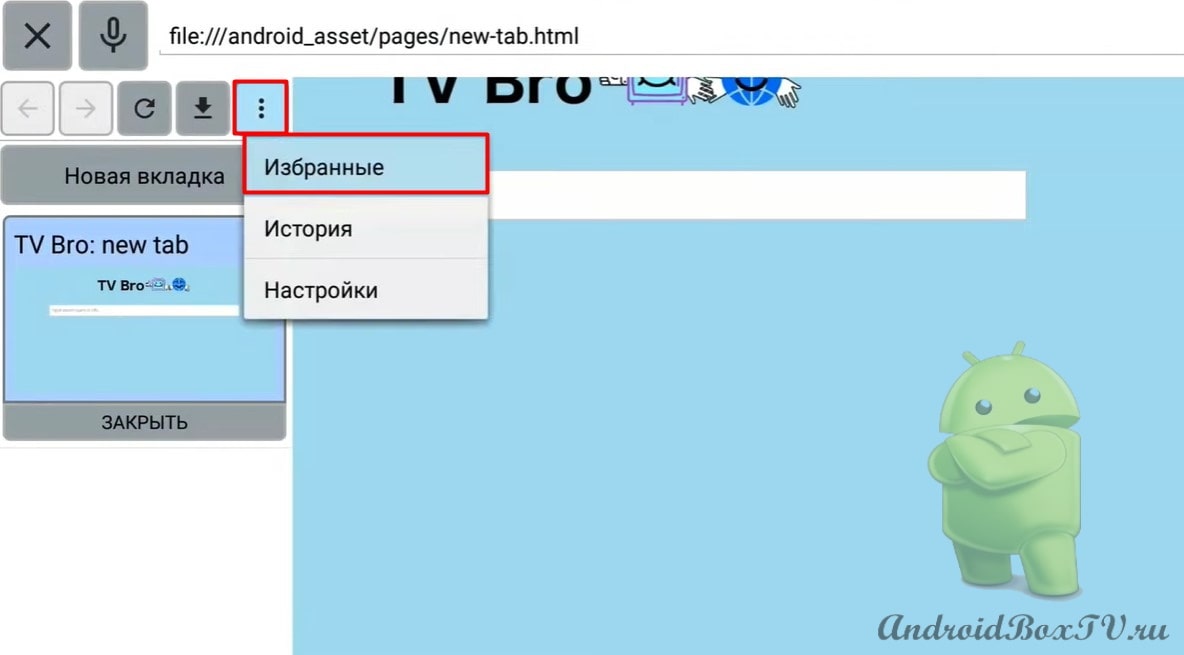
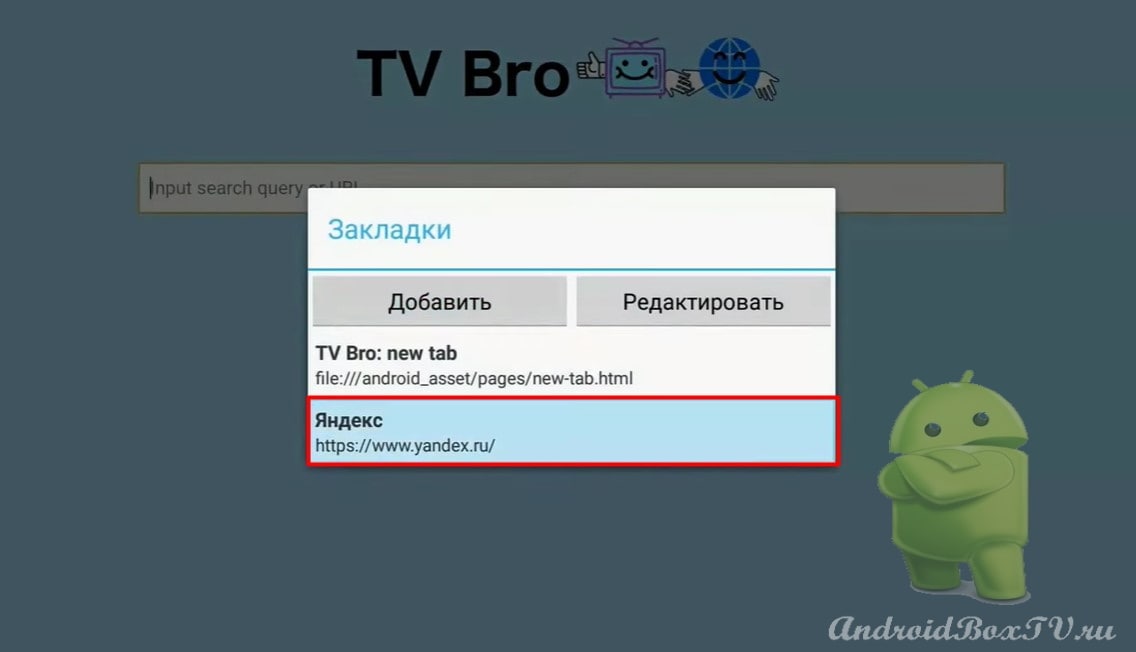
The second is " Favorites ":

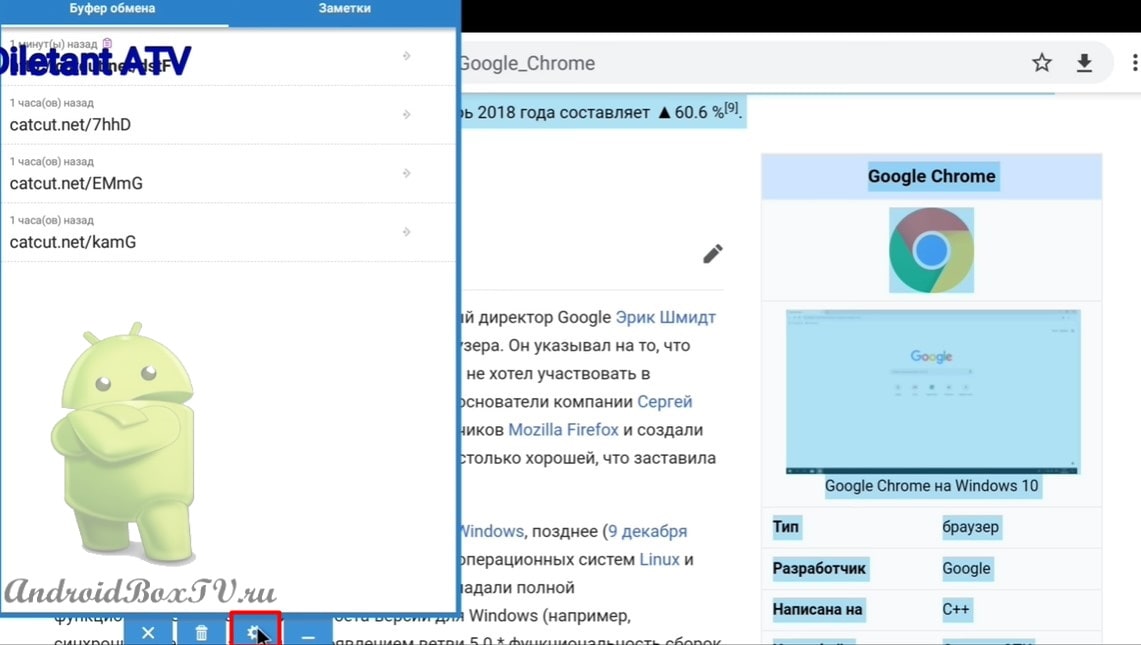
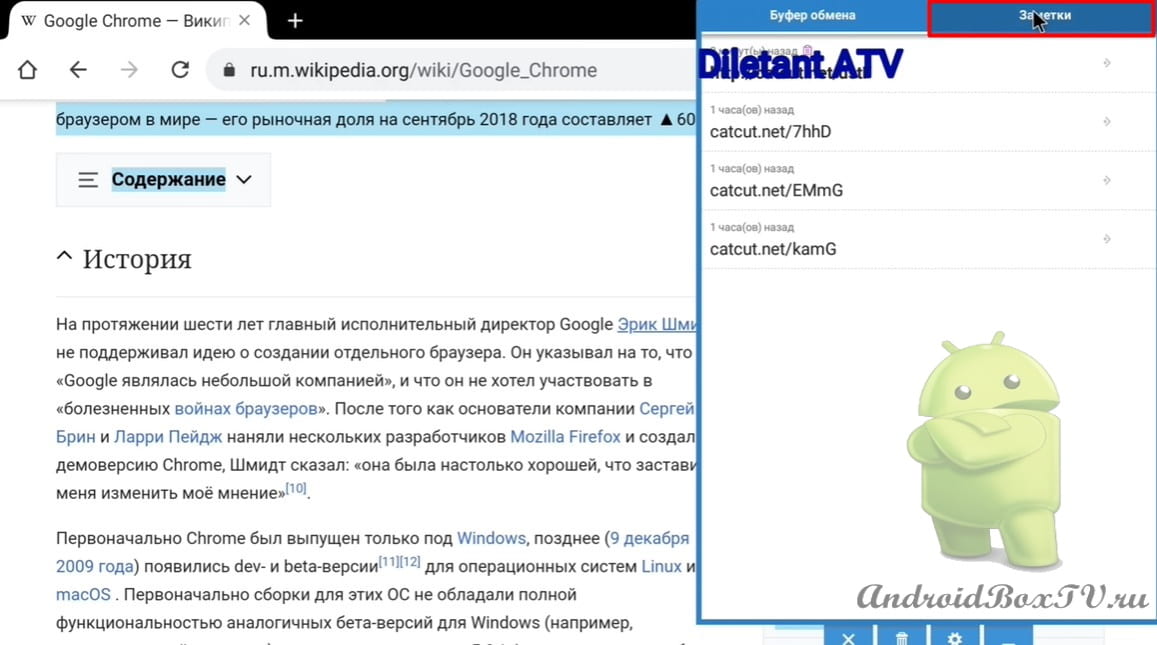
Third - " History ":

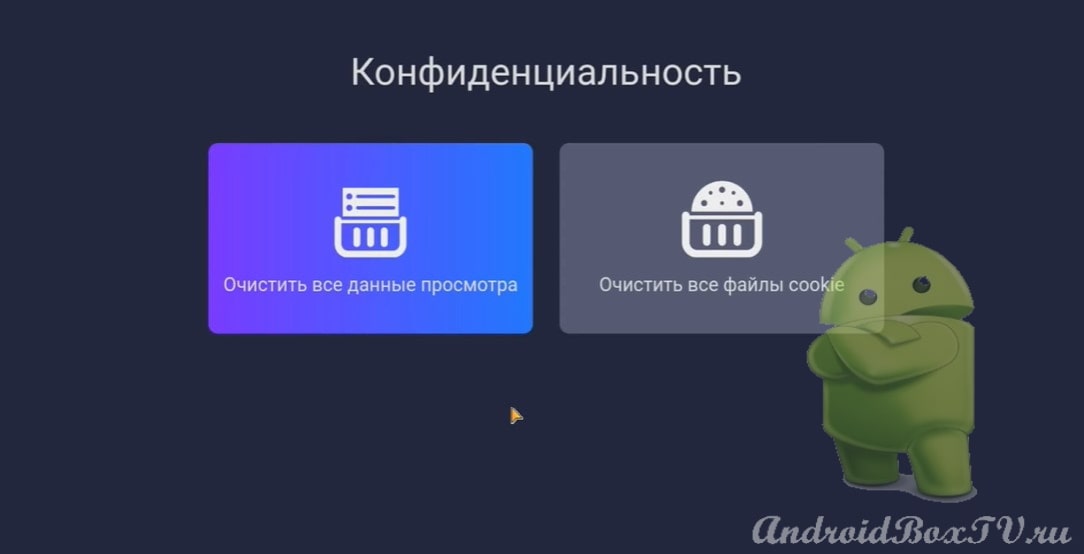
Also, this application is able to show how much memory is free and how much is busy. Analysis of the place is responsible for this :

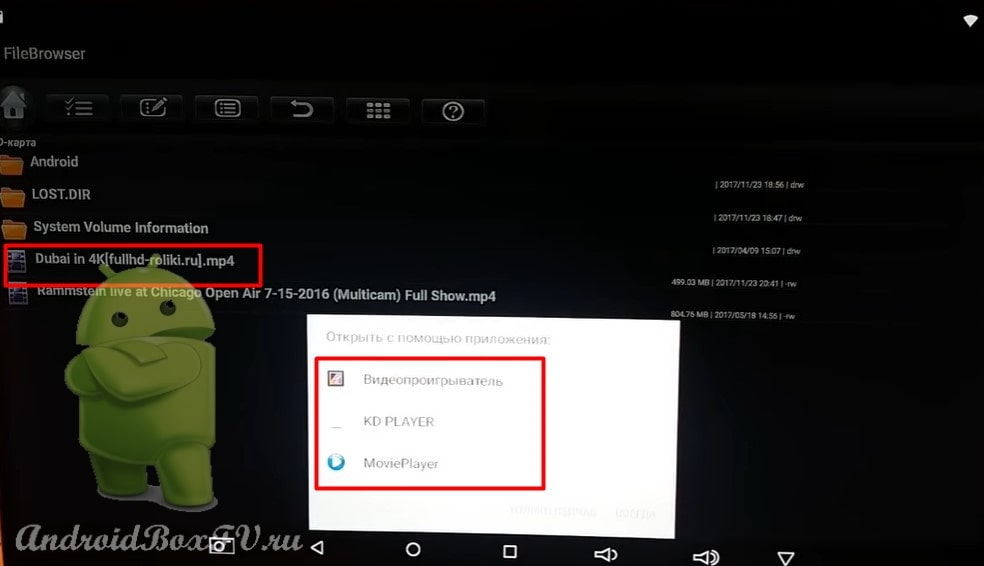
Consider the function of moving files. We select the desired file on smart TV, hold down and a control panel appears at the bottom of the screen. Click " Copy ":

Next, go to the folder where we want to move the file and click on the " Insert " button:

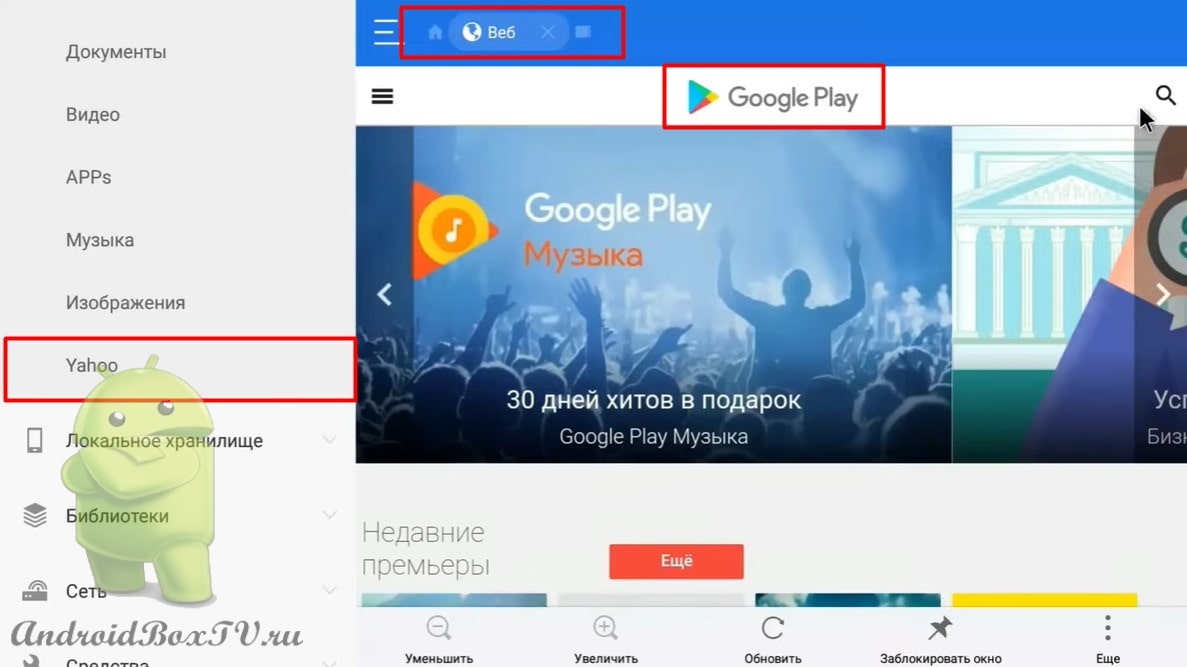
Also, this application allows you to manage files from cloud storage android set-top boxes. You can add any cloud service:

With any of them, you can connect, access files, and use those files on your Android TV device.

A video version of this information is available on our partners' YouTube channel here

open browser. Browser for Android TV

In this article, we will consider Open Browser . Android TV Box users may sooner or later encounter the fact that these devices do not have normal browsers. Open Browser application will help solve this problem .

Link to the APK file for installation - https://t.me/AndroidBoxTv_ru/4 .

First you need to choose a website that you are interested in. Check the boxes and move on to the next step:

The main screen of the application opens:

This browser for smart TV has full support for Android TV , support for the remote control, mice and keyboards. Let's take a closer look at this application.

The Settings section has three options:

  • "Confidentiality";
  • "Safety";
  • "About the program".

The first point is "Confidentiality". Here you can clear all browsing data, all the information that we have viewed. Also, you can clear all files cookie:

The second point is " Safety ". Website is down. This item will display the sites that we give access to our information:

The third item is " About the program ". Here you can check for updates and more:

Also, in the android box settings, you can clear the history of sites visited:

You can clear all bookmarks:

This browser has a unique search function. When you click on the search bar, three ready-made sites are already displayed, within which we can search. That is, we can search YouTube , Amazon , and Booking . If we select YouTube , then YouTube , where we can continue our search:

In order to carry out a basic search, you must enter the desired phrase or word in the search query field:

Also, if we are interested in some game novelties, if we watch some video novelties, then in the future the browser will recommend to us only what we are looking for. Let's see this with an example. Open Instagram:

We have a kind of control menu in which we can:

  • Return to the "back - forward" page;
  • Come back home";
  • Add to bookmarks";
  • Quick access to bookmarks and magazines;
  • Manage font size, page scale.

Also, you can both stretch and compress the image using the arrow buttons:

Consider how to bookmark a site. To do this, go to the desired site, we have a control panel. Click on the "Bookmarks" icon:

An asterisk should appear:

We return to the main screen. We go to "Bookmarks" and see that the item with the site that we added has already been added:

Did you like the post? Check out other articles from the "First Acquaintance" section here.

A video version of this information is available on our partners' YouTube channel here

Setting up a Smart TV set-top box

Connection

In this article, we will look at setting up an Android TV set-top box and prepare it for work. As a rule, this is how the main screen of an Android TV set-top box looks like. Version - Android 6.0 :

WiFi

First you need to connect your set-top box to Wi-Fi. If you are using an Internet cable, then you need to plug the cable into the LAN port on the set-top box. If you are using Wi-Fi, then you need to connect to your network. Already discussed in more detail here . To do this, go to "Settings":

Next, go to “Network” and click on “Wi-Fi”:

Select your Wi-Fi network and enter the password:

Connection:

Application installation

Now let's look at how to install the application on an Android TV set-top box. Discussed in more detail here . In order to install the application, we need to go to the Play Store :

We see an email requestgmail". To which you have a Google account attached, if not, you can register it directly on the TV screen. But it is better to do it on a phone with Android OS or a computer. Enter your email address and enter your password in the next window:

After successful registration, you can install applications, such as PeersTV for smart set-top box, free TV viewing for TV. more about the application considered here:

Main screen

Now let's look at the main screen and its functions.

In order to get to the “Menu” of applications, you must click on the “ Apps ” icon:

As you may have noticed, all applications are signed in English, and everything around too. Therefore, let's see how to bring the interface into Russian.

To do this, go to Settings, in the screenshot above “ Settings ”, in the lower left corner of the screen and select “ Language ”:

We select the language you need and see that the names of the applications are already in Russian:

On the screen, in addition to the main menu, there is a line with frequently used applications:

You can customize this line. To do this, click on the plus and select, by ticking, the applications you need:

Interface like a phone

Also, if you are not comfortable using the interface that is originally installed on the Android TV set-top box, then you can install a special application that will allow you to use the set-top box and the Android operating system with a more familiar interface. To do this, you need to install the " Nova Launcher " application.

Go to the Play Store and install the application:

After installation, open the application and see the desktop of earlier Android operating systems:

If you want to bring something to the desktop, then you need to go to the menu, click on the application, hold it and drag it to the desktop:

Files on a USB flash drive

Next, let's look at how to read files that are on a flash drive or SD card . To do this, you need to use the file explorer. We connect the flash drive and go to the menu. Click on the “ FileBrowser ” icon:

We see SD card:

If there is a video on the flash drive, then when you click on it, the prefix will provide us with a choice of video player:

We can choose the player we want to use Only Now or the player we want to use Always.

Keyboard Language

At the end of our article, let's look at how to add a language on the keyboard of an Android TV set-top box. Go to settings and select " Keyboard ":

Next, click on “Setup”:

Choose "Language". Disable " System language” and enable the languages ​​that we want to add to the keyboard:

This completes the Android TV set-top box setup.

Ready? Everything worked out? Check out other articles from the "First Acquaintance" section here .

Virtual keyboard LeanKey Keyboard, Gboard

Lately, Android TV tends to default to “Google Keyboard”, which is not very convenient to use. In this article, we will consider the “ LeanKey ”, which can be used with the remote control, as well as with the mouse (articles about mice have already been written here and here ). In the latest version of this application, voice dialing has become available.

Also, let's look at how to update the stock keyboard "Gboard". After the update, control is only possible with the mouse, since this version is for mobile devices, but the following functions will appear:

  • Voice input
  • Translator
  • Clipboard (using the Clipboard, you can paste a link into an application where there is an input field, without calling the context menu)

We go to the Play Store and in the search bar we type “LeanKey Keyboard”:

Install and open:

Click "Activate Keyboard":

Select “Virtual Keyboard” and “Manage Keyboards”:

Turn on "LeanKey” :

We return back. Go to the “Select layout” section and select the desired languages:

Go to the "Miscellaneous" section and check "Show on screen":

Section “About the application”:

Next, go to the device settings and select “Keyboard”:

Select "Current Keyboard" and turn on "LeanKey” :

Let's see how this keyboard works.

This is how it looks initially:

You can type with both the remote control and the mouse.

Voice input:

Settings can be accessed by holding down the globe icon:

Let's try to increase the keyboard in the settings:

Now let's look at how to update the stock "Gboard" keyboard.

Aptoid TV app store and type “Gboard” in the search bar:

We open. Click "Update":

After installing the update, we open the application, but you will not be able to open the application settings here:

Therefore, go to the device settings and select “Keyboard”:

In the "Current keyboard" section, check "Gboard":

Next, we open:

In the settings section, turn on the “Row of numbers”:

“Keyboard Height”:

Enable "Long press":

Also, you can set the duration of the long press:

Next, the “Languages” section, you can add the desired language:

Section "Theme":

Here you can highlight the contours of the keys:

Section “Continuous input”. This is for mobile devices, so we turn it off so as not to interfere:

Voice input is enabled by default.

Dictionary section. You can remove unnecessary or misspelled words:

Search section:

Section “Additional”:

Now let's see how the keyboard works.

Voice input works:

Menu section. Can be dragged:

"Floating mode":

Let's check the Clipboard.

Copying text:

Next, open the “Clipboard” on the keyboard and click on the copied text, it is inserted into the input field:

We hold the copied text and you can fix it, or delete it:

Ready?
Everything worked out? Check out other articles from the "First Acquaintance" section here .

Well, if you are interested in another application for the SwiftKey keyboard, go here .

TV Bro. Browser for TV

We have already described the Firefox for TV browser here , Google Chrome here . Today we will look at a web browser for a TV called TV Bro. This application is in the TV Play Store , but it cannot be found in the usual way. Now let's look at how to install TV Bro using ES File Explorer .

Open ES File Explorer:

Go to the "Bookmarks" section:

We select the search engine "Yahoo" and in the search field we write Play Market:

Open Google Play and write TV Bro:

Select an application and install it:

After installation, click on “Open in the Play Store” and select “Google Play services”:

The application store installed on the TV opens. Click "Install" and "Accept":

Next, open the application and select a search engine:

In the settings, you can configure keyboard shortcuts for convenient use. Go to "Settings" and select "Shortcuts":

Select "Show Menu". Next, select any button on the control panel and click “Install”:

We return back. Go to settings and select "Shortcuts":

In the same way, you can set the keys:

  • Back navigation
  • Navigation home
  • Refresh the page
  • Voice search

We remove the menu with the assigned button.

To check the application in the search field, enter "Yandex":

Quickly opens and cursor appears:

We open "Yandex" - full-fledged, as on a computer:

Let's see how to bookmark. We call the menu, click on the three dots, and select “Favorites”:

Click "Add" and select:

We see that a bookmark has appeared:

We call “Menu” and close the tab:

We go to “Favorites” and try to open “Yandex”:

"Yandex" opened. To close, click on the cross:

How do you like this browser?
Did you like it? Check out other articles from the "First Acquaintance" section here .

Google Chrome browser

Today we will look at how to install the Google Chrome browser on devices with the Android TV operating system in a simple way. For comparison, let's install two versions of the application - “version 57” (the last one, in which text can be copied in the usual way); “79 version” release from Google Play. Also, let's look at how to copy text in the “79 version” using the “Clipboard” application and enable smooth scrolling in experimental functions.

We have already installed Browsers:
TV Bro here
Firefox for TV here

Let's install the next one! A mouse is required to navigate in the Google Chrome browser. In order to download the installation APK files you will need the “Downloader” application. This application is freely available on the Play Store .

We go to the “Downloader” application and click “Allow”:

Next, click “Ok”:

First, install the “57 version” of the application. Enter link - http://catcut.net/K3nP . Click “Go” and the download will begin:

After downloading, click "Settings" and open:

Next, give permission to install from this source:

Install the application and click "Finish":

After that, you can remove the APK file if it is not needed:

Now let's install the “version 79” of the application. Enter the link, click “Go” and the download will start:

Install the application and click "Finish":

To the “79 version” we will set the Label. Enter link - http://catcut.net/64nP . Click "Go":

The Shortcut is installed in the same way as the APK file.

Next, add applications to the home screen:

First, open the “57 version”:

Click "Continue":

For example, in the search we type “Google Chrome Wikipedia” and go to the site:

In this version, you can cling the mouse and move the page. In the usual way, select the text and you can copy it:

Open the “79 version” of the application:

Click "Continue" and turn off the simplified view:

Select a search engine and click "OK":

On the home page, you can still hook and move the mouse, but on the sites it is no longer:

In the search we type "Google Chrome Wikipedia” and go to the site:

Here it is already impossible to hook with the mouse, only scrolling. Open "Clipboard" and click on "Settings":

Moving on to the right side:

Go to Notes:

Select the text or link and click on the plus:

Next, we cling the text with the mouse, drag it to the clipboard and click “Save”:

Thus, in the “79 version” of the Google Chrome application, you can copy text.

Next, let's look at how to enable smooth scrolling. In the search we type - chrome://flags :

In the search box write "Smooth scrolling” :

Open and click "Enabled":

Next, you need to reload:

After the reboot, the smooth scrolling function turned on. If you need to turn it off, click “Disabled”, and if you turned on something unnecessary, you can reset it to factory settings:

Next, we try to scroll, we see smooth scrolling without jerks.

Did you like the article?
Check out other articles from the "First Acquaintance" section here .

Aptoide TV. Installing the App Store

An article for newcomers who first purchased devices on the Android TV operating system opened the Play Market and did not find the applications they needed there.

Let's figure out how to install an alternative Play Market - the Aptoide TV application store.

Let's go to Google Play and install the application d ownloader - in the search we write "down":

If you write the whole "downloader" - the application is not displayed in the search results. Install, open, allow what they ask and enter this link apkins.aptoide.com/AptoideTV-5.0.2.apk (do not erase anything):

Click "Go" and the download started. Then click "install":

We open, we allow everything that is asked.

Everything can be enjoyed:

  • first line - popular applications,
  • the second is updated (New Arrivals) applications:

You can search by category.

It is possible to install previous versions of programs:

It happens that the application has been updated and does not work, you can uninstall and install the previous version.

Experiment with installing different programs yourself.
And write down what happened. Check out other articles from the "First Acquaintance" section here .

Firefox browser for TV

Let's analyze the Mozilla Firefox for TV application. This is the Firefox browser for the TV. Installing another TV Bro is here. Google chrome is here .

Downloading this application on Google Play will not work, but if the developers do not quit, then this feature will appear soon.

To download, we will use the Aptoide TV program (the installation of which is described here ):

We launch. We need an "applications" section:

Performance category:

We open. Here it is - the very first Firefox browser:

Link to the APK file for Mazilla: here .

Settled. Let's get out of here, look at the icon:

It looks like this. We launch. Turn on turbo mode:

We need a button on the remote control 3 horizontal stripes (menu):

How the remote control buttons work is already described here .

We press. Now you can delete the bookmark:

Let's go to youtube:

YouTube plays video with html player for browsers. So the video doesn't work very well. You can exit from here using the menu button.

Maybe someone has a different button on the remote, try it. Now to the "house" - home.

Let's type something in the search bar and see how to add a bookmark to the home screen. Recruiting Google:

Here you need to get used to it to understand how to control the round pointer:

Press the menu button again. Select this pin, the bookmark is added to the main screen. Now the house:

Bookmark added:

Here is a browser. Let's hope that its development will not be abandoned, they will add the standard download function.

Check out other articles from the "First Acquaintance" section here .

First time switch on: language selection

The set-top box is unpacked, connected and we make its first plug-in, alas, but in 100% of cases we will see an incomprehensible menu, everything will be in English. After reading this article, you will understand what to do with it. So let's get started!

Language Selection

Plugging the set-top box into the outlet will take a few minutes to start its work, the Android set-top box is a small computer and the operating system needs to be loaded, after loading you will see the following:

Click Settings (maybe top right). We get to the menu, where nothing is clear:


(you have a different menu ⇒ Click)

We rewind the page down and find the following entry “Language” (there can be many interpretations):

After entering, there are two steps left, I will not explain. You can see from the screenshots of the Android console where to click and what to look for:


Happened? write a comment)

Installing apps from Google Play

A short entry on how to quickly install a program from Google Play for the Android Box. We talked about how to connect a prefix to Google Play ⇒ here , so briefly about the main thing, we enter the installed Google, and enter Total Commander in the search (the program will be needed in the future):

In order for the search to return exactly, there should not be a picture to the left of the drop-down word!

Press "magnifier" on the keyboard. We select the version of the program, the main condition is that it be free on the Android Box:

Everything is standard, as in an android tablet, click “install” and wait for the installation to complete:

All ready to launch!

Everything is working! Hooray:

How to work with Total Commander on the Android Box set-top box, we will figure it out in the near future, do you need to work with files?

We talked about how to add an installed program to the main menu ⇒ here !

Here is such a record, more pictures than words, write, opinions are always interesting.