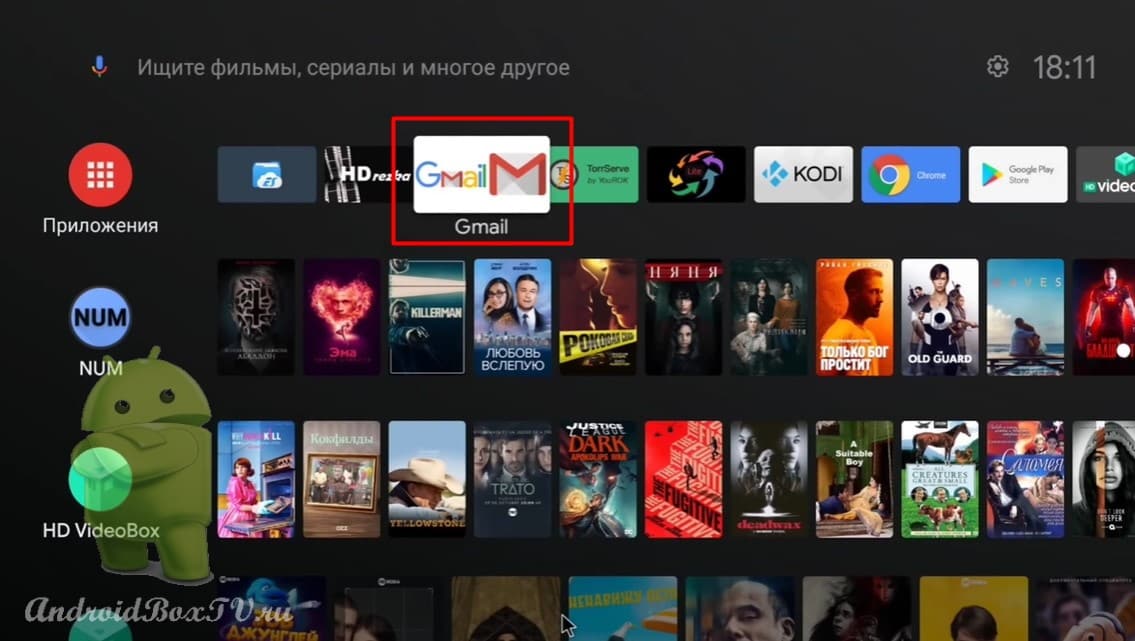
Today we will look at how to record video from Android TV, set-top boxes and TV boxes. You can only record what you do in the console itself. Recording videos from YouTube will not work, as Google blocks this feature.
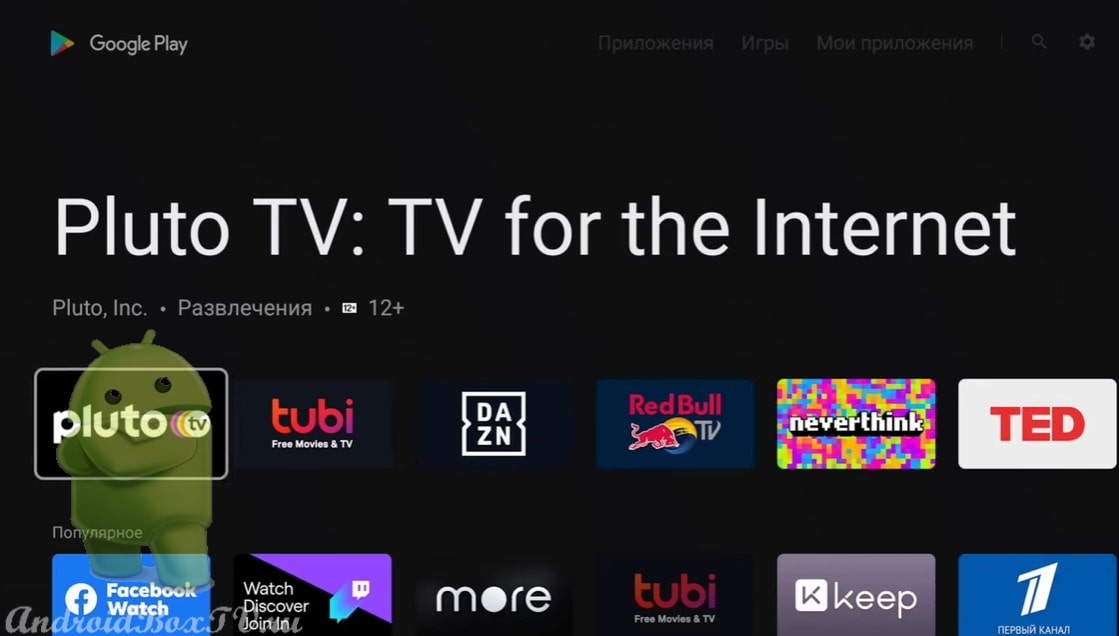
You can download this program from the Play Store . The program is called AZ Screen Recorder :
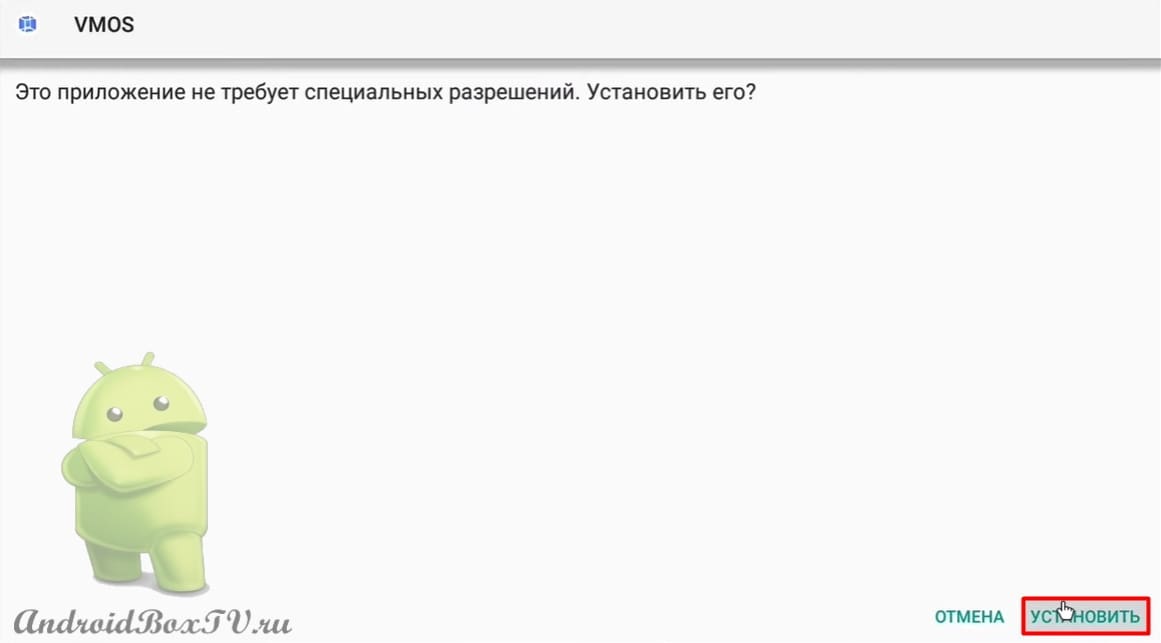
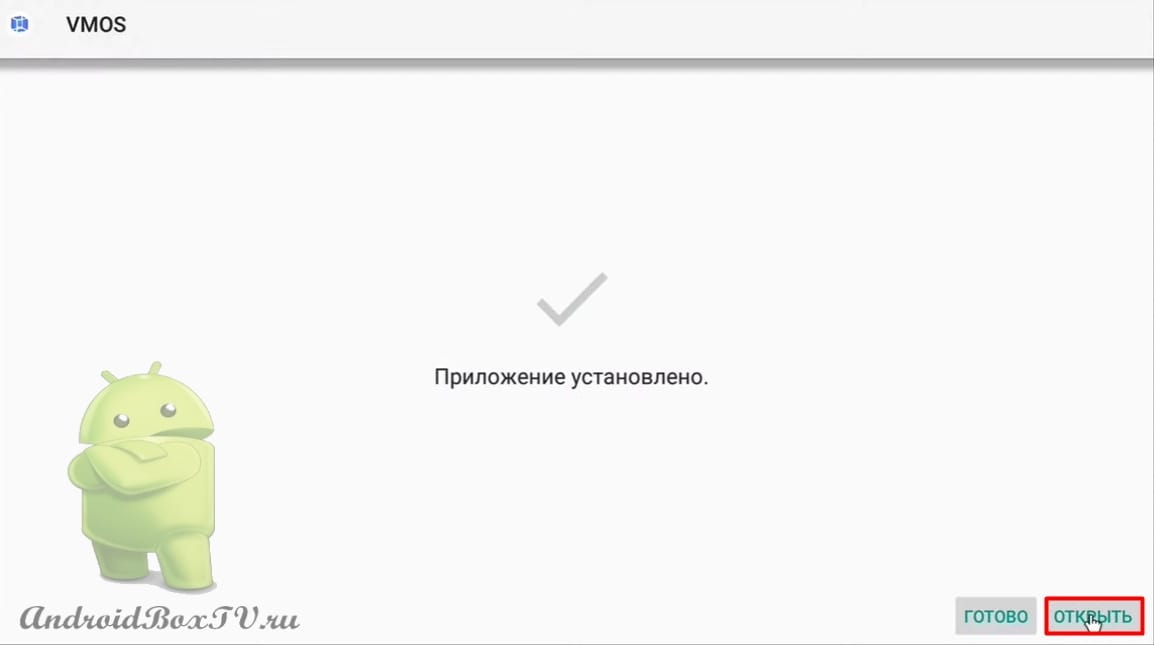
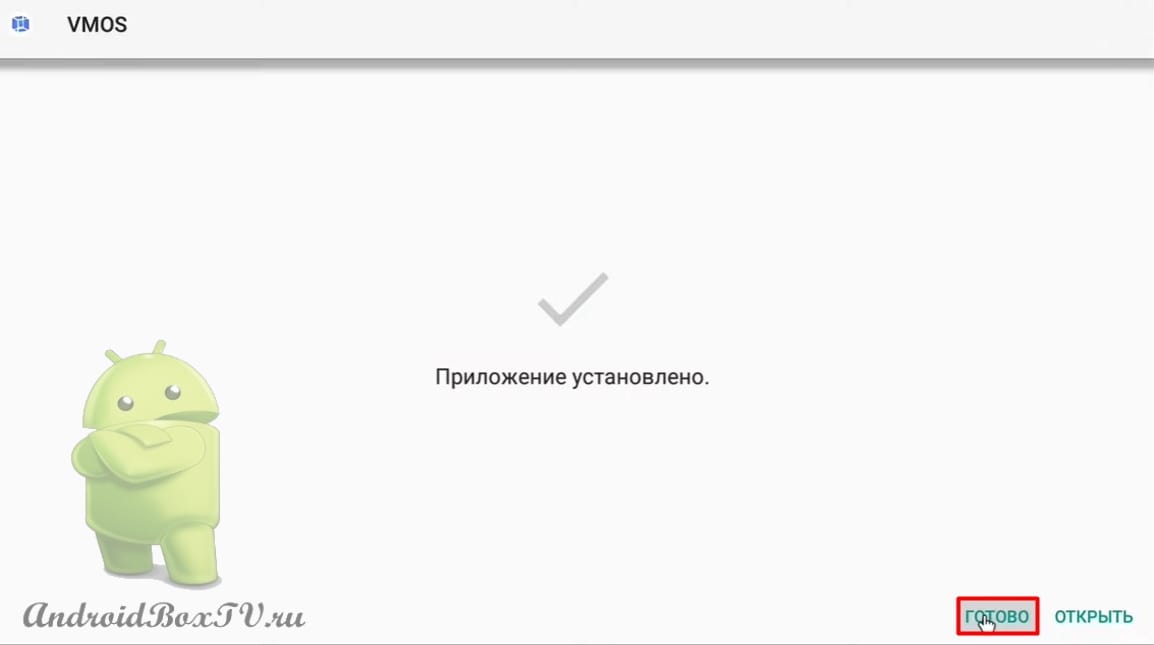
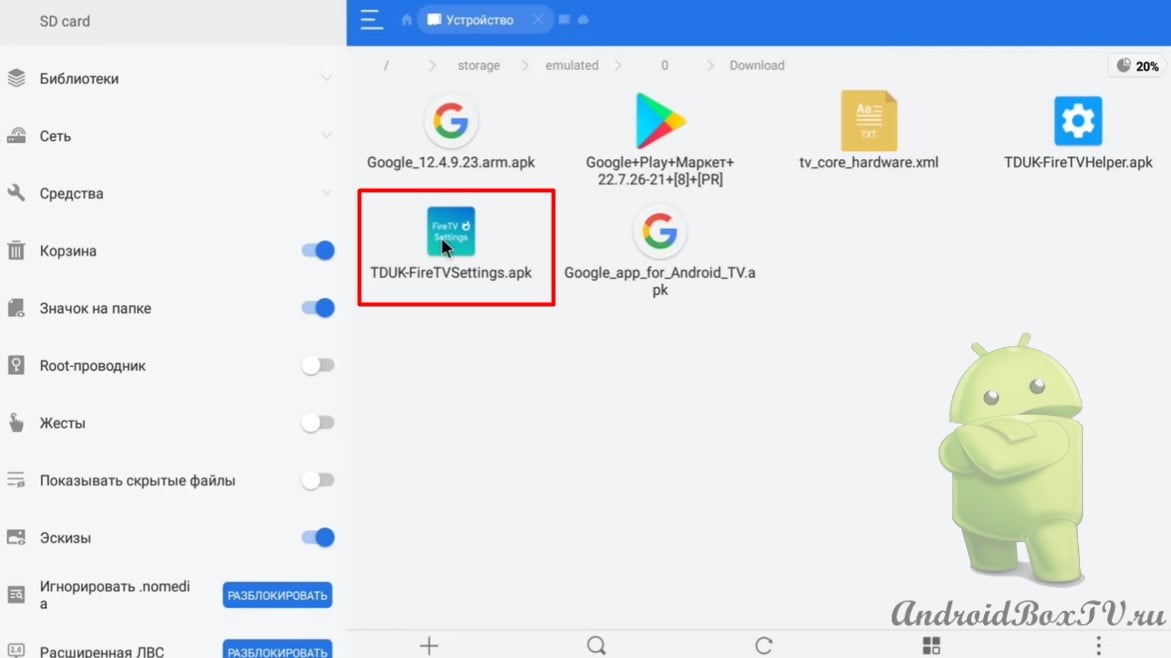
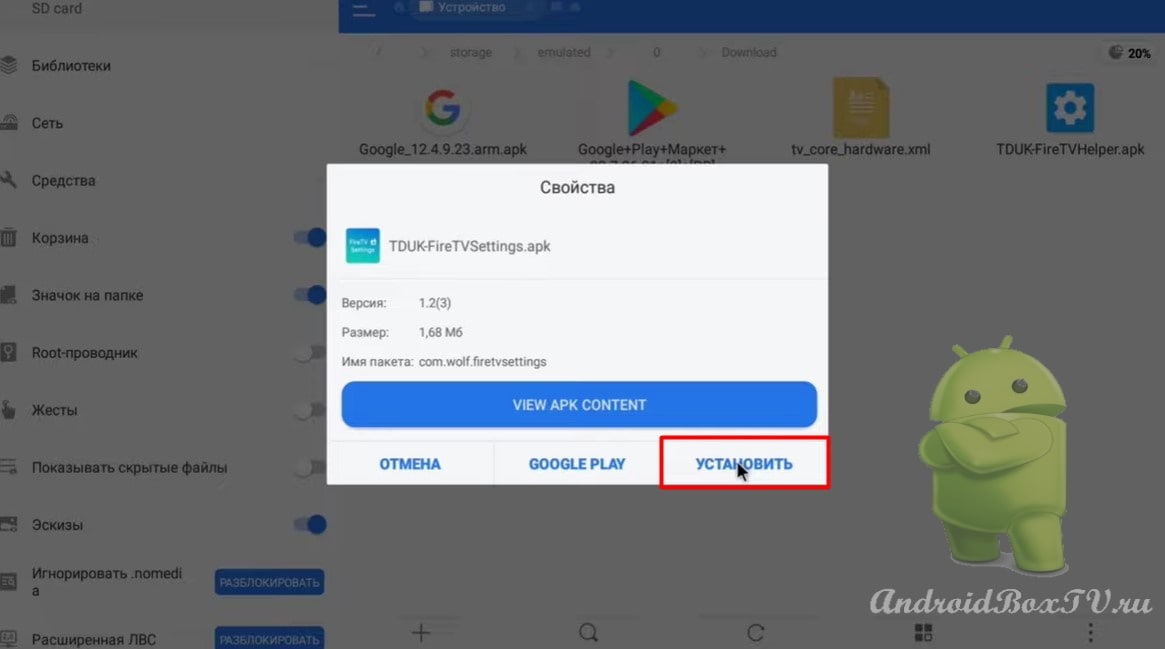
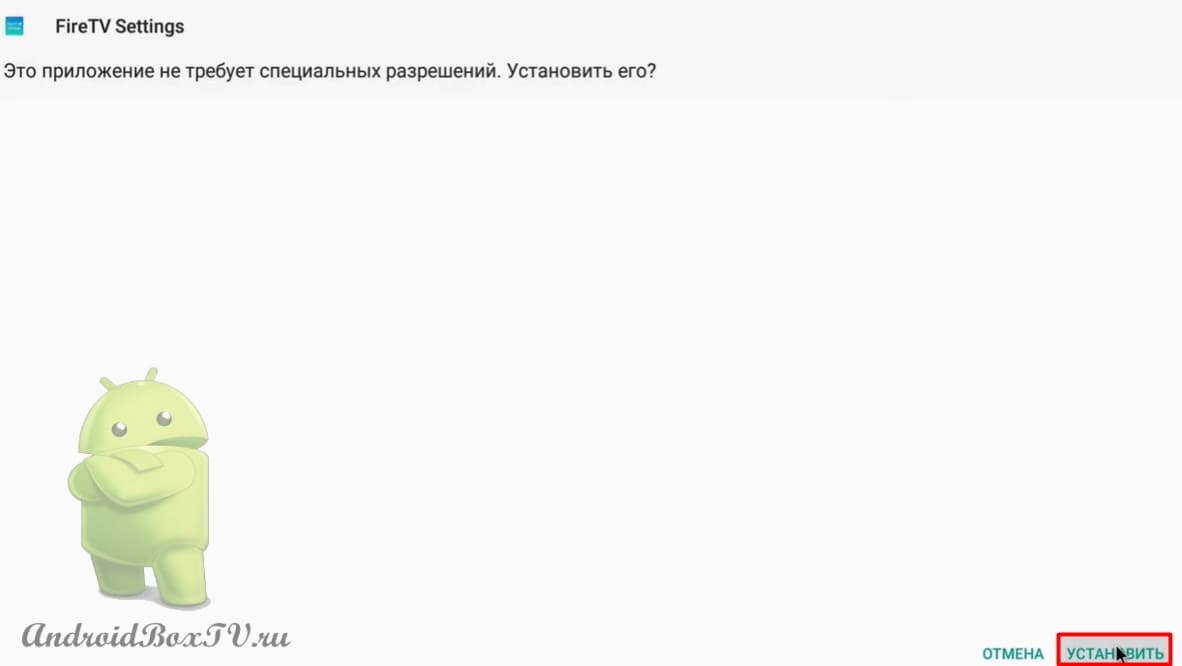
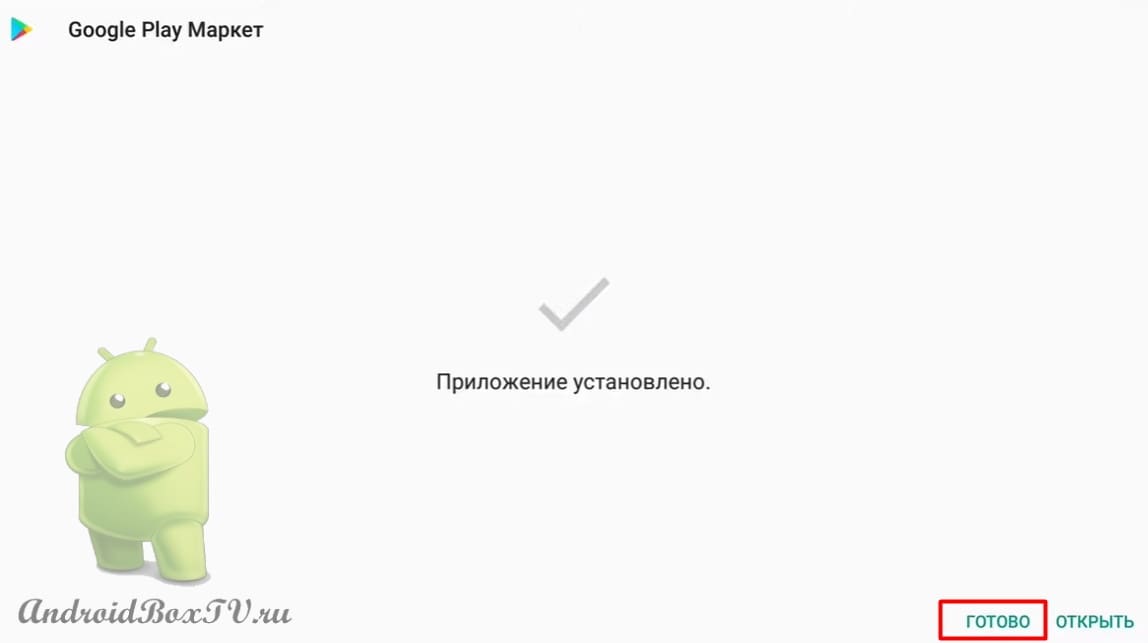
Installing the application:
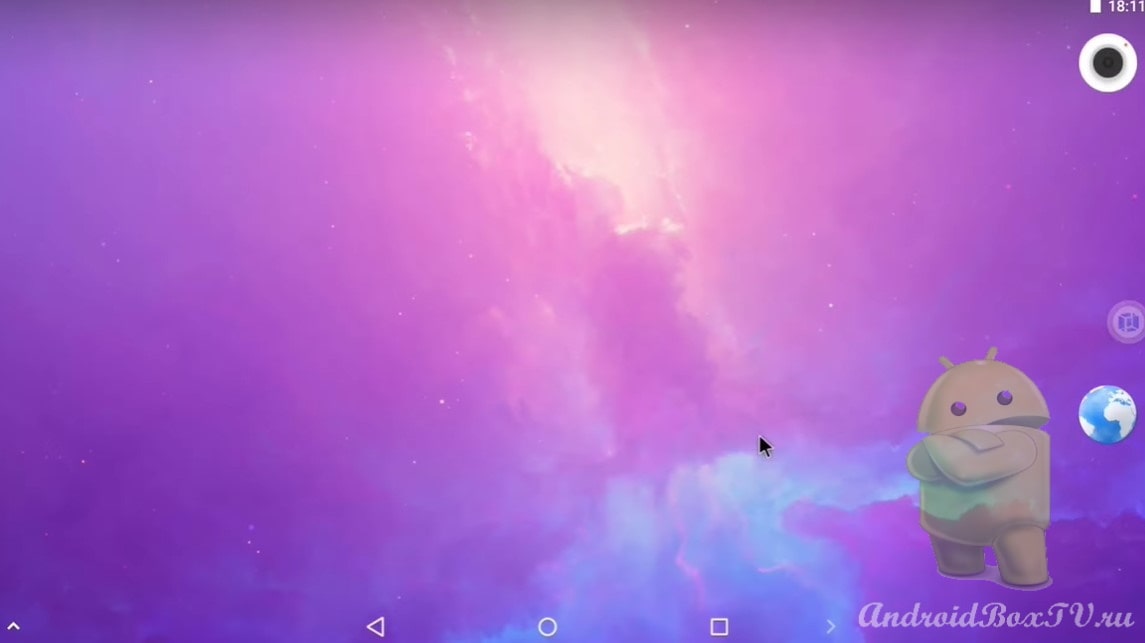
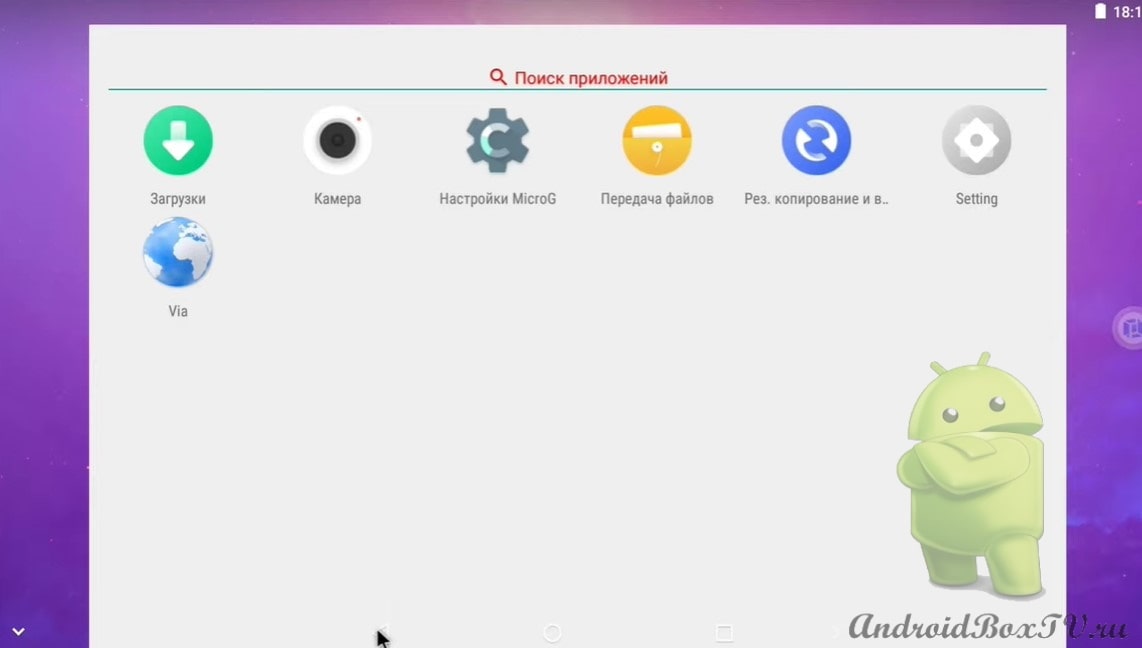
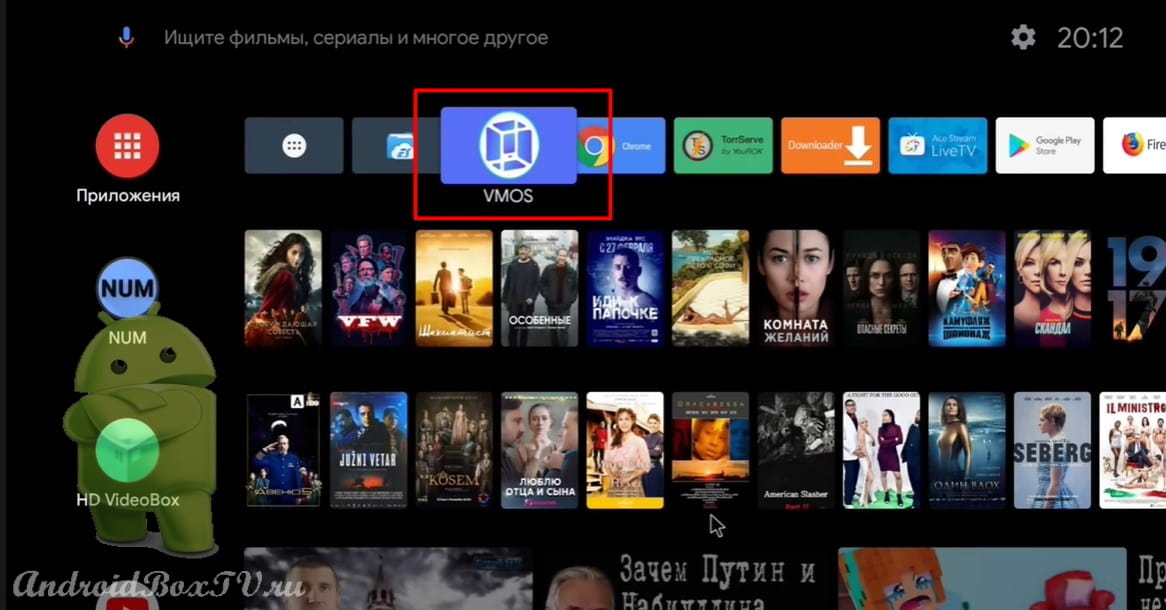
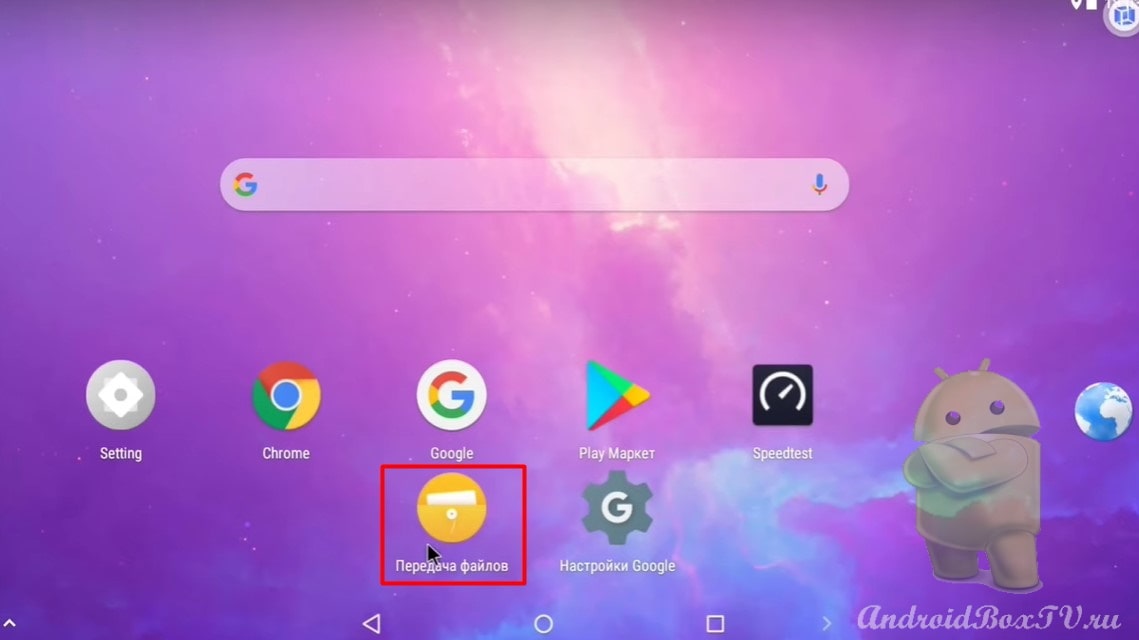
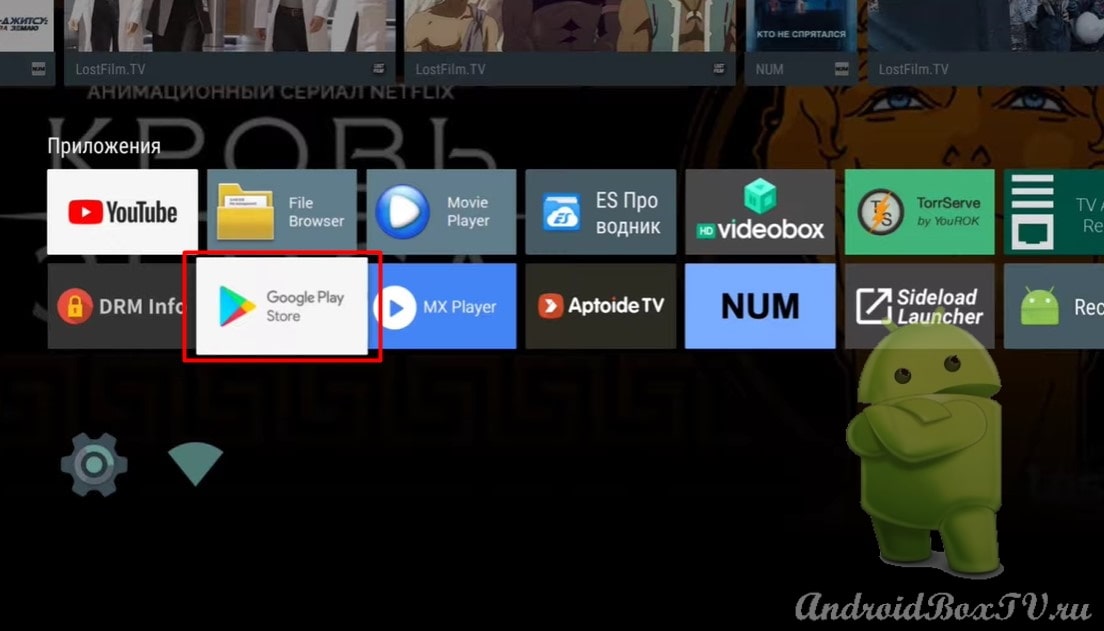
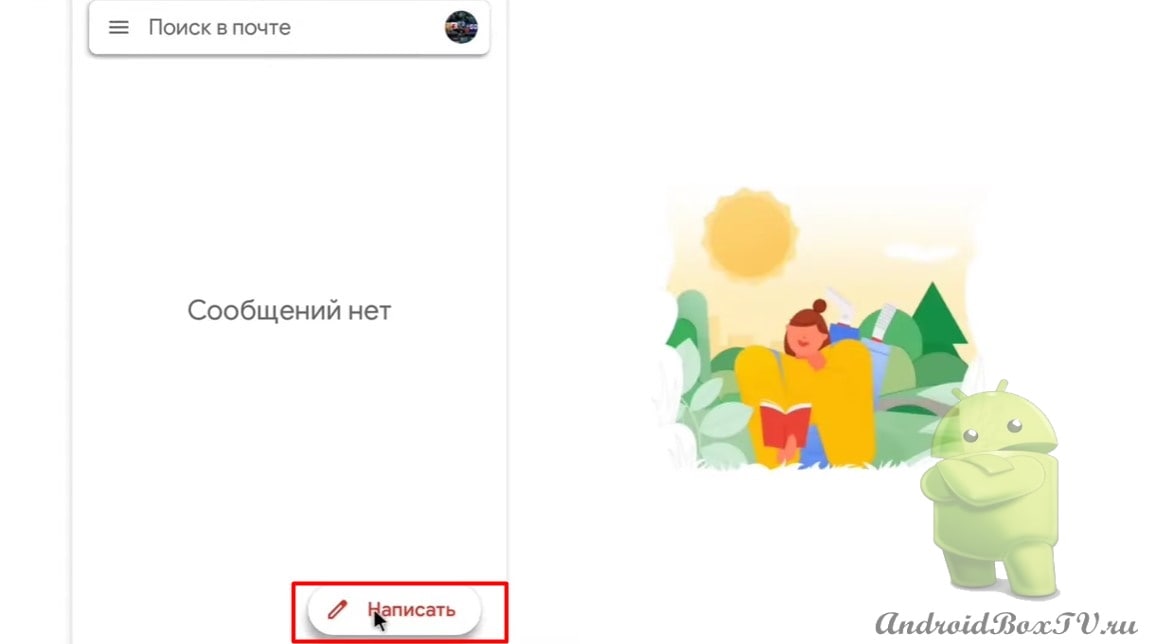
After installing the program, return to the main screen and run it:
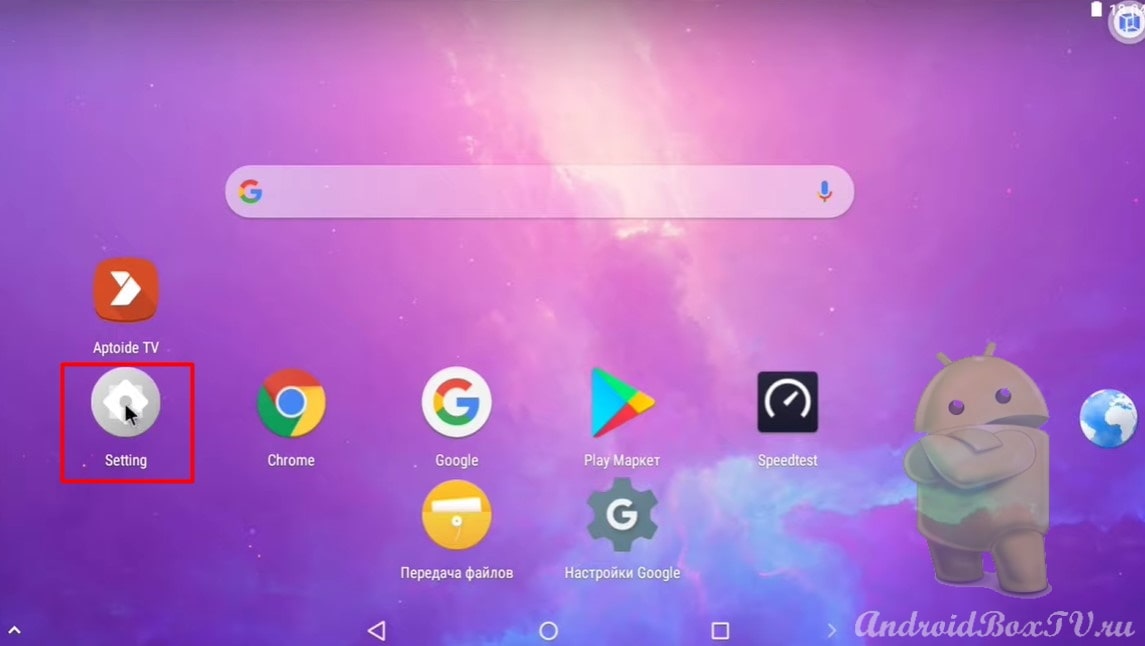
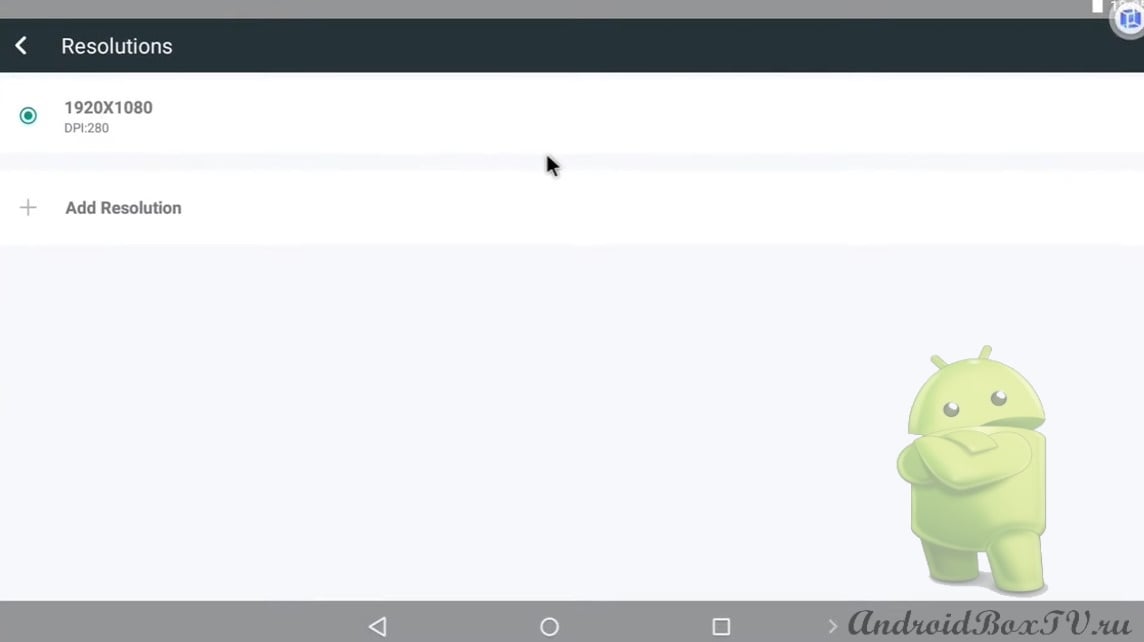
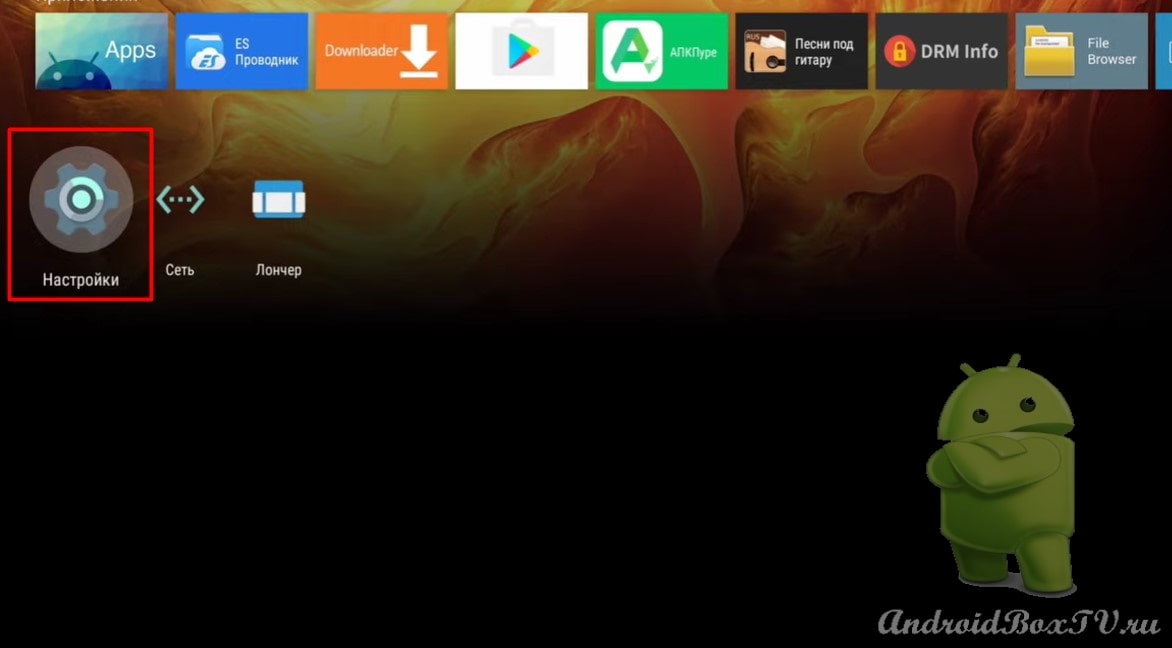
Go to "Settings" and select "Default resolution":
Set your resolution:
Also, you can select “frame rate“:
If you need sound, turn on "Audio recording”:
The recorded video will be saved in the “Video” folder with the name of this program.
Consider how to enable video recording. After starting the program, a mini-panel with buttons will appear on the desktop - “Pause ”, “ Stop ”, “ Tools ”:
In order to start recording on a smart set-top box, you need to click on the button with the camera image.
Tool button:
Button "Stop". Here you can view the video or delete it:
Were you able to record a video?
Check out other articles from the category “Difficult Tasks” Here.
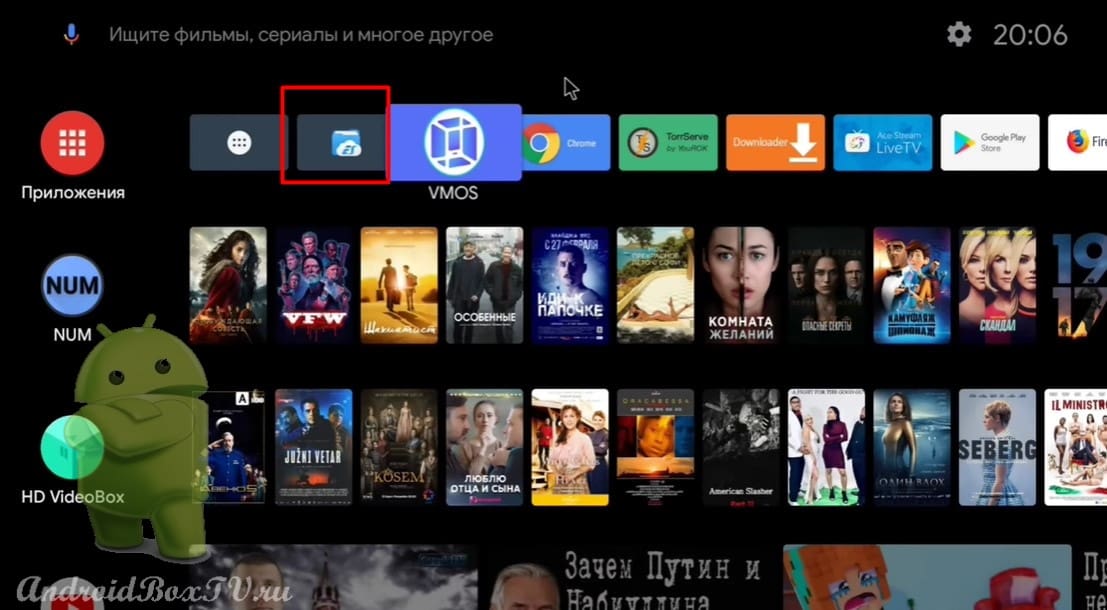
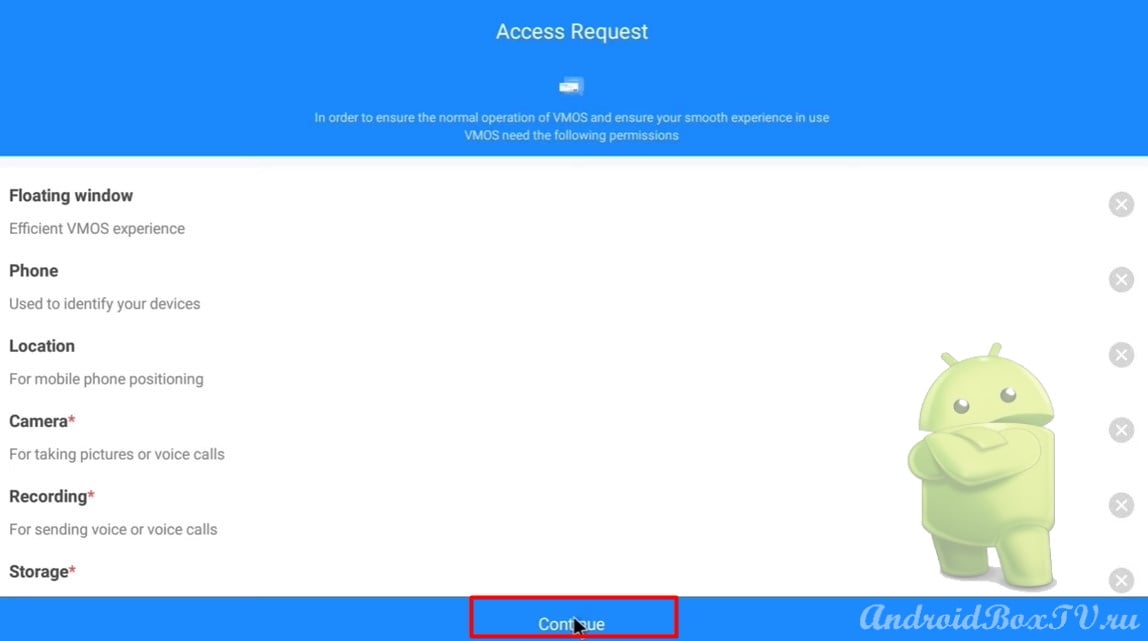
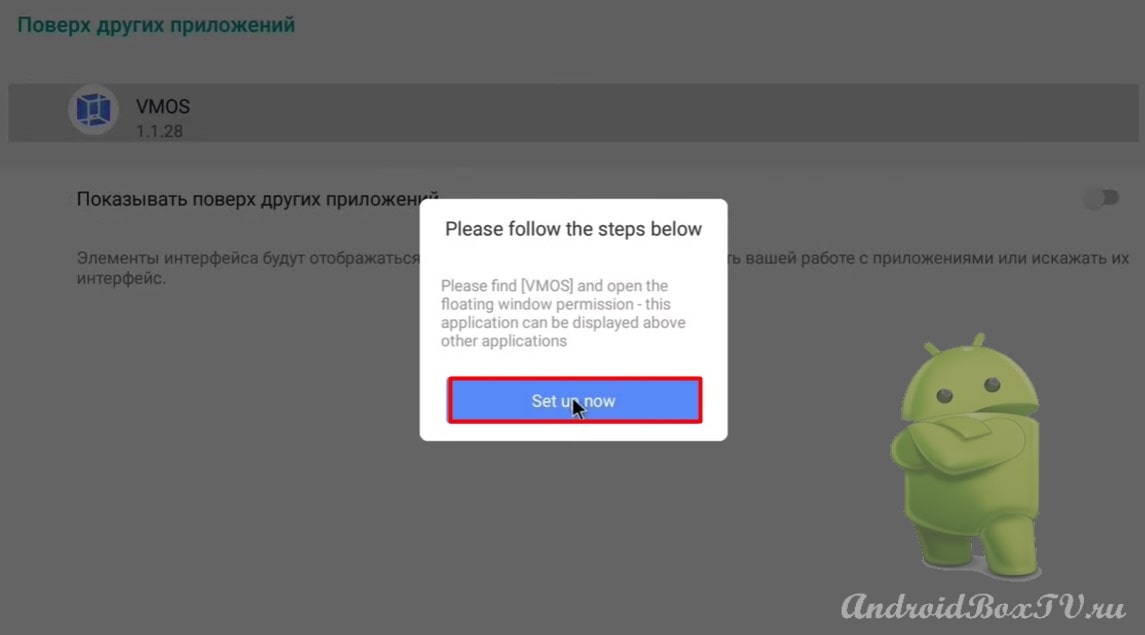
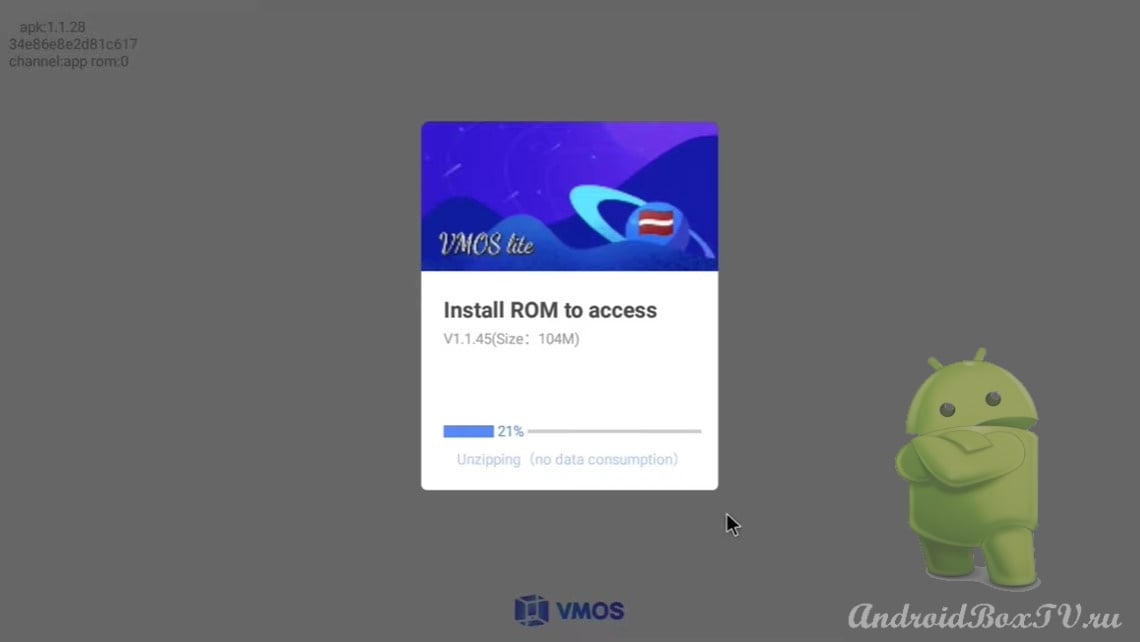
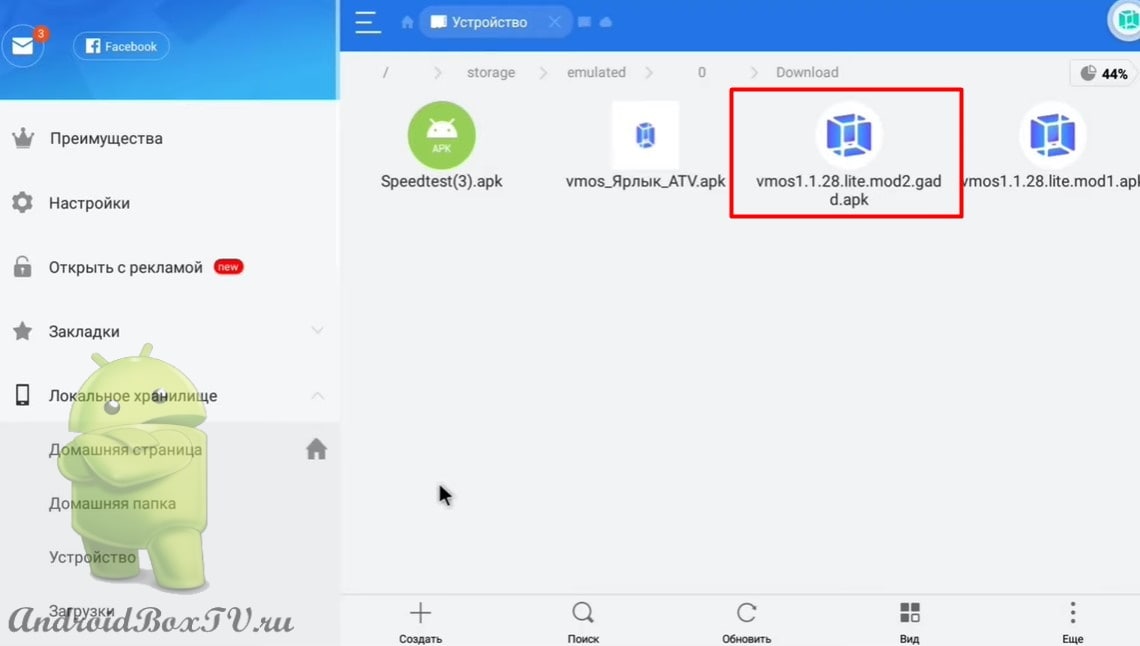
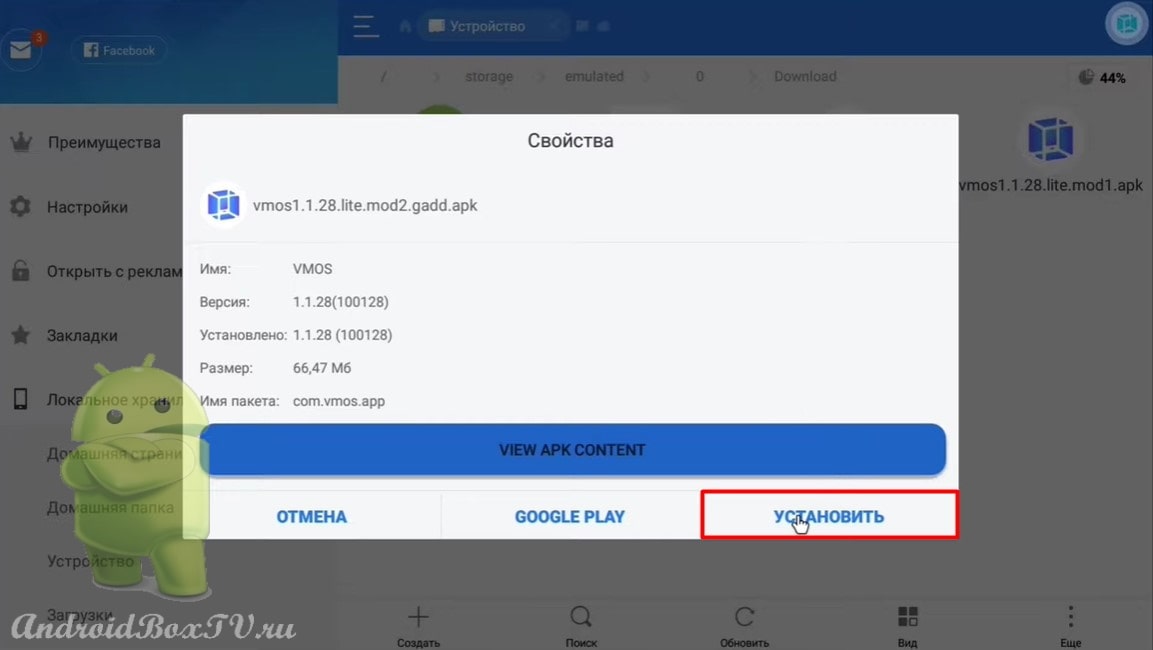
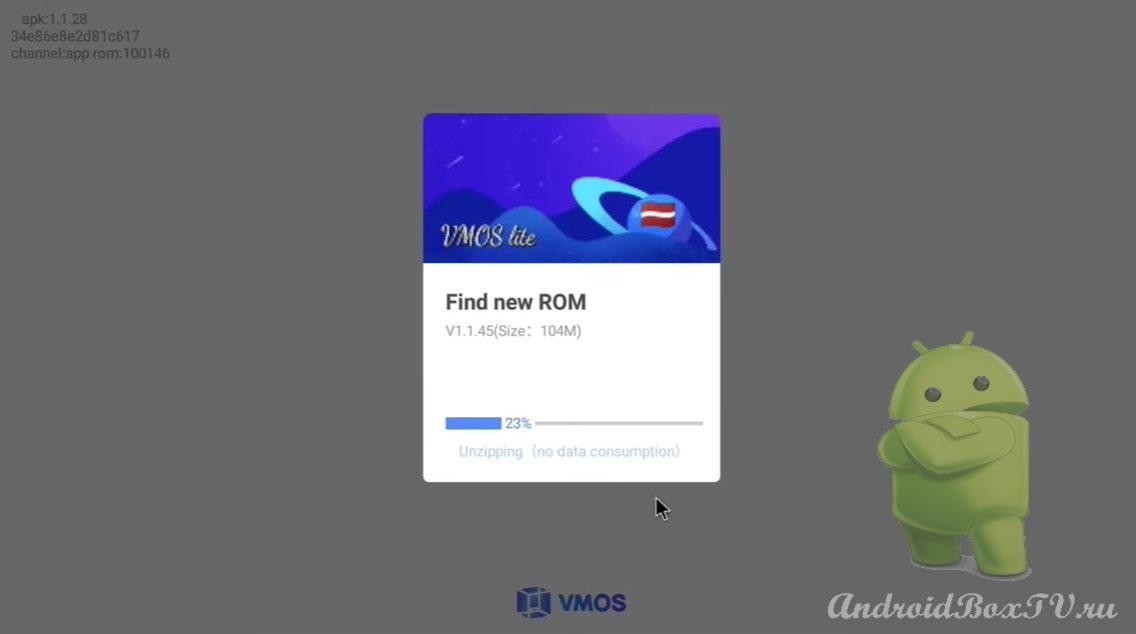
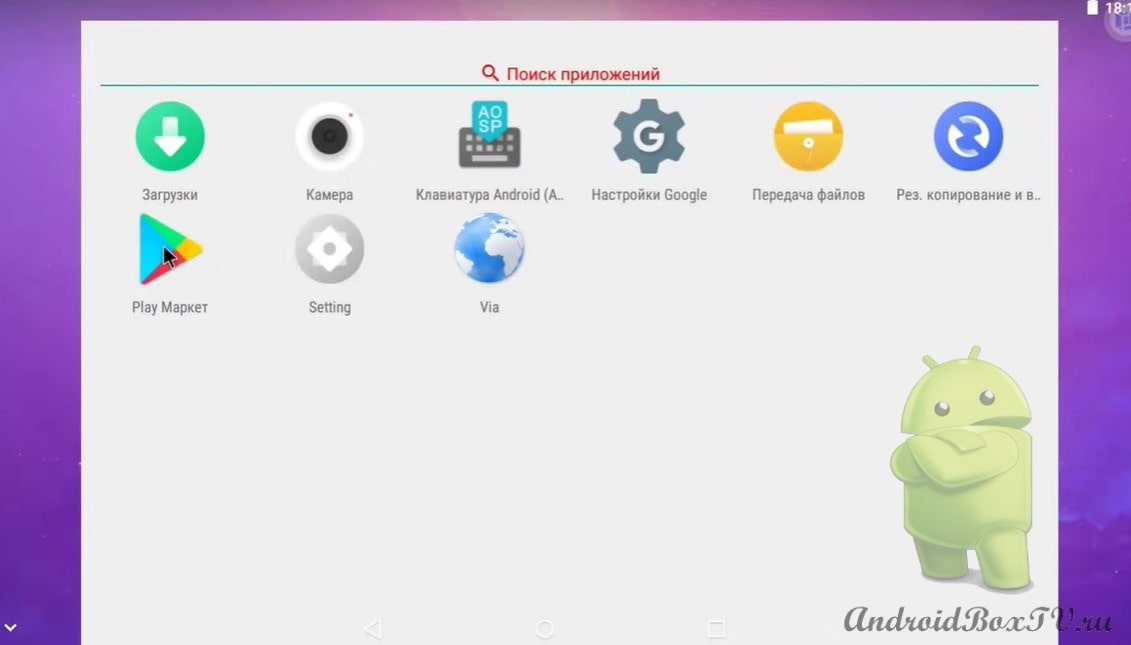
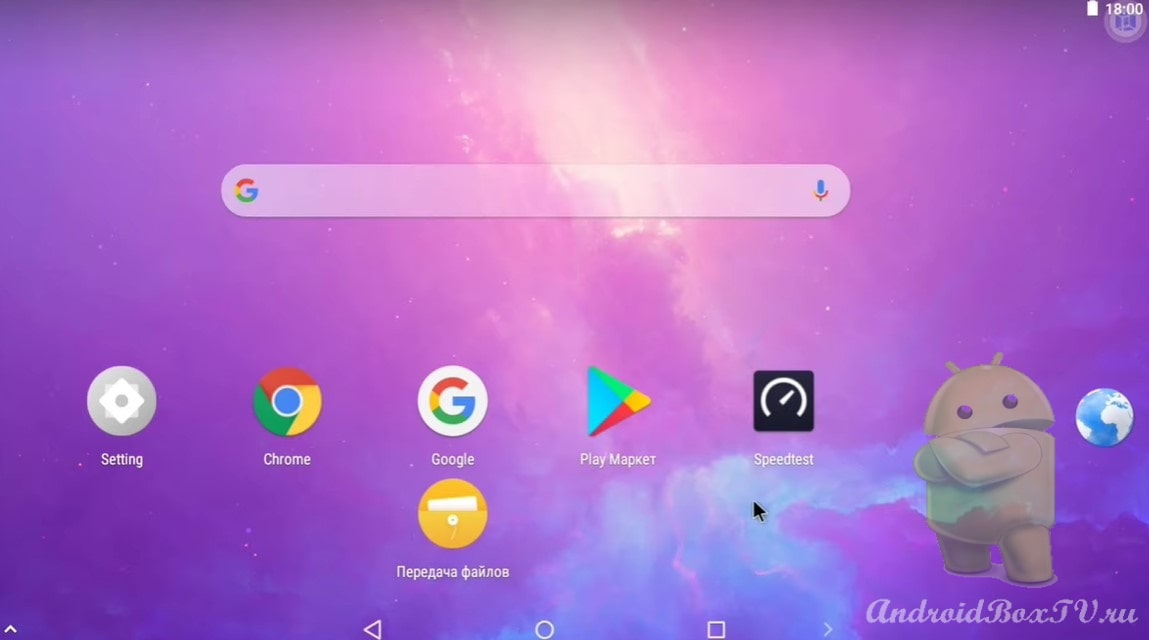
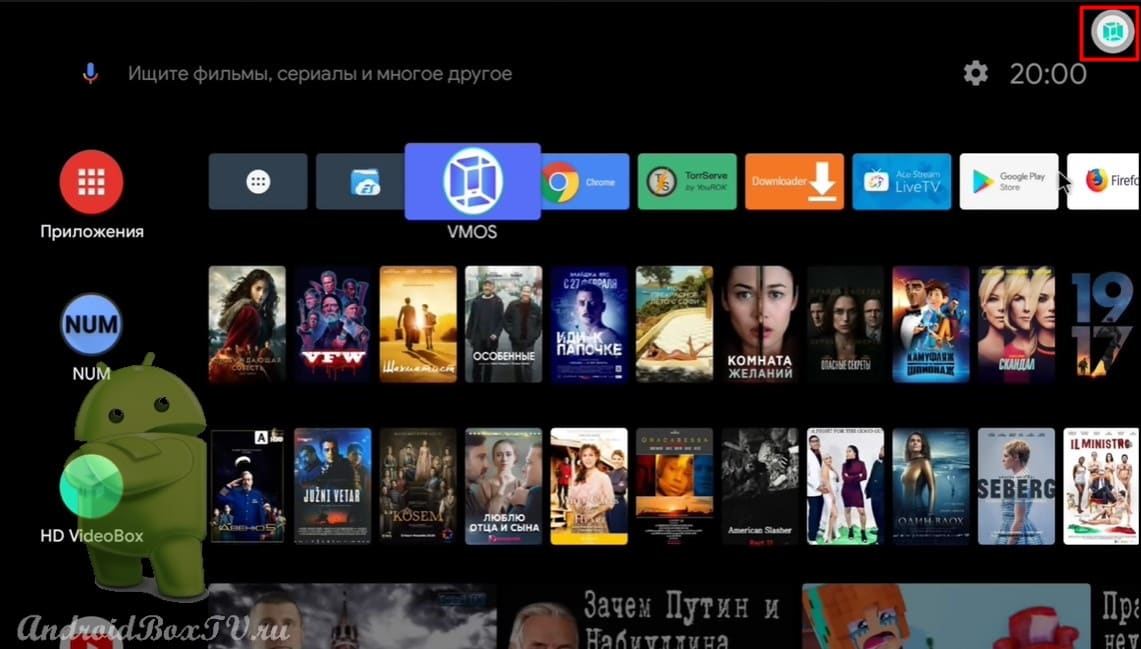
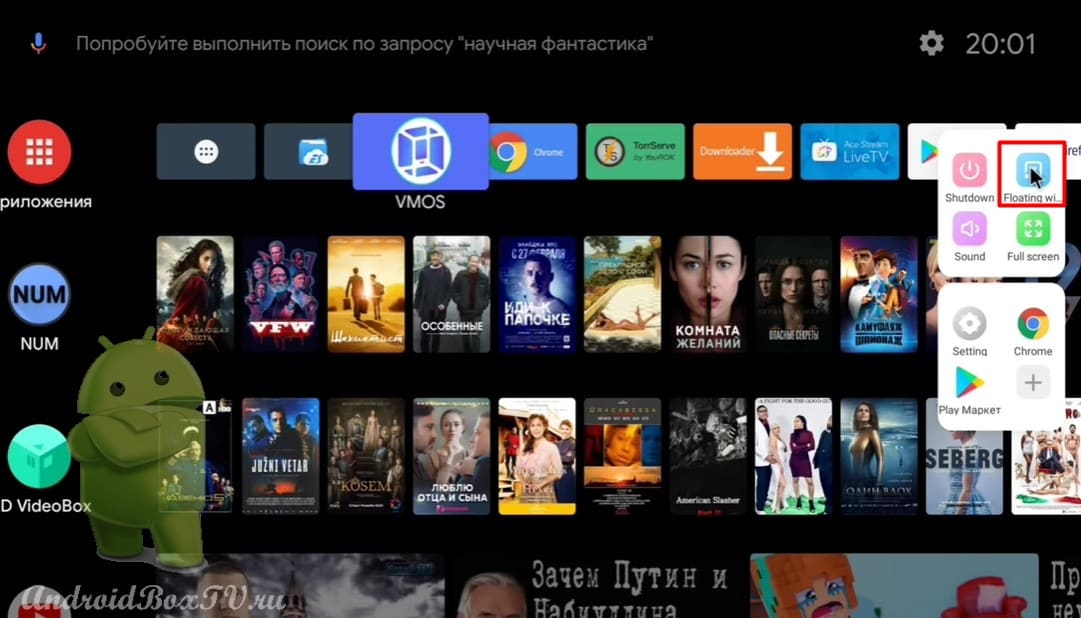
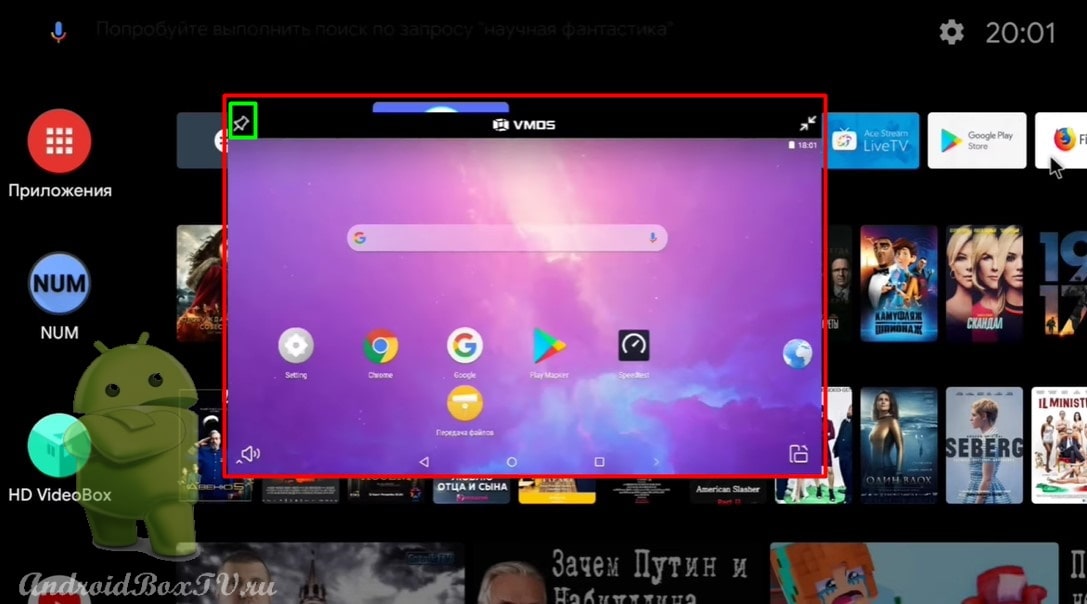
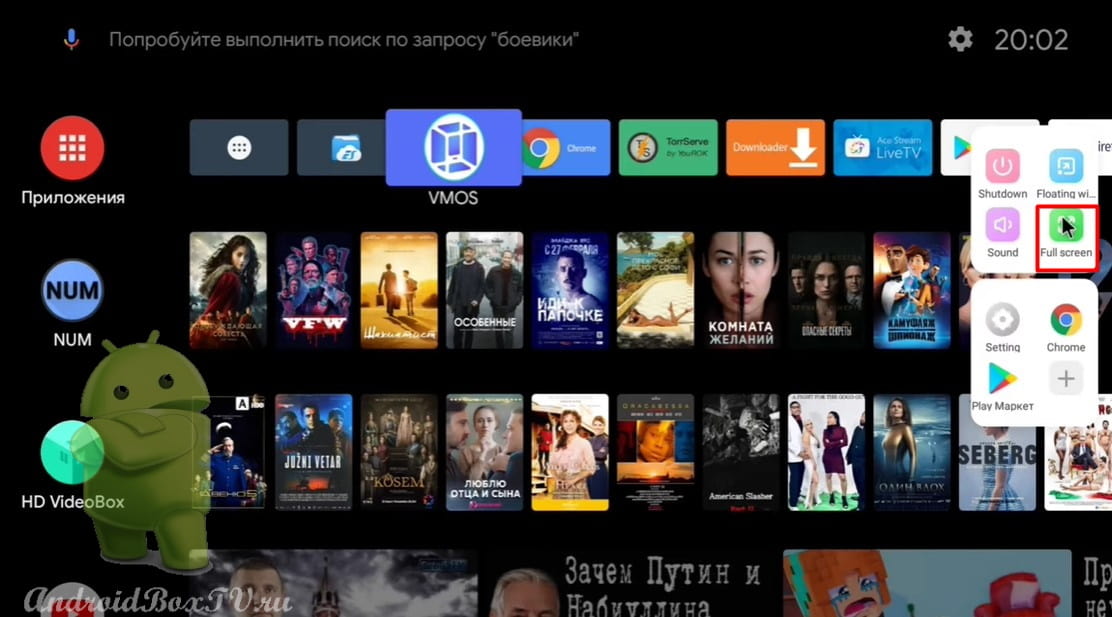
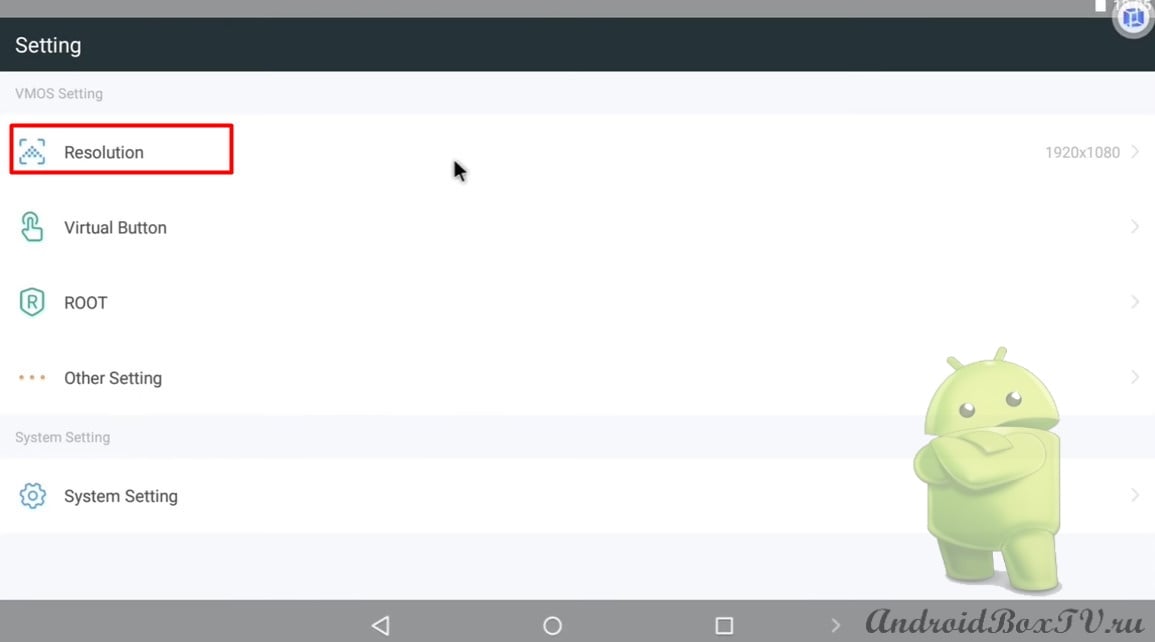
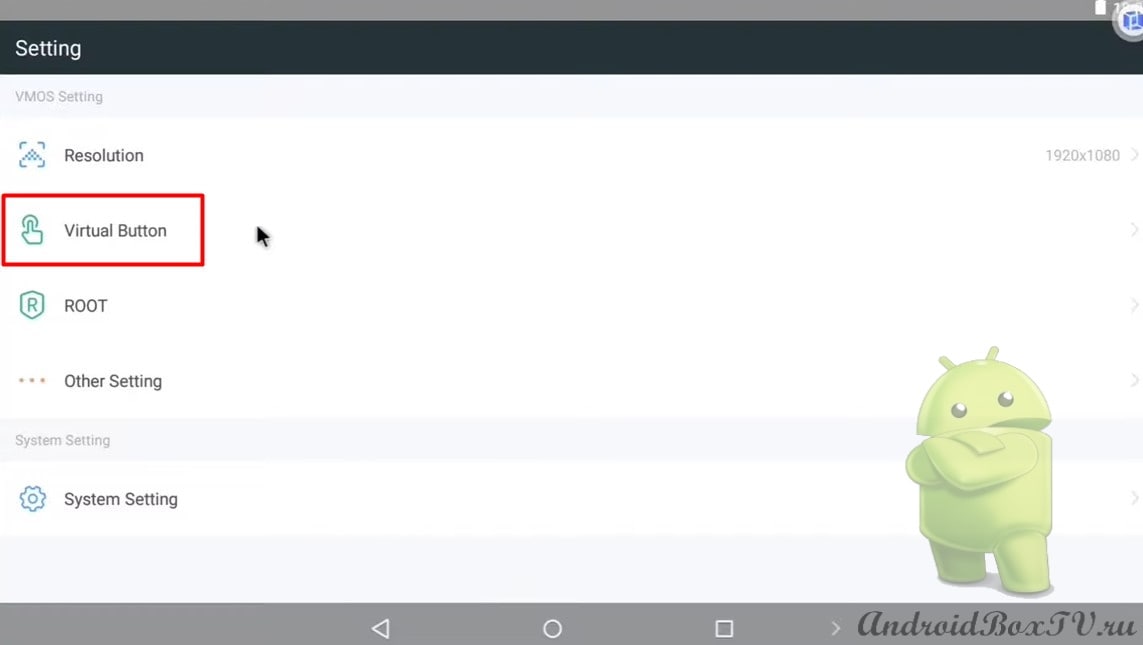
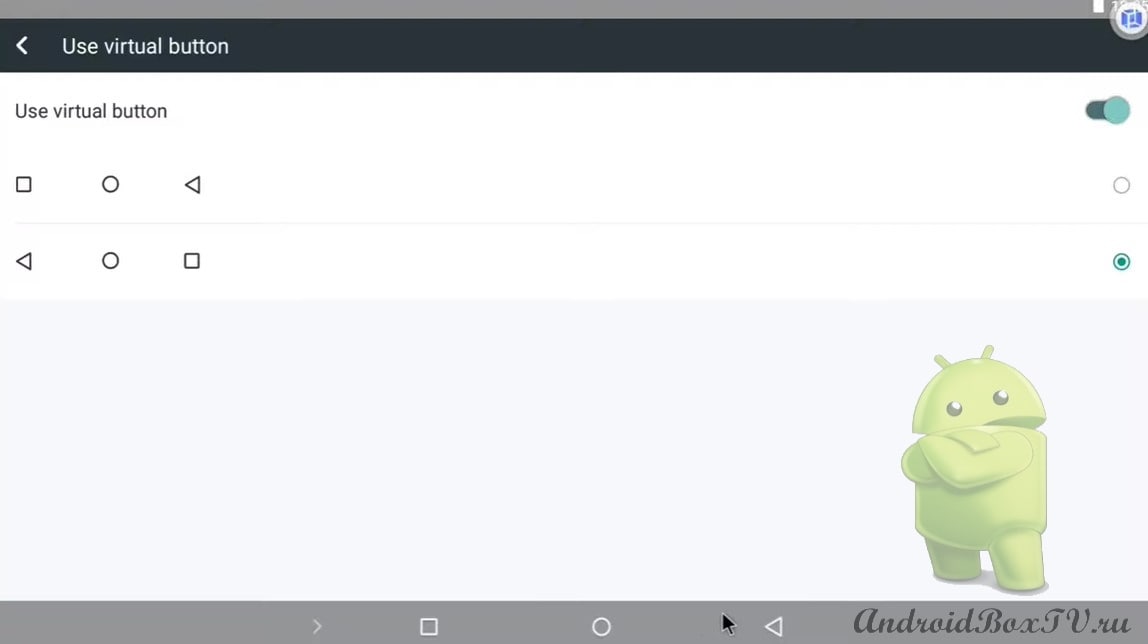
In this article, we will consider an application called “VMOS”. An additional Android 5.1 AOSP operating system is installed on the device as an application, the same as on smartphones.
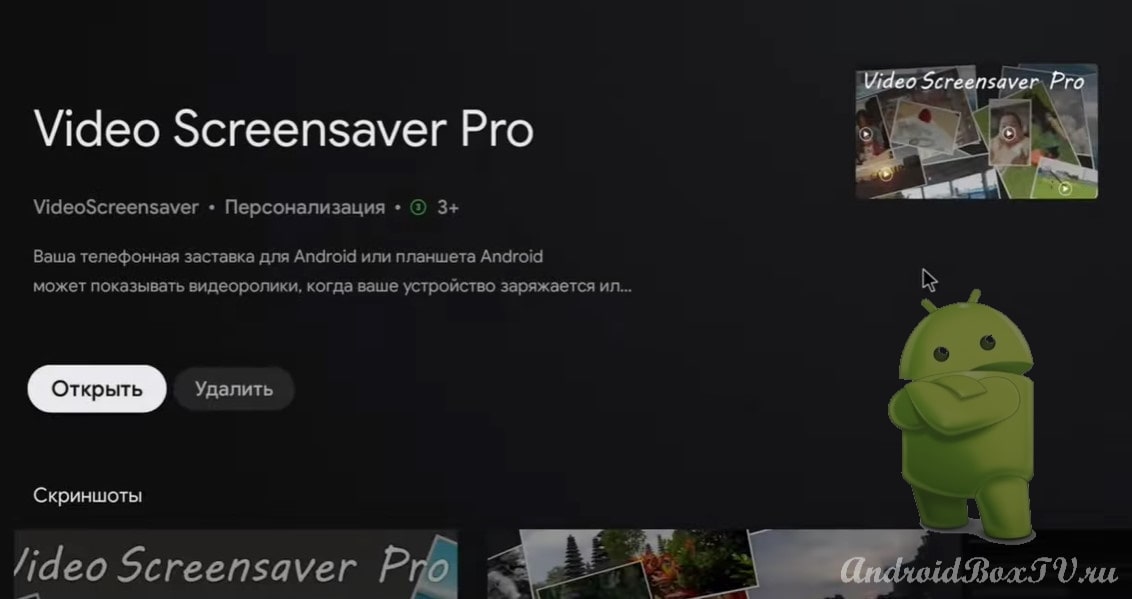
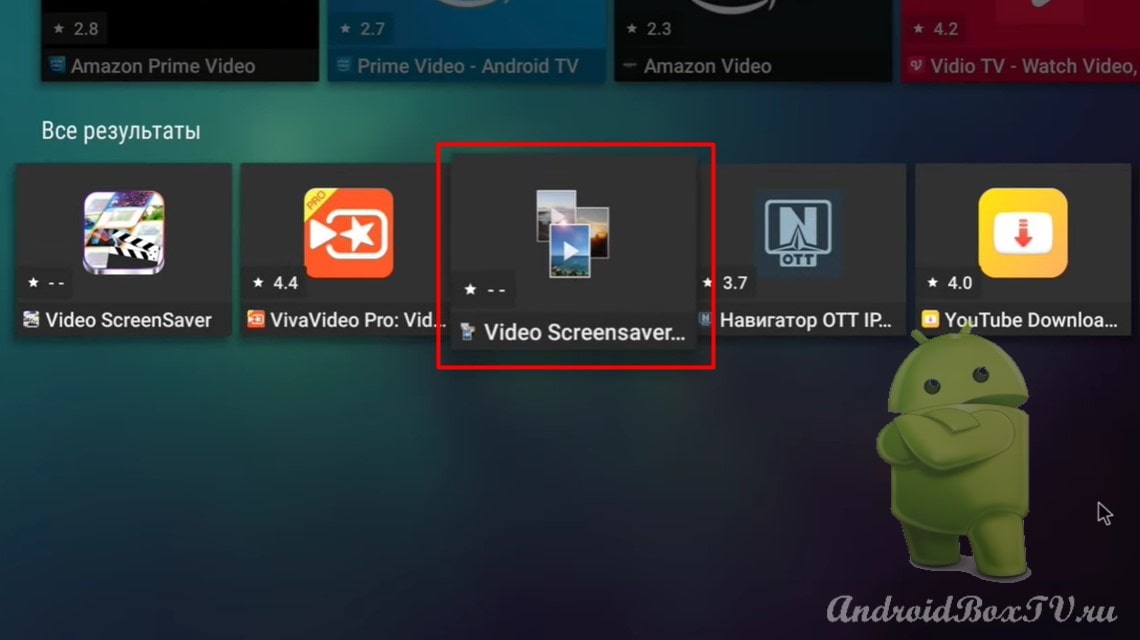
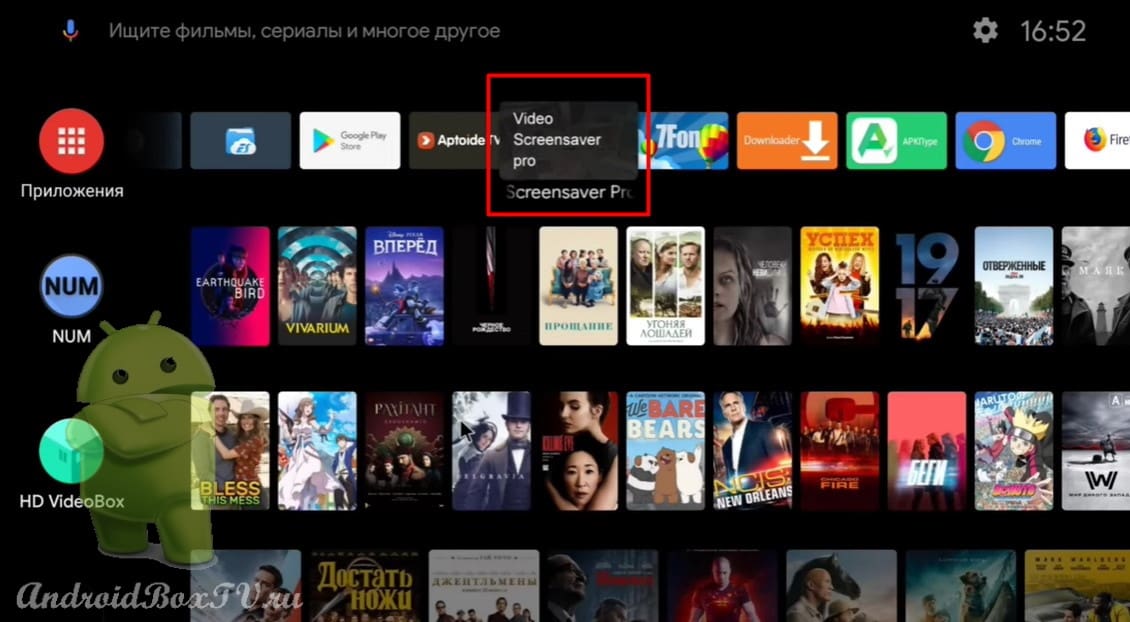
In this article, we will consider an application that creates screensavers from photos, pictures and videos that can be downloaded from the Internet, or you can use your own files. The program is called “ Video Screensaver ”.
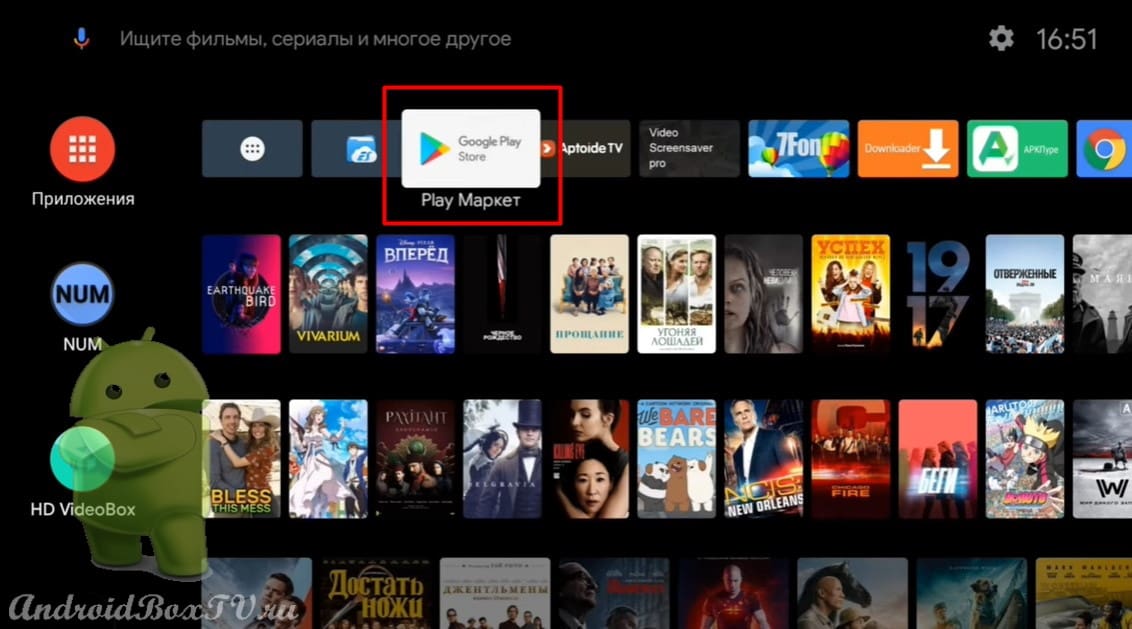
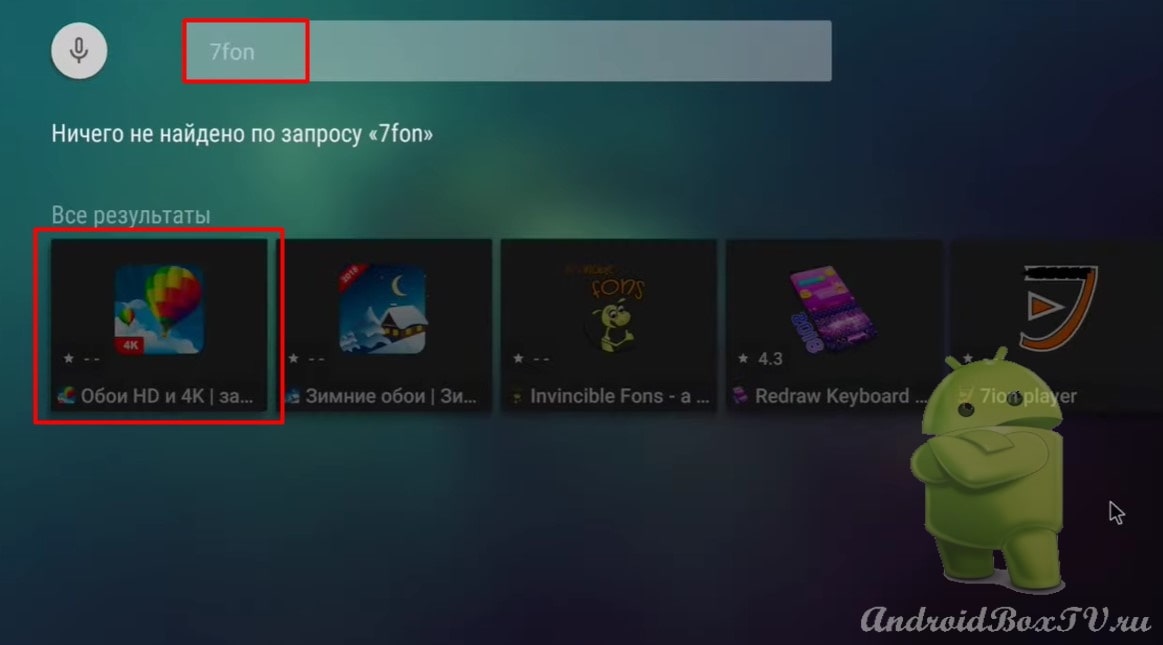
You can install this application from the Play Store . Also, install the program “Wallpapers and Screensavers 7FON”, so that later you can download pictures from there.
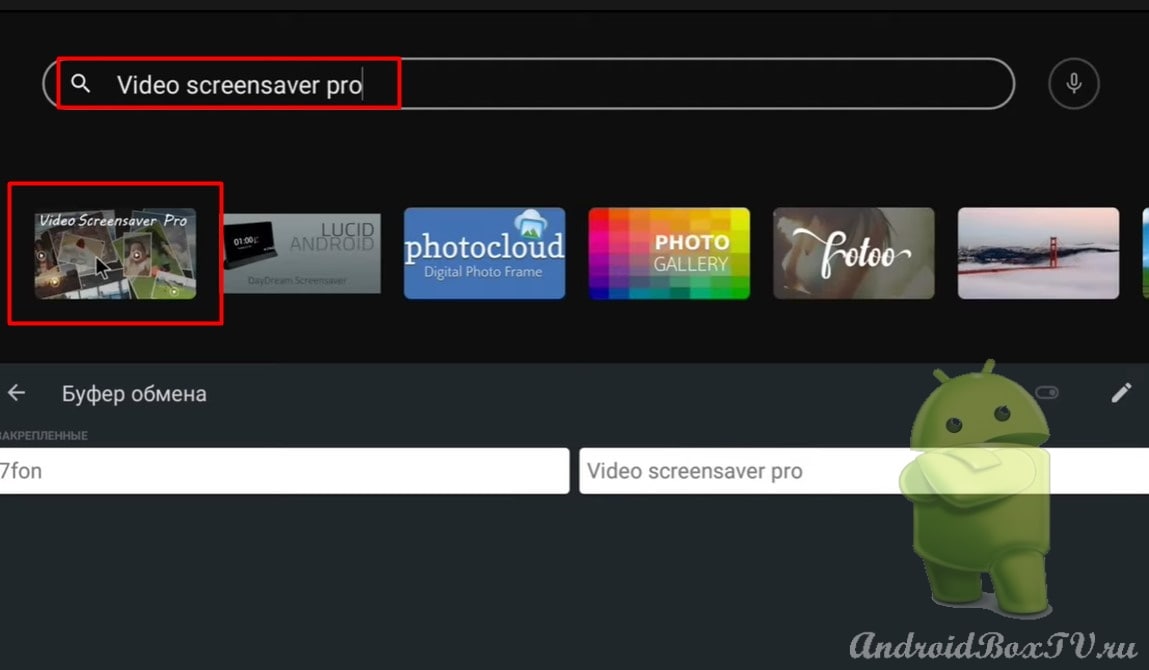
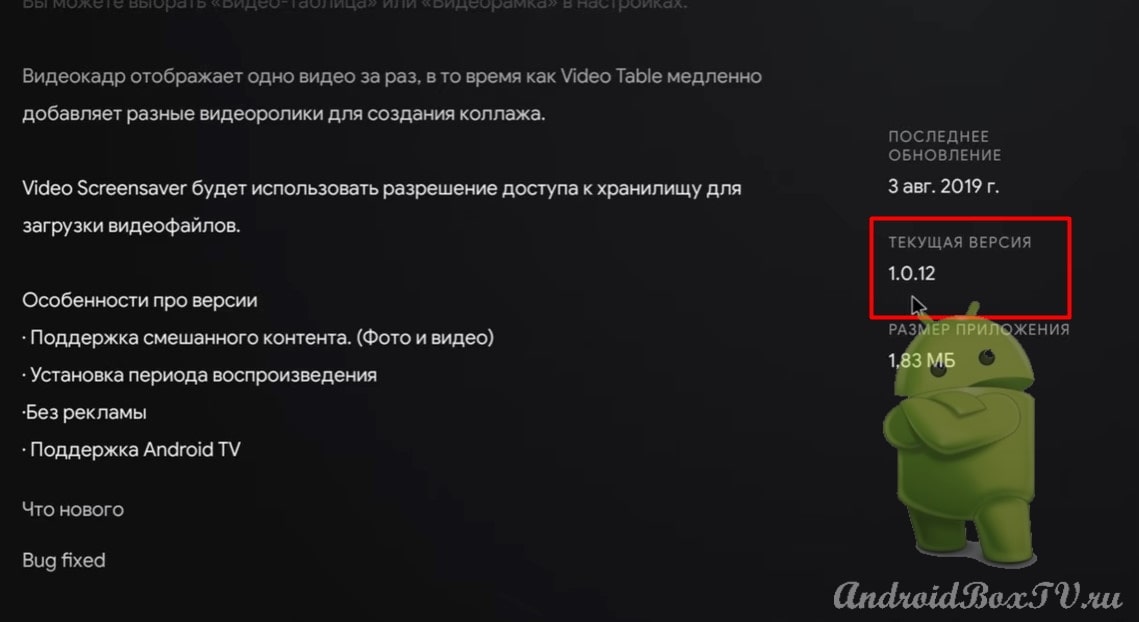
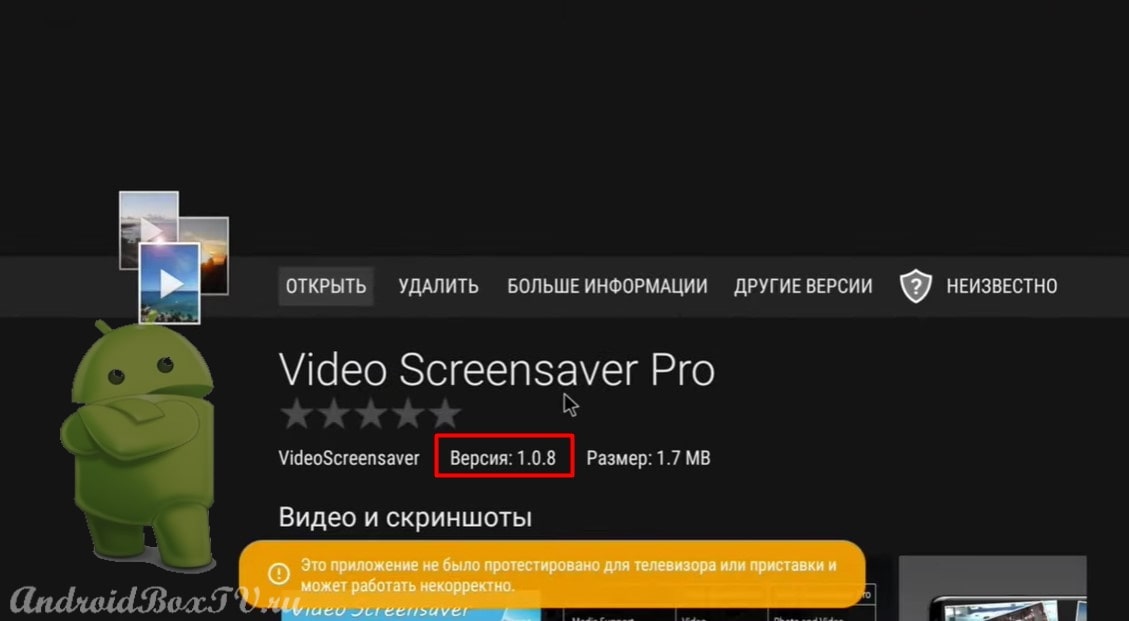
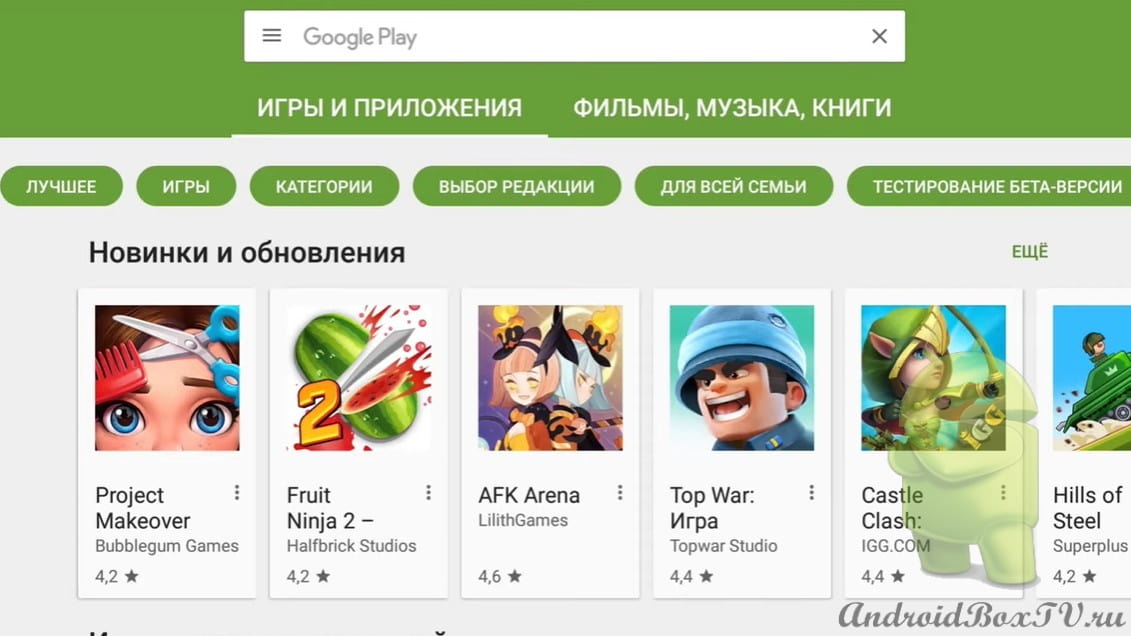
Consider the paid version of the application. We go to the Play Store and enter the name of the program in the search bar:
Version 1.0.12. If you wish, you can purchase a paid version, if you don’t like it, you can refuse and the money will be returned to the card:
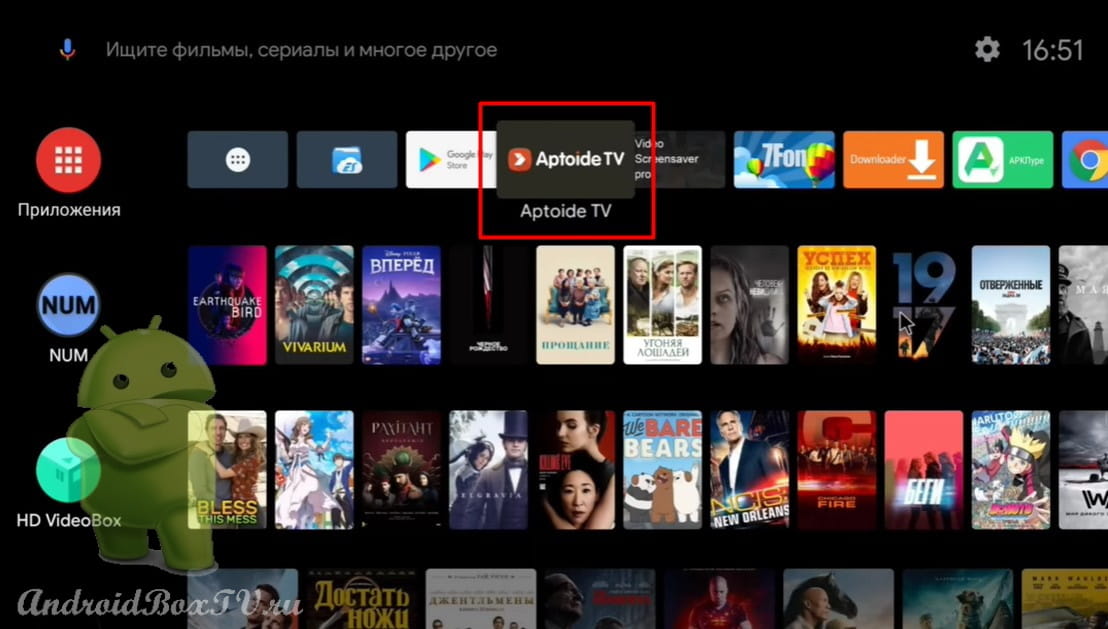
Now let's take a look at the free version of this app in "Aptoide TV". For those who have not installed this app store, follow the link - Aptoide TV.
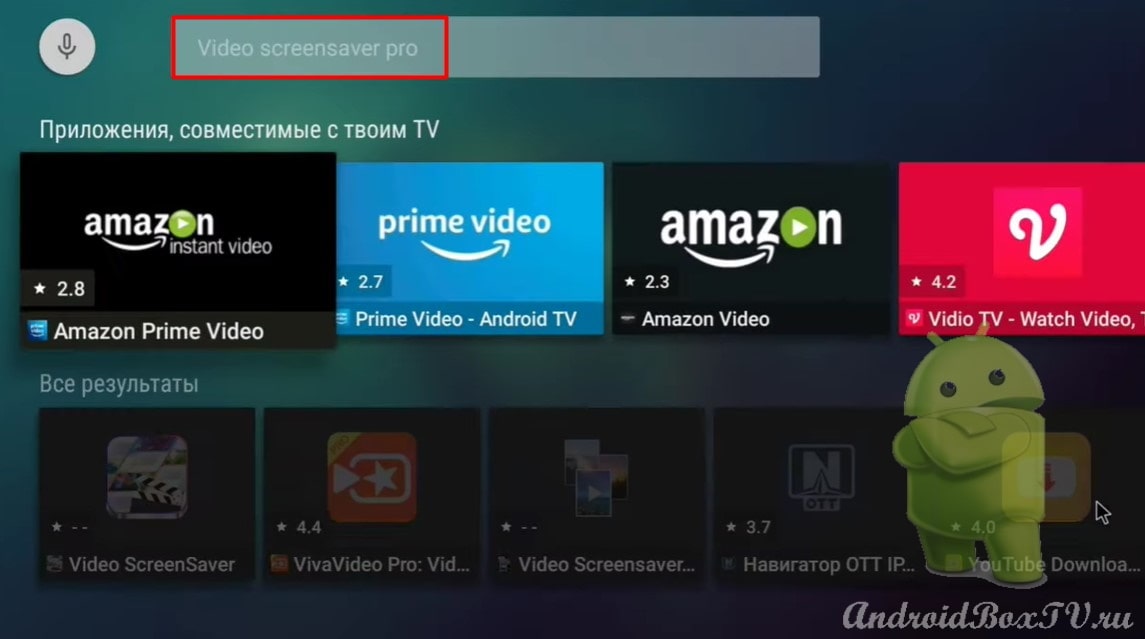
We go to “Aptoide TV” and in the search bar we type the name of the application:
Version 1.08:
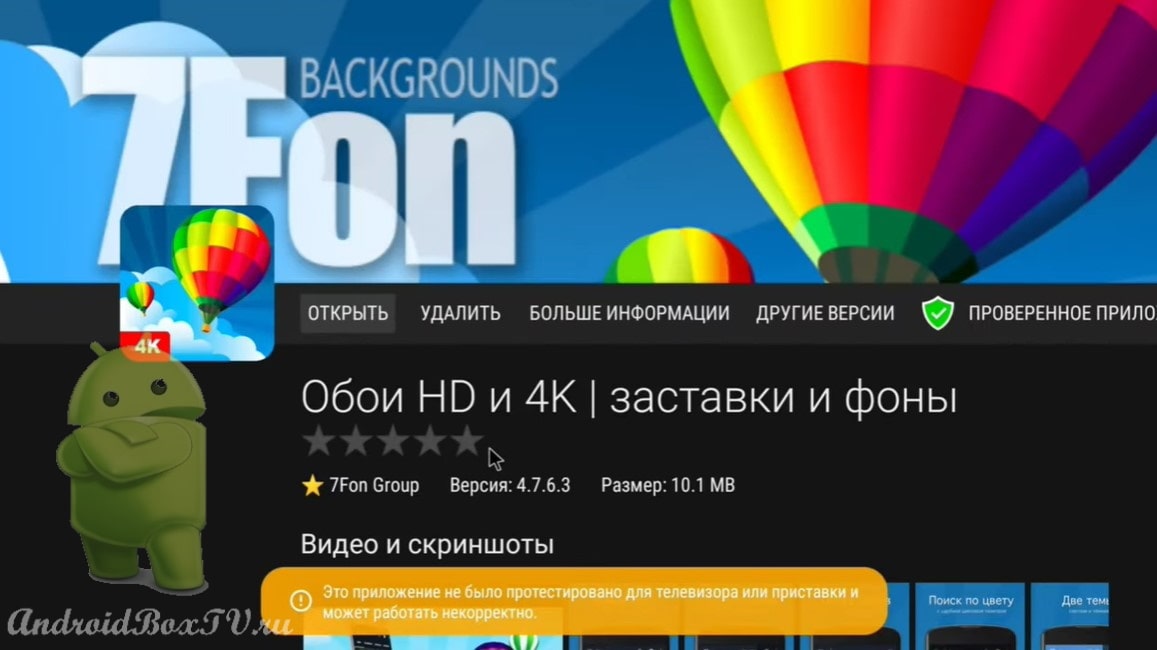
Now install the "Wallpapers and Screensavers" program. In the search, we type “7FON”:
Open and install:
Next, open the applicationVideo Screensaver” :
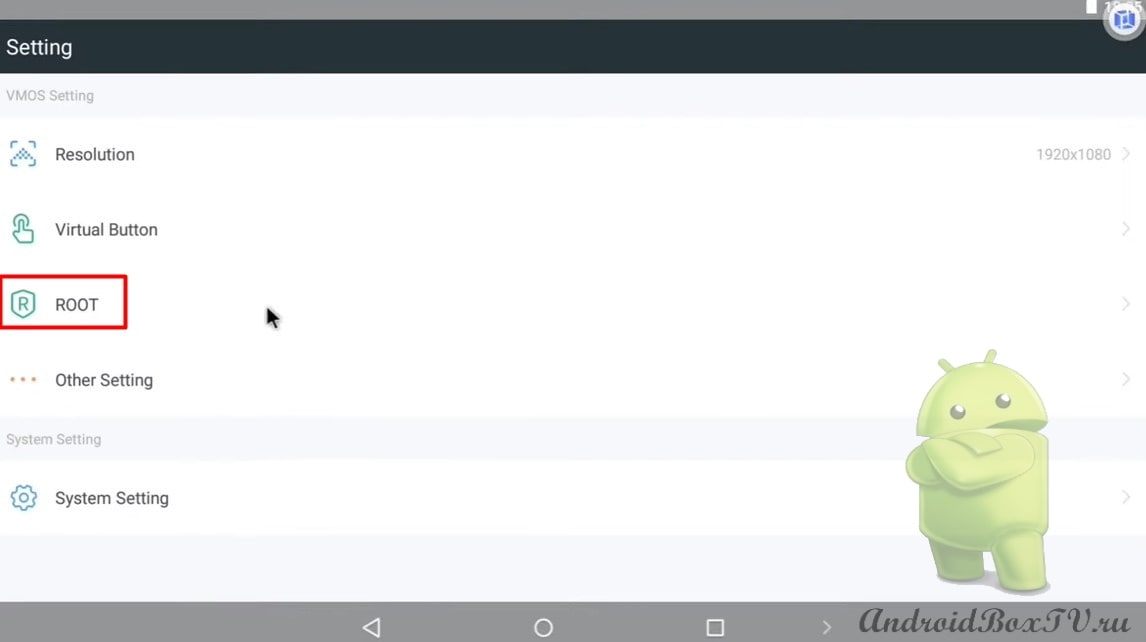
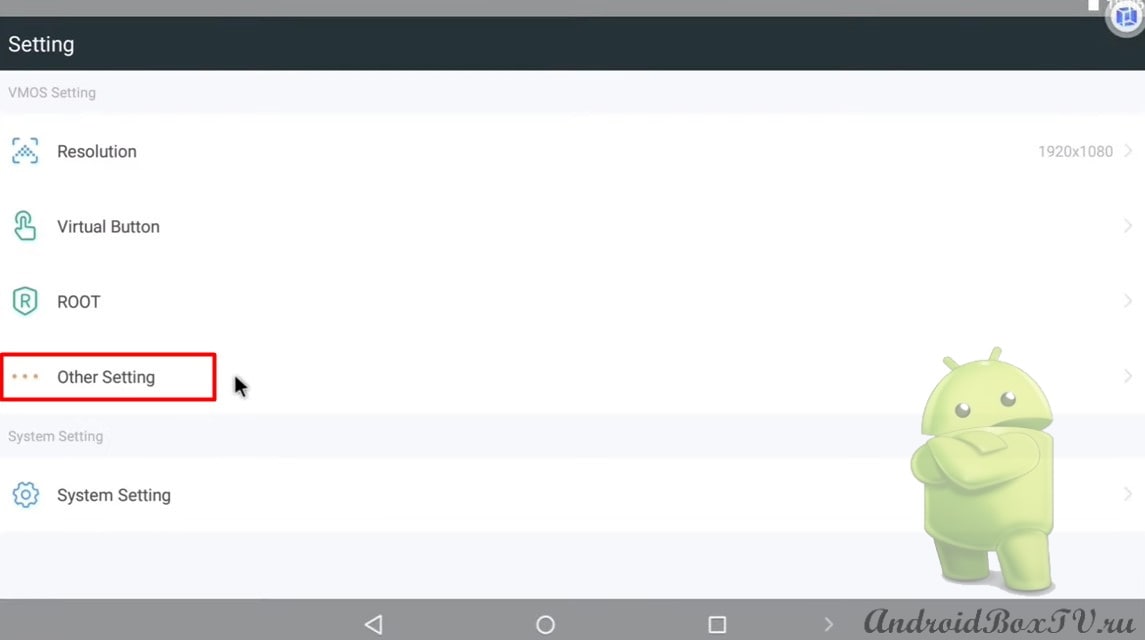
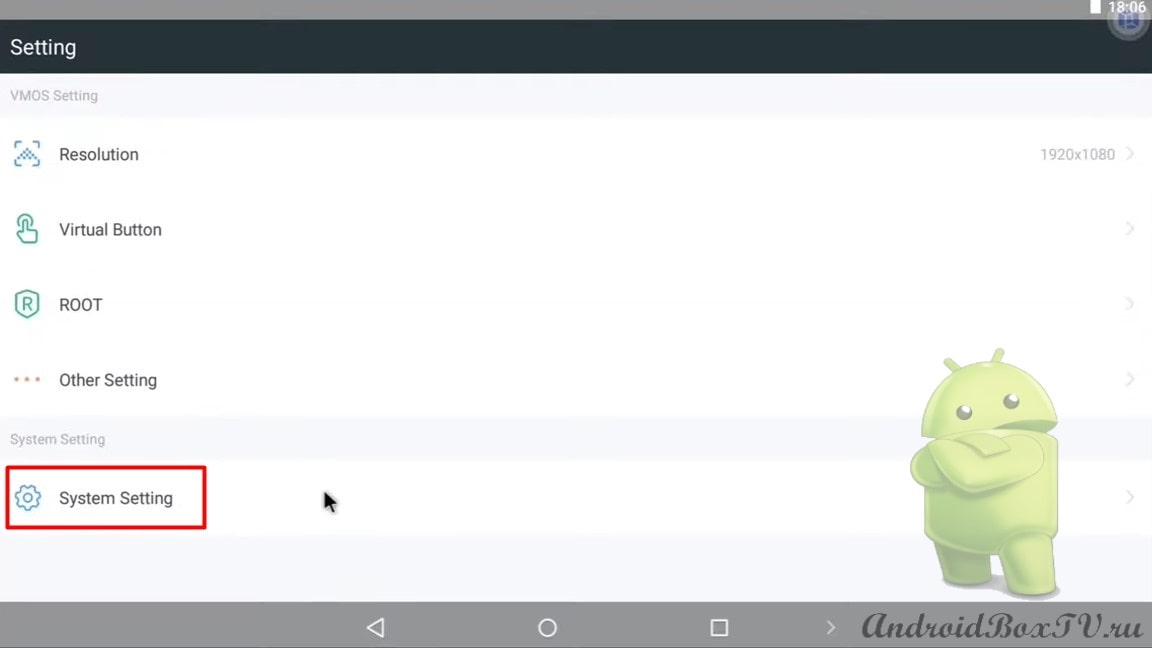
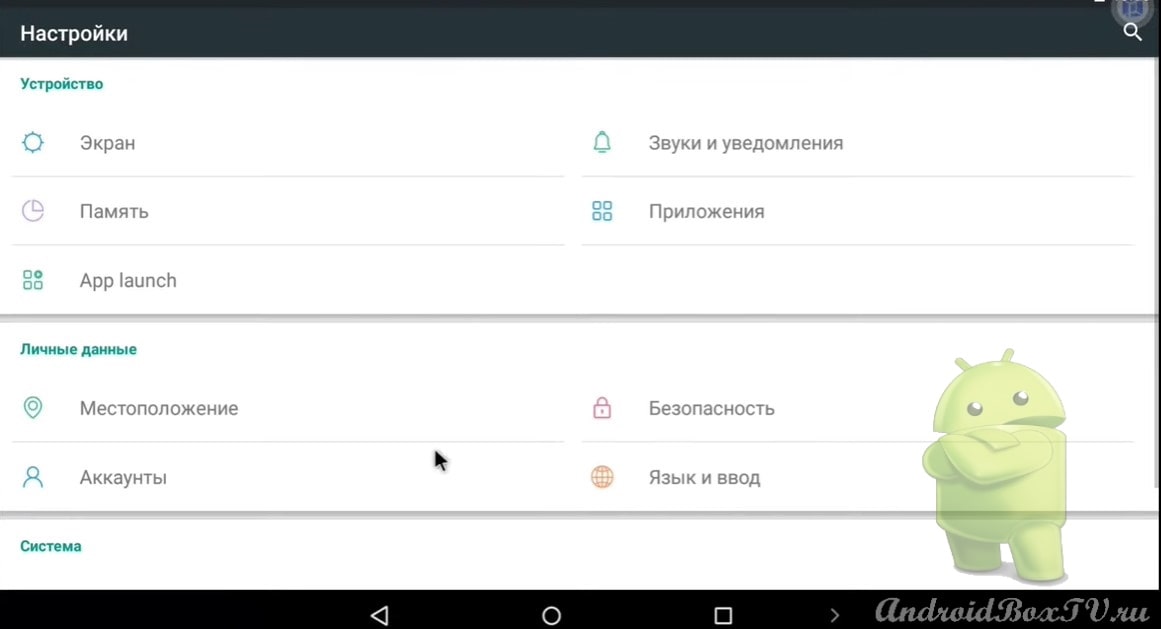
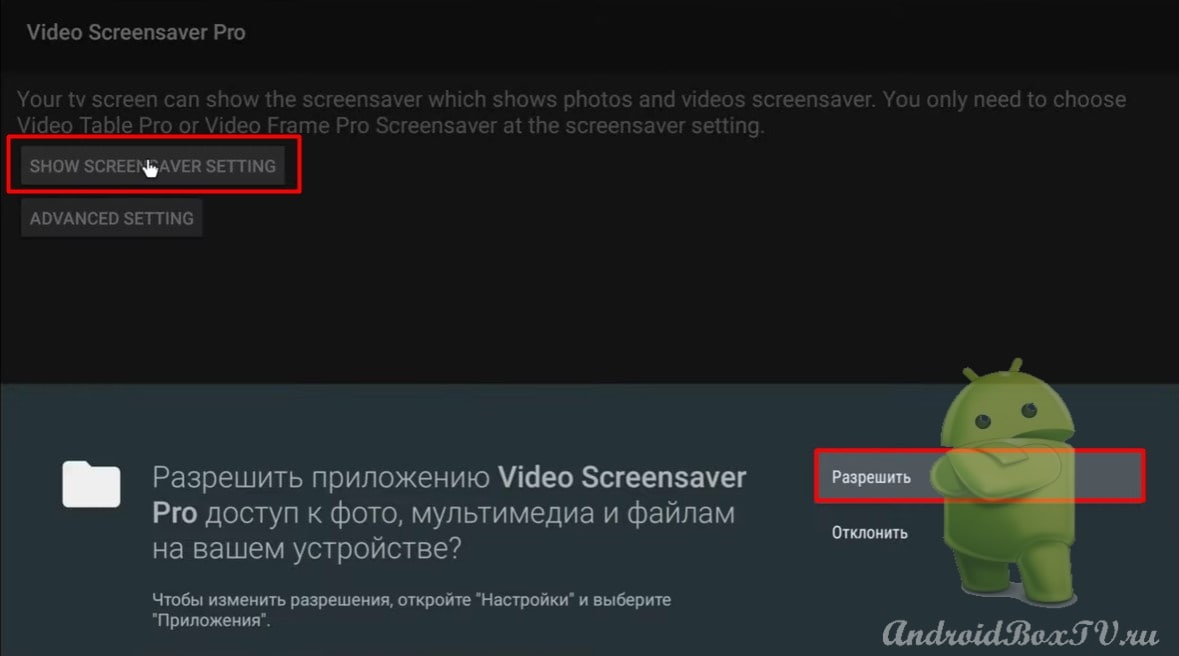
Here you can get into the device settings:
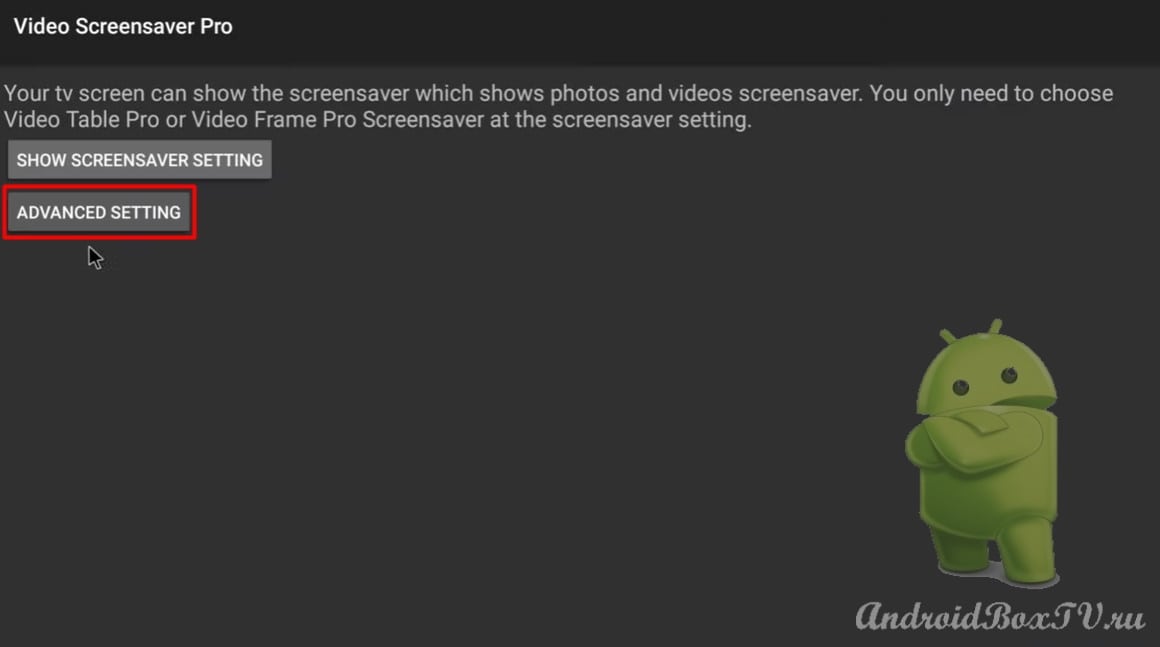
We go to the application settings:
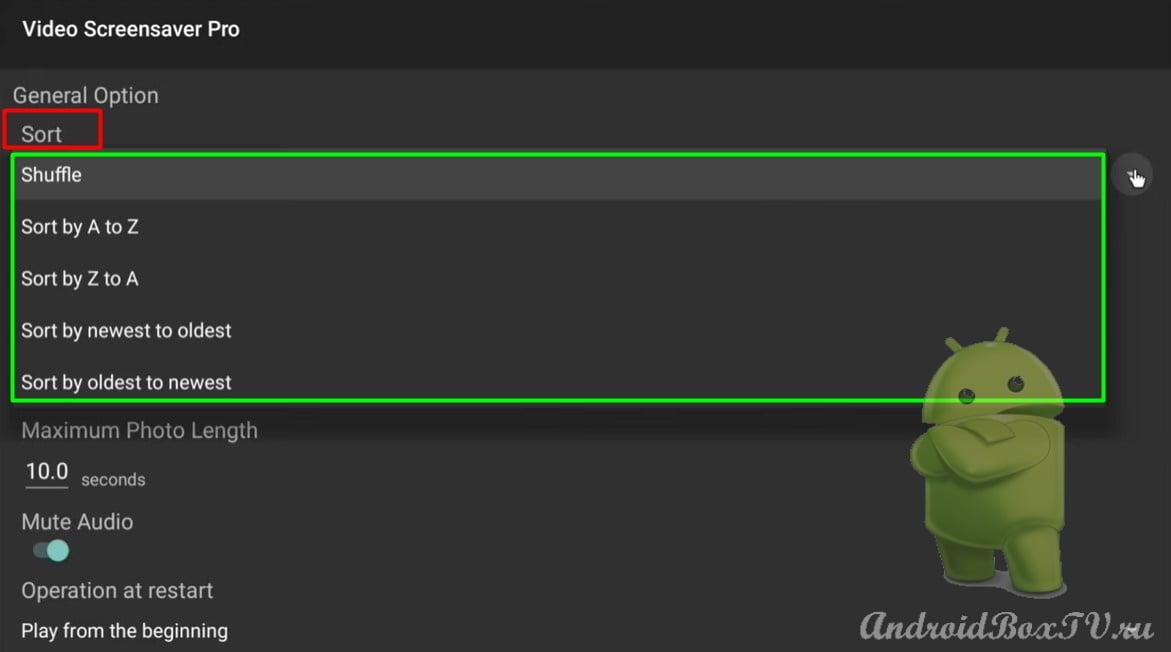
In the settings you can sort files:
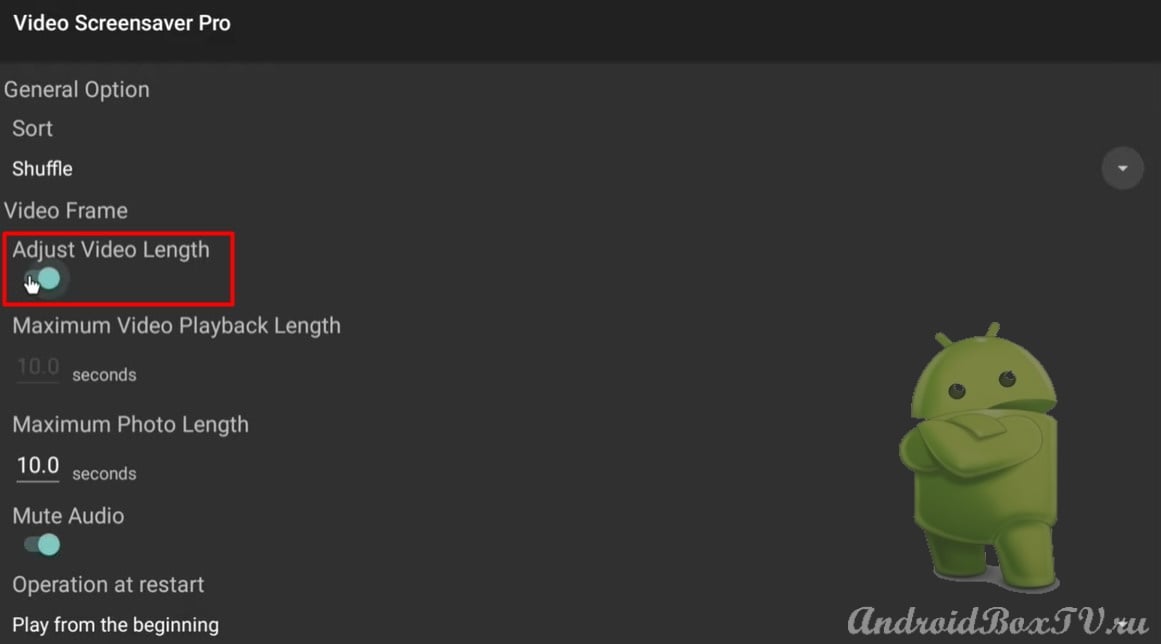
Turning on “Adjust Video Length”:
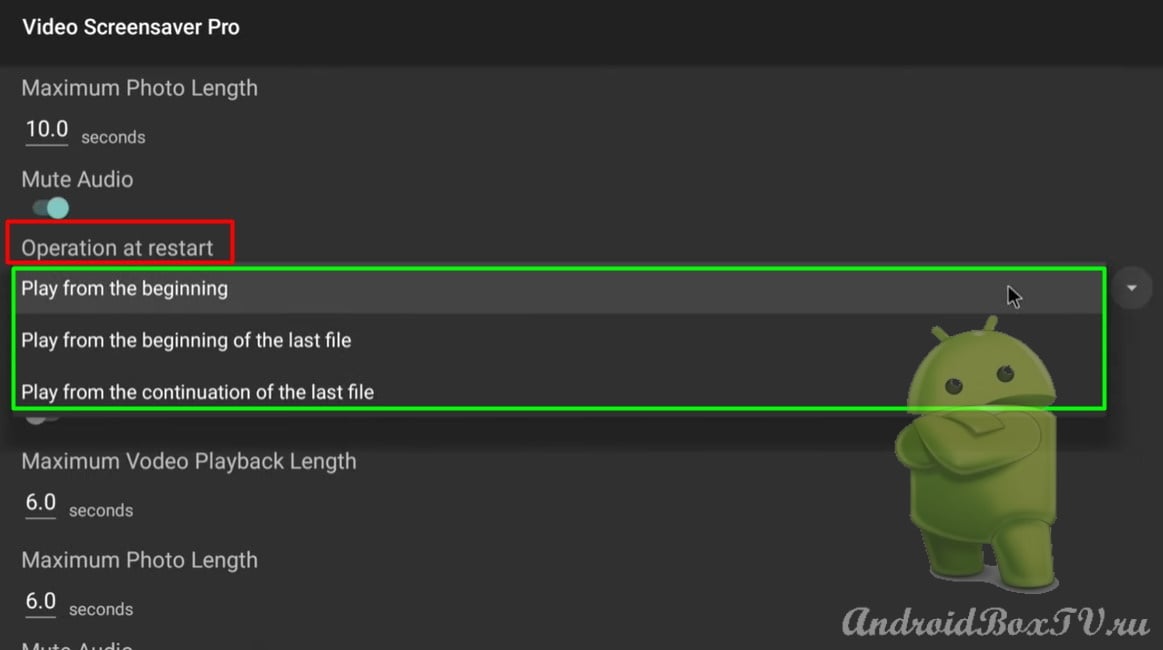
Reboot operations section:
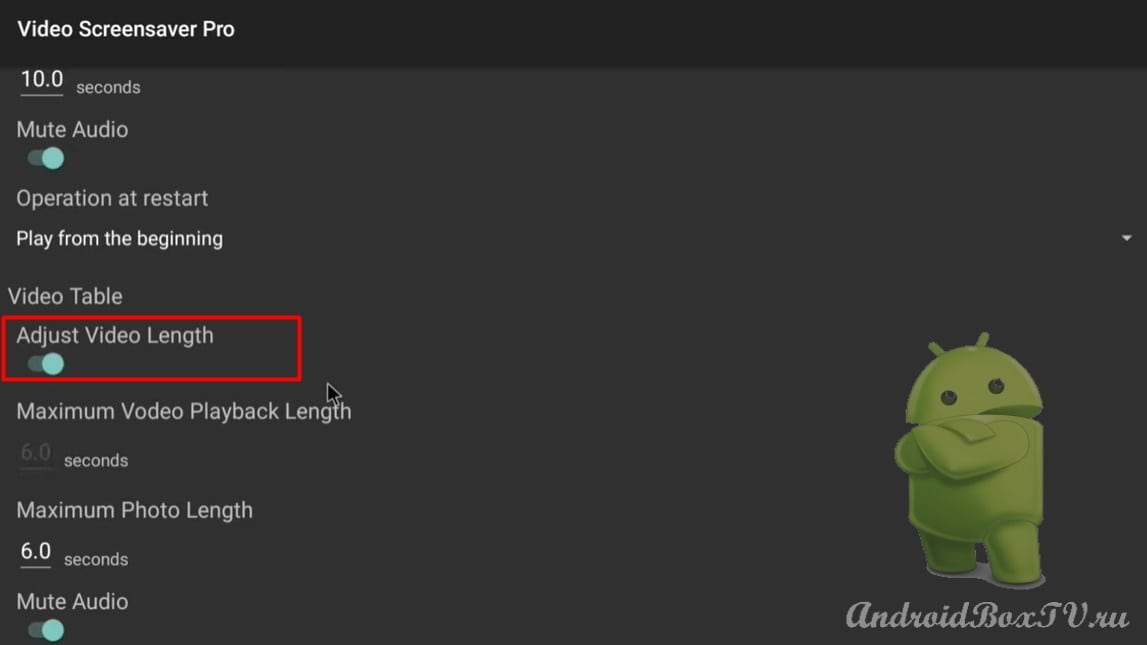
Turn on "video table”:
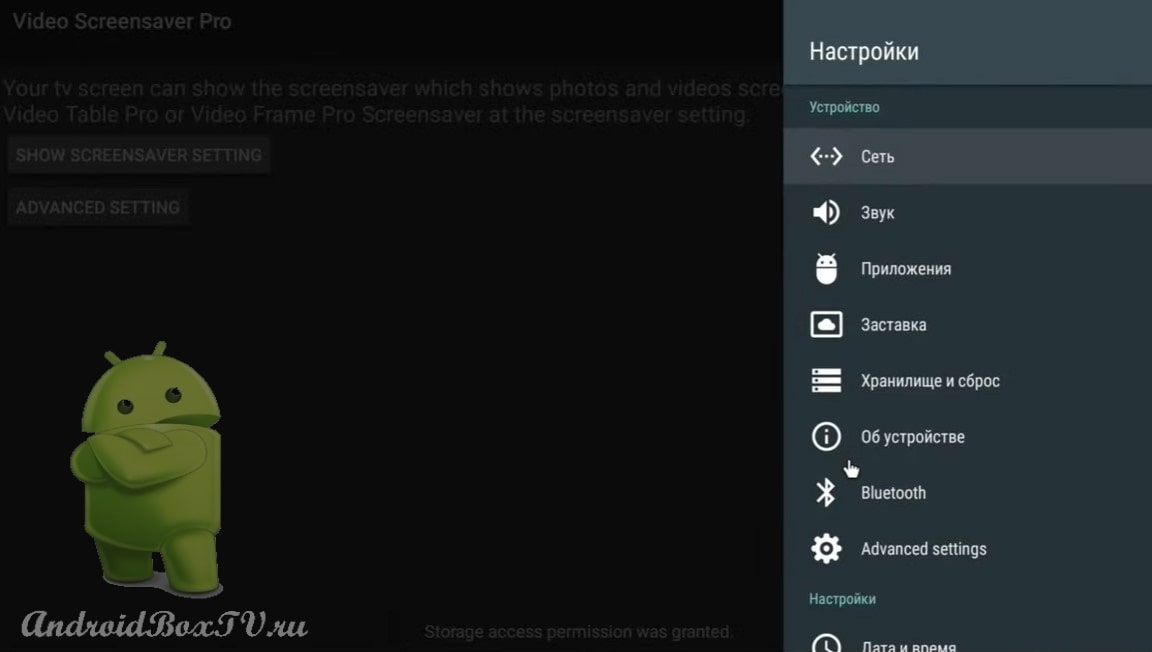
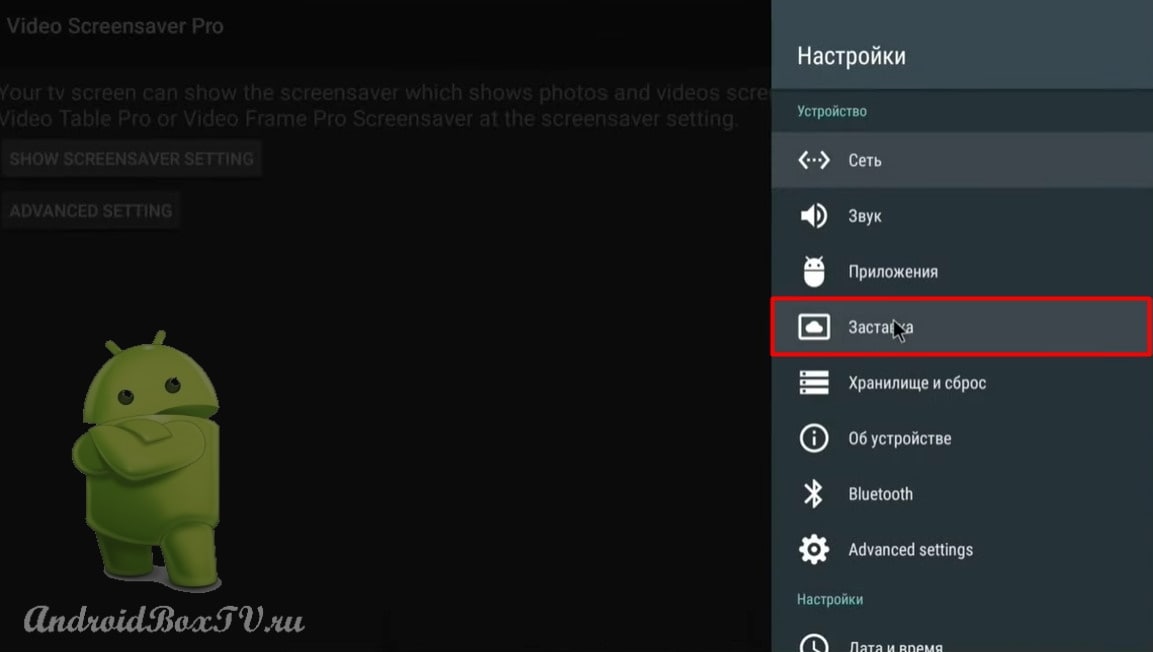
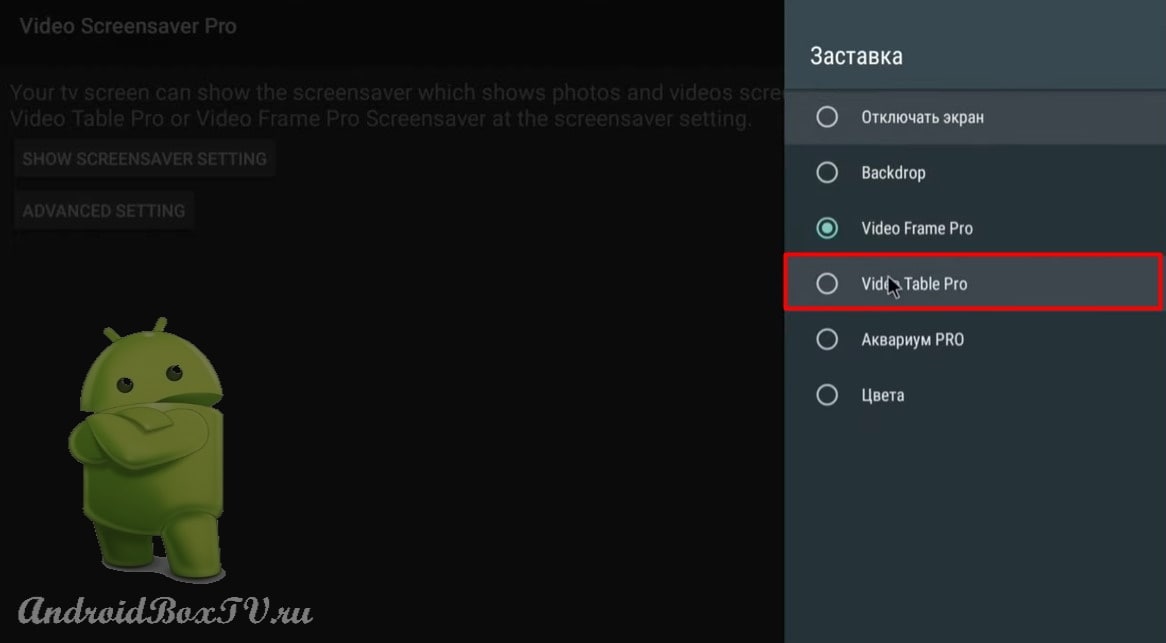
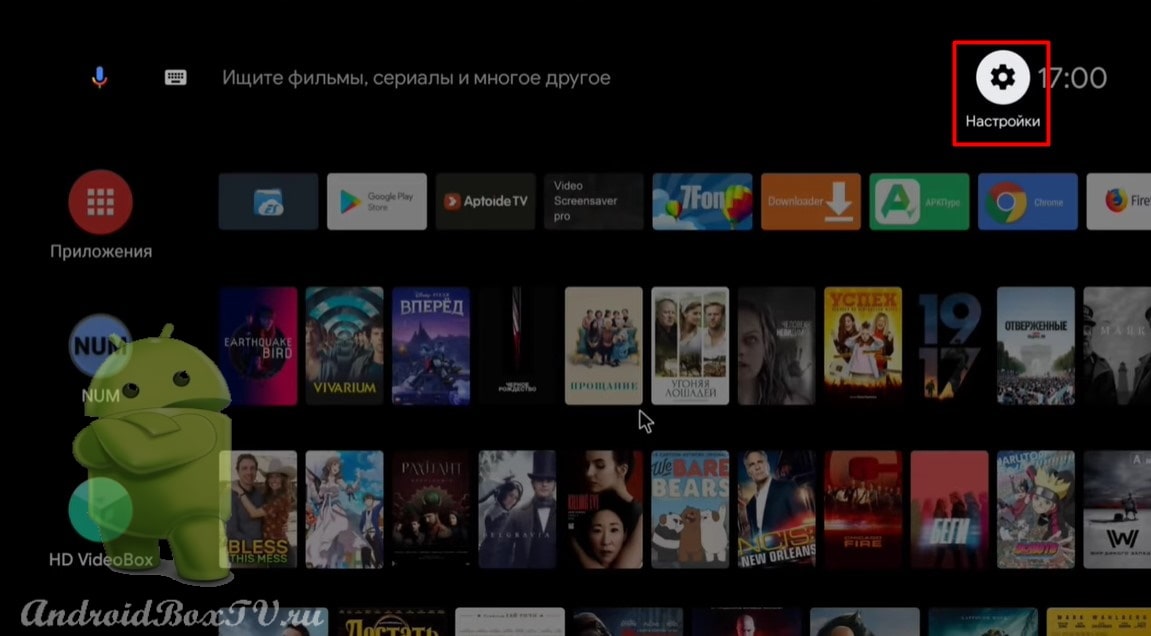
Open the device settings and select the “Screensaver” section:
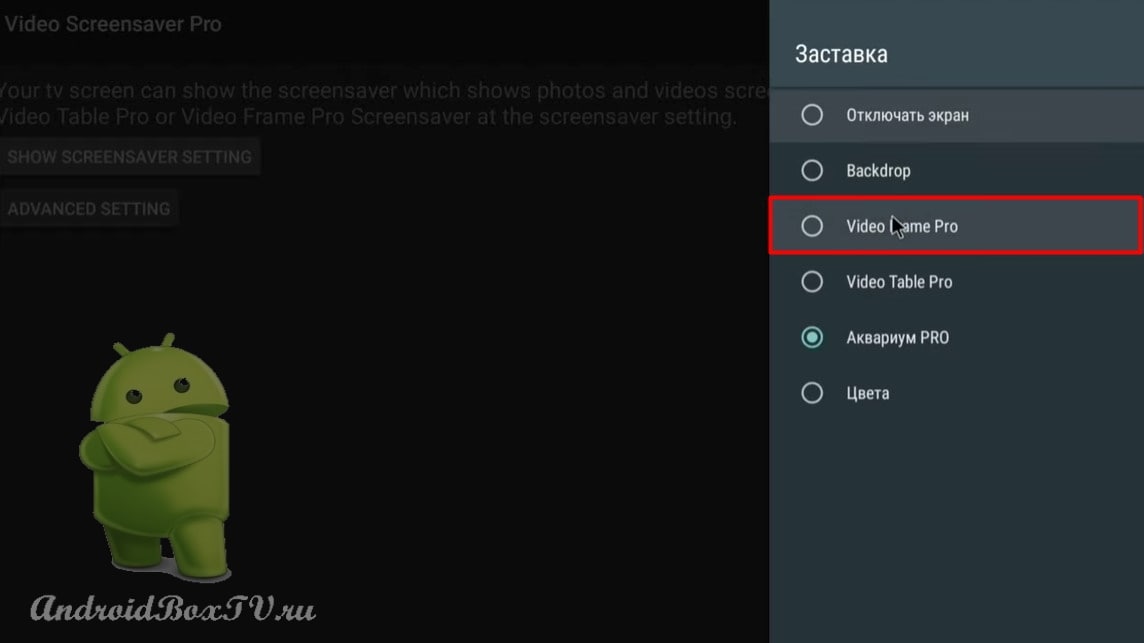
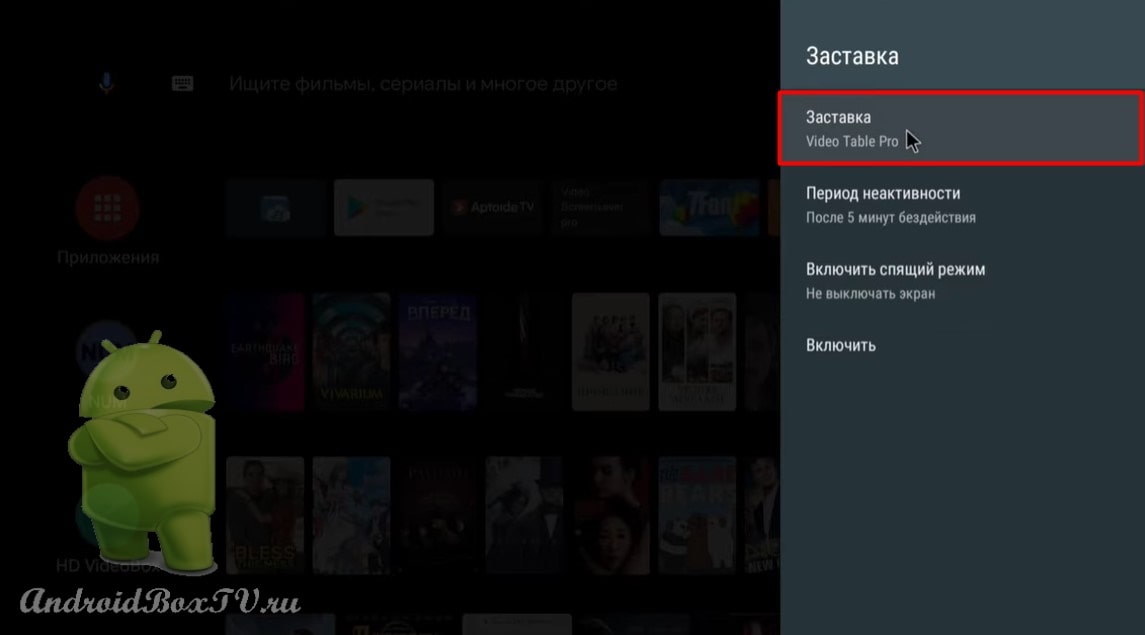
Open Screensaver and selectVideo Frame Pro”:
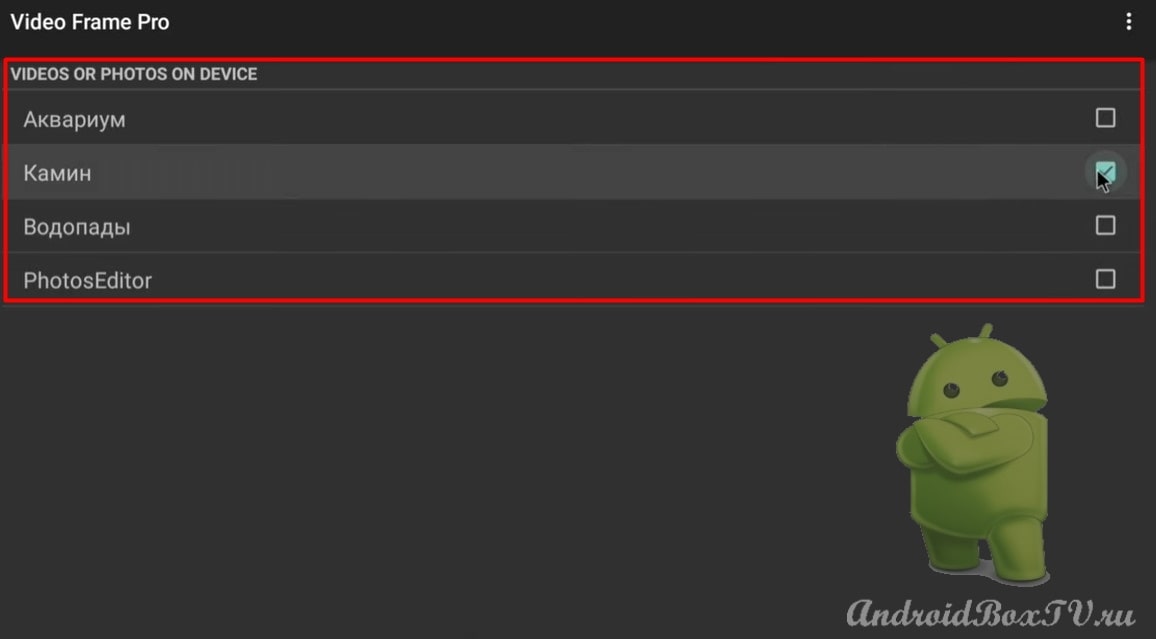
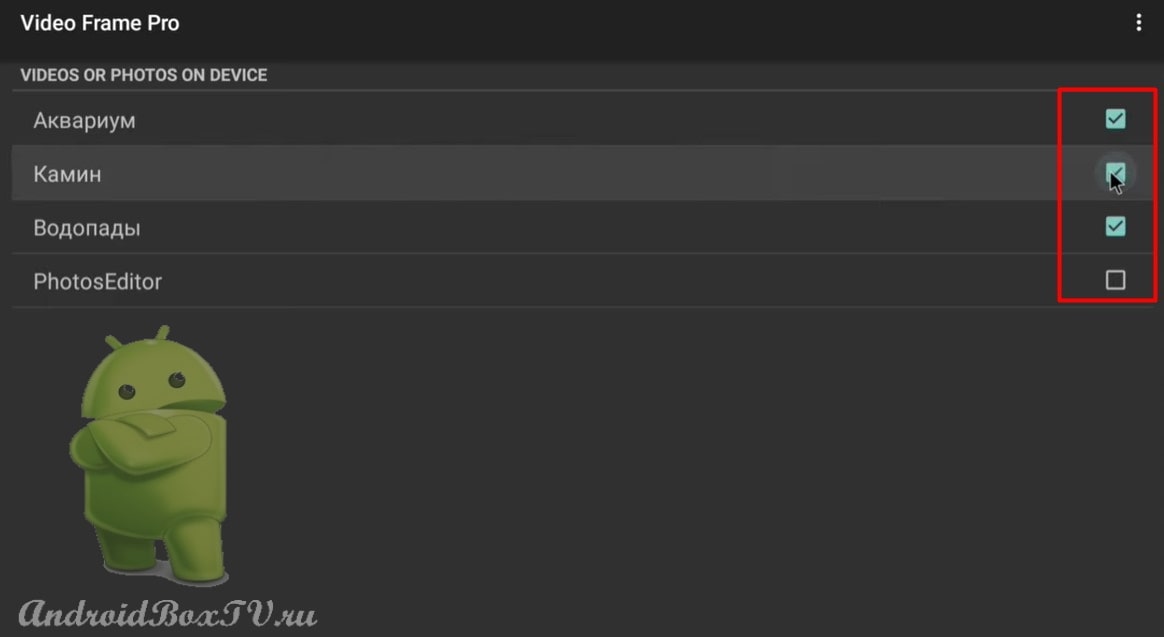
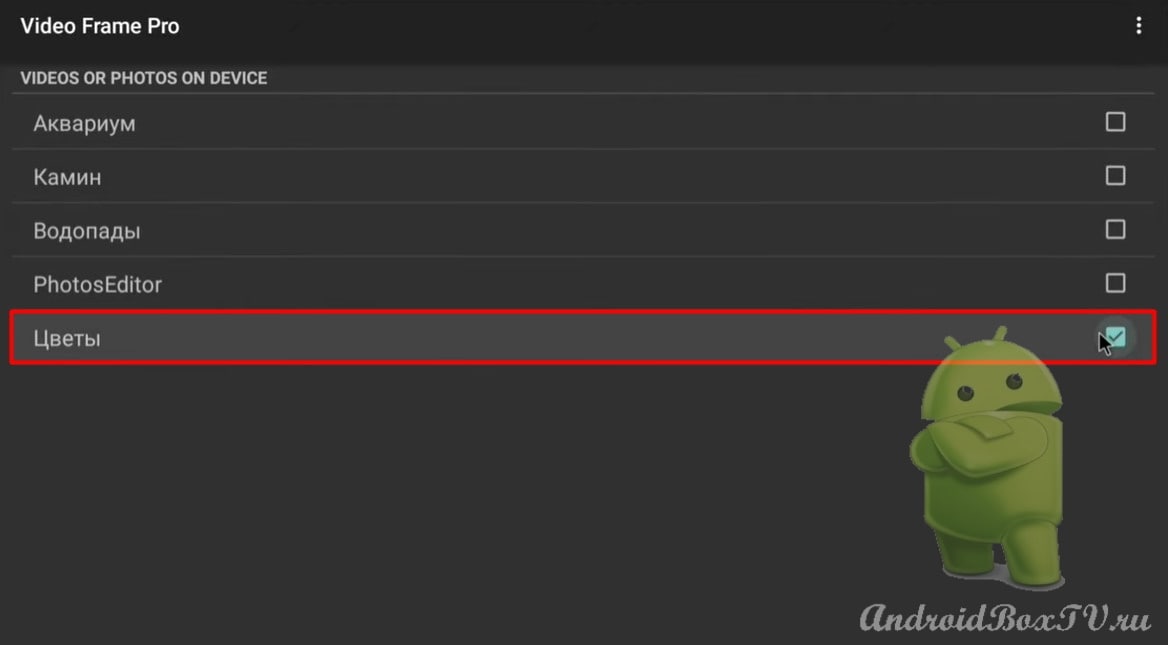
We see the files that are on the device:
Also, you can store files on a USB flash drive so as not to occupy the device's memory.
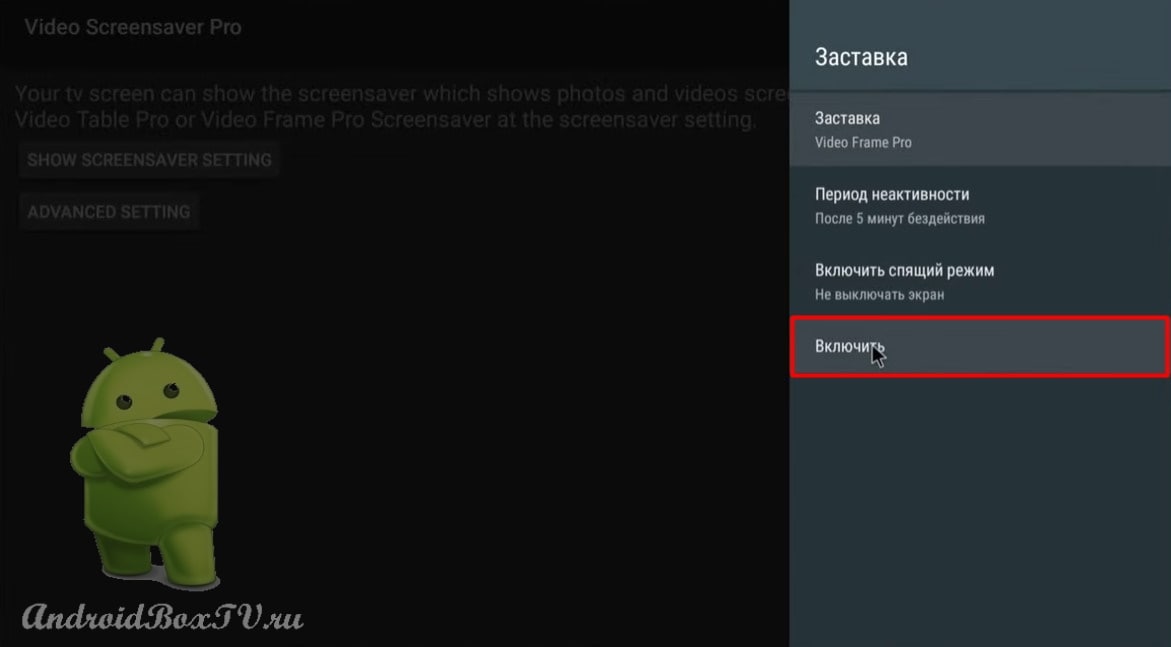
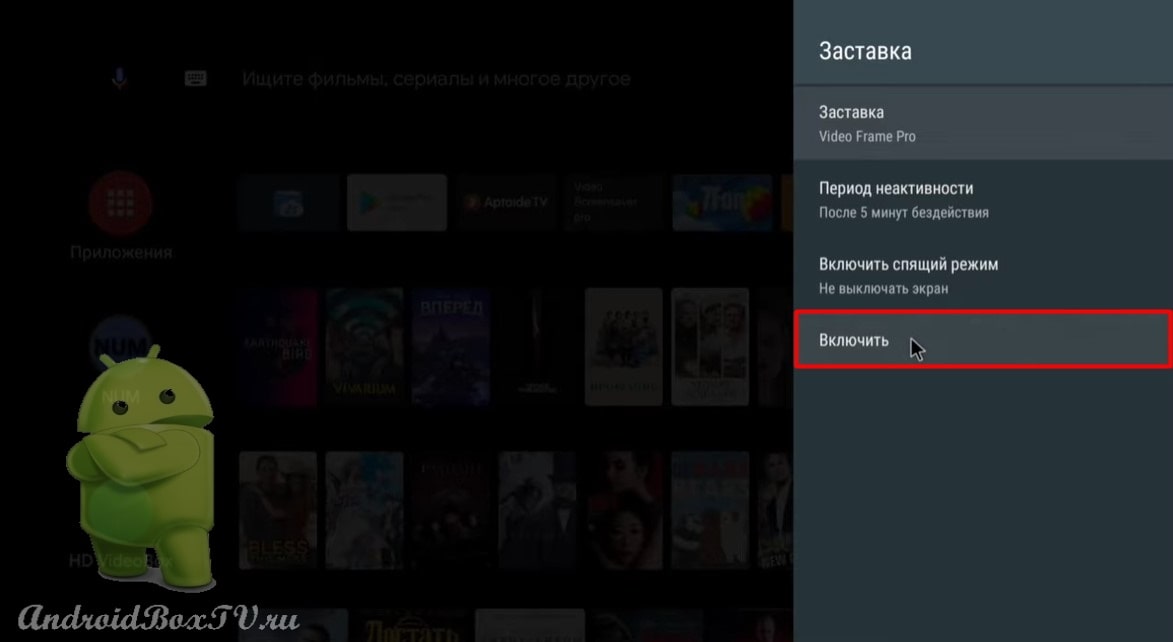
Select, for example, “Waterfalls” and click “Enable”:
This is what it looks like:
The frequency of changing pictures can be changed in the settings. Also, you can mark all files and everything will be played in turn.
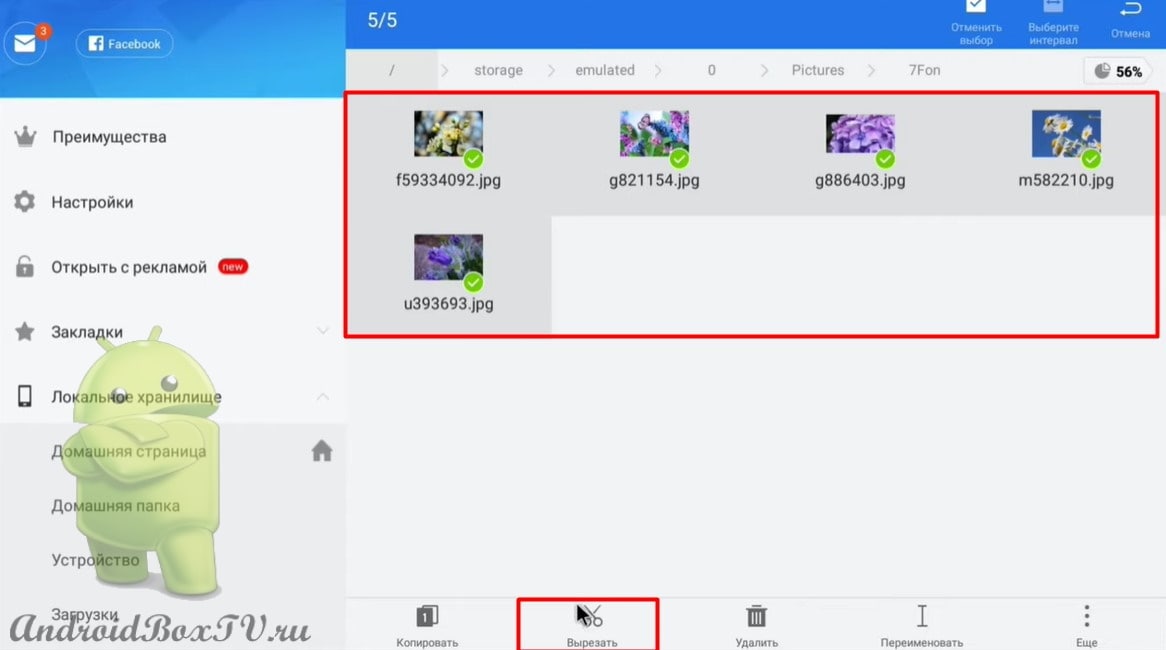
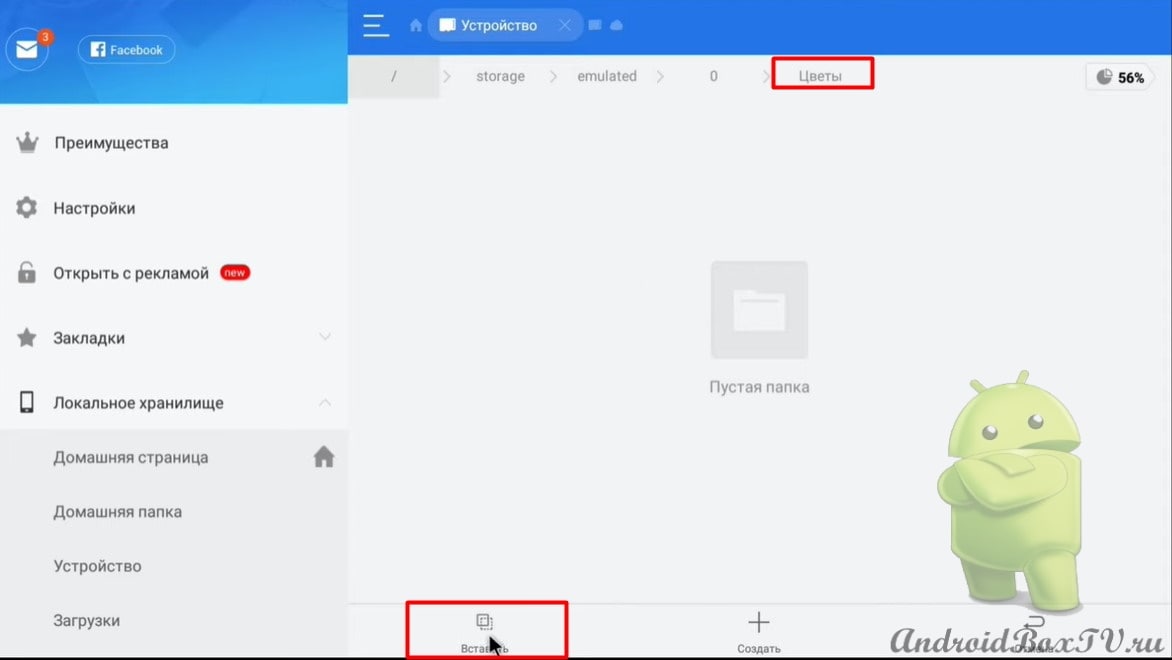
Switch to “ Video Table Pro ” and select the desired files:
This is what it looks like:
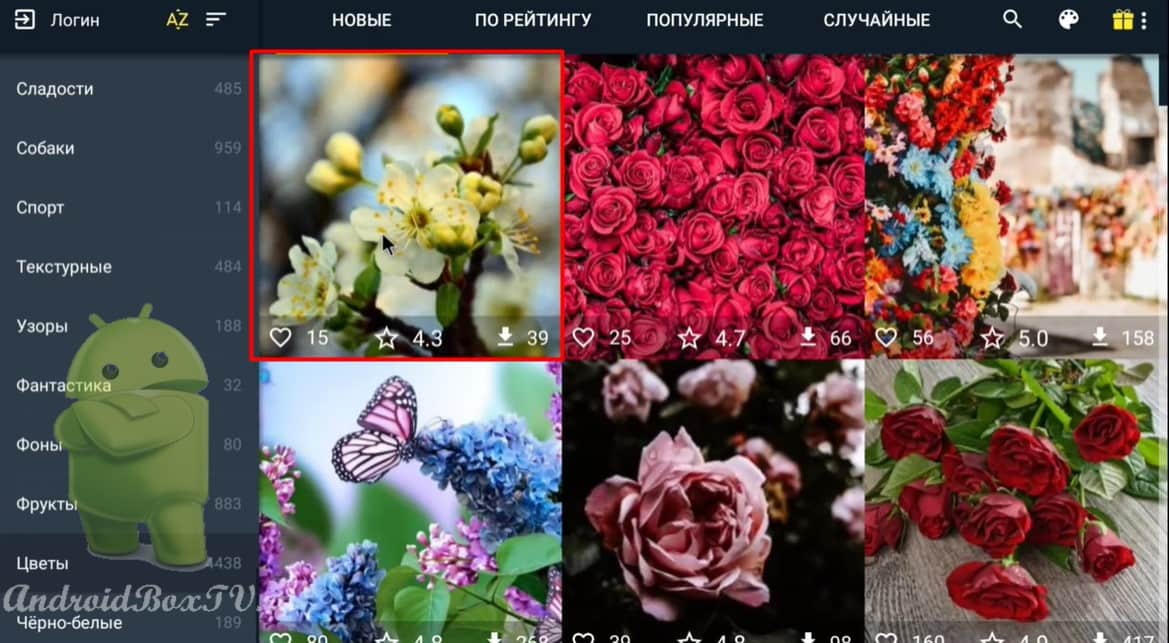
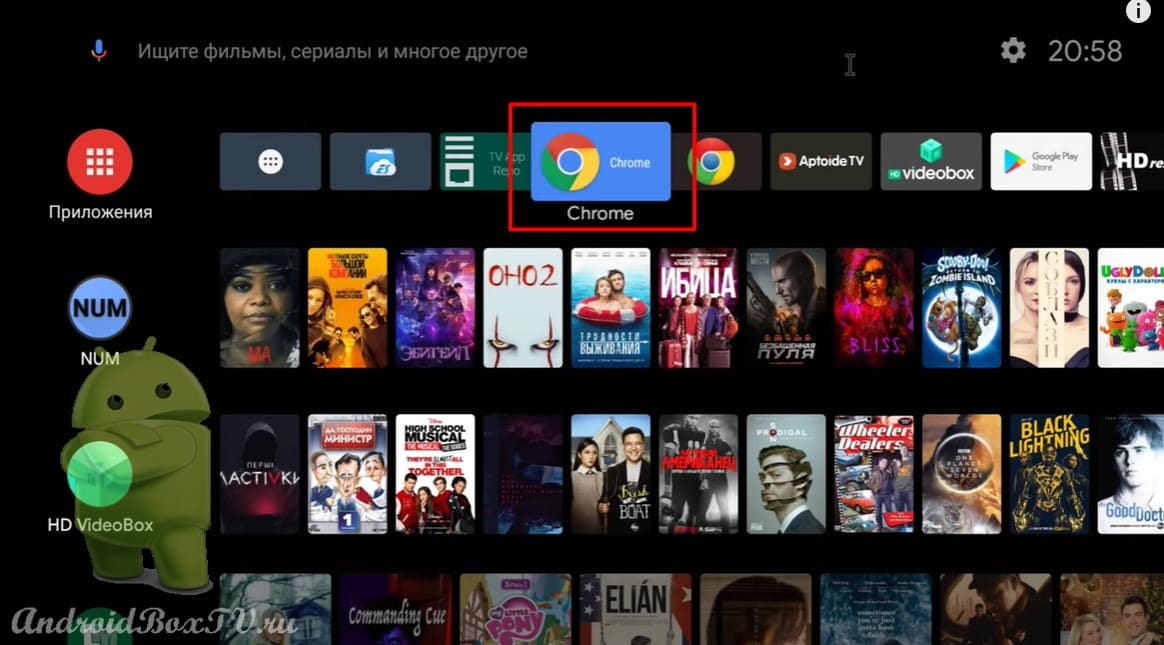
These wallpapers are downloaded from the Internet, if someone has not installed the Google Chrome browser yet, follow the link - Google Chrome .
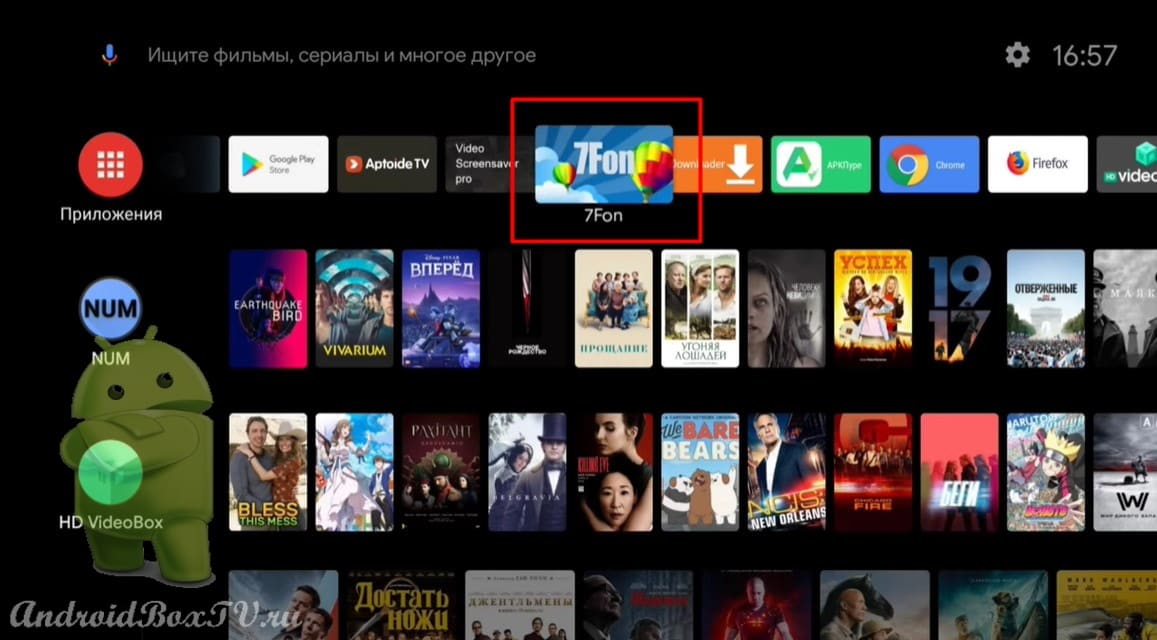
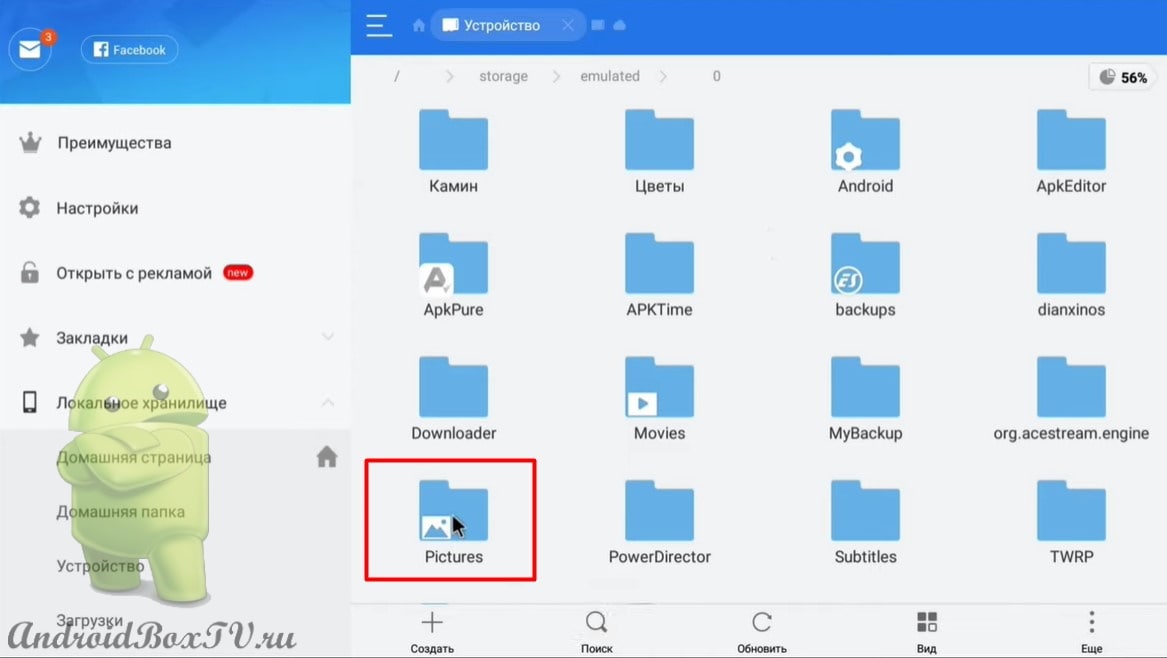
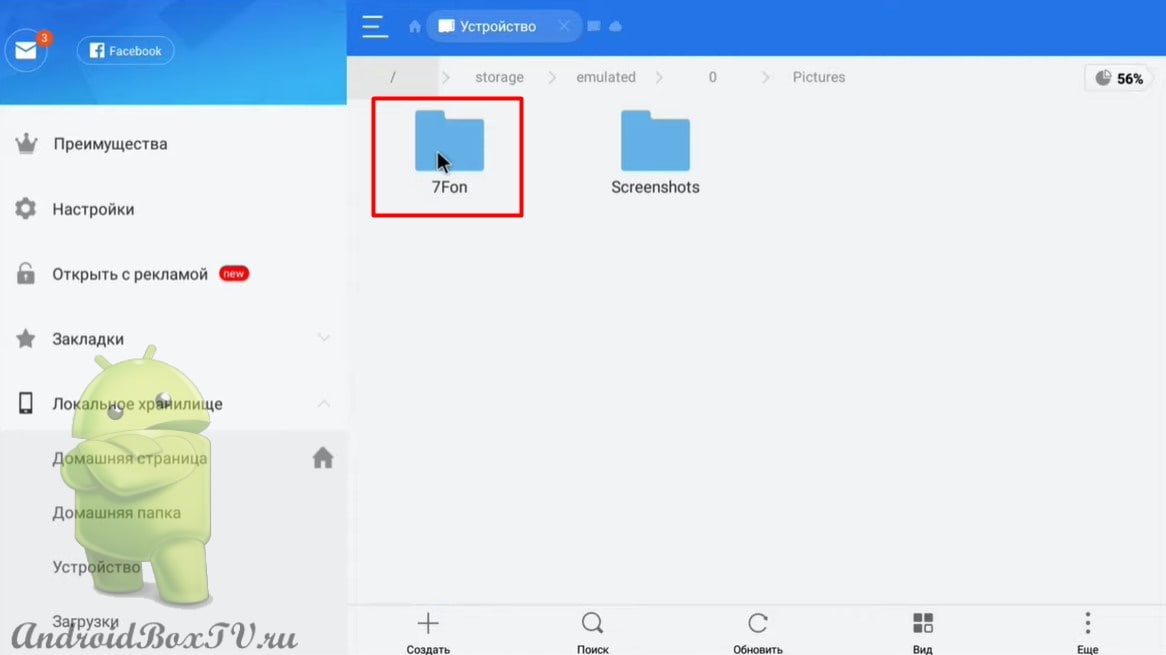
Next, let's look at how to download the necessary themes into the Wallpapers and Screensavers application. Open the application "7FON":
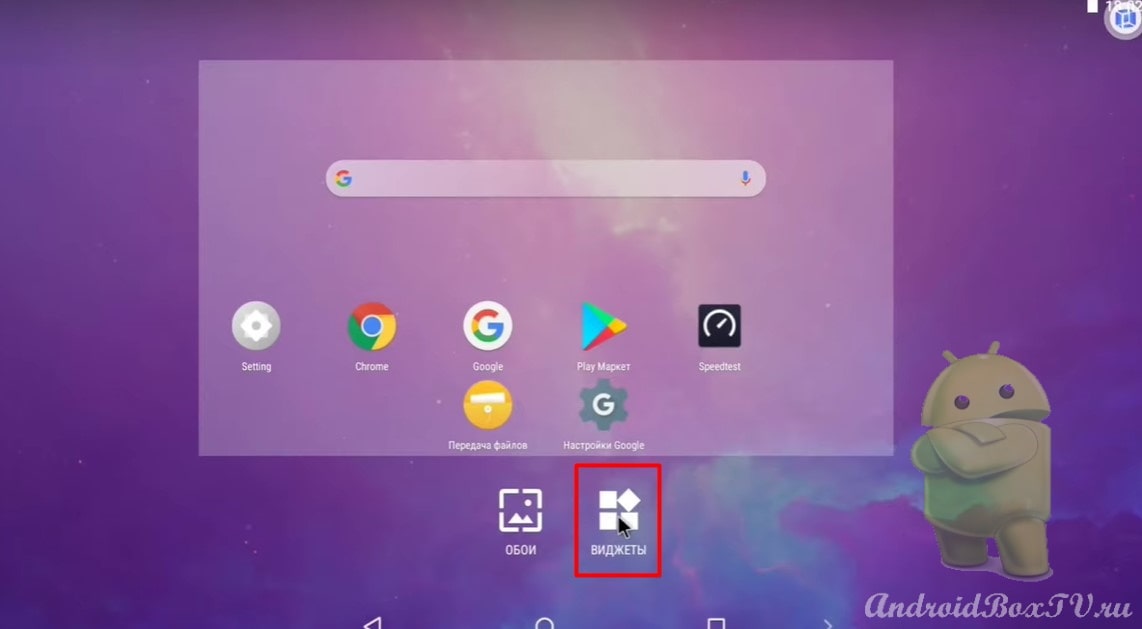
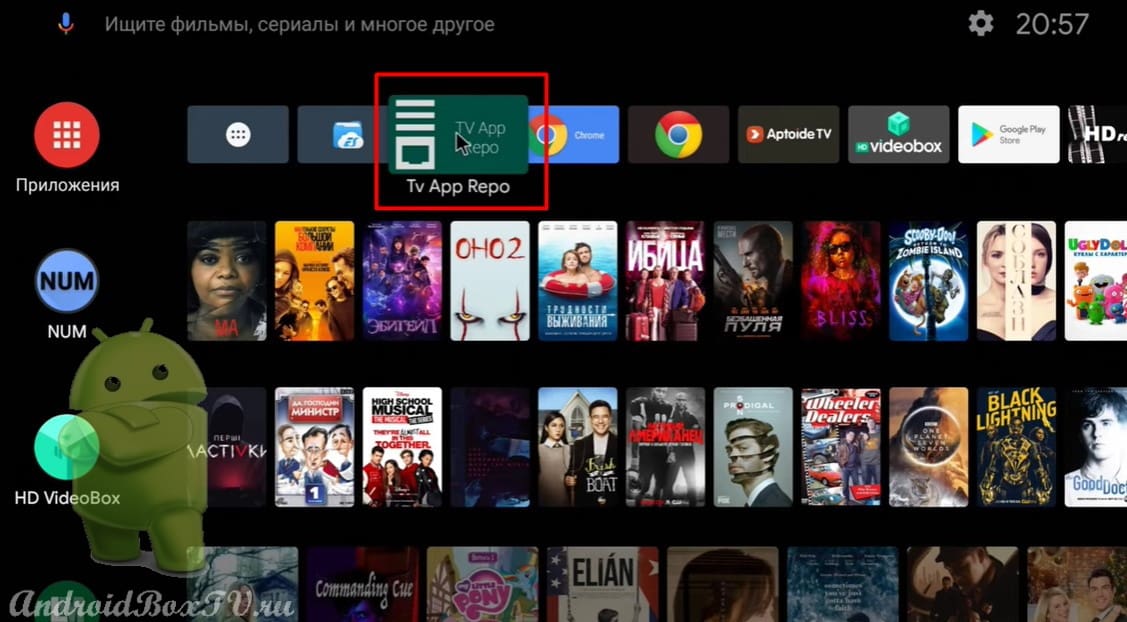
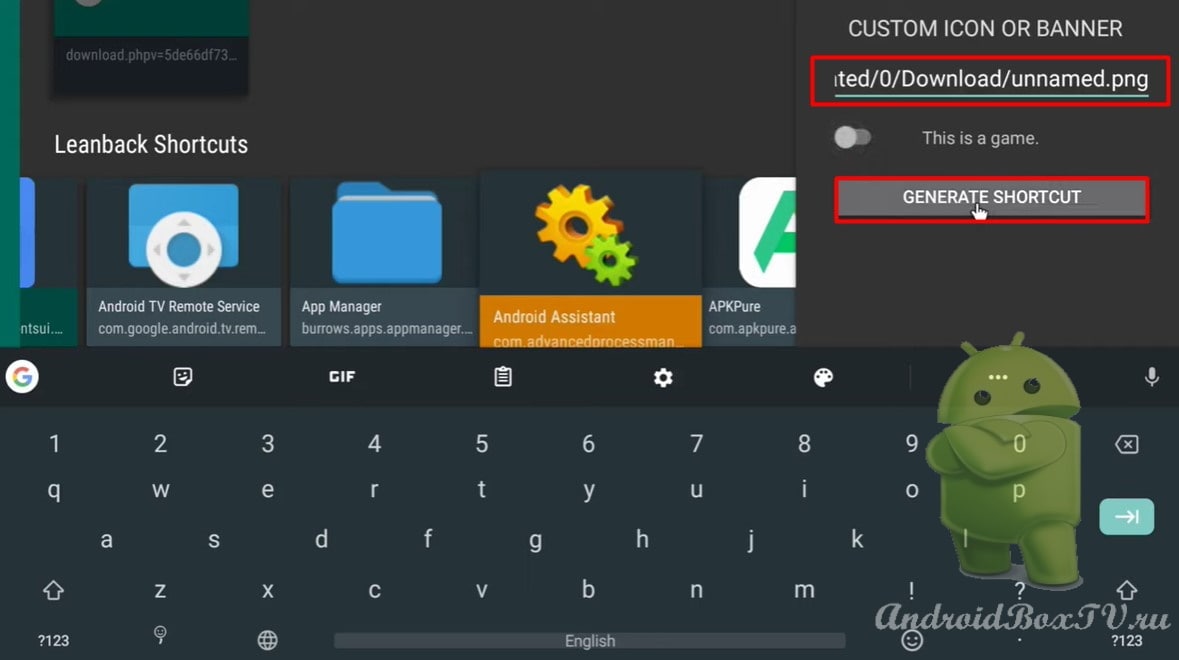
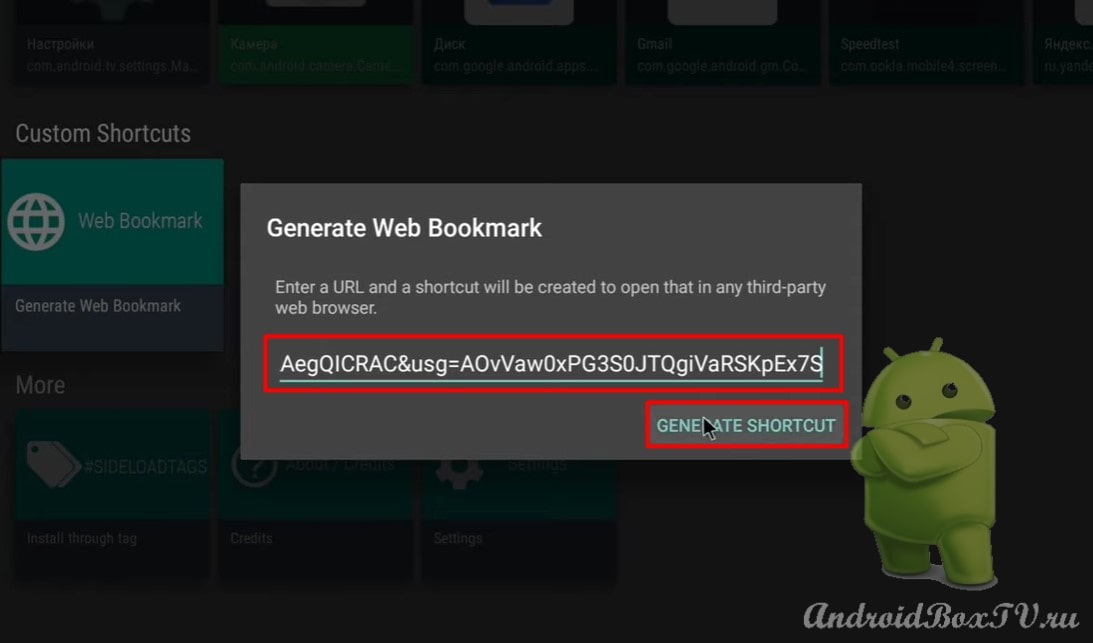
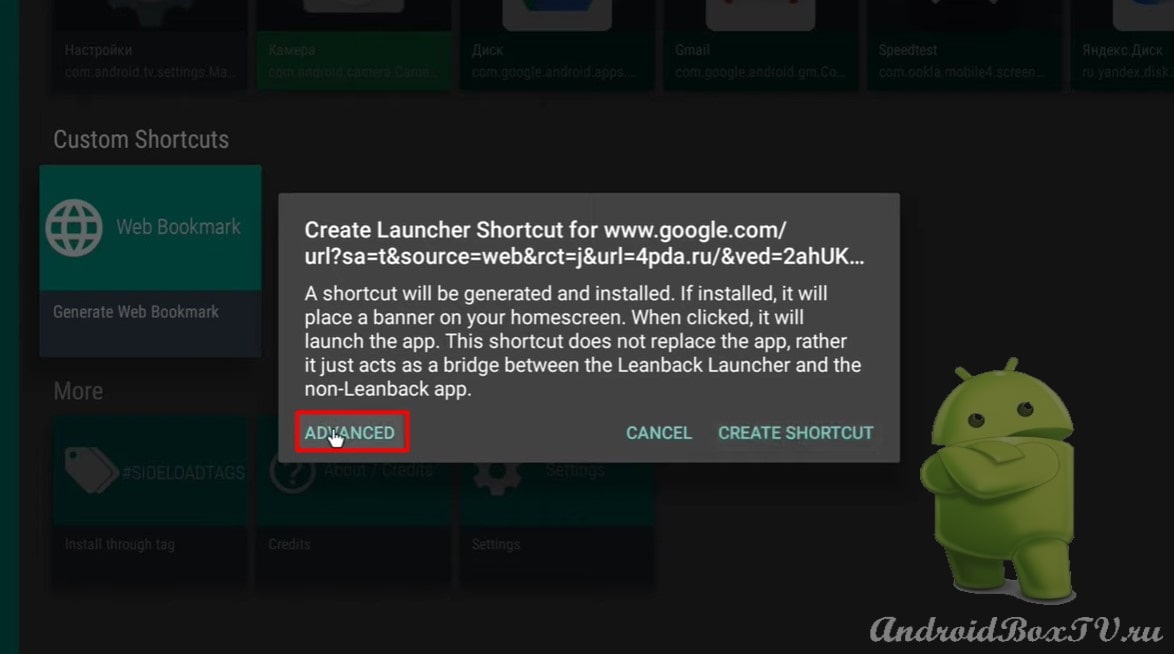
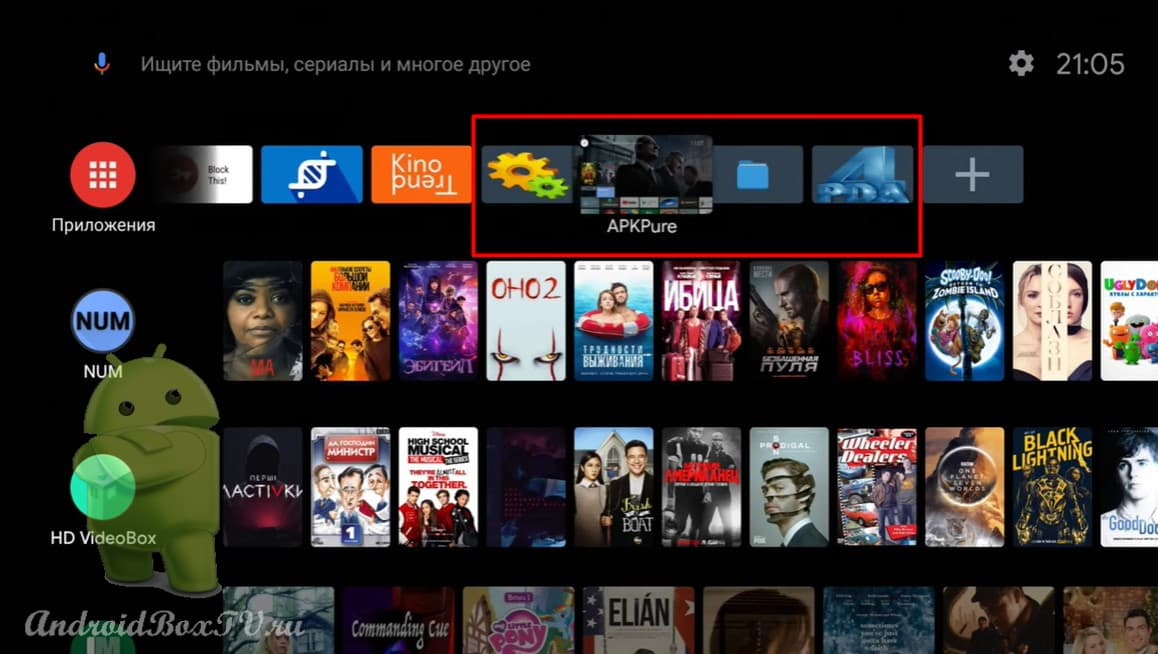
Today we will look at how to create shortcuts for non-adapted Android TV applications using the “Tv App Repo” application so that they can be opened from the main screen. On Android TV 8+, the application does not work correctly due to the end of developer support.
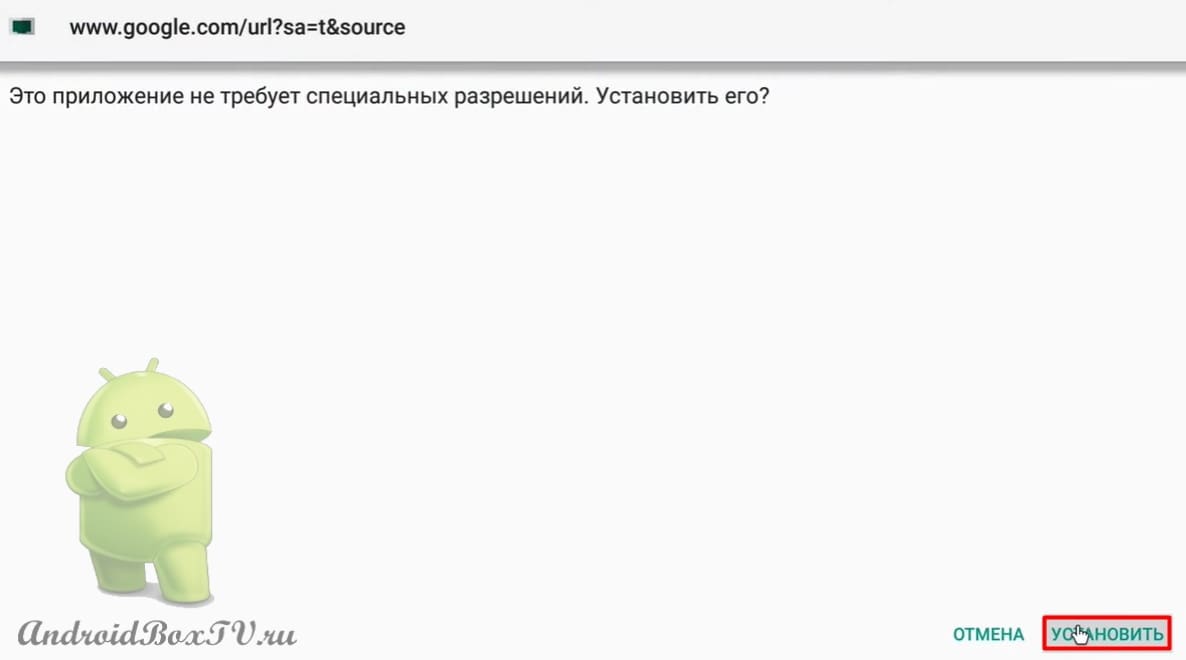
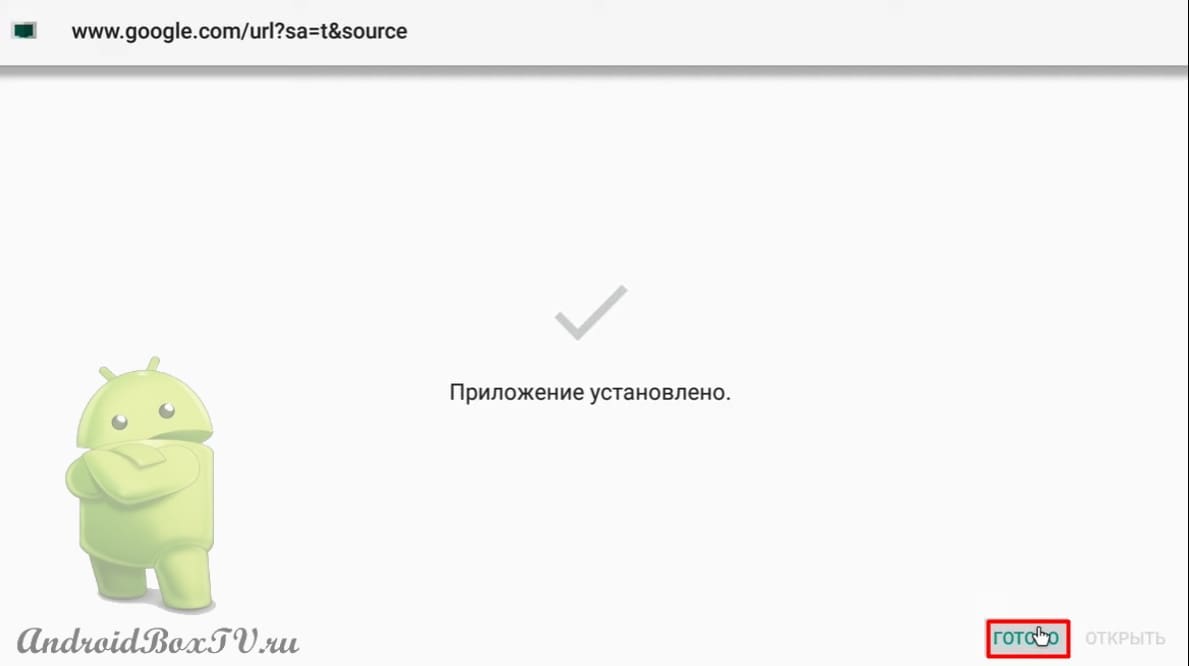
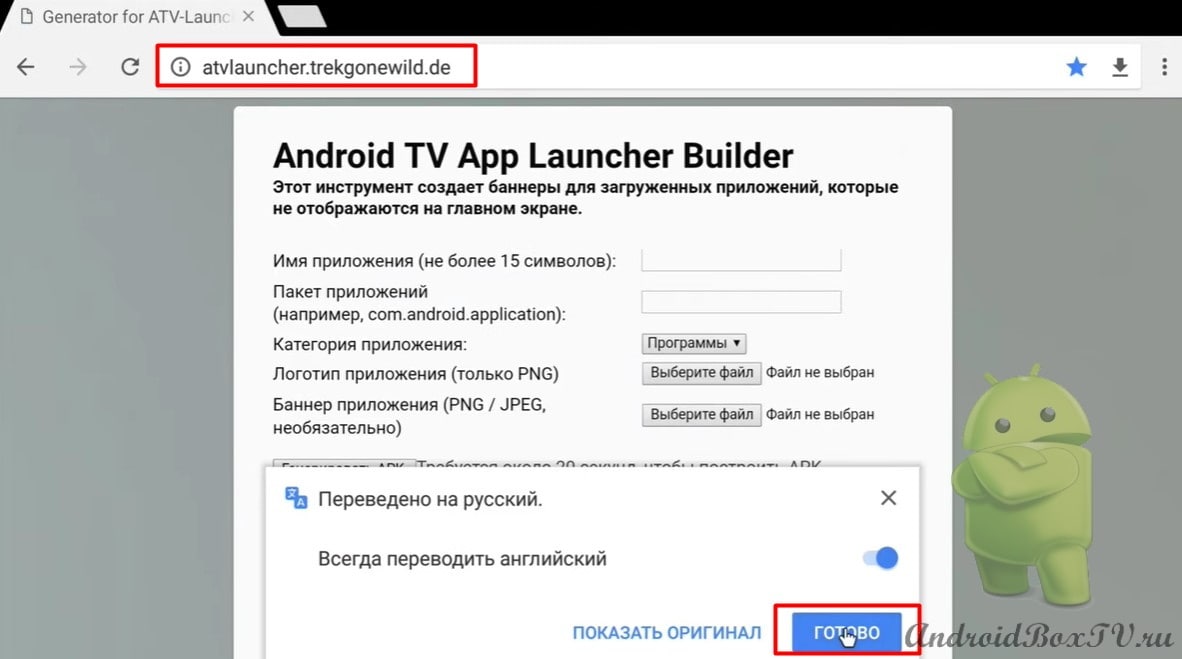
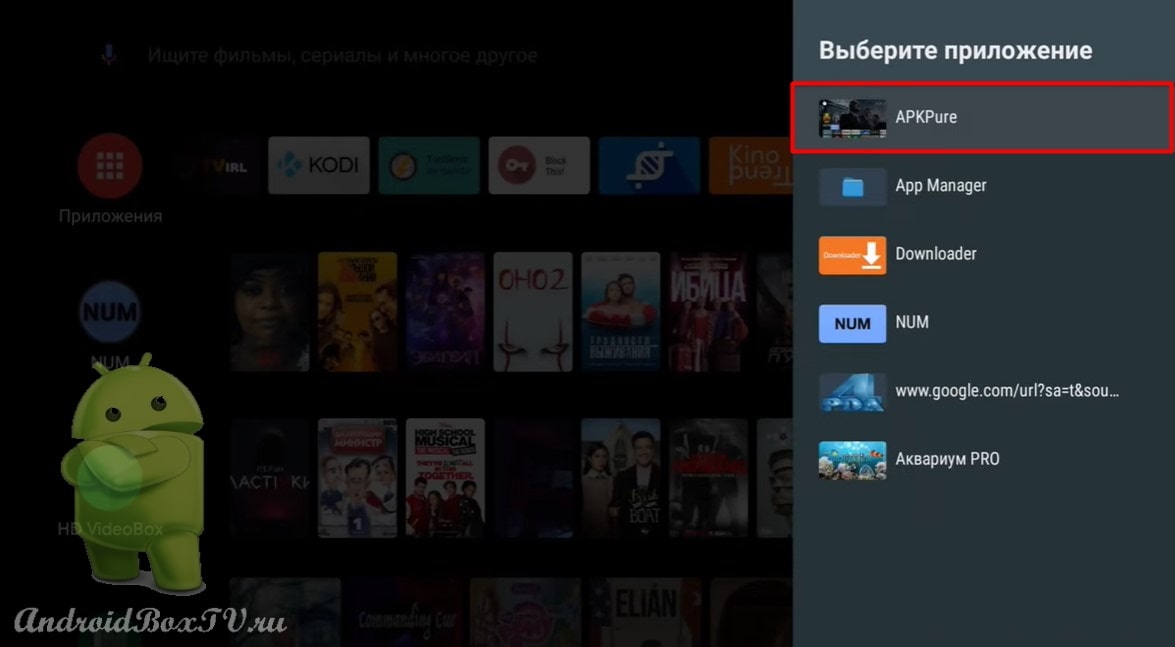
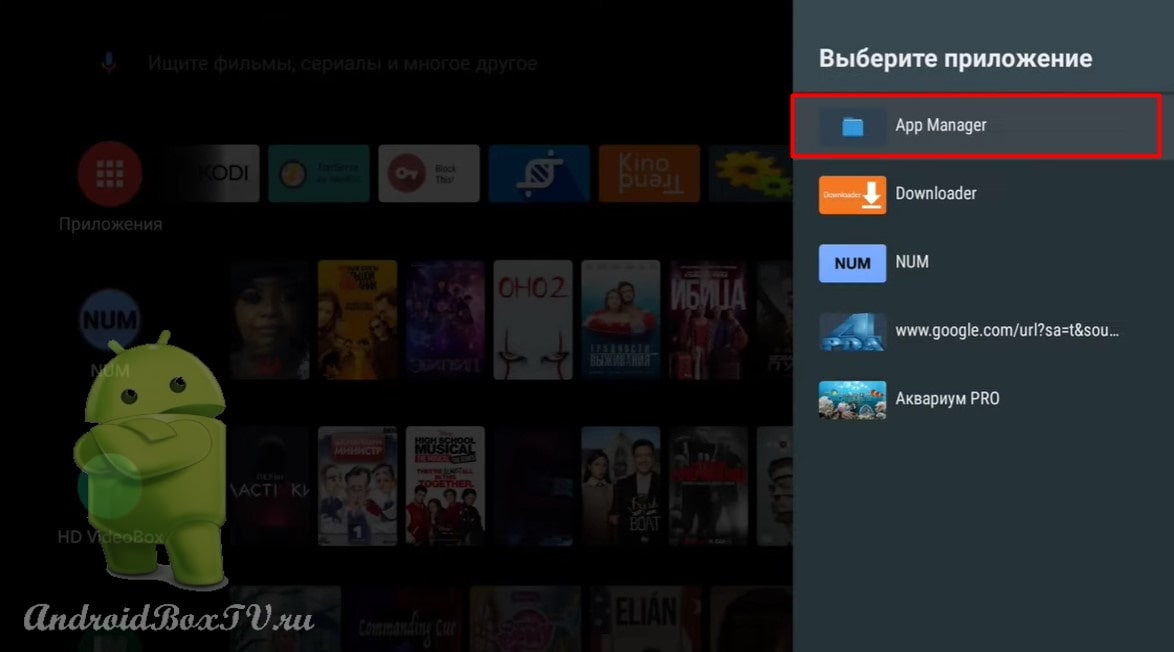
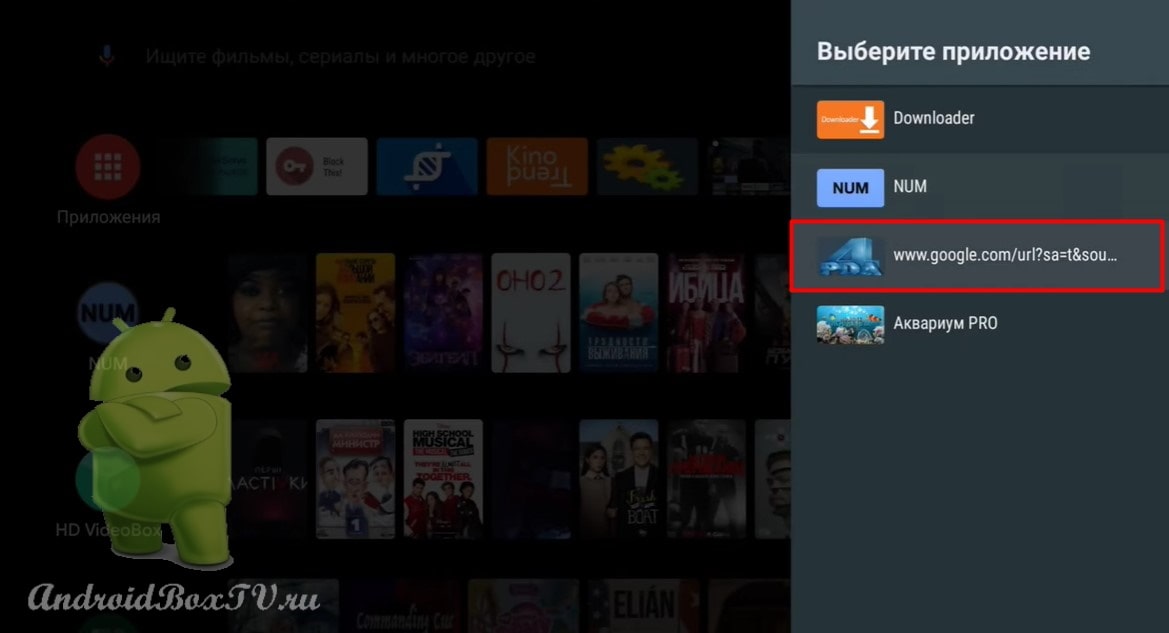
Also, consider a site with which you can create shortcuts regardless of the version of Android TV, as well as for protected applications, which “Tv App Repo” cannot handle. Link to a folder with ready-made shortcuts - http://catcut.net/5wBE . You can install them in the same way as installing the apk file of applications (we talked about this here ).
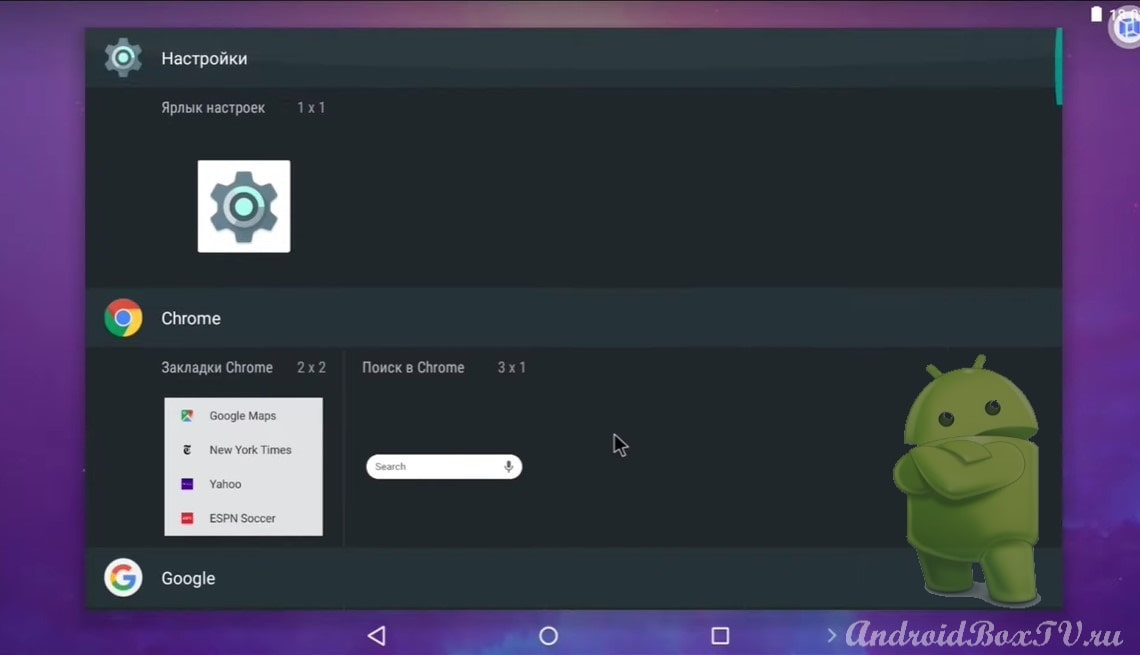
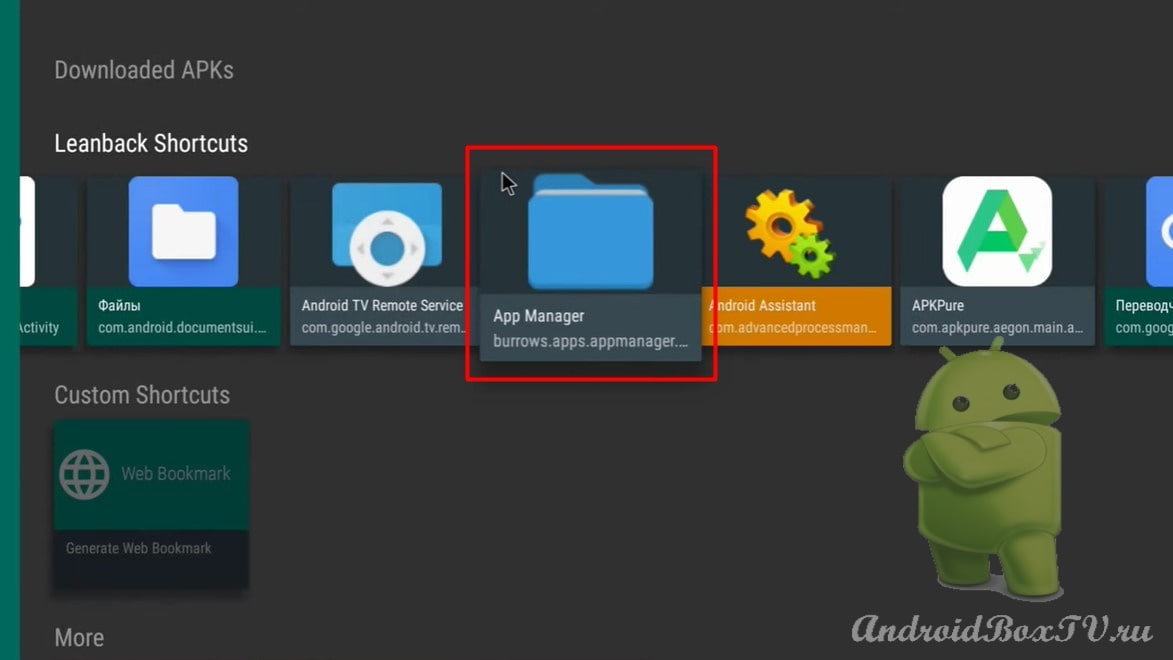
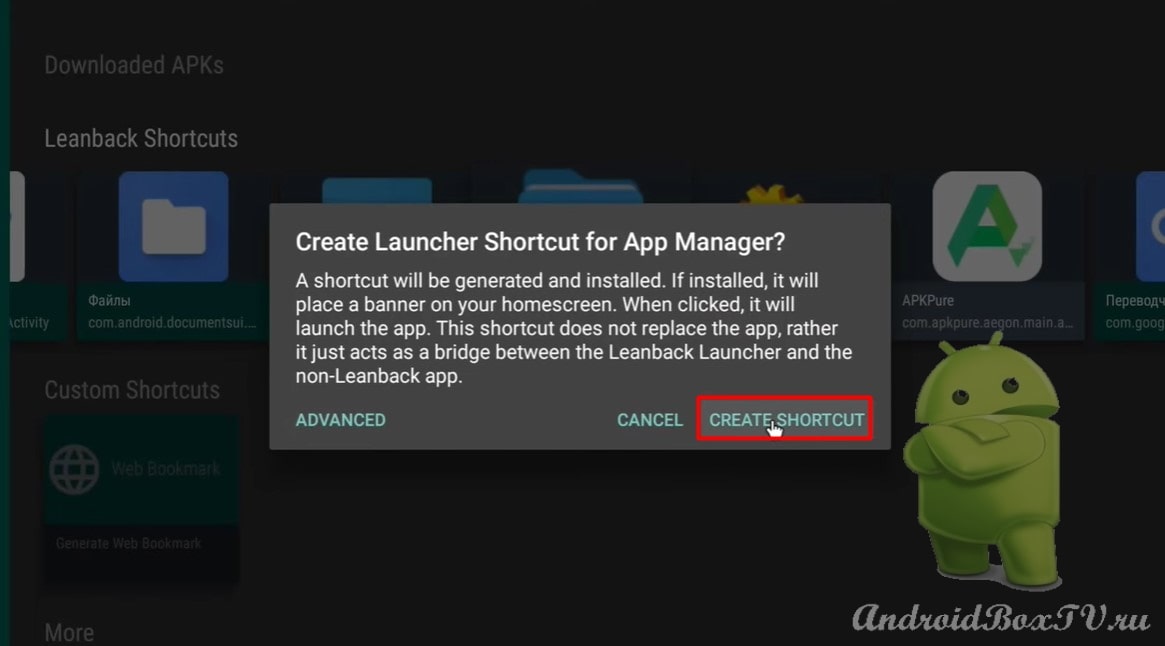
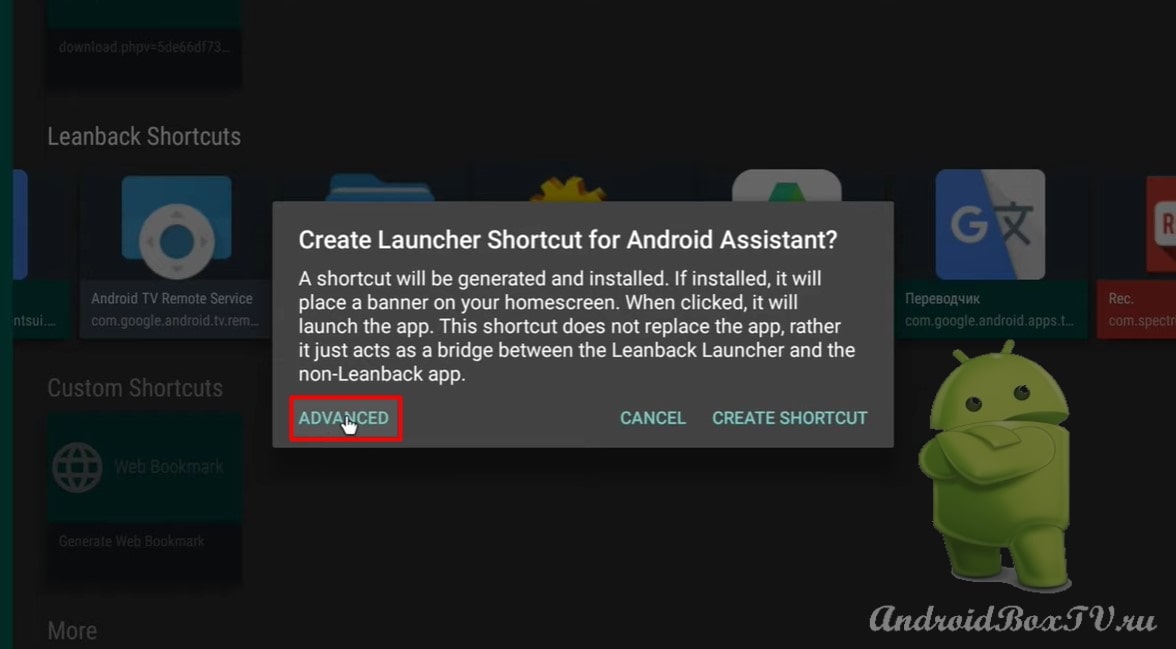
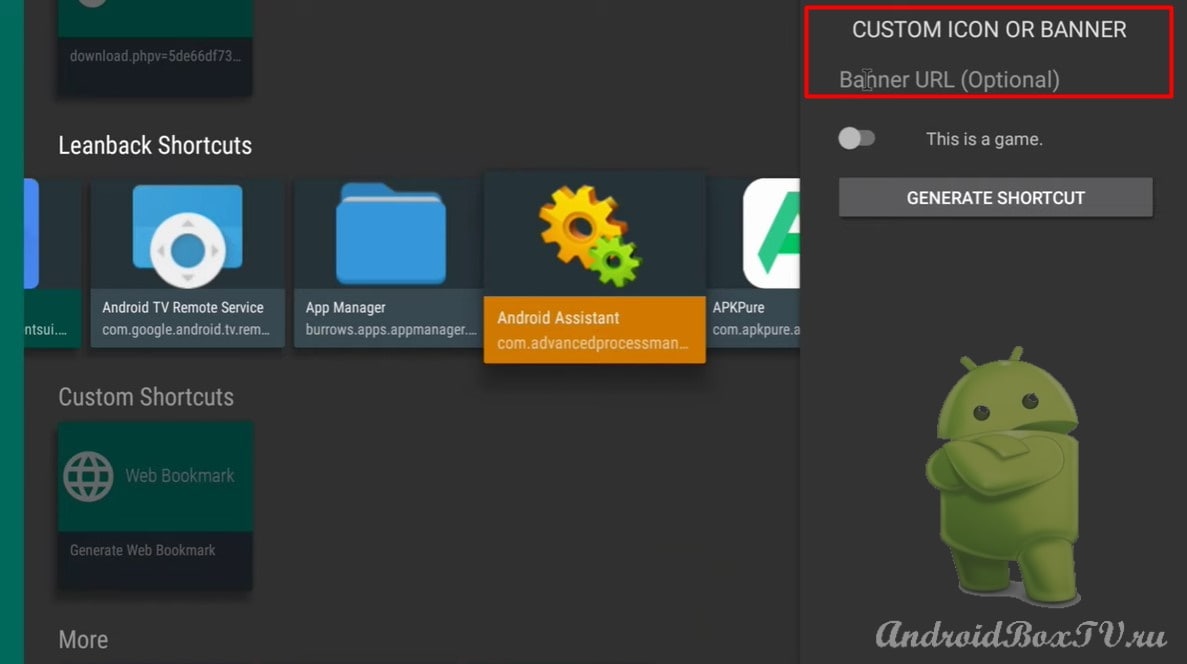
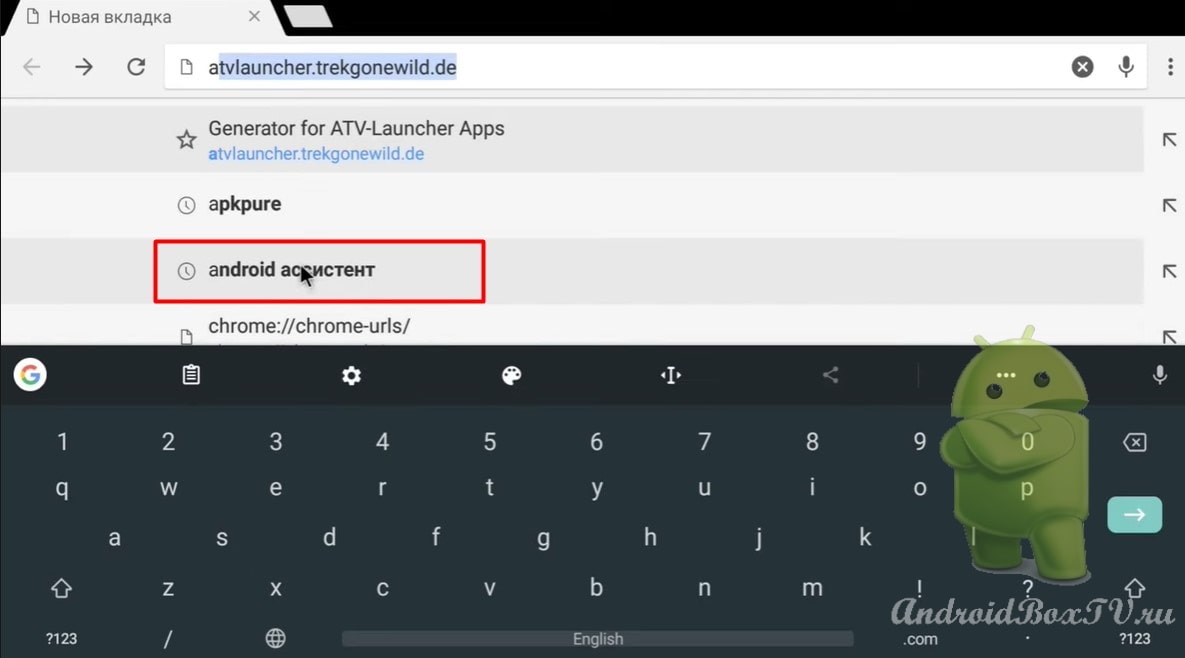
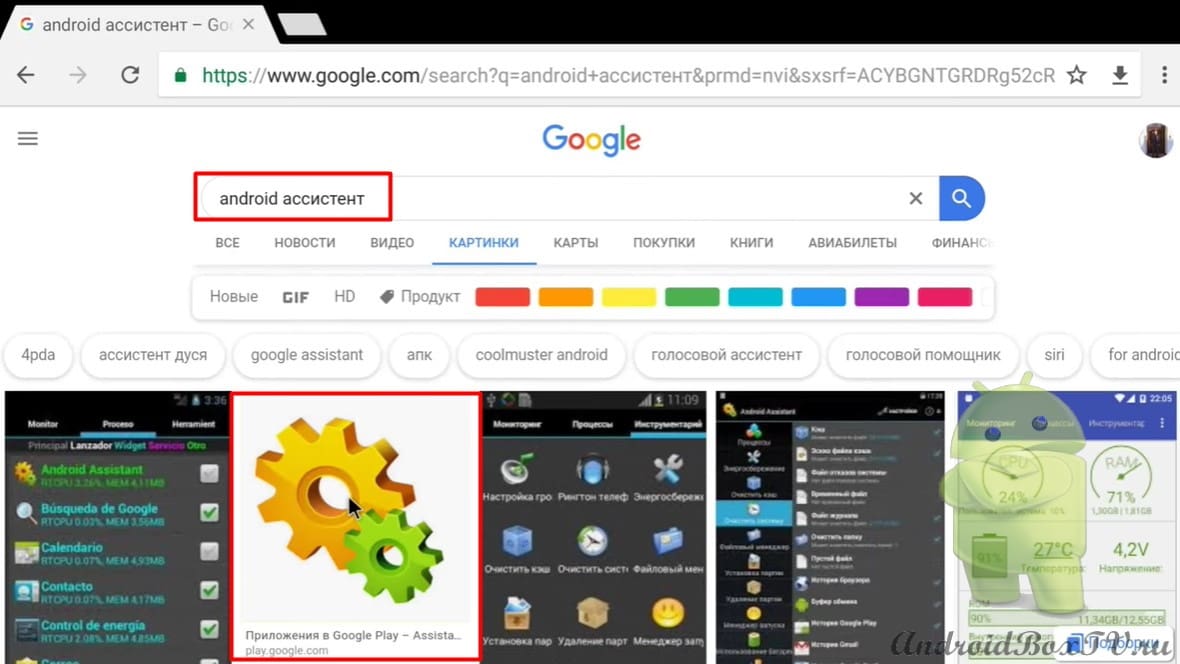
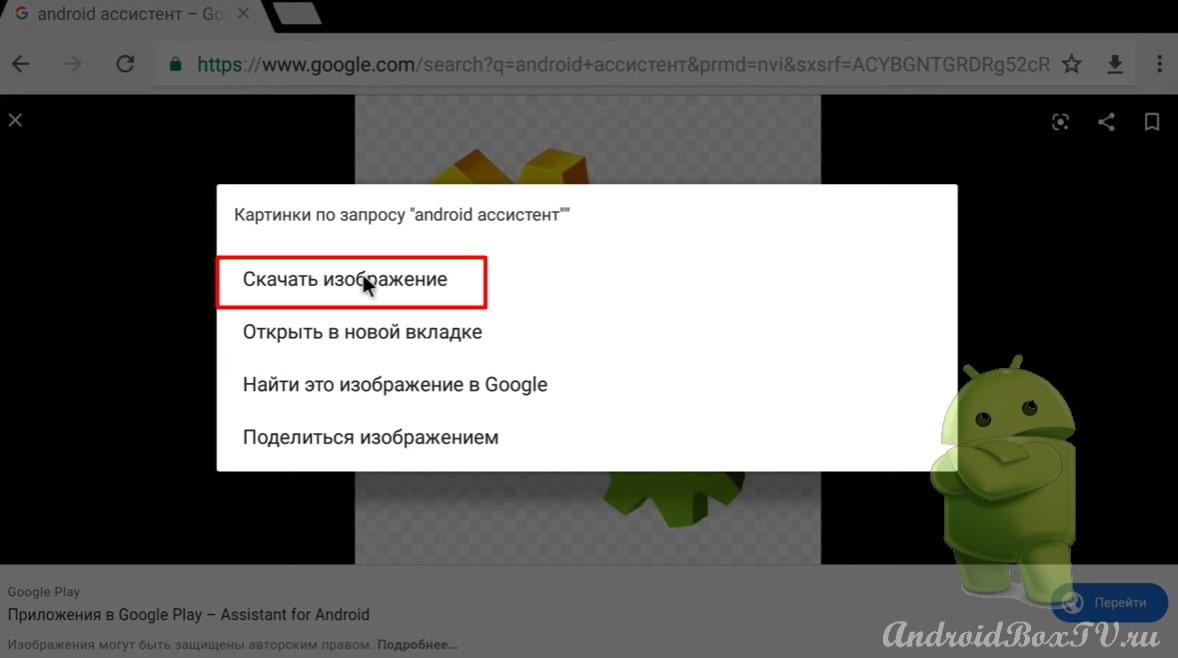
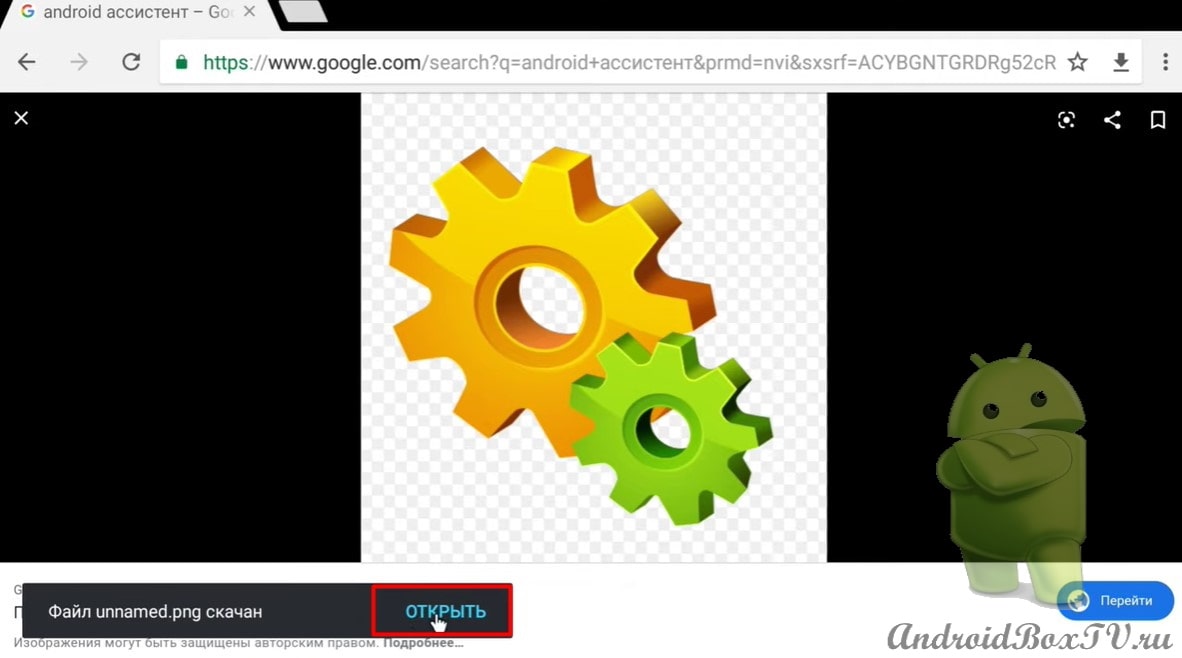
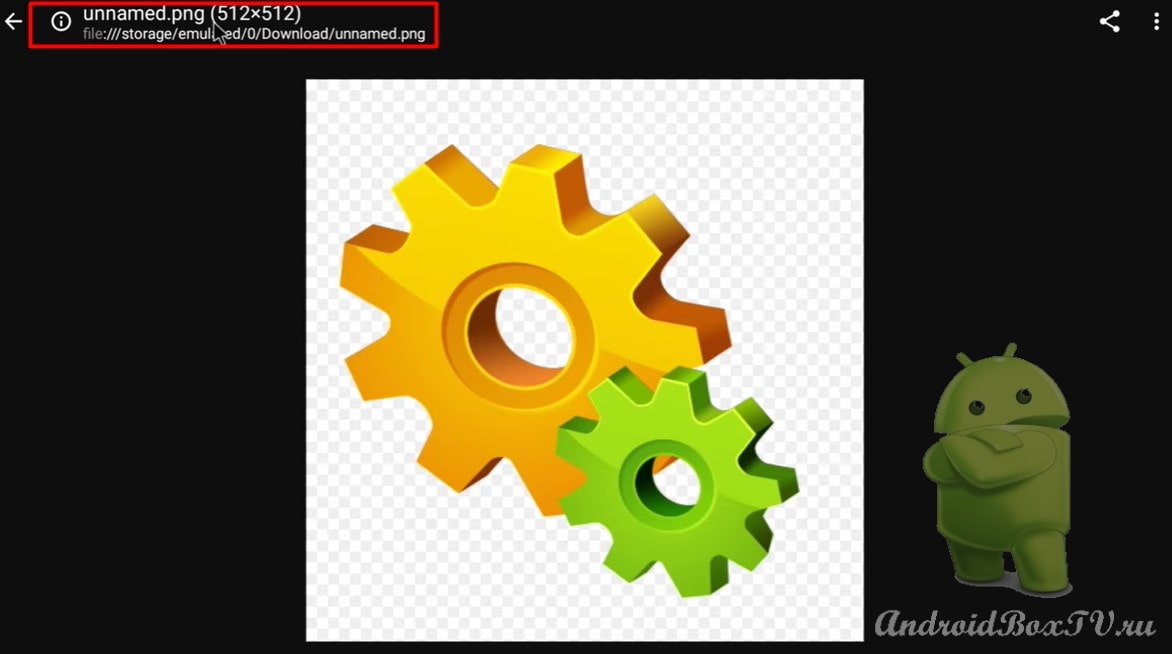
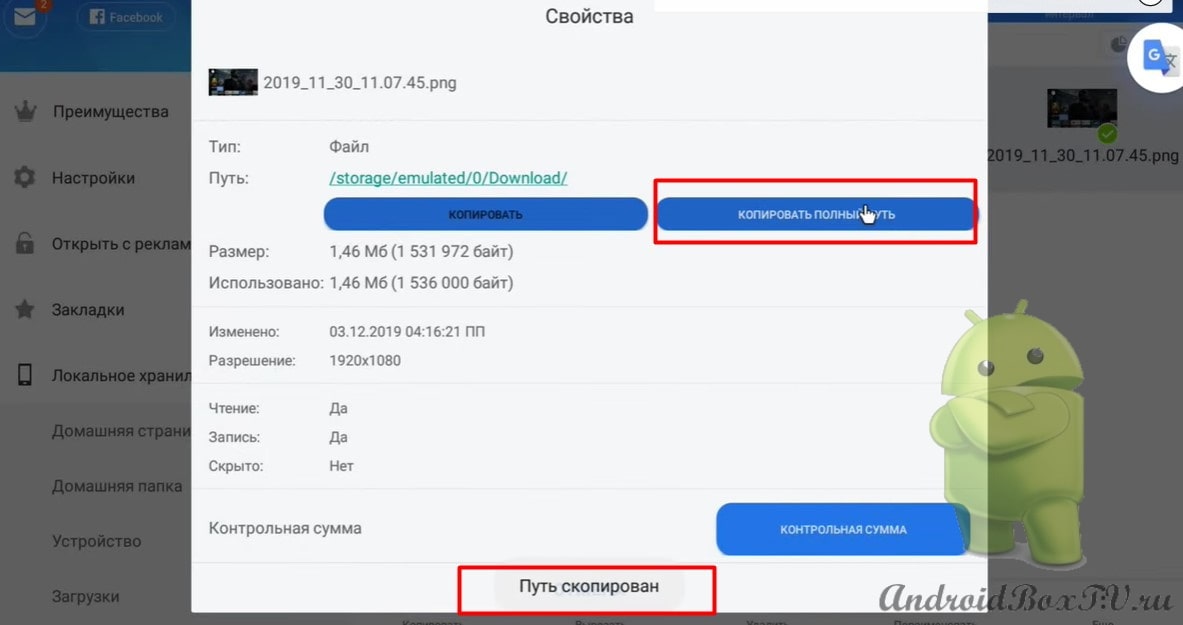
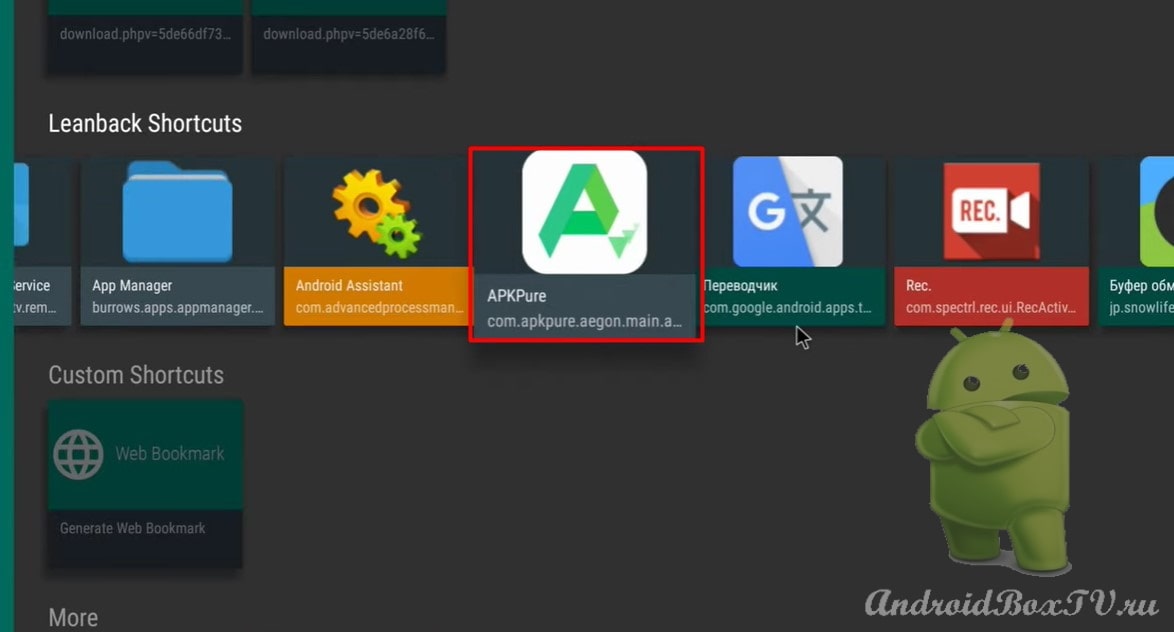
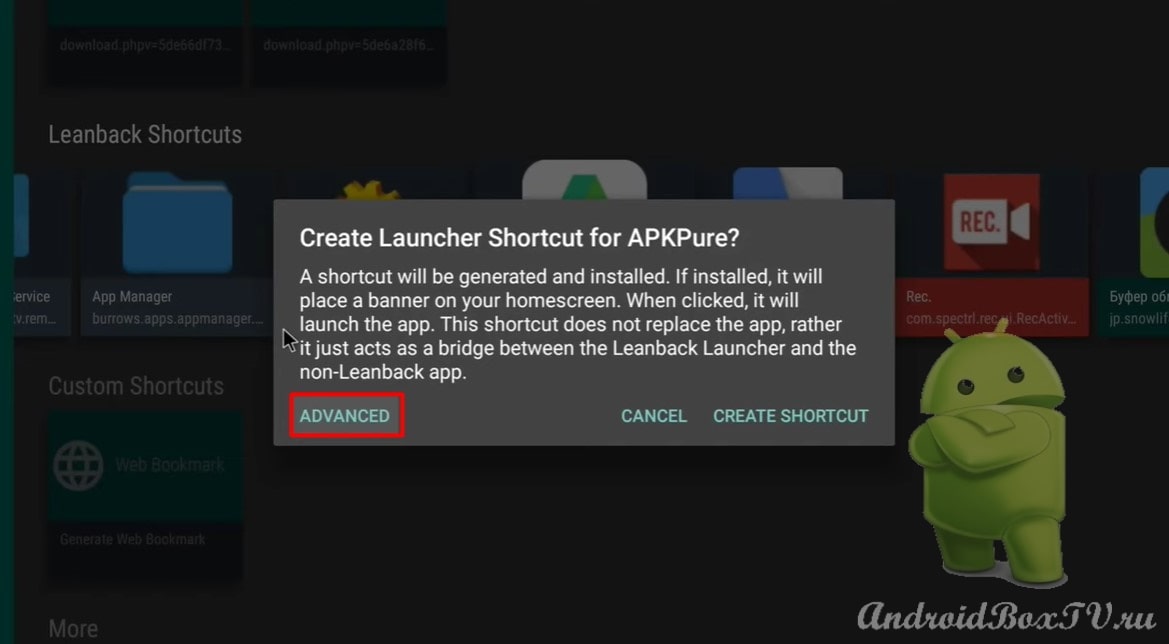
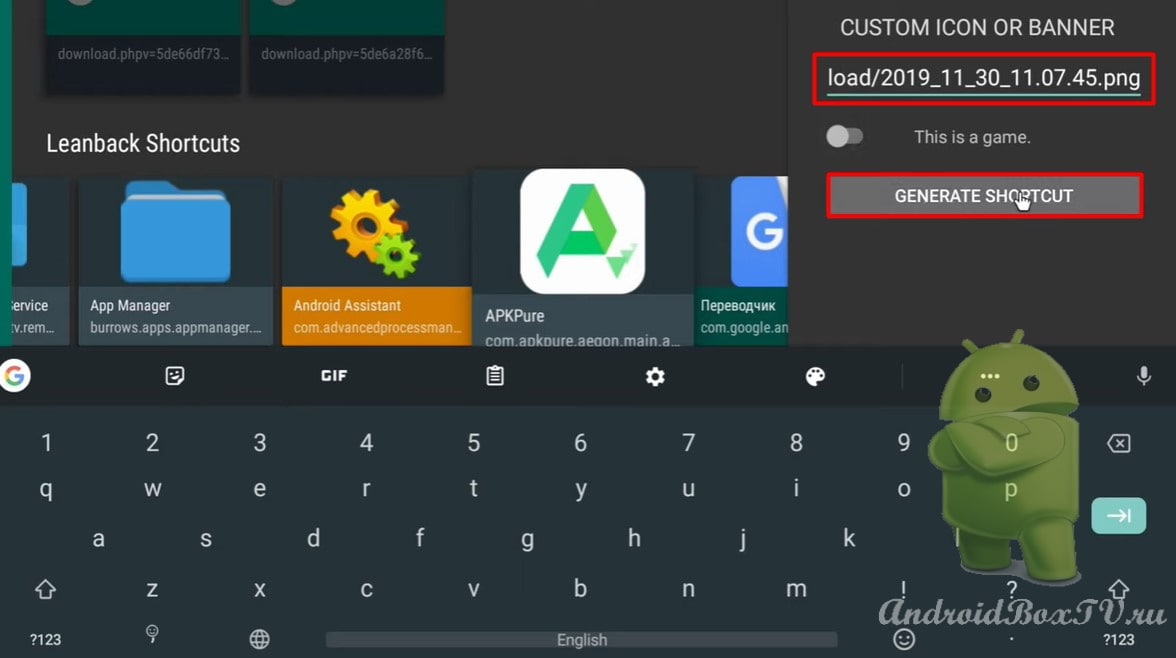
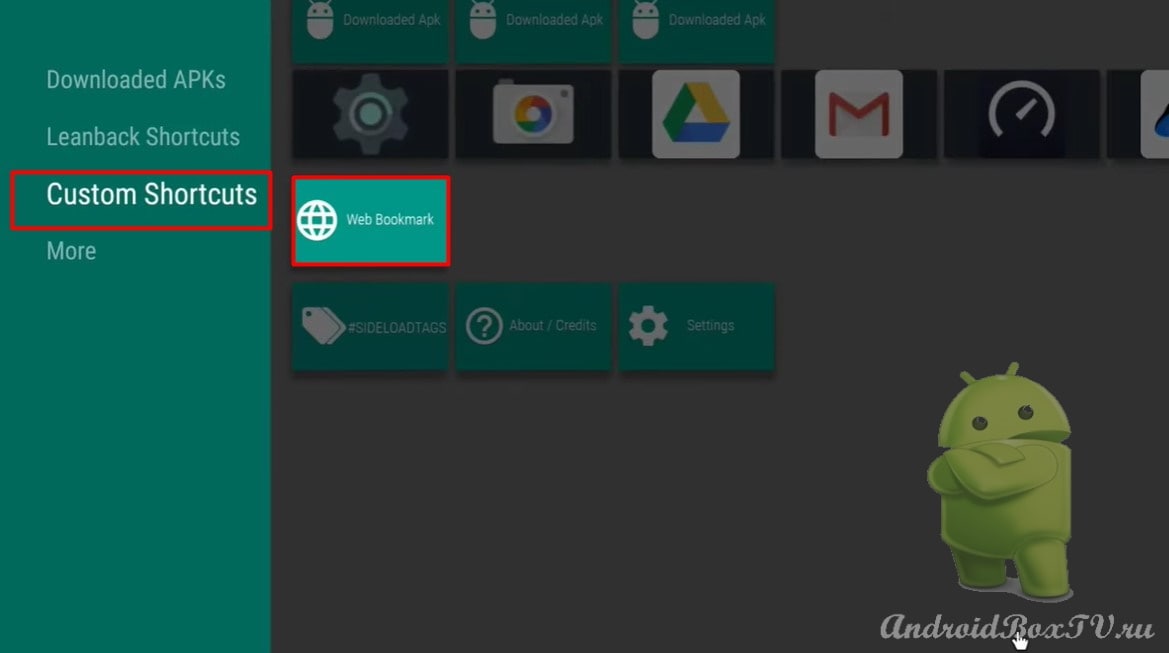
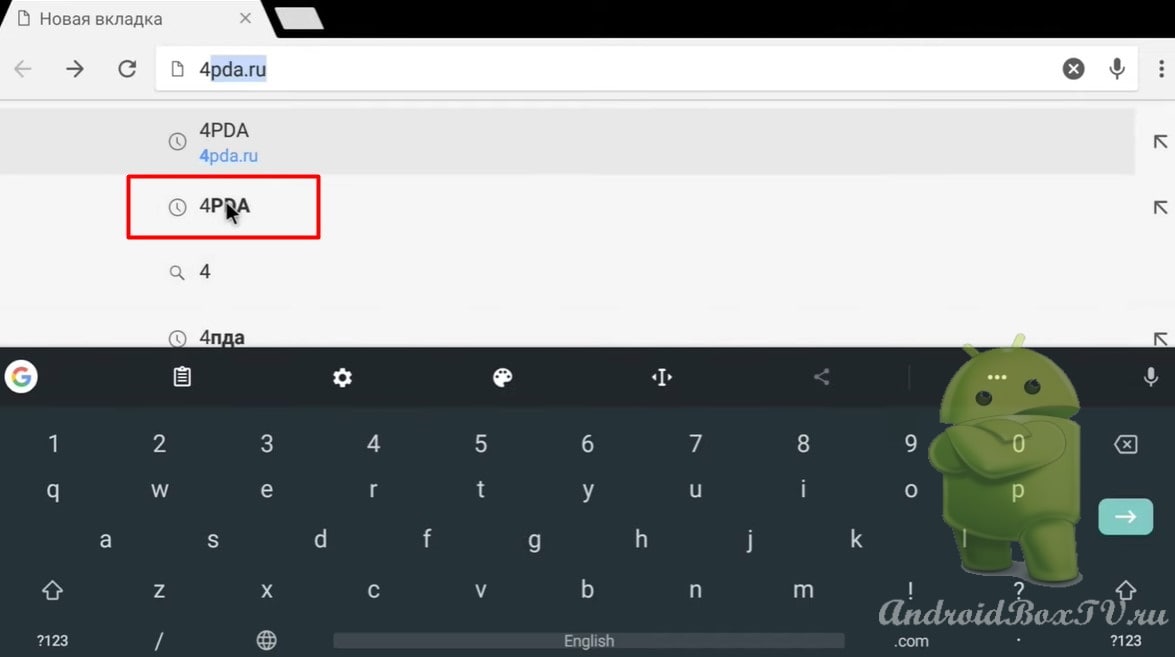
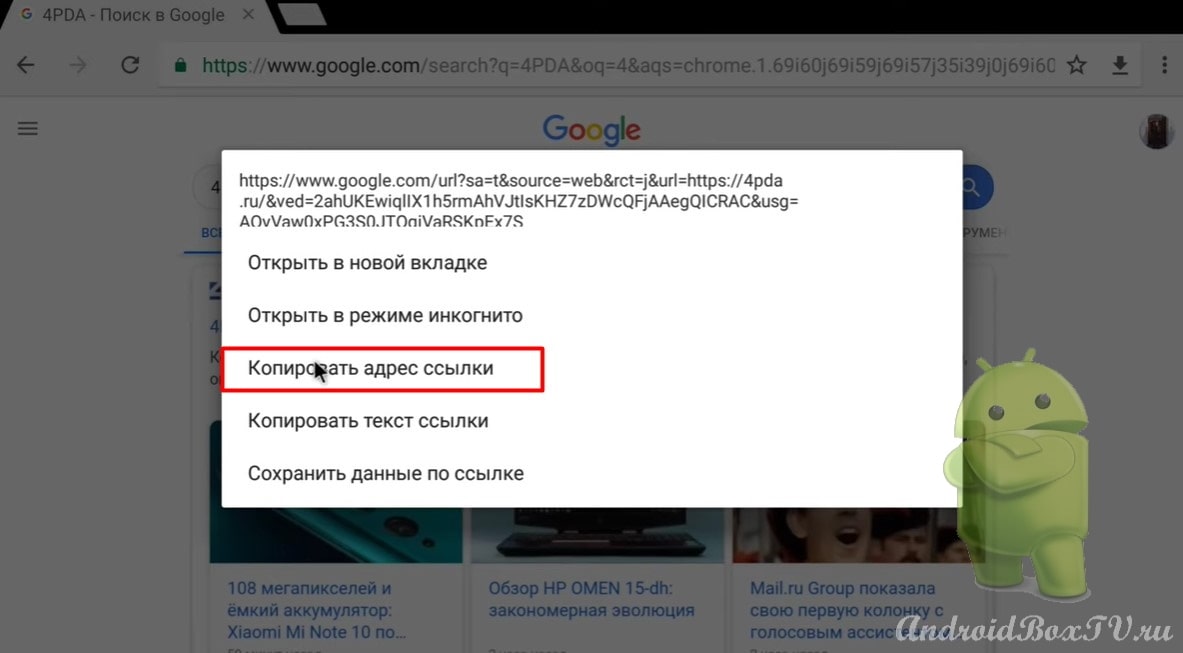
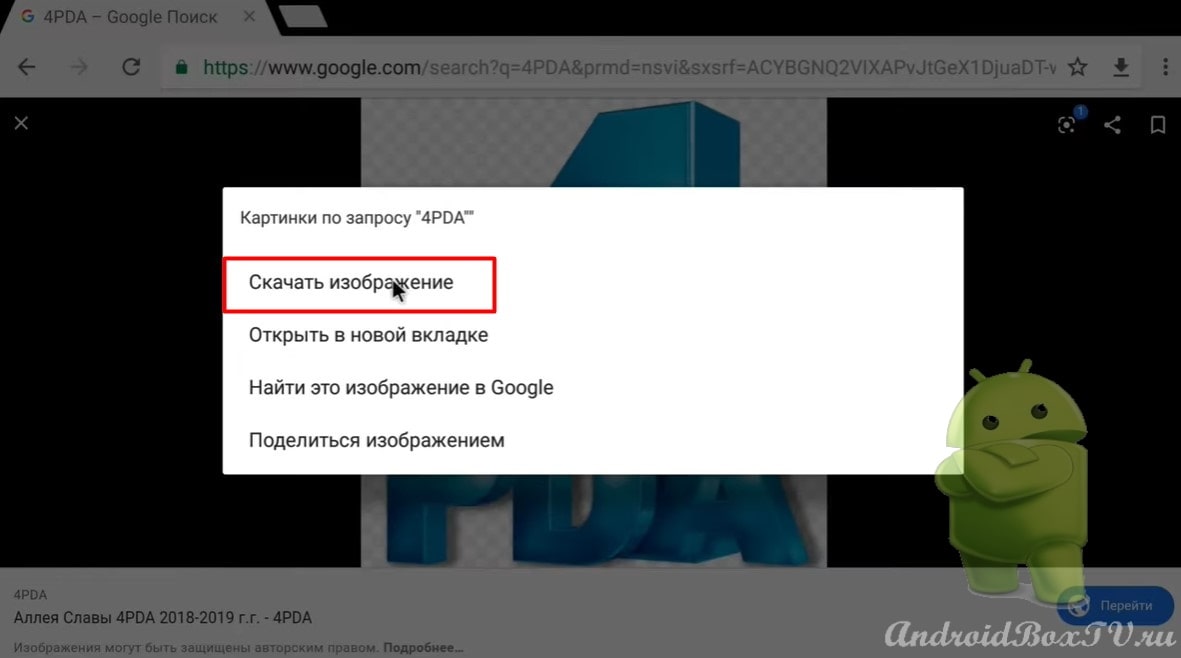
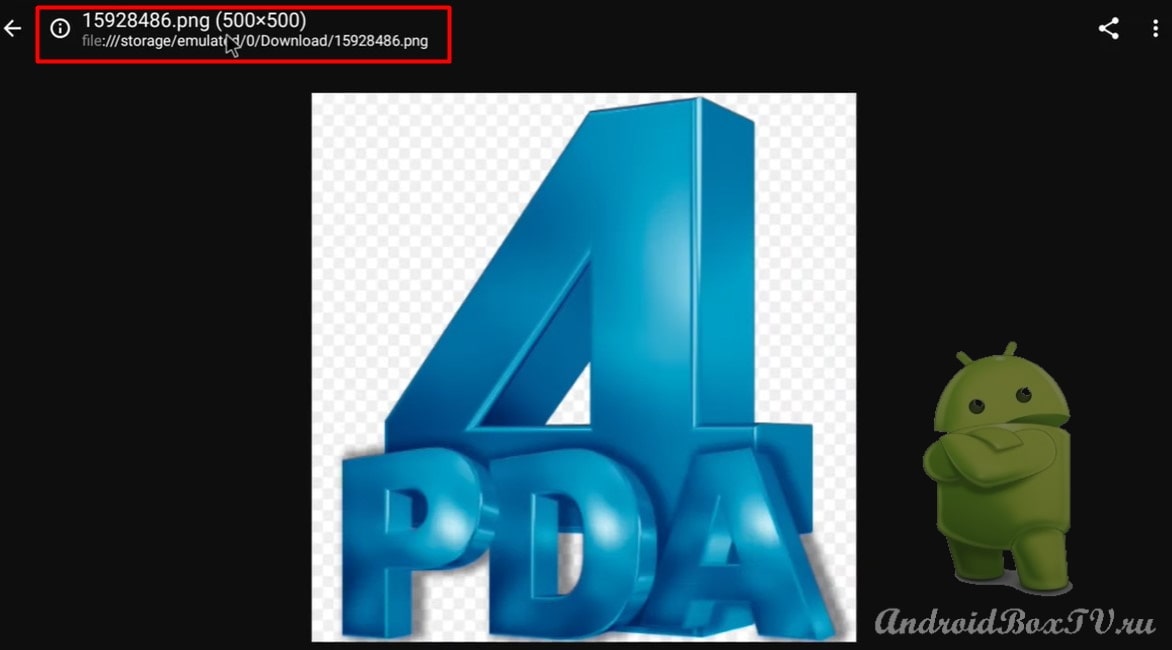
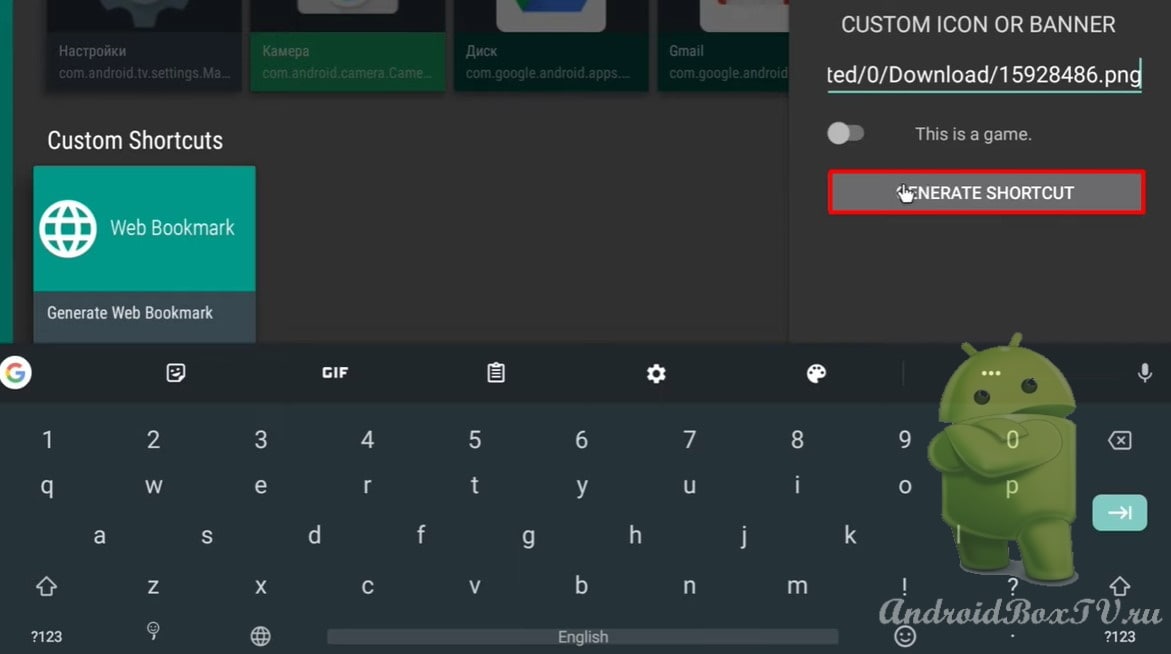
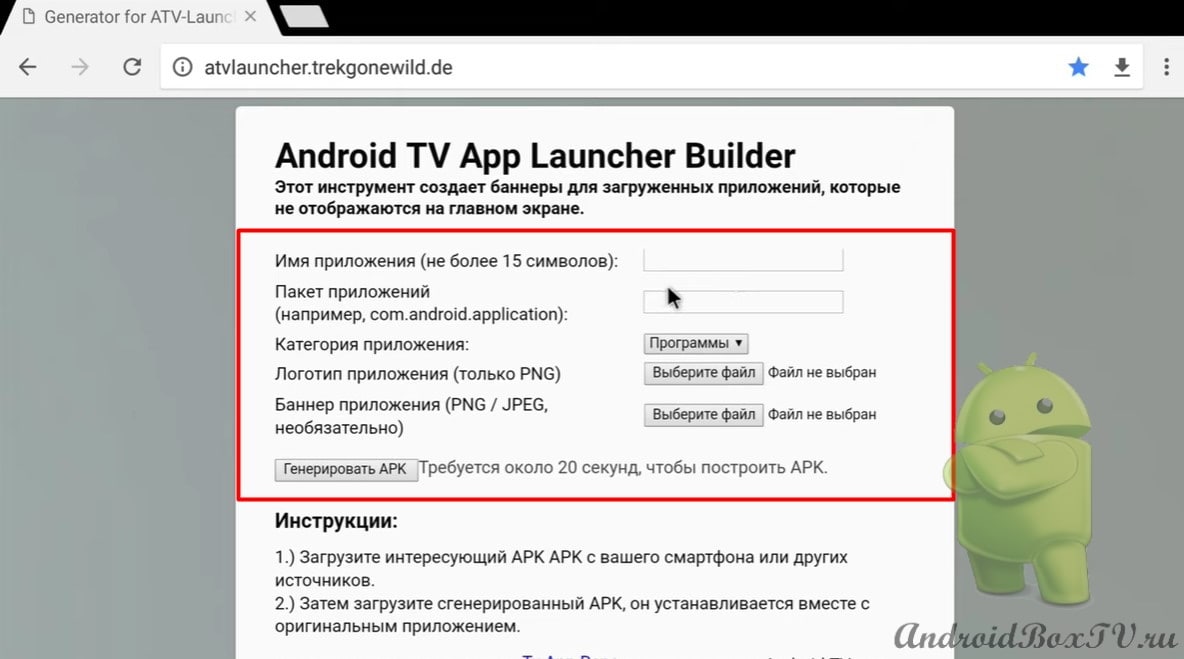
Let's look at how the application itself creates shortcuts, how it creates shortcuts with images found on the Internet, as well as with images stored on the device, and see how to create a link in the form of a shortcut to frequently visited sites.
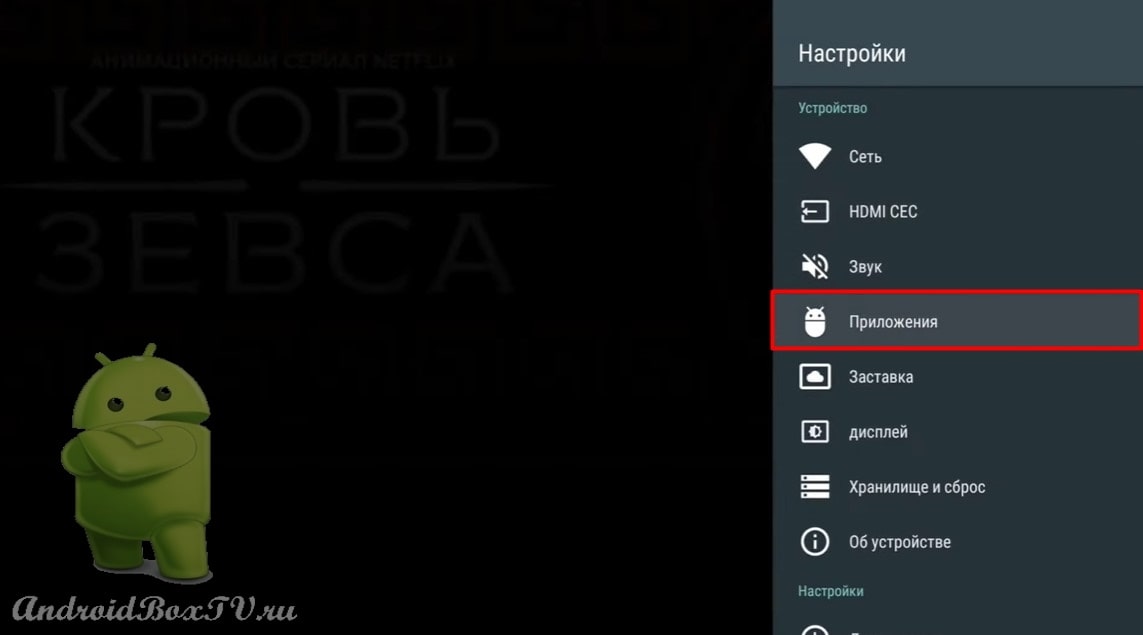
The second part is an addition to the Video Launcher Fire TV . In this article, we will look at how to solve the problem if the regular Launcher starts after the device is rebooted. Also, if you have Root access, get a recommendation of third-party applications on the main screen. This action can only be done if you have a “BackUp Firmware” so that in case of an error, you can restore the device (all actions are under your responsibility).
At the moment, the version of Launcher 23 , on Android 8 +, it is not possible to get recommendations, even the items Enable recommendations and the Recommendation line have disappeared. In this article, all actions are performed on TV Box Android 7.1 AOSP .
In the last article , we settled on the fact that we managed to get recommendations from YouTube:
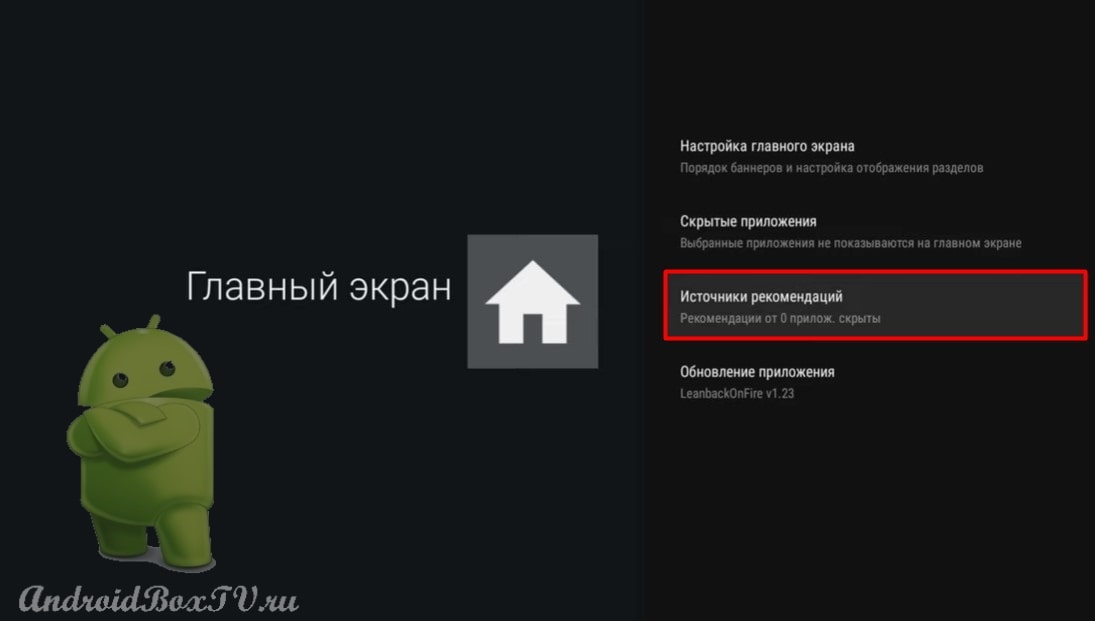
Now go to the Launcher settings:
Select "Sources of recommendations":
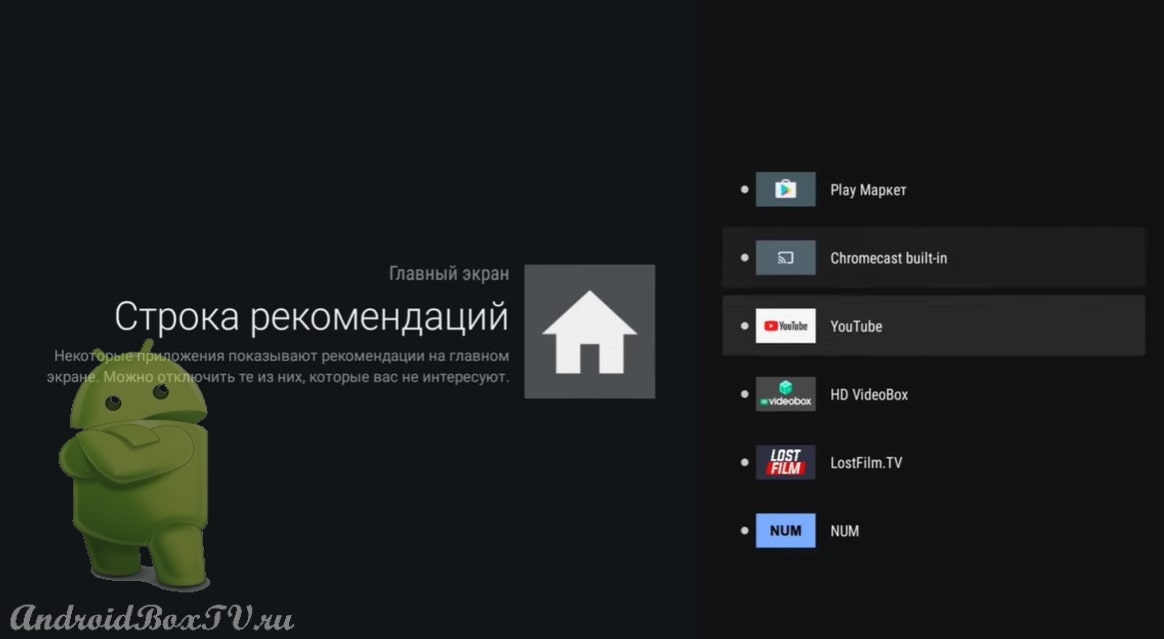
IN 23 version, recommendations from third-party applications appeared, but they are not on the main screen:
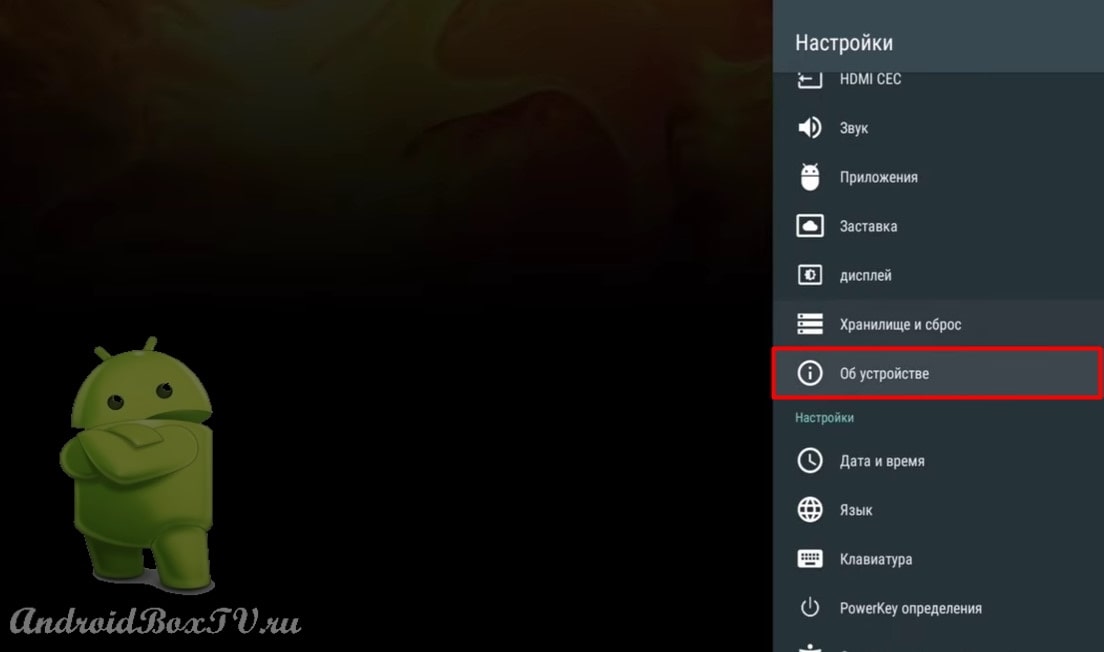
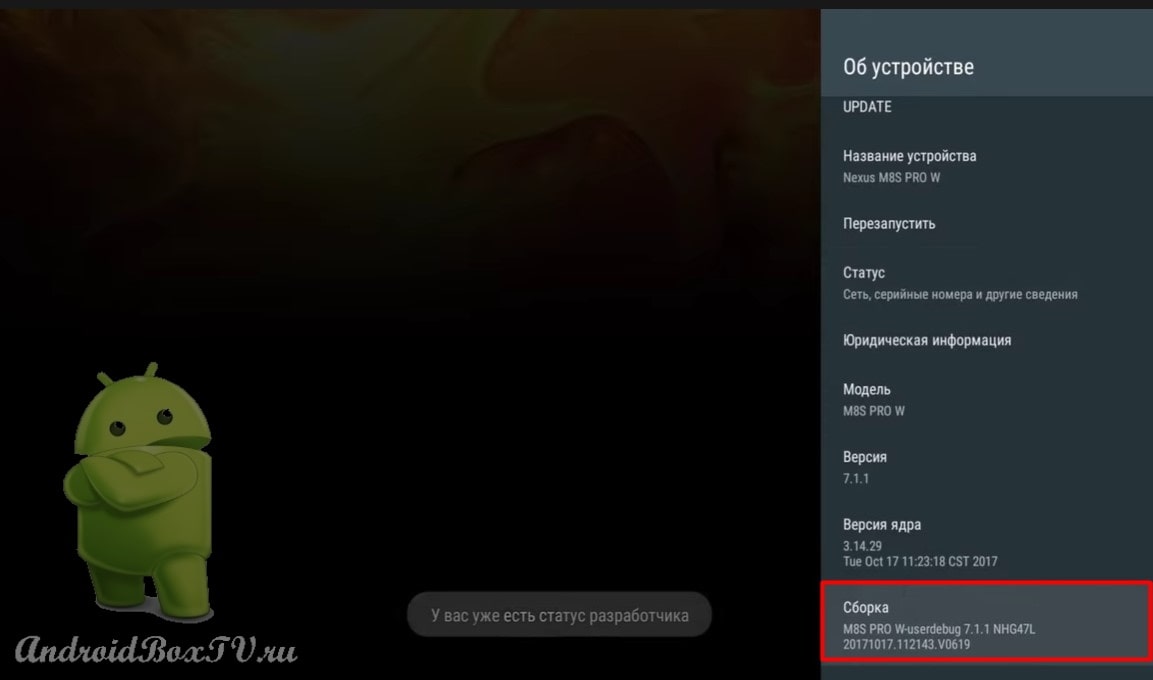
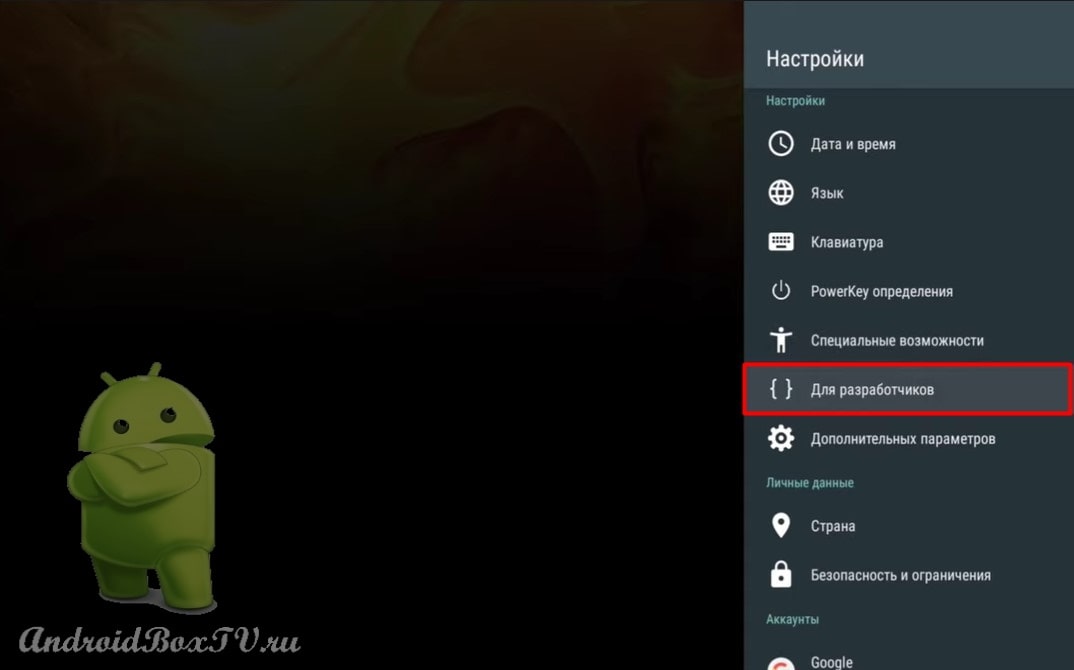
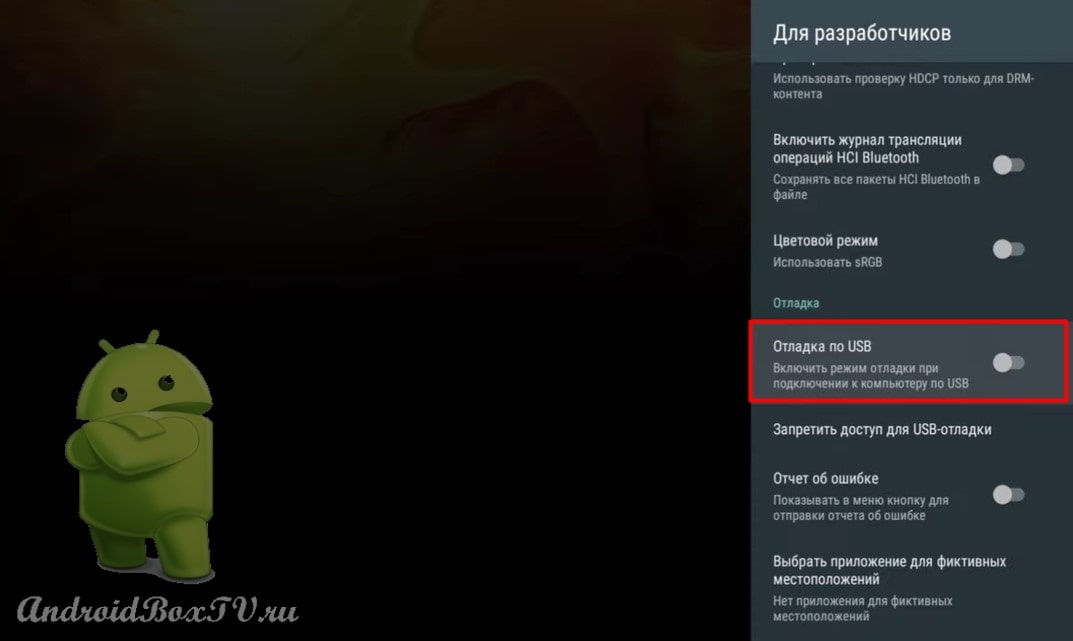
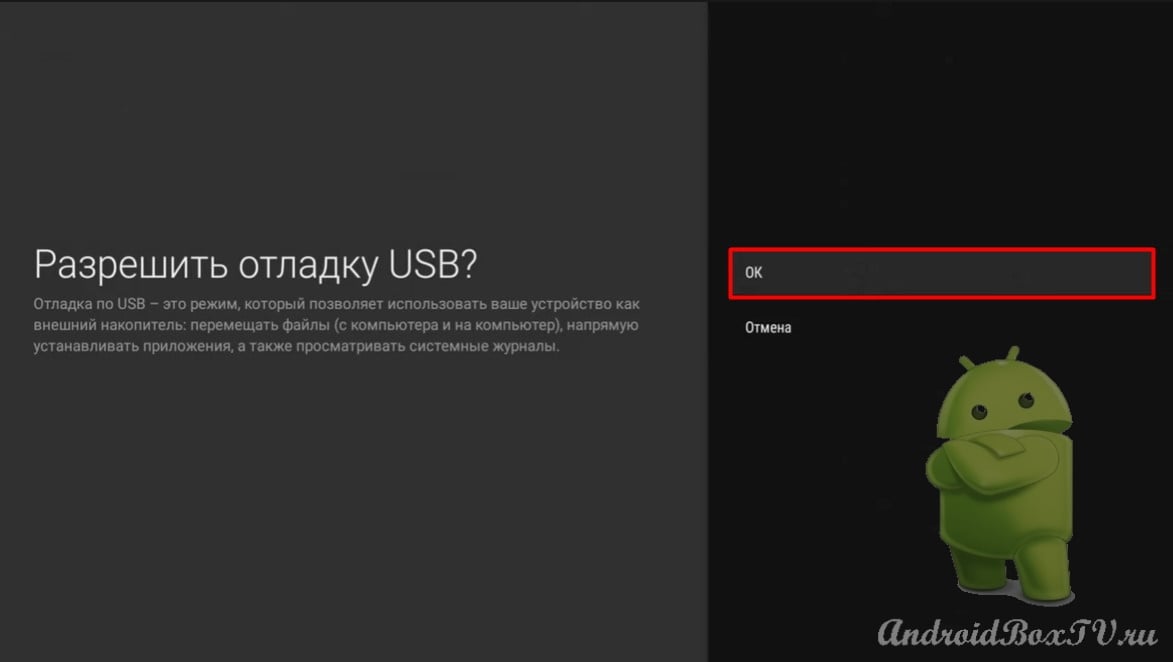
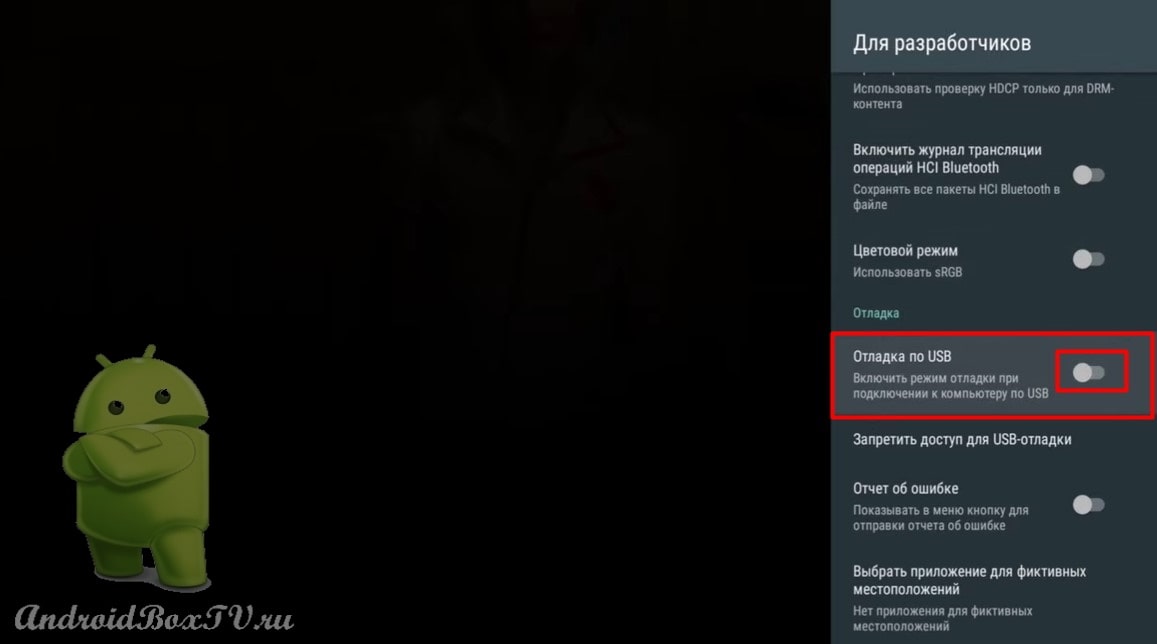
Go to the device settings and disable “USB Debugging”:
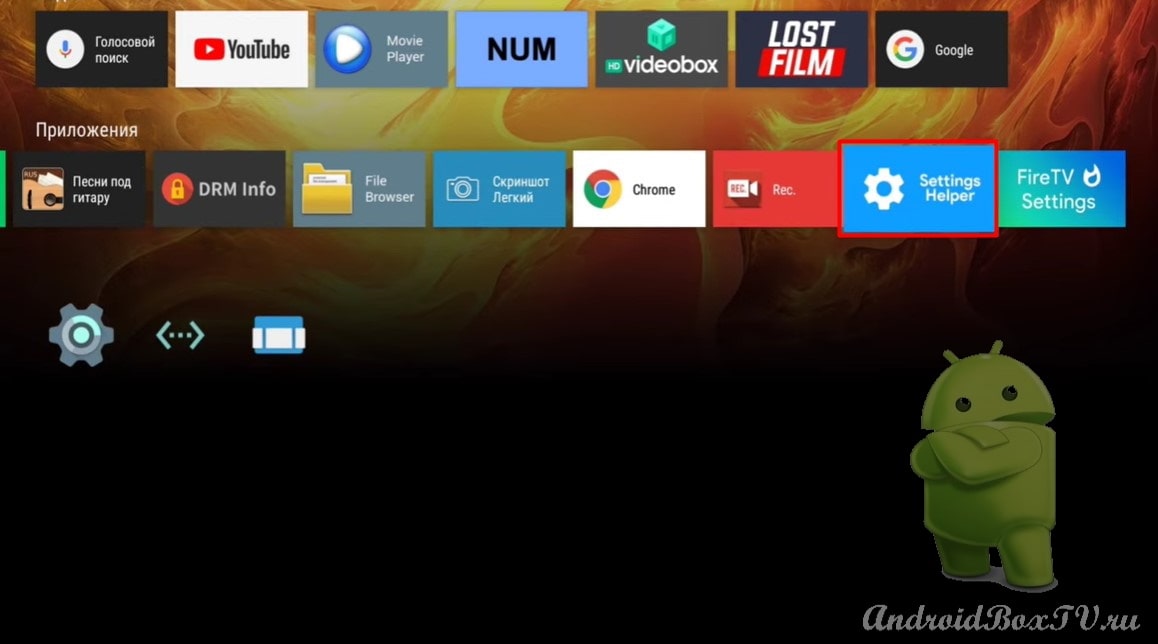
The “FireHelper” application can be uninstalled.
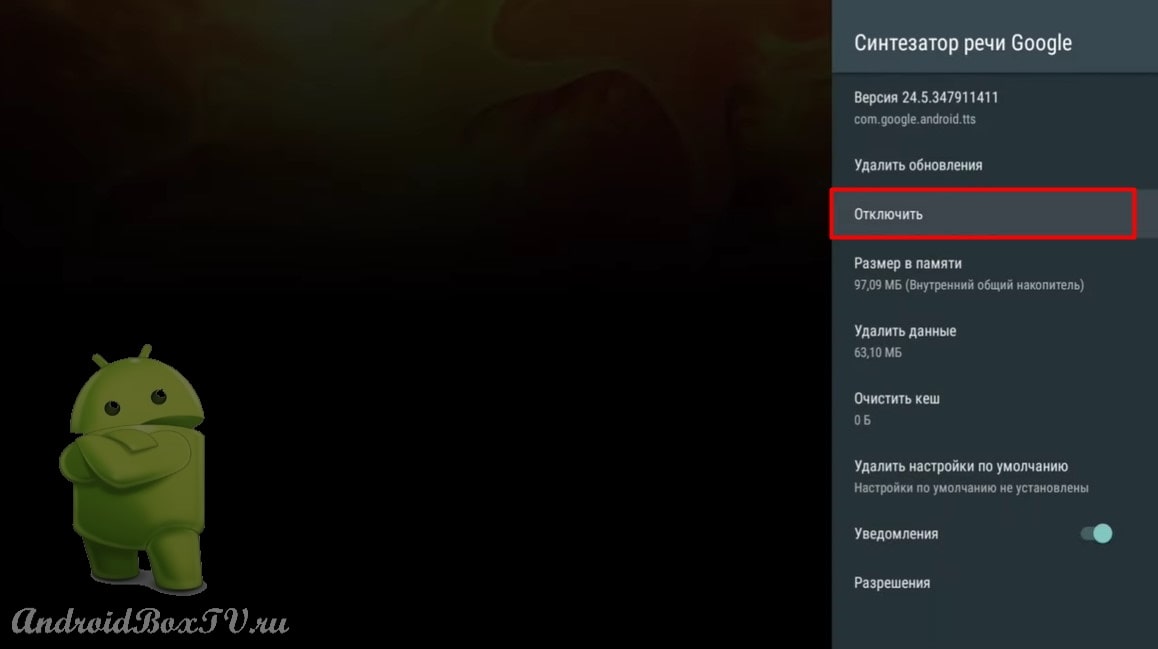
There is such a side effect, if the system starts to voice the action on the screen, then you need to find the “Google Speech Synthesizer” in the system applications and turn it off:
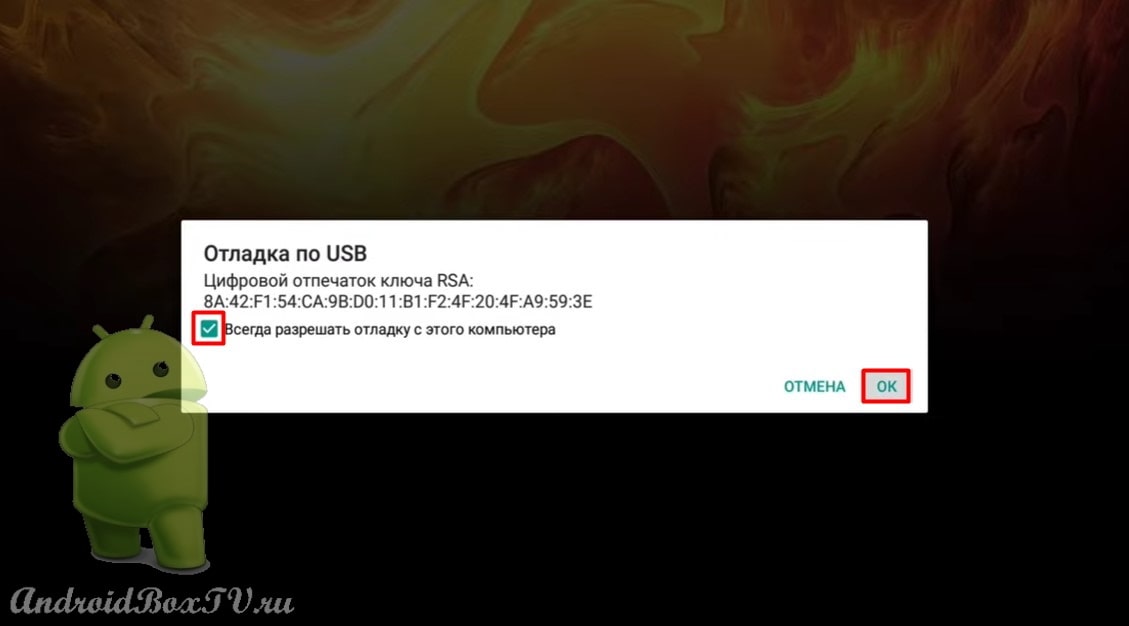
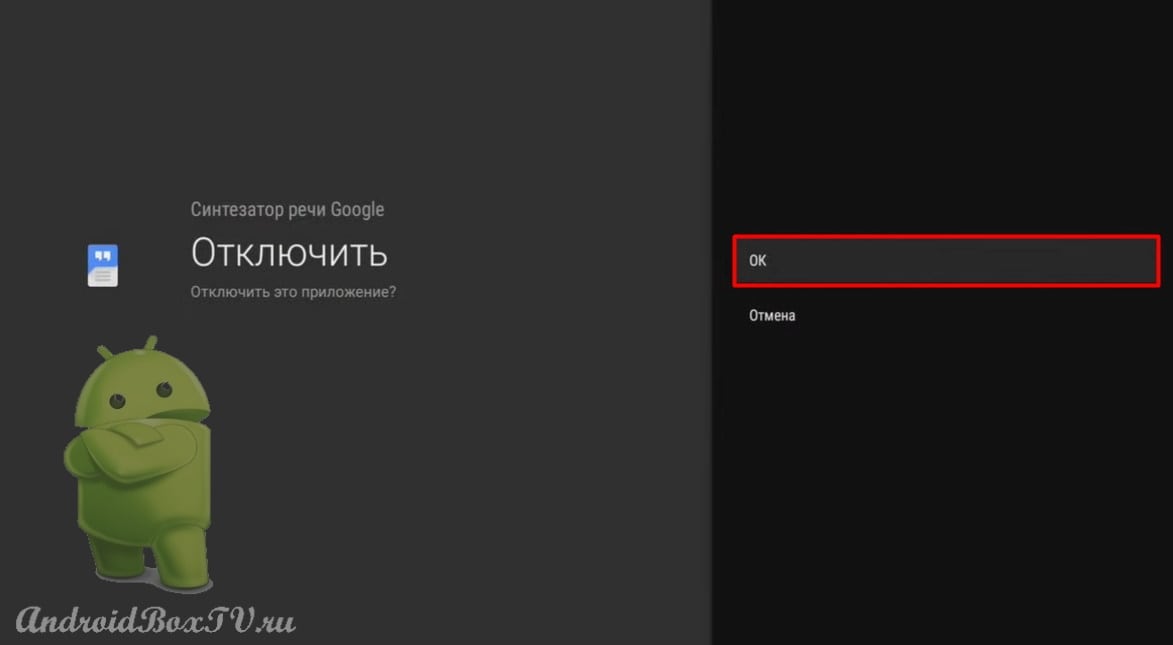
We confirm:
That's it!
Check out other articles from the category “Difficult tasks” Here.
Today we will consider Chromecast. Chromecast technology is the playback of a video stream from the Internet or from a local network. In this article, from a smartphone with the Android operating system to a TV or TV Box with the same AS. Currently, many applications support this feature: YouTube, Google Chrome, IPTV by Alexander Sofronov, Netflix .
Not all smartphones out of the box support the mirror screen function. In this article, we will install an application on a smartphone to access this function. Also, on a non-Google certified device, we will install a modified “ Google Cast Receivert ”, because Chromecast technology does not work on these devices. Also, this program can be installed on TV Box with Android AOSP (Android with regular Play Store).
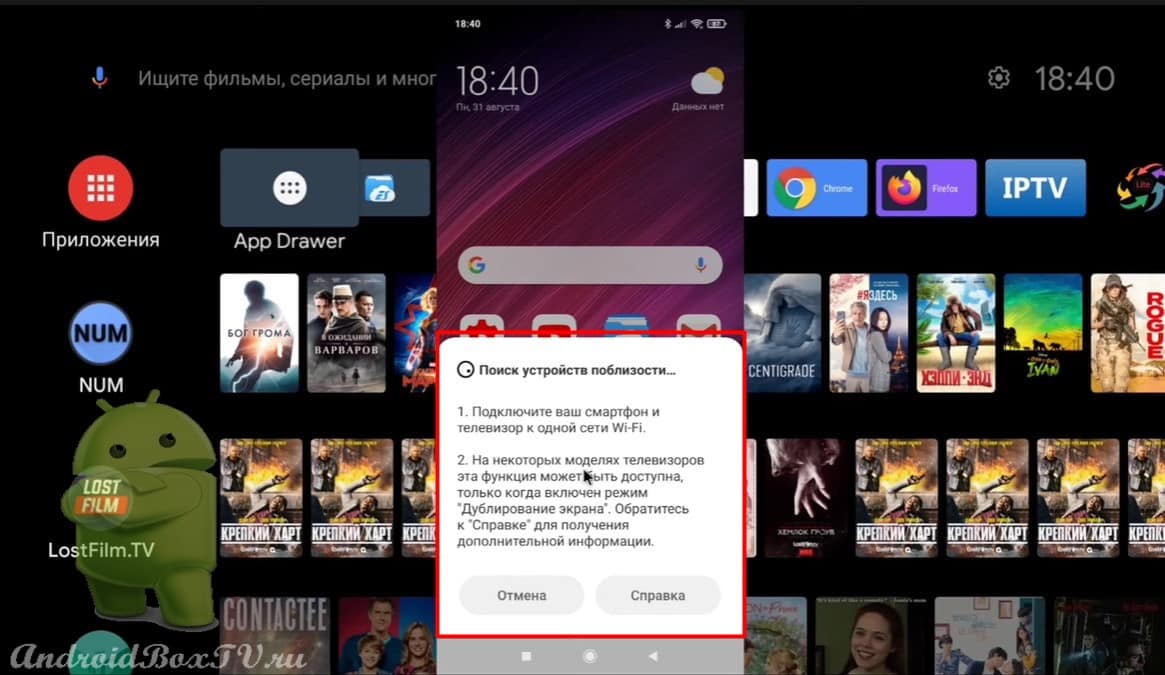
Let's get started. Both devices must be on the same home Internet network. First, let's try to start broadcasting from the curtain :
The search for local network devices has begun:
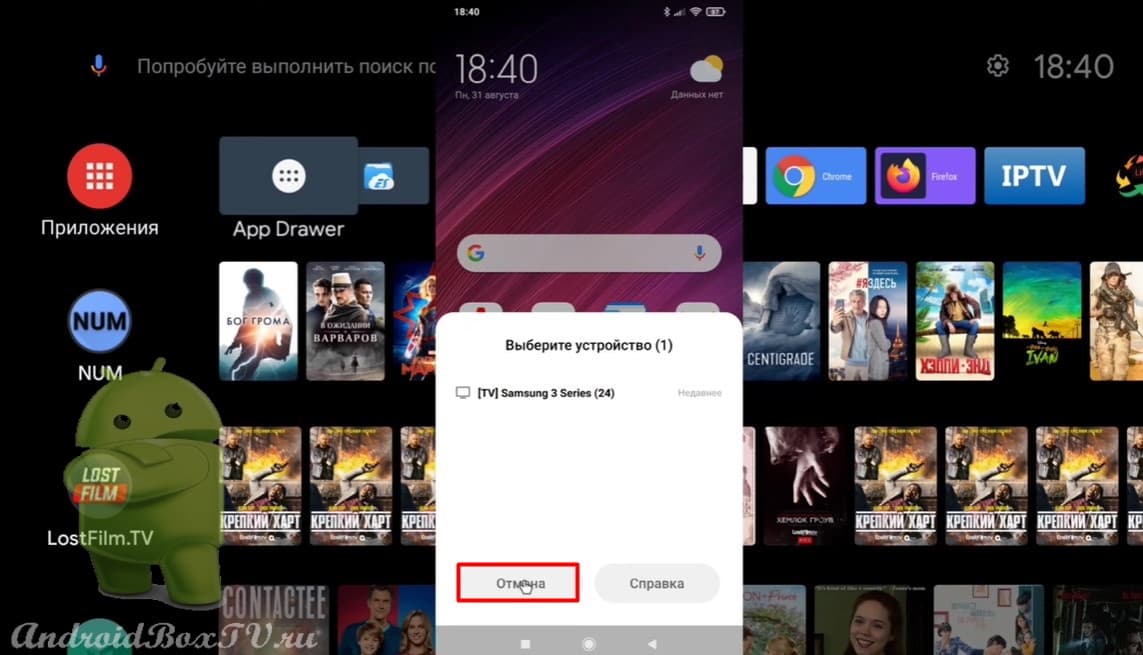
TV detected “Samsung" and nothing more:
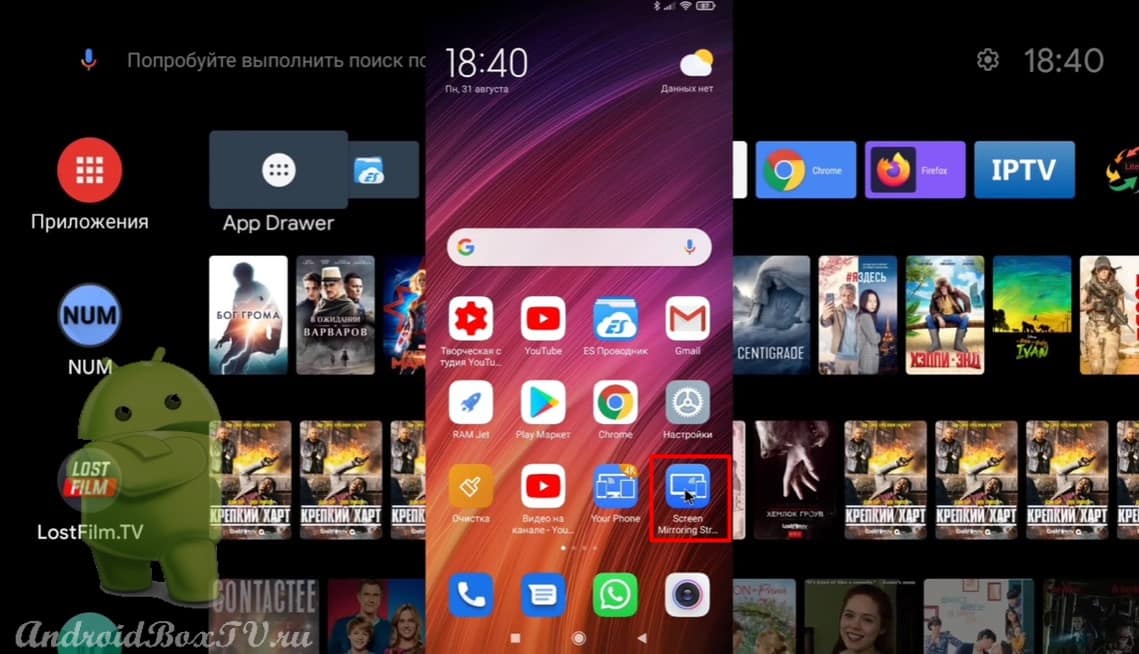
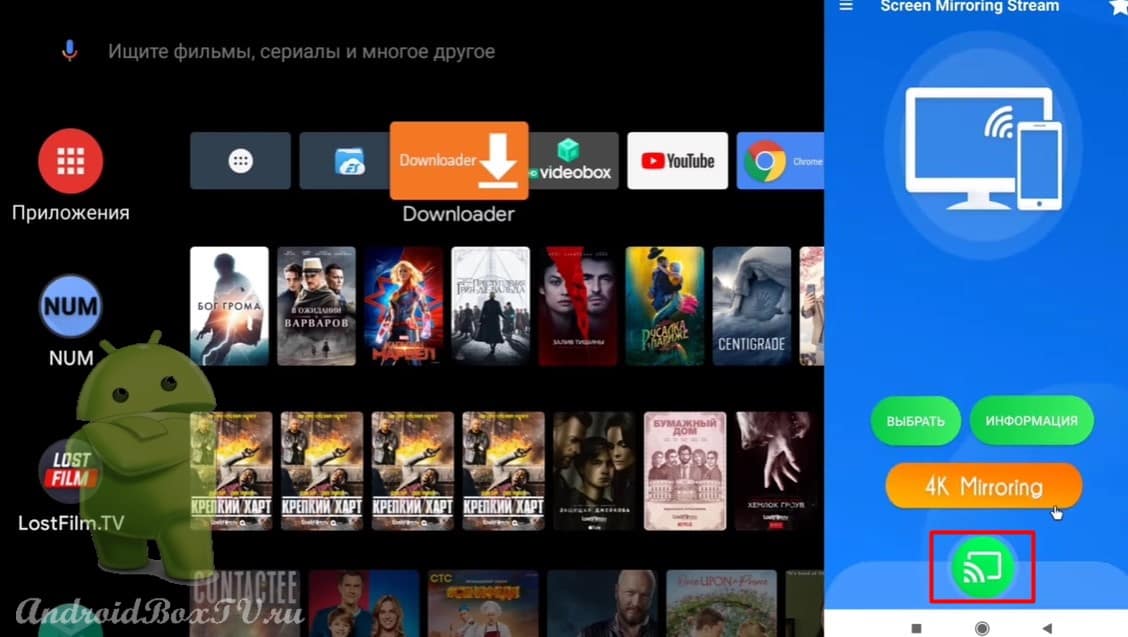
To solve this problem from Play Market install the applicationScreen Mirroring". This application is nothing of itself, it's just access to the system application "Mirror Screen".
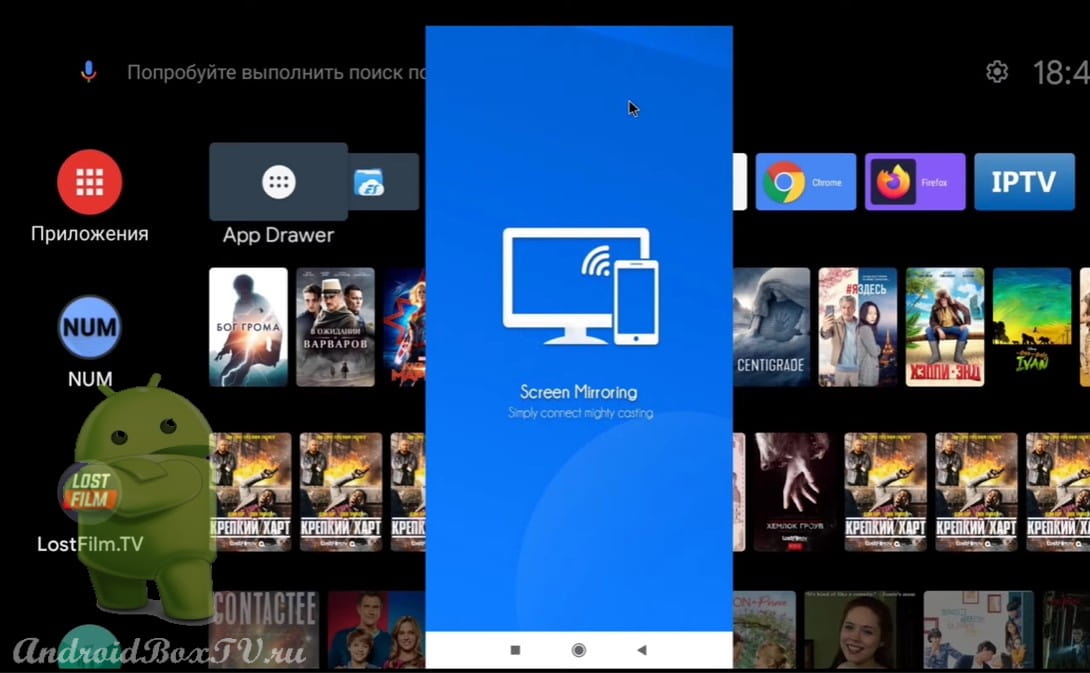
Opening the application:
Click on the "Chromecast" icon:
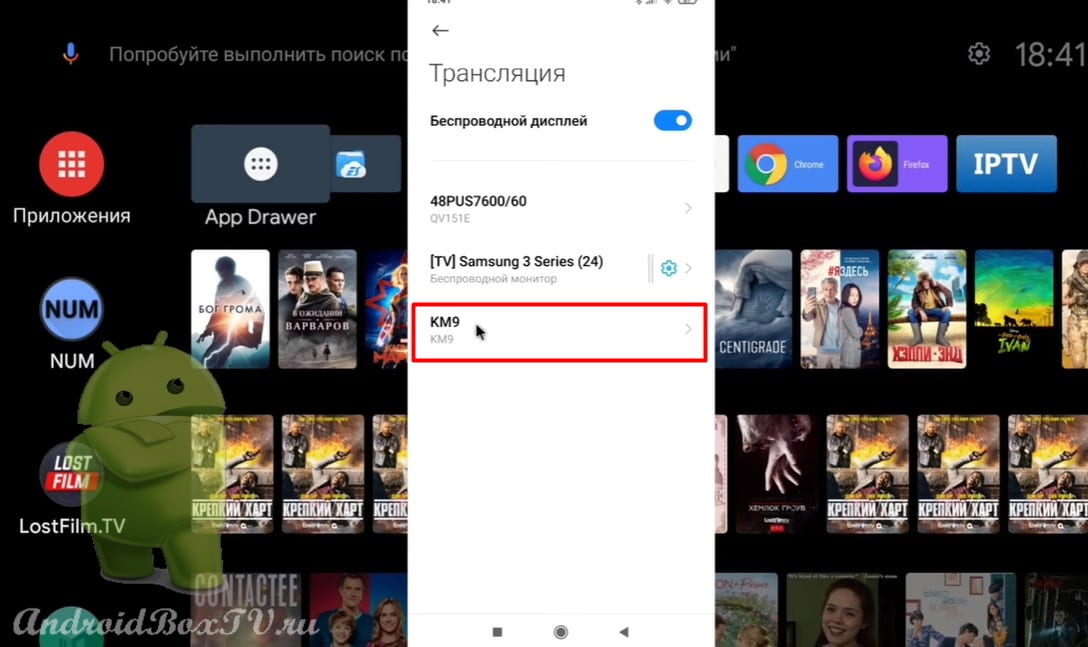
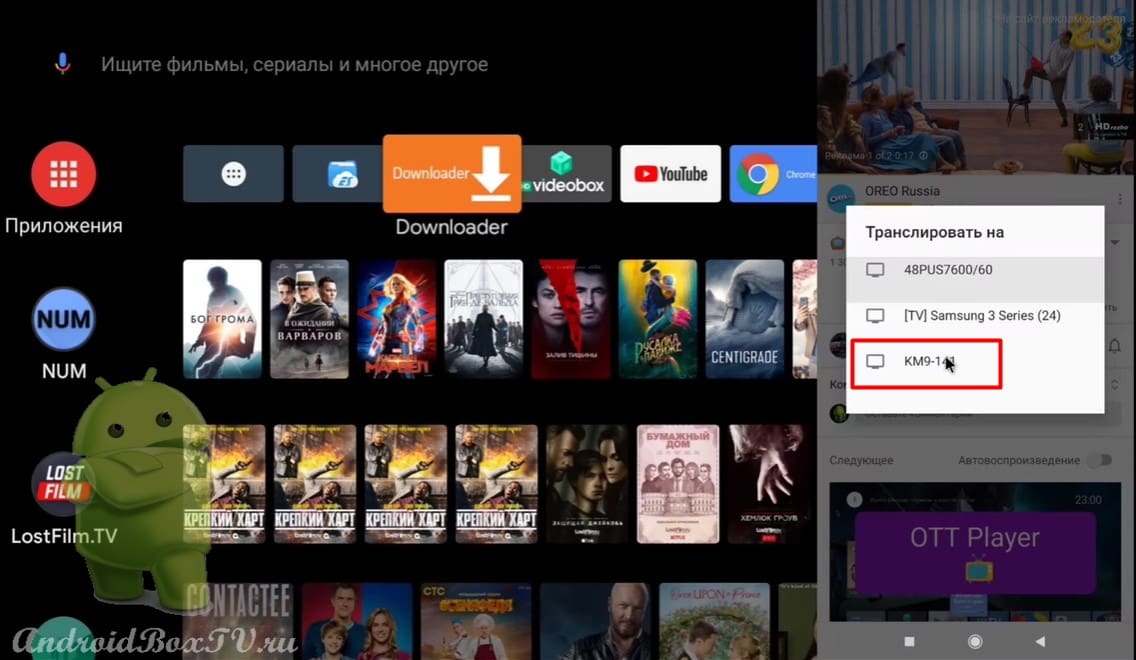
Choose "KM9”(you choose yours):
The device is not certified, so the “Chromecast” technology does not work on it:
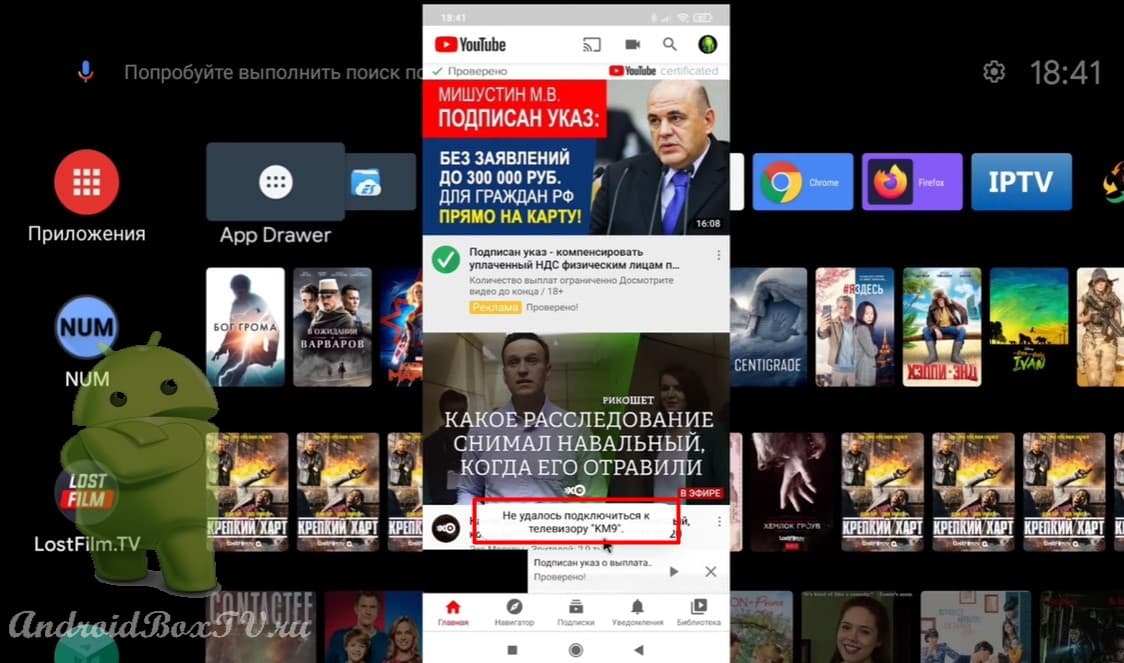
Now we will duplicate it on YouTube. Go to YouTube, click on the “Chromecast” icon and select “ KM9” :
Also failed to connect:
If you have the same problem, let's see how to solve it.
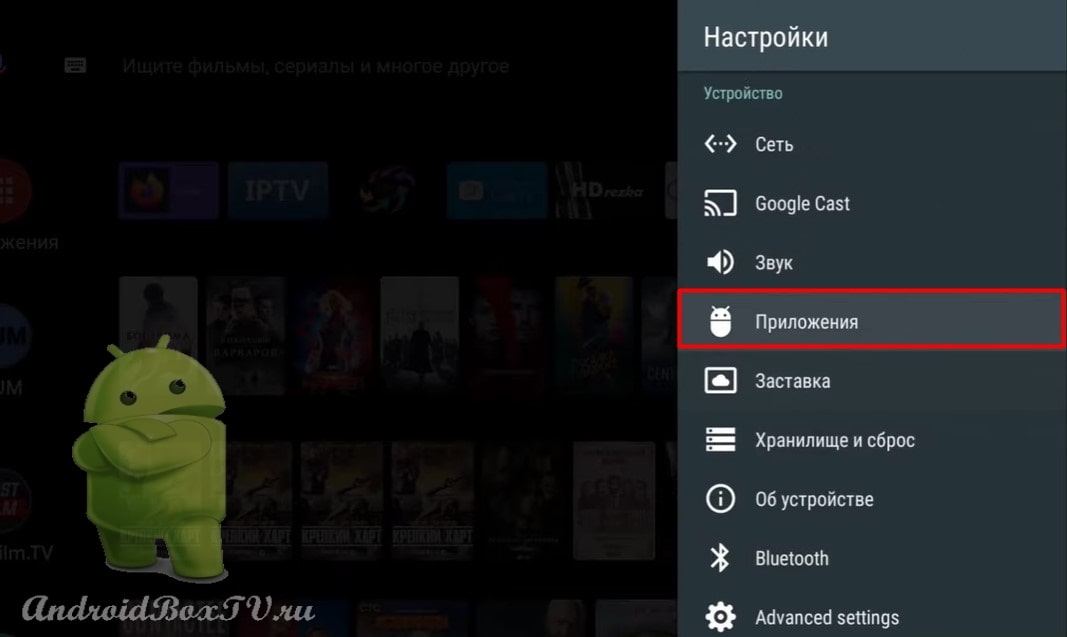
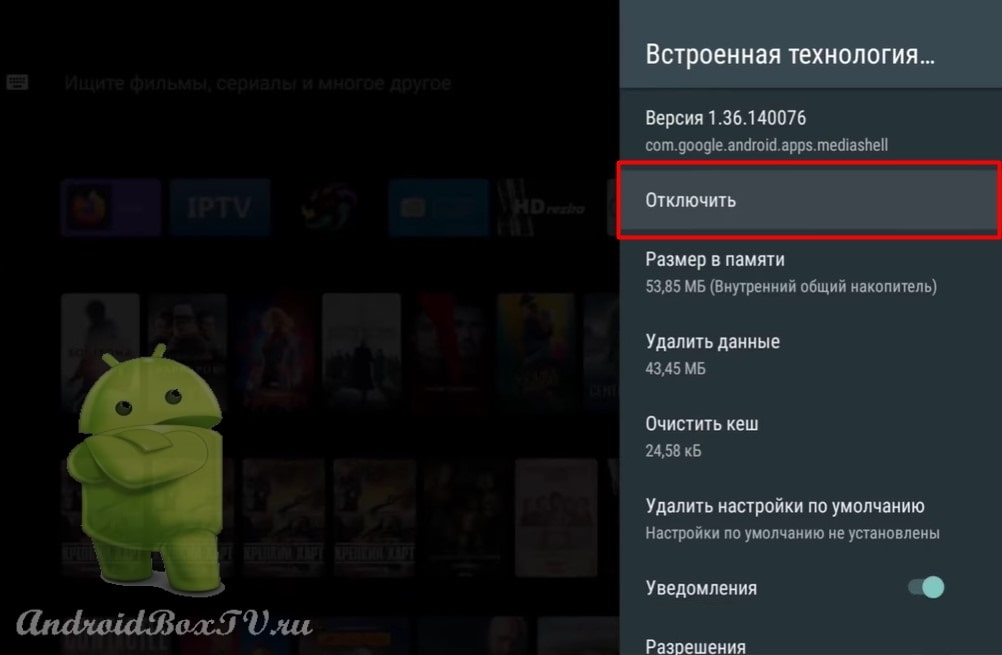
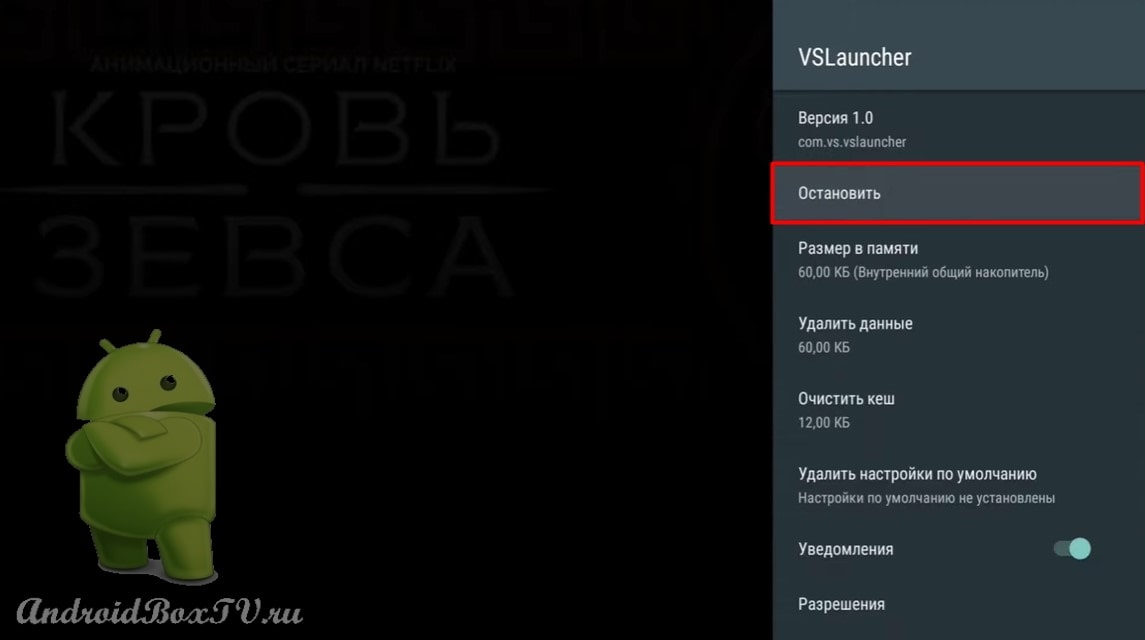
Go to device settings:
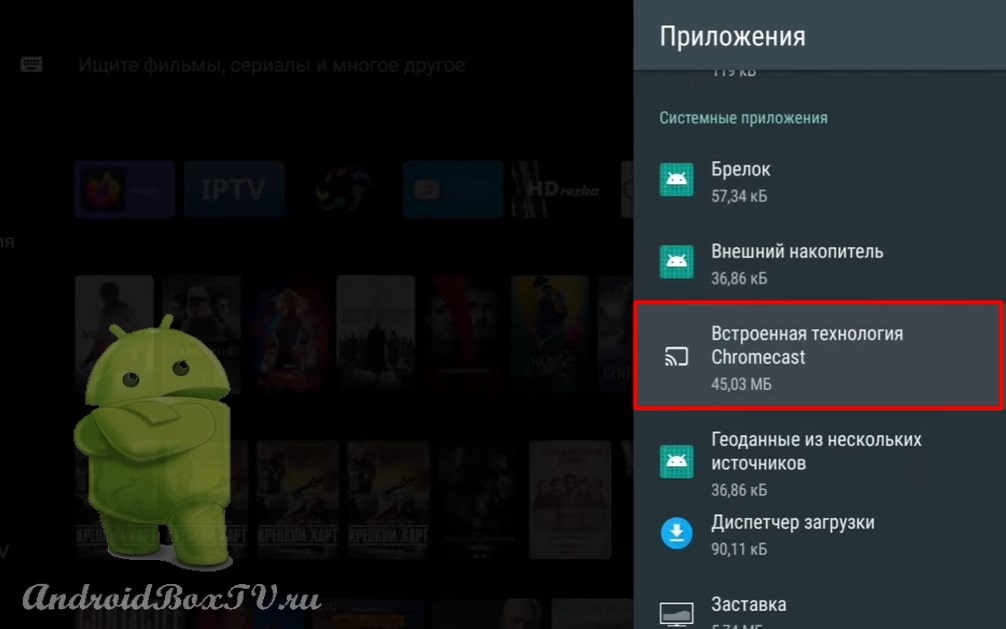
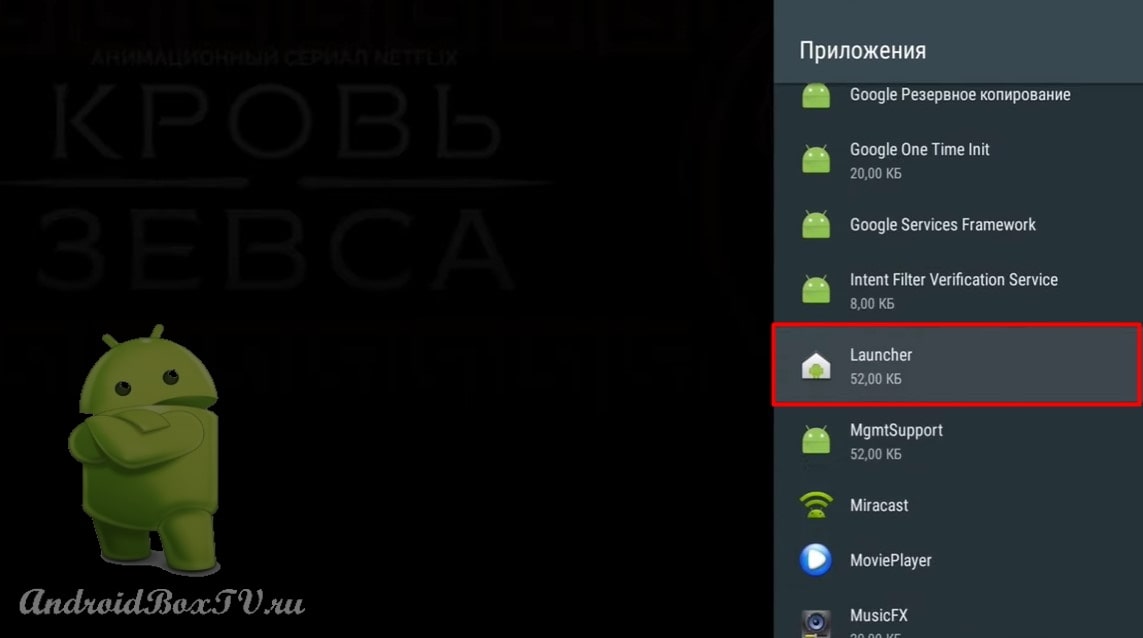
Open "Apps" and select "Integrated Chromecast":
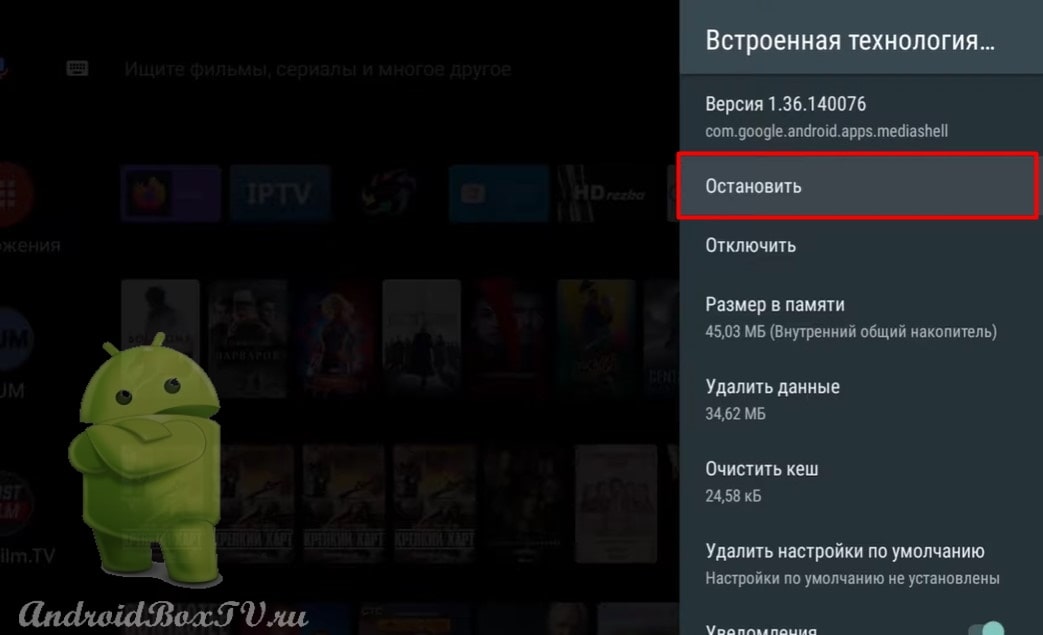
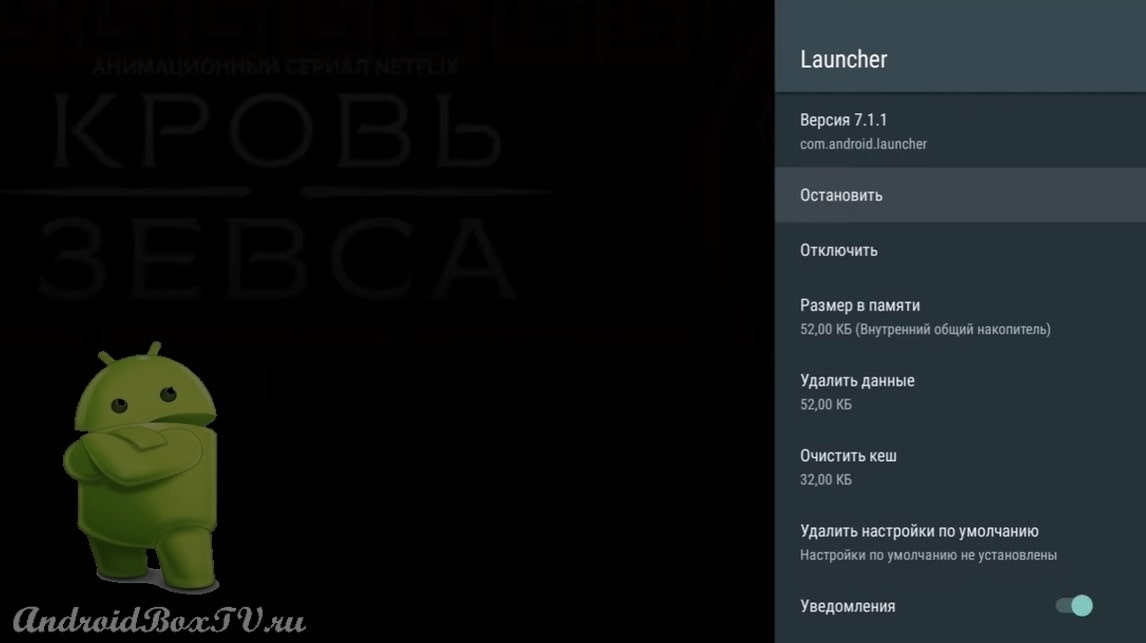
Click "Stop":
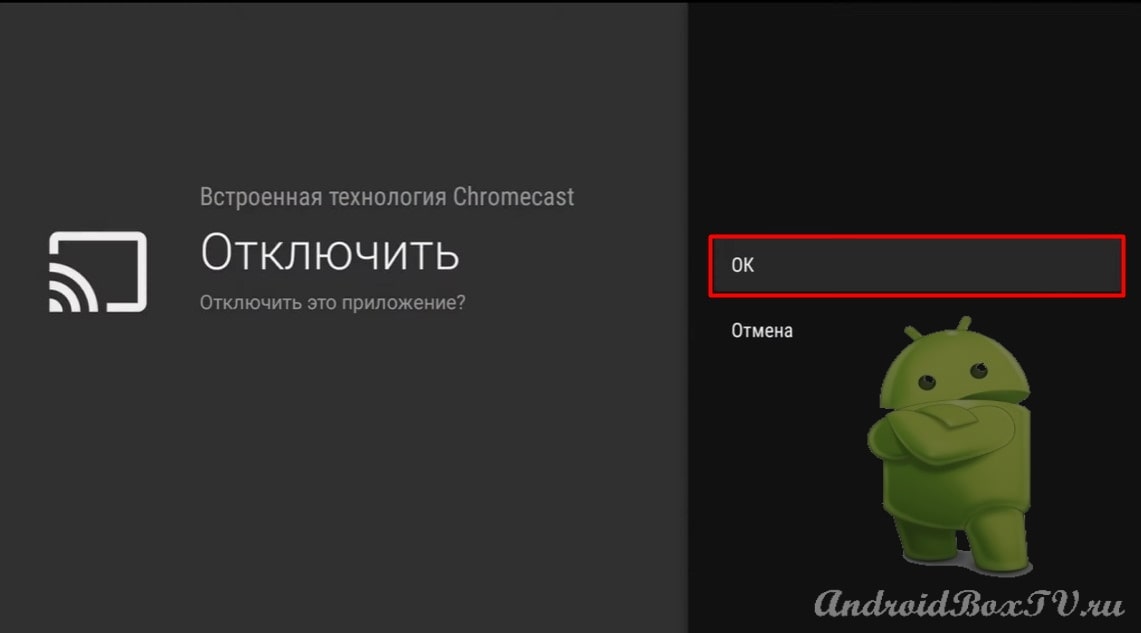
Click "Disable":
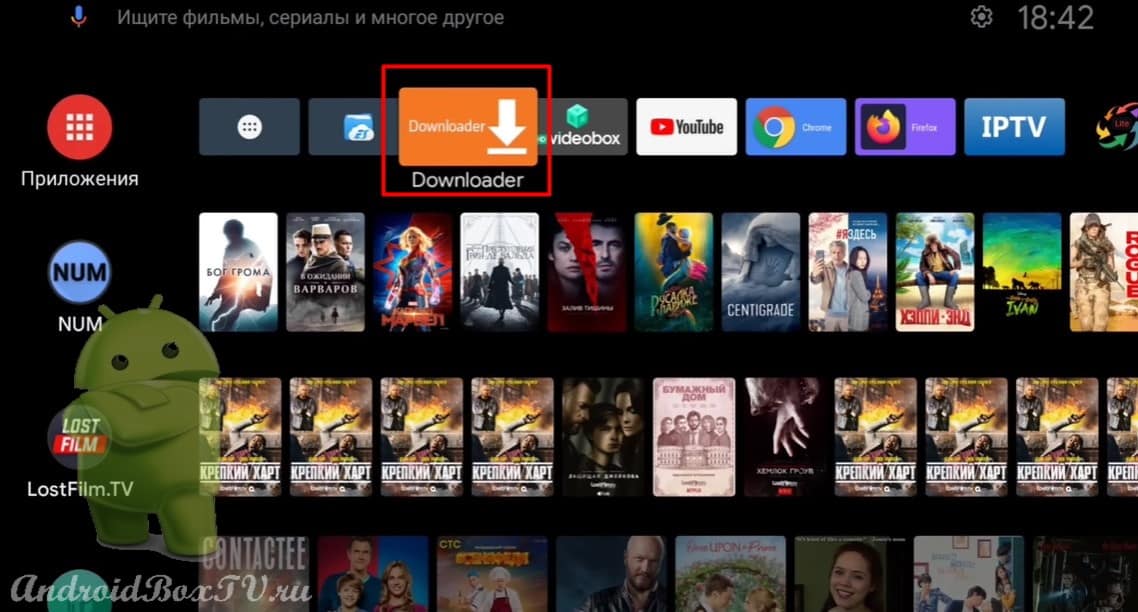
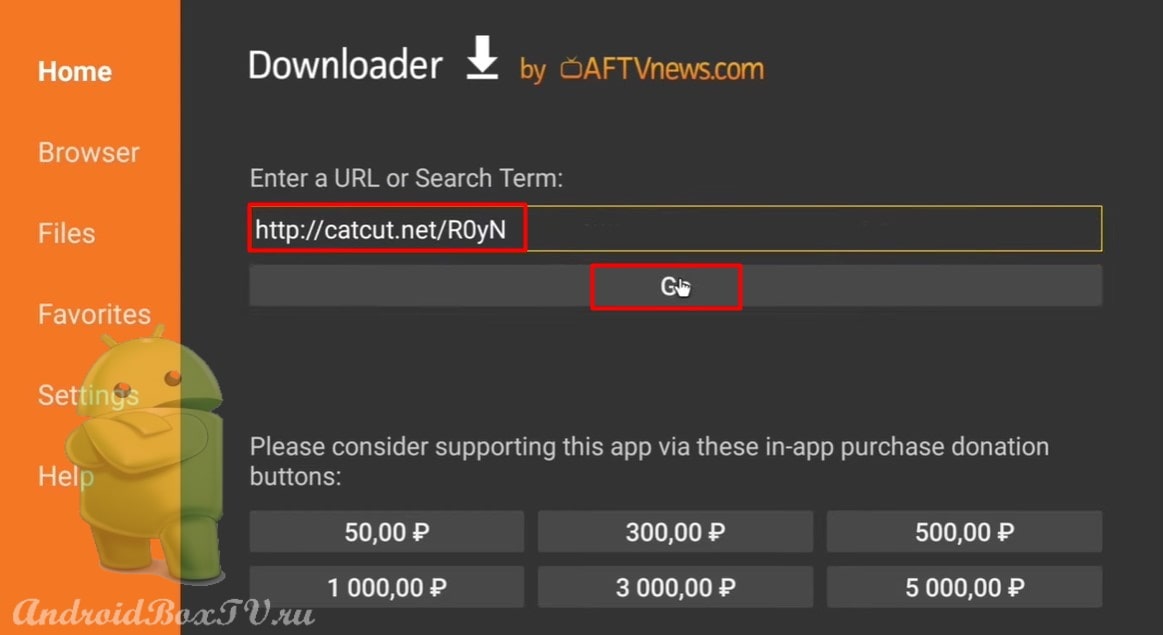
We return back. Open “Downloader”, enter the link to the APK file and click “Go”:
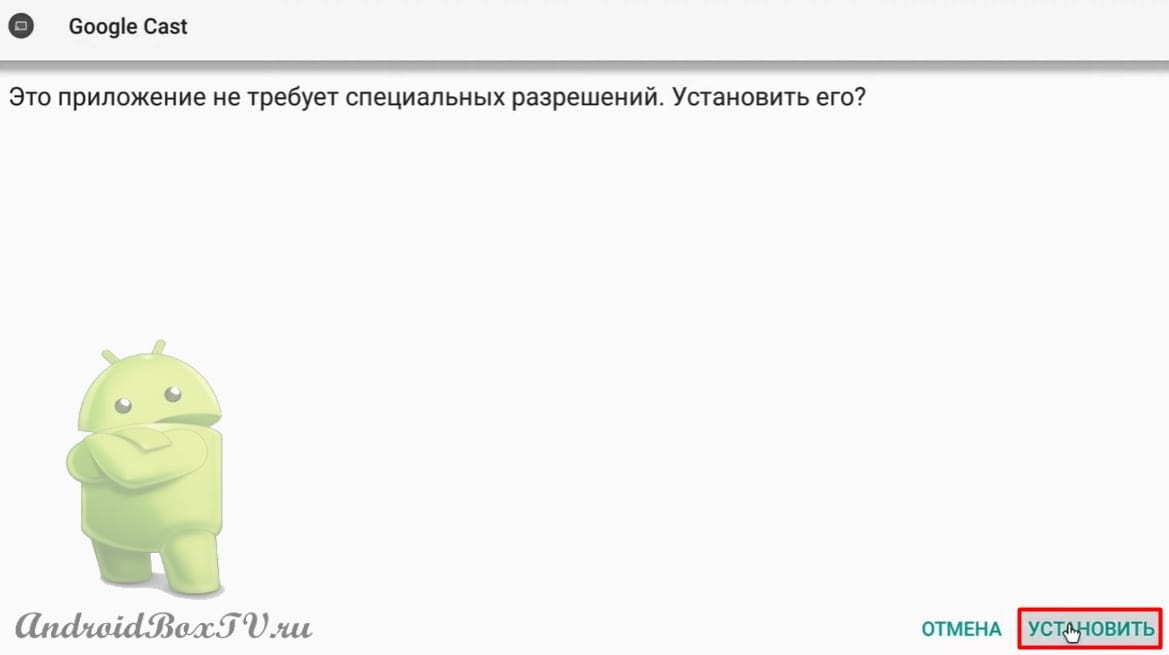
Install the modified program "Google Cast":
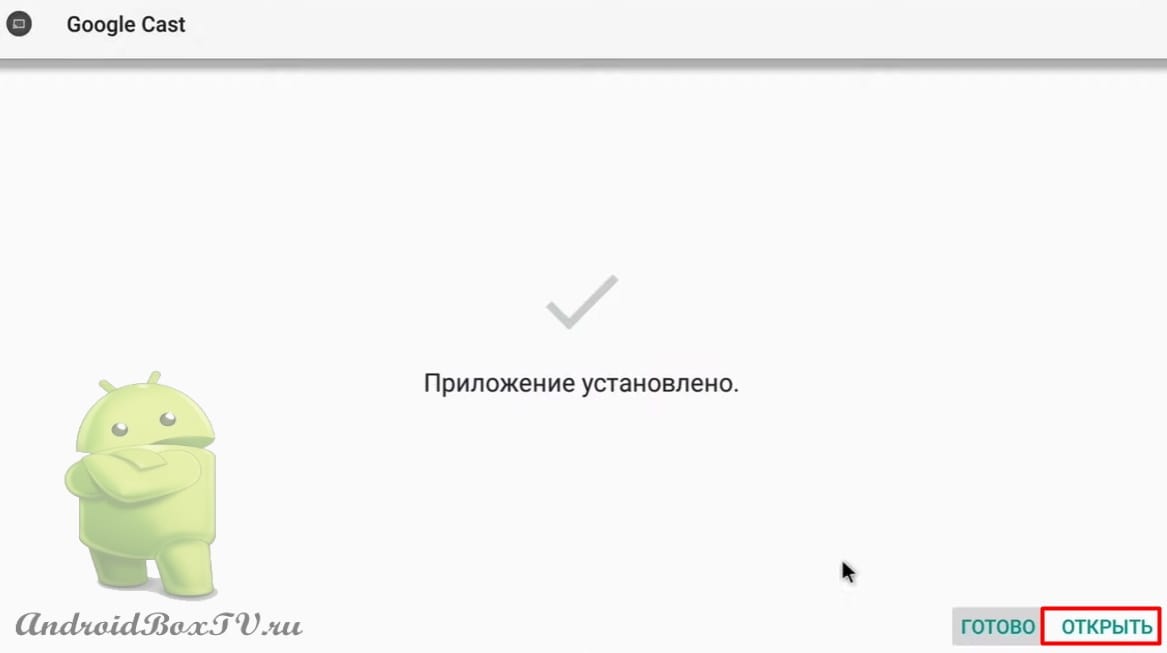
Opening the application:
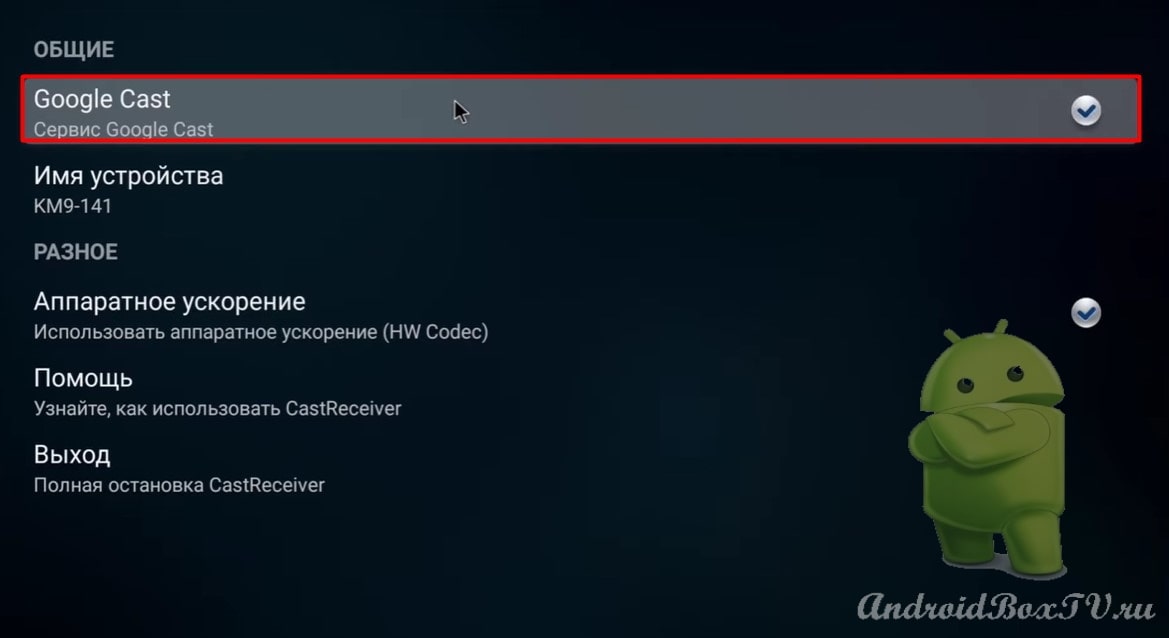
Here you can disable or enable it:
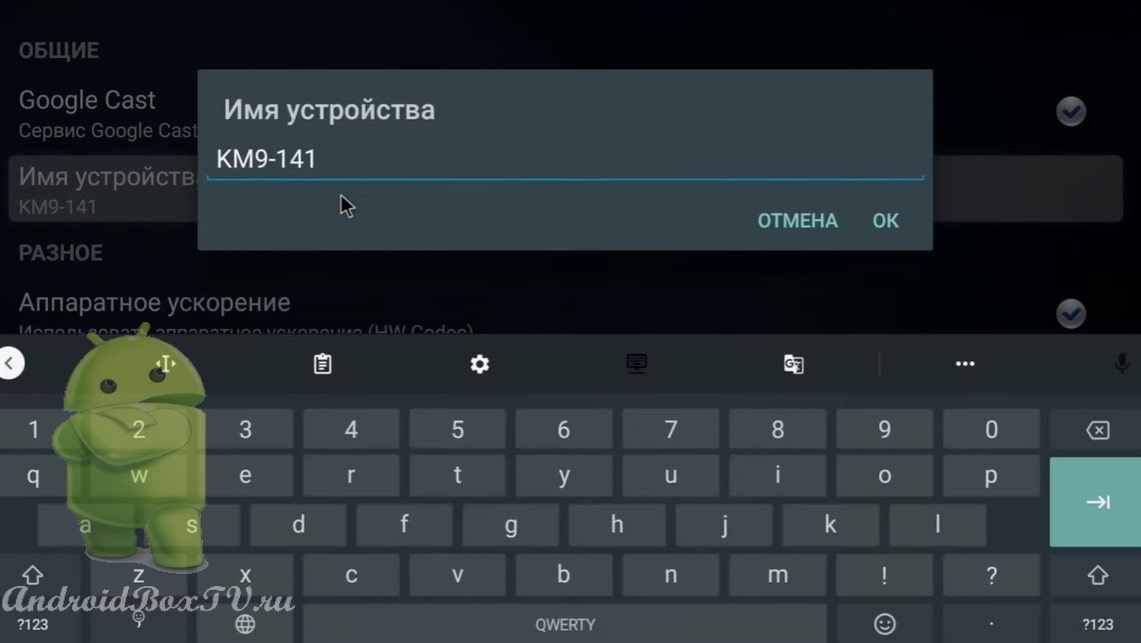
You can also rename:
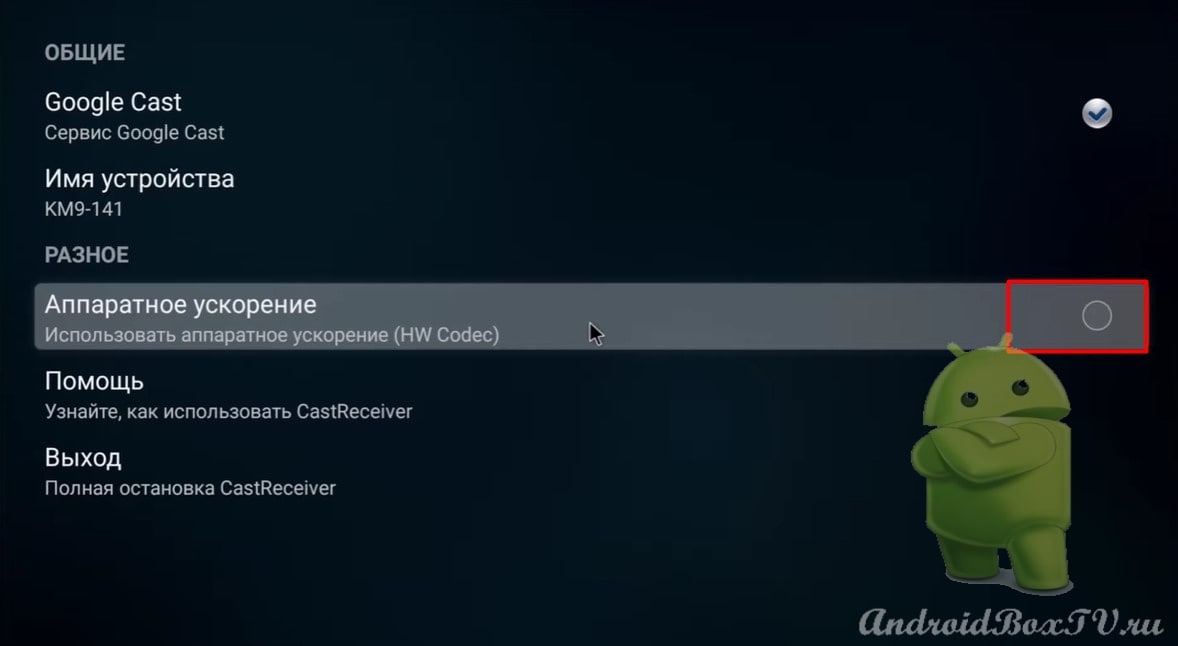
You can try to disable “Hardware acceleration” if something goes wrong:
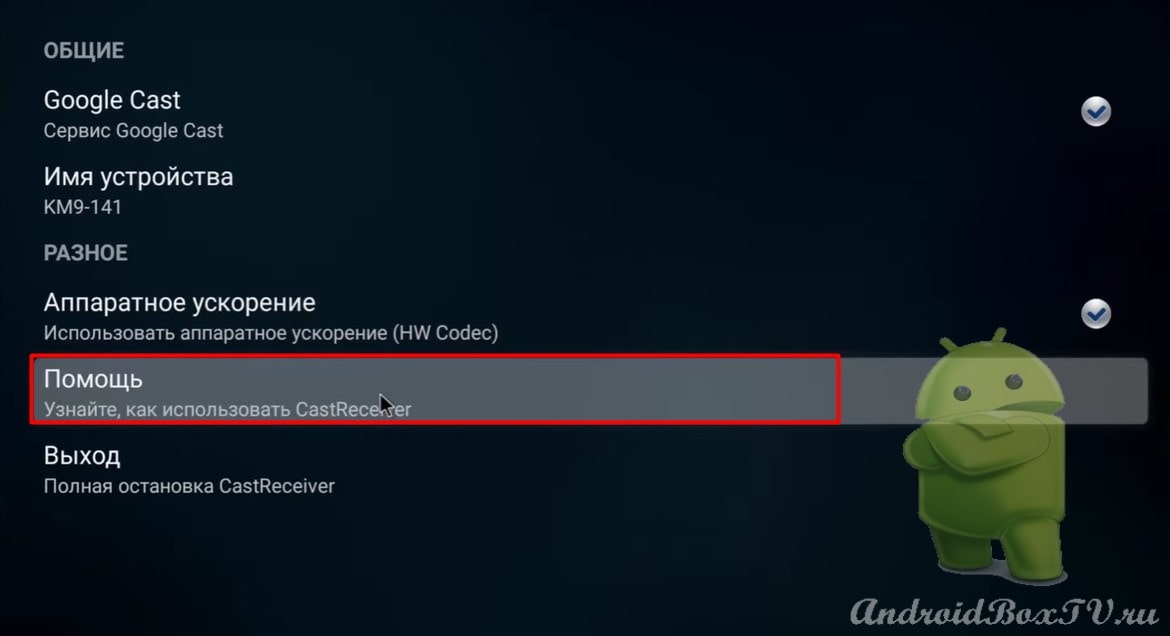
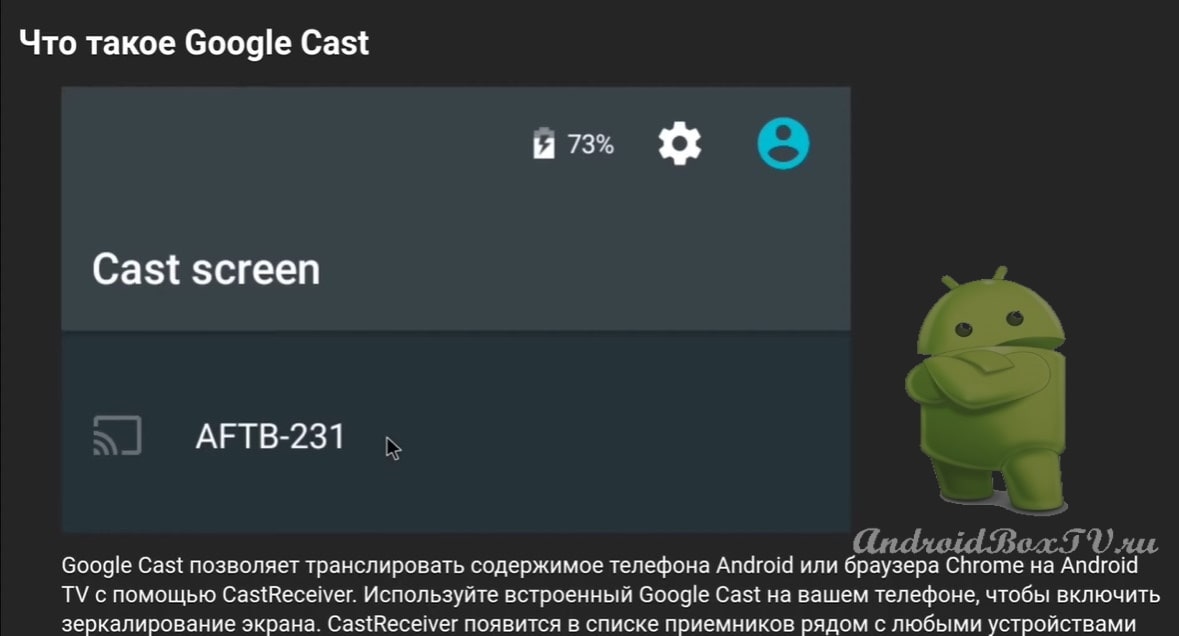
Help section (detailed information):
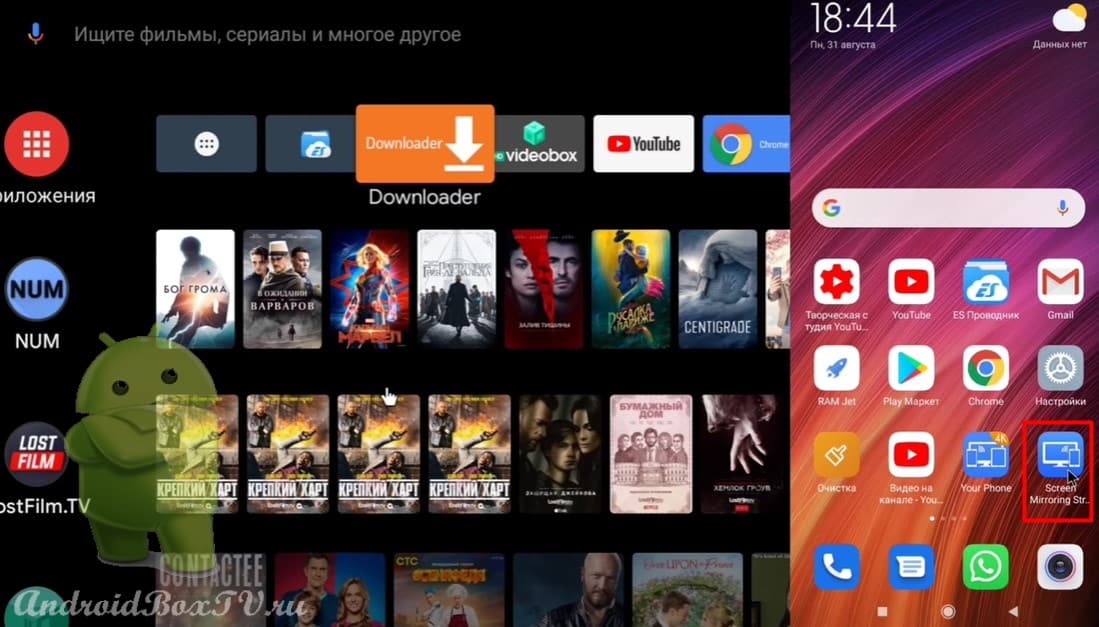
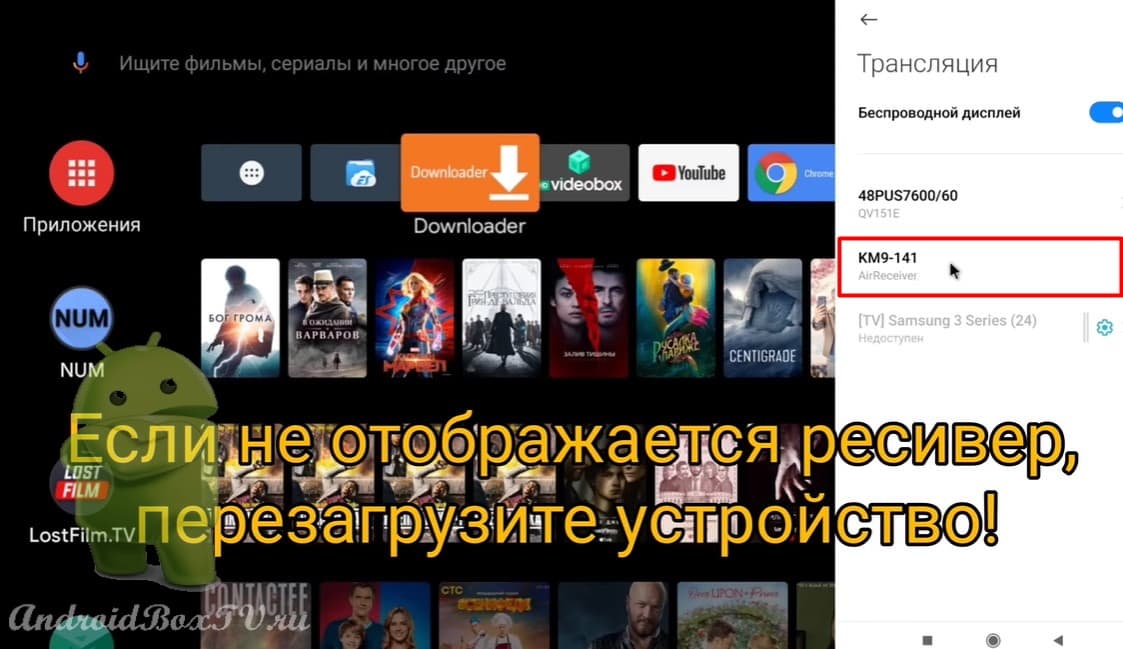
Next, take a smartphone and open “Screen Mirroring” :
Click on the "Chromecast" icon:
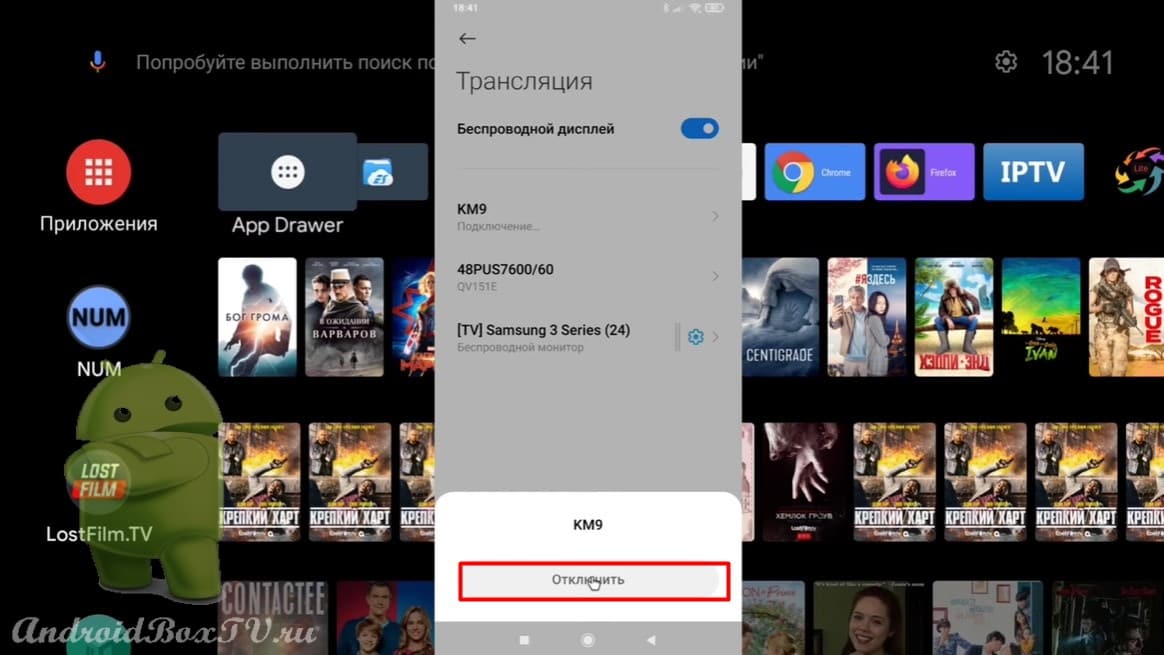
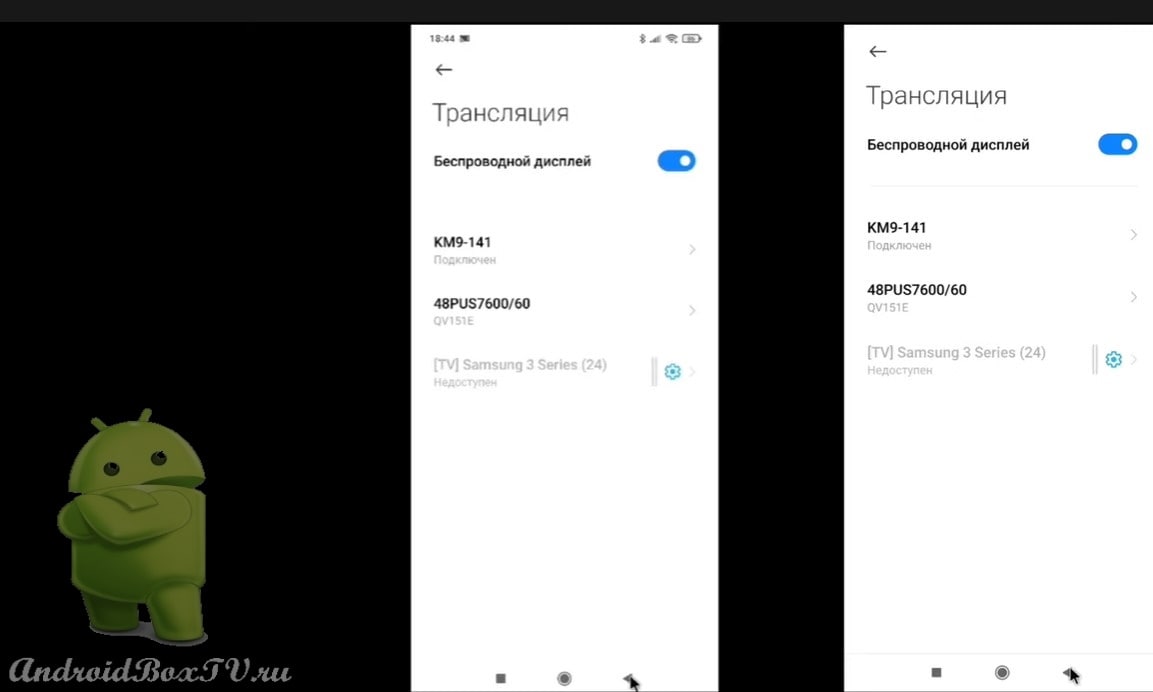
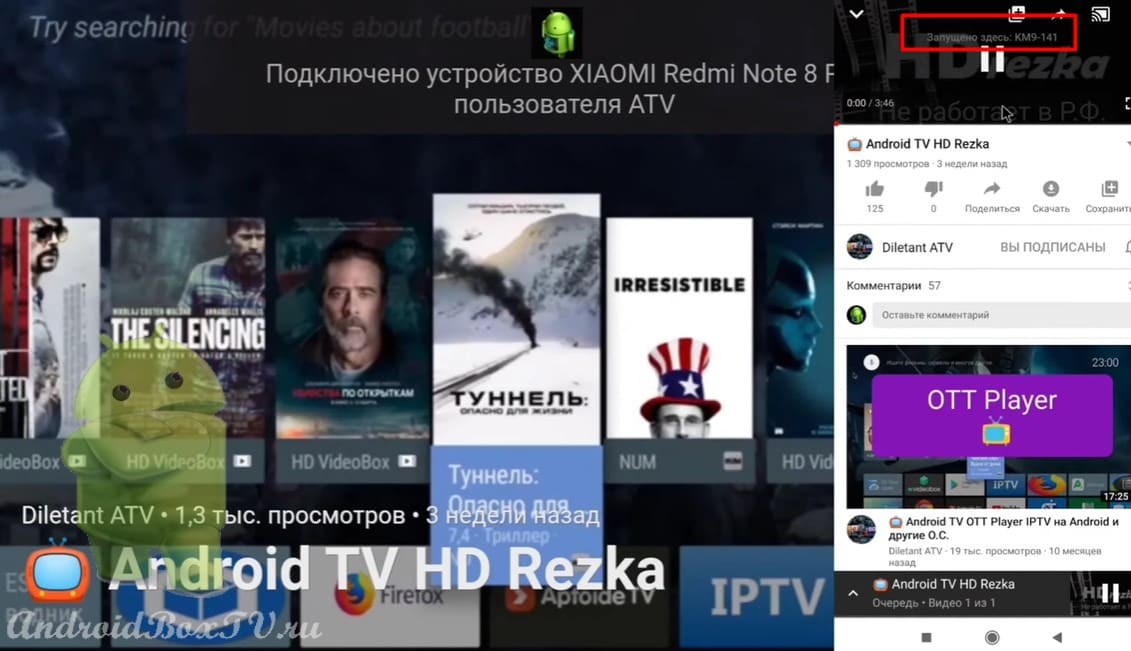
Choose "KM9-141” and see that everything is connected:
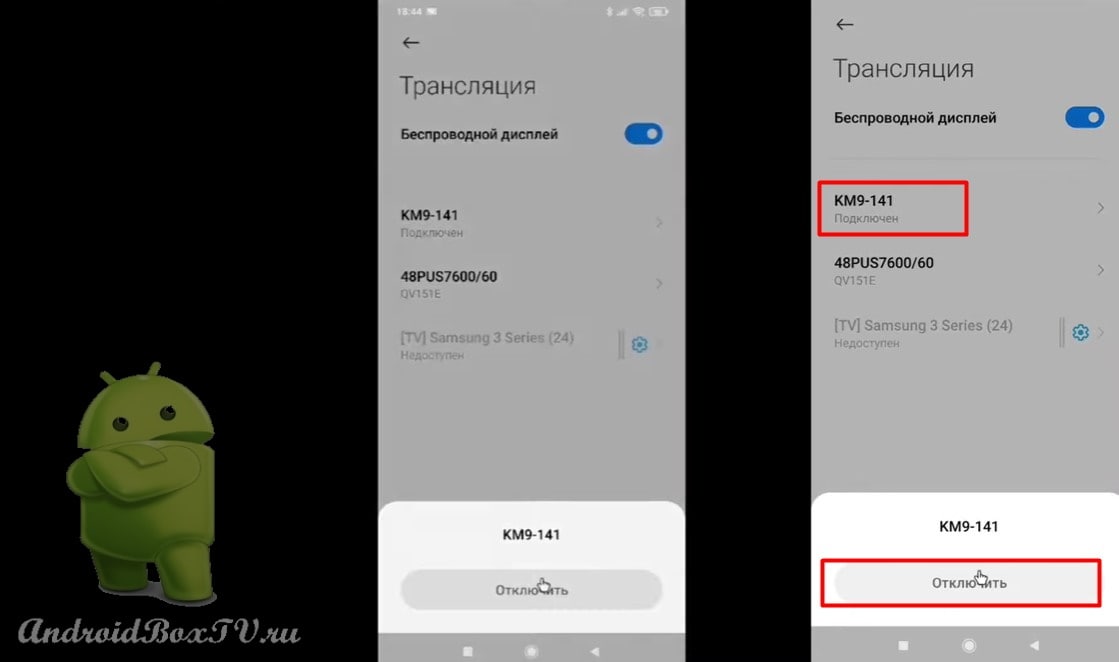
Stop streaming:
Let's see how this feature works in YouTube. Click on the "Chromecast" icon and connect:
Everything is working:
After all, everything is simple, right? Check out other articles from the "Difficult Problems" section here.
Android TV Launcher on a TV Box with a regular Android . For this action, you will need “Root rights”, but as a rule, on such prefixes “Root” out of the box. Of course, you won't get an exact copy of Android TV, but something close to it.
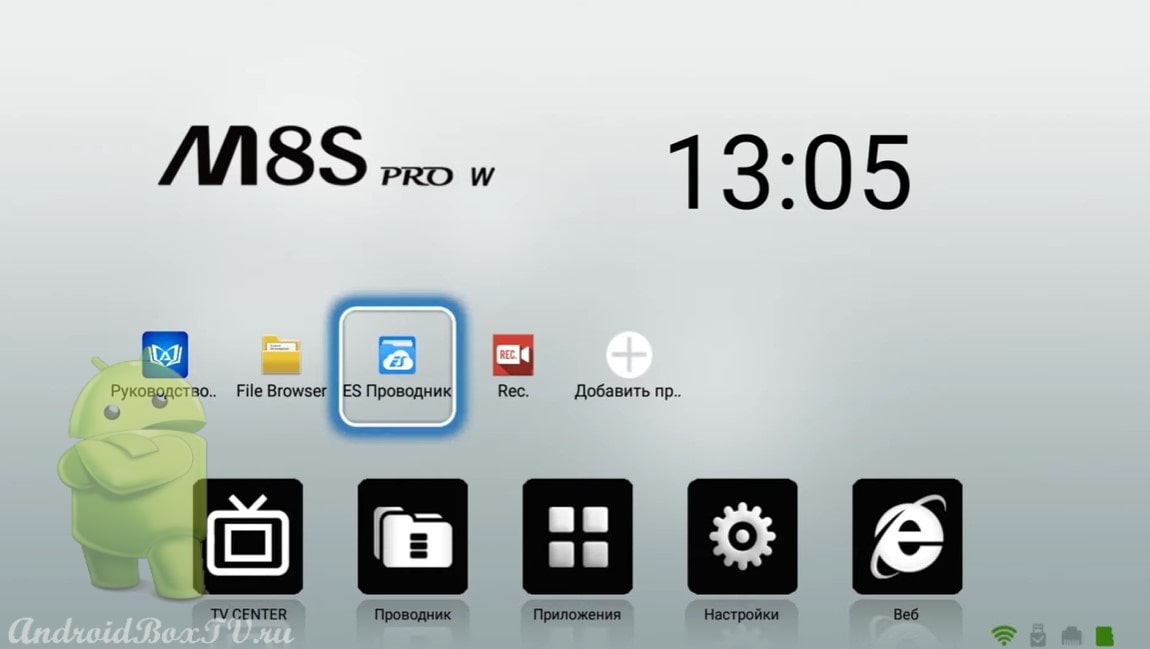
You don't need to flash anything. This program works well on Android 6 and 7, on Android 8 + there are no recommendations from the application. In this article, the application is tested on a set-top box - MECOOL M8S Pro W Android 7.1 .
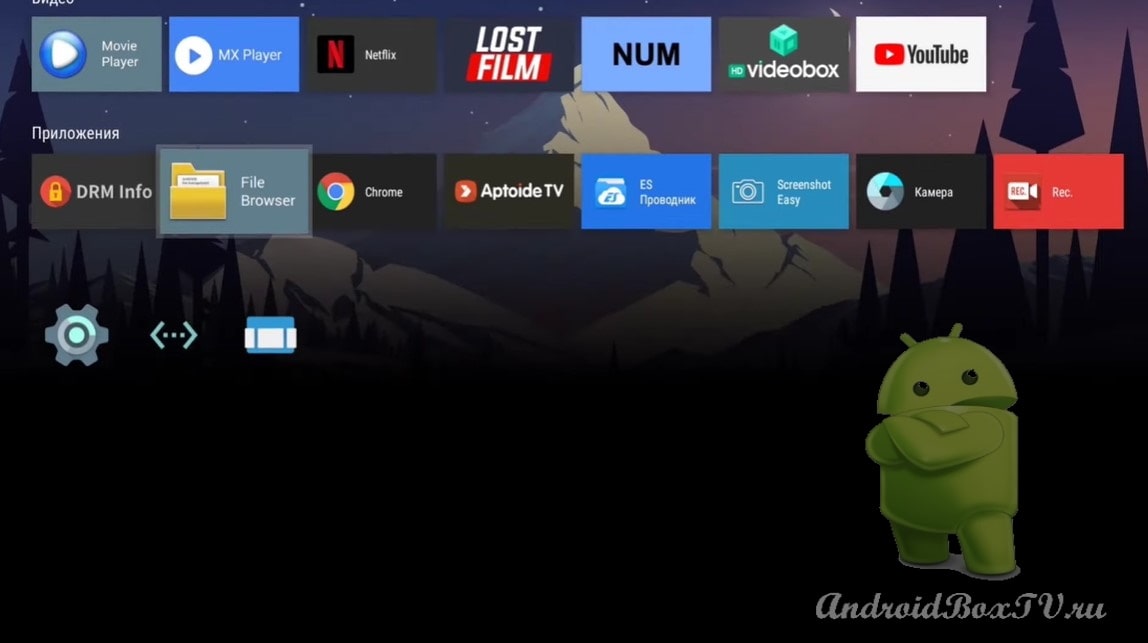
This is how the regular “Launcher” of the console looks like:
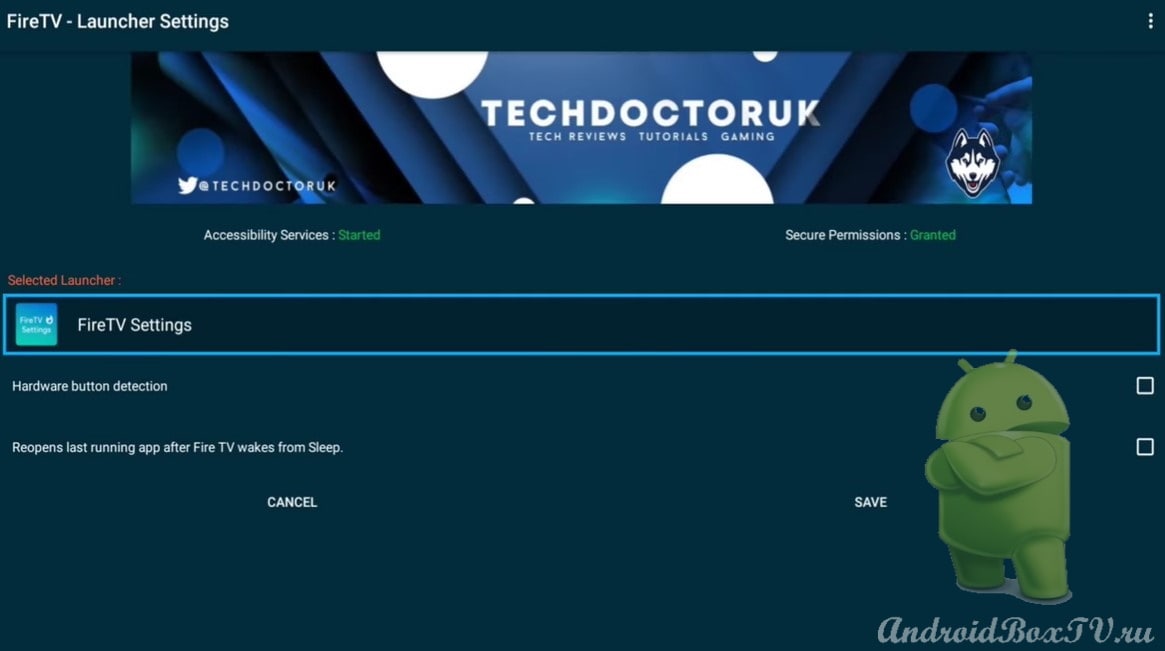
Today we will consider installing “Launcher Fire TV” on TV BOX Android 7.1 AOSP. This application resembles Android TV.
In the recommendation app only from Youtube, voice search works. On Android 8 plus, recommendations can be left off as they don't work.
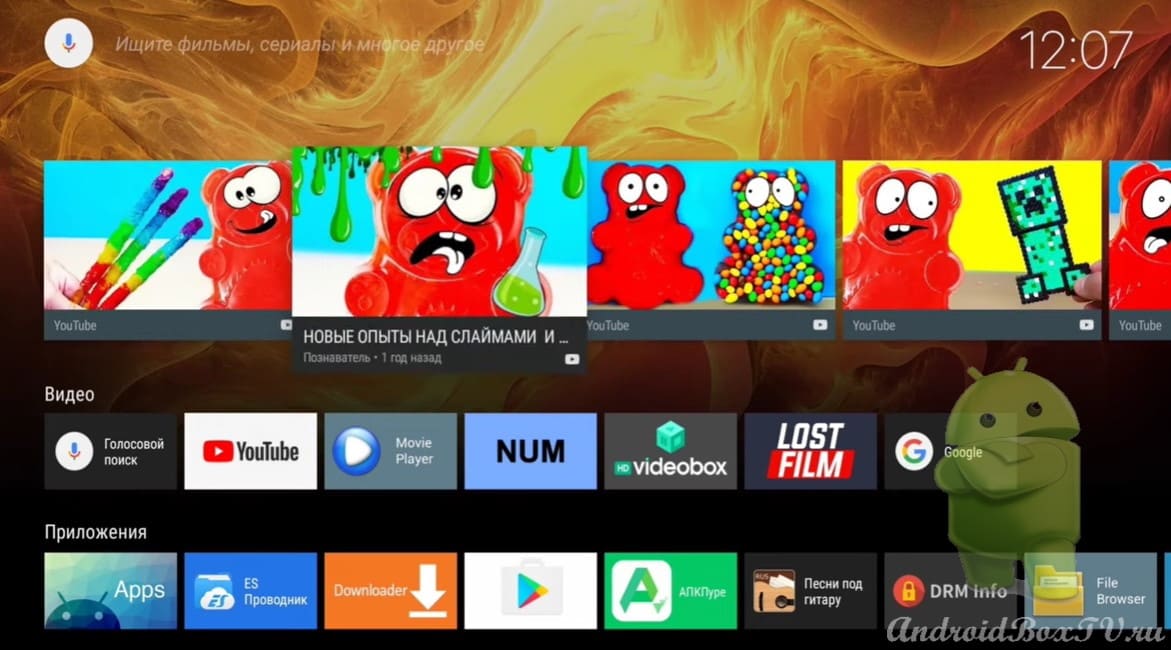
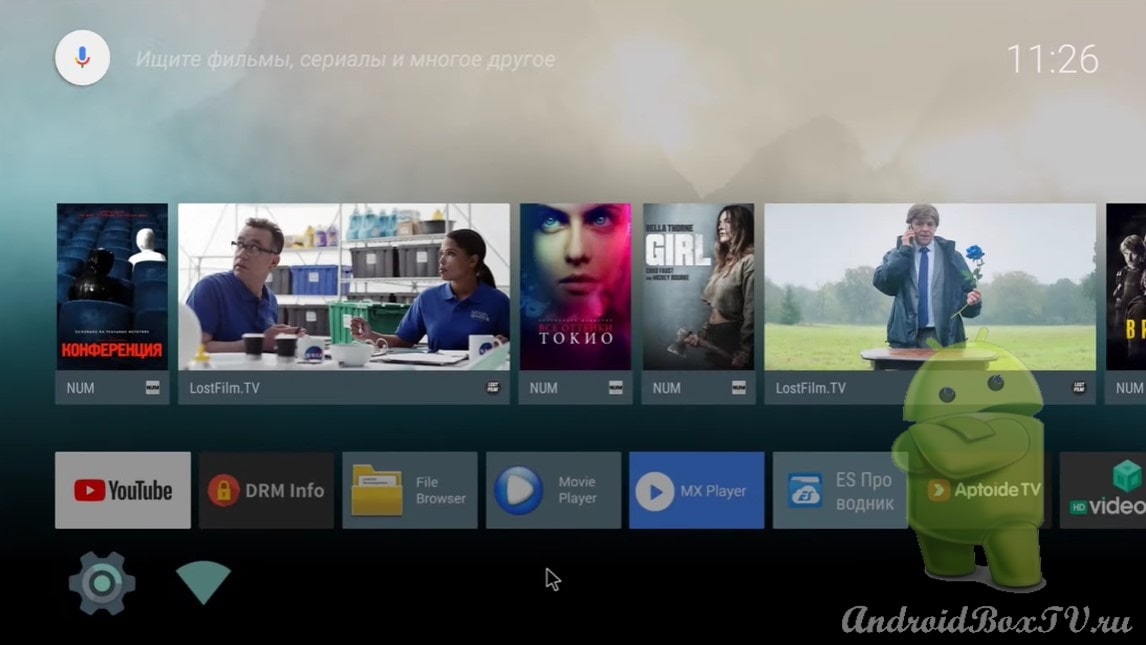
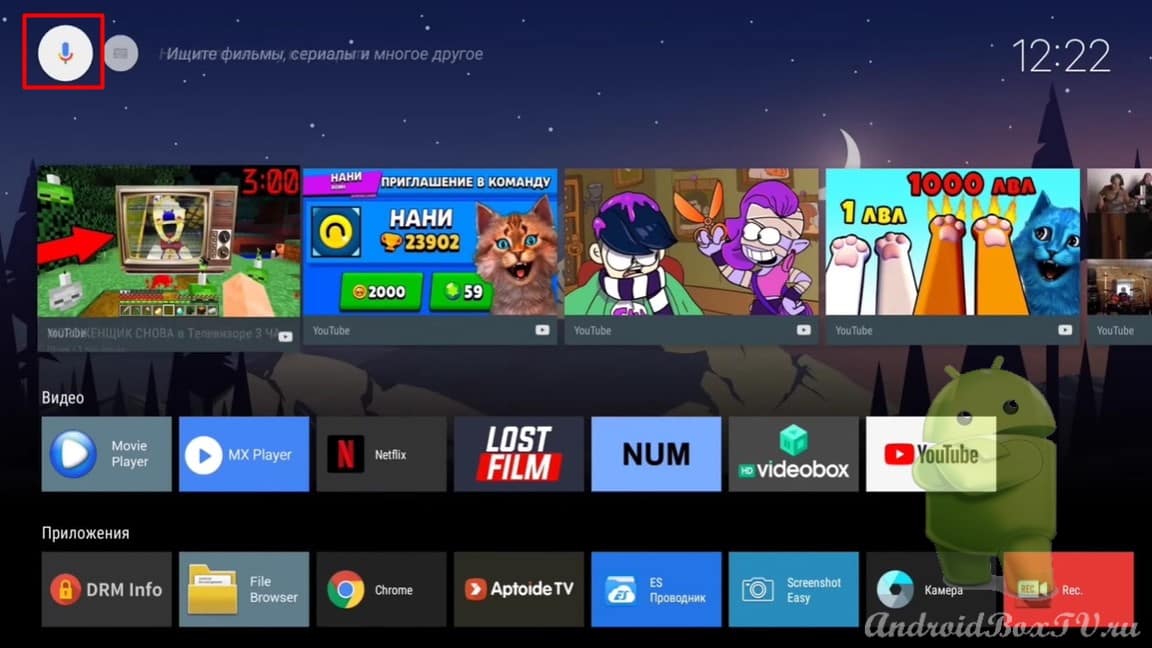
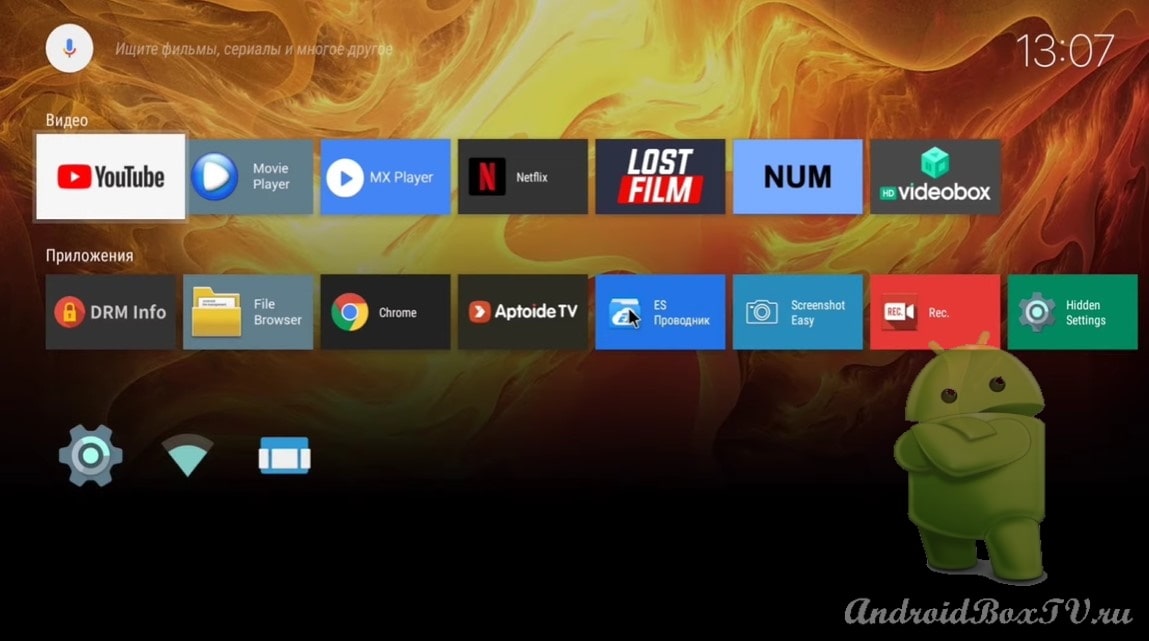
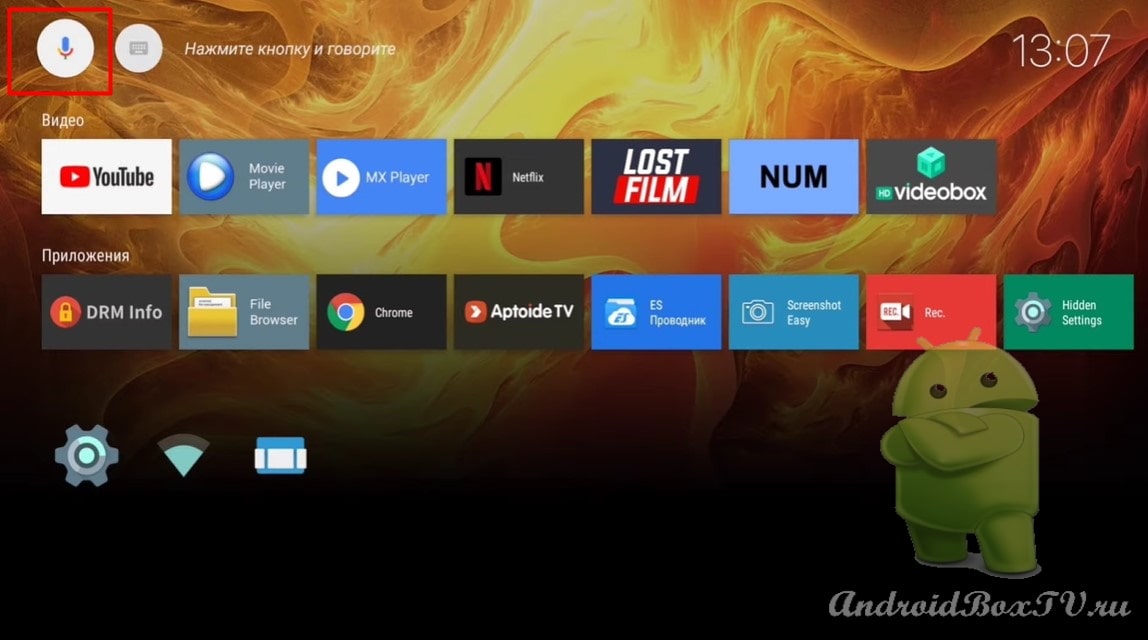
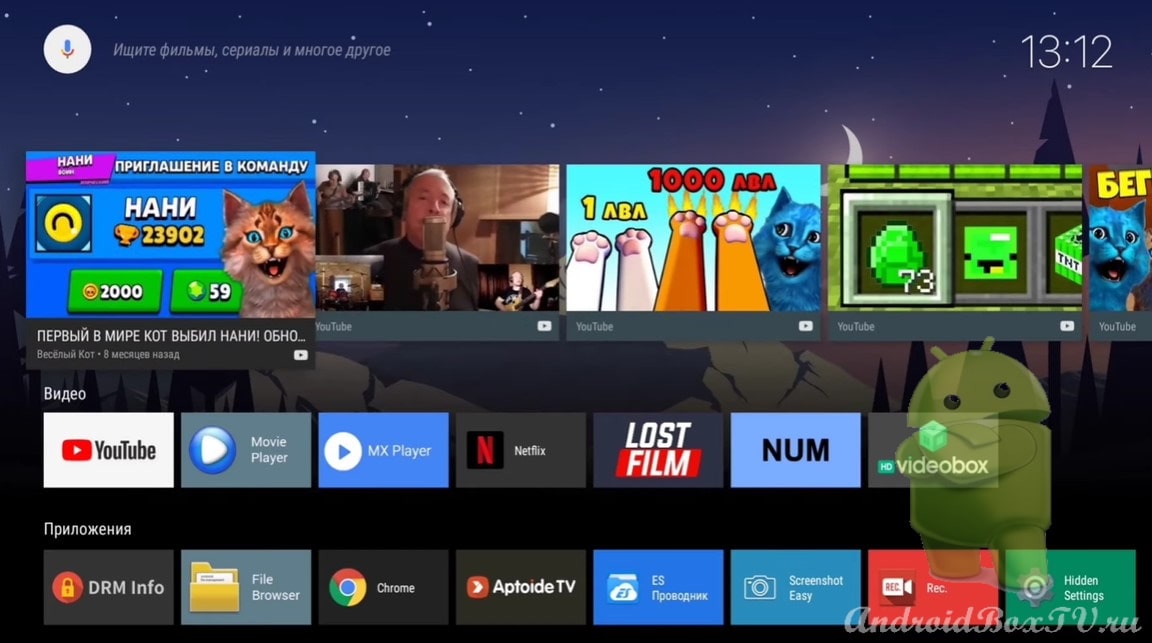
First, let's look at how everything looks in “Launcher Fire TV” :
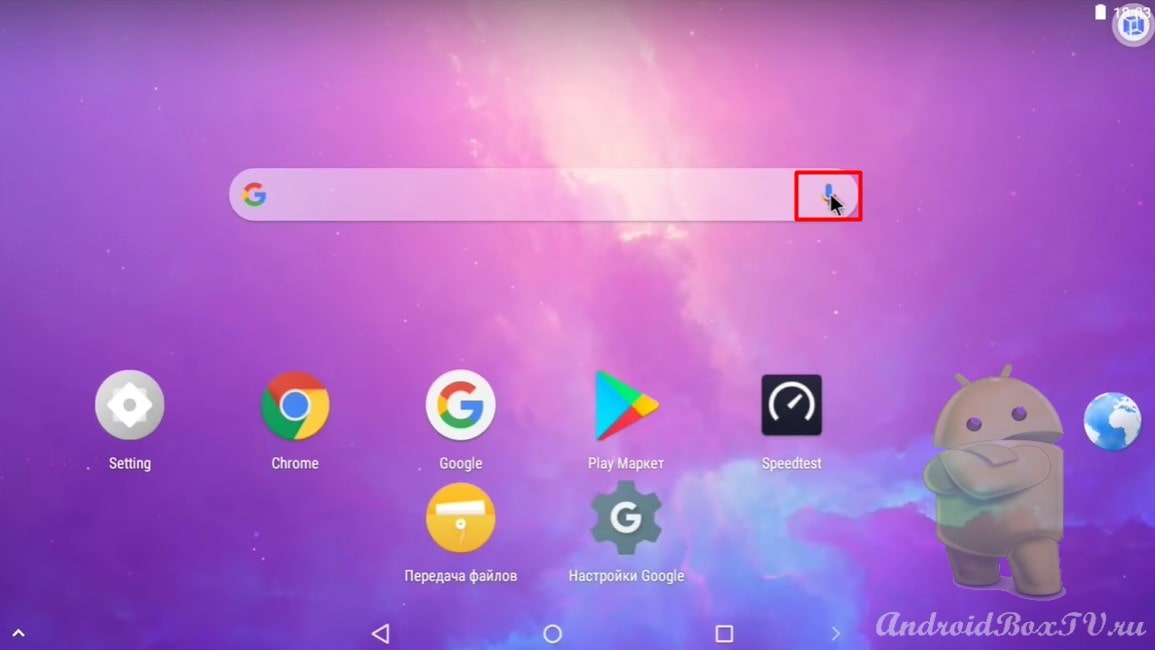
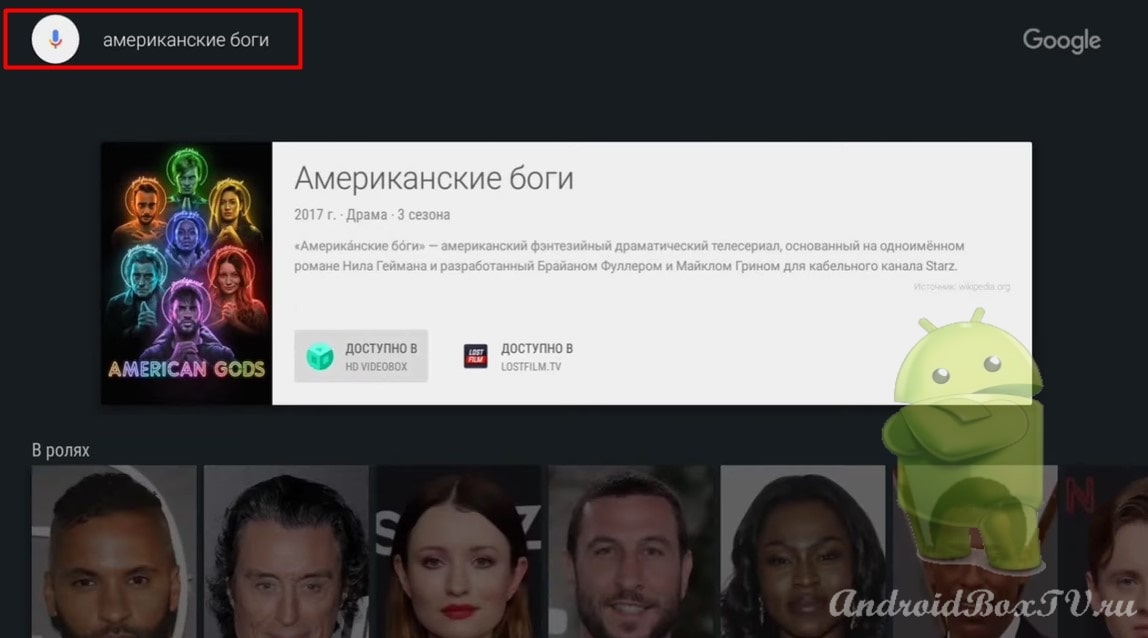
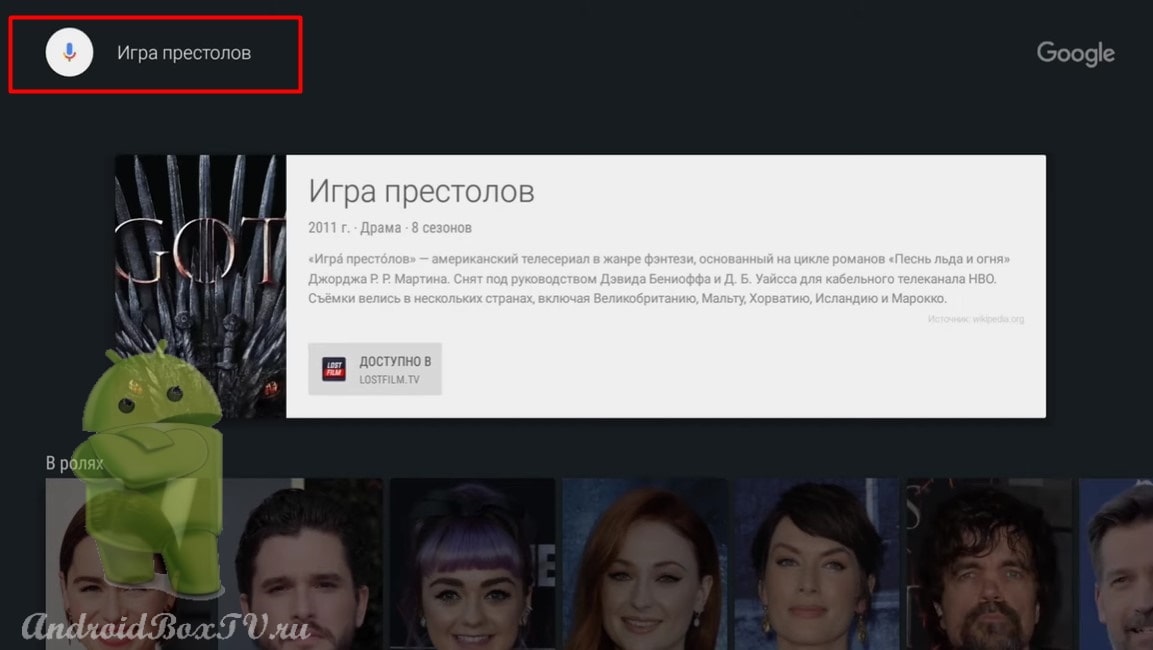
Let's check out the voice search. Click on the microphone and say the name of the movie:
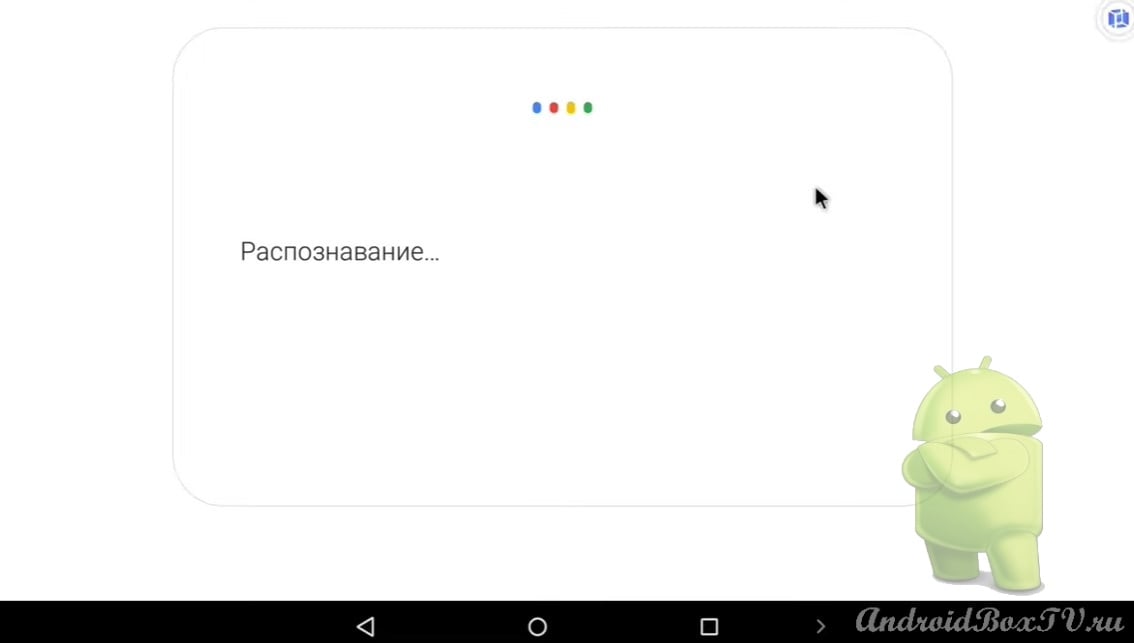
Voice search works.
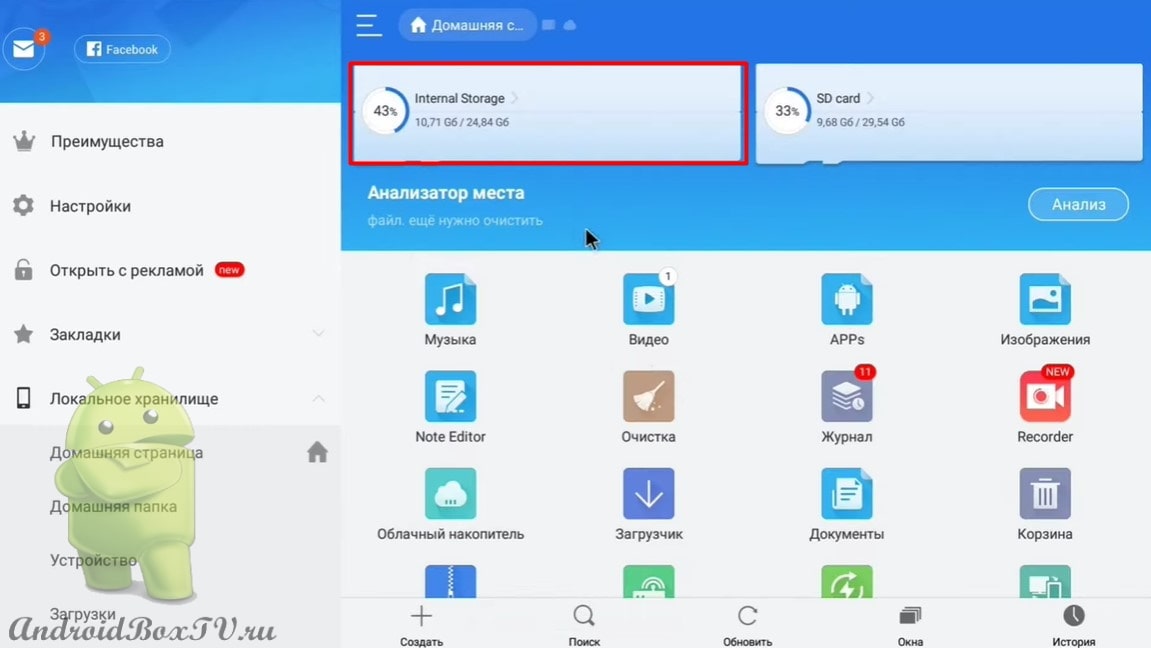
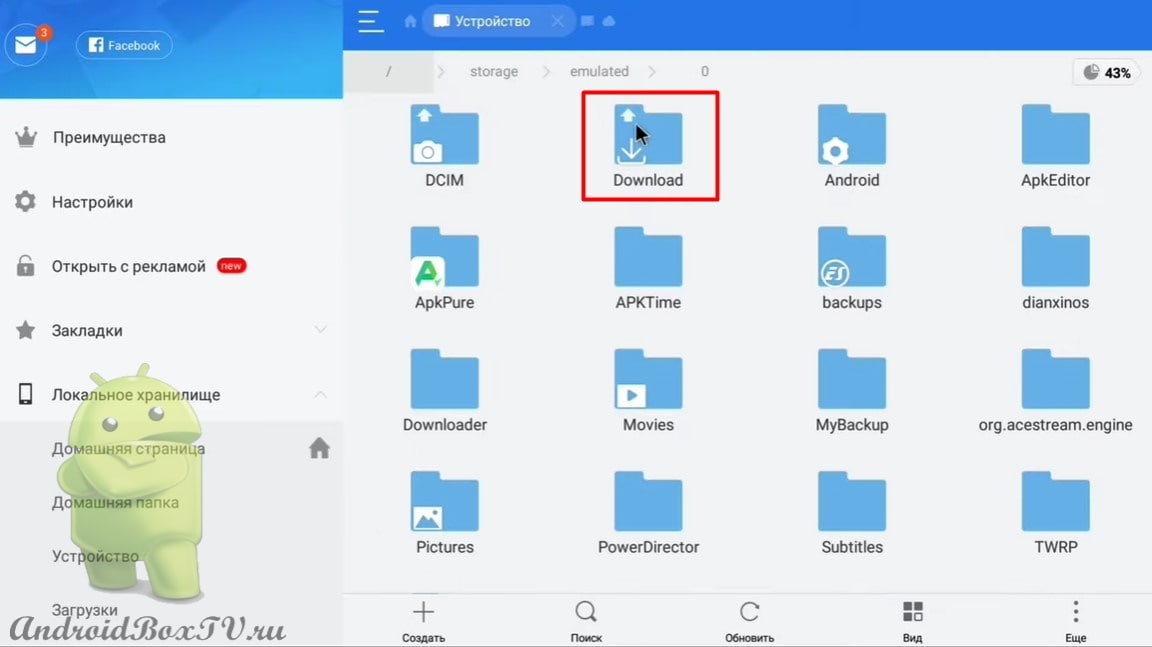
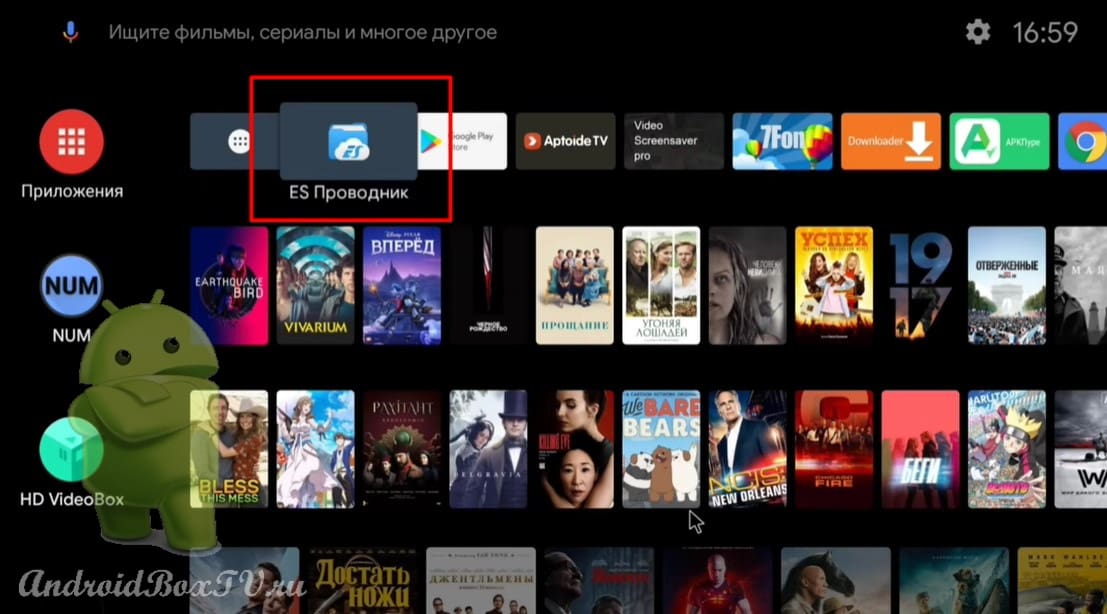
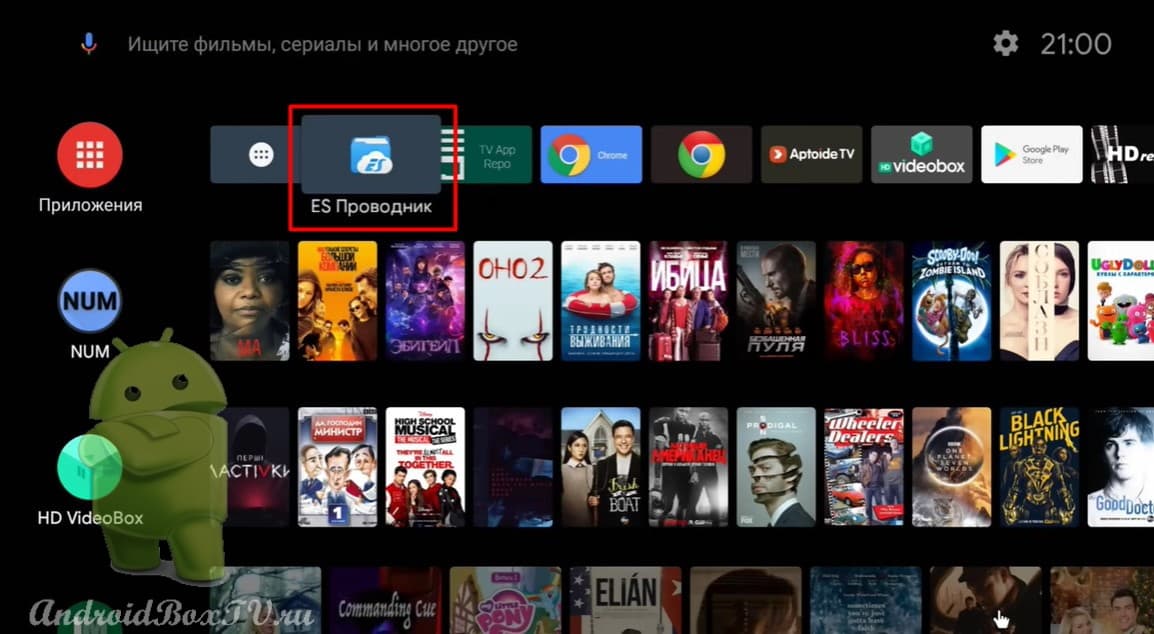
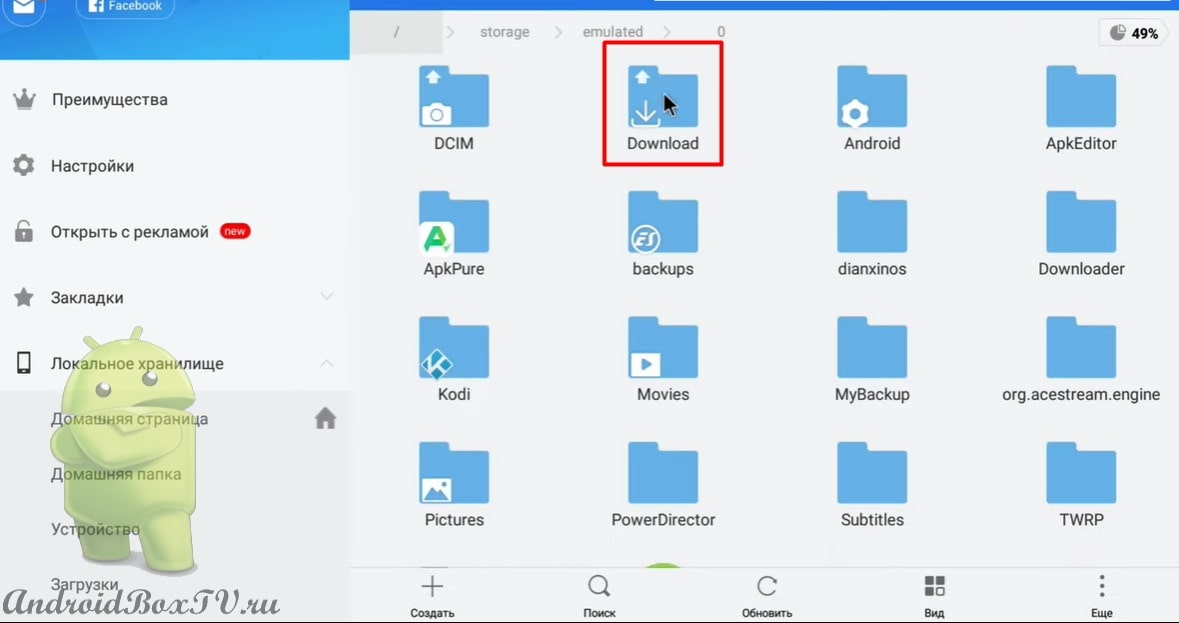
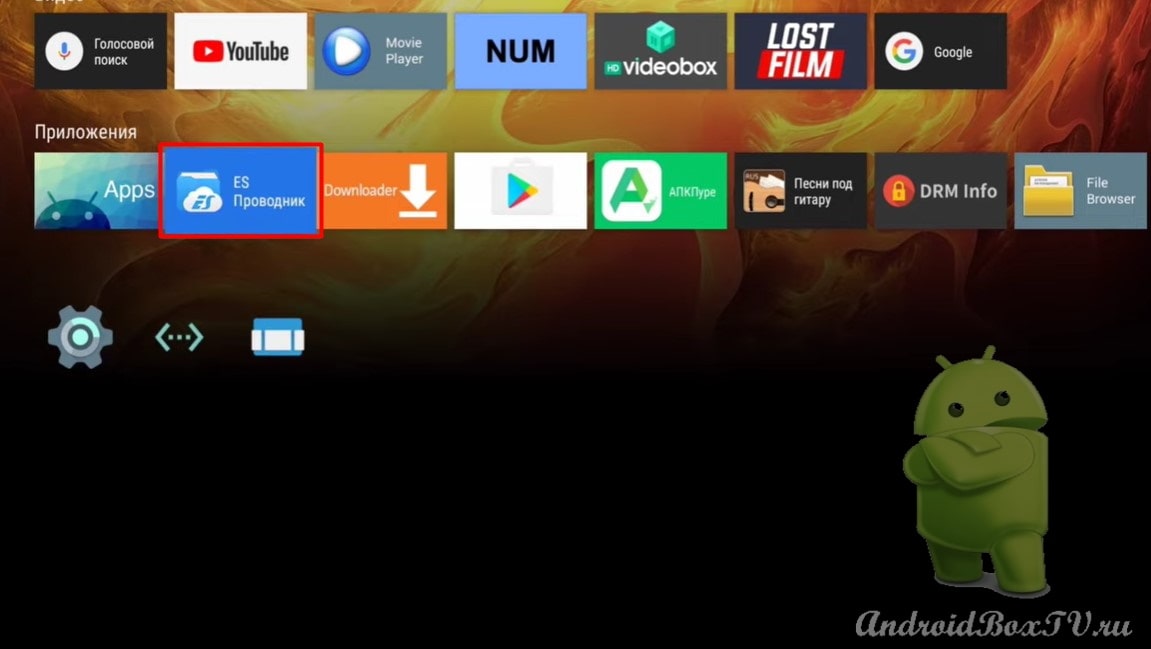
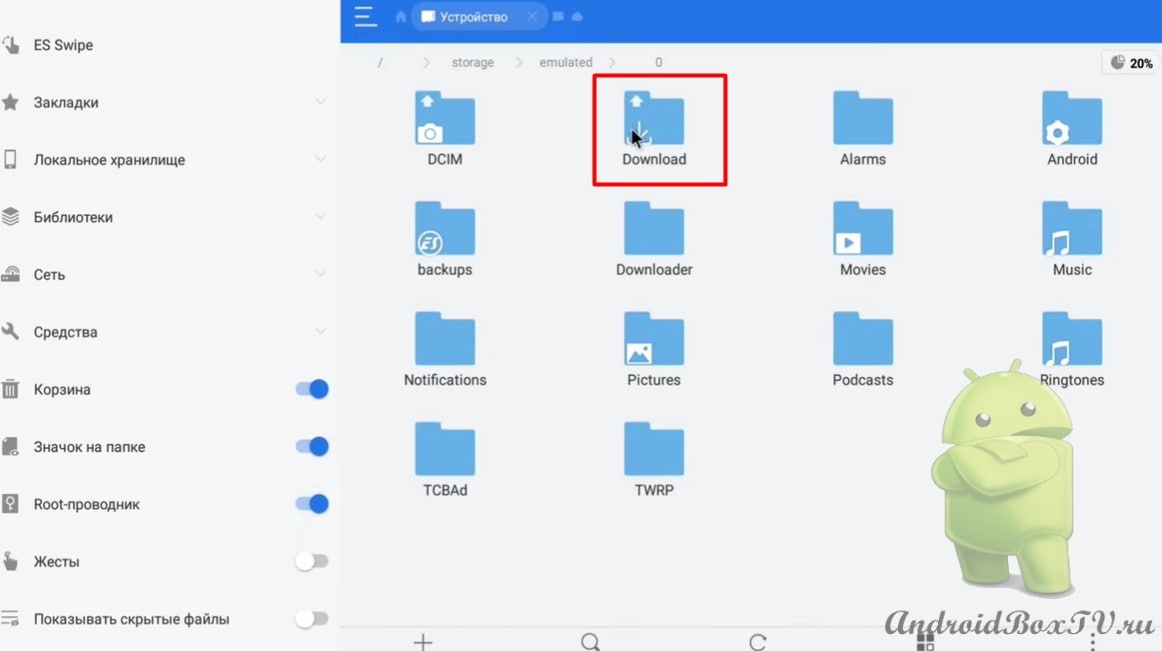
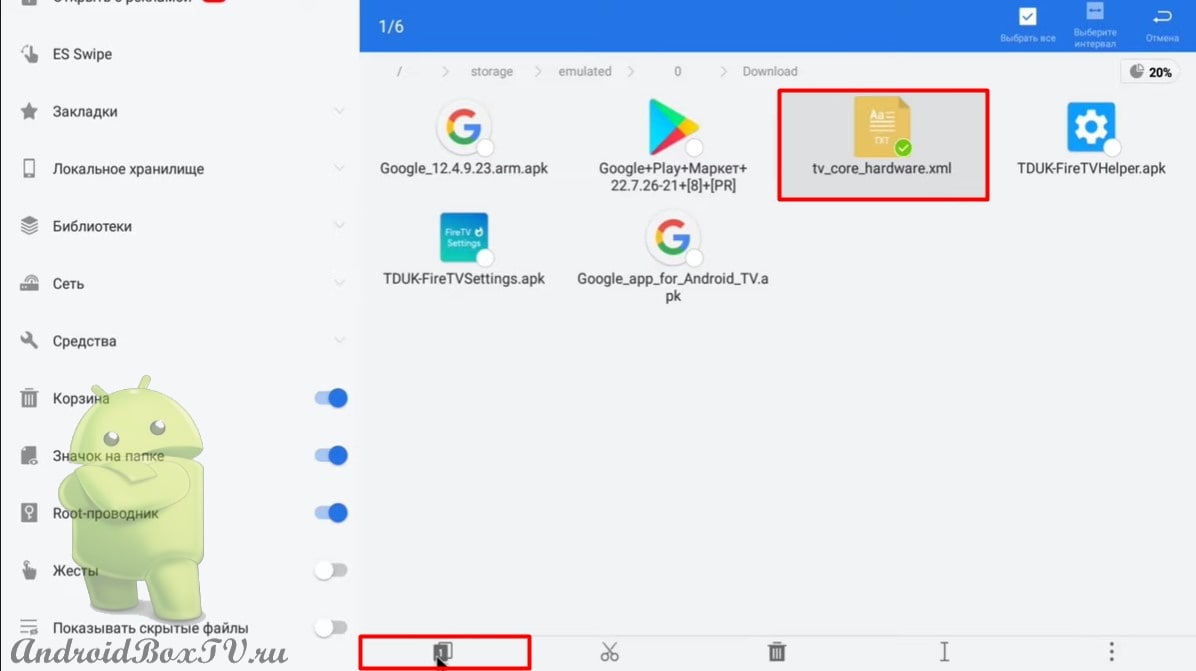
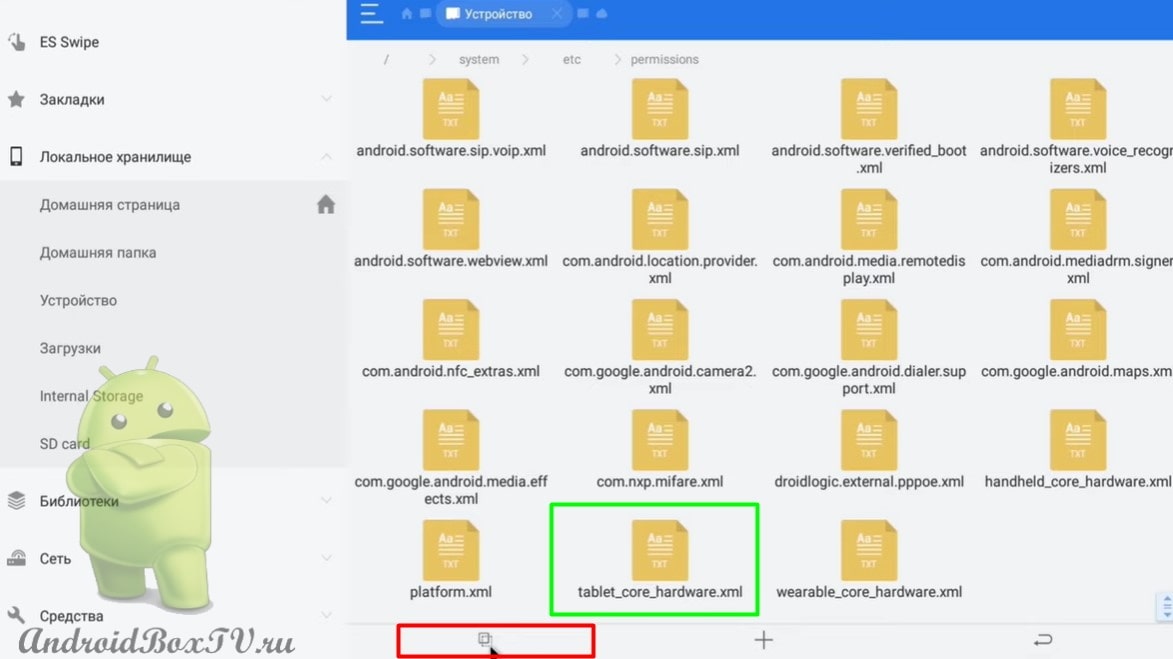
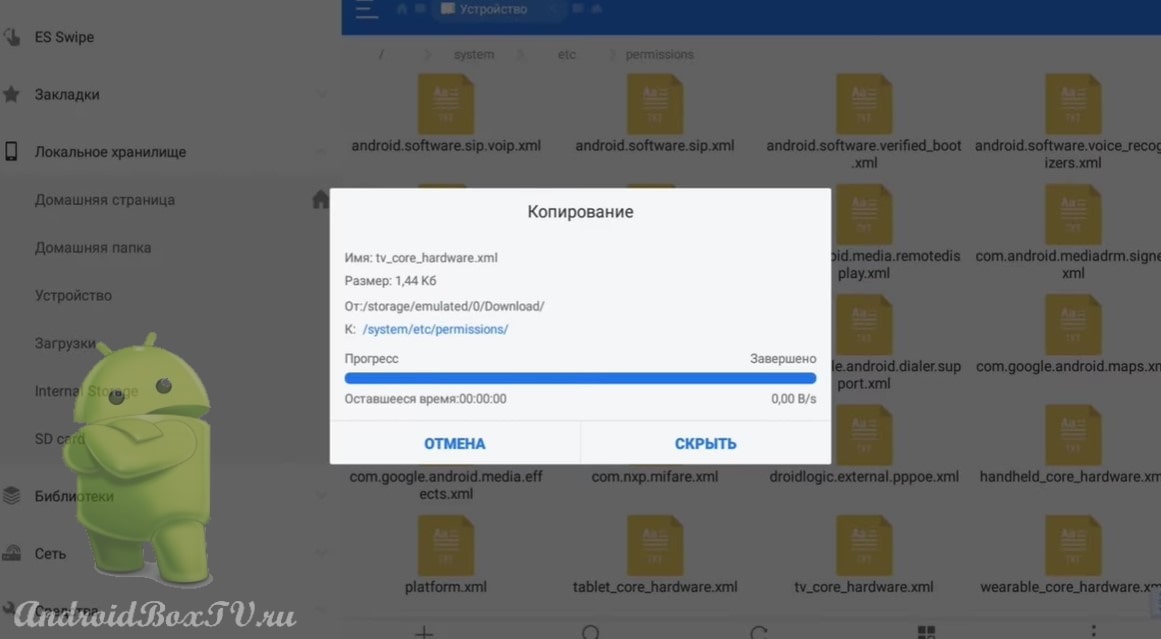
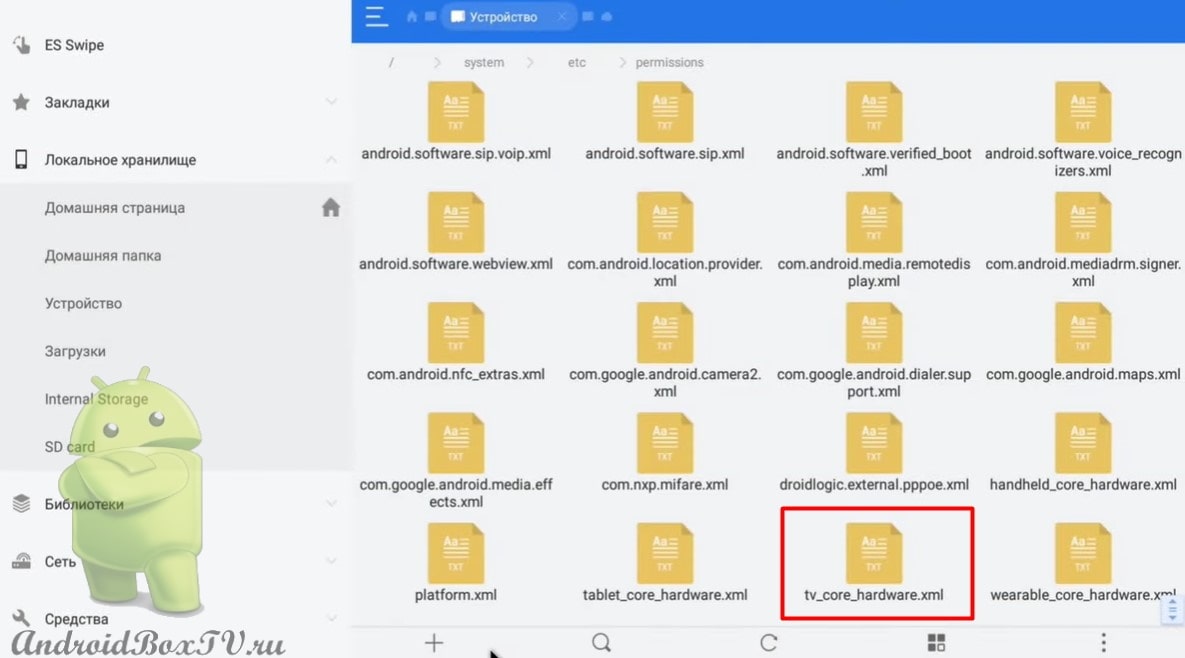
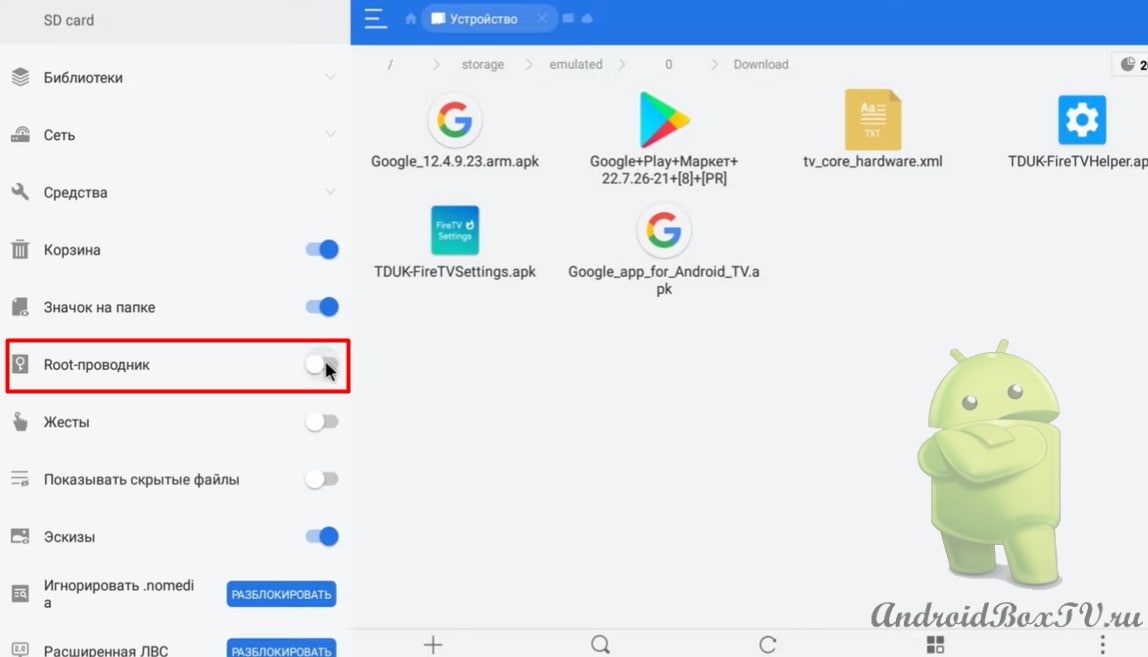
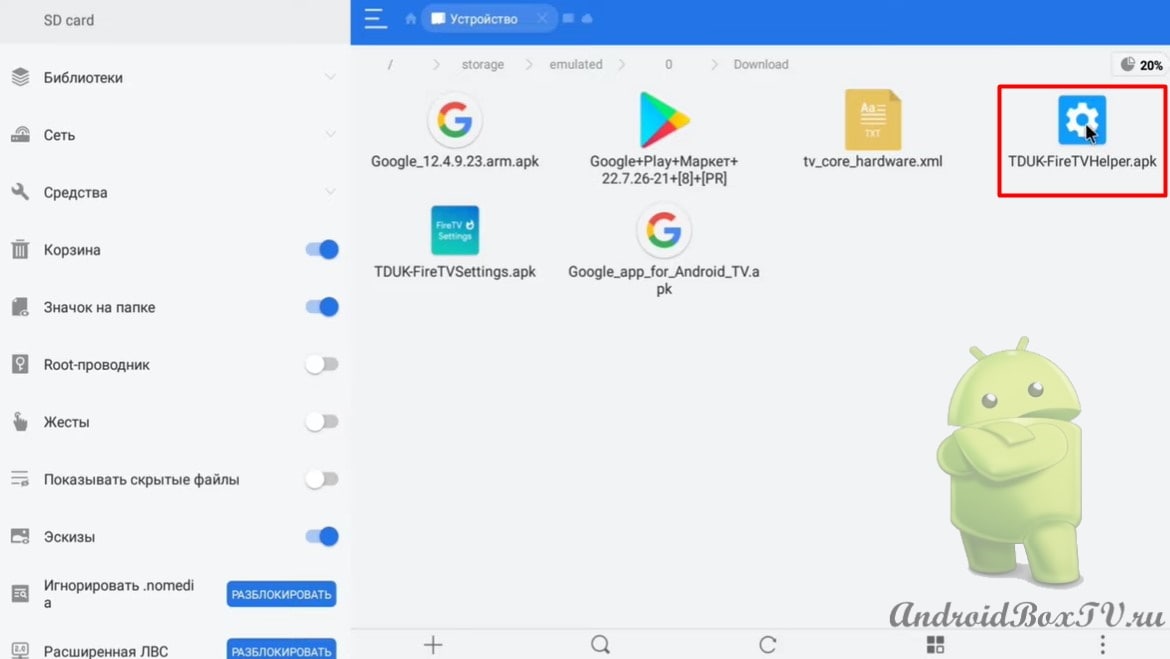
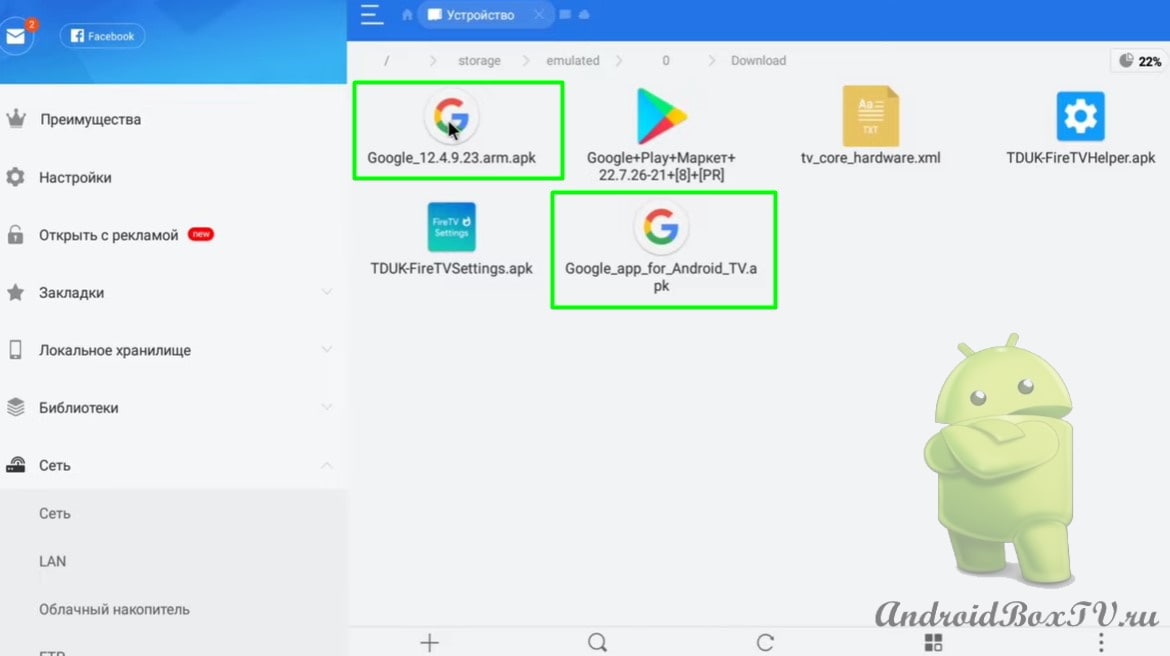
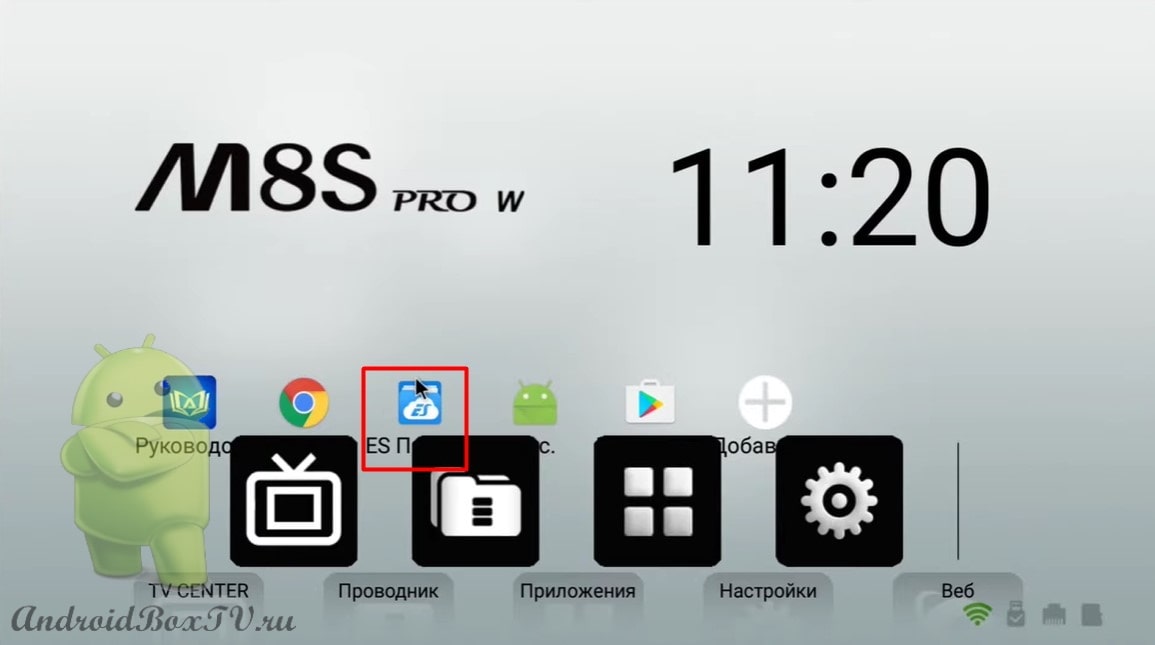
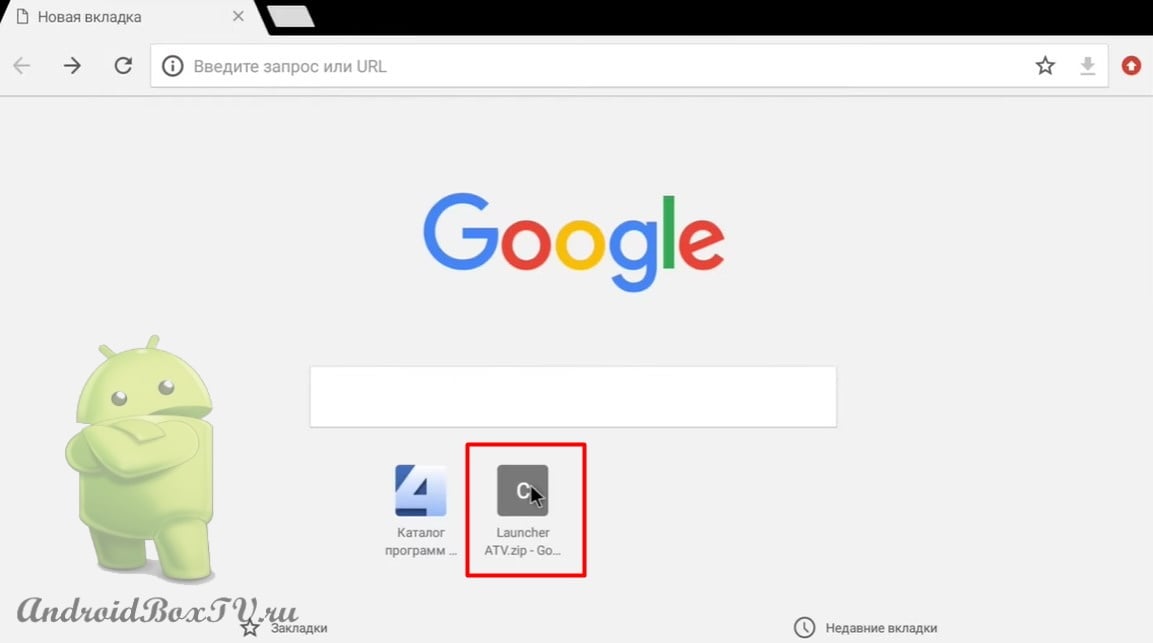
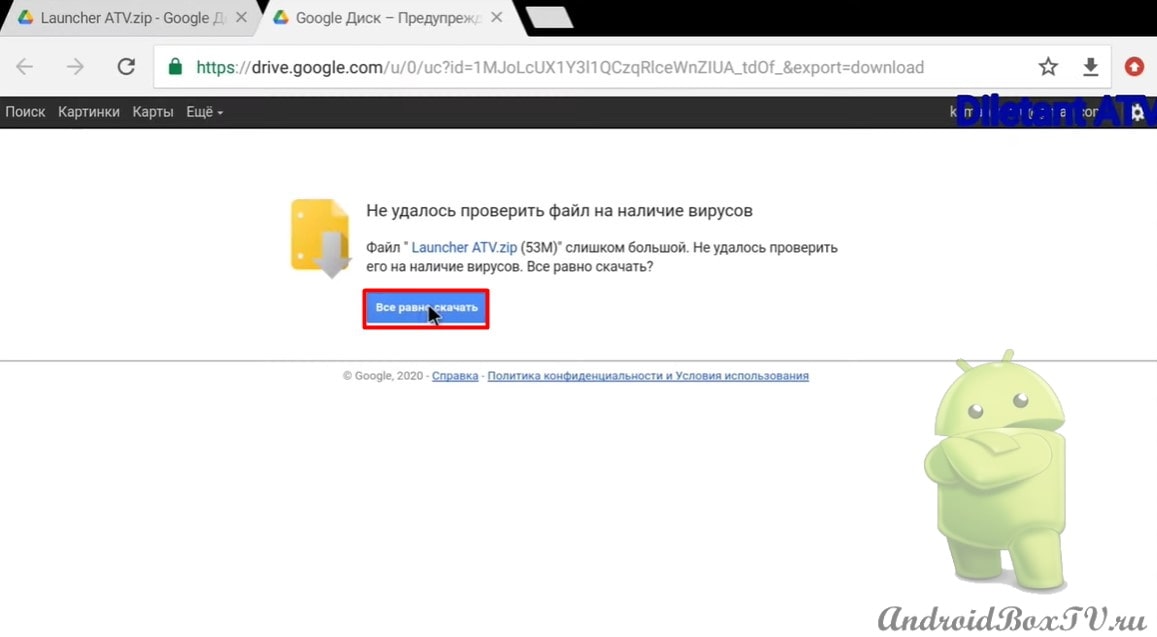
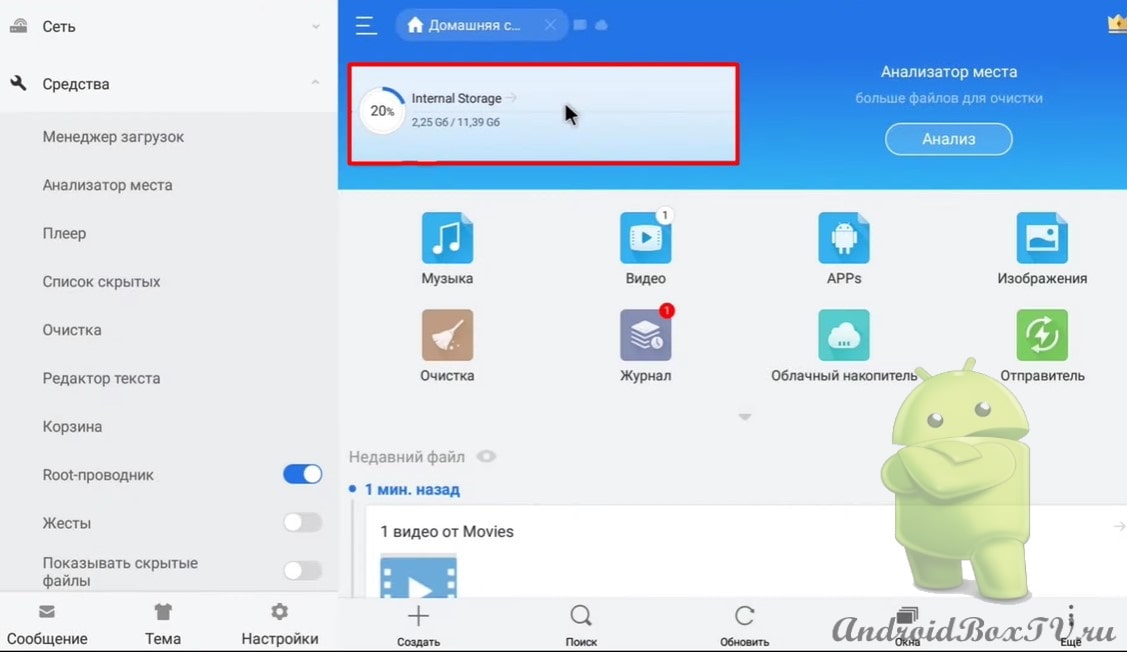
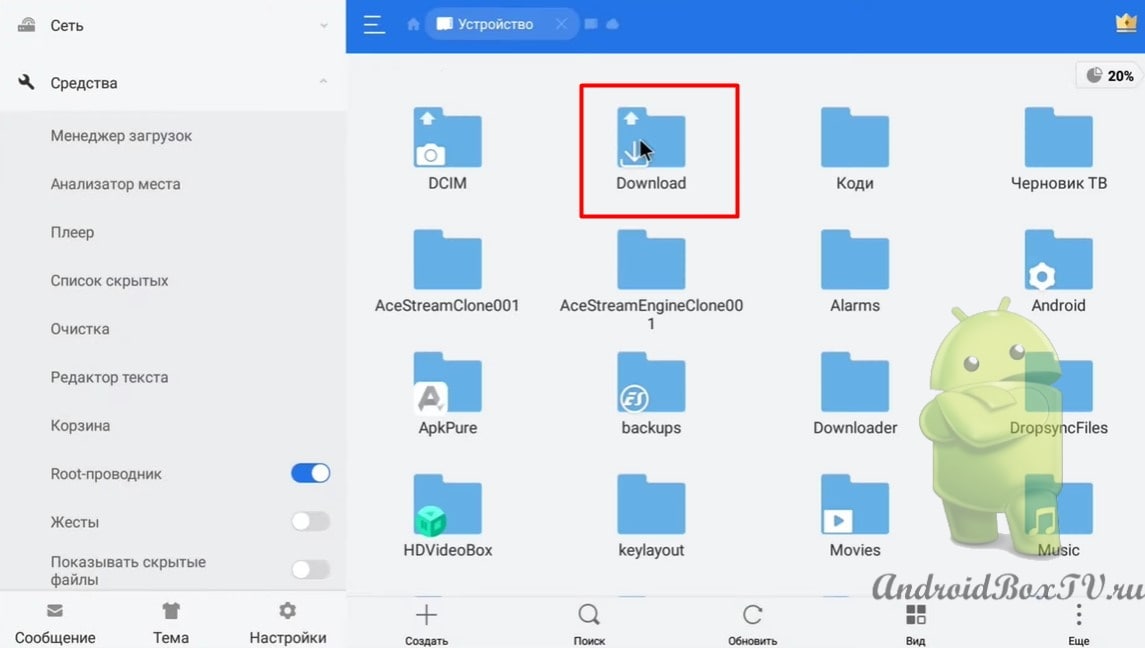
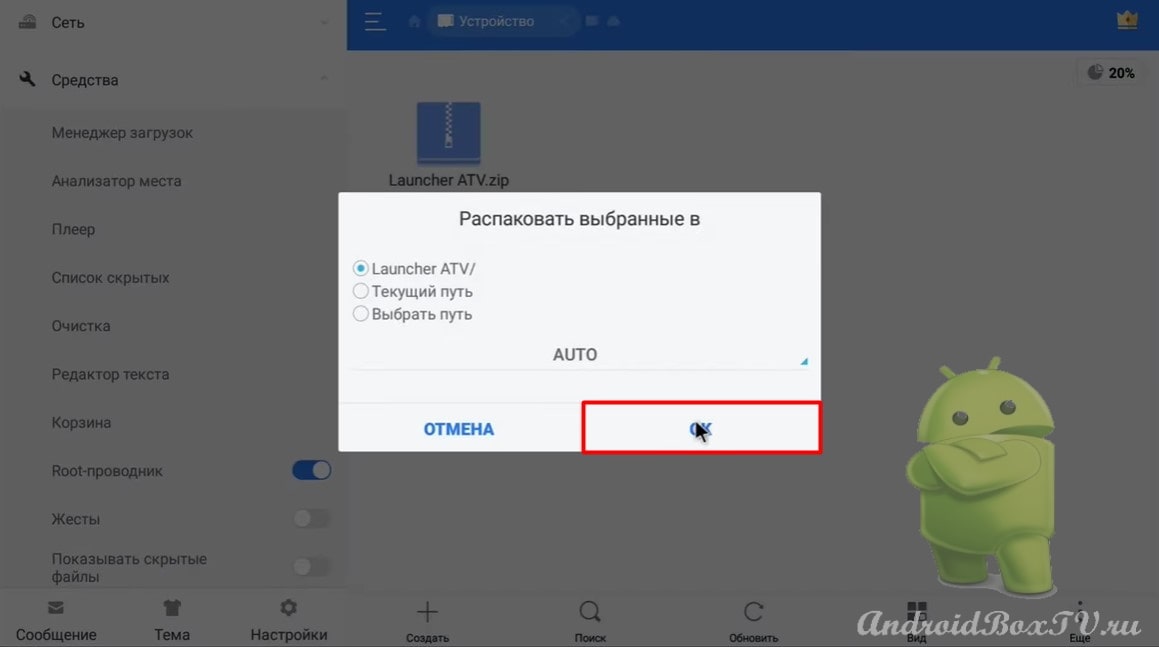
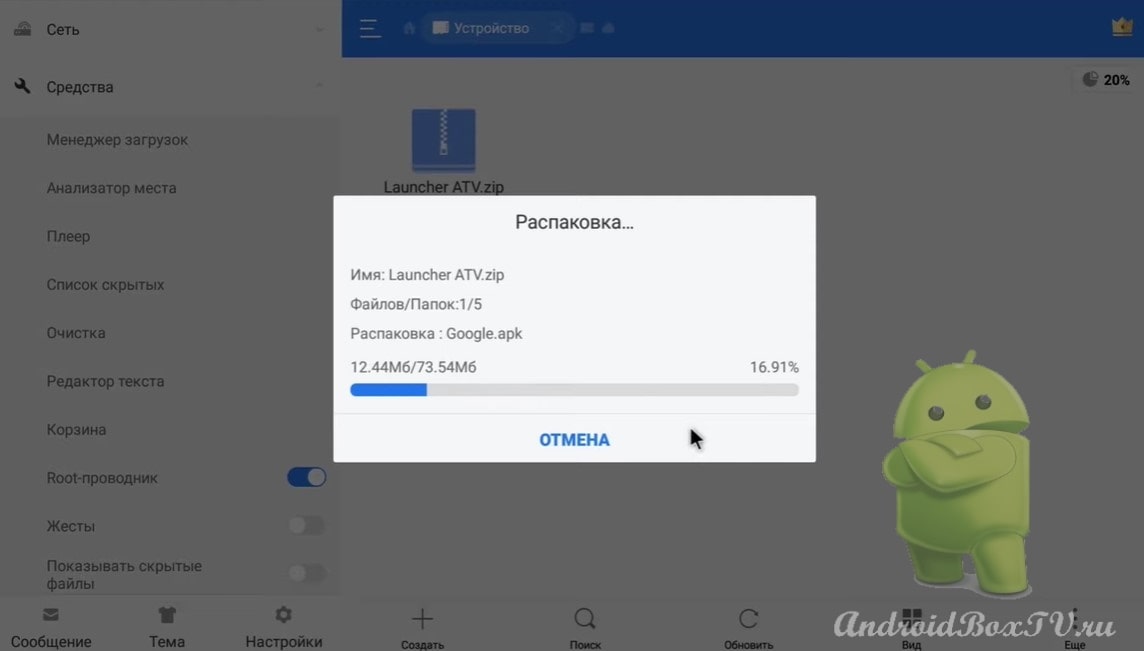
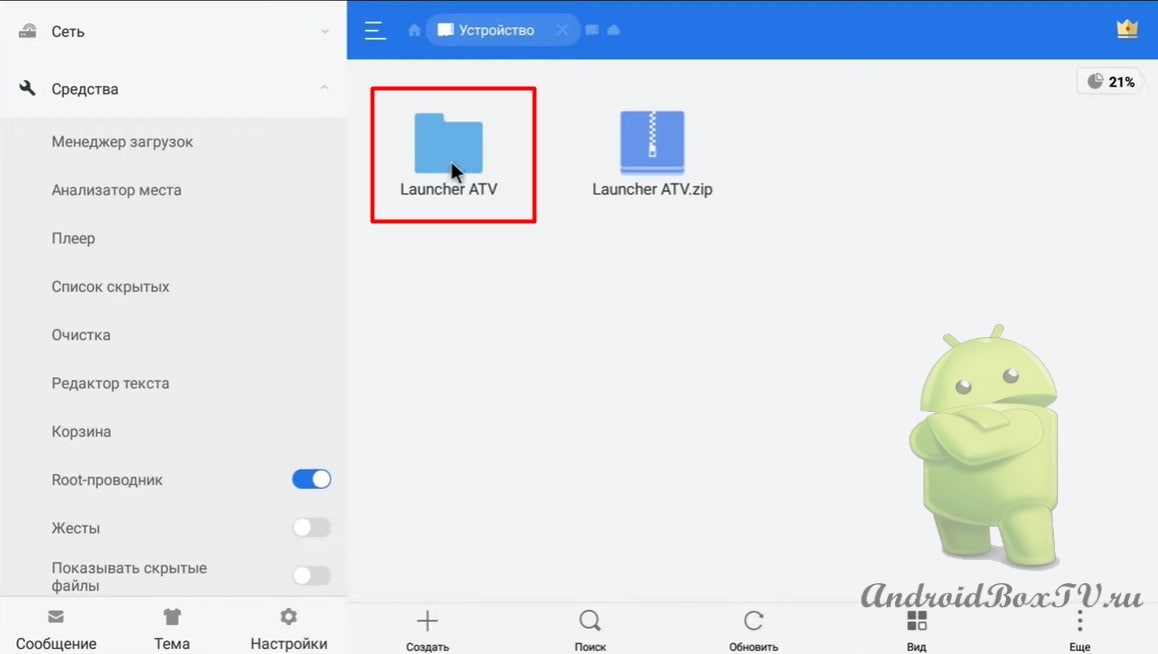
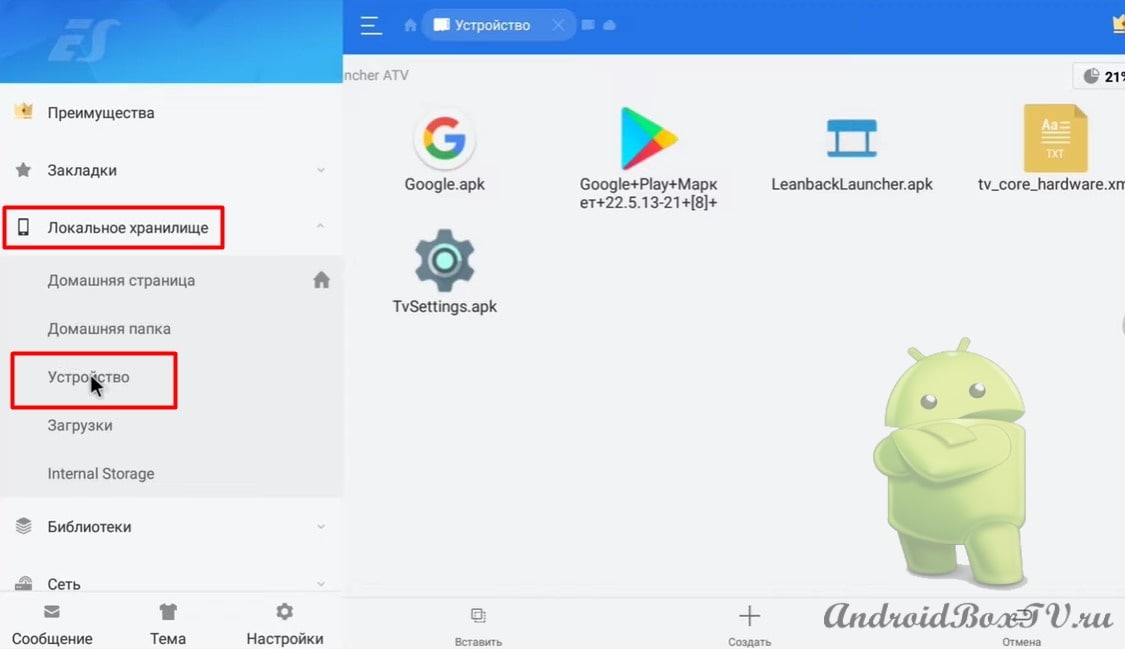
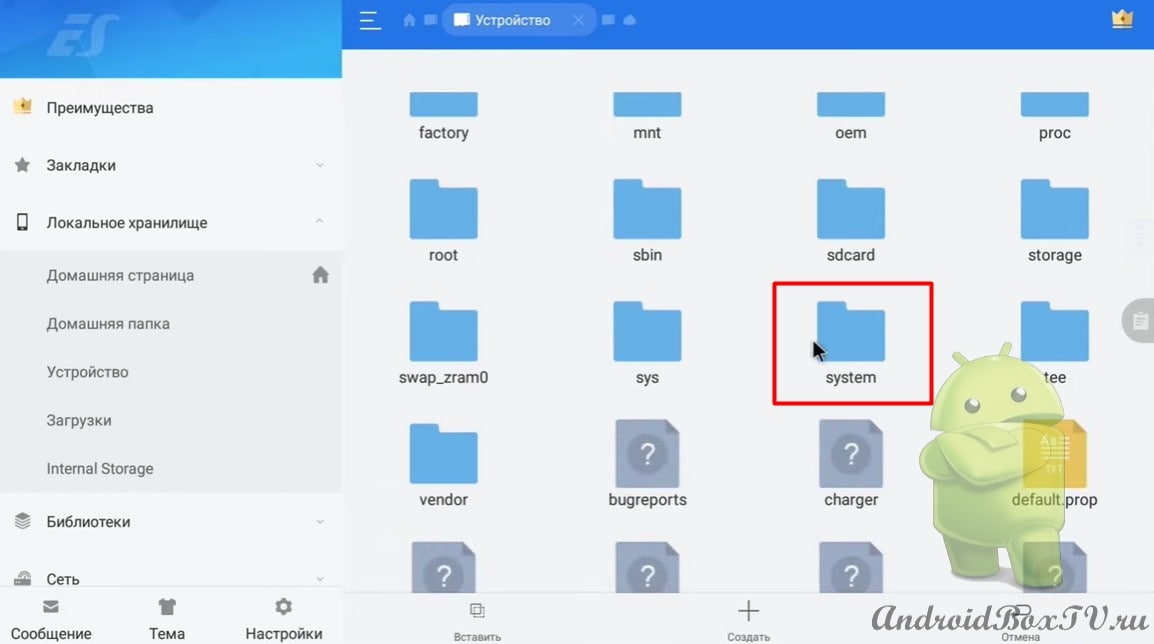
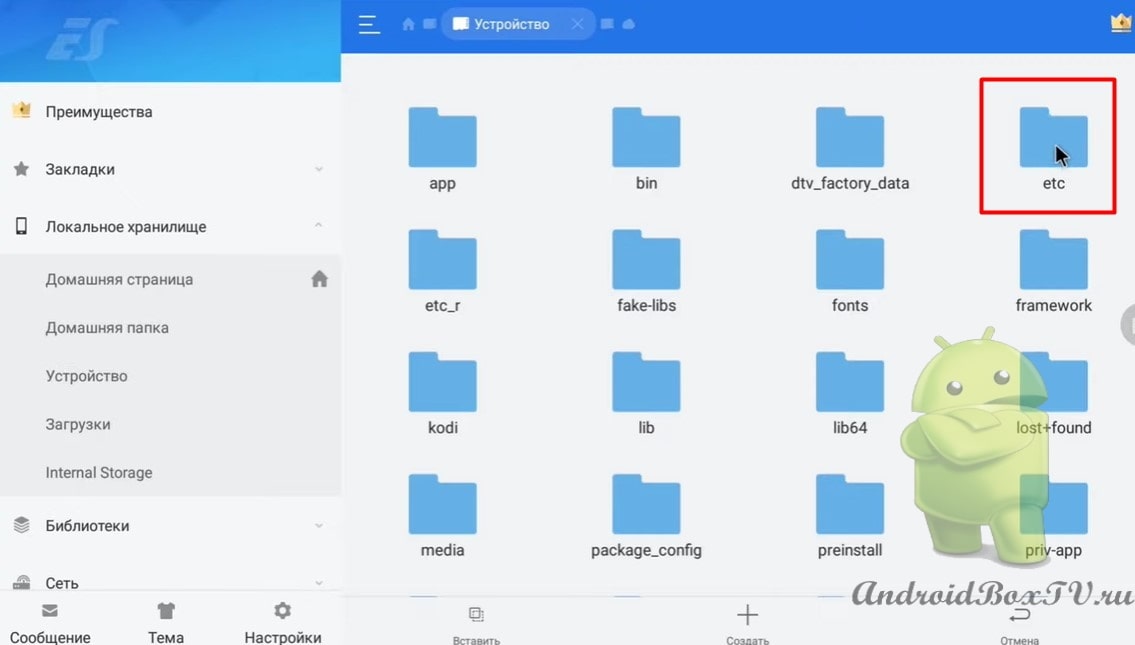
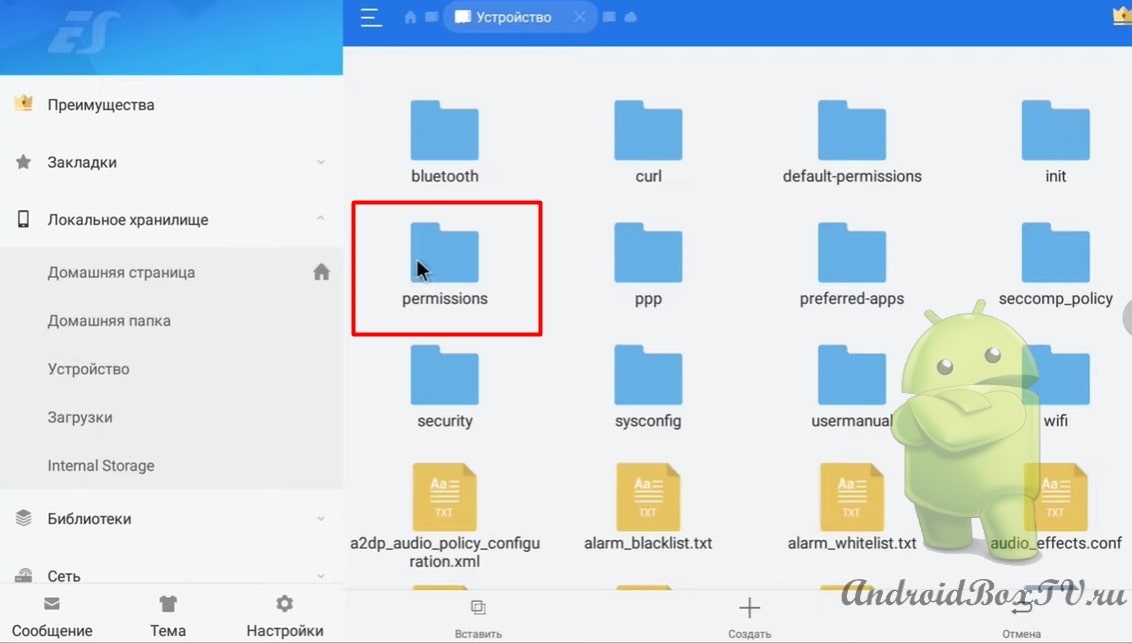
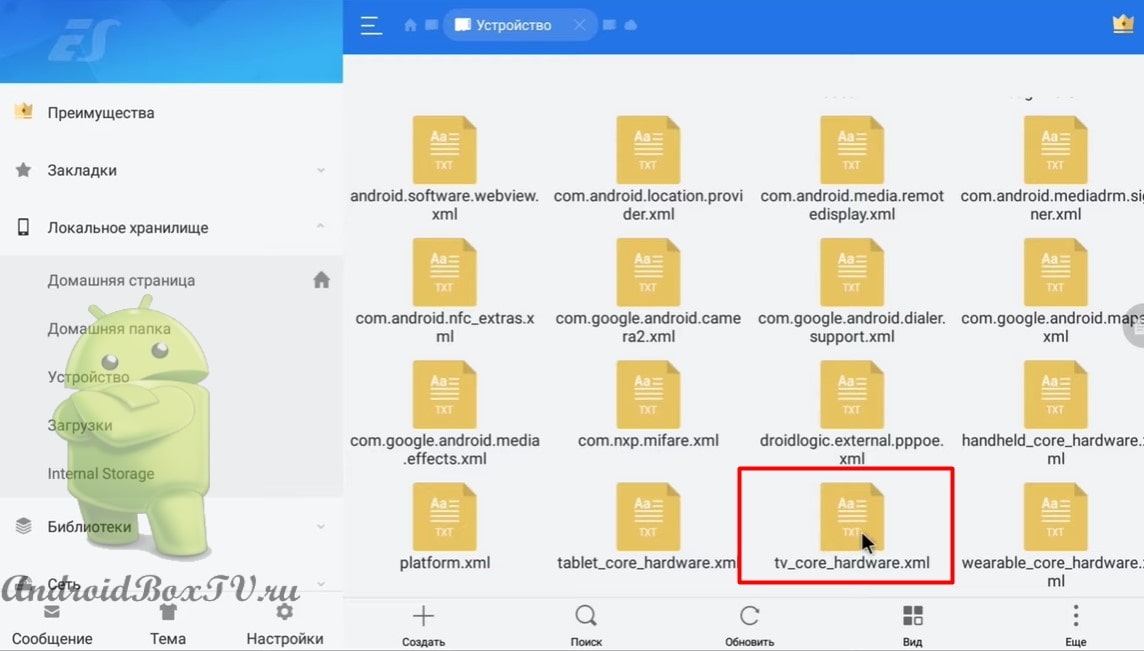
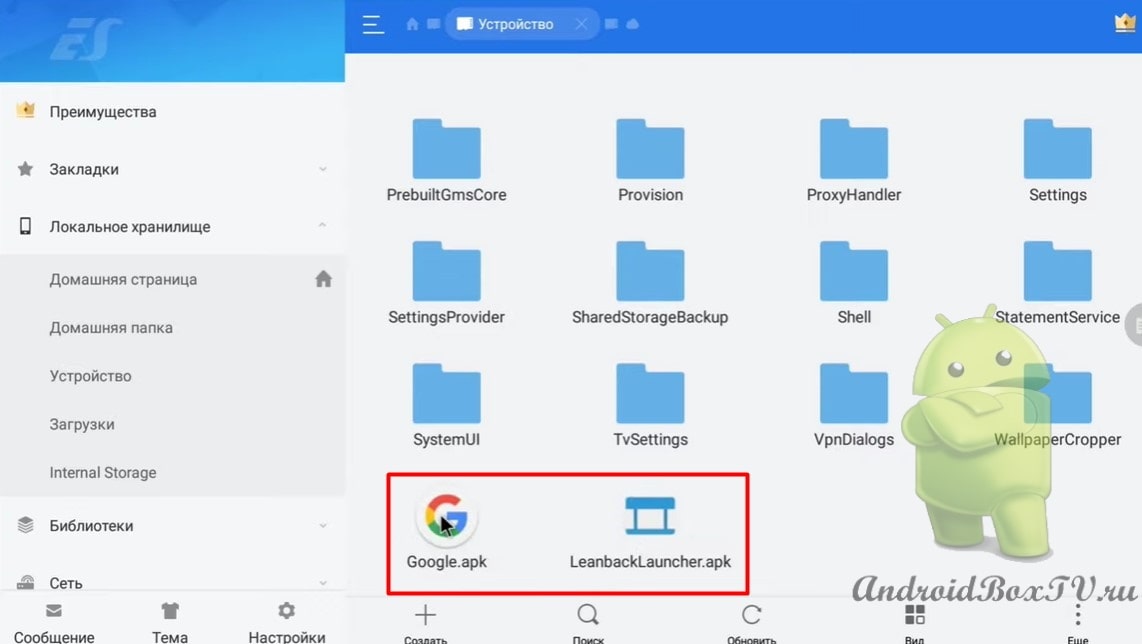
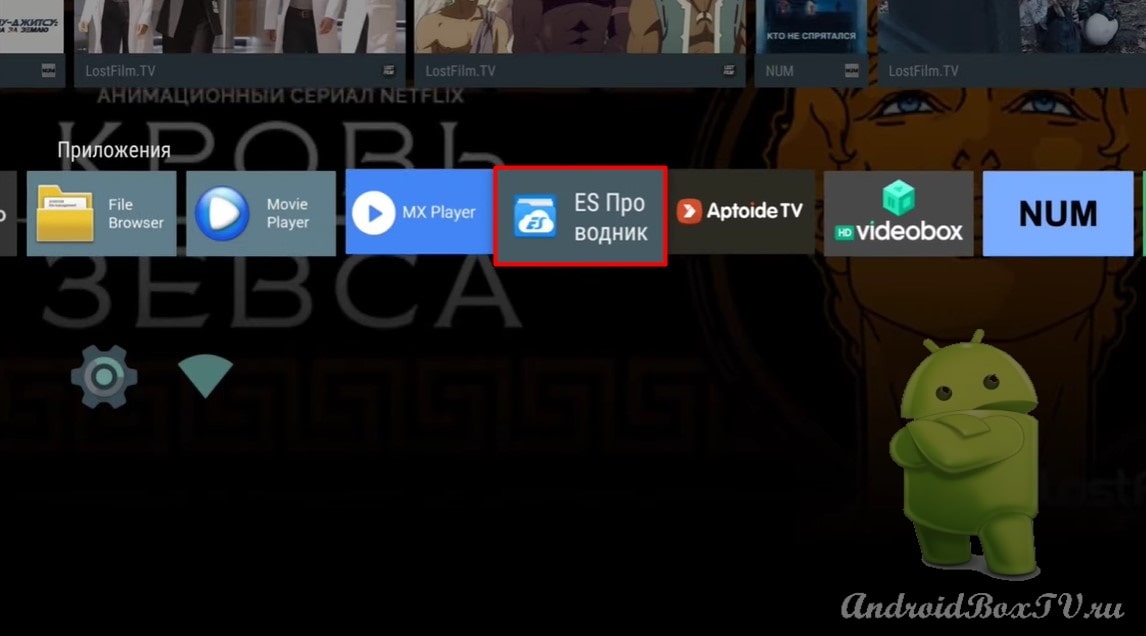
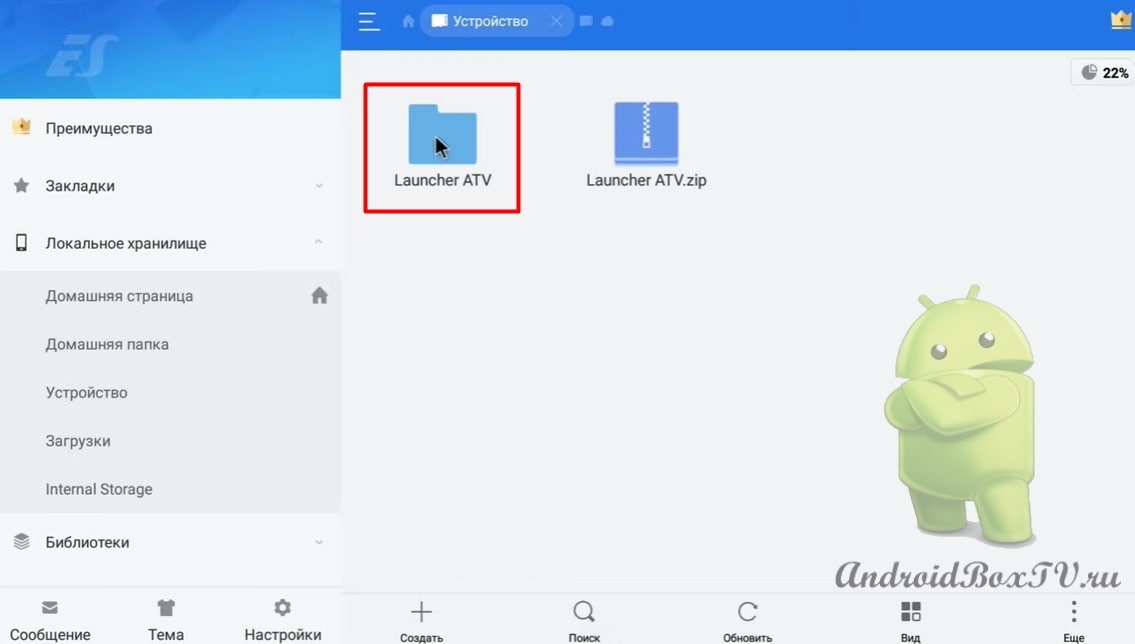
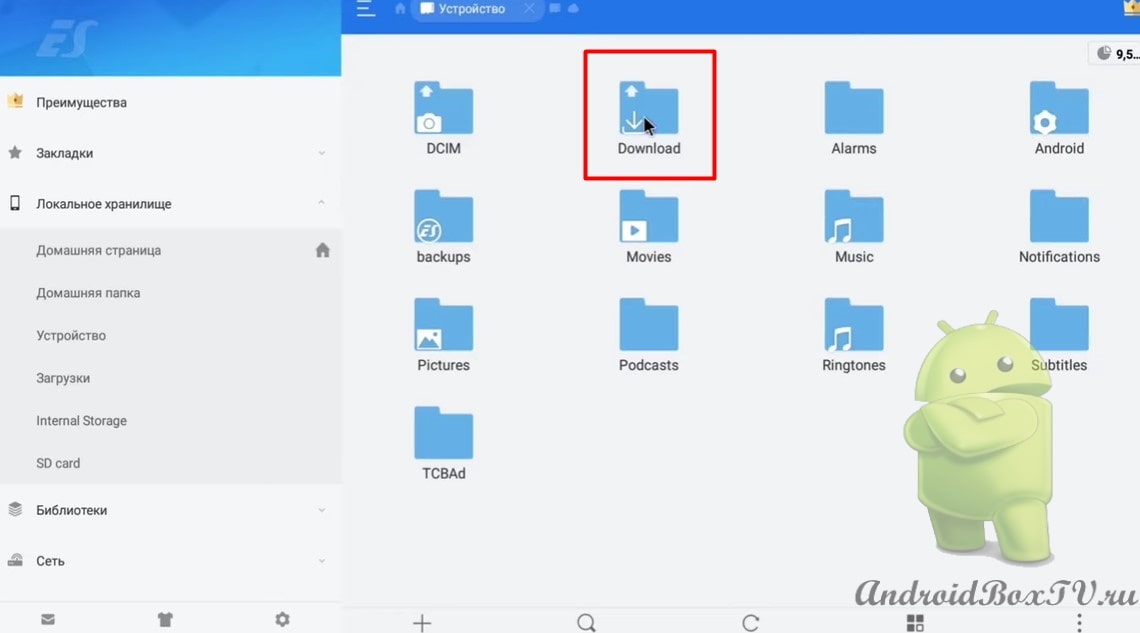
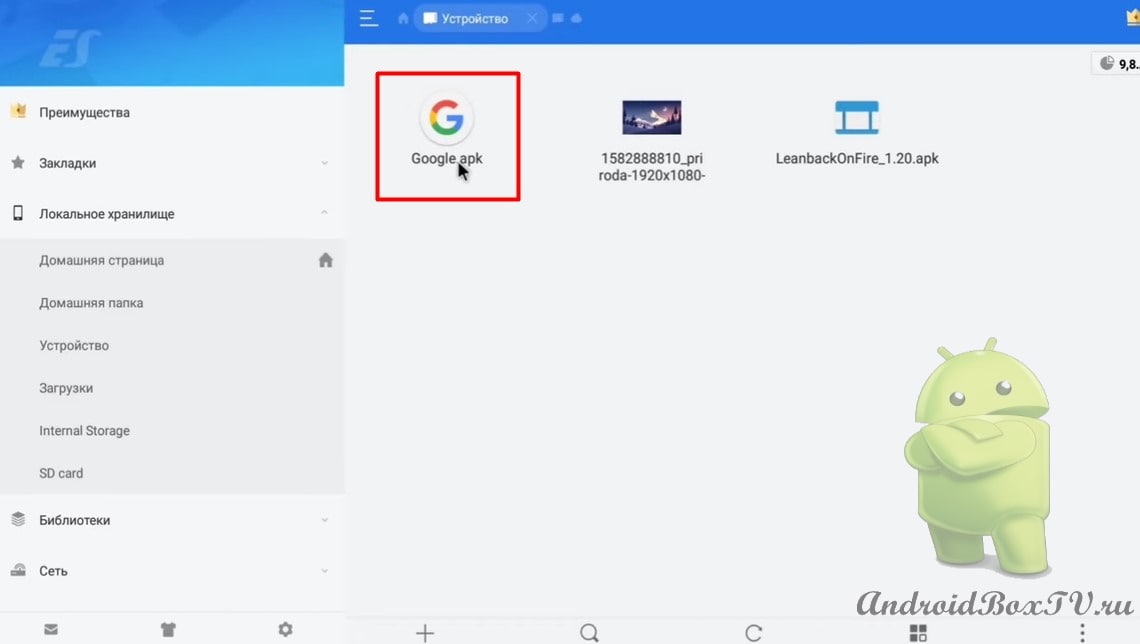
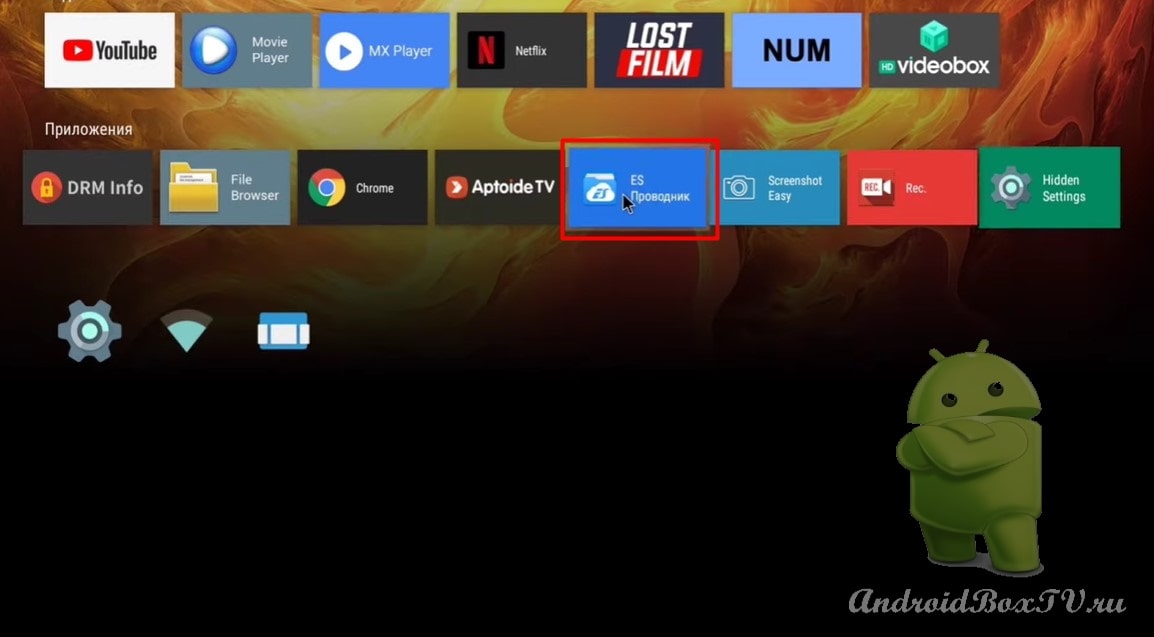
Now let's see how to do it. You need to download a couple of files from Google Drive. Go to ES Explorer and go to the download folder:
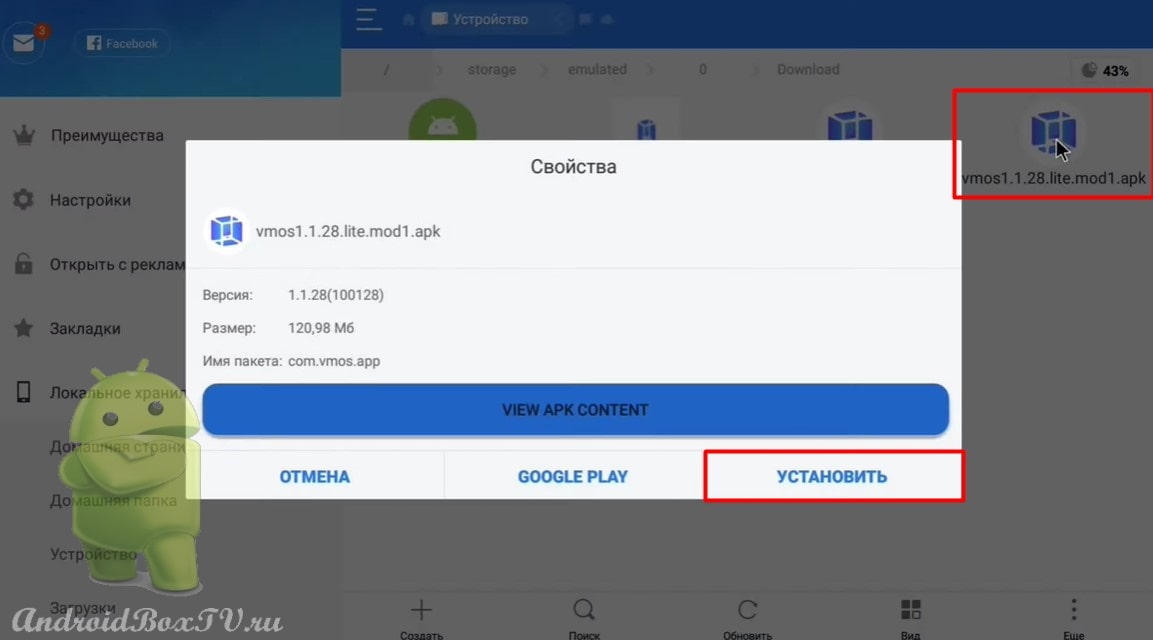
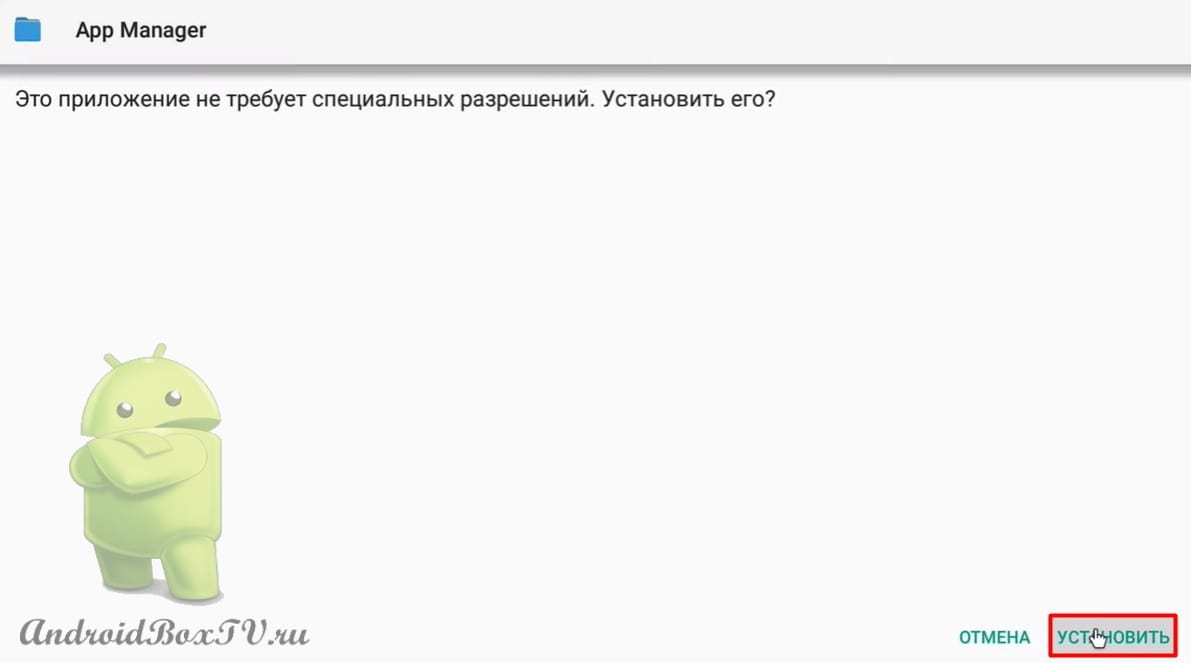
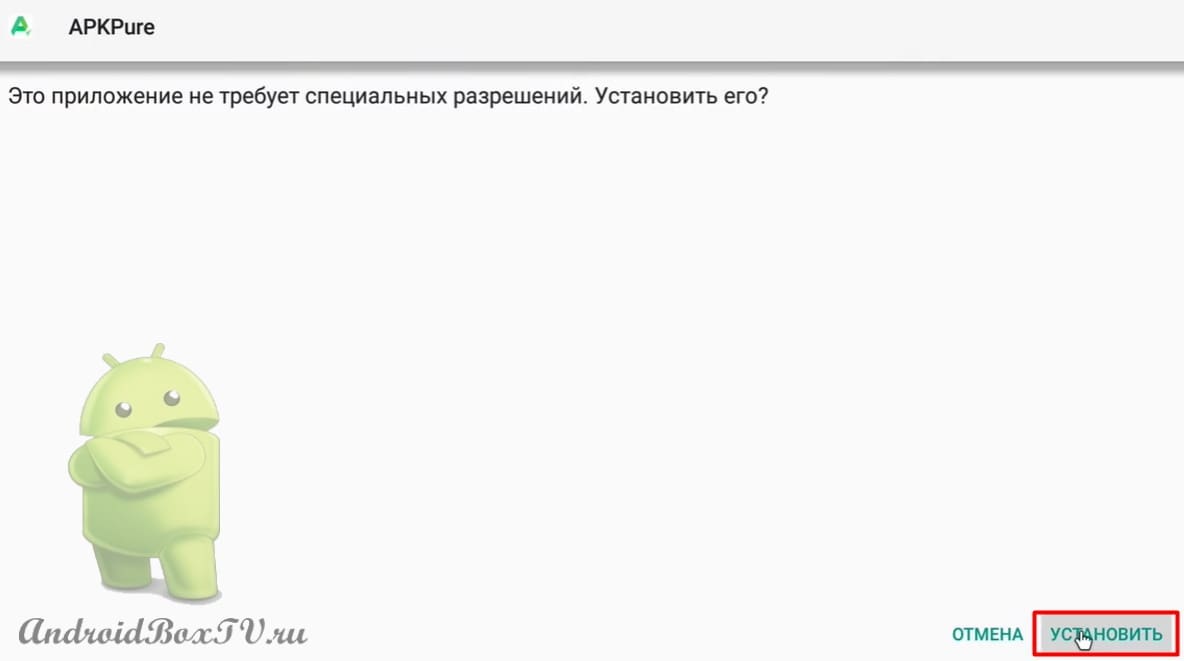
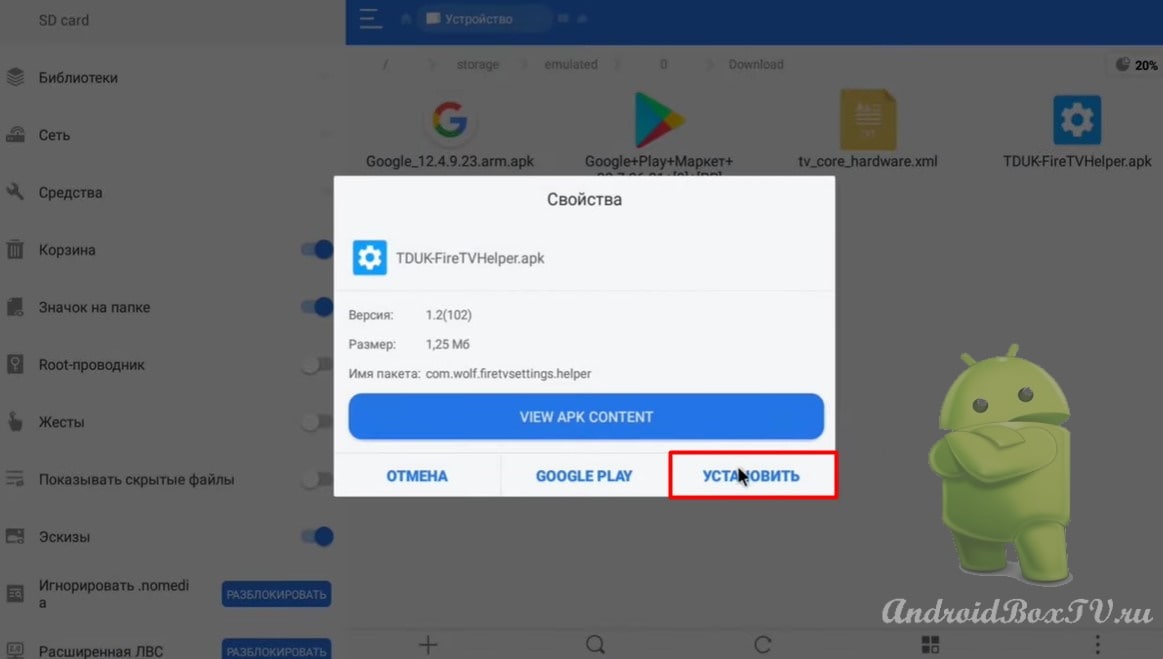
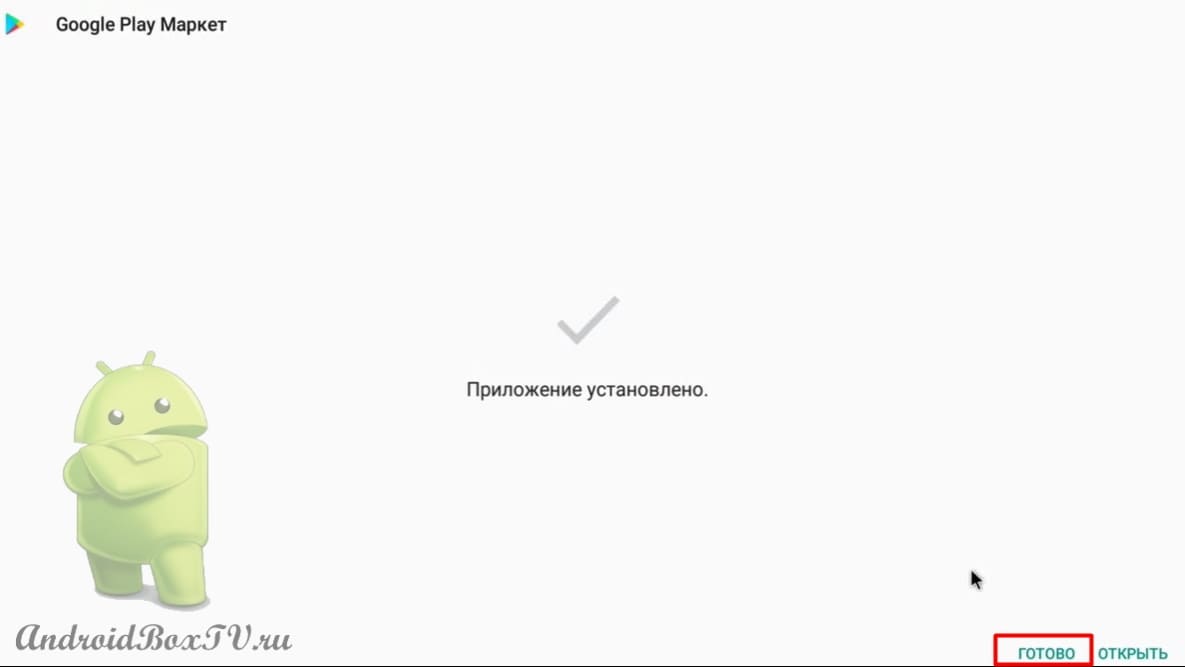
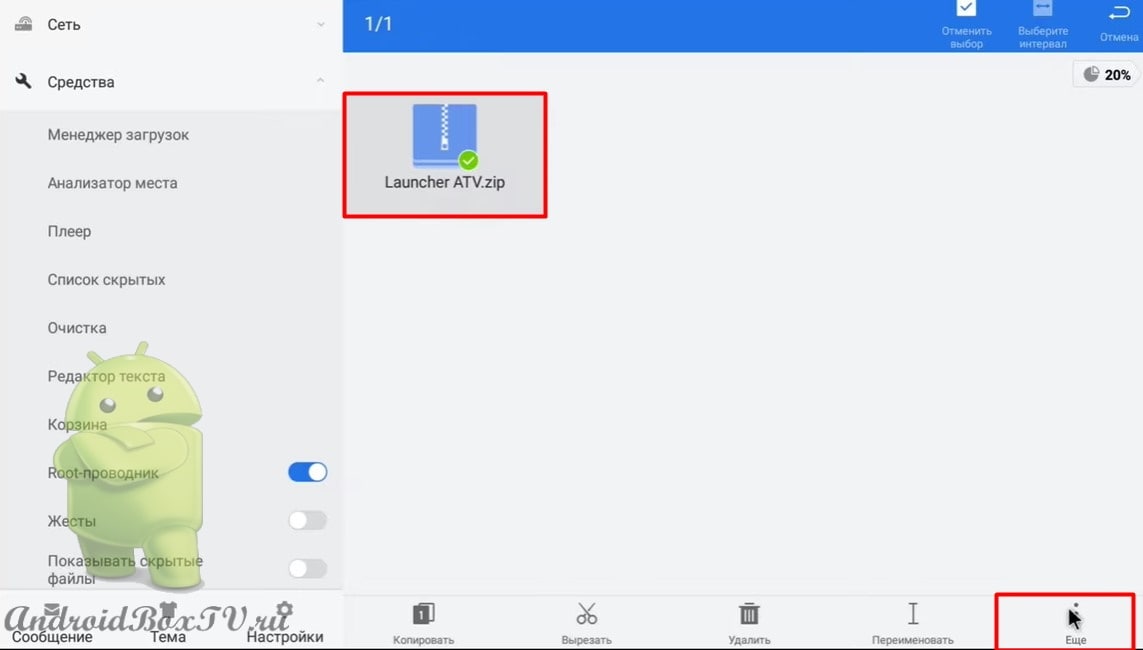
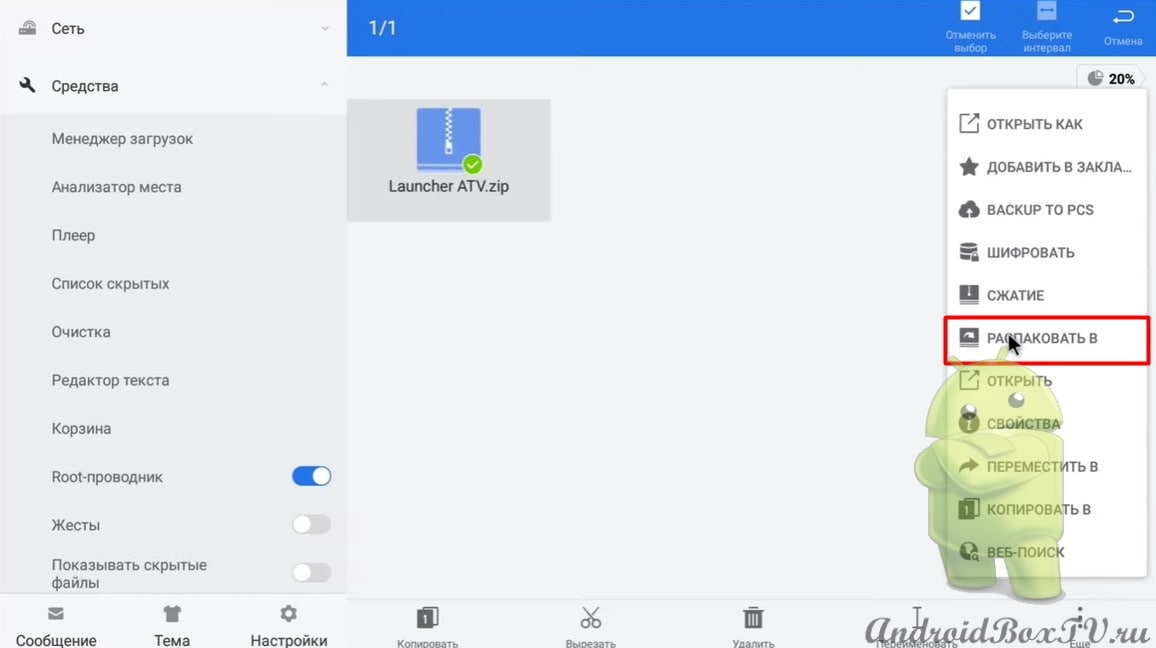
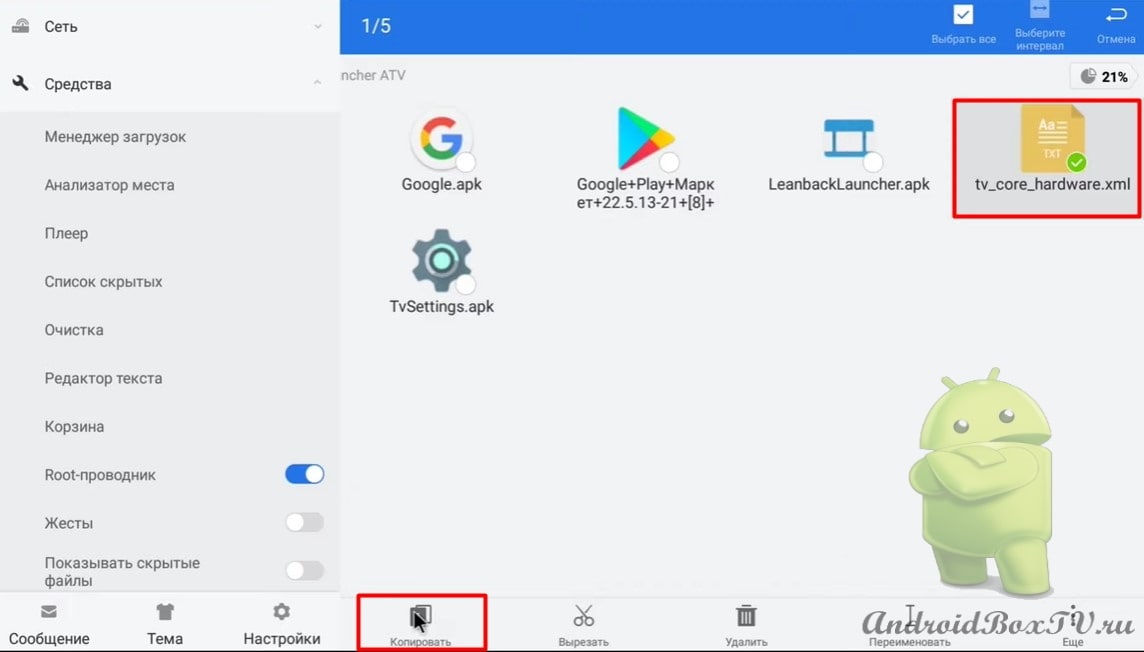
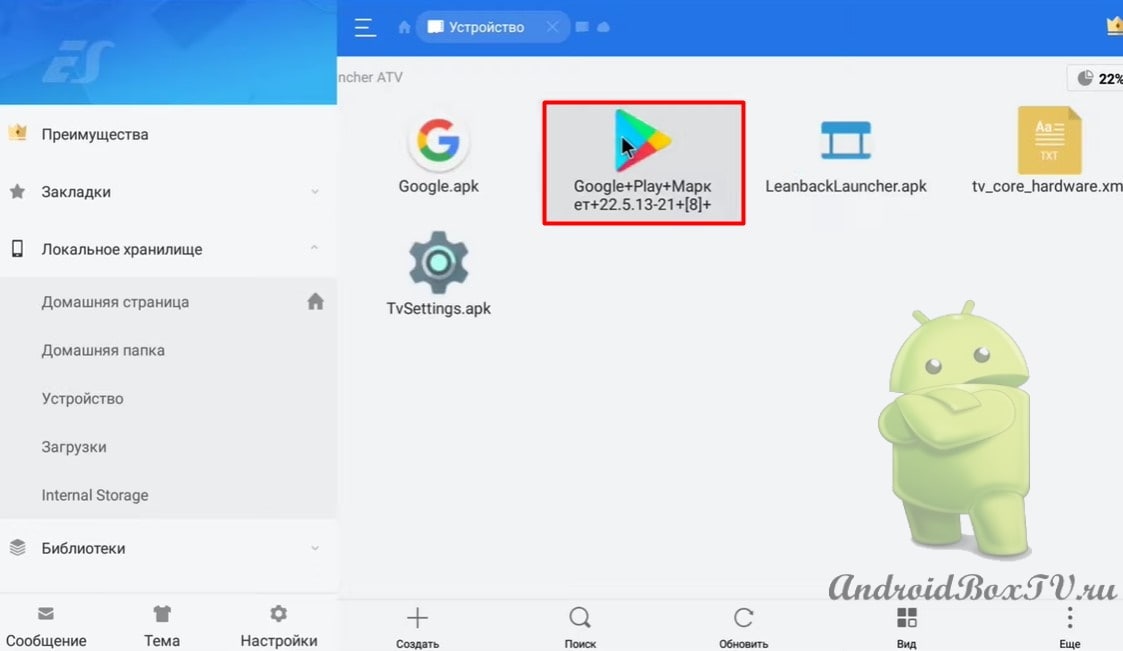
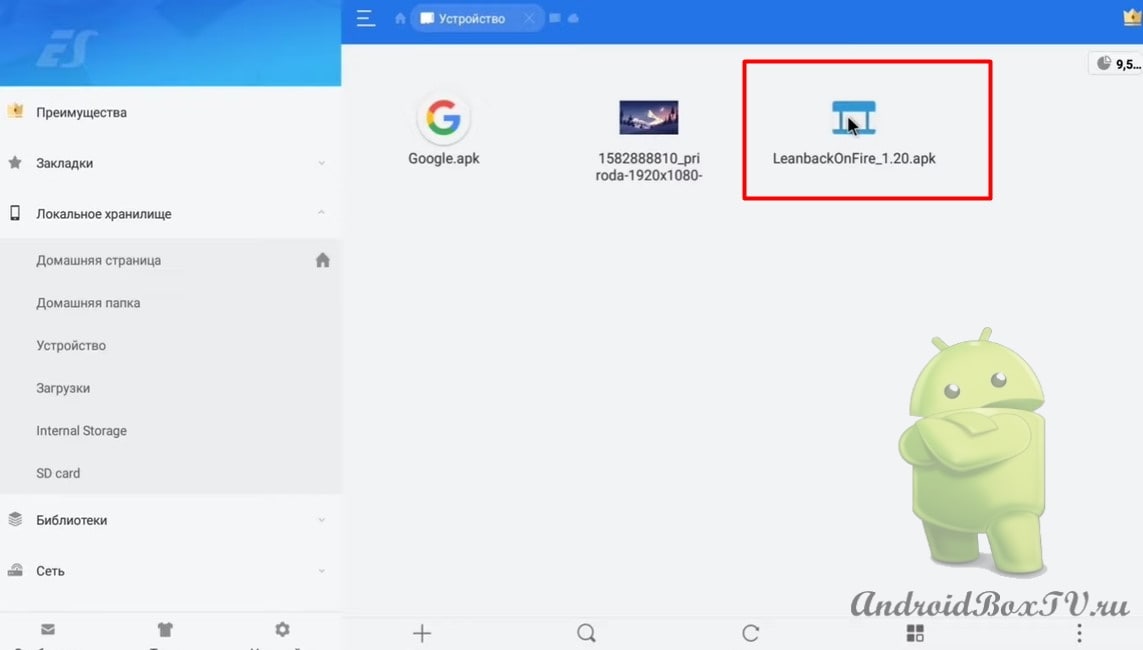
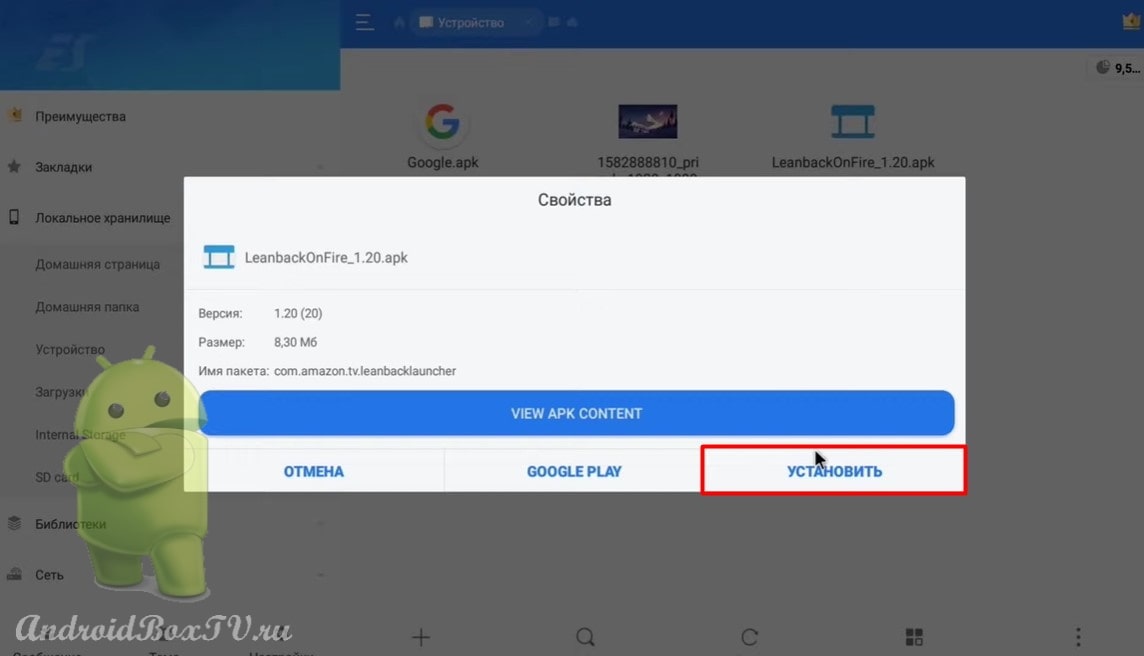
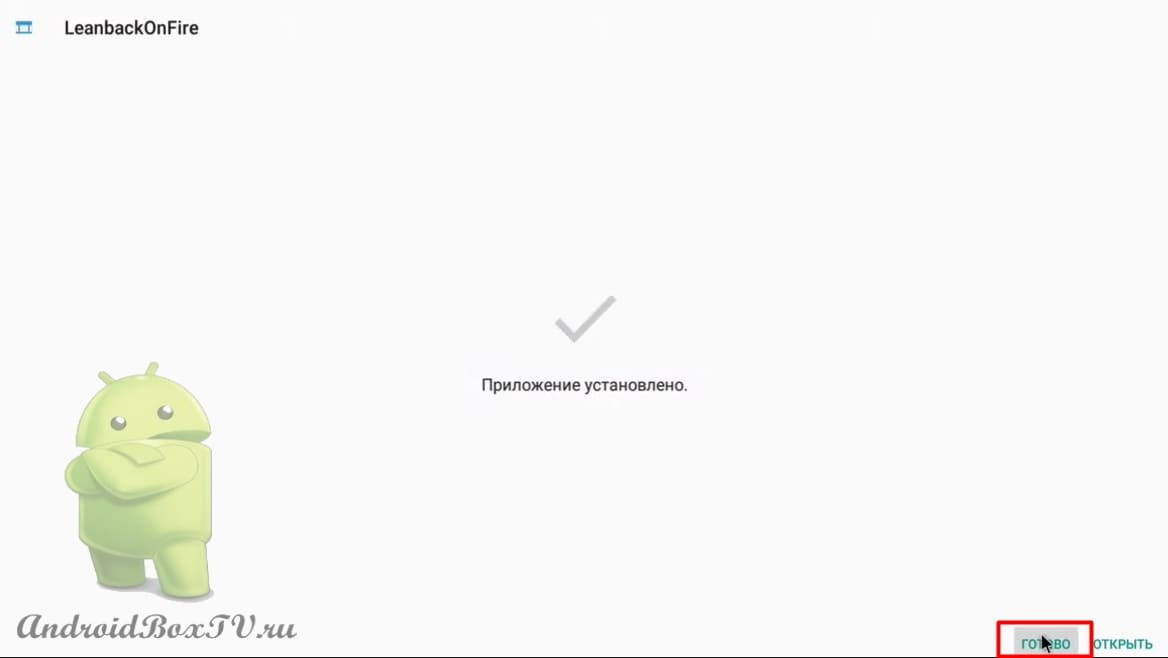
Click on “LeanbackOnFire” and click on “Install”:
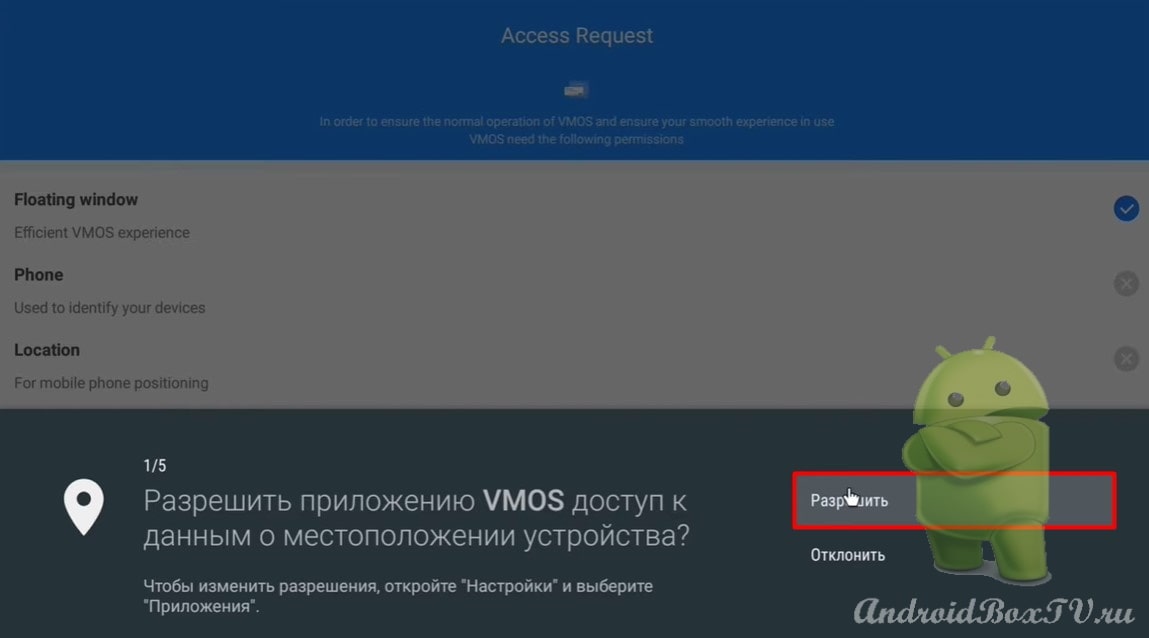
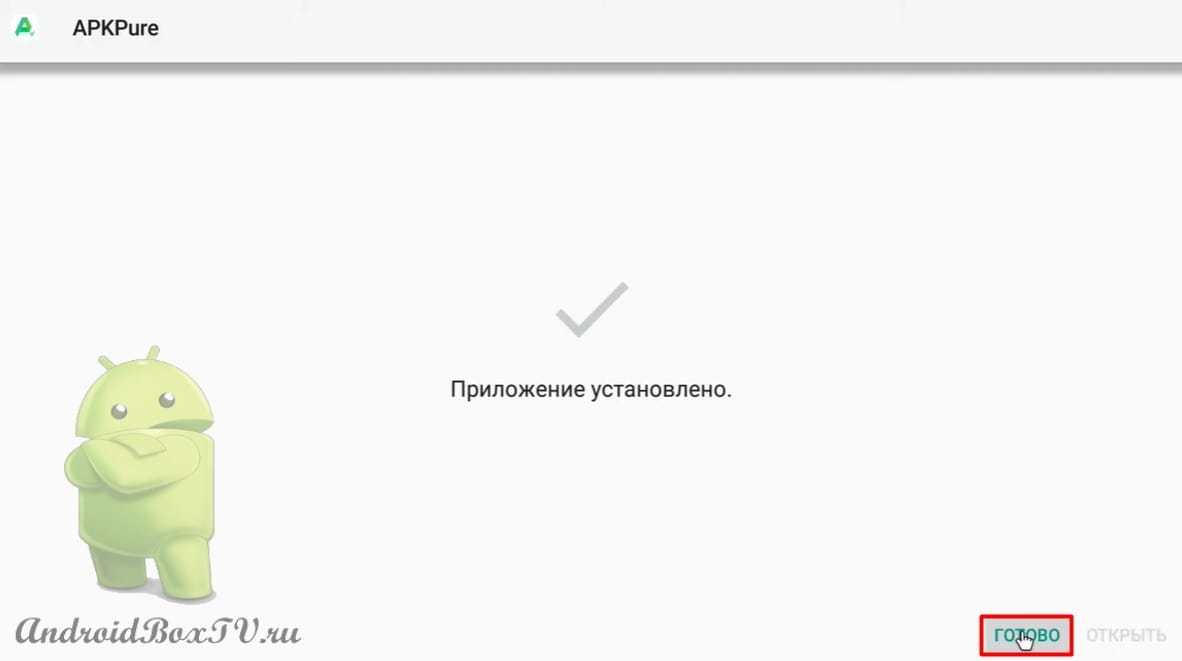
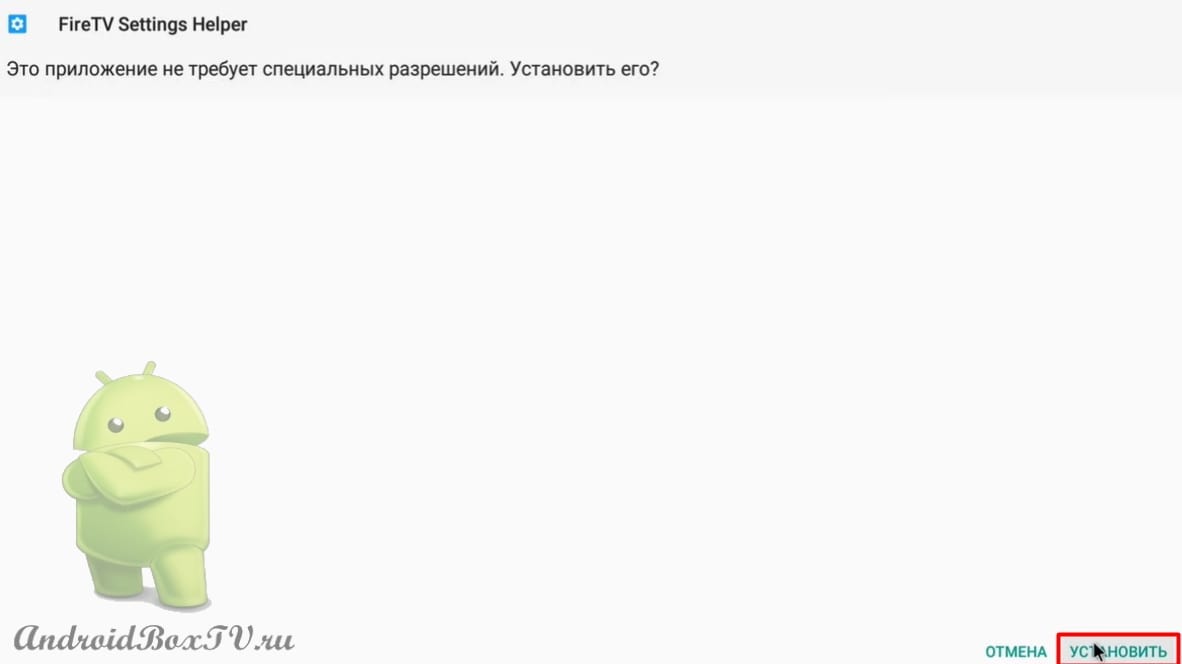
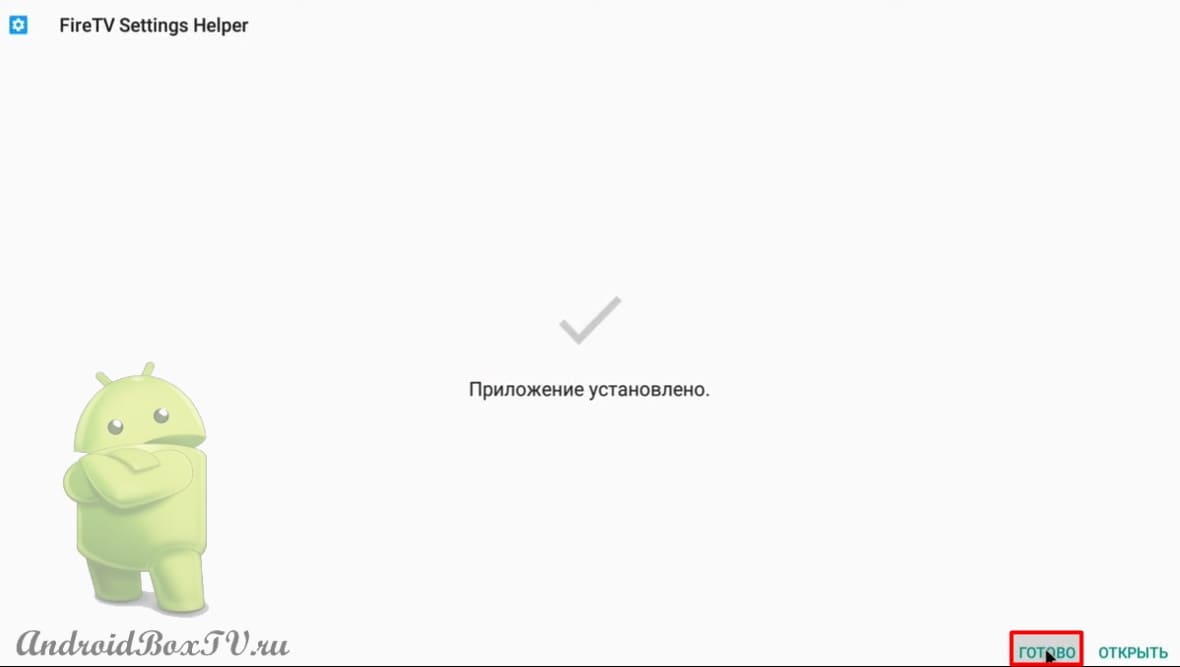
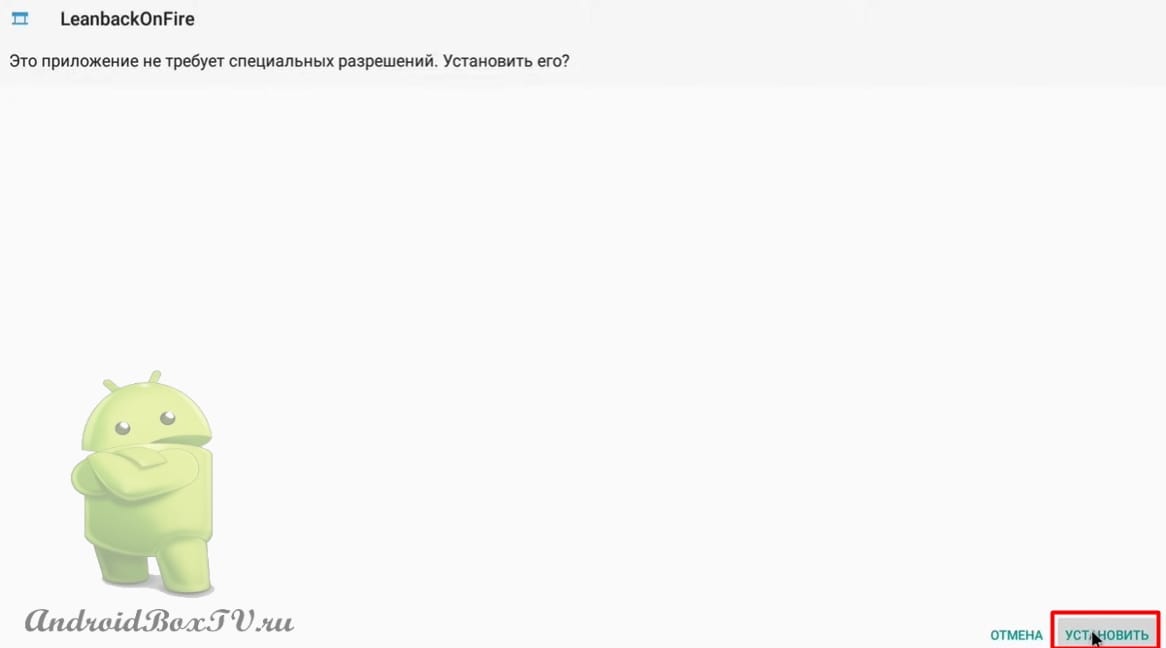
Next, allow the installation and click "Finish":
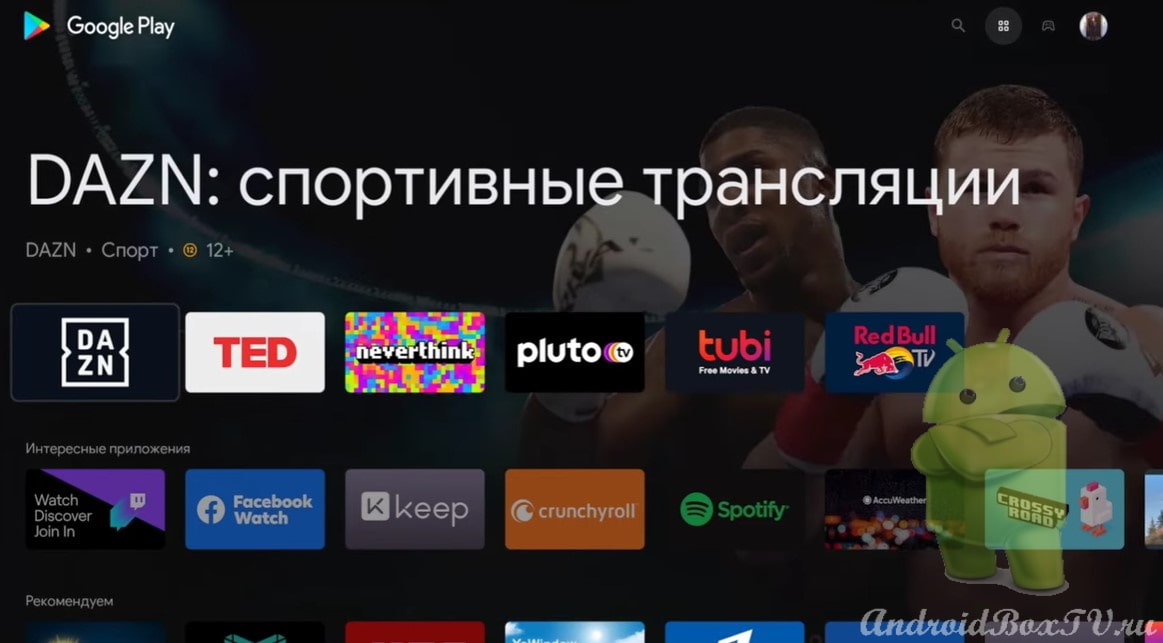
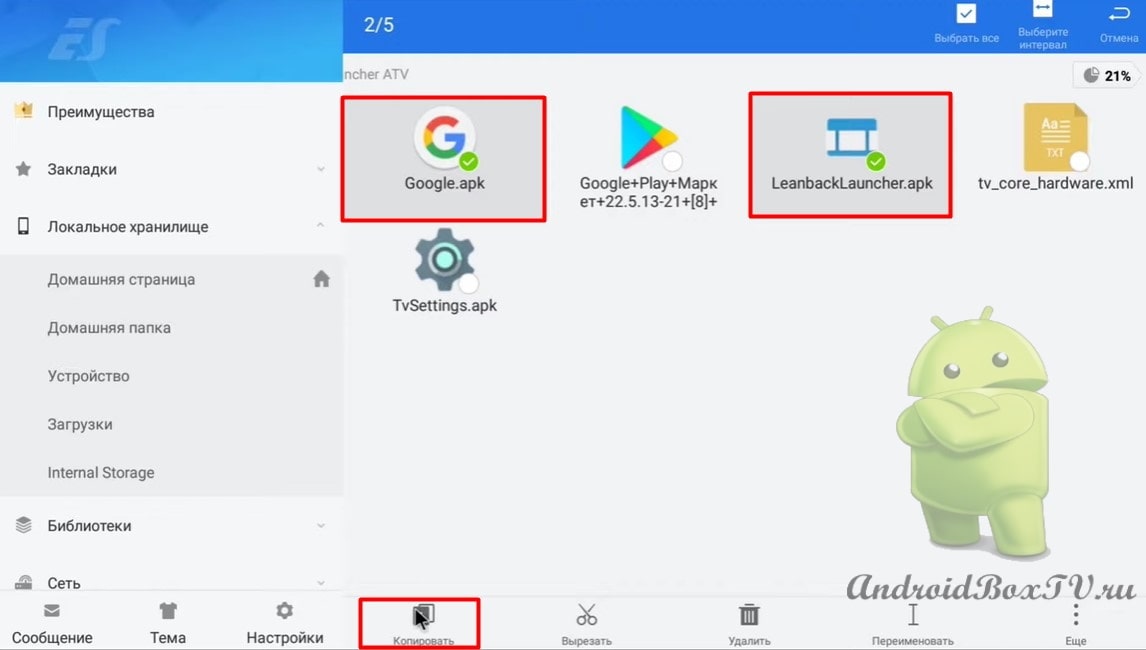
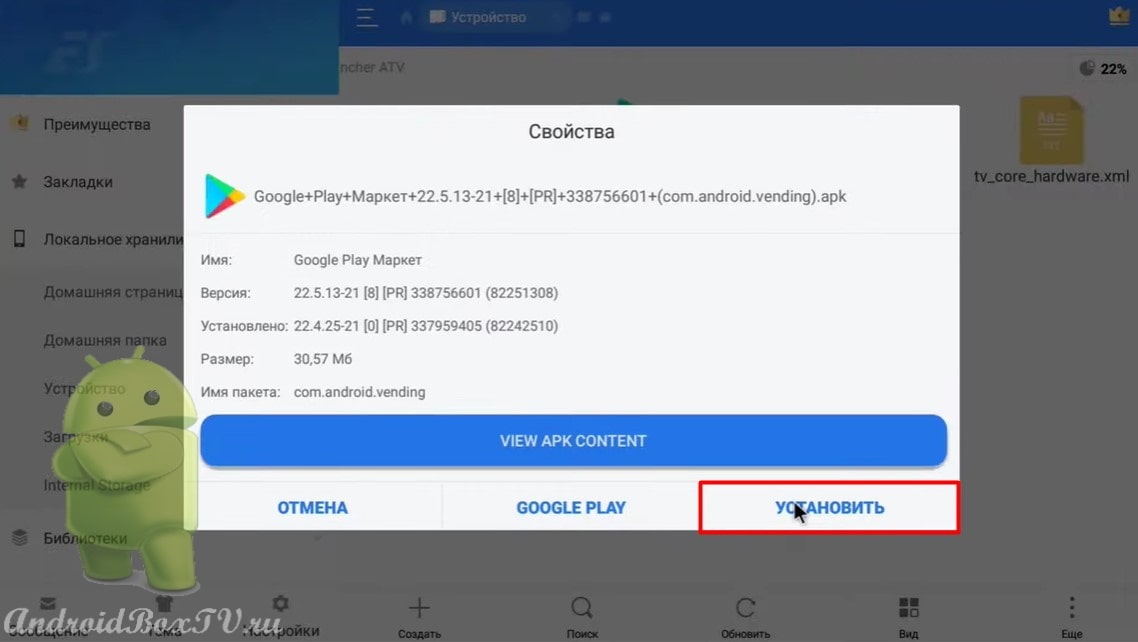
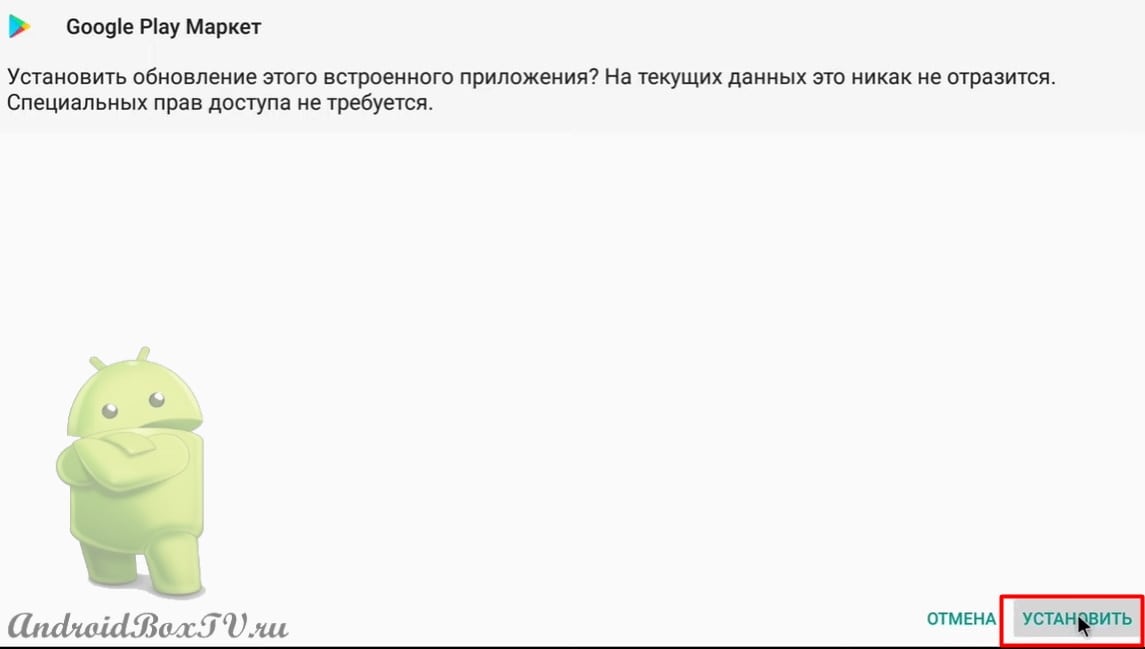
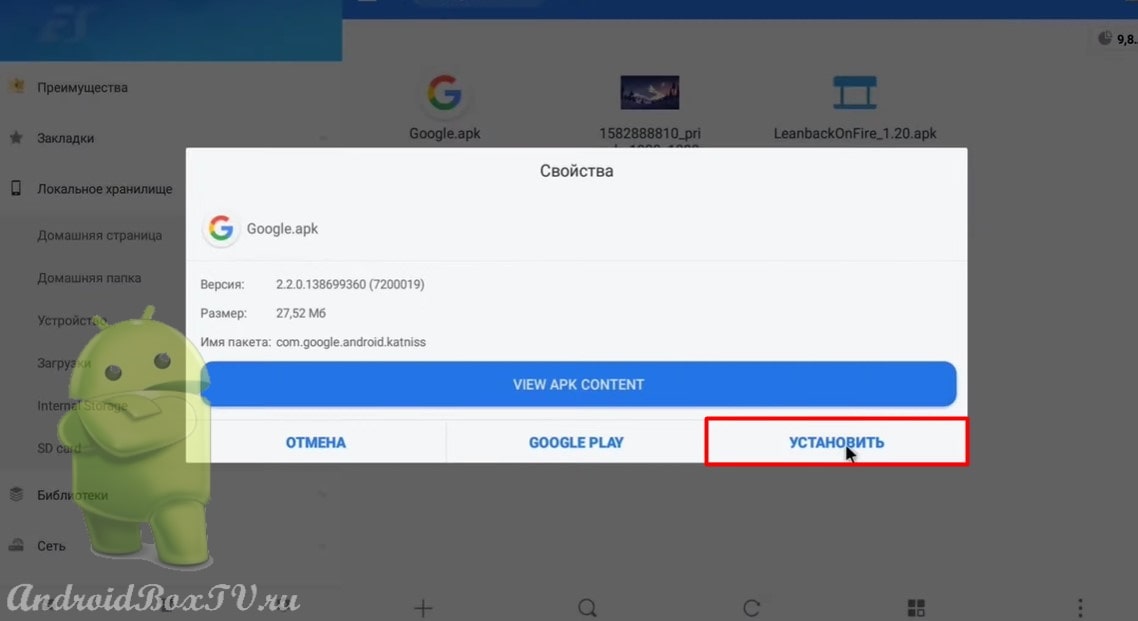
After installing Google for voice search. If you have a system Google, then try updating with this file:
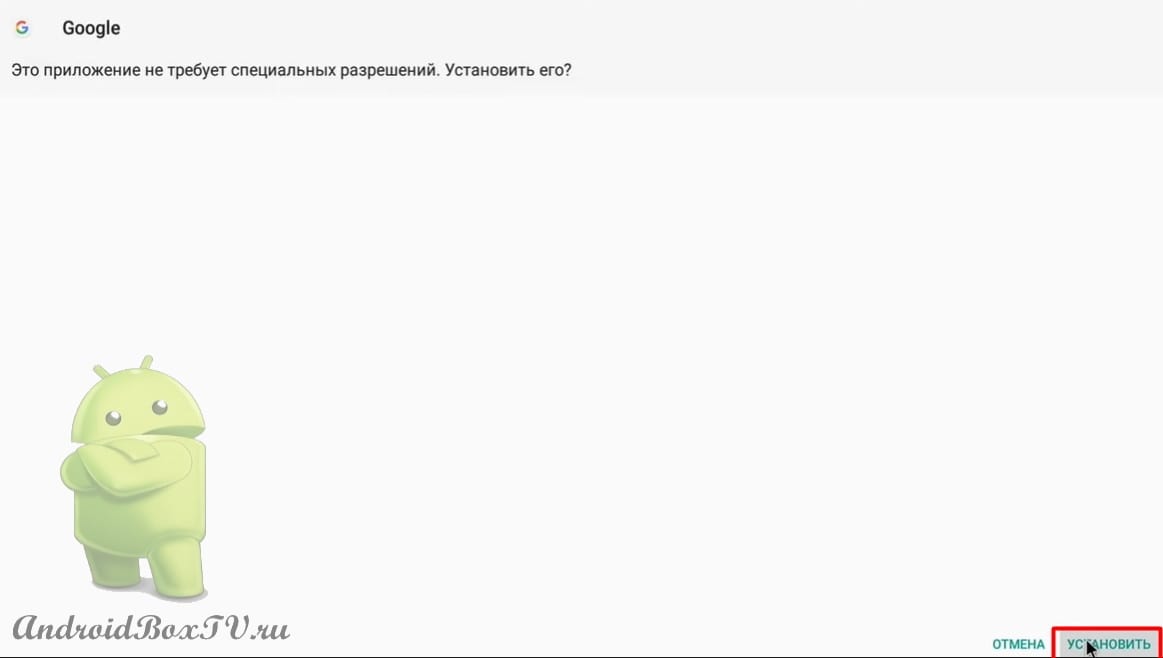
Click "Install" and allow the installation:
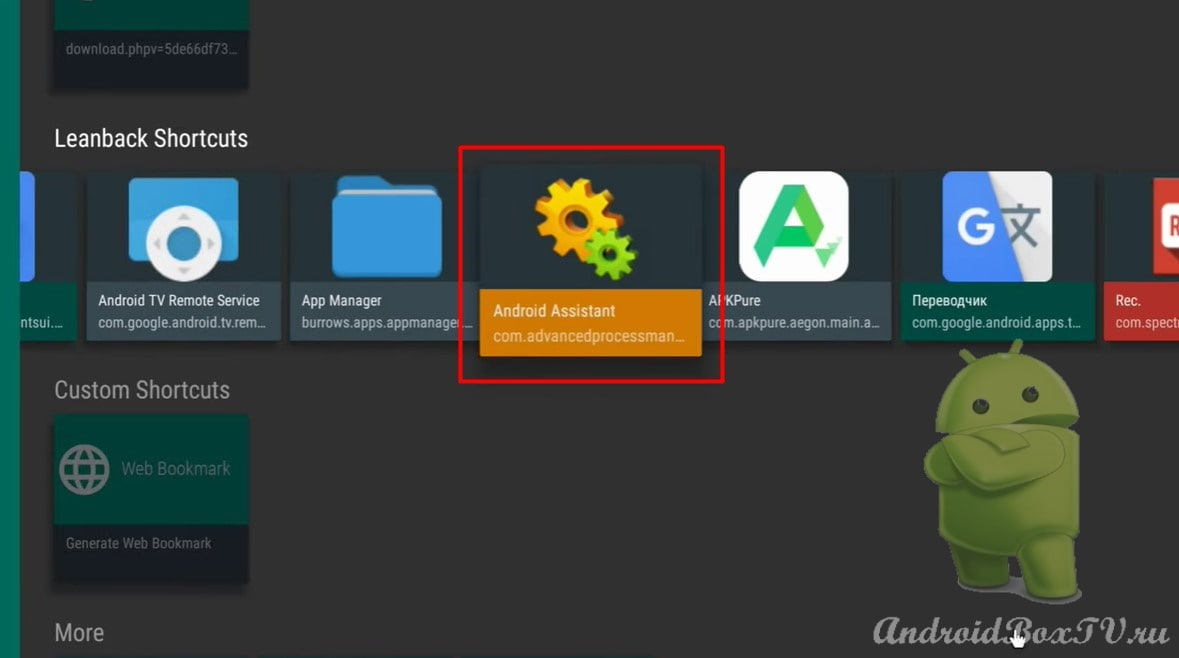
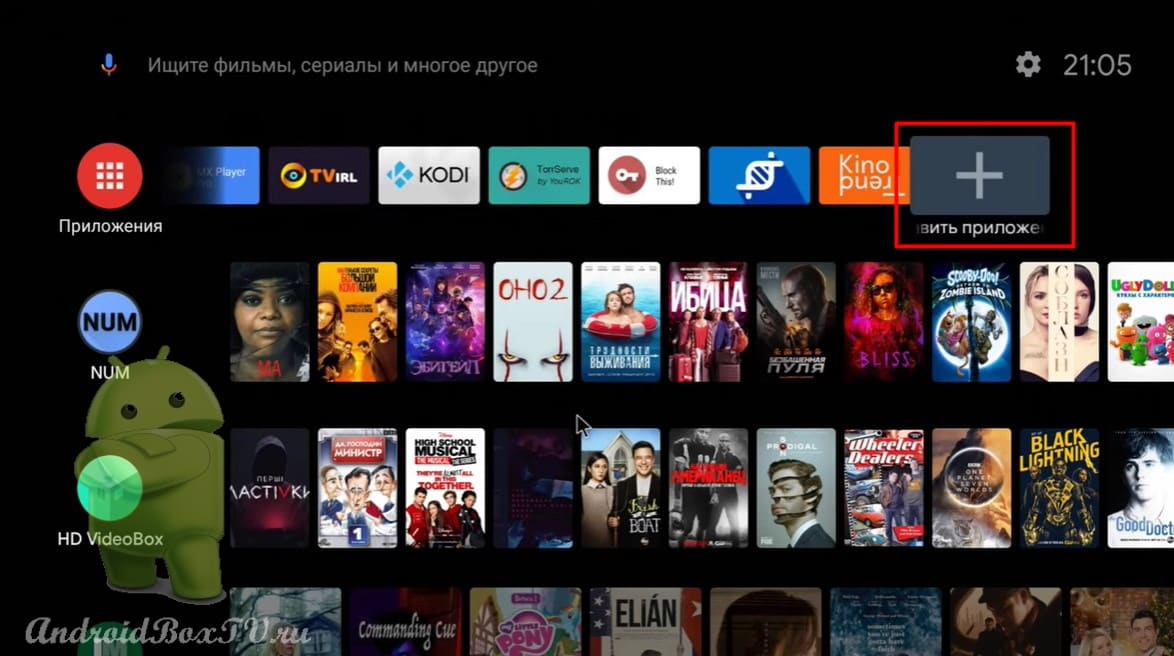
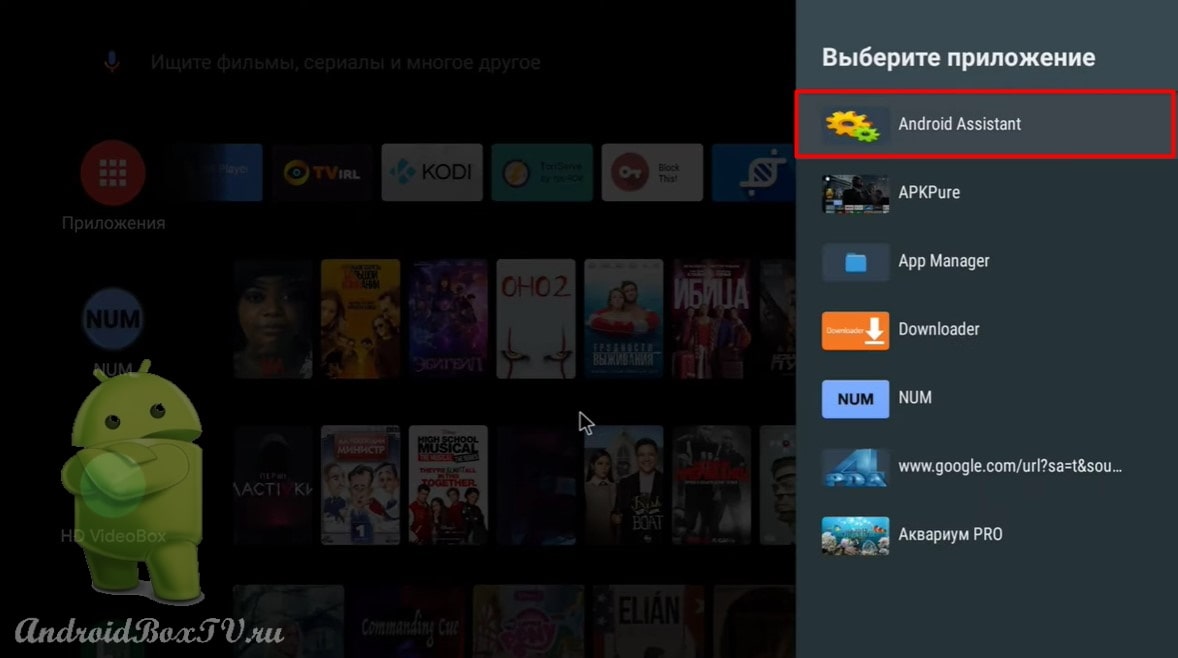
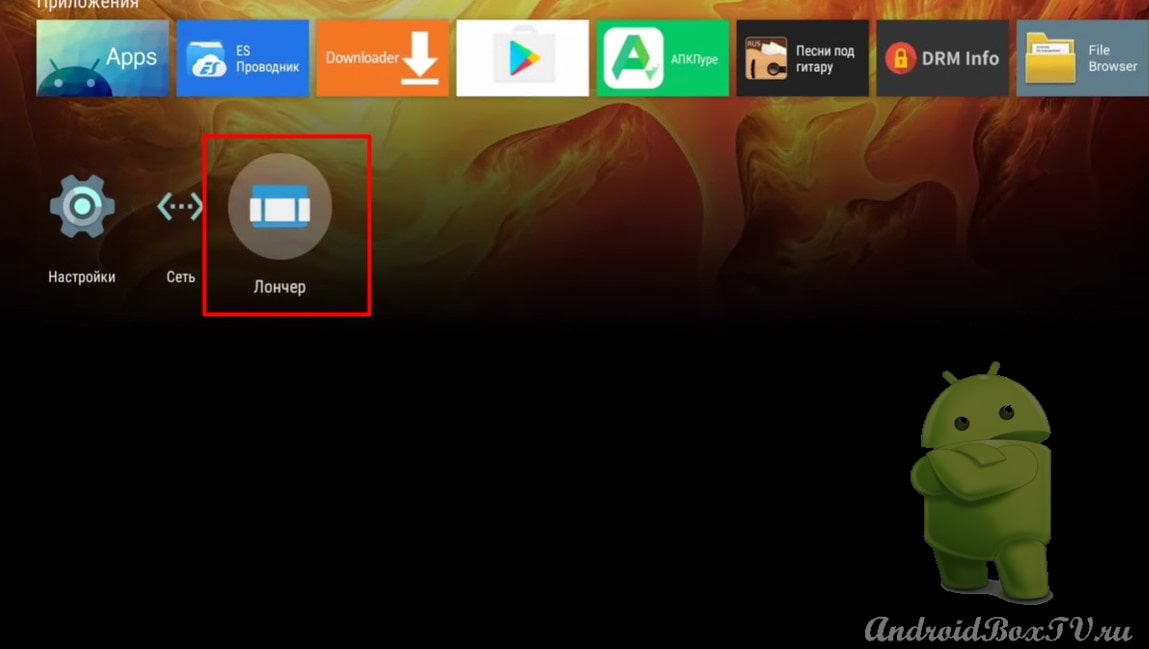
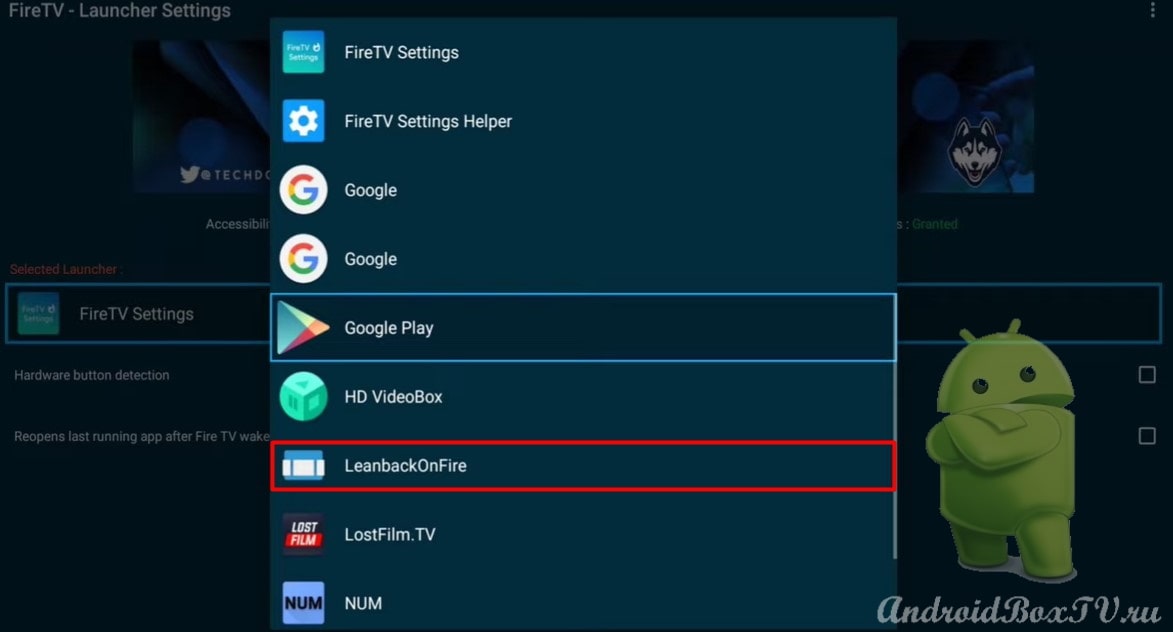
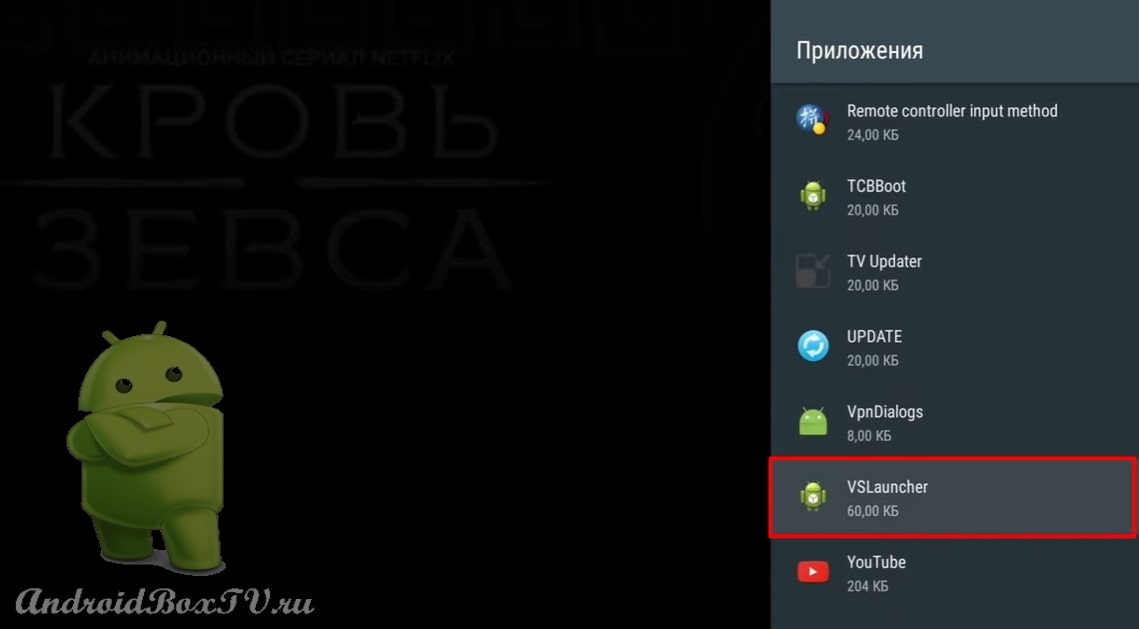
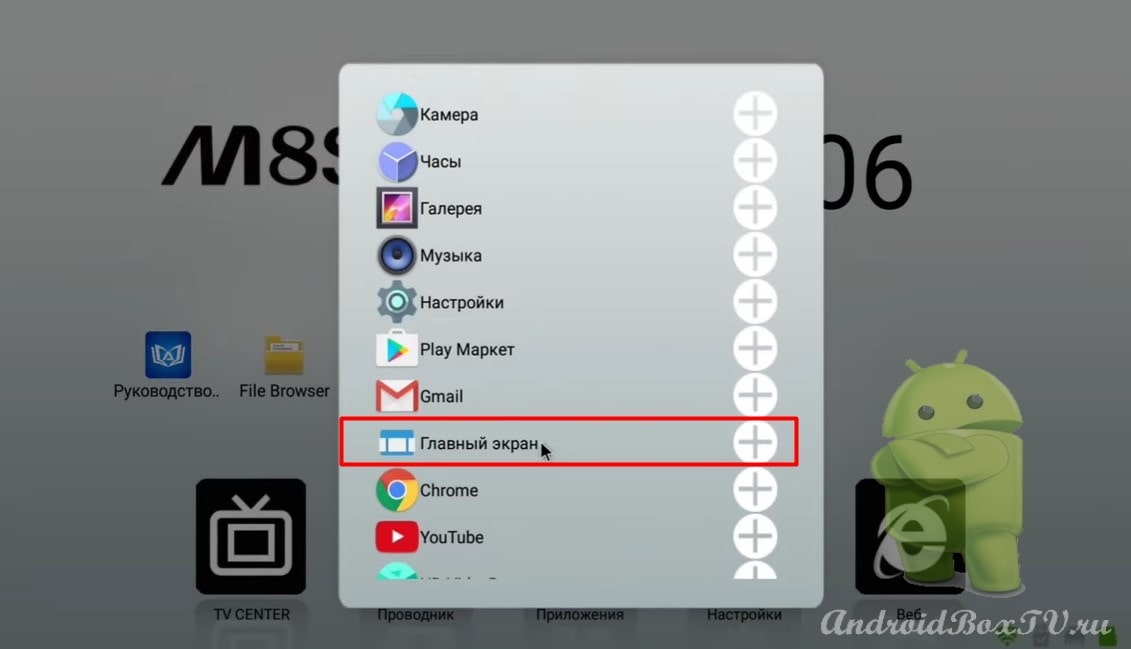
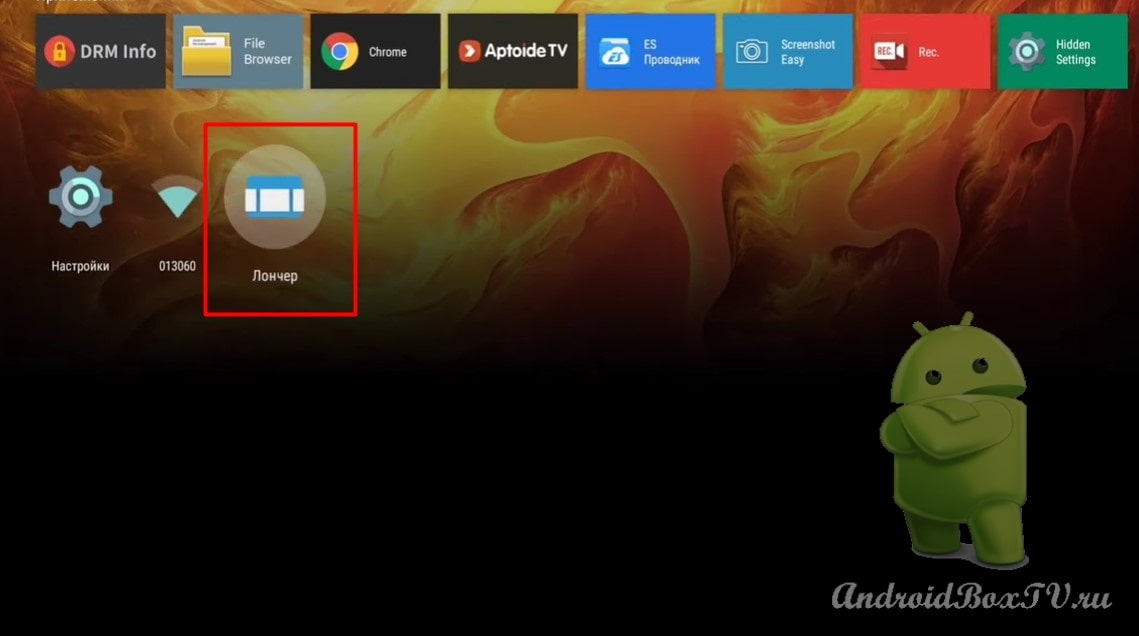
Back to the main screen and add the Launcher to the main screen:
We see that the Launcher has been added. We open it:
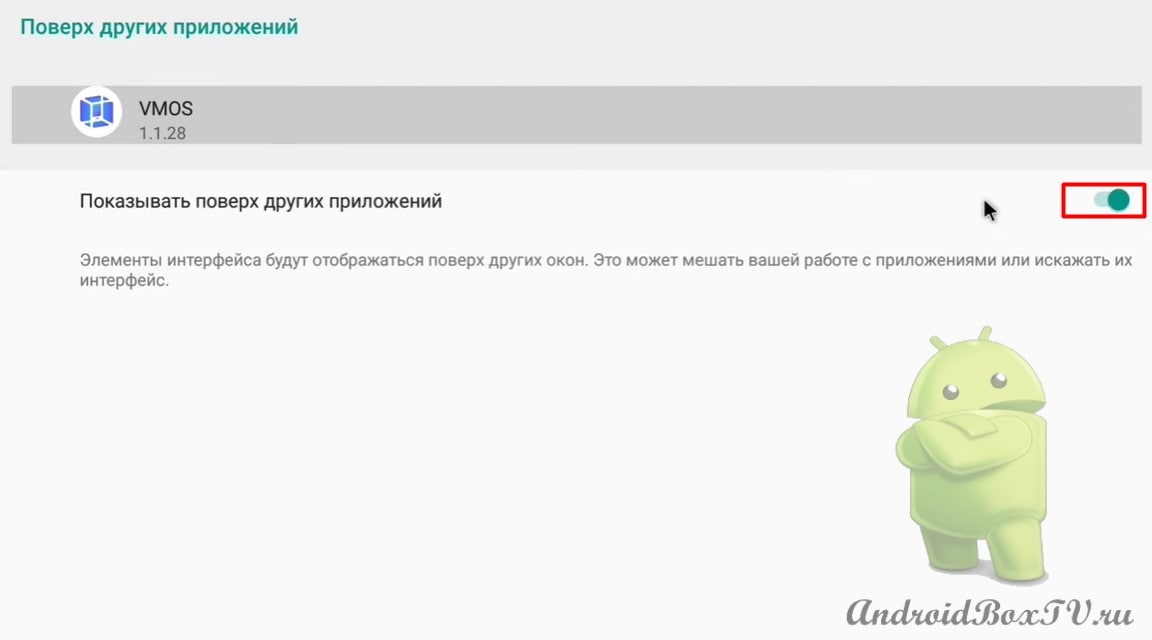
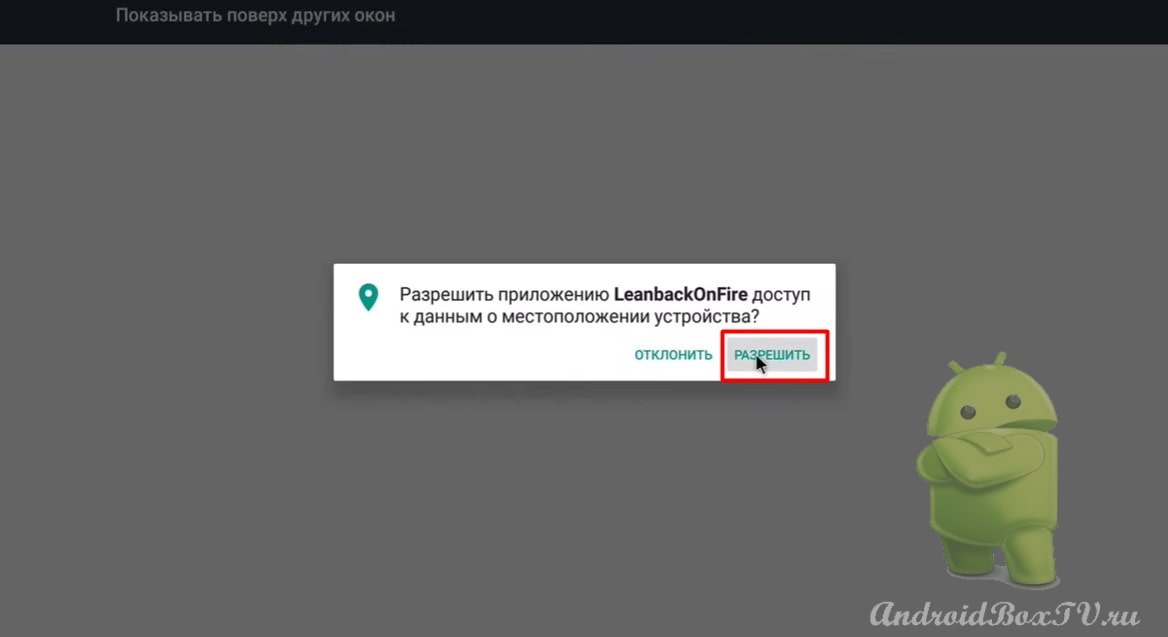
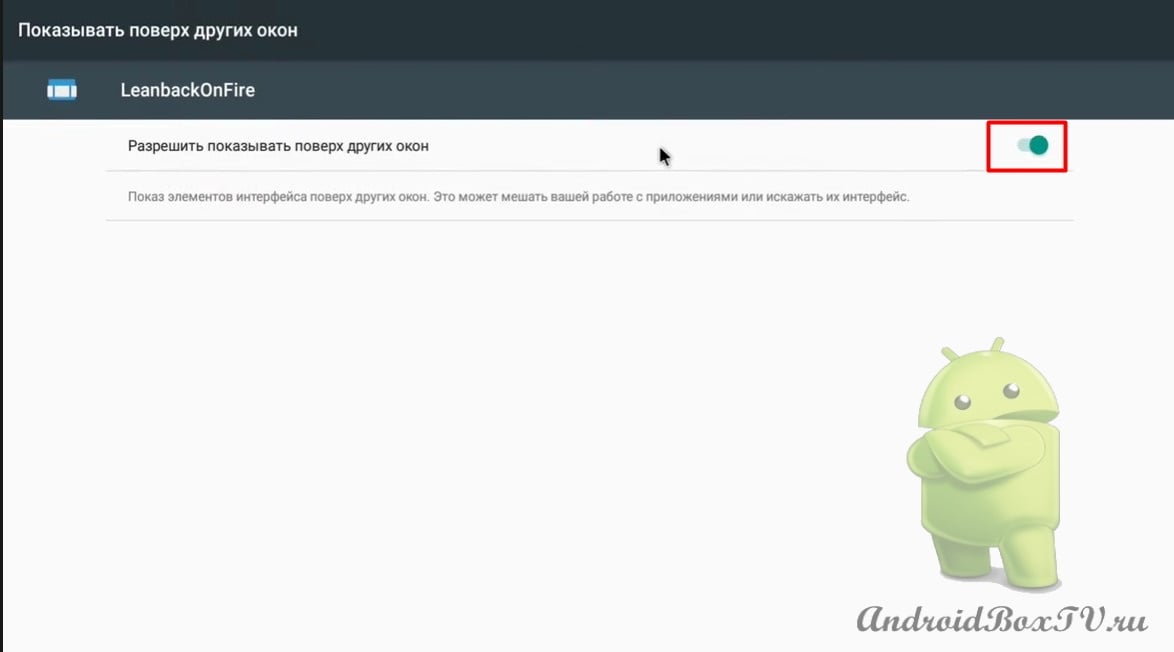
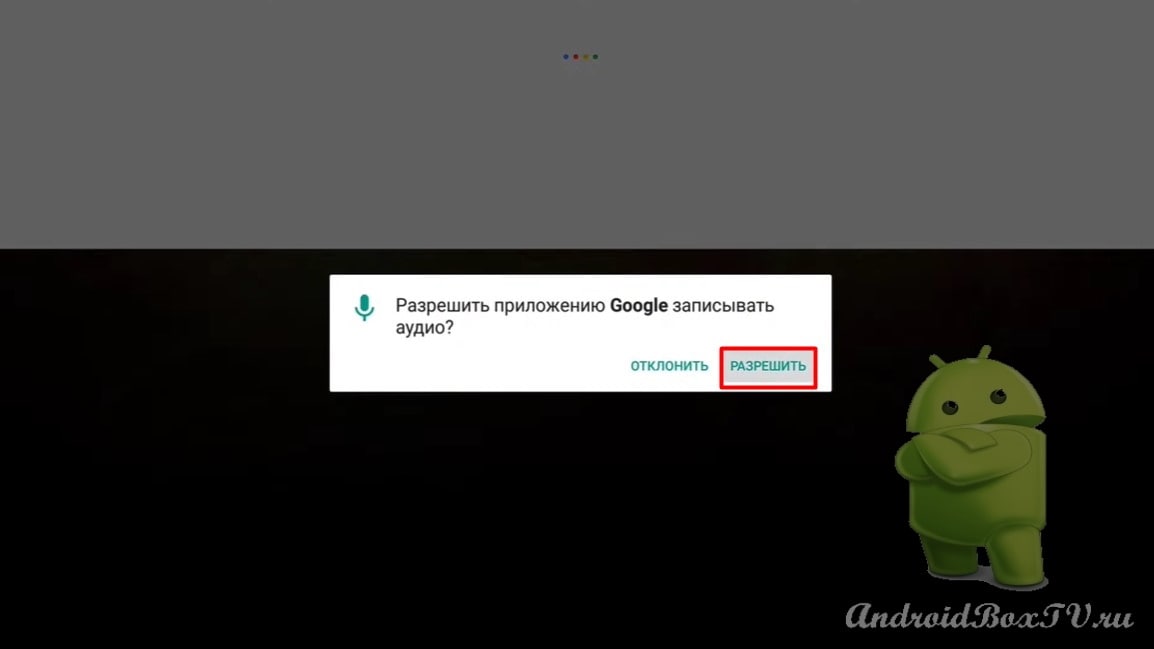
Click “Allow” and turn on “Allow to show on top of other windows”:
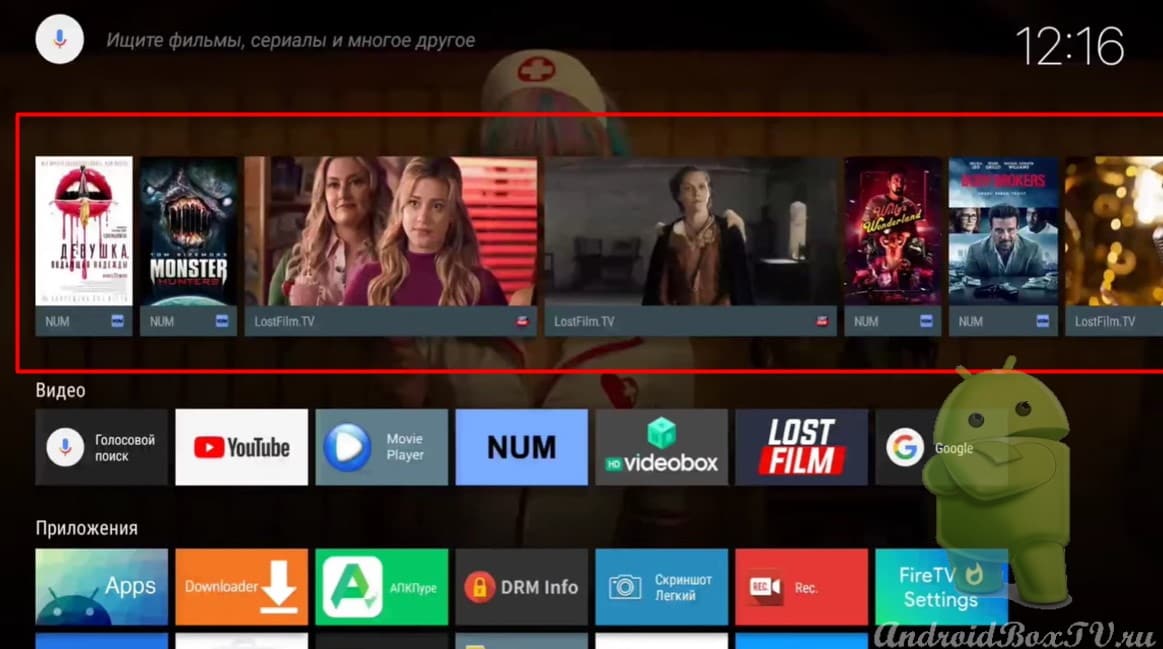
We return back. We see the original view:
Let's check out the voice search. Click on the microphone:
Click "Allow" and say the name of the movie:
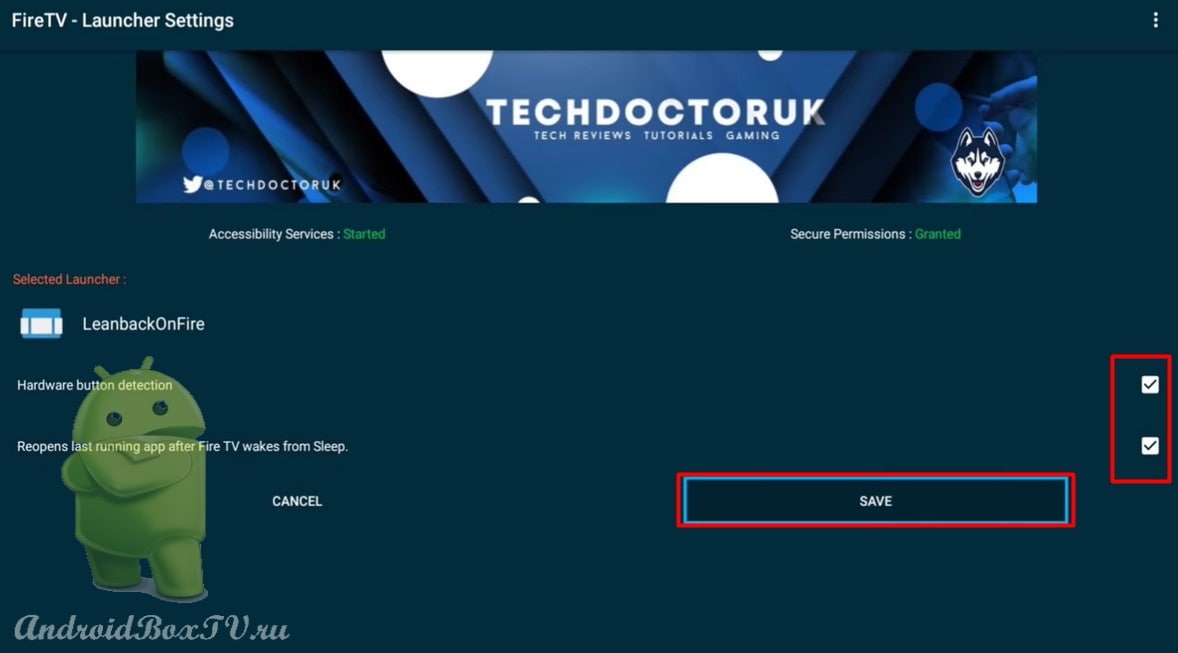
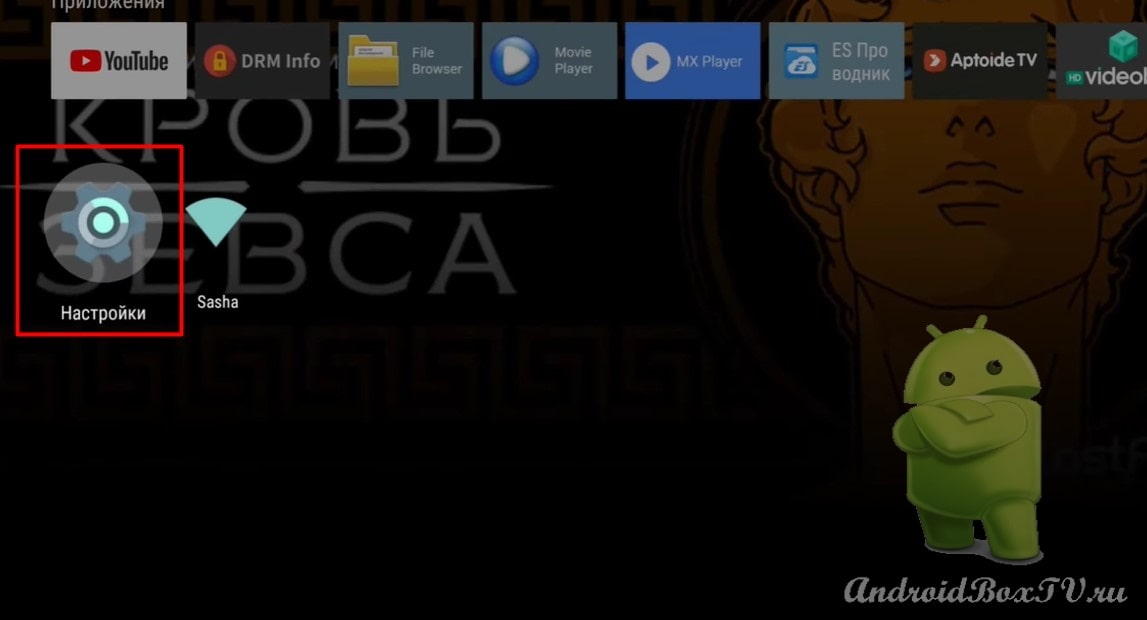
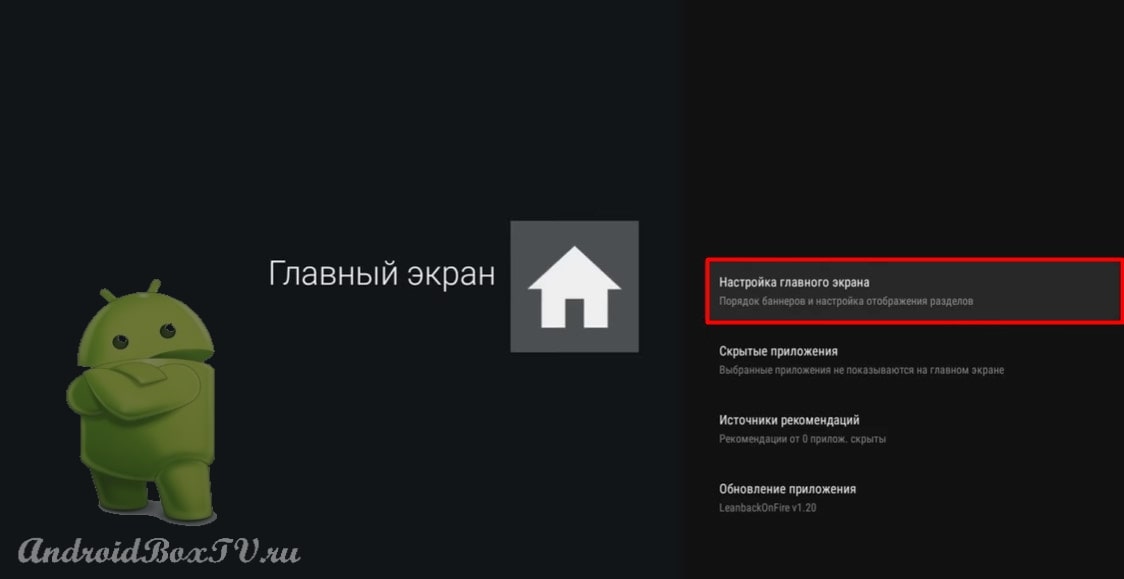
Next, go to the Launcher settings:
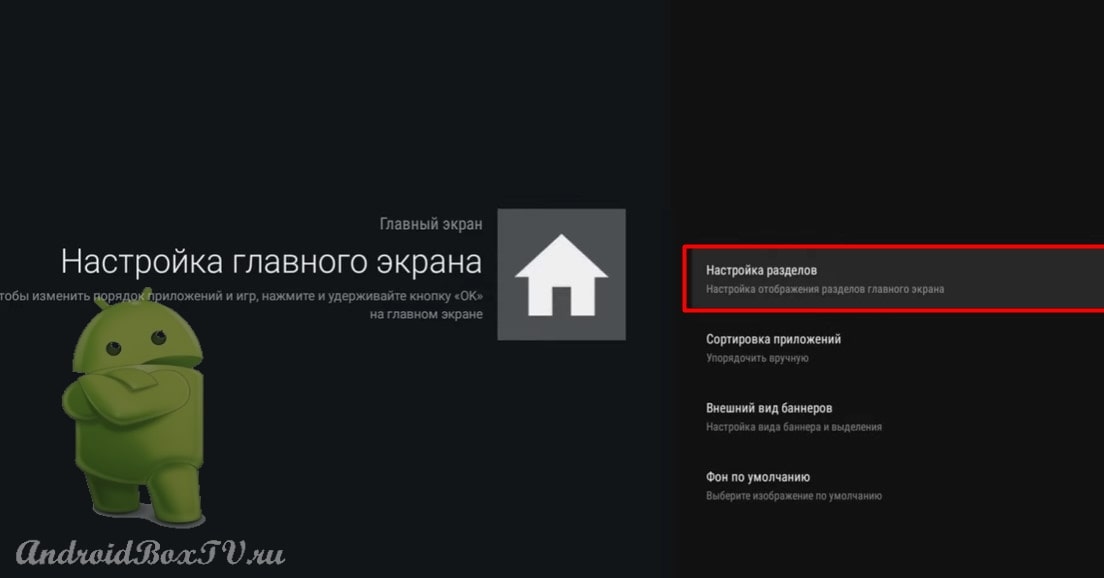
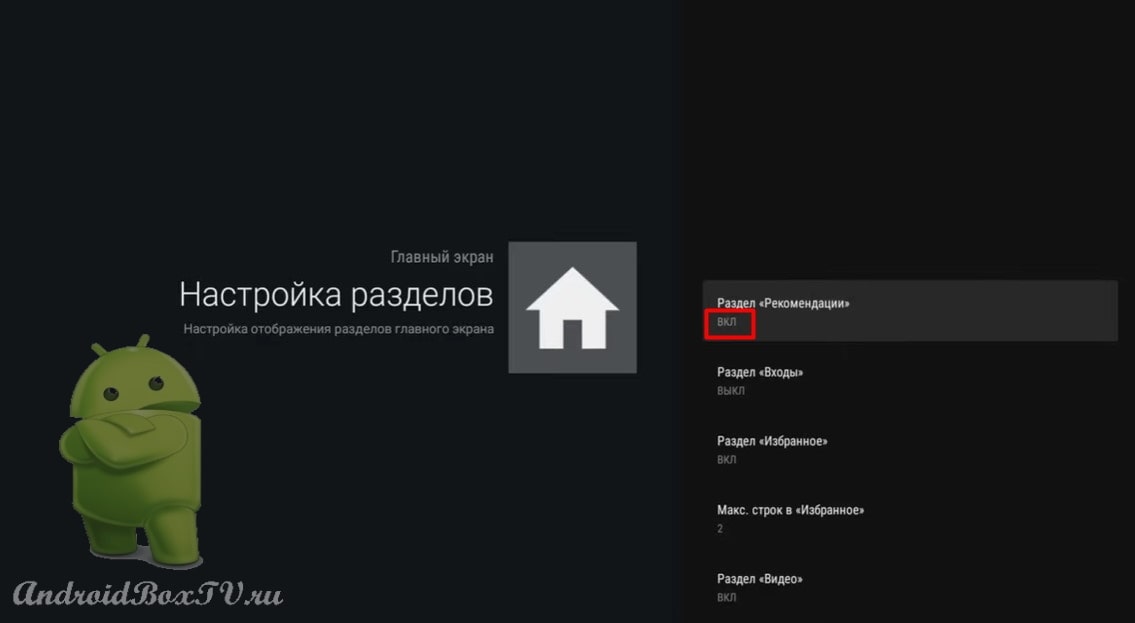
Select “Home screen settings” and “Section settings”:
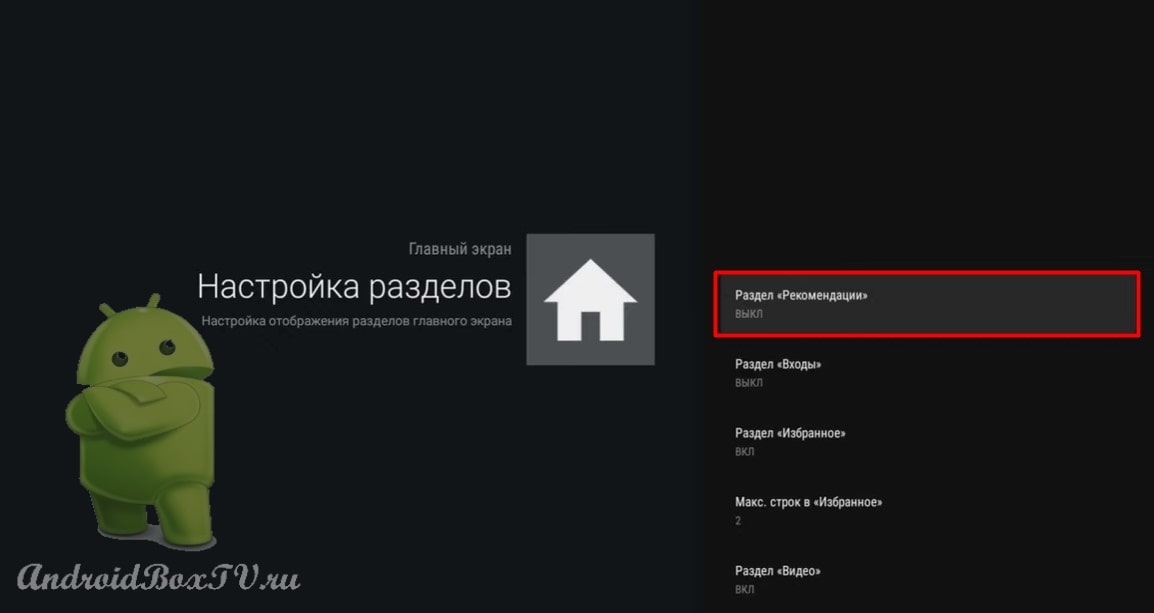
Next, click on the “Recommendations Section”:
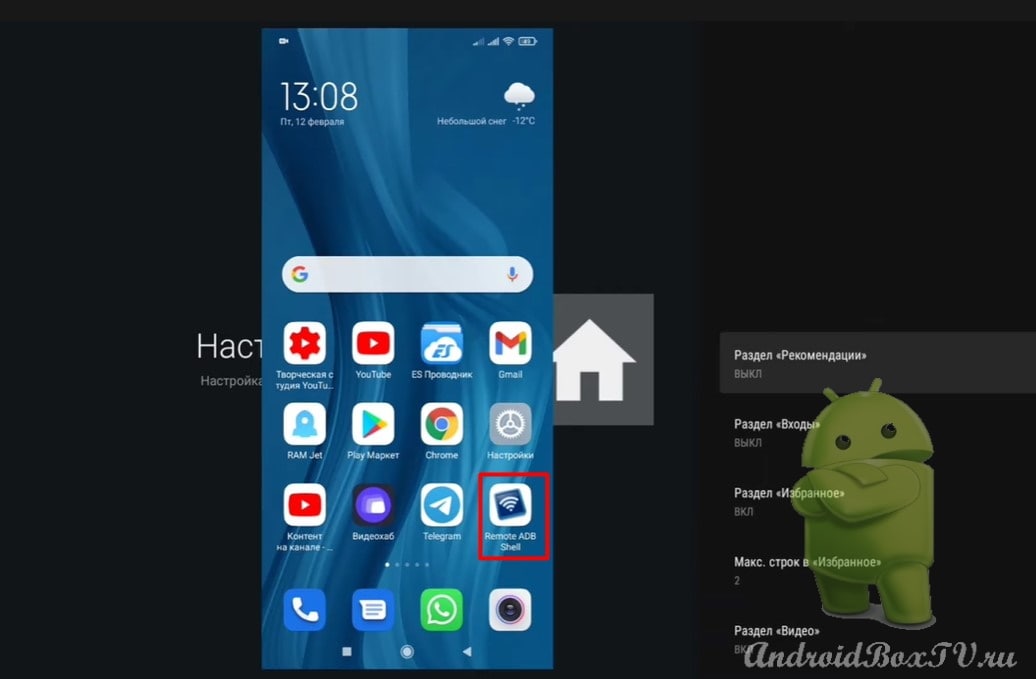
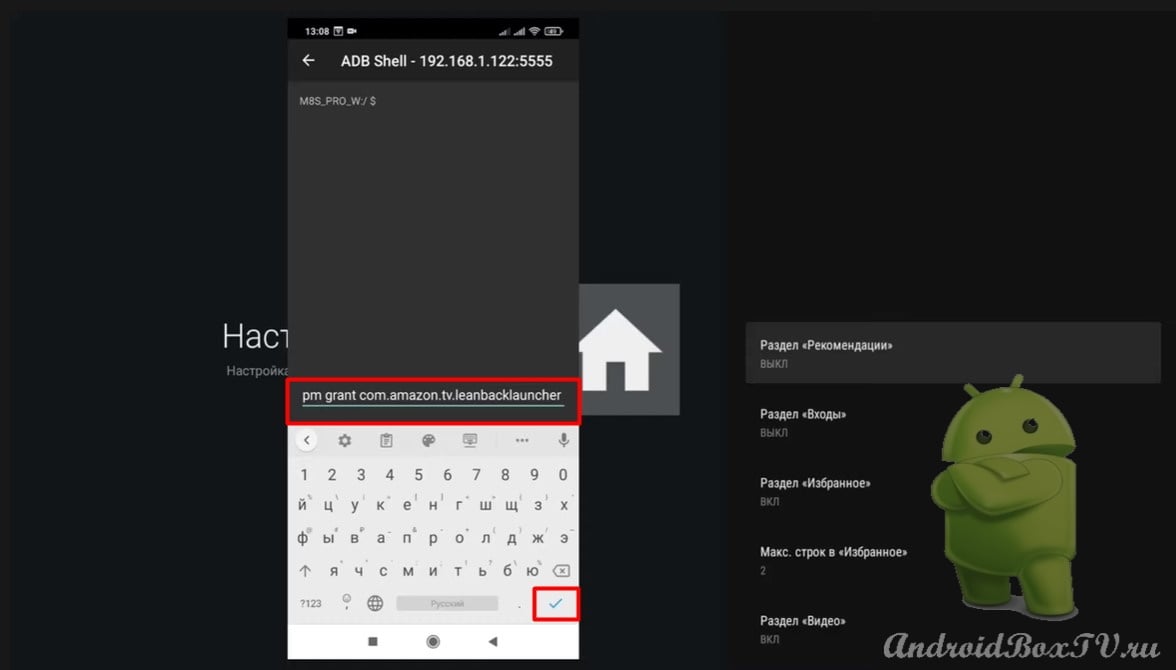
Now you need to submit the ADB Shell command from your smartphone. On the smartphone, open the “Remote ADB Shell” application:
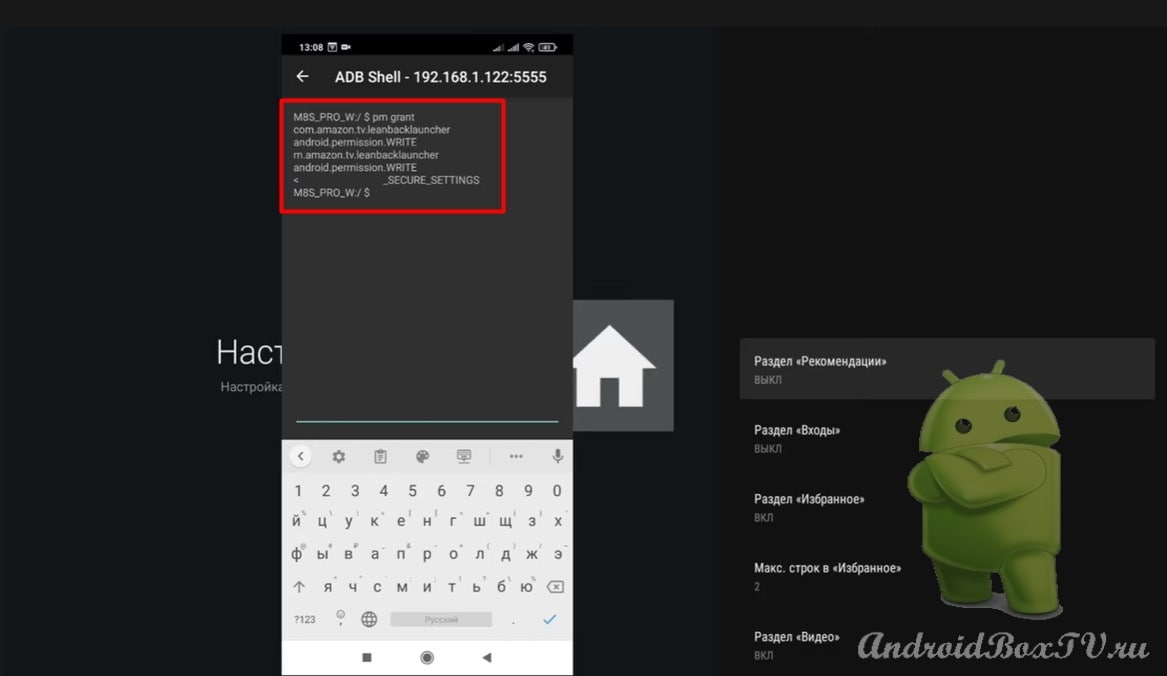
We connect and enter the command - pm grant com.amazon.tv.leanbacklauncher android.permission.WRITE_SECURE_SETTINGS :
Click on the checkmark and see that everything went well:
We return to the device and turn on the recommendations:
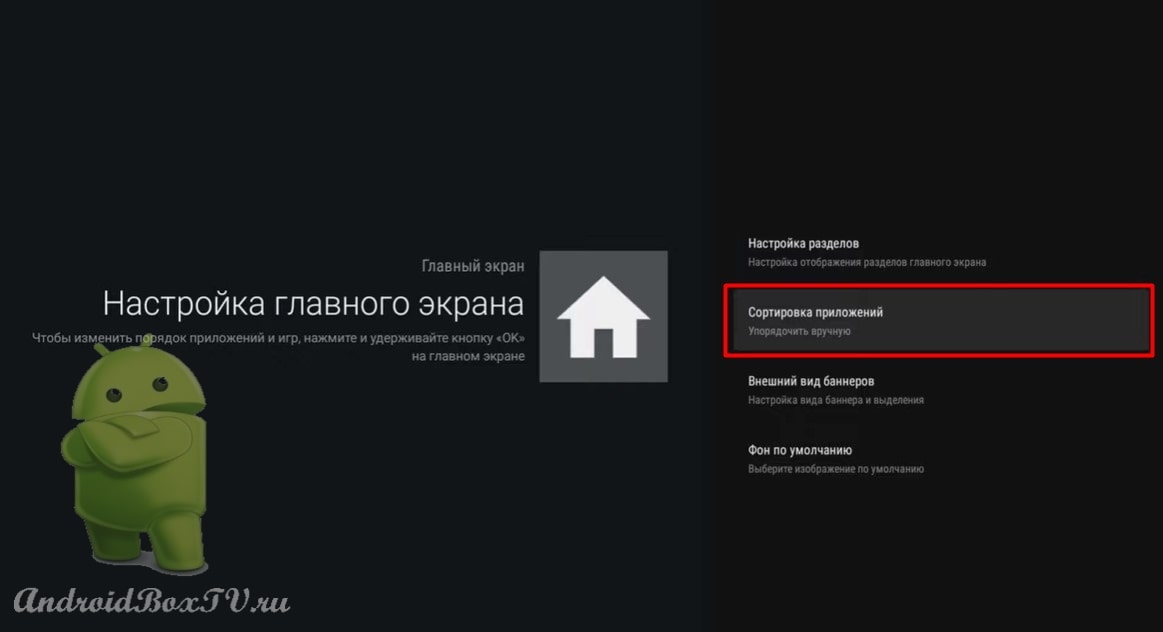
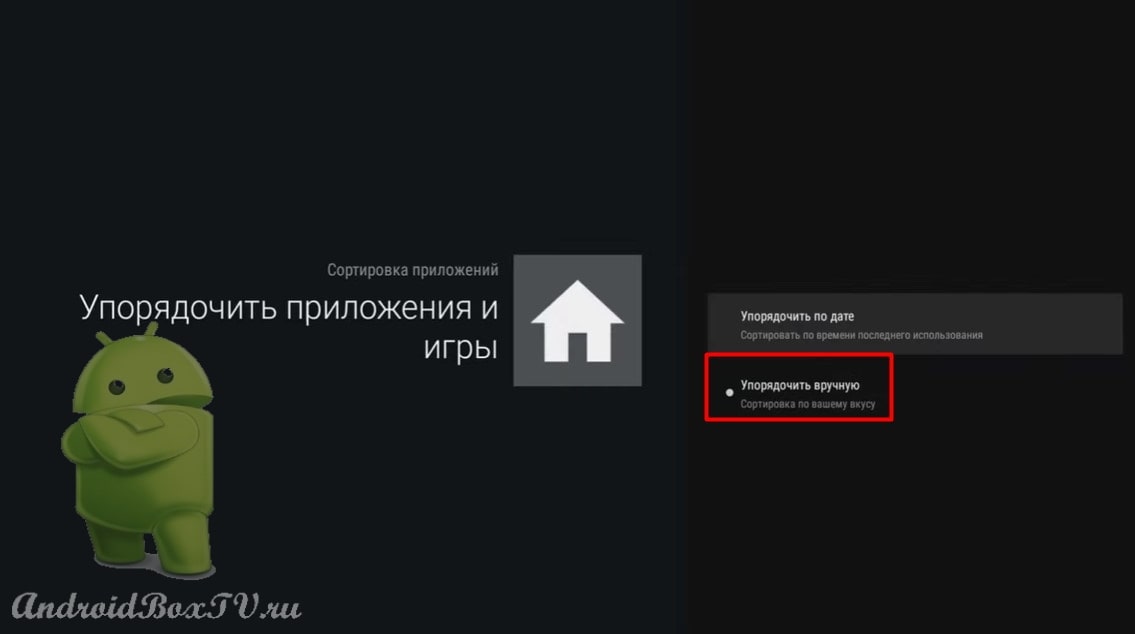
Next, consider “Sort Applications”:
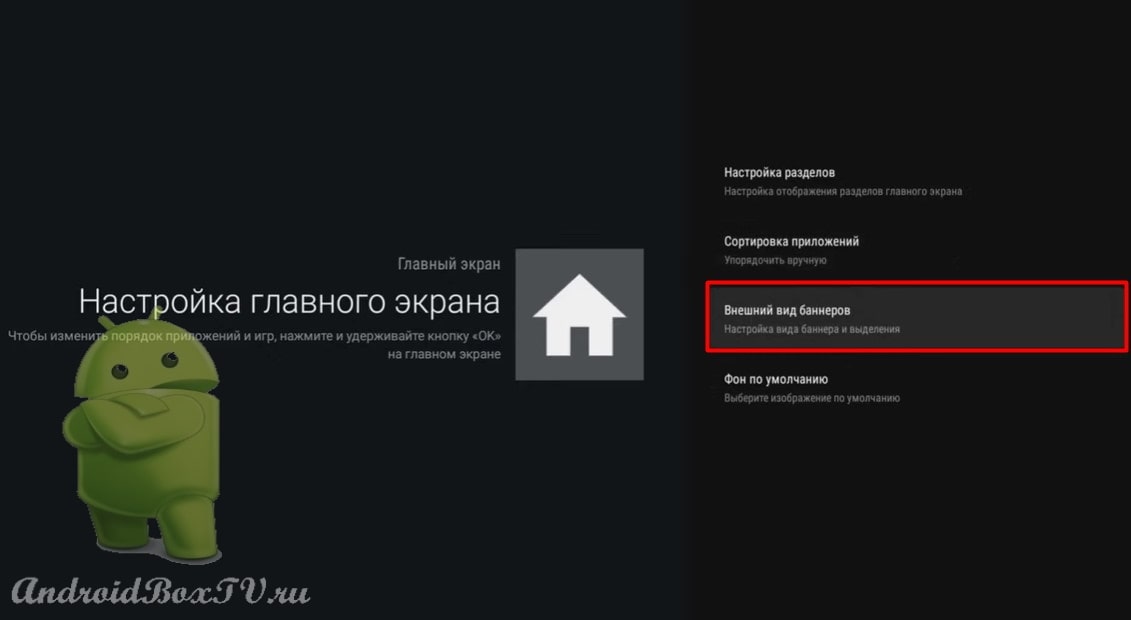
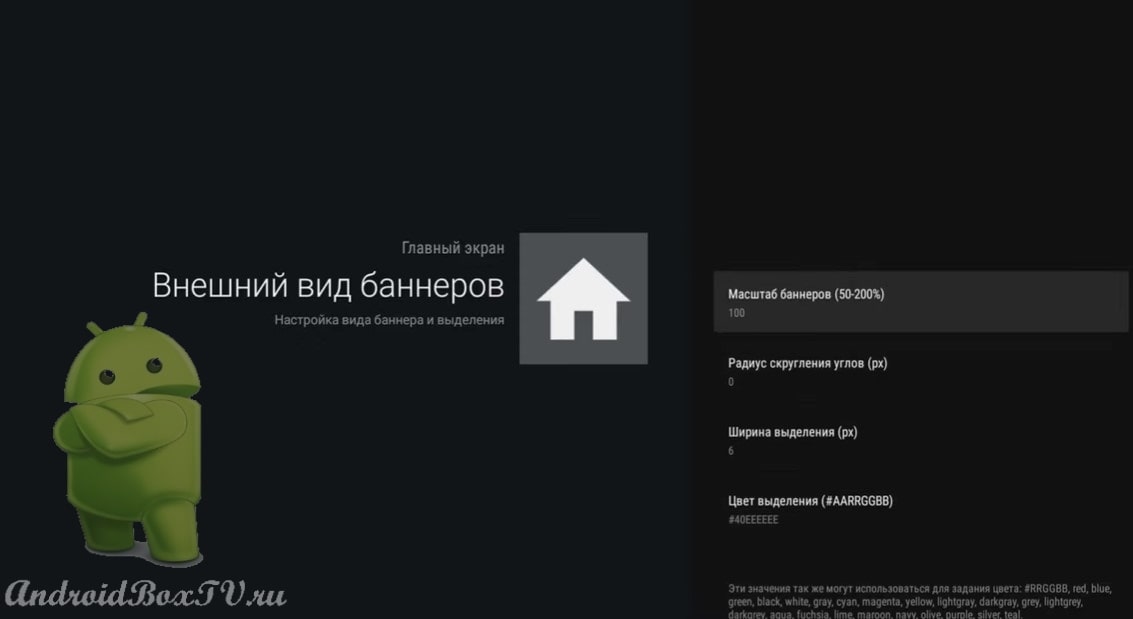
“Appearance of banners”:
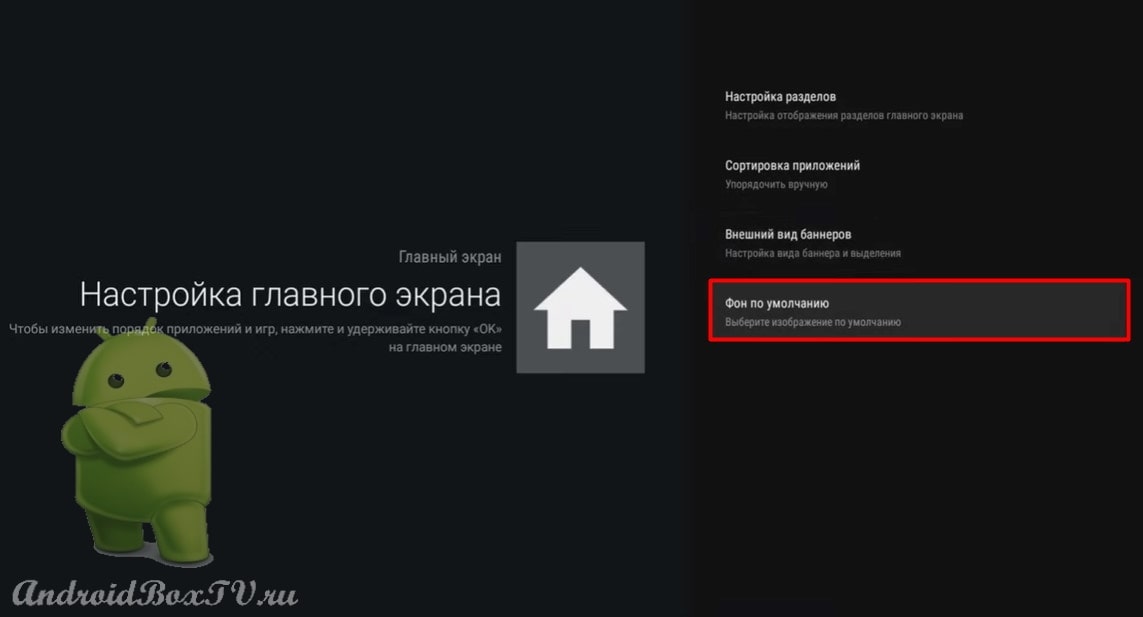
Default background section:
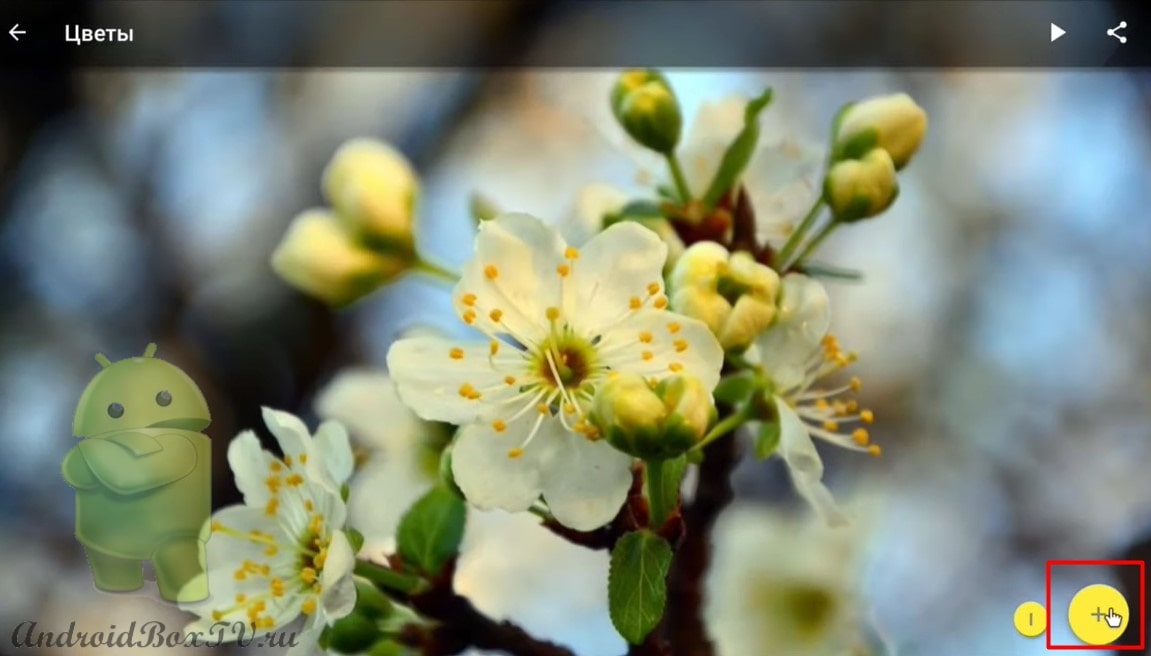
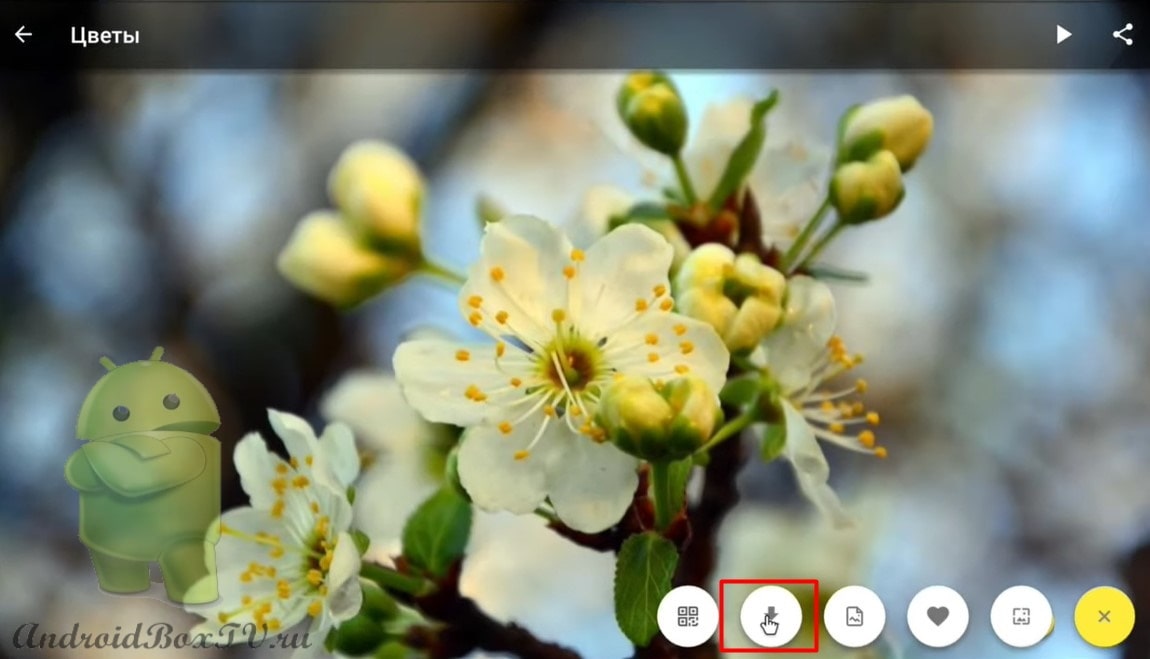
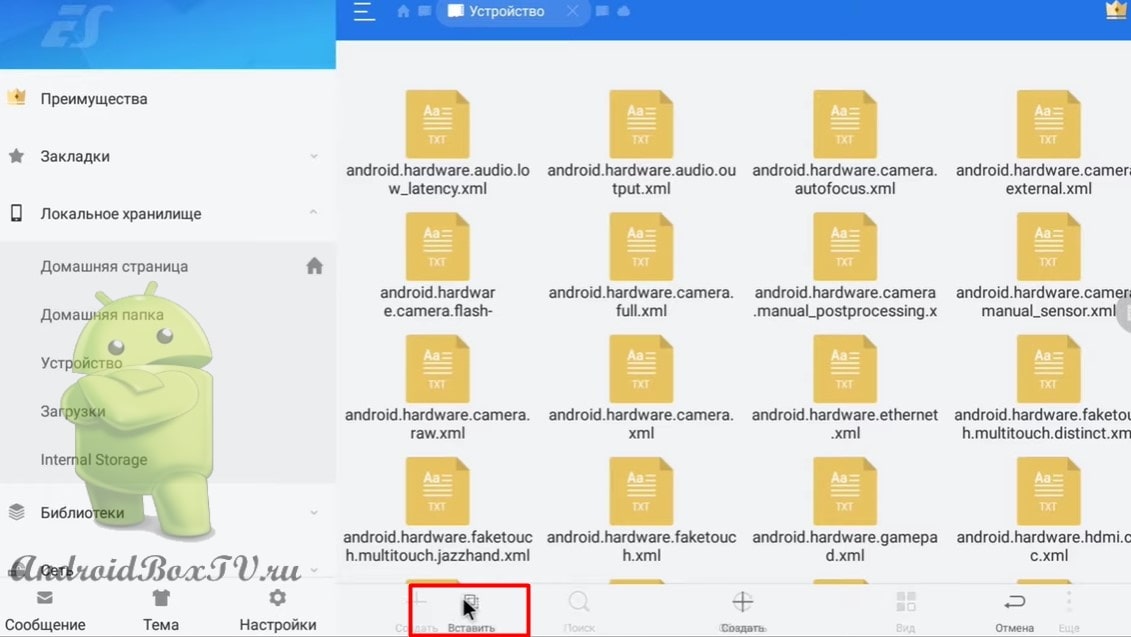
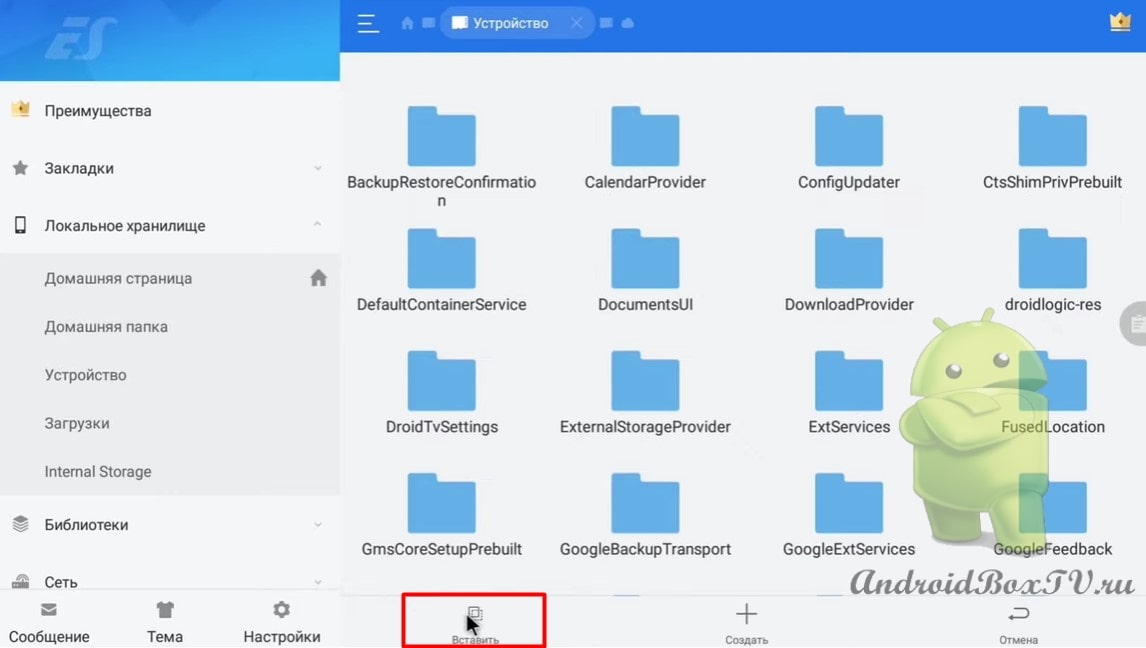
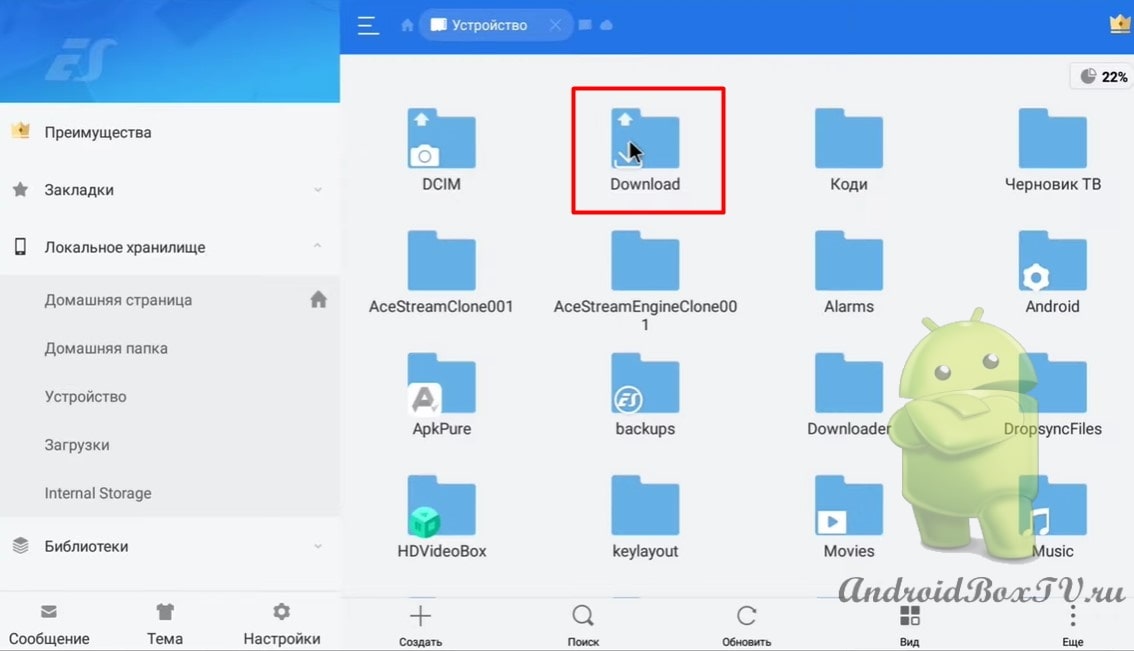
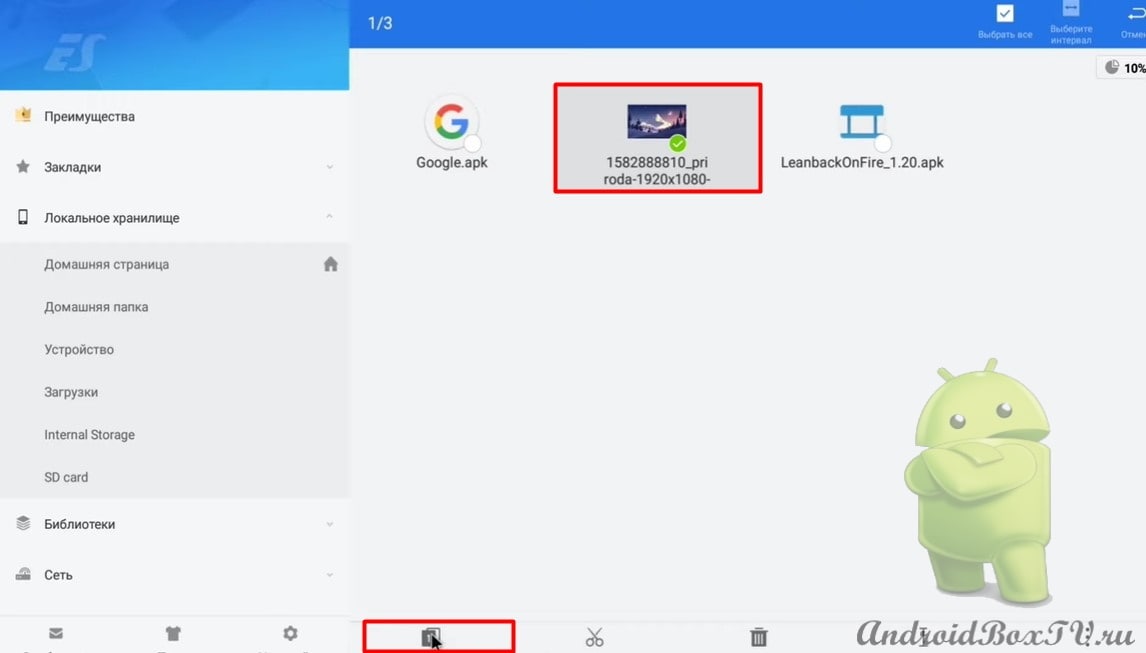
In order to change the background, you need to download a file to your device - wallpaper. We go to Explorer, in the download folder, select the photo and copy:
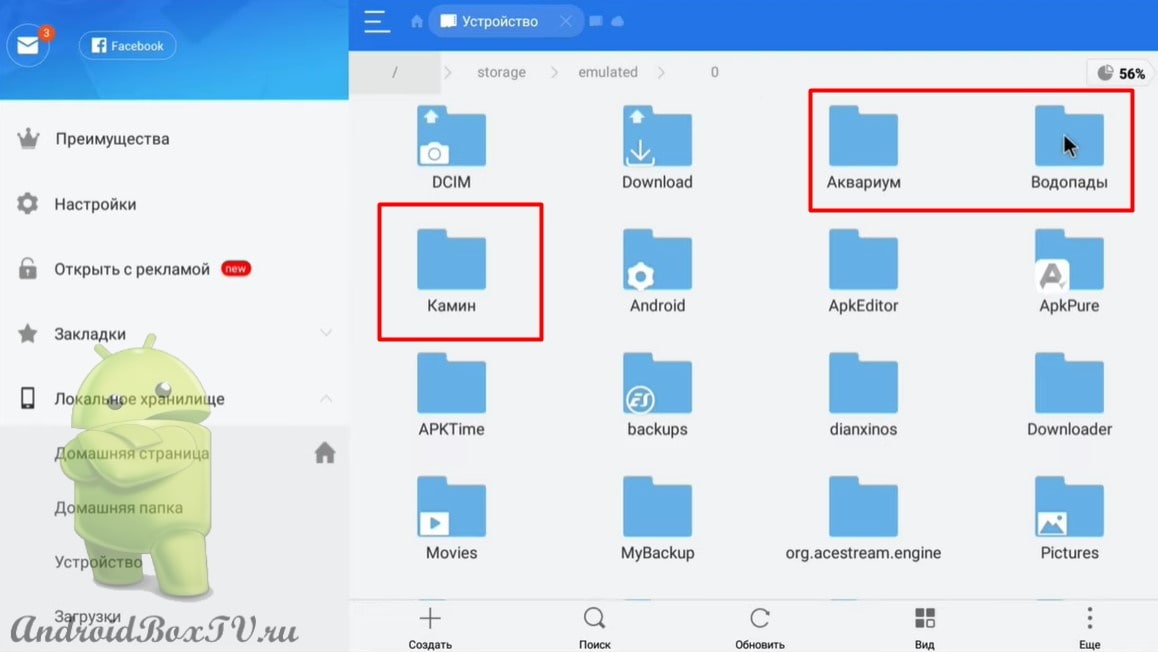
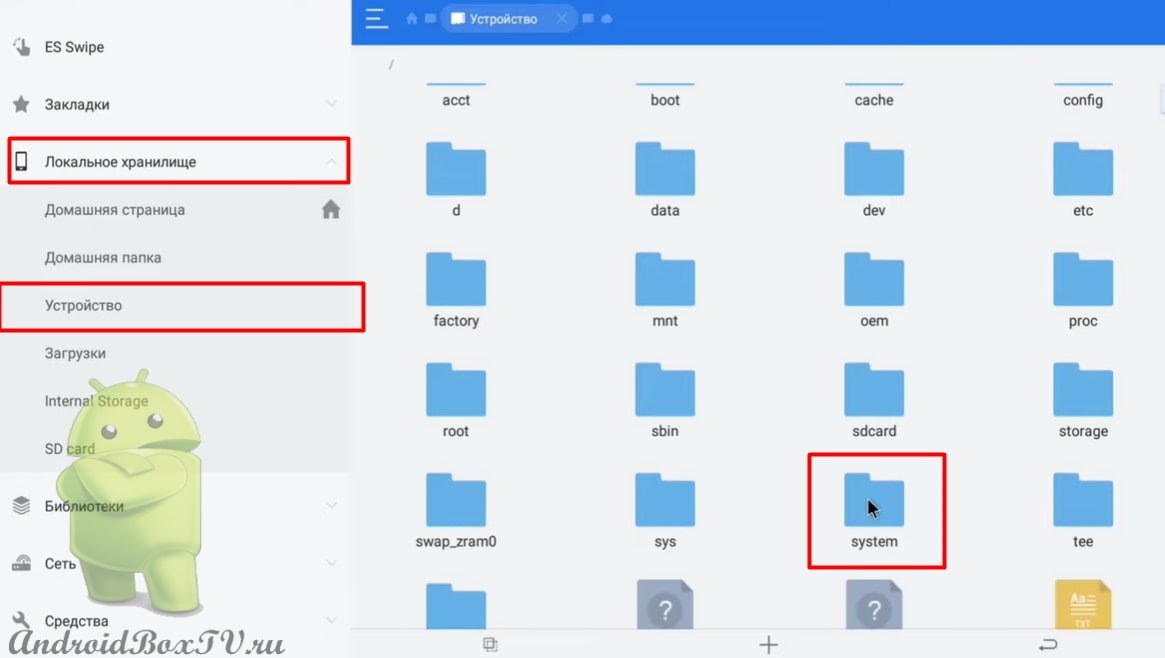
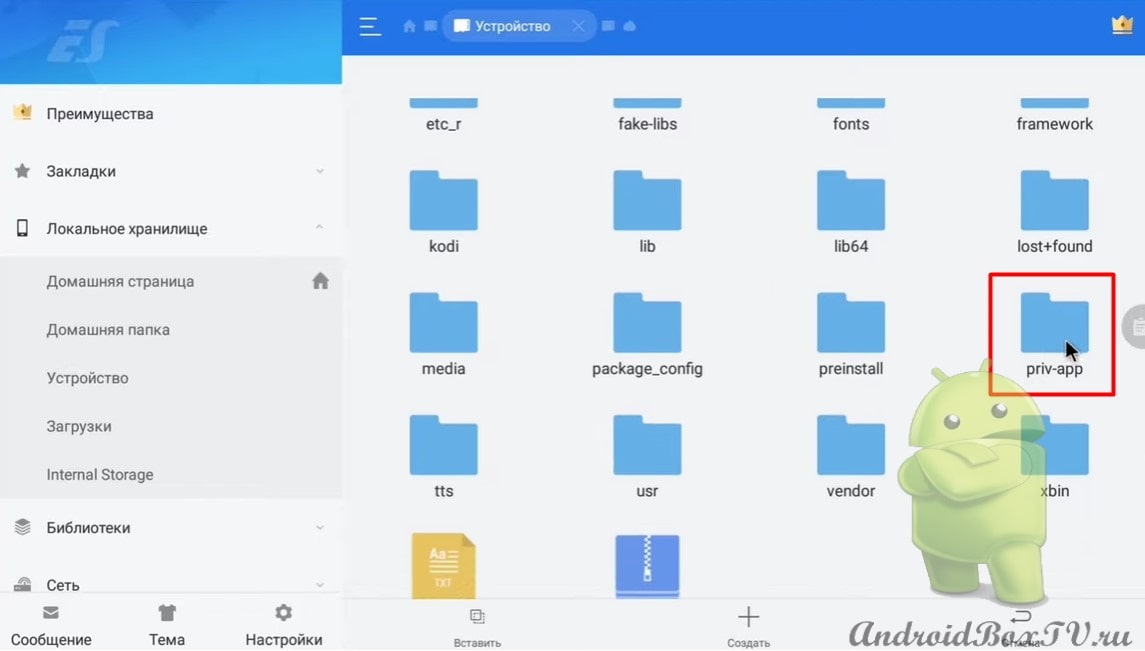
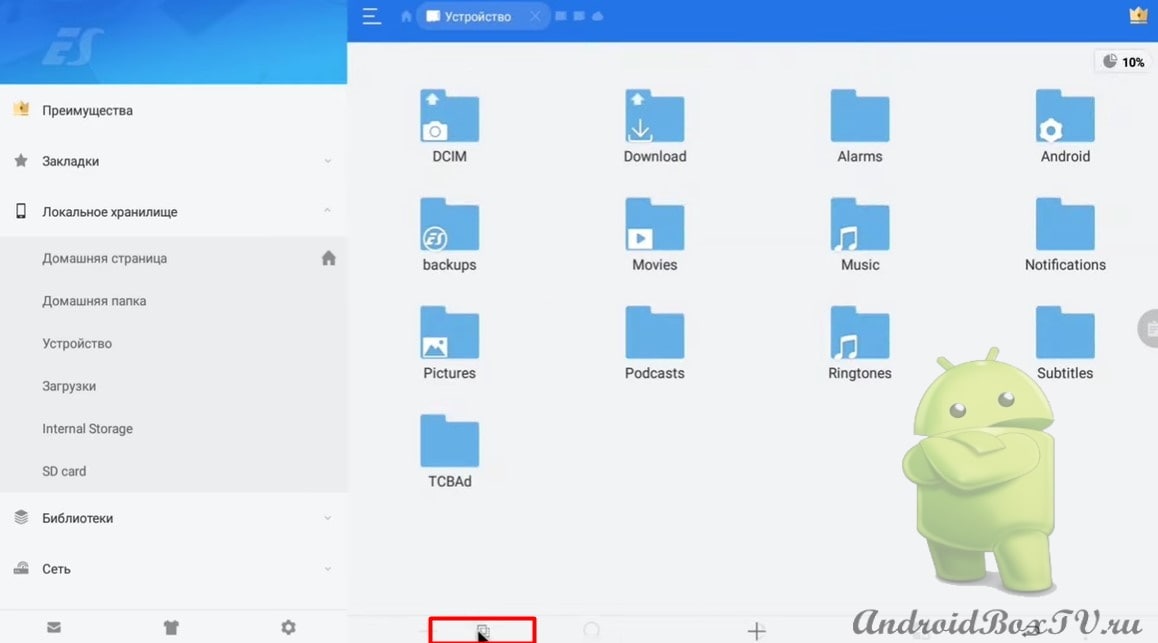
And paste in the "Device":
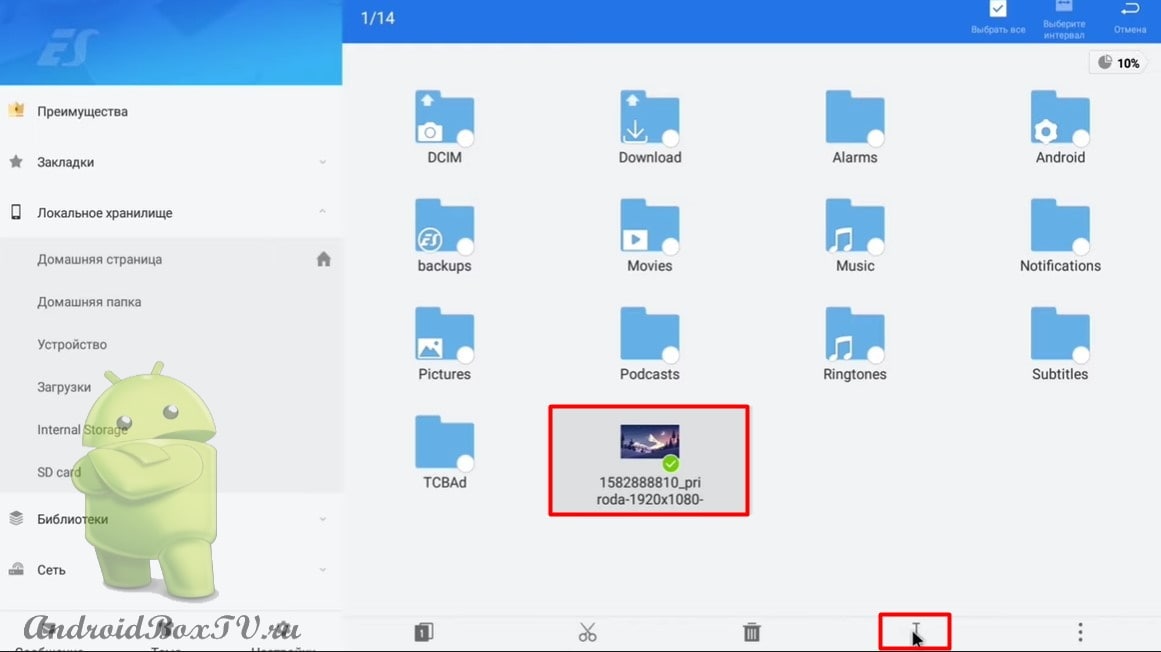
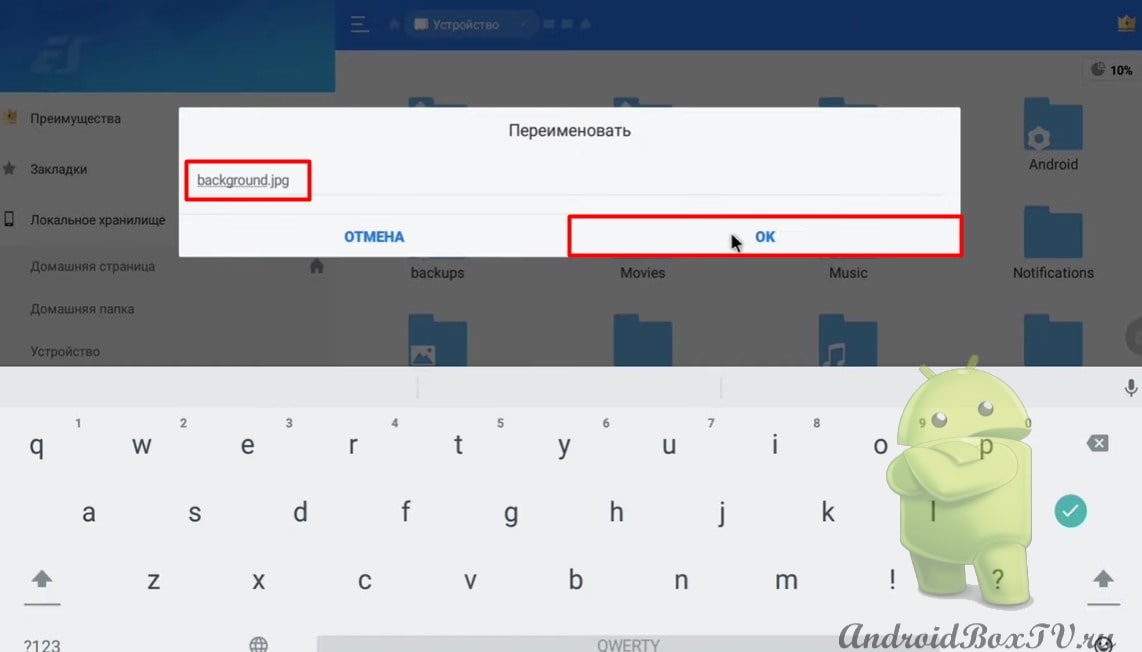
Next, you need to change the name. Select the photo and click on "Rename":
Delete the title and write background.jpg and click "OK":
Next, go to “Settings Launcher”:
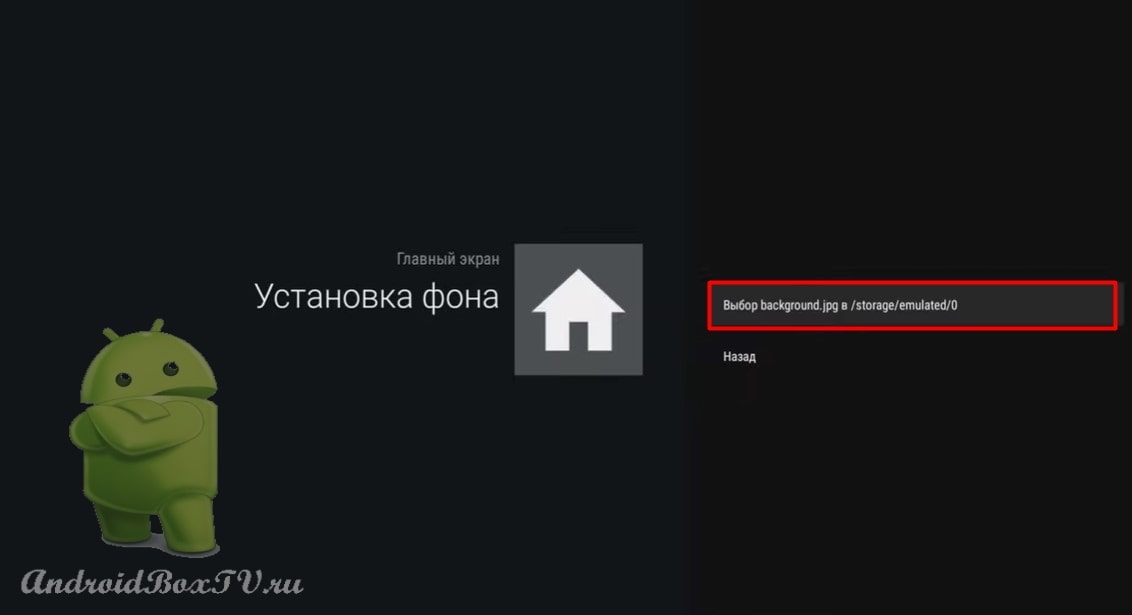
Go to “Home screen settings” and click on “Default background”:
Select "Set background" and click:
Everything, the background is set:
I got it on the third try, how about you?
Continuation of the article (second part) here Check out other articles from the category "Complex tasks" here .
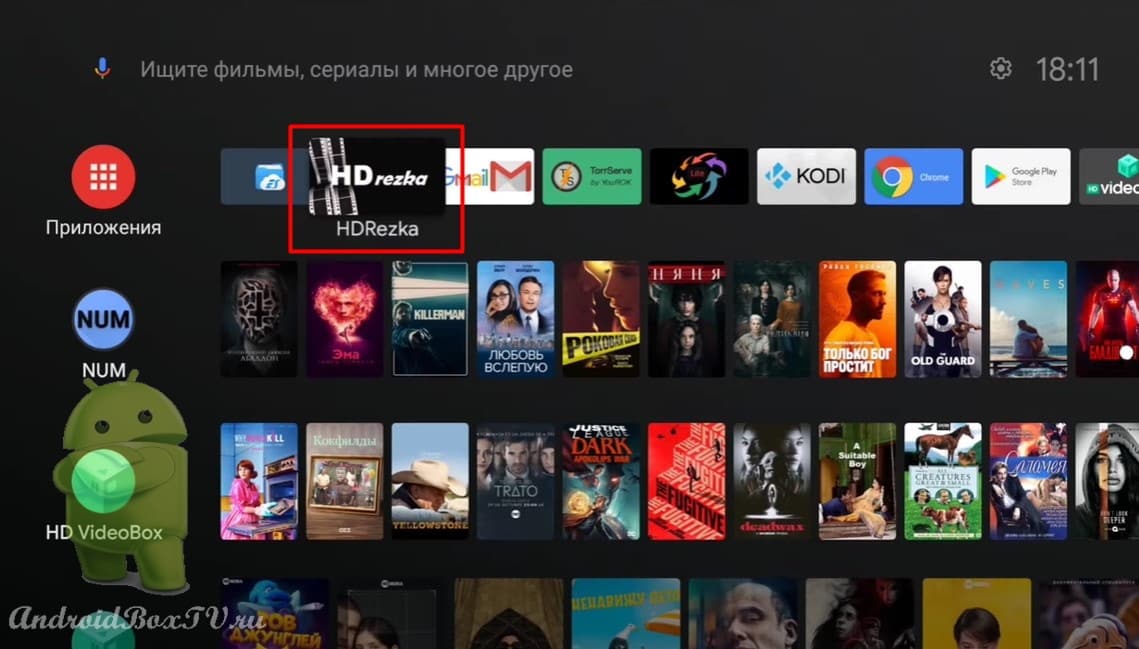
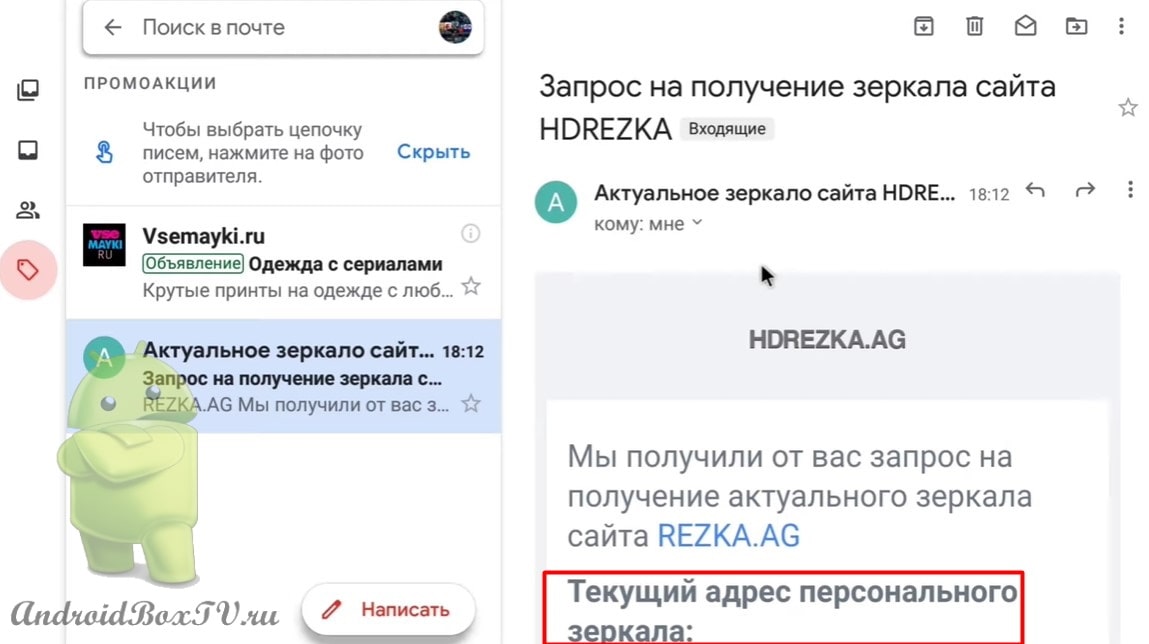
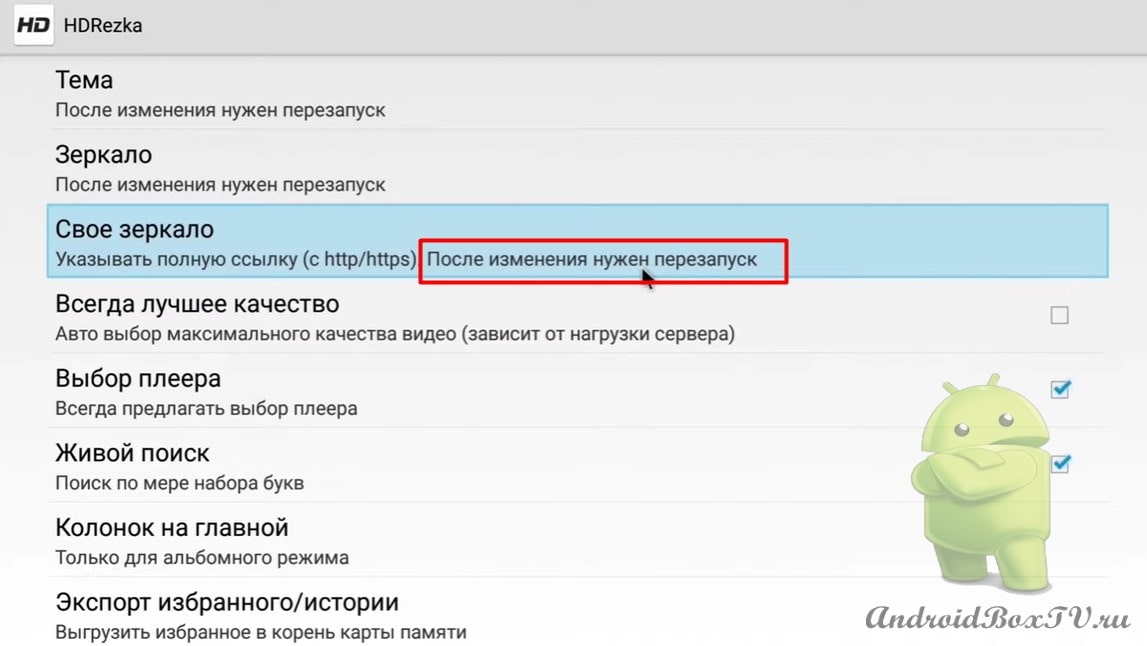
Today we will consider the program "HD Rezka". As you know, in Russia this application does not work without VPN or Proxy (see how to use VPN here ). Consider how to use "HD Rezka" without the use of additional programs.
Install the application "HD Rezka". Link to the apk file from our telegram channel at the link https://t.me/AndroidBoxTv_ru/10 :
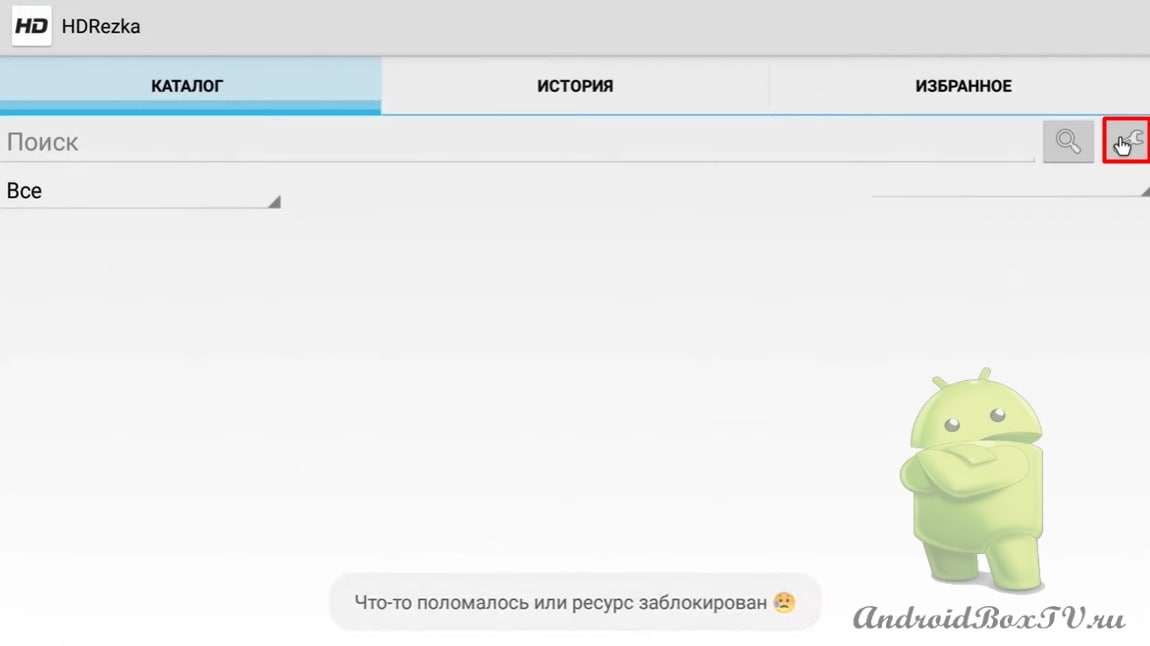
After installation, we open and see a pop-up window with the inscription “Something is broken or the resource is blocked”:
Today we will consider ways to solve the problem when the system unloads applications from memory that need to work in the background. Ace Stream application as an example , when playing TV channels using P2P technology.
To solve this problem, let's try to disable the power saving required for running applications in the background. Let's see how to do it on Android TV 9+.
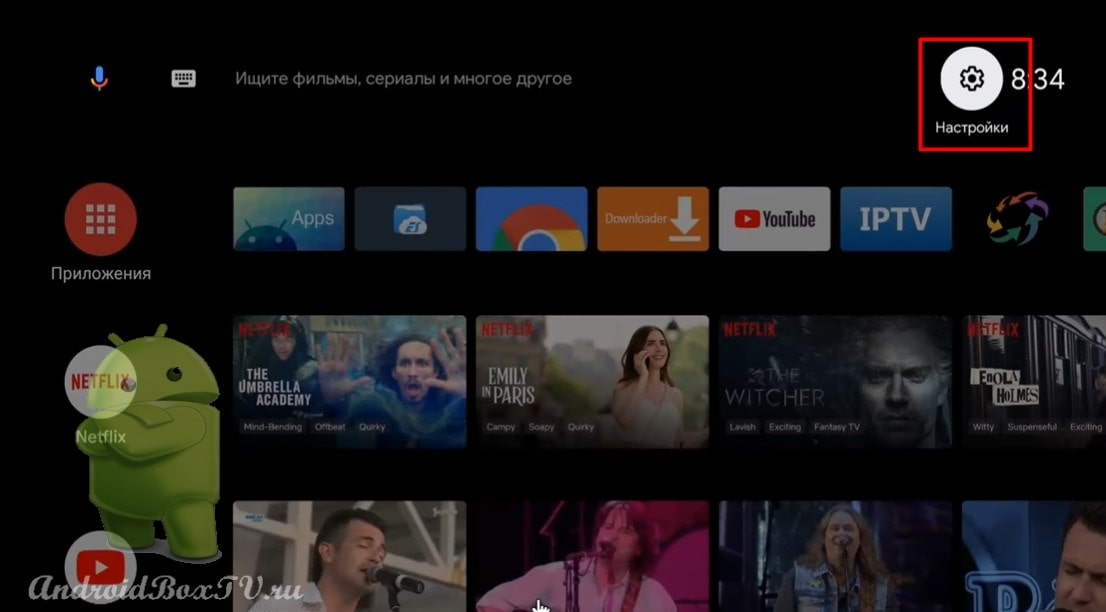
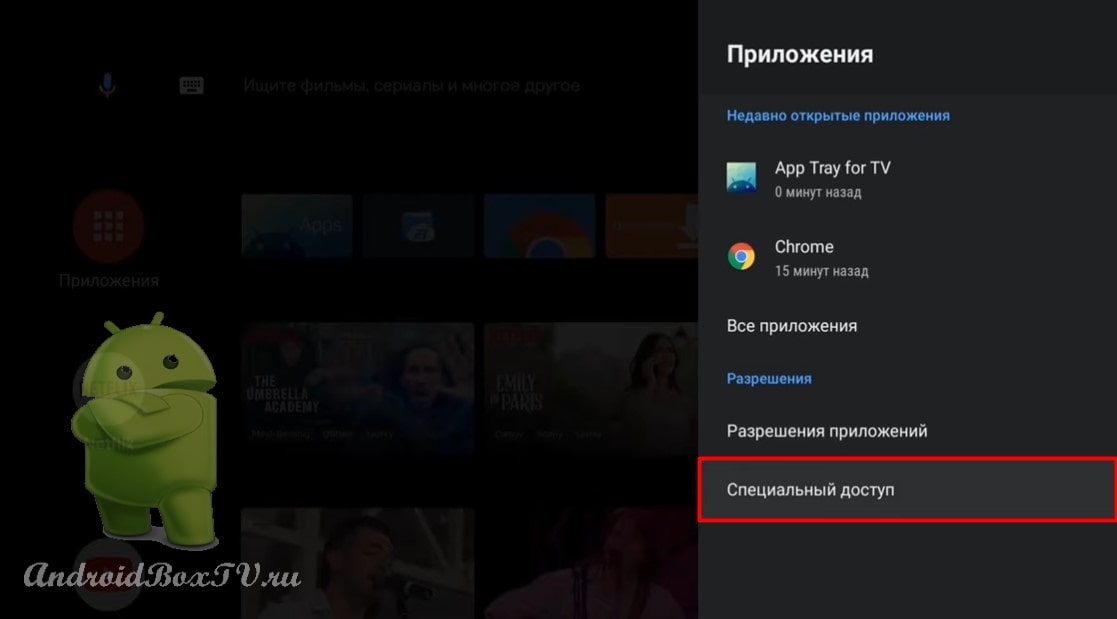
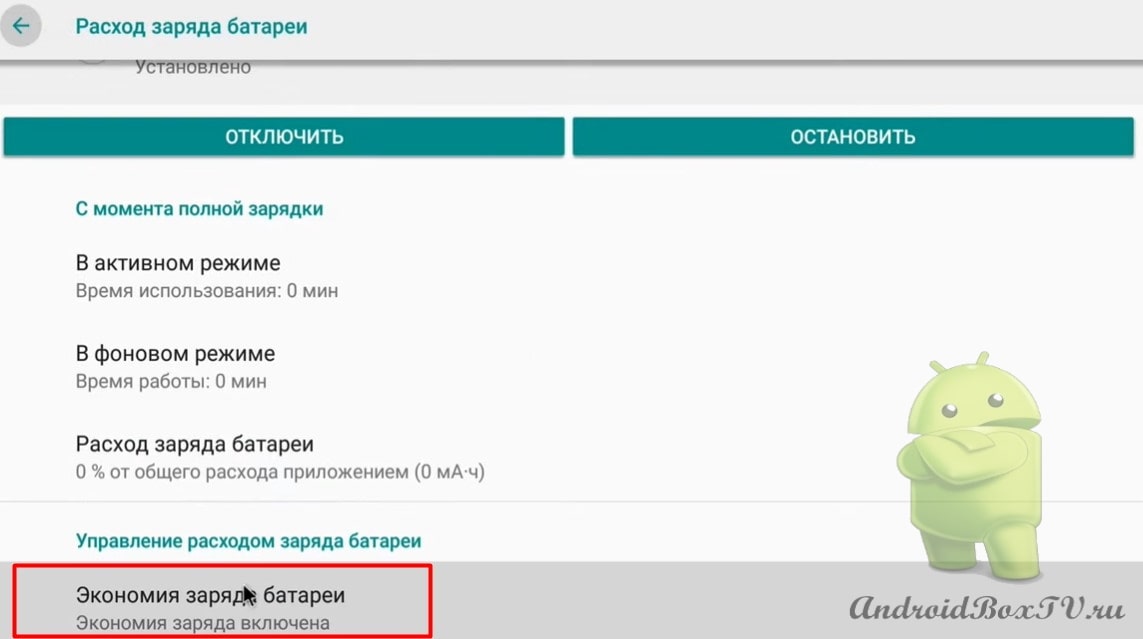
Go to device settings:
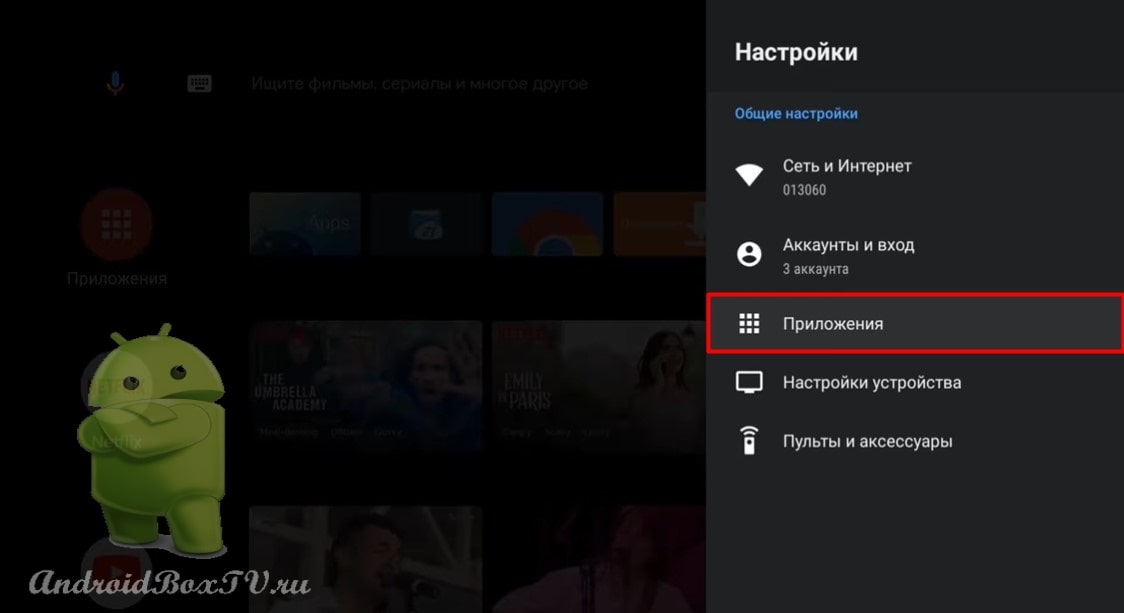
Next, click on “Applications" And "Special access”:
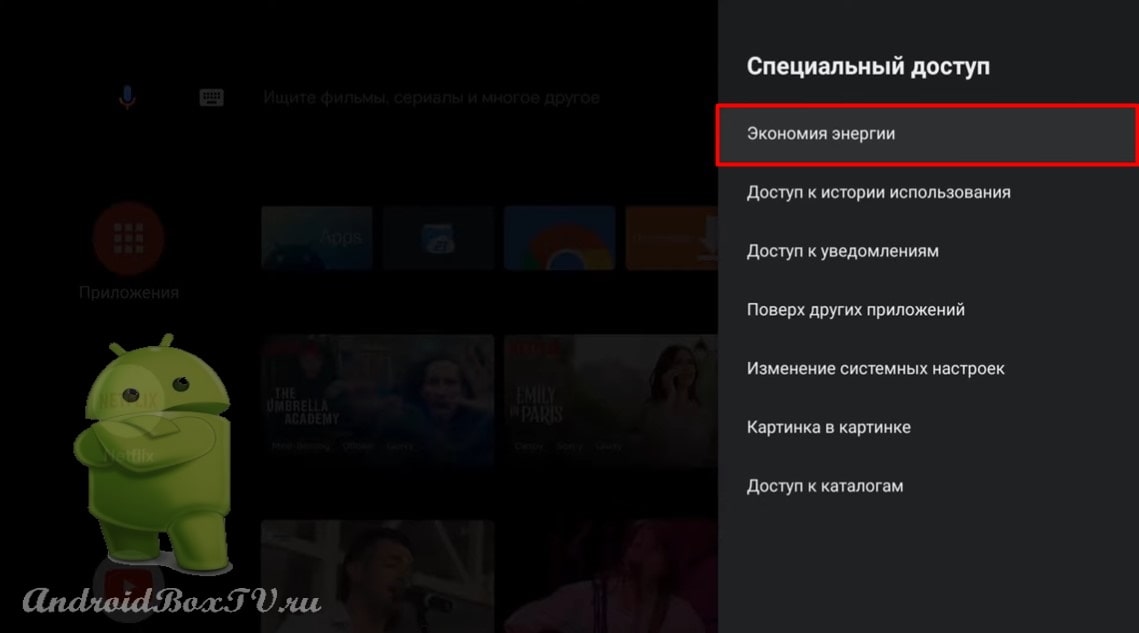
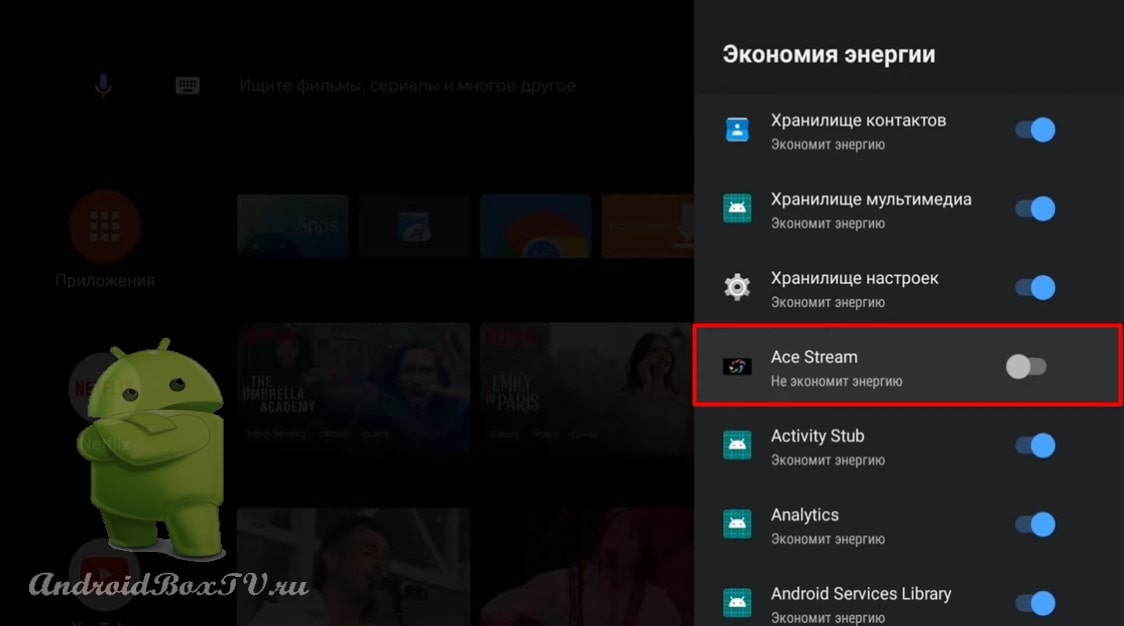
Choose "Energy savingand” and turn off savings on those applications that are necessary to work in the background:
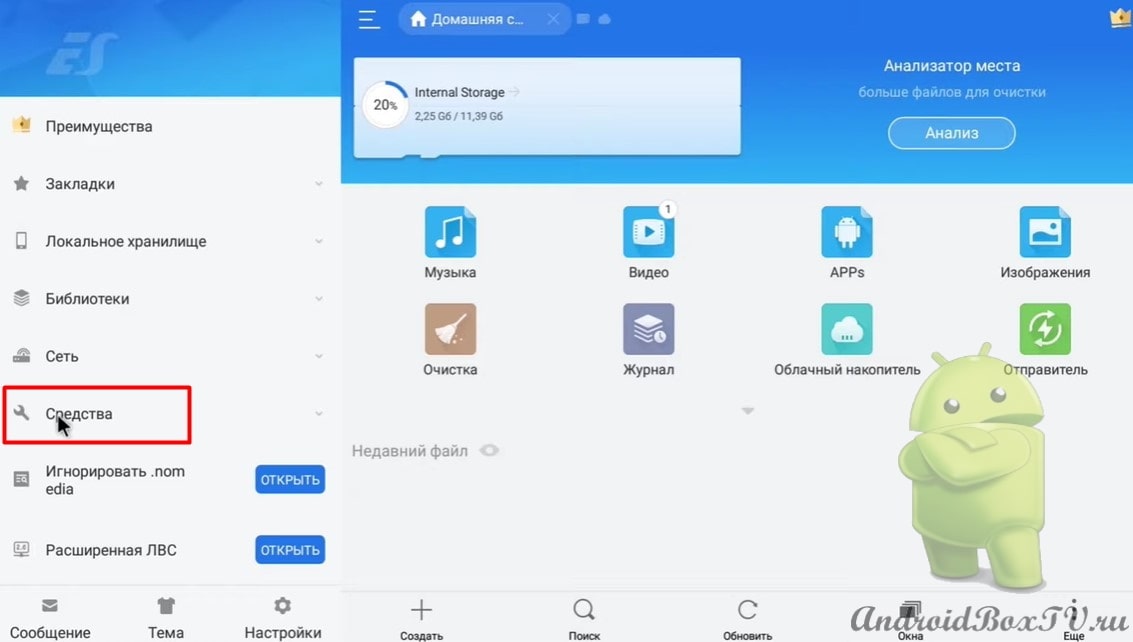
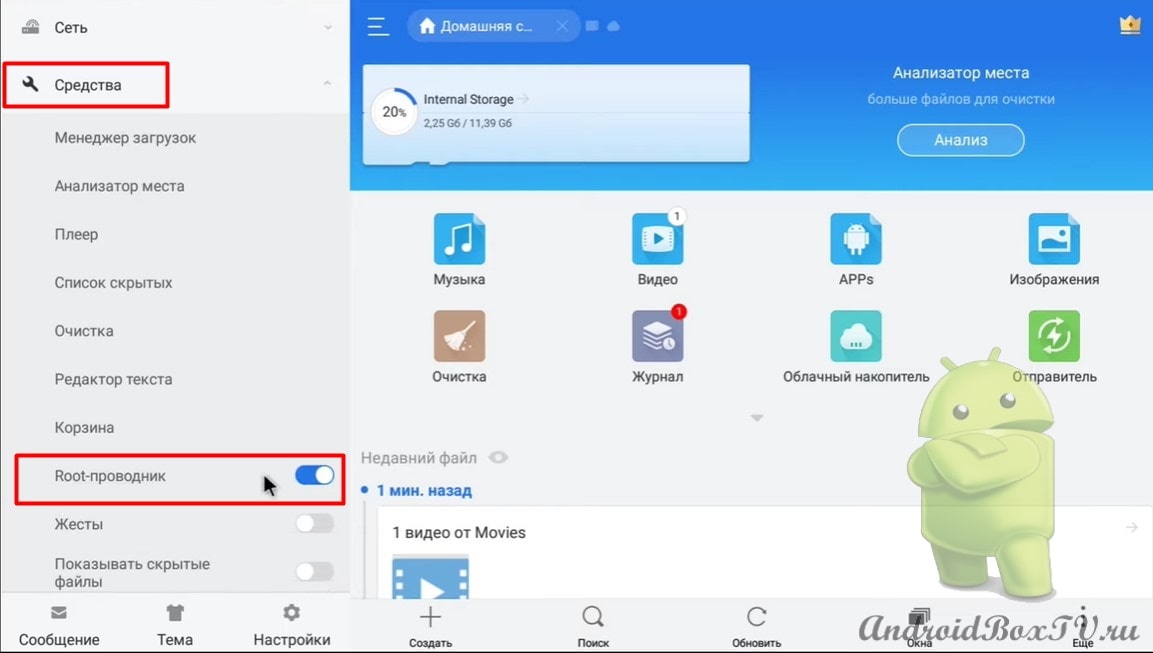
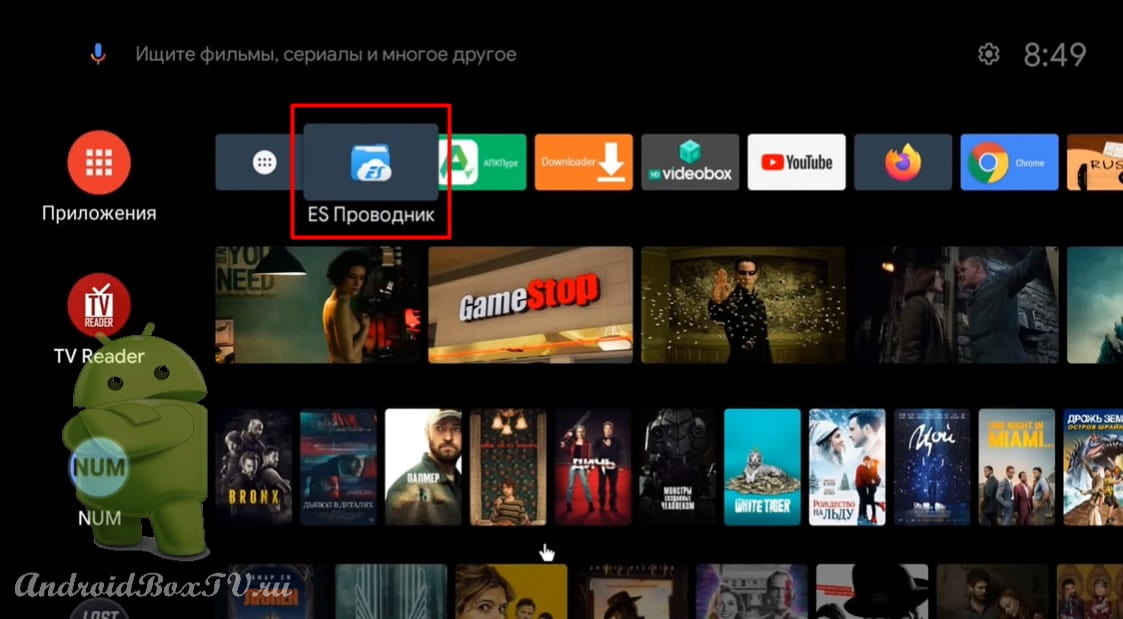
On Android, earlier versionsand, it can be done in the following way. For example, using ES Explorer.
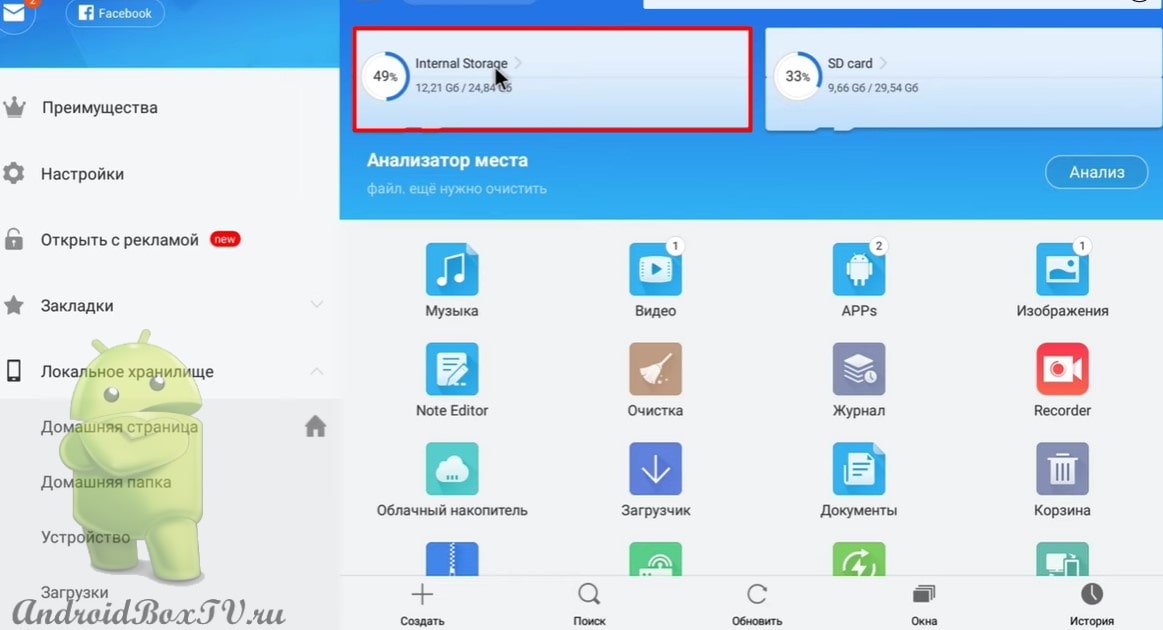
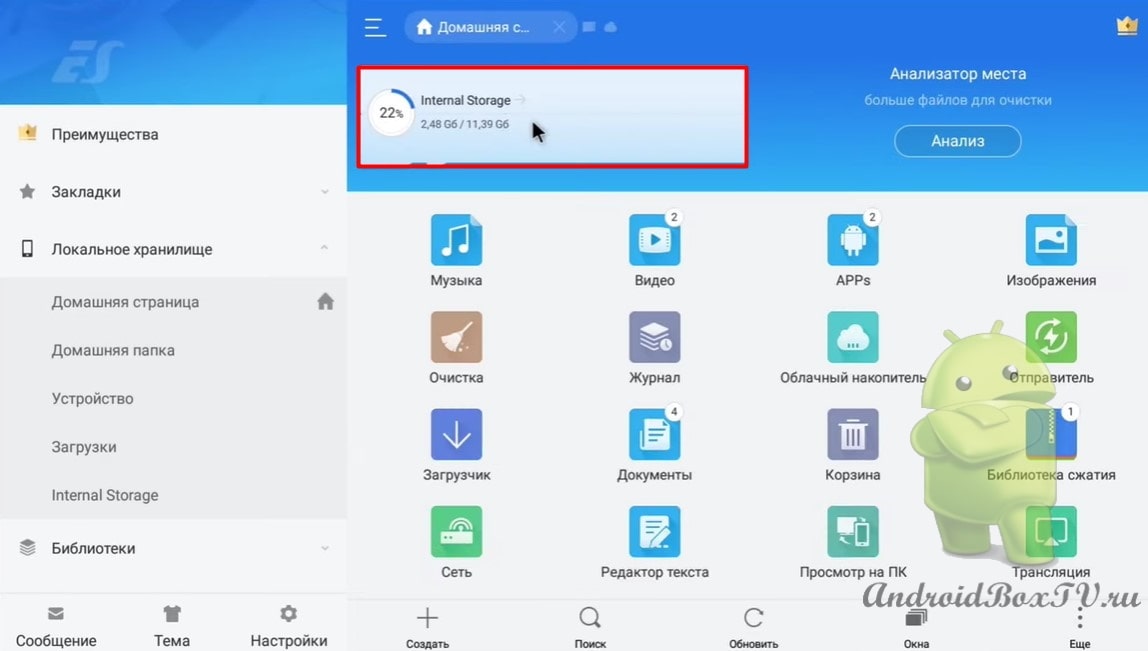
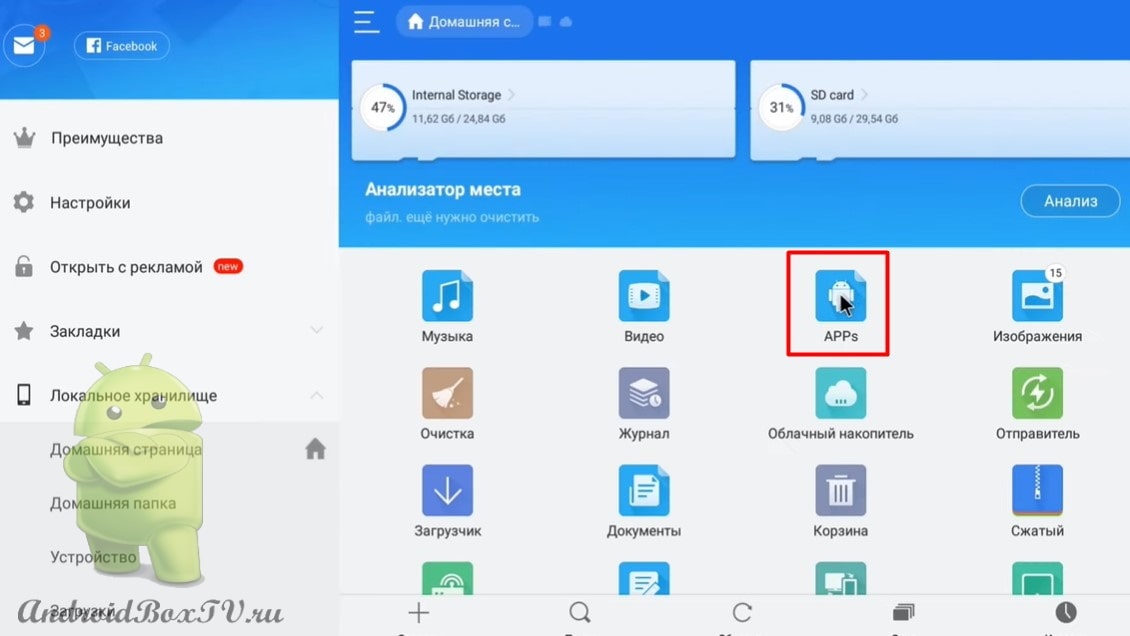
Open ES File Explorer:
Opening the application:
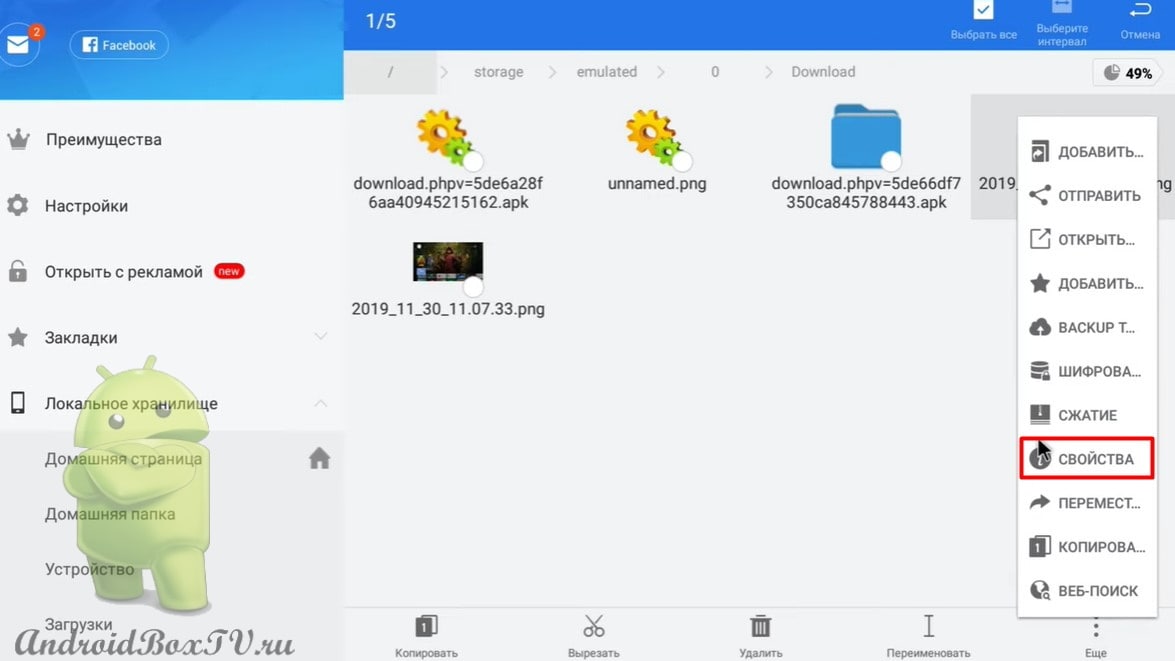
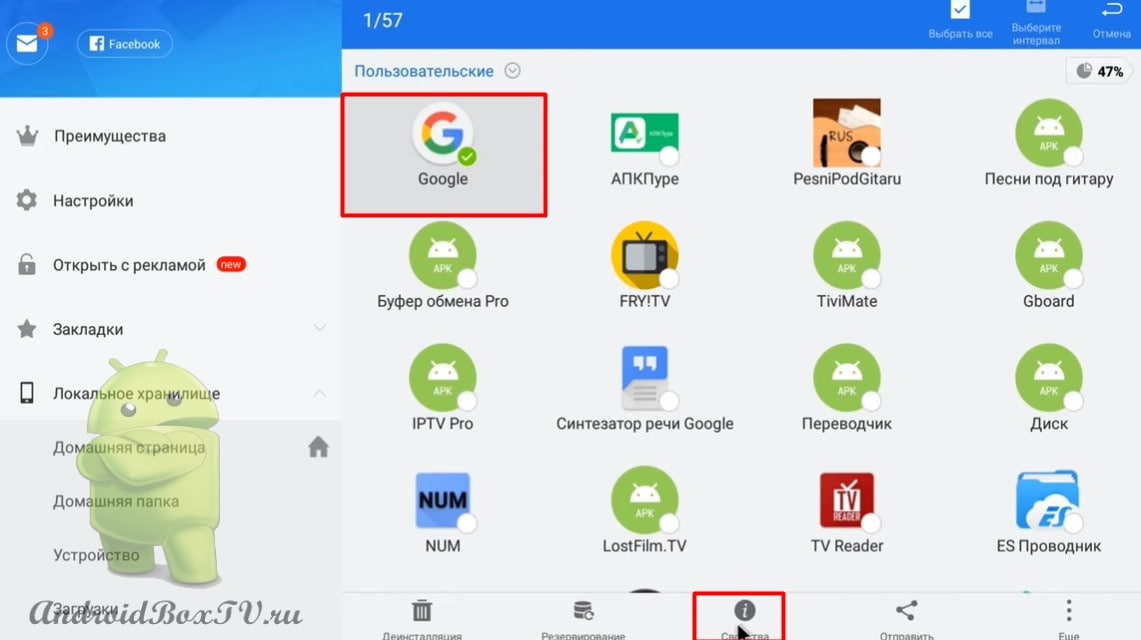
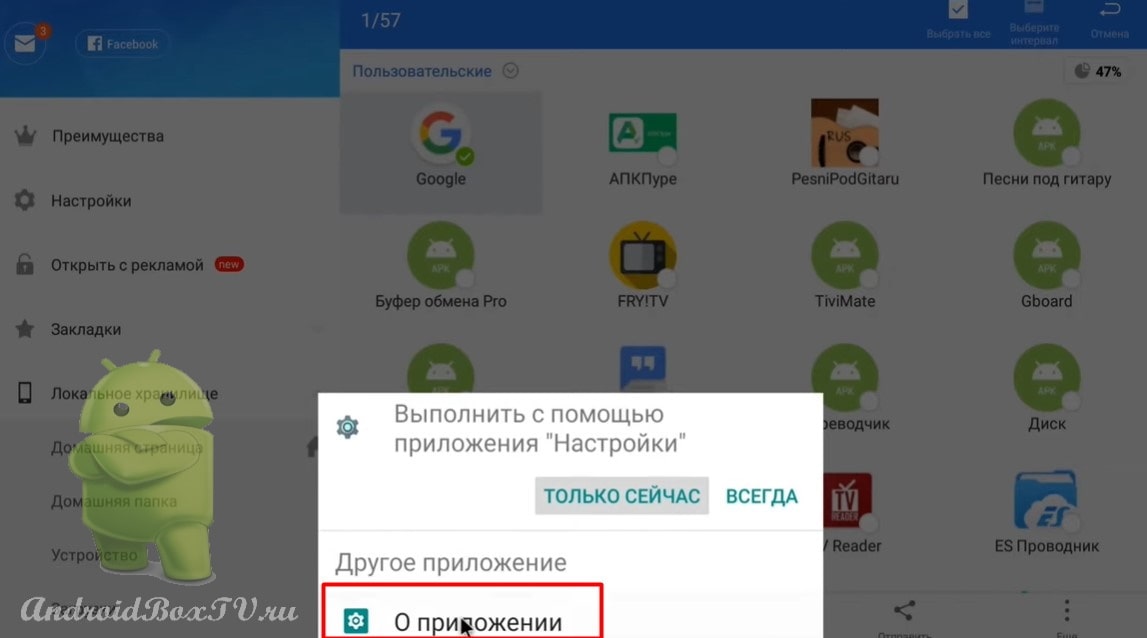
Highlight any application and click " Properties ". We choose to execute using “ About the application ”:
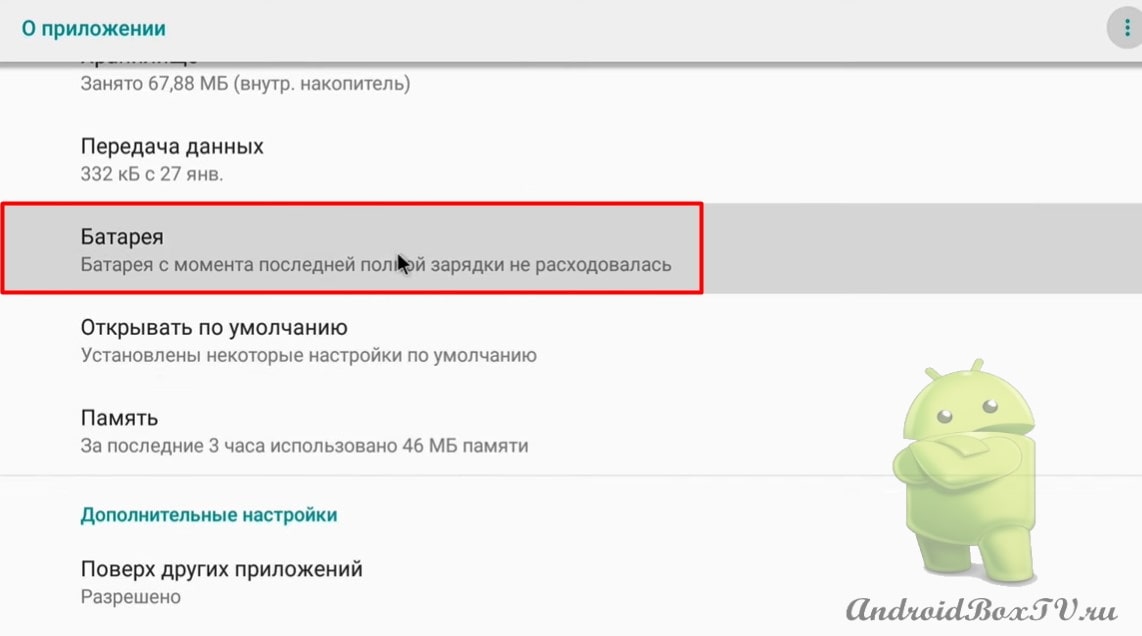
Open the "Battery” :
Select “Battery saver ”:
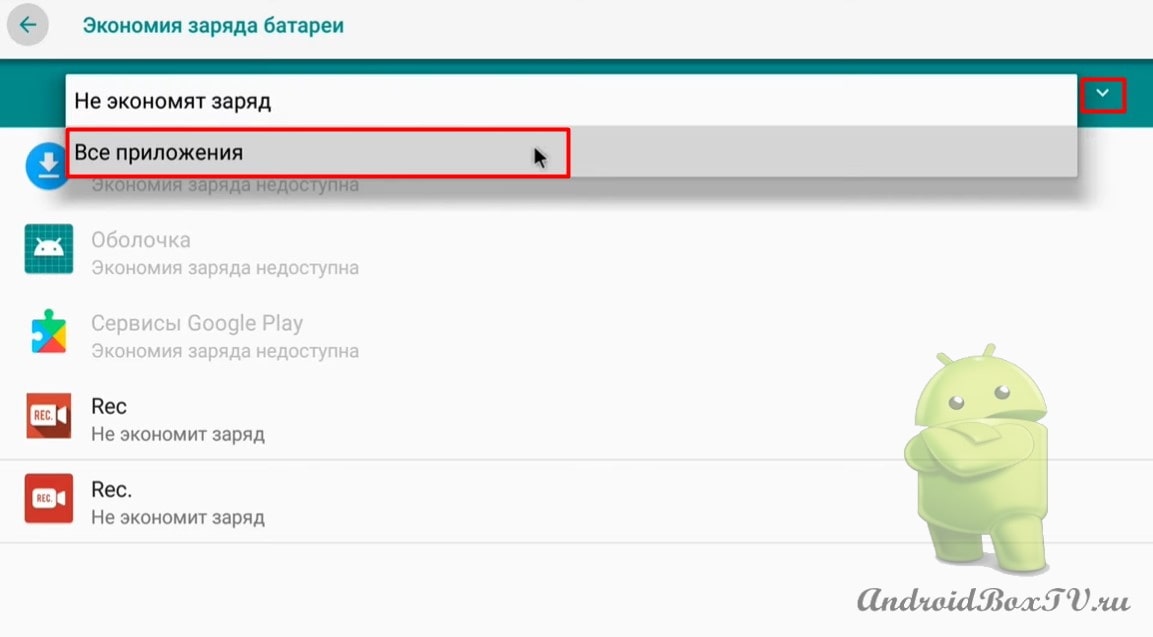
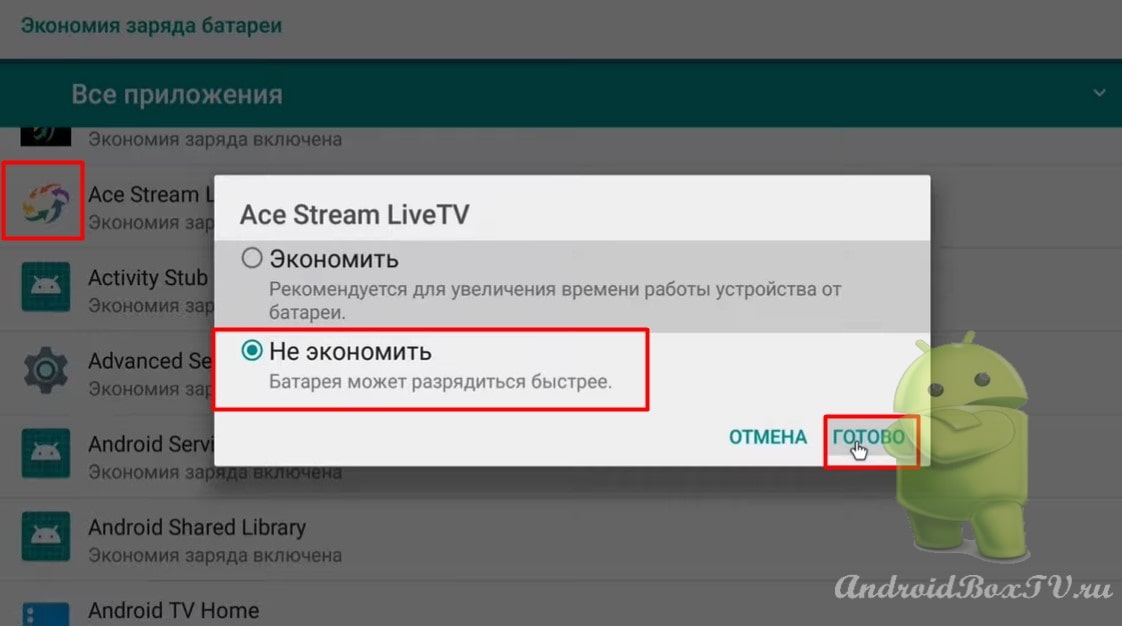
Click on the checkmark and select " All applications ":
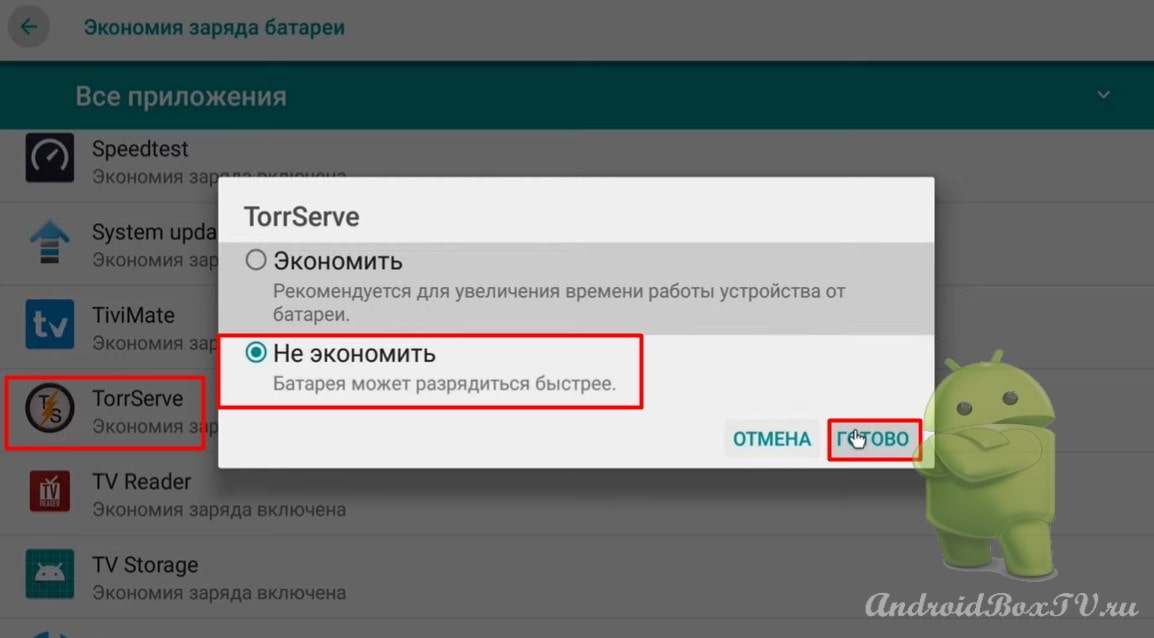
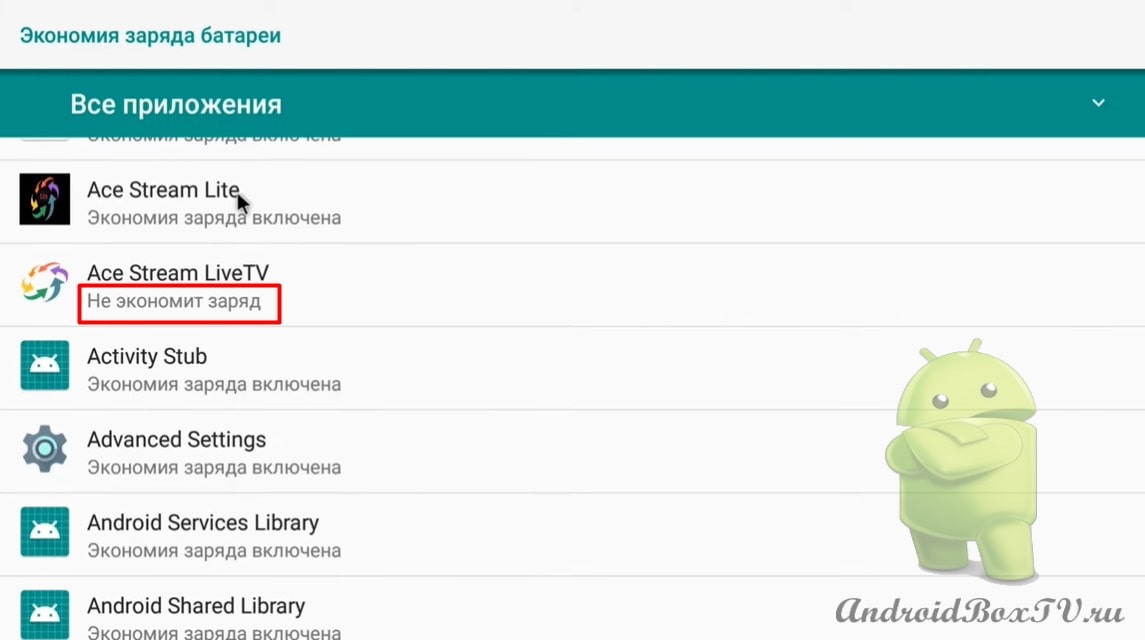
Next, select the applications on which you want to disable battery saving. Click " Do not save " and " Done ":
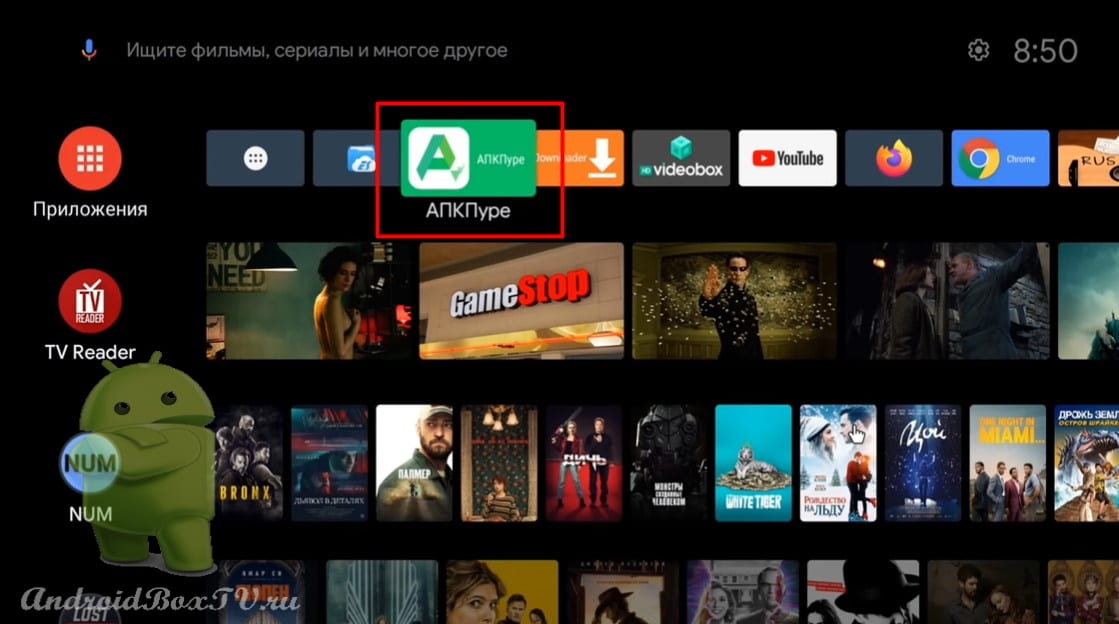
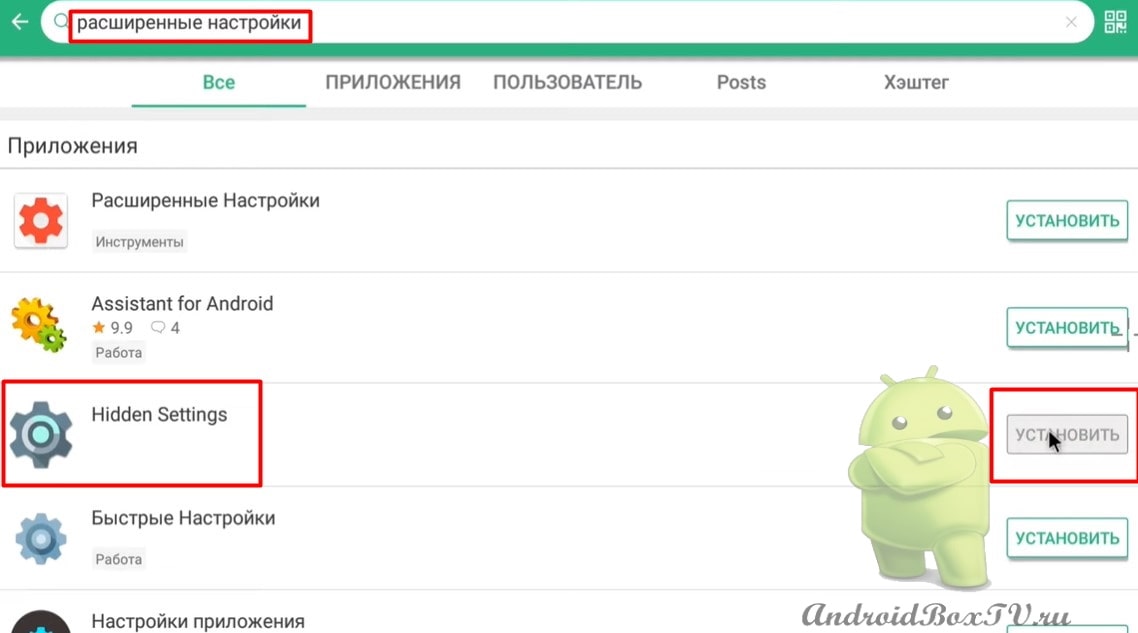
If this method does not fit, consider another one. From the app store APKPure"install the application"Hidden settings”.
We go to " APKpur ":
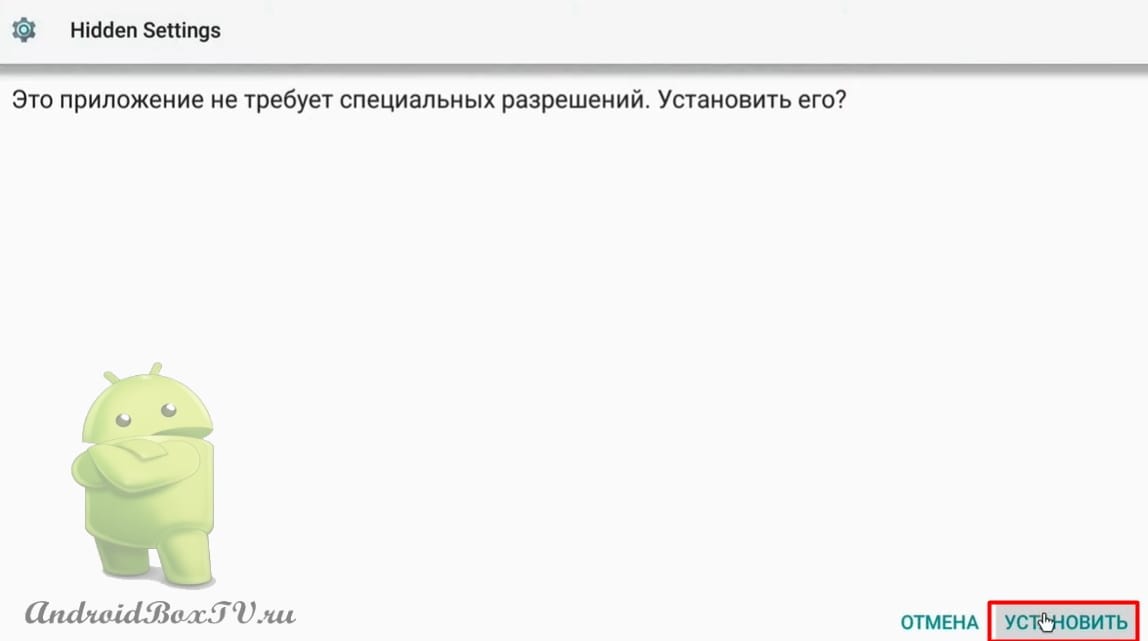
In the search we write "Hidden settings”( Advanced settings) and click “Install”:
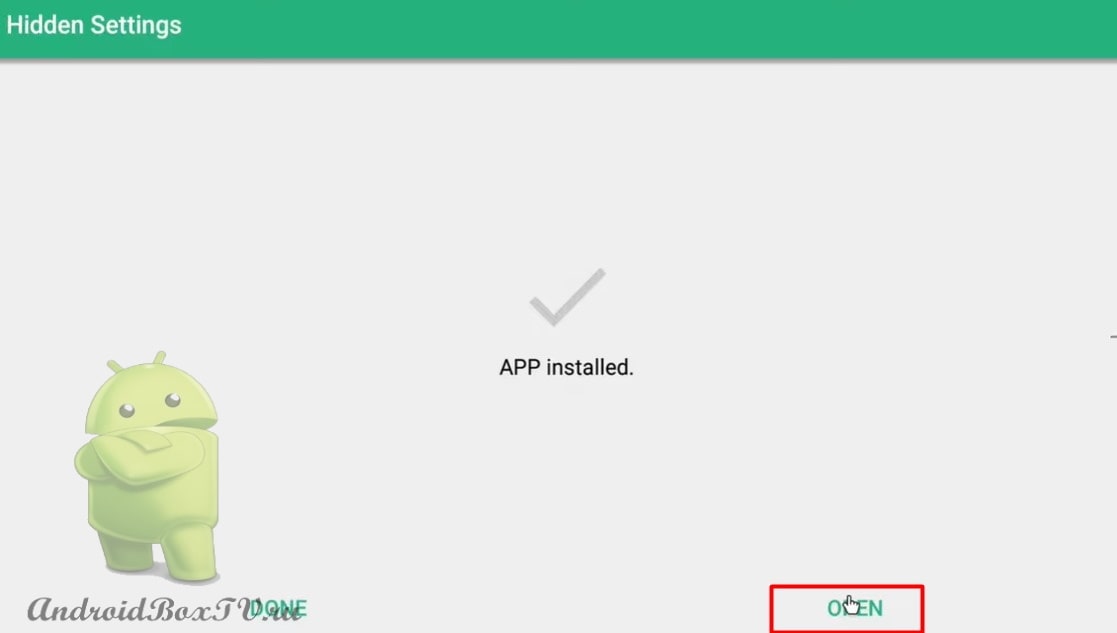
After installation press "Open”:
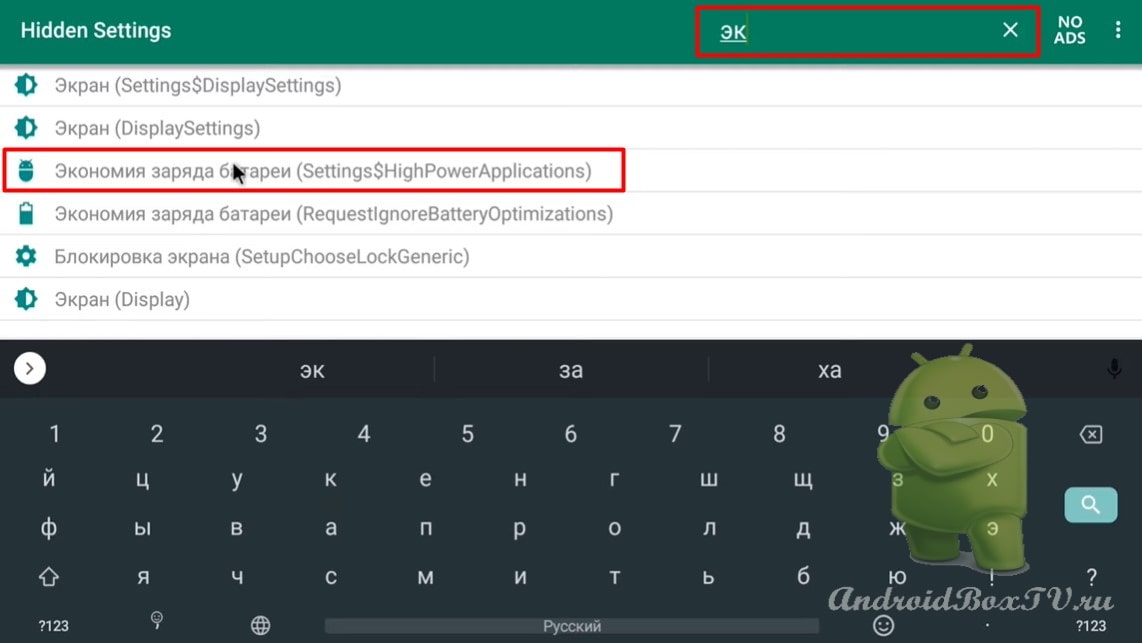
In the search we write "Battery saving” and open:
Click on the checkmark and select "All applications”:
Select the application " Ace Stream ". Click " Do not save " and " Done ":
Please write about the effectiveness of these methods in the comments. Check out other articles from the "Difficult tasks" category here .