In this article, we will look at how you can watch movies for free on a Samsung or LG . To do this, you need to install the ForkPlayer , but it is not available in the app store. Therefore, you will have to work with it through a special application for working with media - “ MediaStationX ”, we installed it here .
We go to the app store and enter the name of the program in the search field:
Install and open:
Next, go to “Settings” on your Samsung or LG TV. Select "Start Parameter":
Click "Setup":
Enter the address - msx.lnka.en :
There are two options, we need the first one:
Click and install:
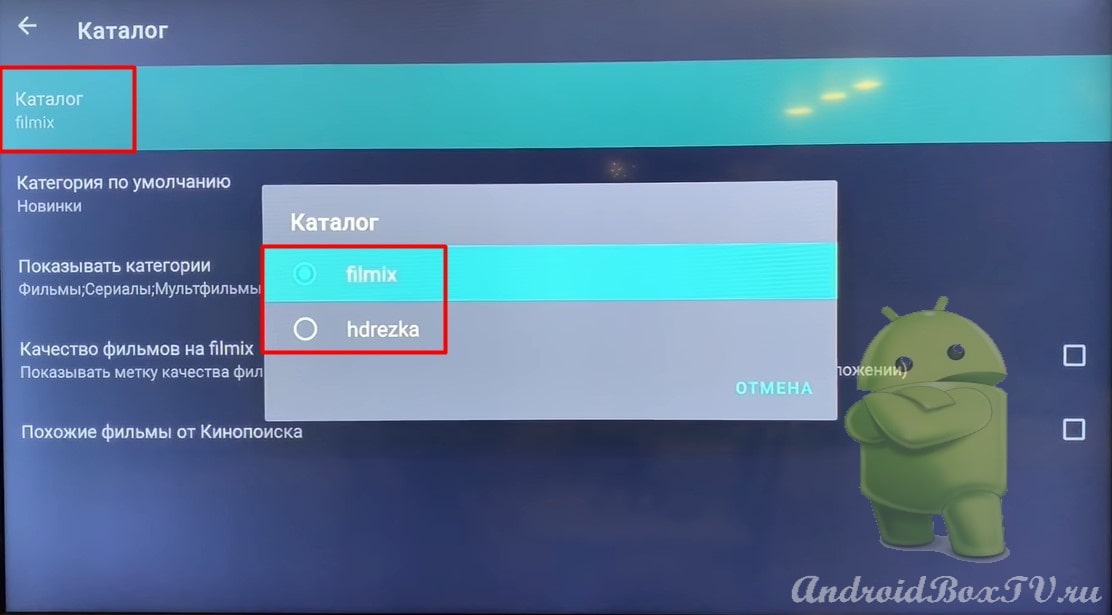
After installation, we see the start menu ForkPlayer . You must enter in the search bar the address to the portal, which is a repository of links to a huge number of films:
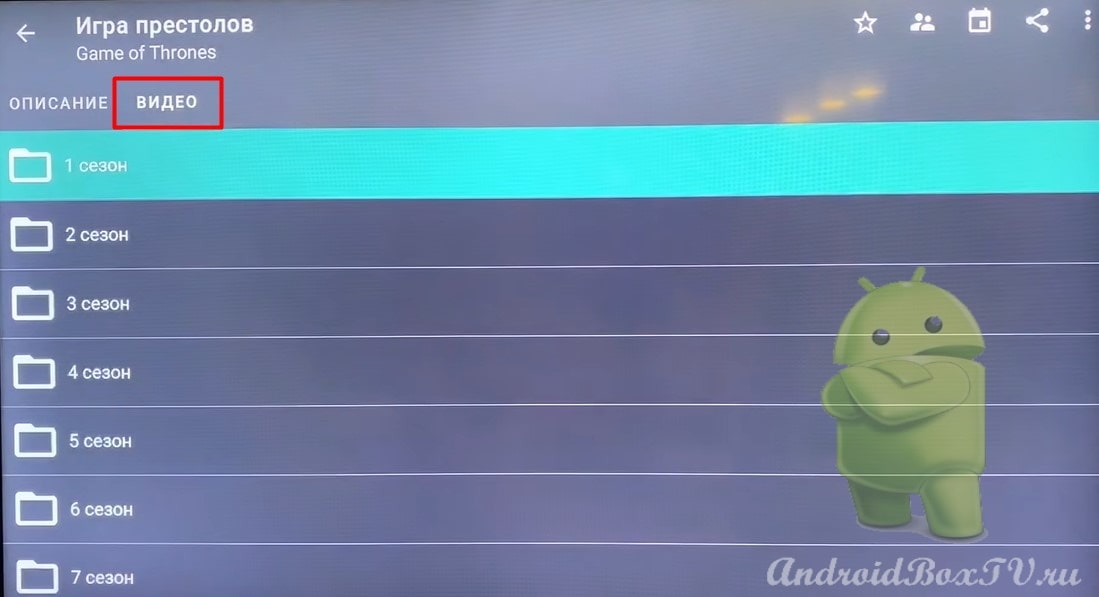
After we went to it, it will be added to our bookmarks in the start menu. Here you can see a set of different directories. We go to cinemas:
Select search:
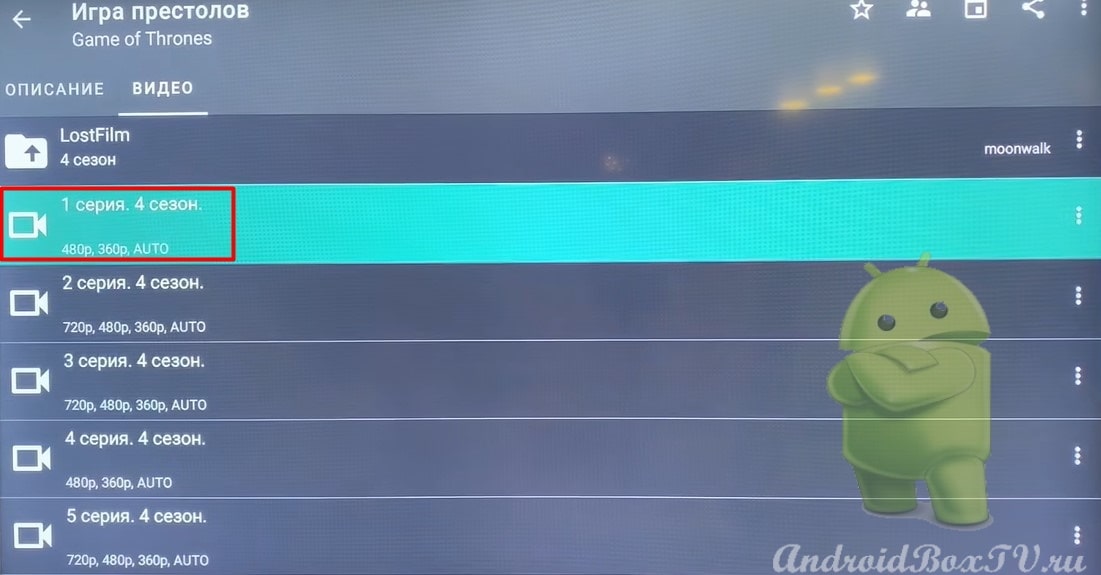
We drive the name of the movie or series you need:
Next, select any search result you like and select the quality:
Enjoy watching!
Check out other entries from the category “Watching TV, media files” here .
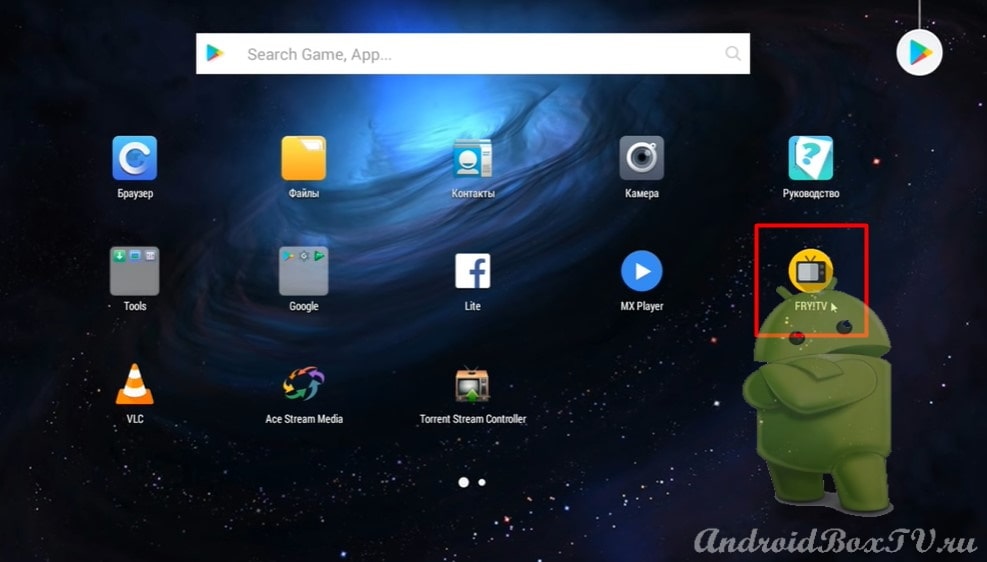
Fry! TV program , how to install it and what it is.
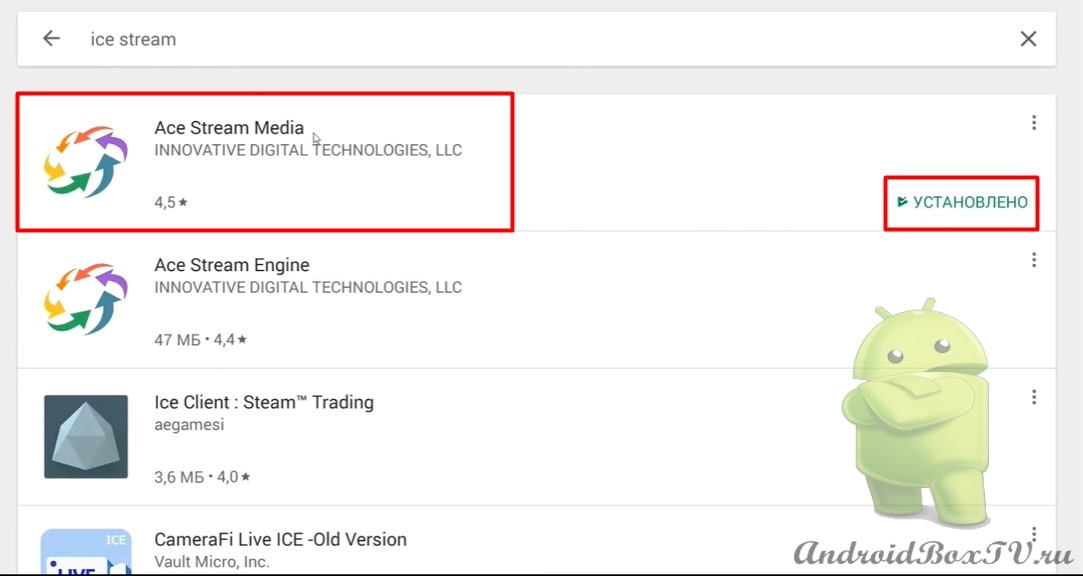
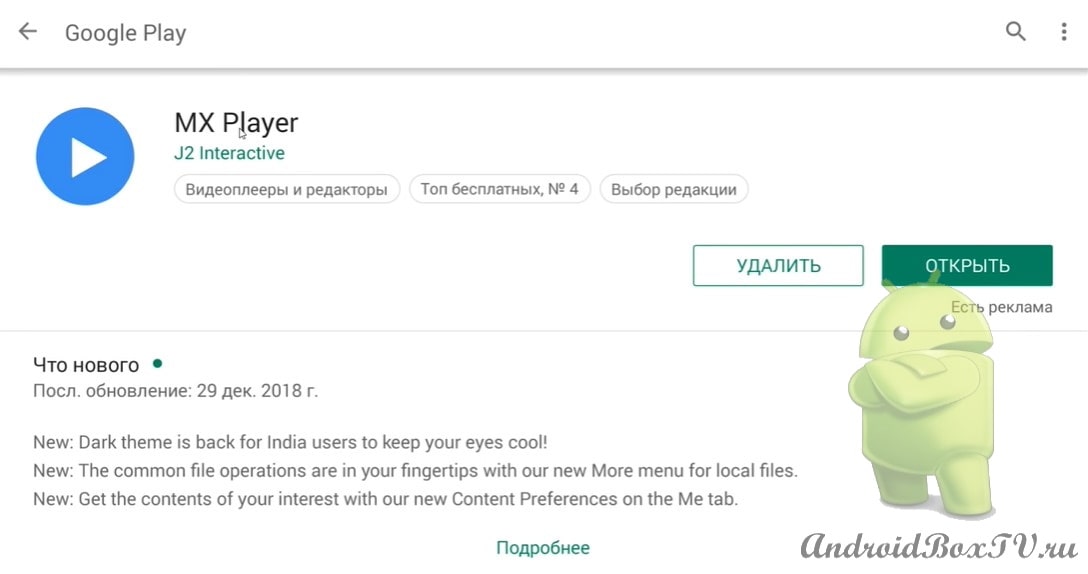
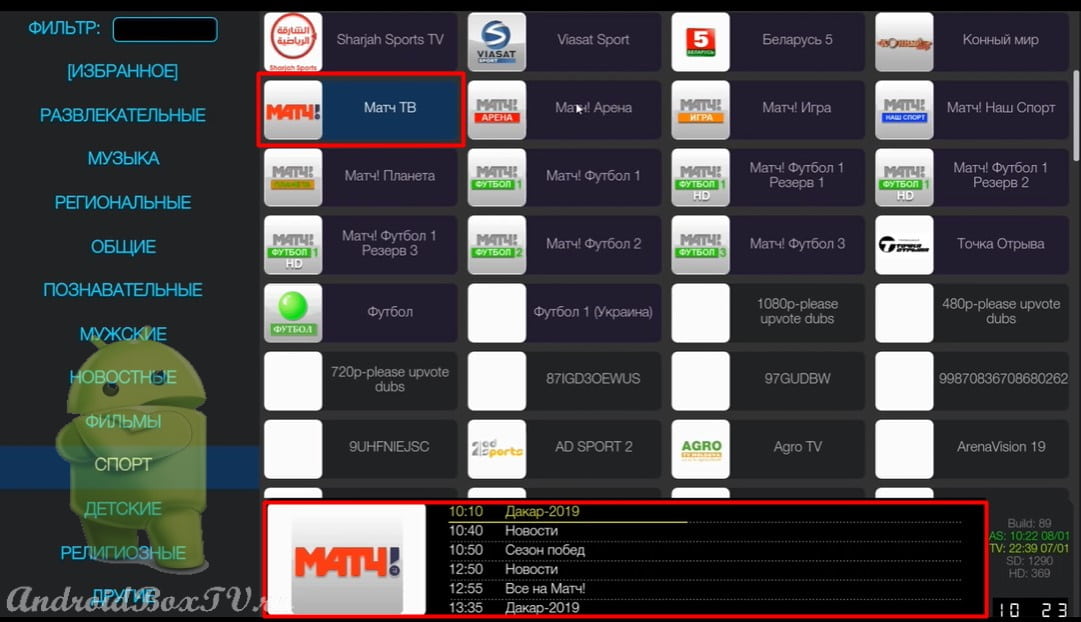
Fry!TV is an application that allows you to watch about 1500 channels in good quality and without ads. First you need to download two programs from the Play Store. In the future, they will be needed to watch the video.
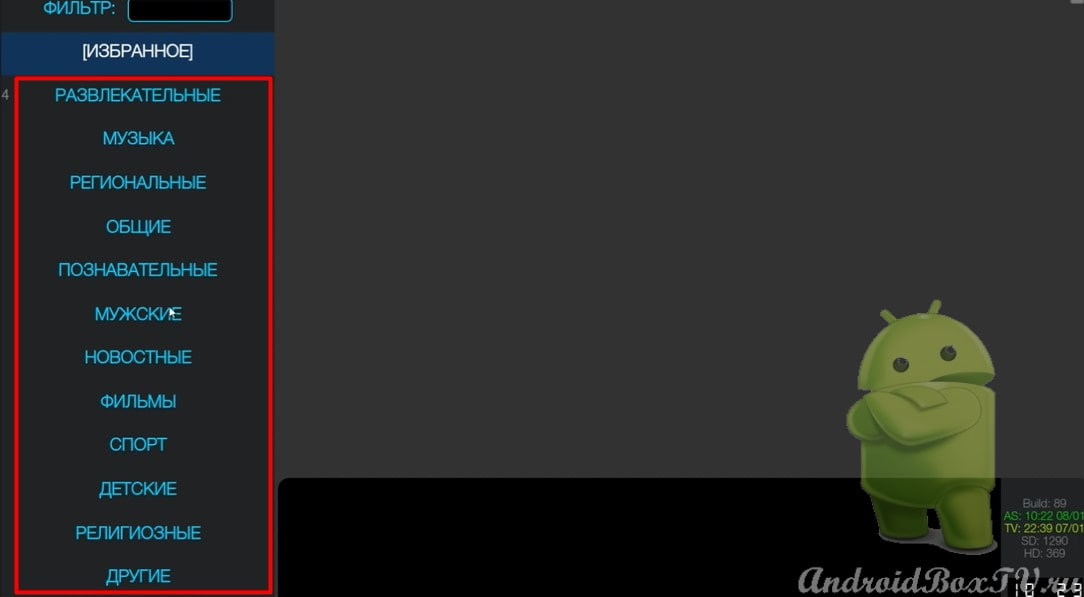
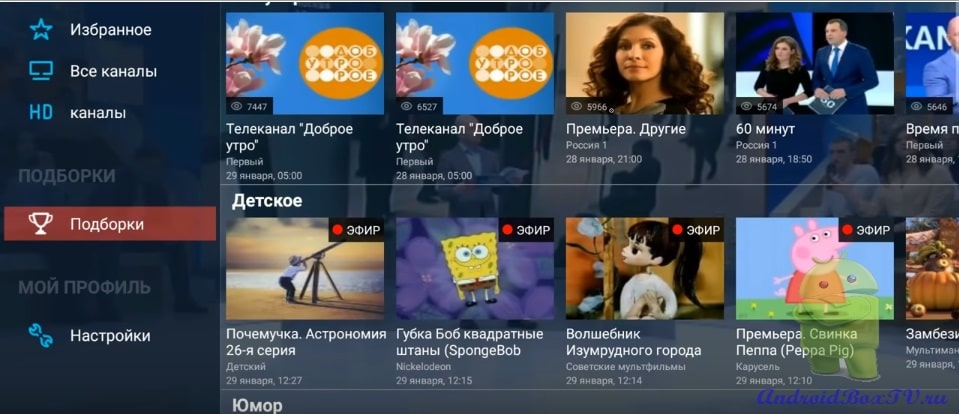
We select a category and we are provided with channels for it:
By clicking on the channel, the TV program guide will appear in the lower field:
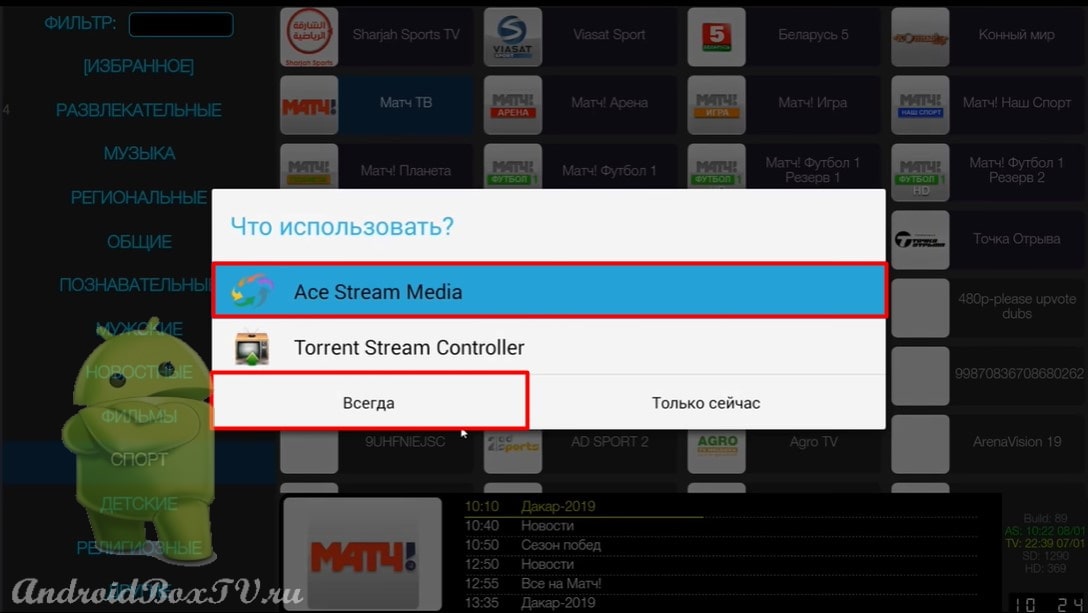
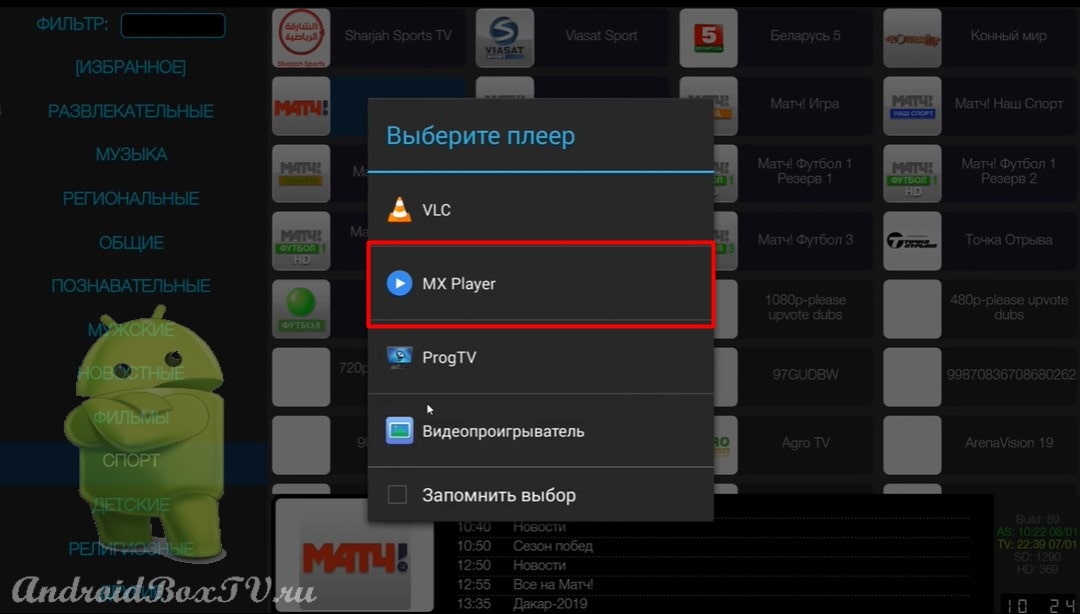
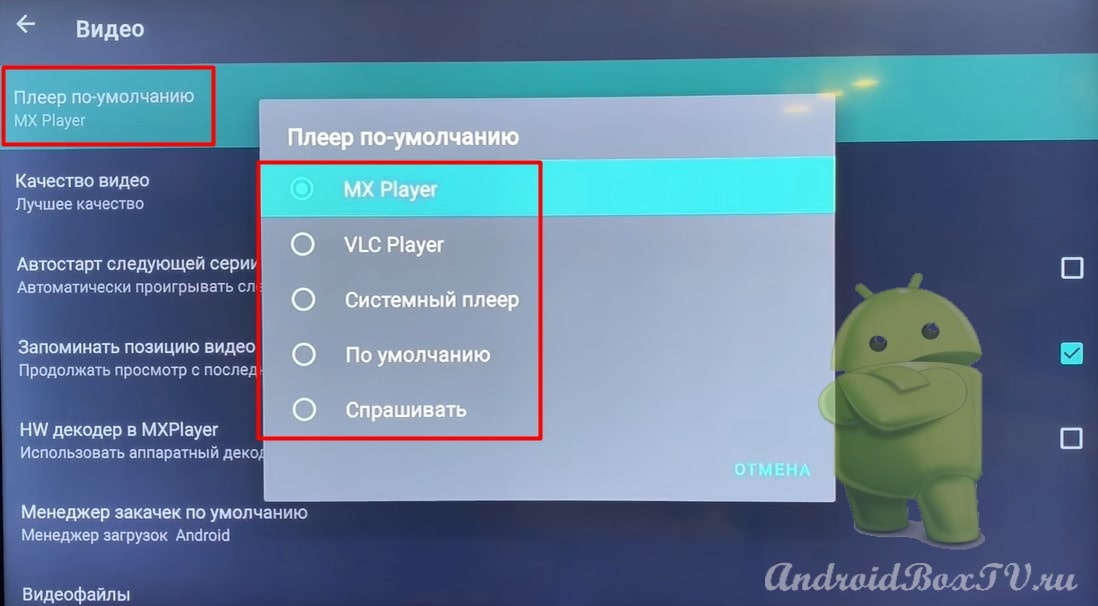
In order to start watching the video, you need to select the player, here we will need the applications that we installed at the beginning. Choose " Ace Stream Media” And "MX Player” :
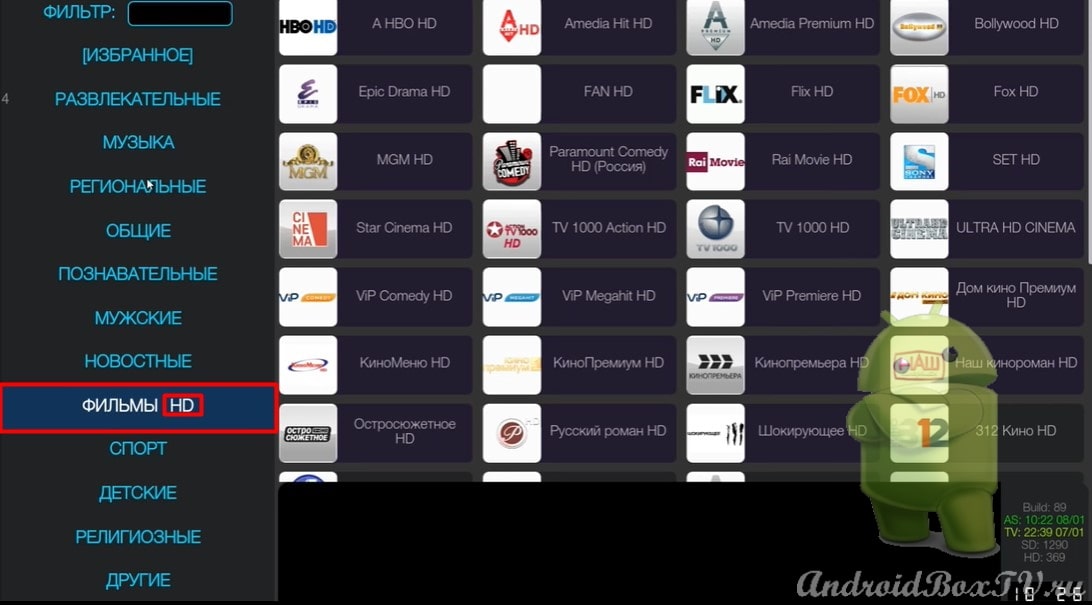
Consider another feature of this application. To switch to HD quality Double click on a category. The symbol should appear “HD”:
This concludes our review of the application for watching TV channels. Download, use and enjoy watching.
Check out other entries from the category “Watching TV, media files” here .
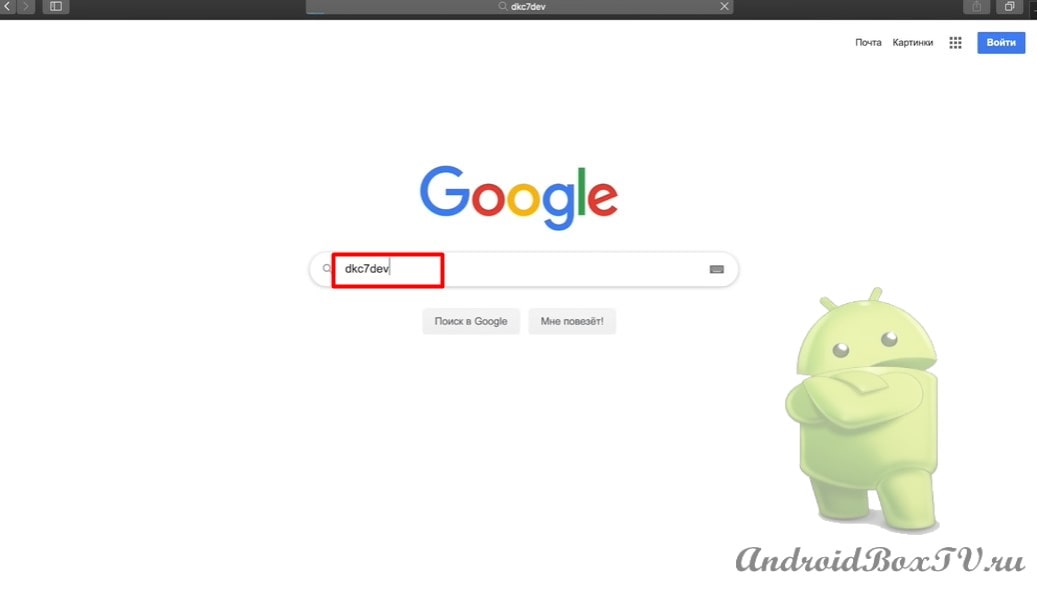
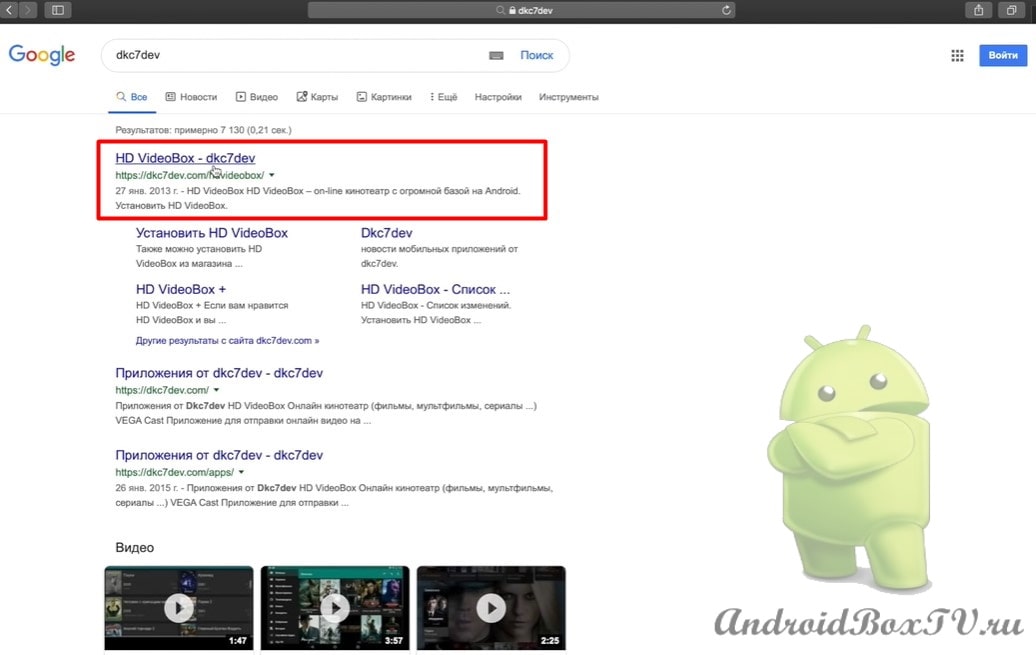
Today we will look at how to watch movies for free on Android TV. To do this, you need to install the HD VideoBox application.
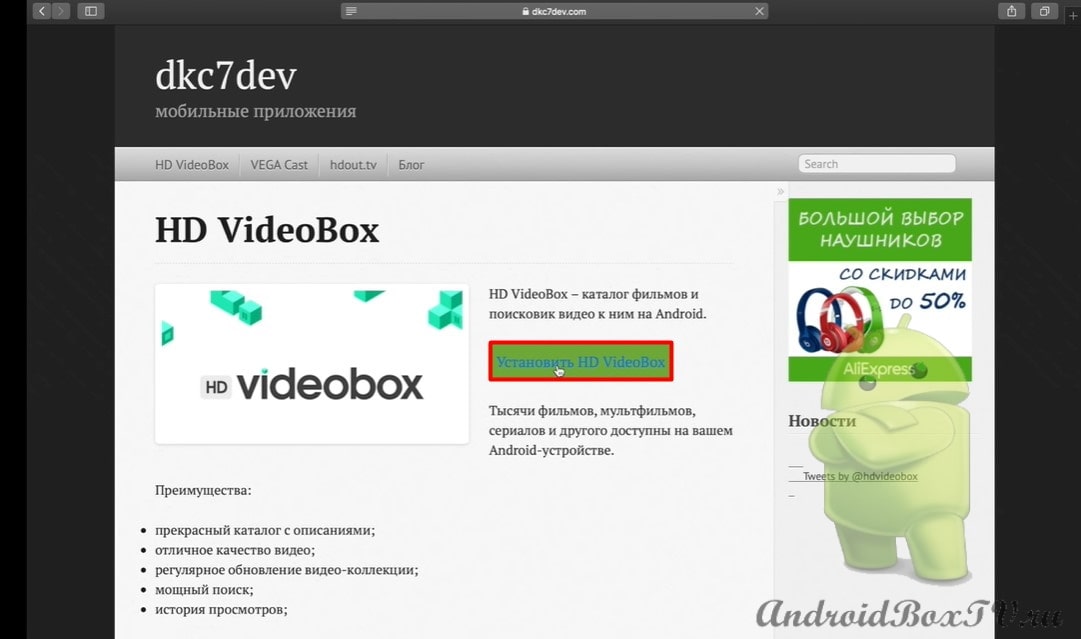
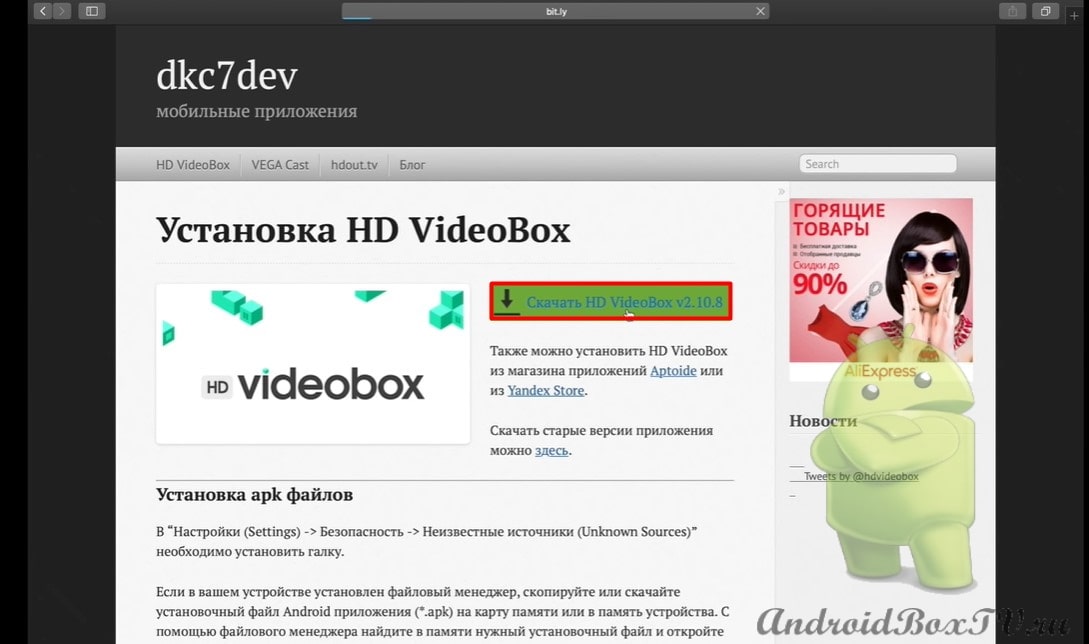
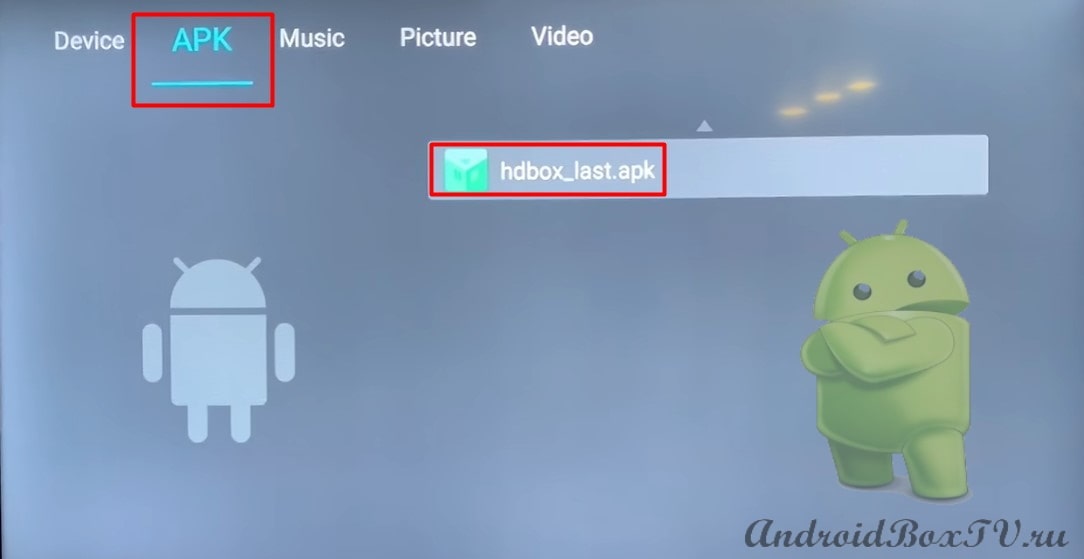
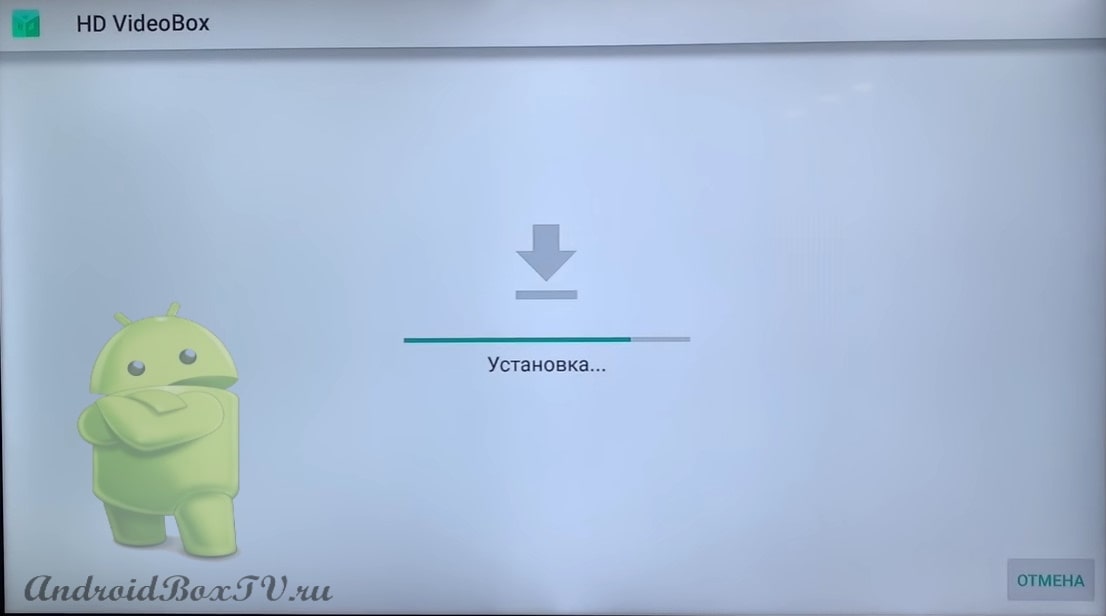
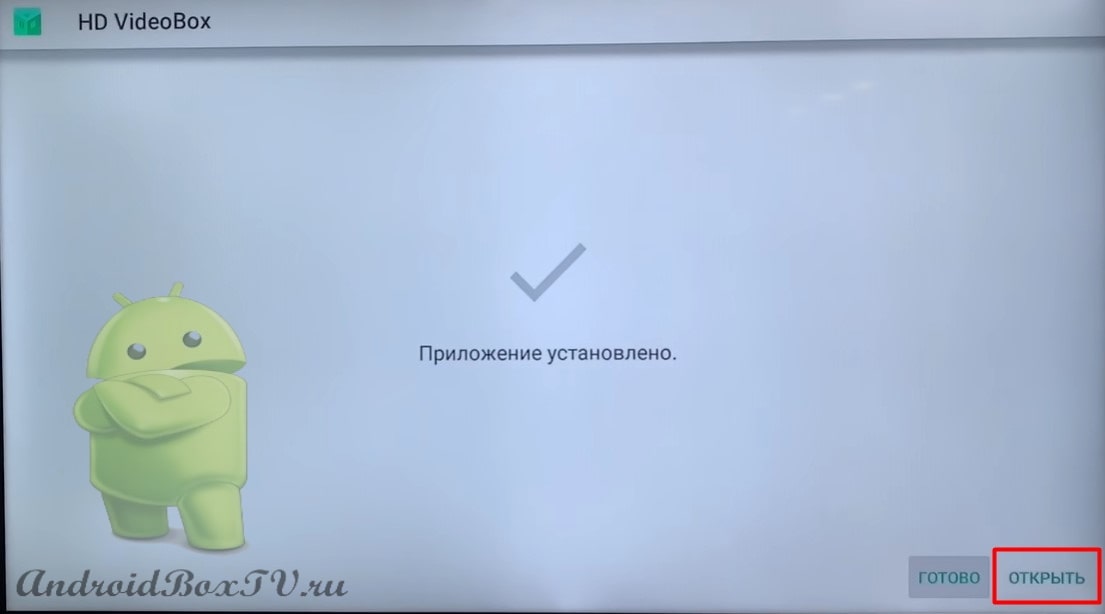
You won’t be able to find it in the app store, but you can download it from the developer’s official website, transfer it to a USB flash drive and install this application from a USB flash drive.
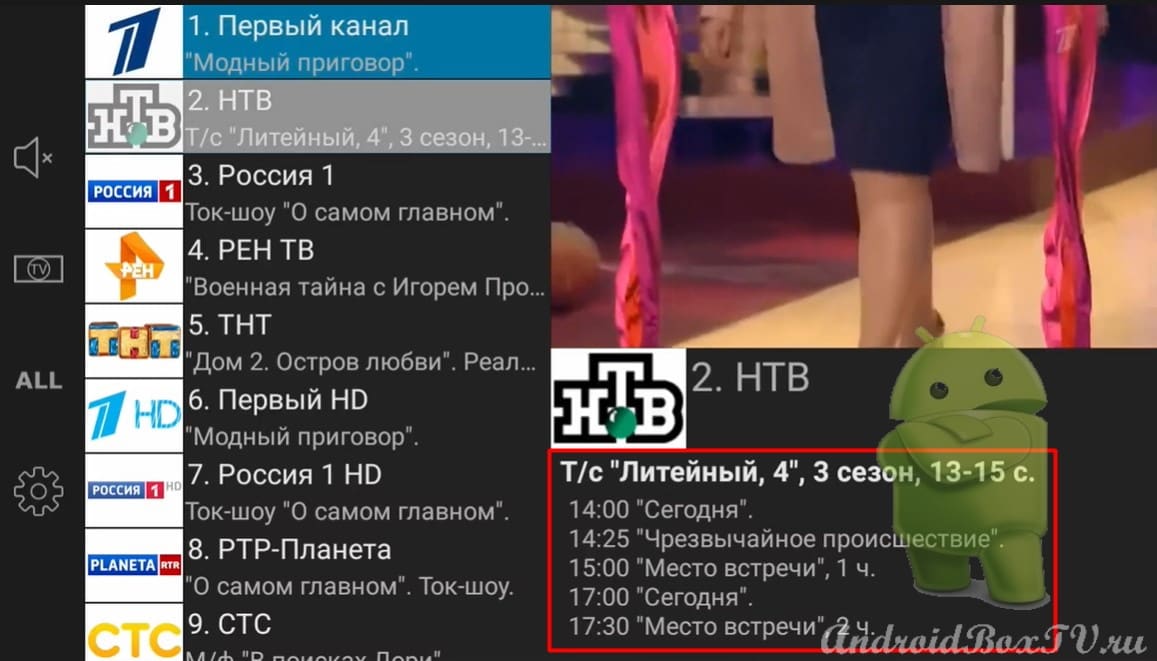
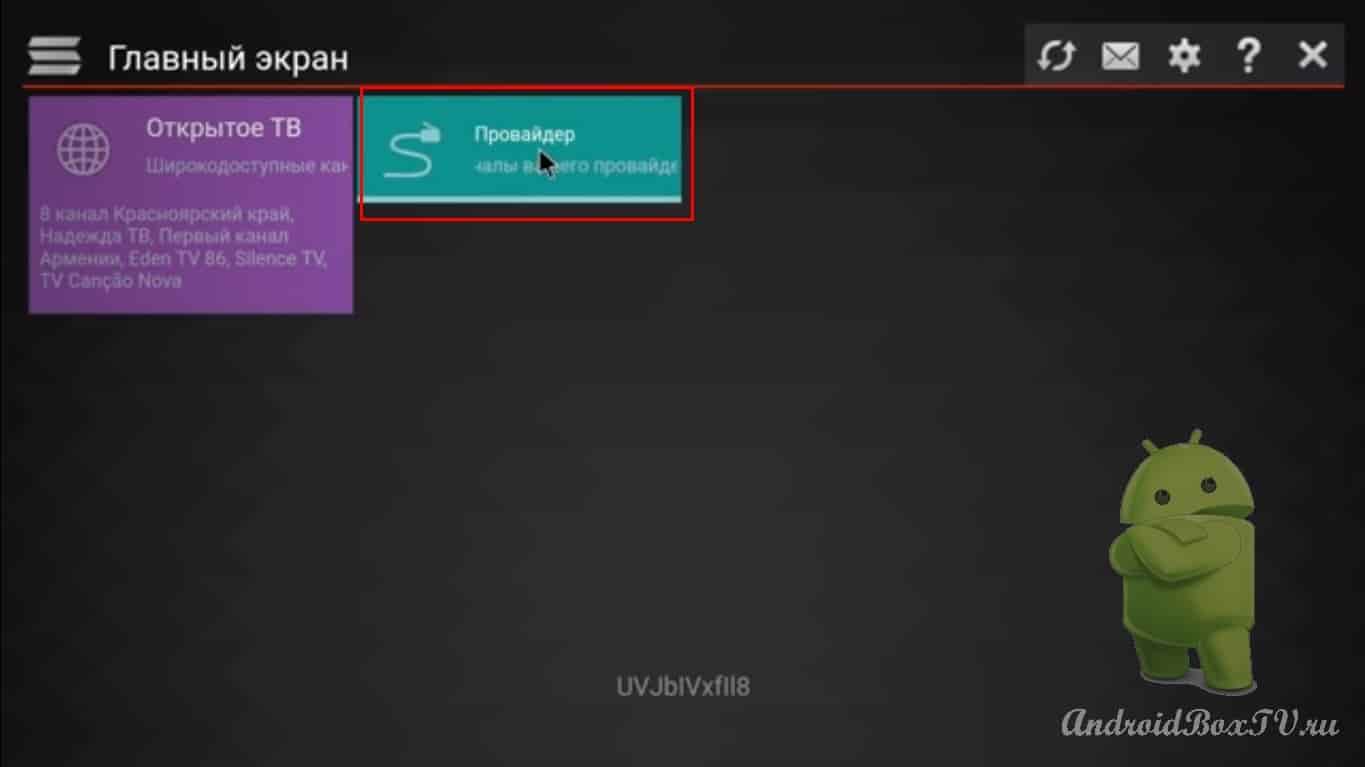
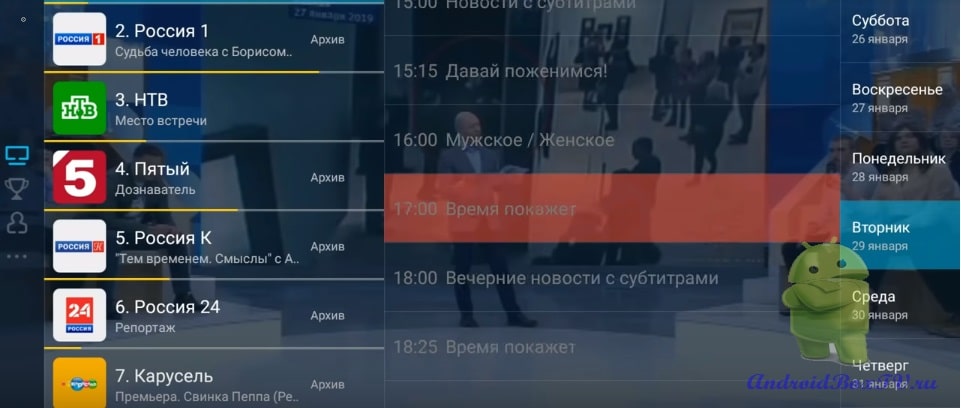
This program is controlled by both the mouse and the stock remote control. On the right side of the screen, we can observe the TV program under each TV channel:
Also, on the right side there is a mini-screen, click on it with the mouse and the full screen mode appears, click again with the mouse, and it collapses back.
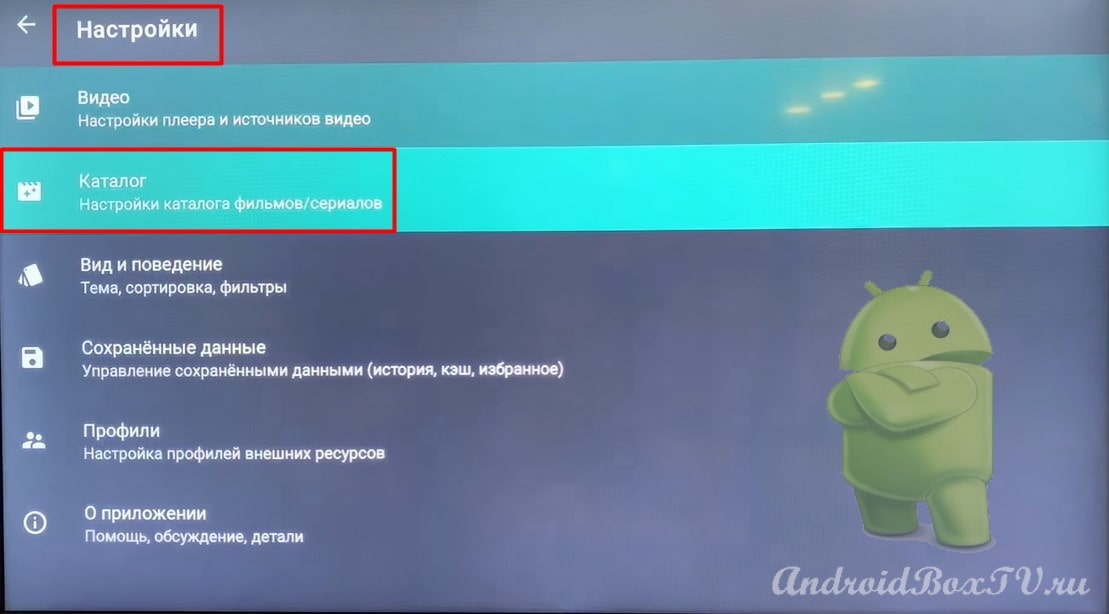
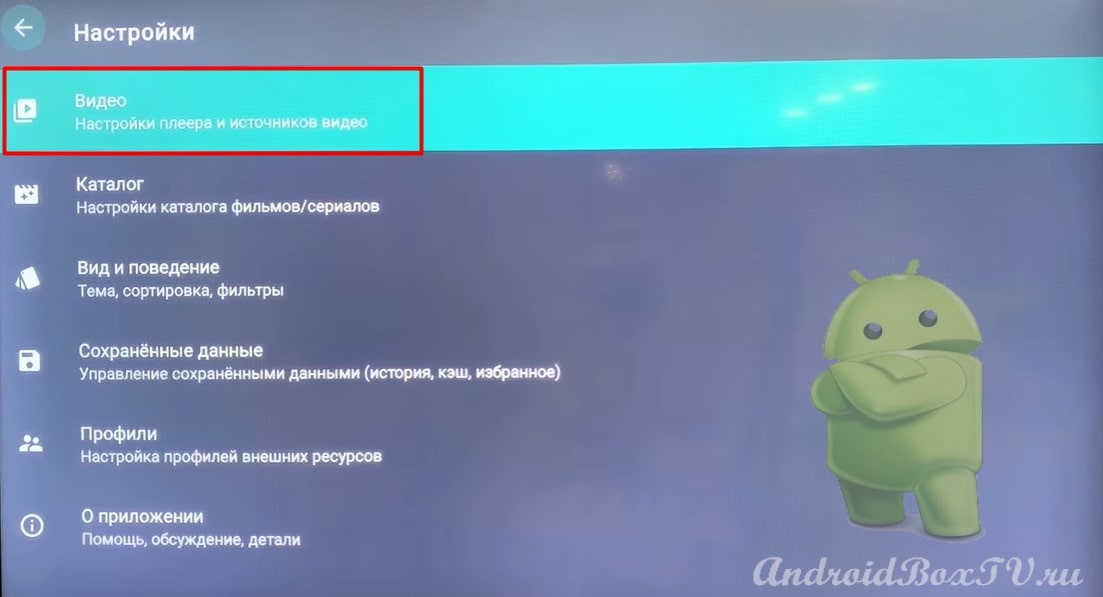
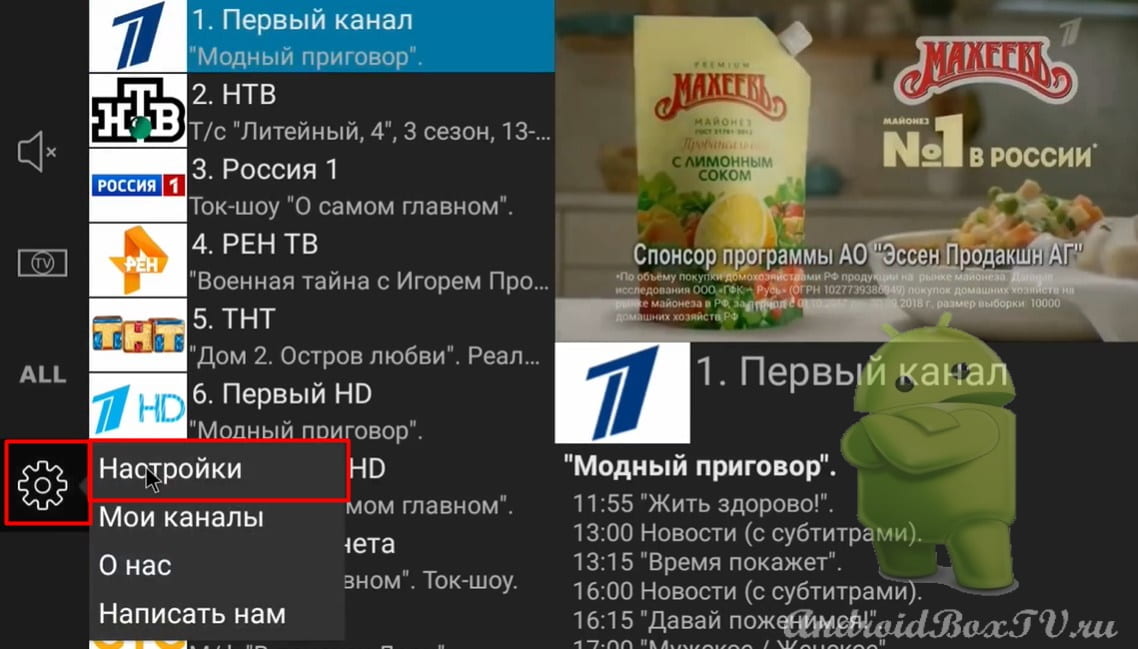
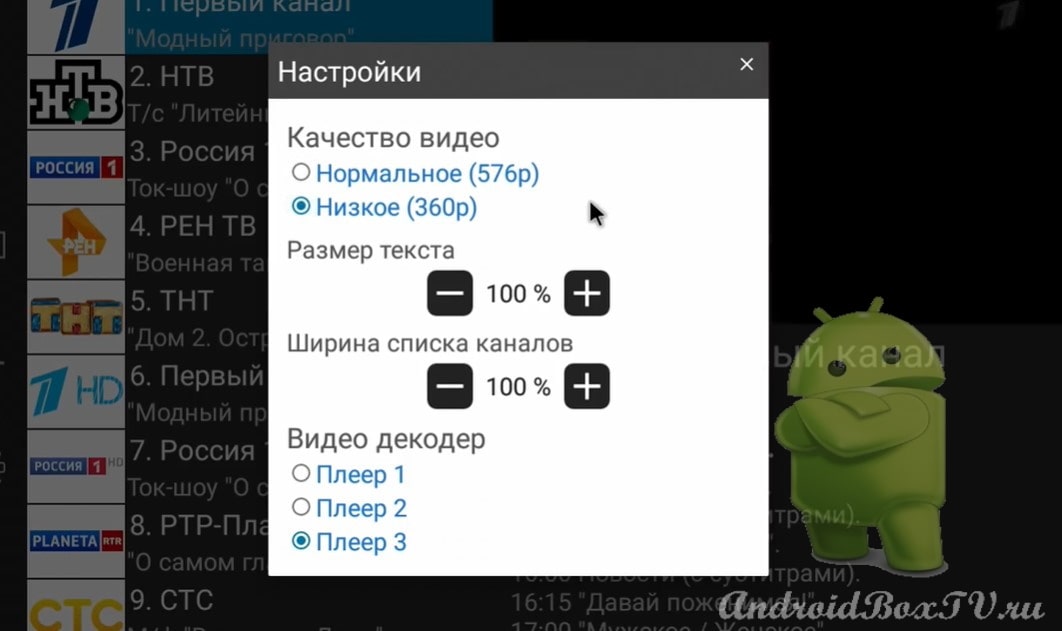
Consider the “ Settings ” functions:
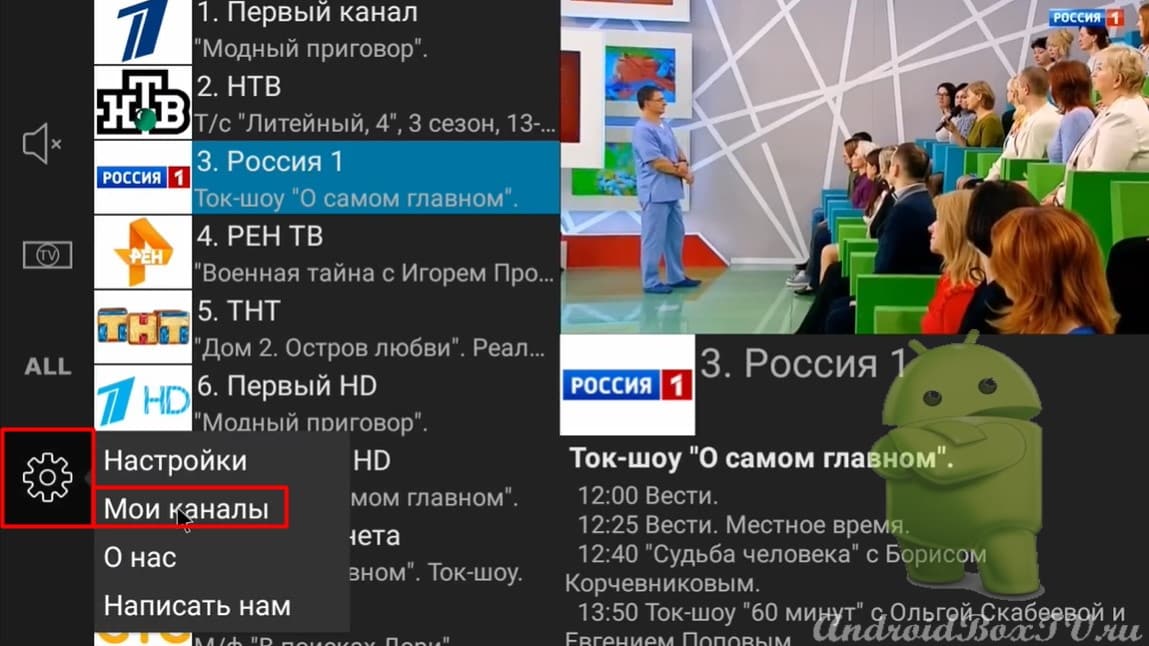
In the settings, you can select the video quality, change the text size and the width of the channel list. Also, there is a section My channels”:
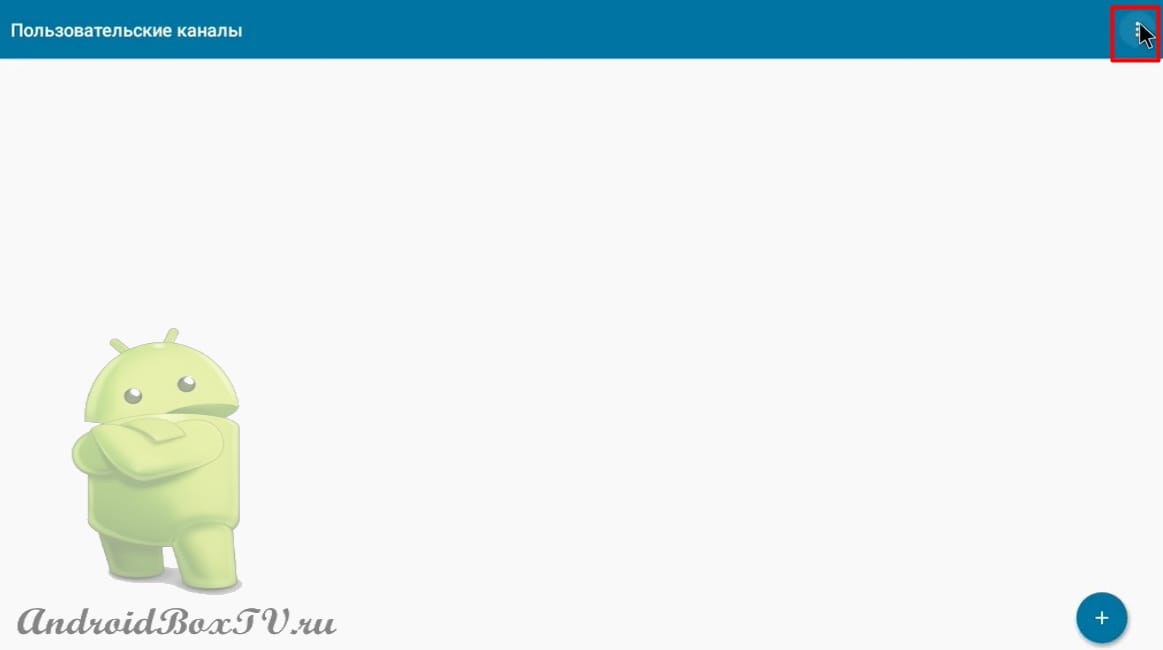
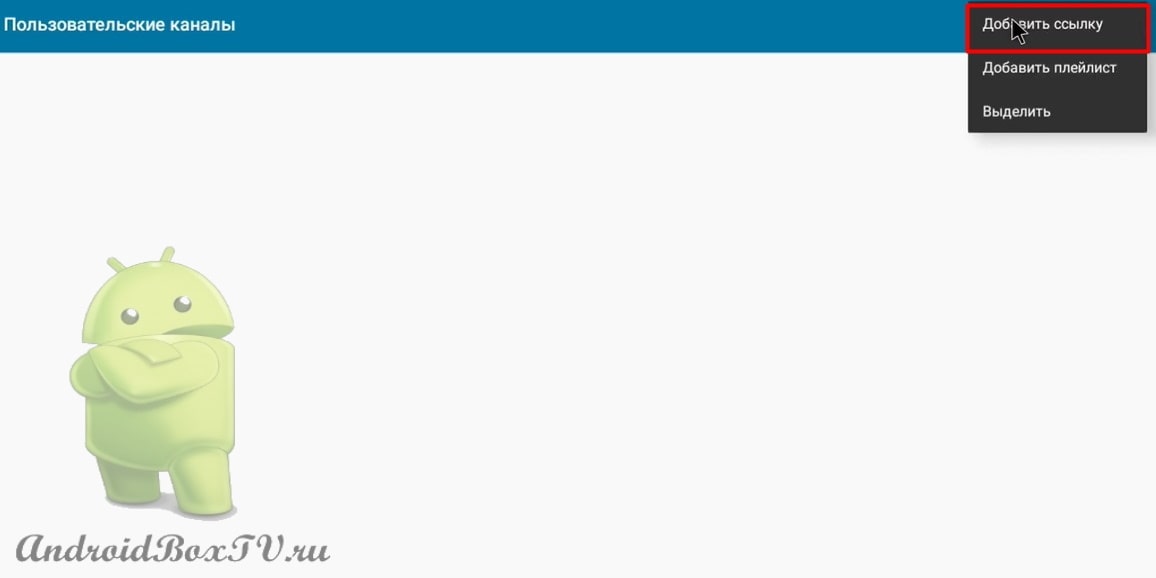
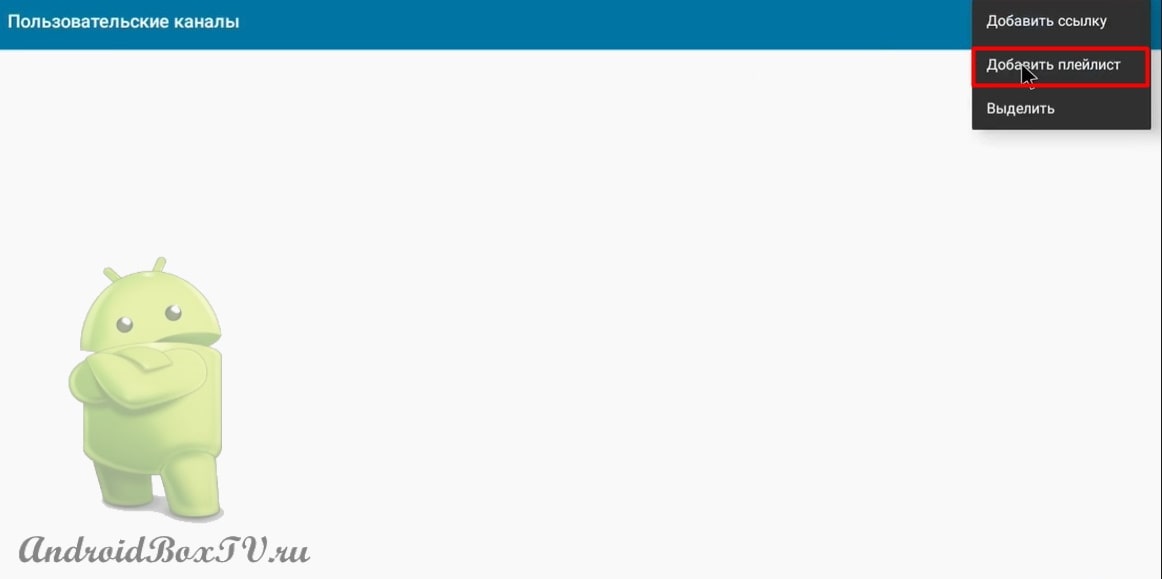
This section will allow you to connect your own playlist. In the upper right part of the screen, click on the three dots and select " Add link”:
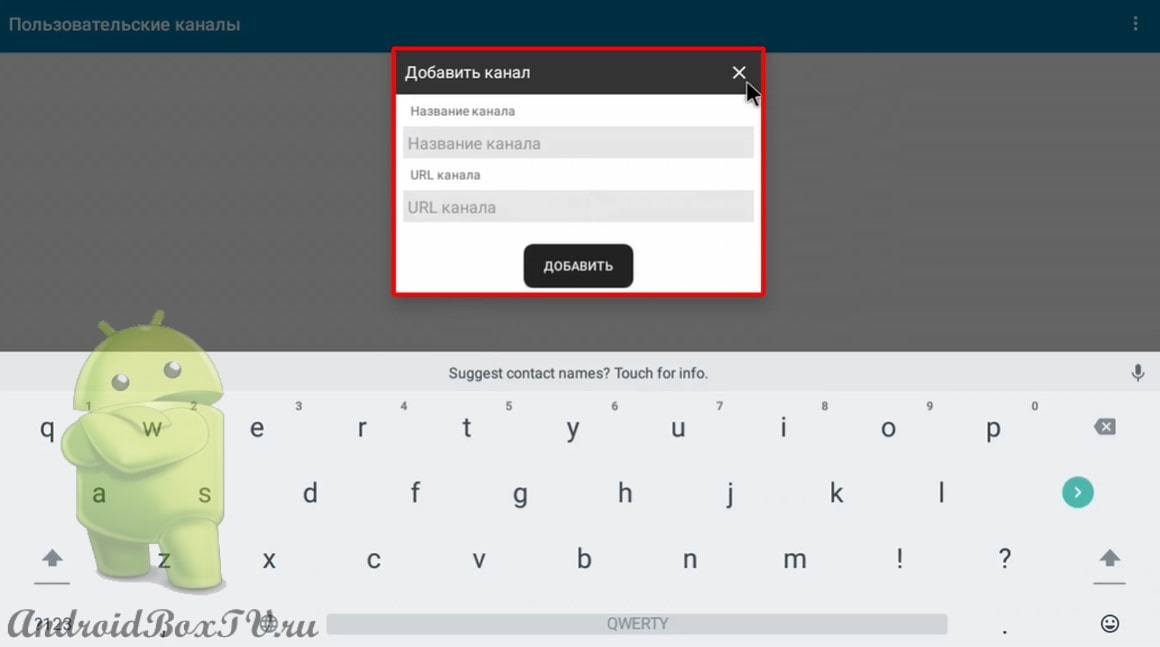
After that, a dialog box appears in which you can enter the name and Internet address of a single channel:
Also, there is a sectionAdd playlist”:
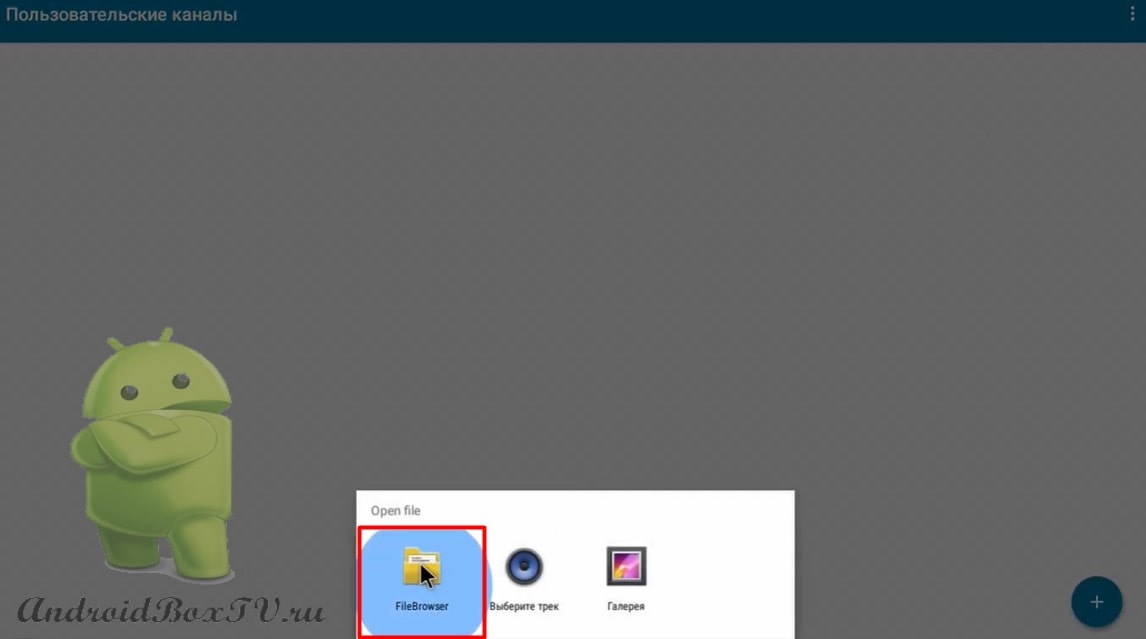
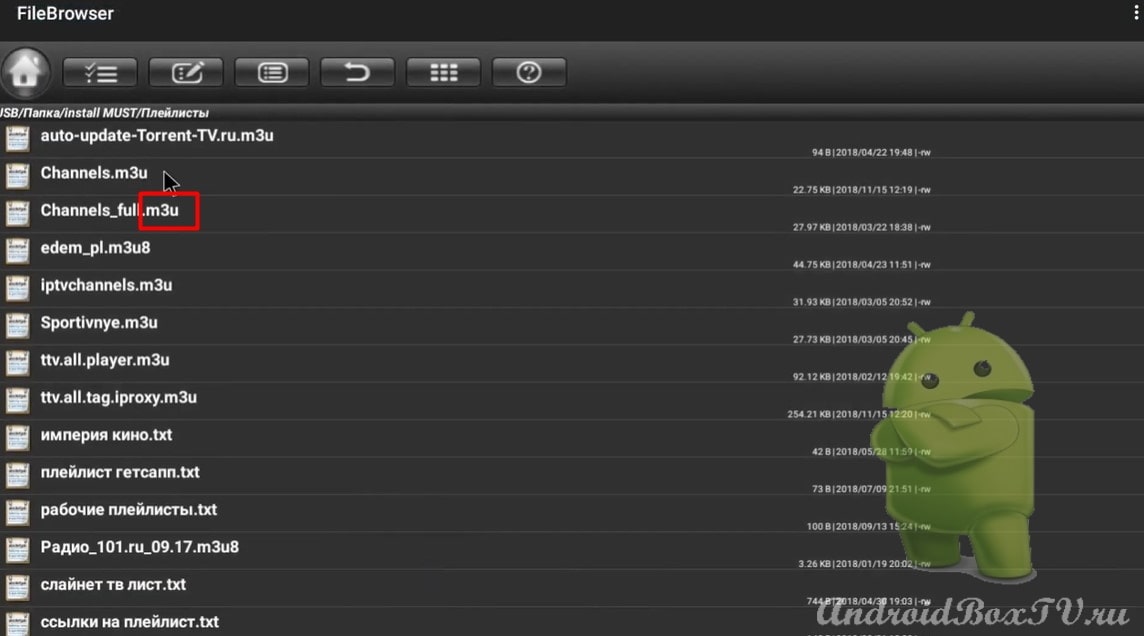
You can add your playlist only in the format “m3u”, that is, the usual format of playlists downloaded from the Internet. We provided links to playlists. here:
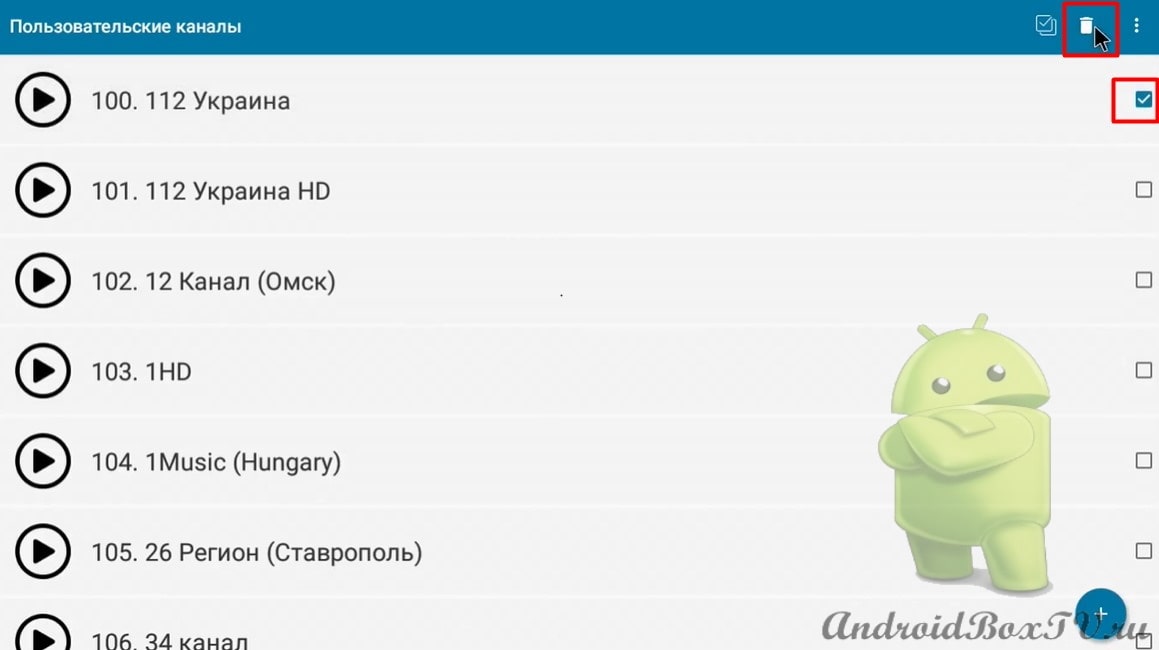
If you do not need any channel from the entire list of channels, then you can delete it. Click on the three dots, check the box and delete:
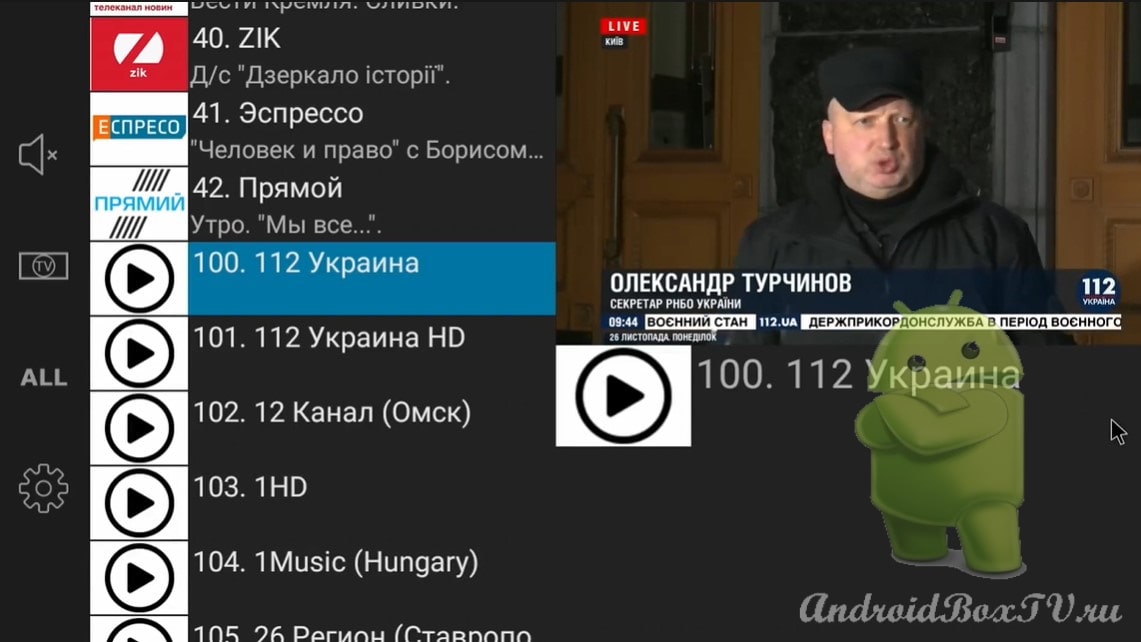
The Smart TV channels that you have added from your playlist start at a count of 100 and there is no TV guide below them:
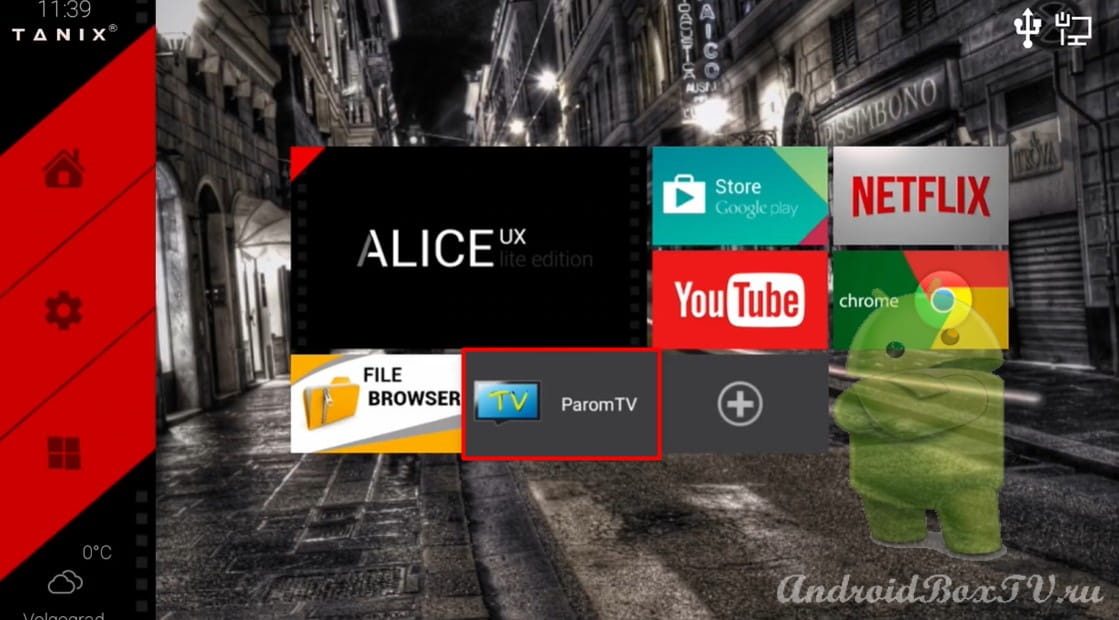
ParomTV - the program is quite small and compact, but it presents quite good opportunities, especially if you are limited with an Internet connection.
Check out other articles from the category “Watching TV, media files” here .
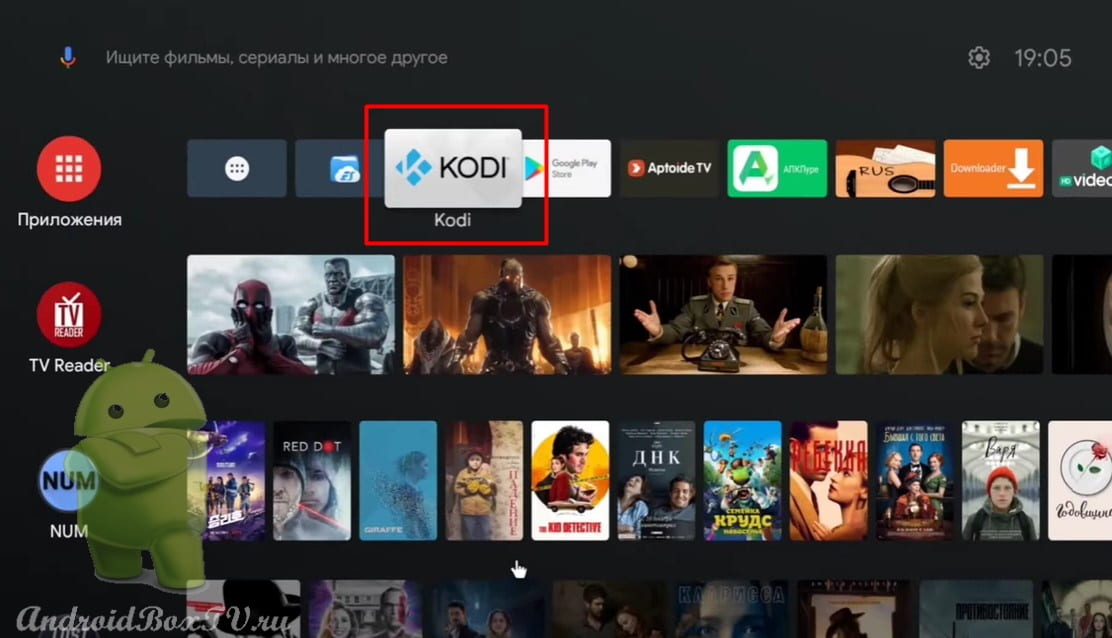
Today we will consider installing and updating Kodi Media Center to version 19.0, which is available in the Play Store. Also, consider the changes and initial settings of the application; how to add a TV channel from your ISP. To do this, first, you need to get a link for configuration from your Internet service provider.
Let's get started. Download Media Center for Android TV from Google Play and open:
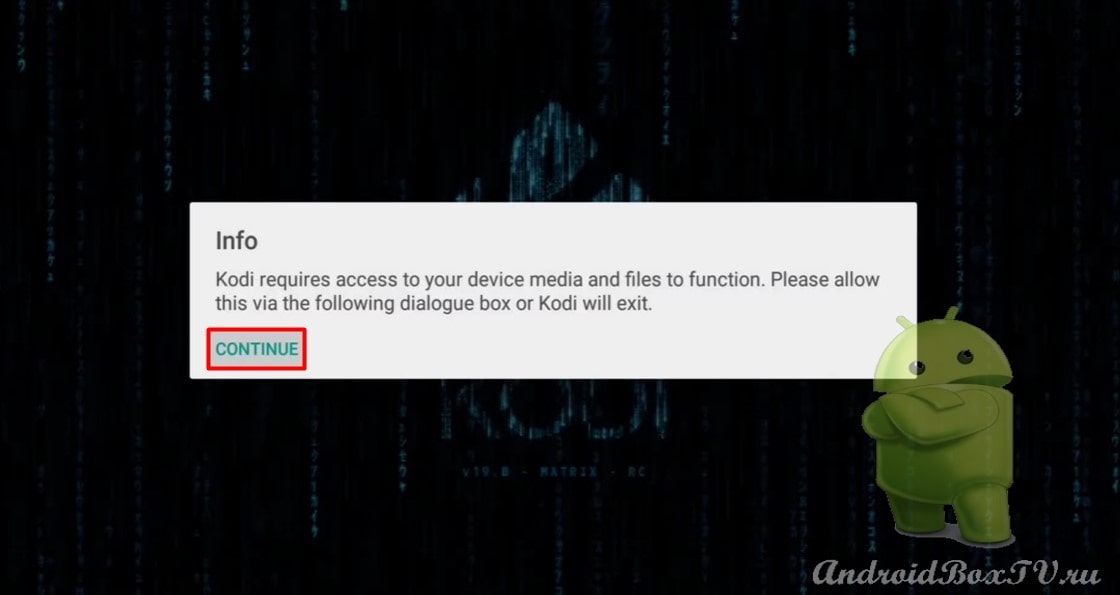
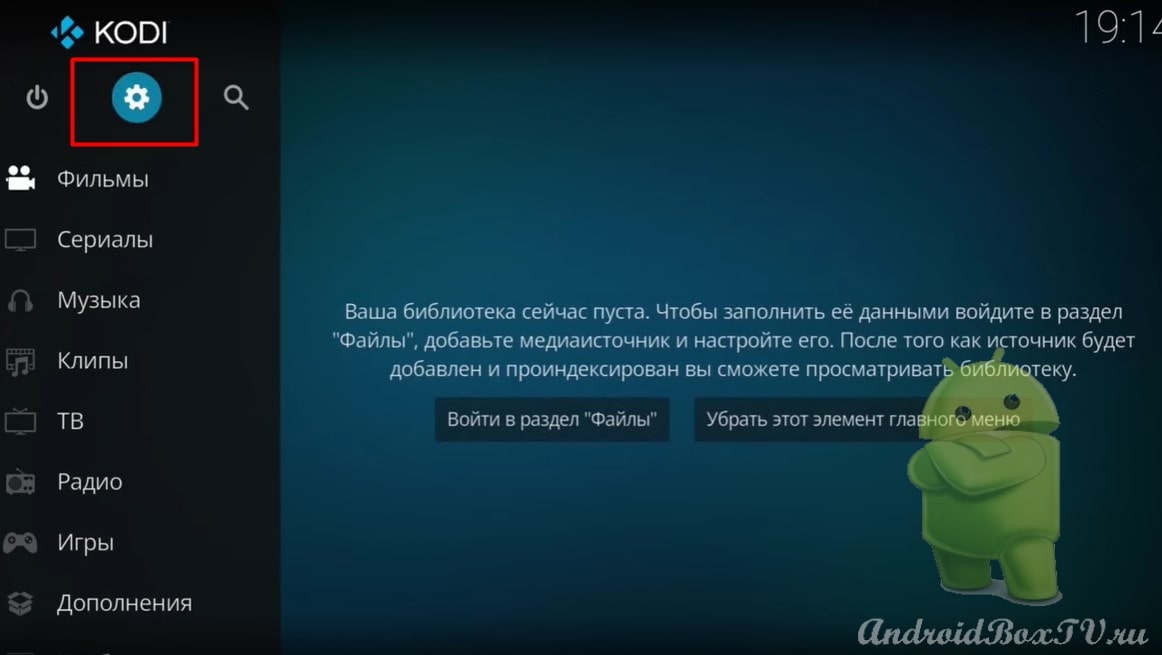
We launch the installed Kodi application on smart TV and click “ Continue ”:
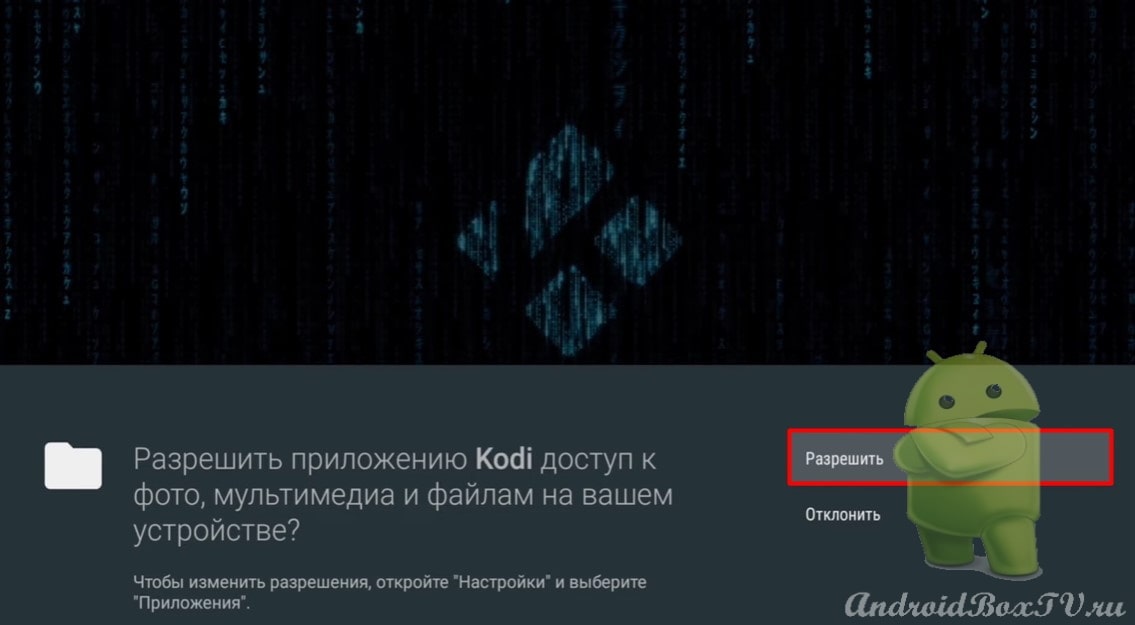
Click “Allow” (continue):
Access permission
We allow the Media Center access to your photos, multimedia and files. To do this, click " OK ":
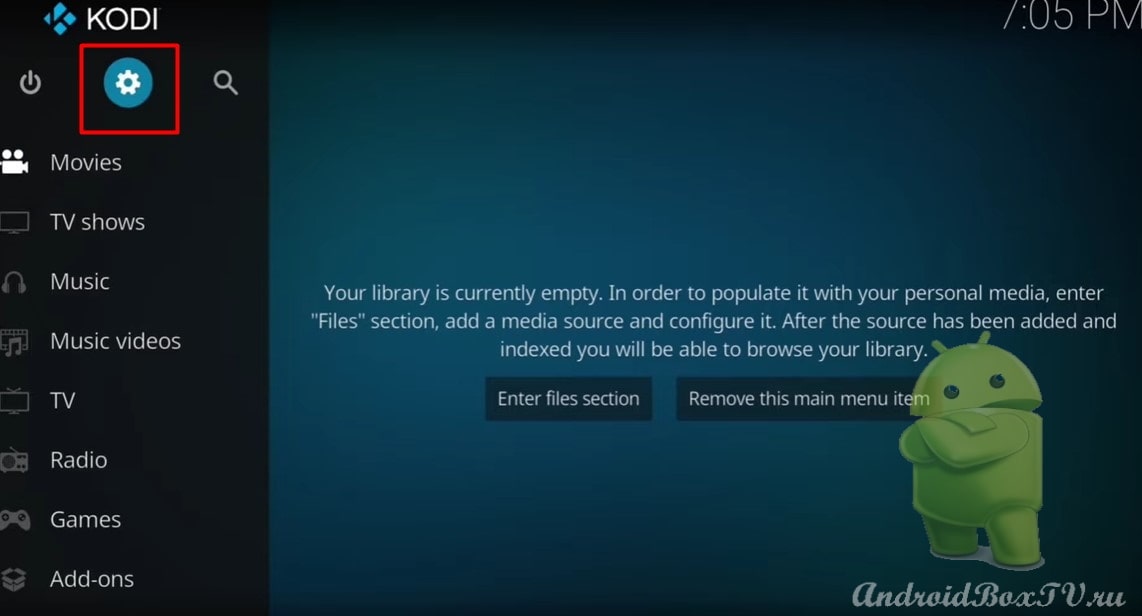
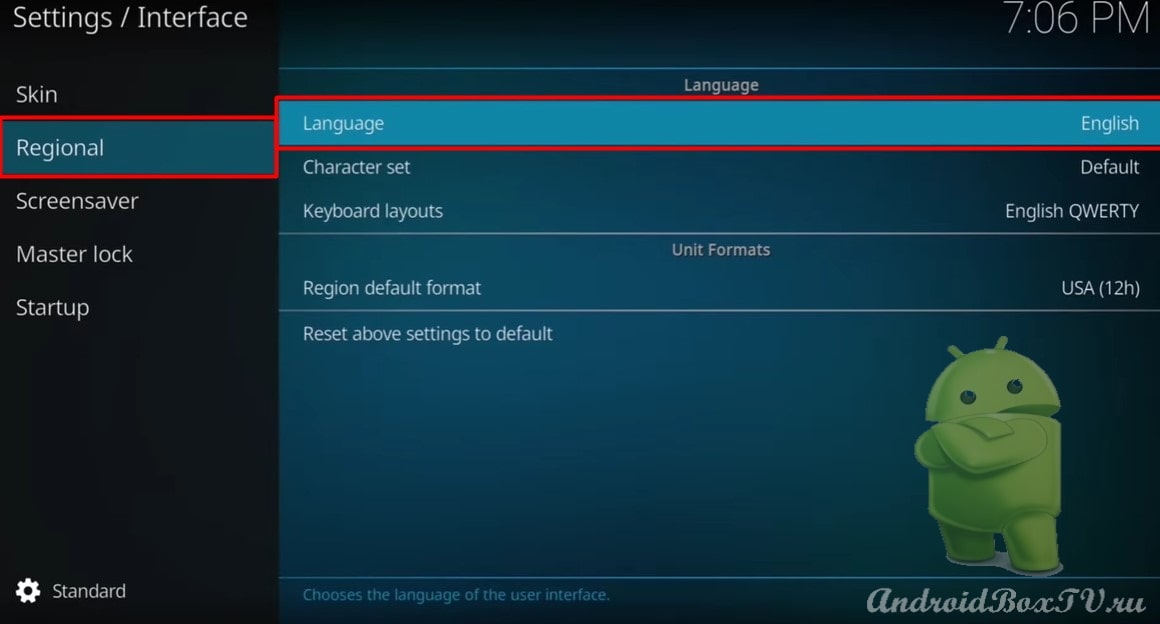
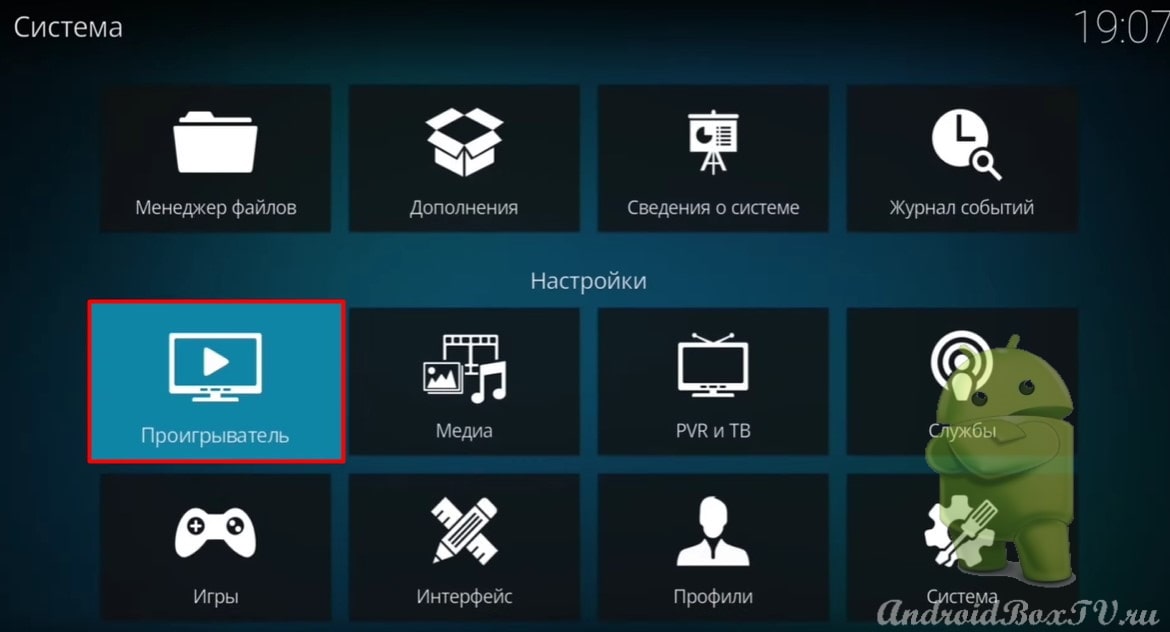
Go to the “Settings” of the smart TV set-top box and select “Interface” (interface):
Next, choose a region:
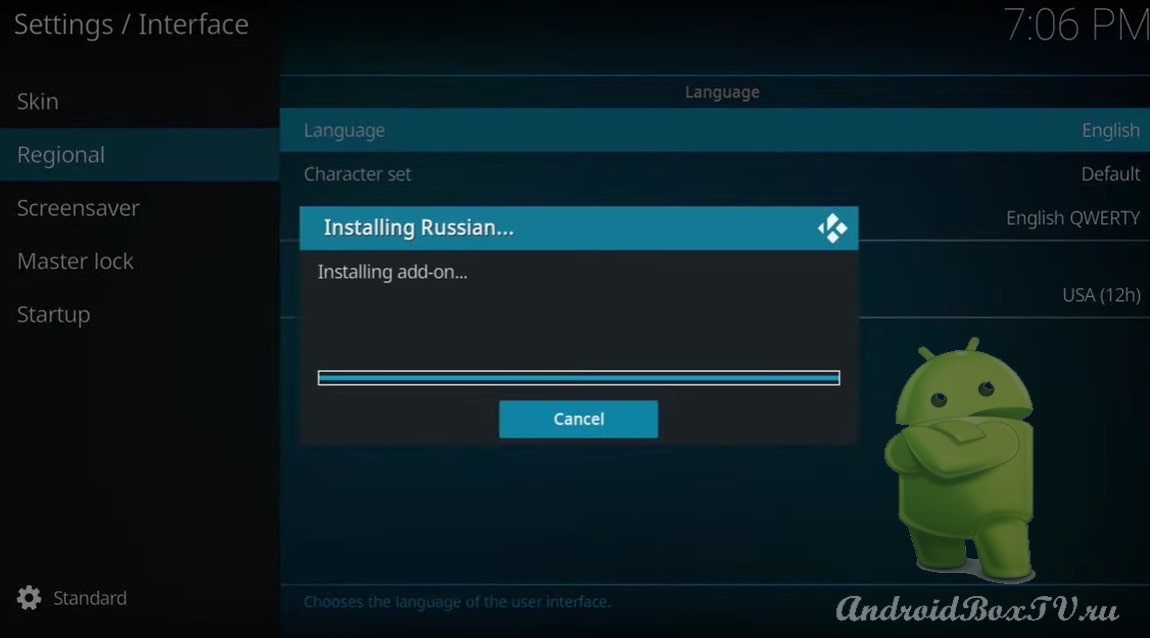
And finally, we switch to Russian:
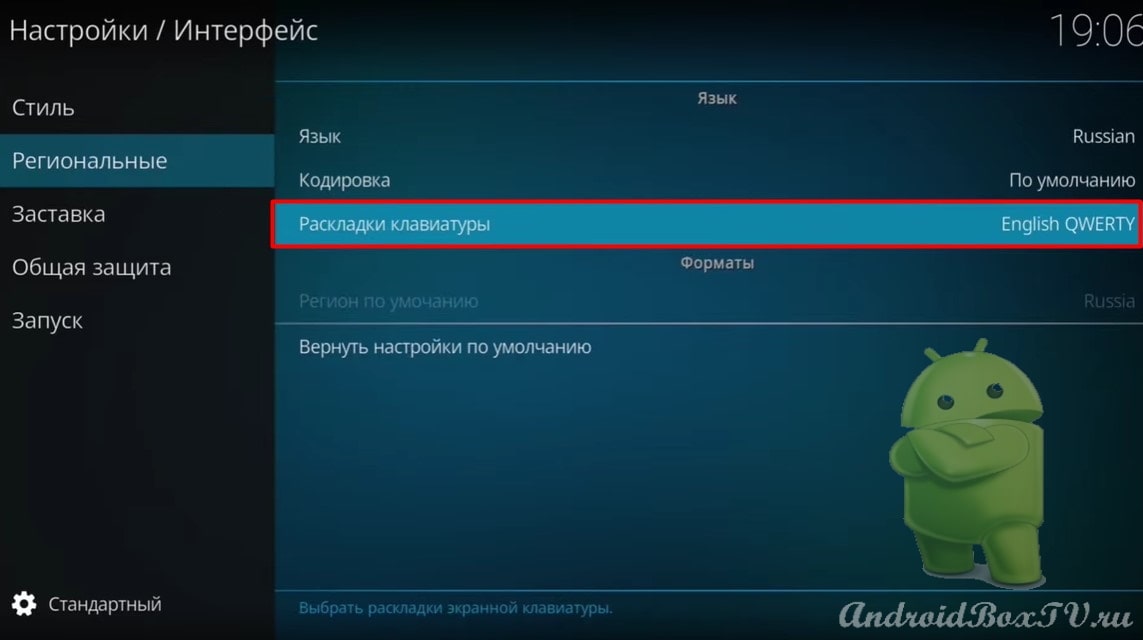
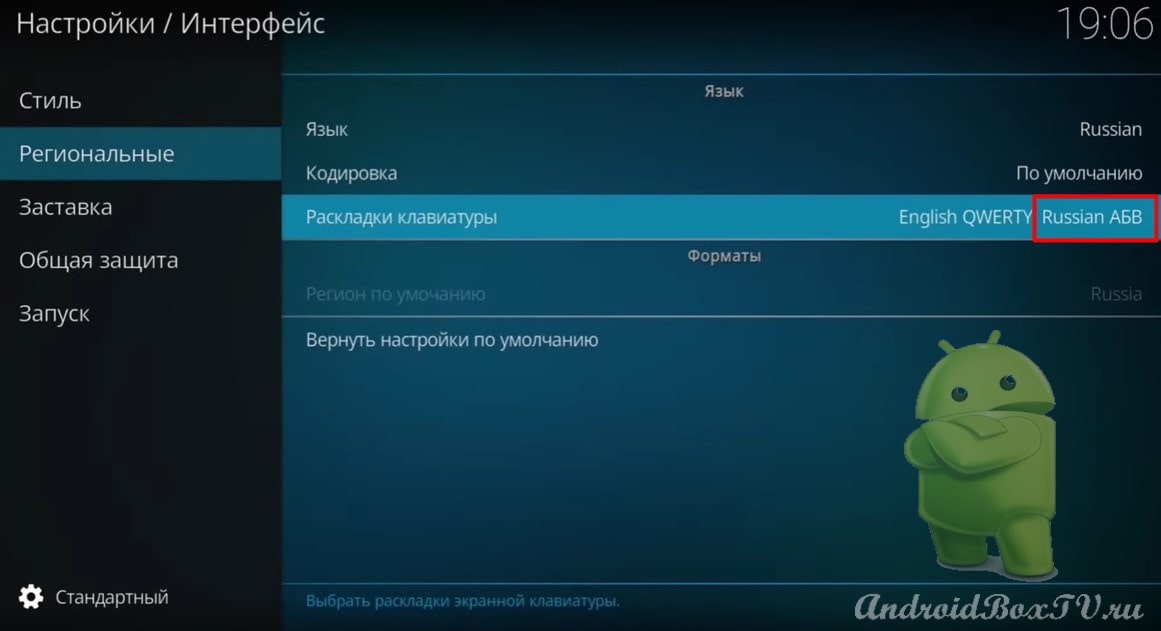
Now let's add a keyboard layout:
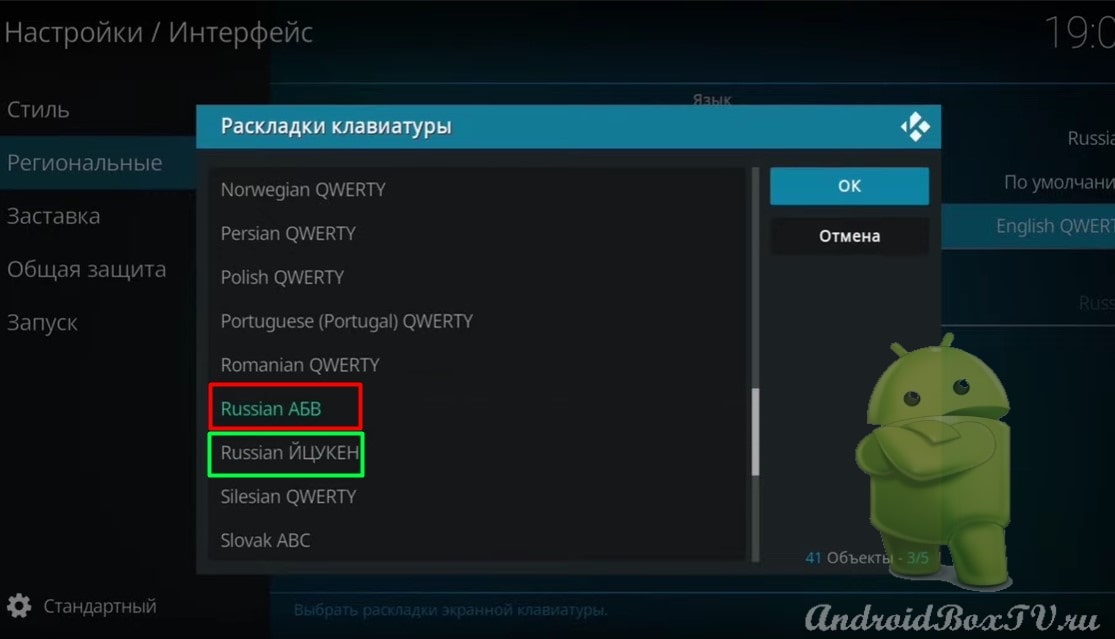
Here are two layouts:
alphabetically
starting with Y (this is the usual keyboard layout for all of us, like on a computer).
Layout installed:
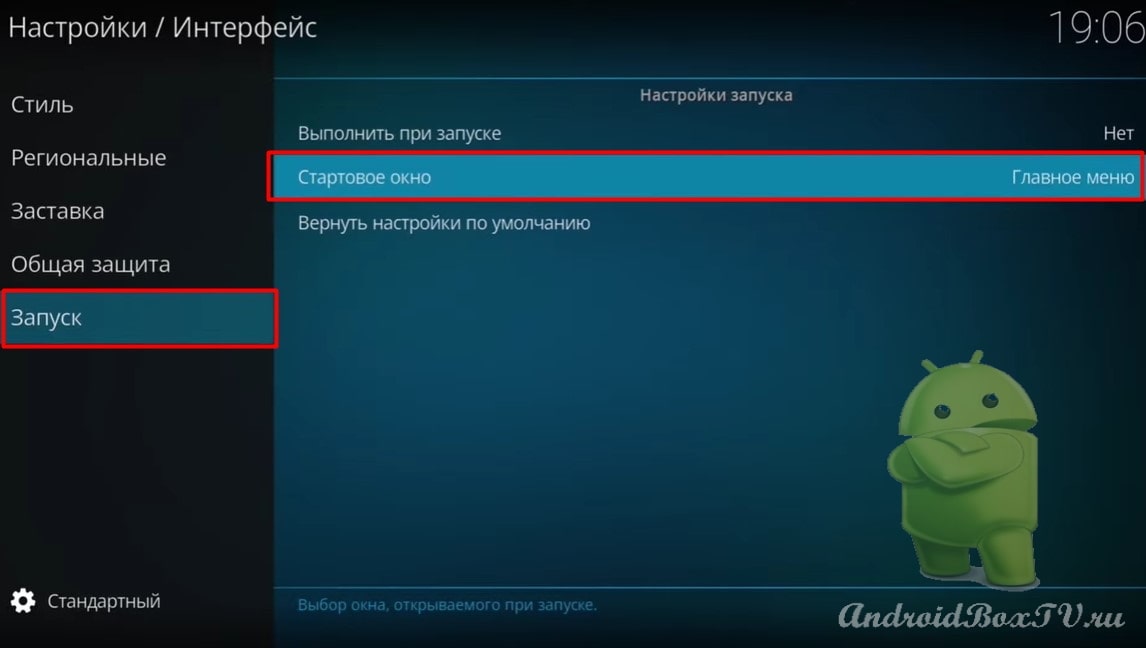
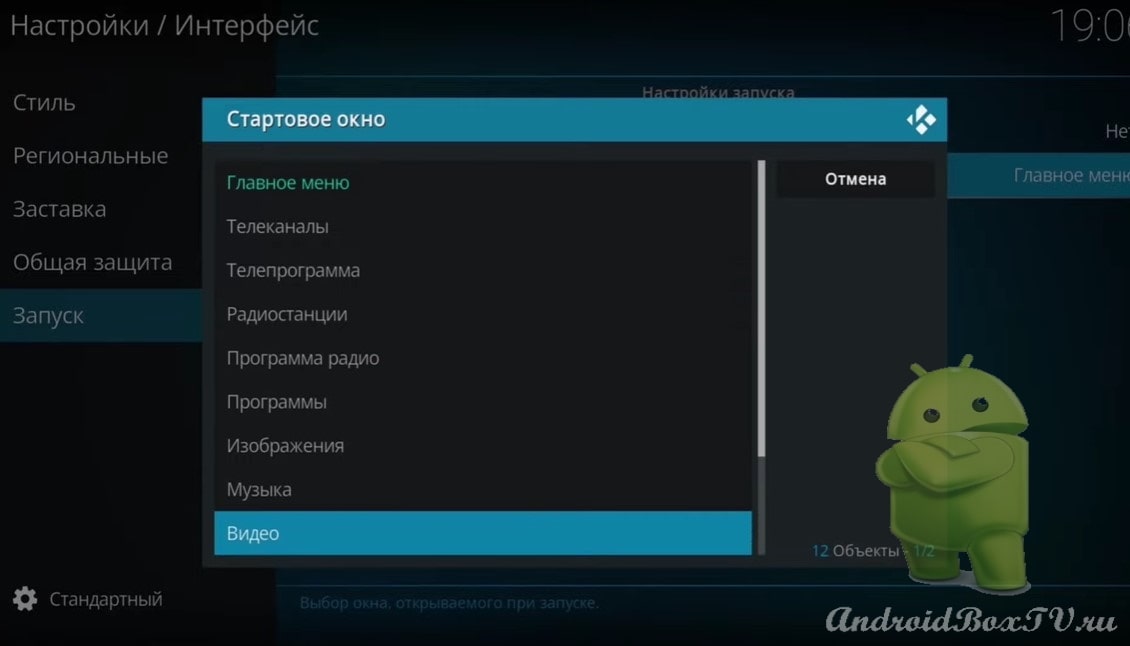
In chapter "launch”You can choose from what the application will be launched on Android TV, experiment:
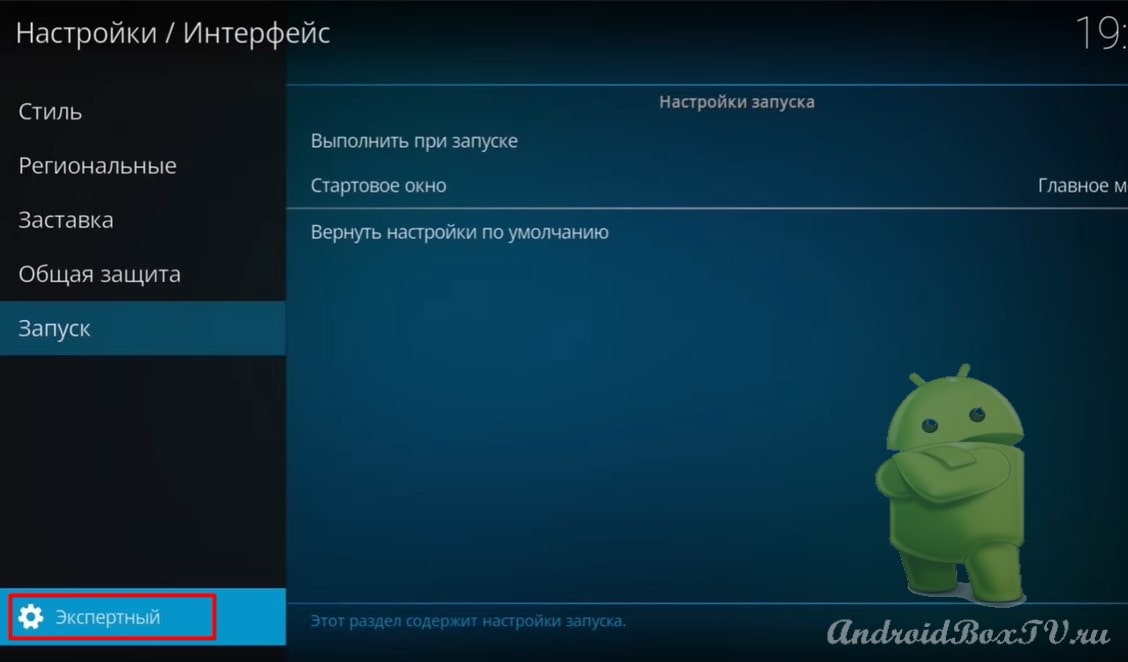
Set the settings level to “Expert”:
Now go to the "Player" section:
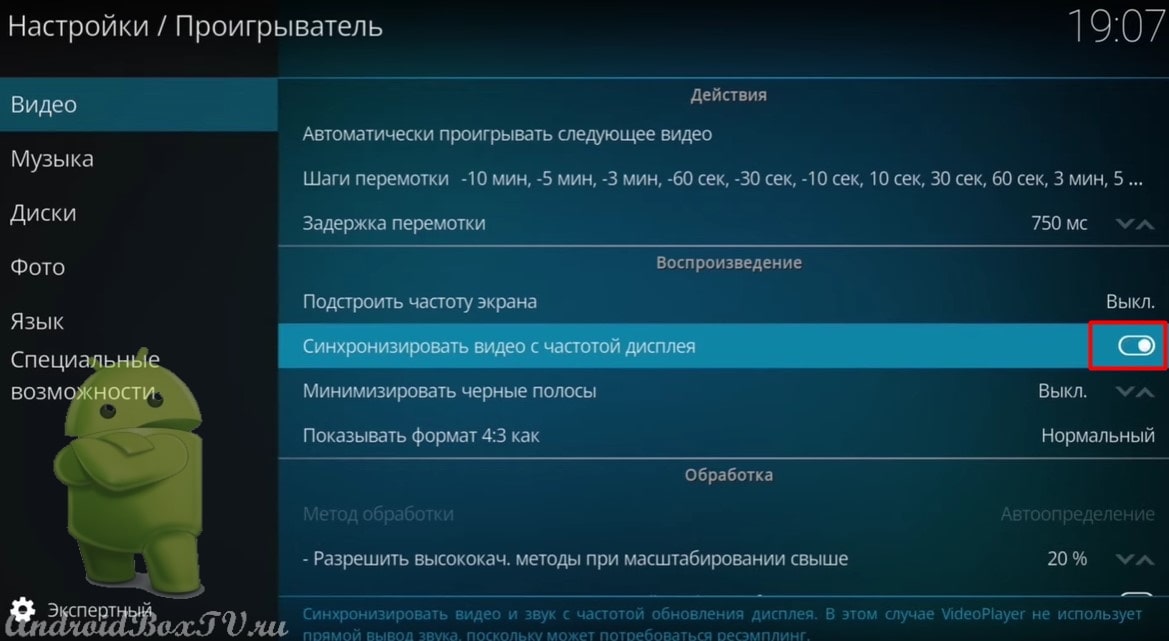
Select “Video” and turn on frame rate synchronization (if available on the device):
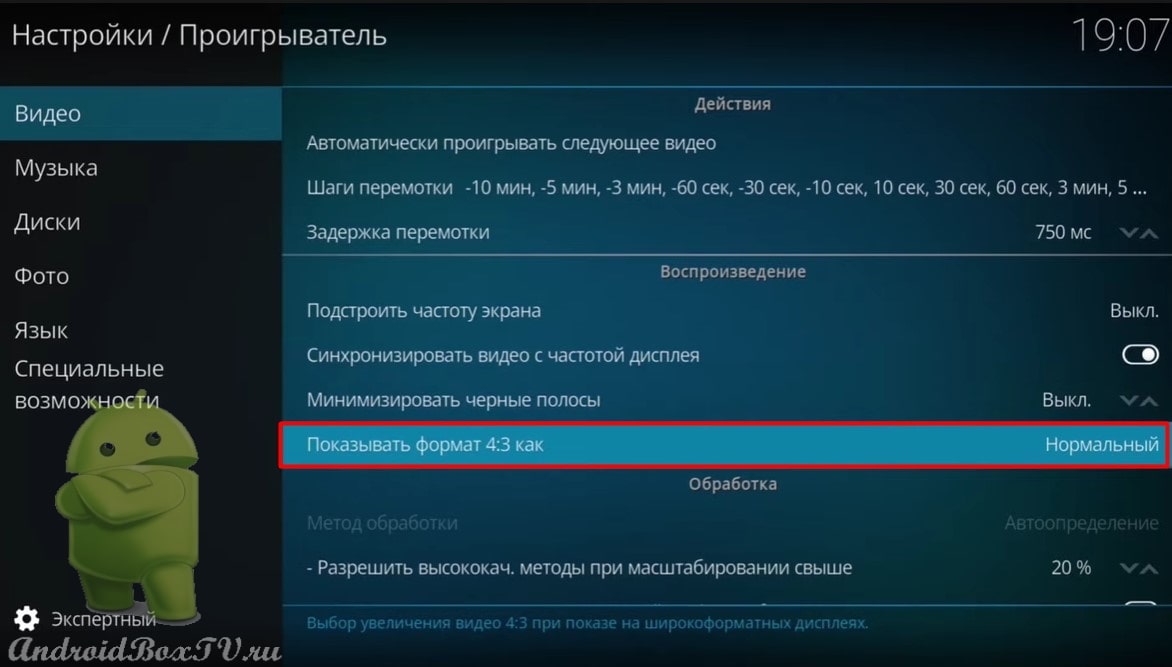
Next, choose the format16:9”:
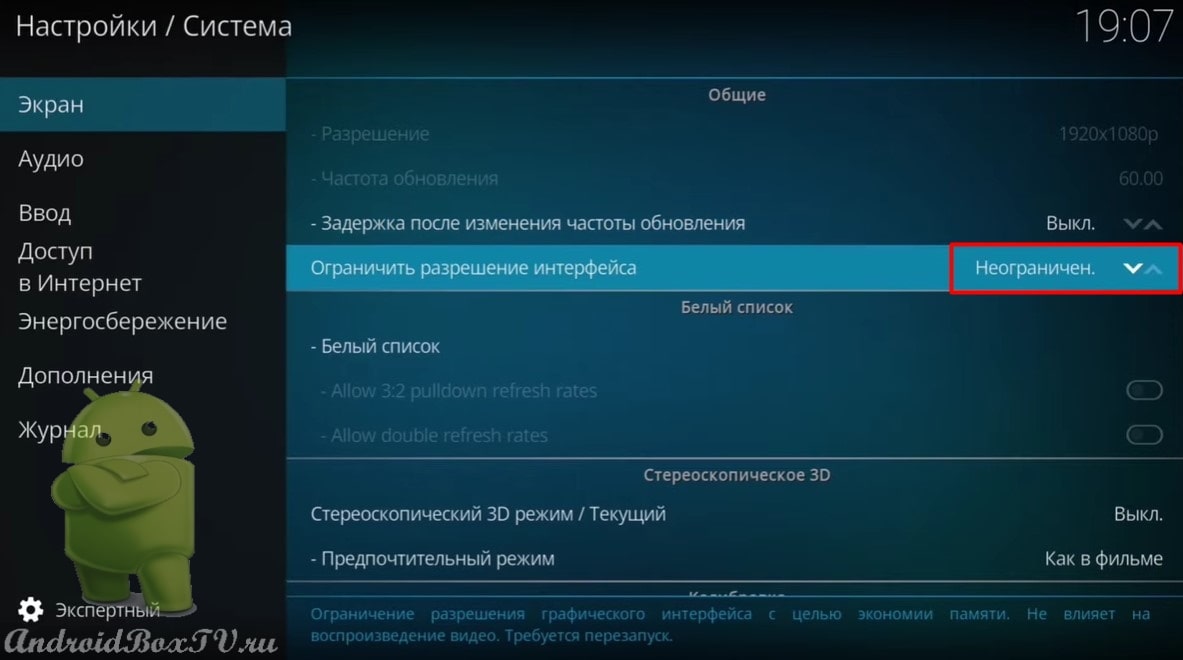
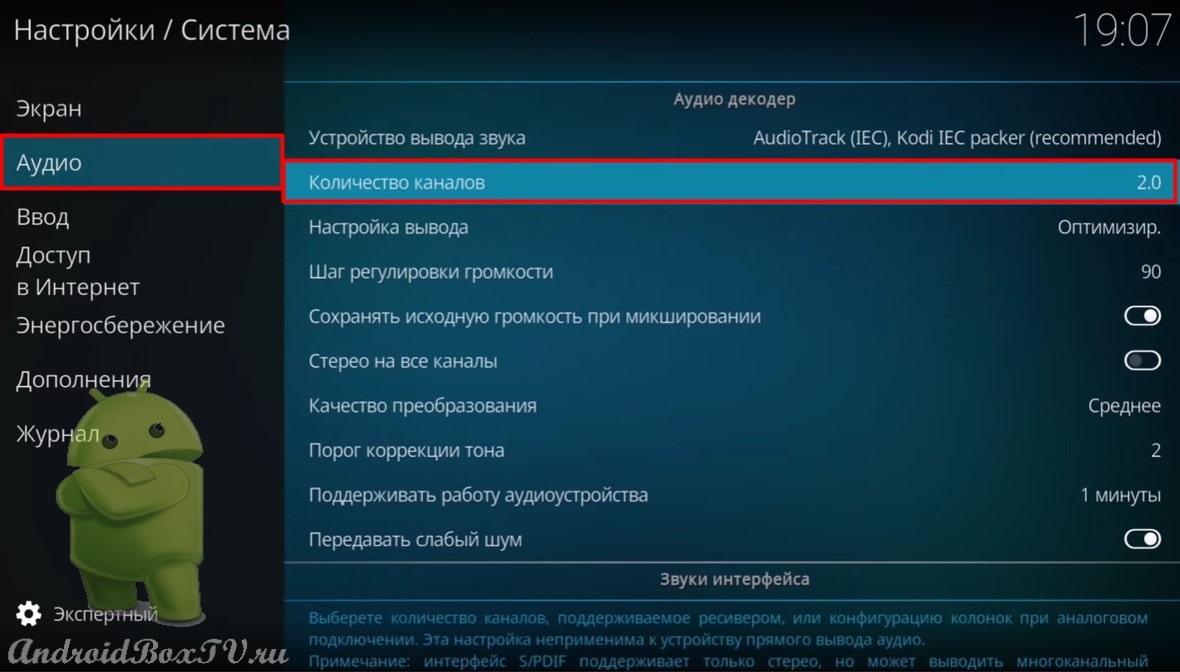
This section contains all settings. Go to the "System" section:
Select "Screen". If the TV 4k, put “Unlimited”, if you don’t understand what kind of TV you have - start small, gradually increase:
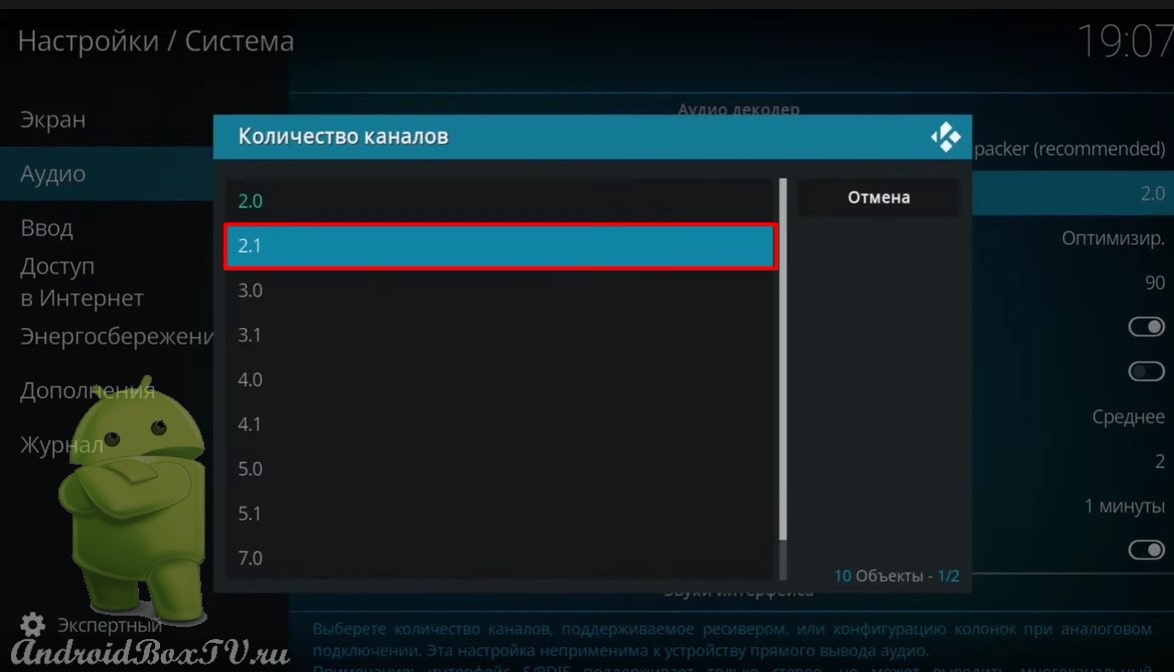
Select "Audio" and put "2.1”- the number of channels, if you have a lot of speakers, then you understand what to do:
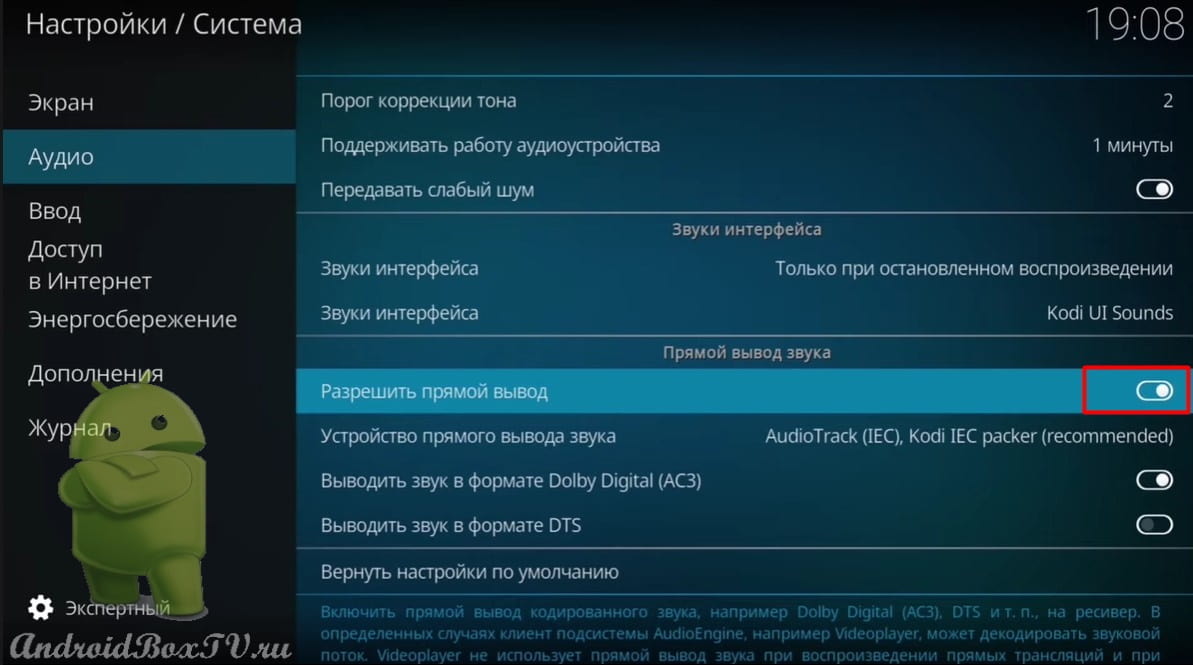
Also, if available, you can enable direct sound output for android TV (for those who use a home theater, receiver and acoustics, amplifier):
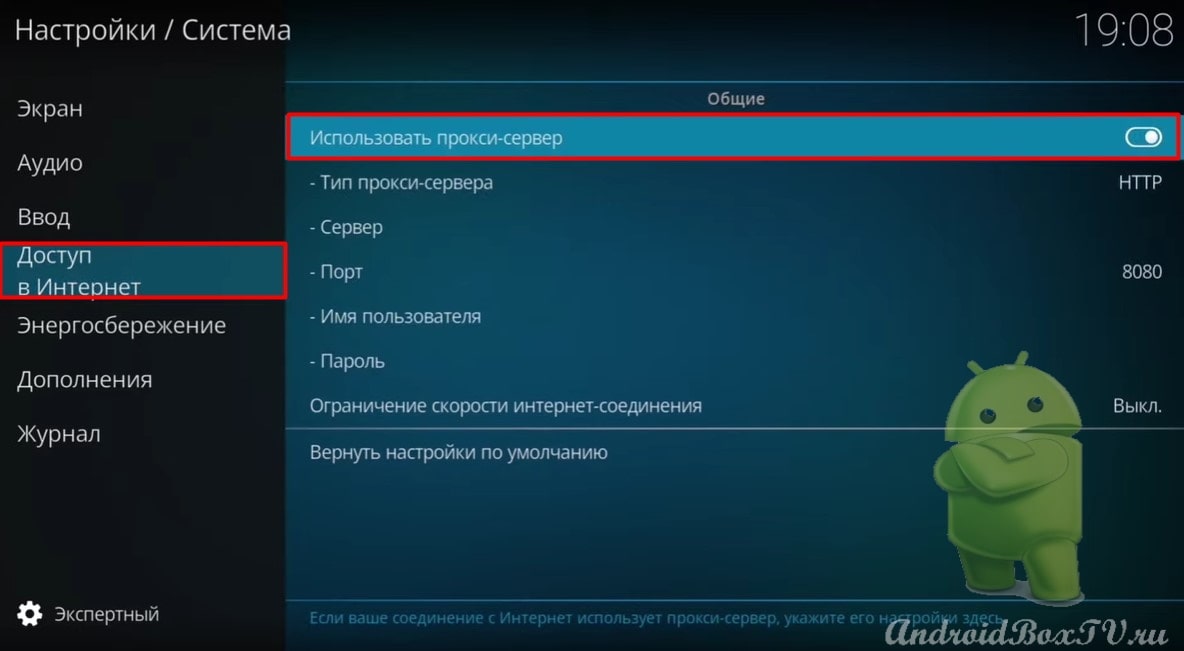
Section “Internet access”, for using a proxy server:
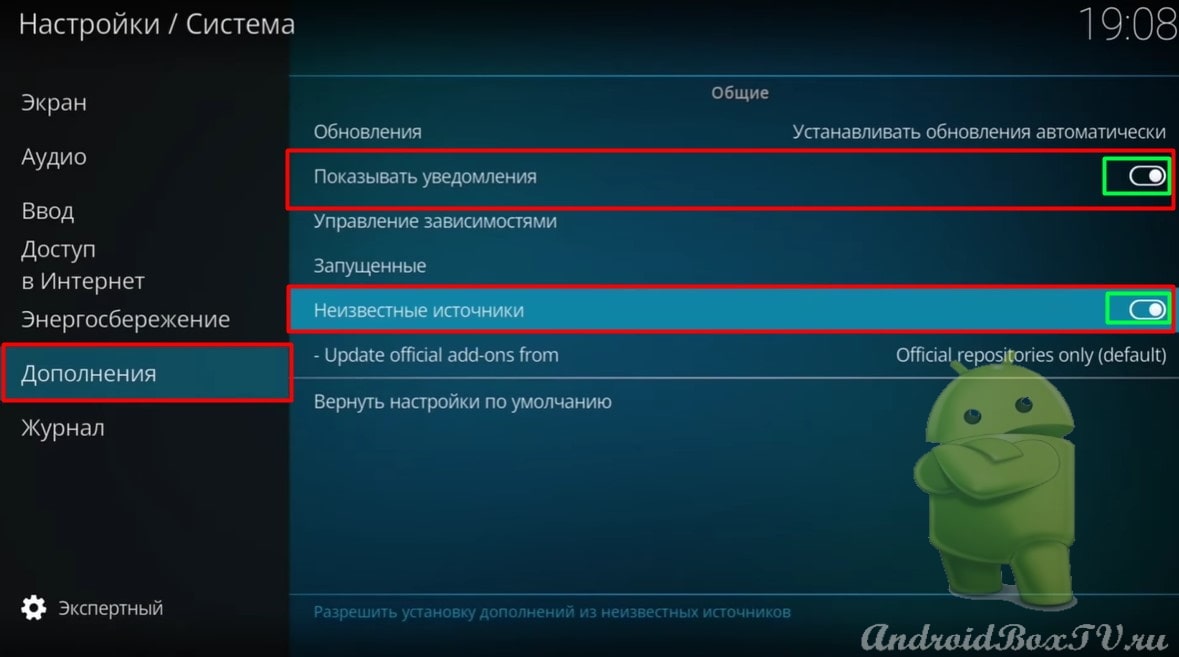
In the "Add-ons" section, enable "Show notifications" and allow installation from unknown sources:
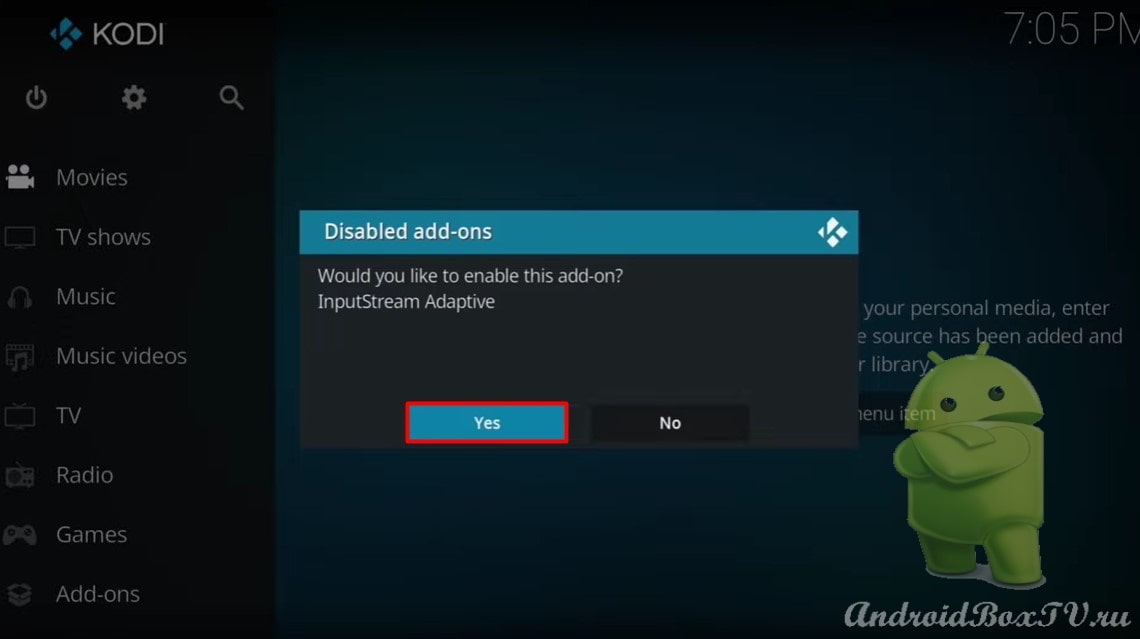
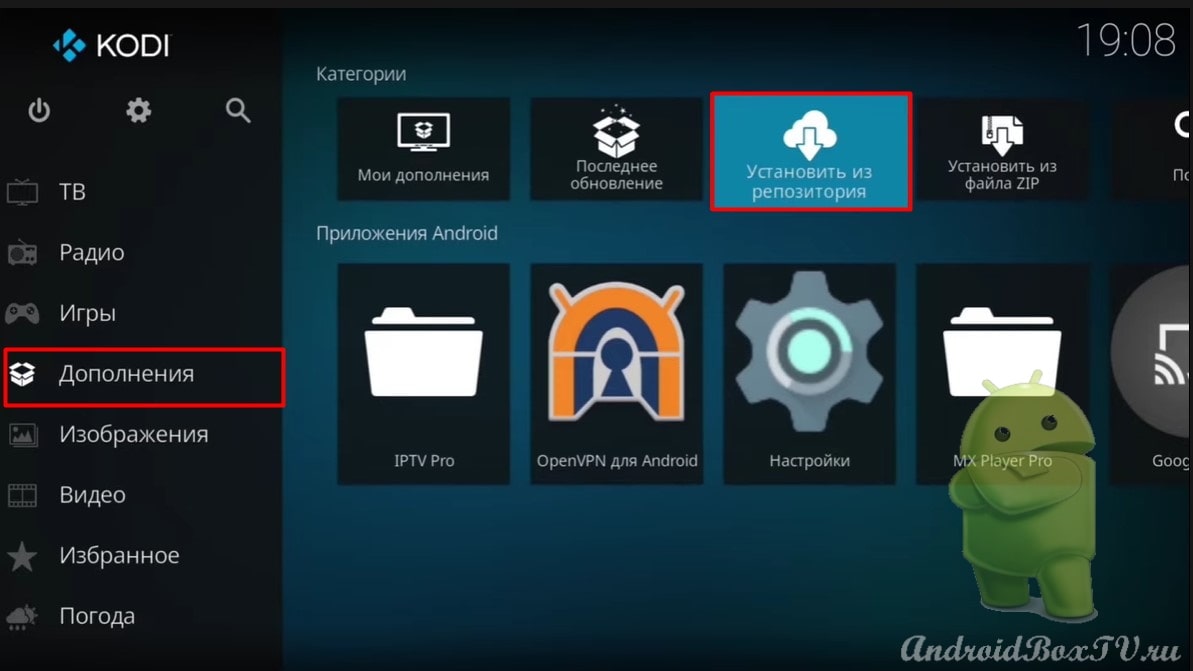
We return back. Select "Add-ons" and "Install from repository", as in the screenshot:
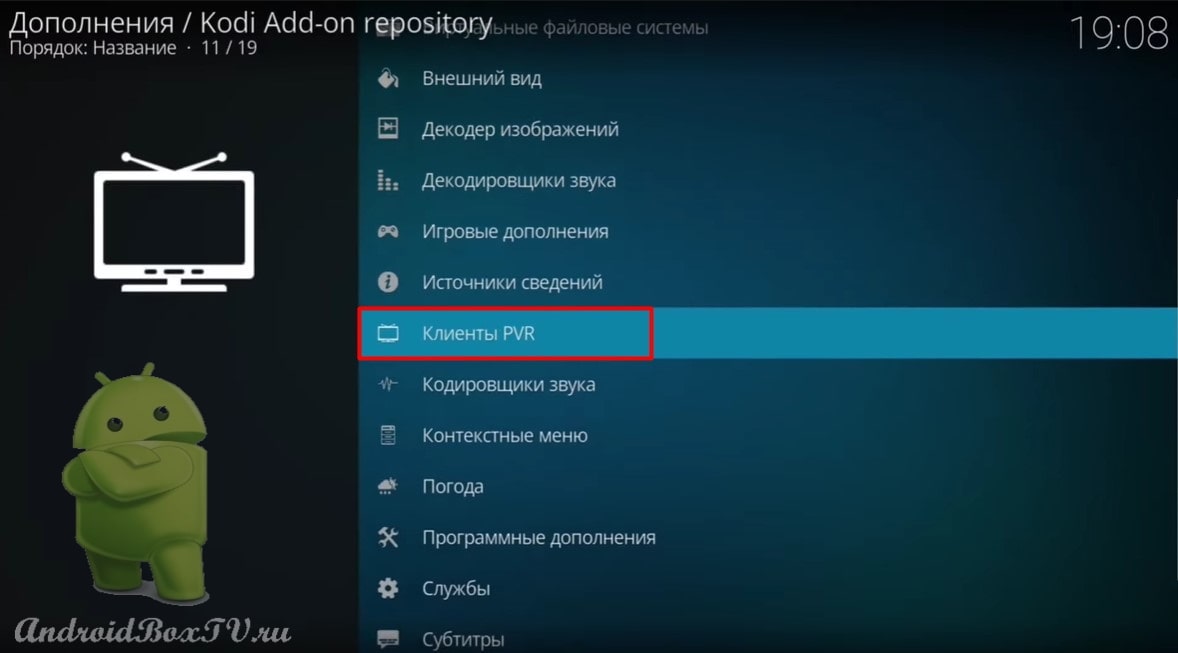
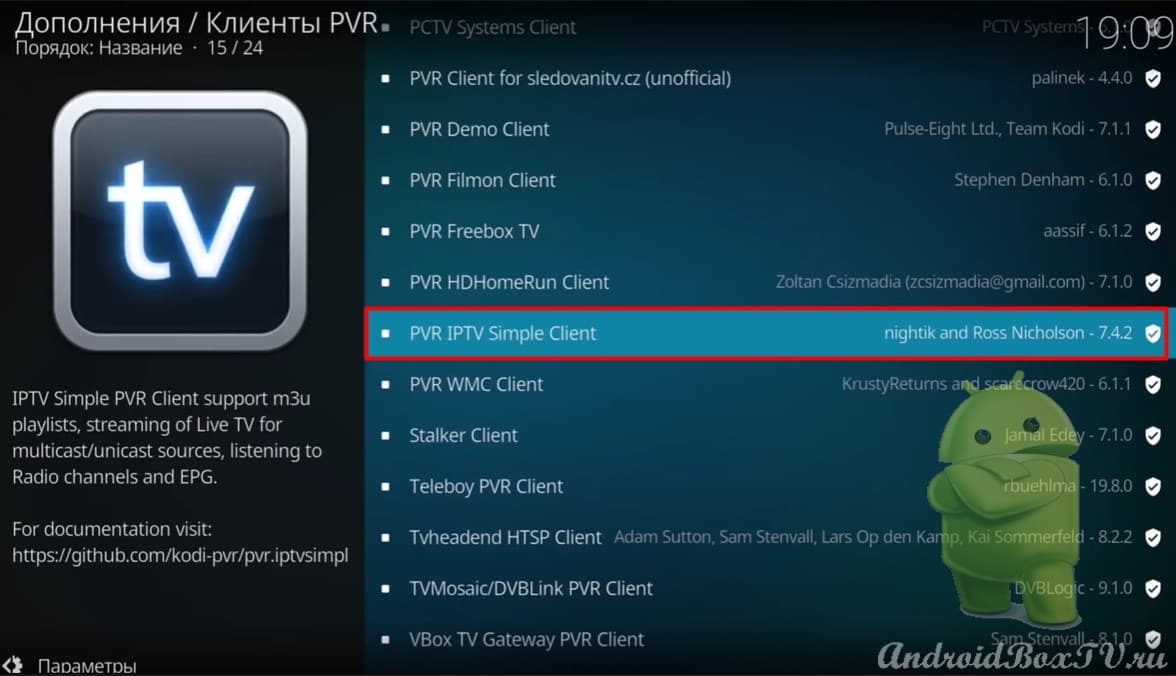
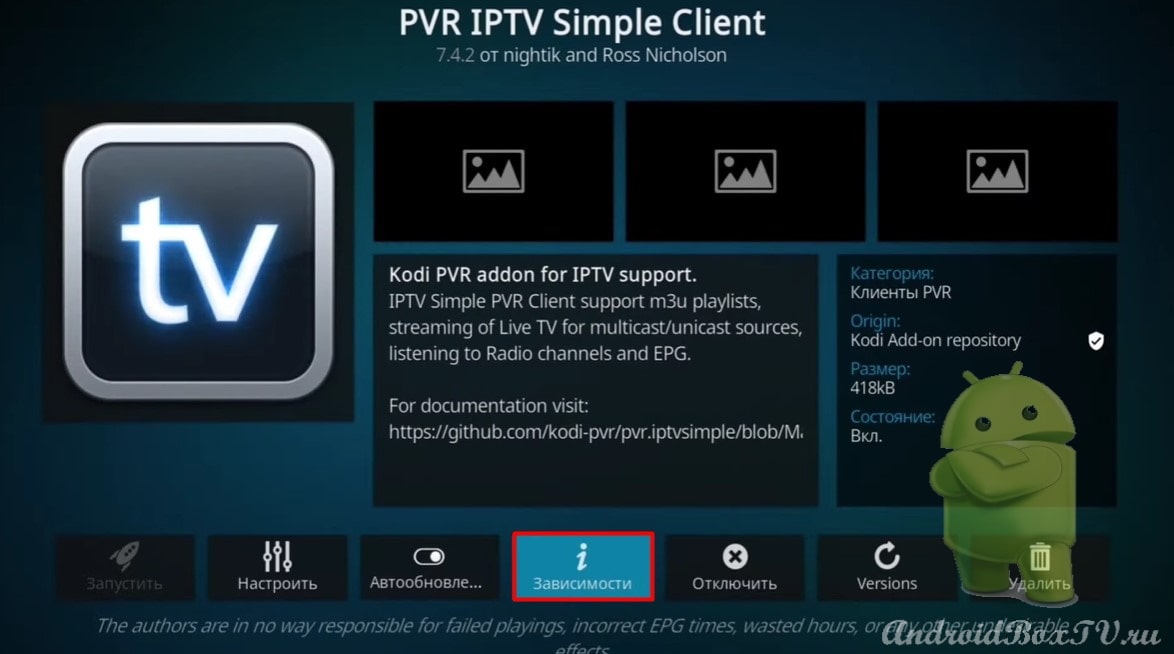
Choose “PVR Clients” And “PVR IPTV Simple Client”:
Unfortunately, add-ons are not automatically loaded. Let's try to add manually, suddenly you will be added - skip the next paragraph.
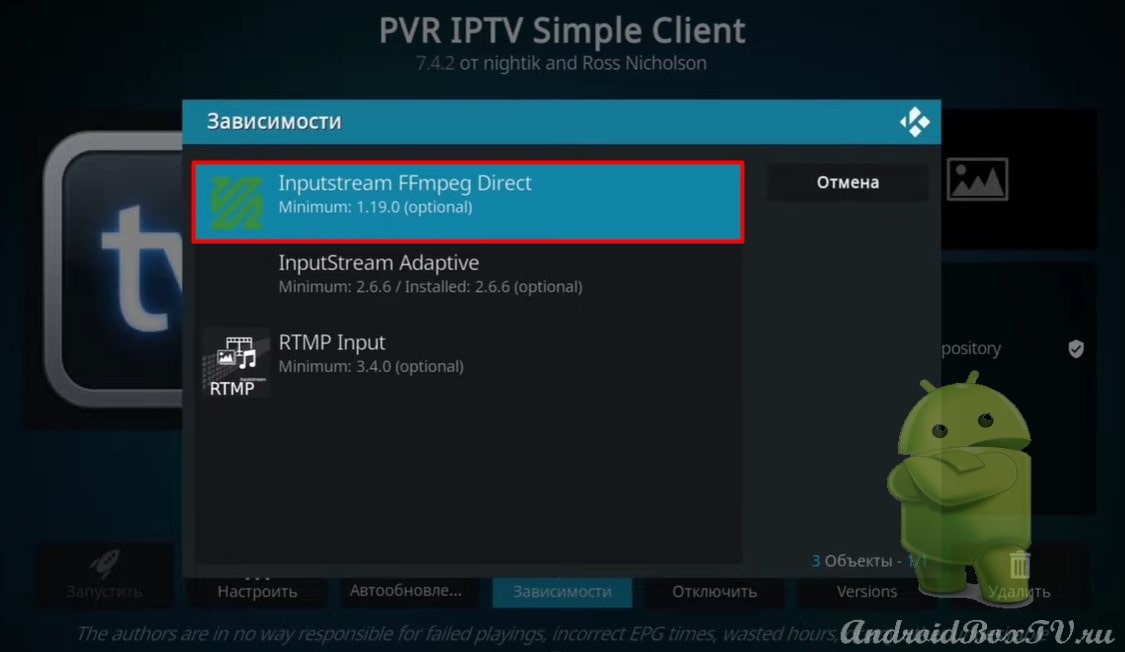
Go to “Dependencies” and select the first addition that is needed for “ Timeshift ”:
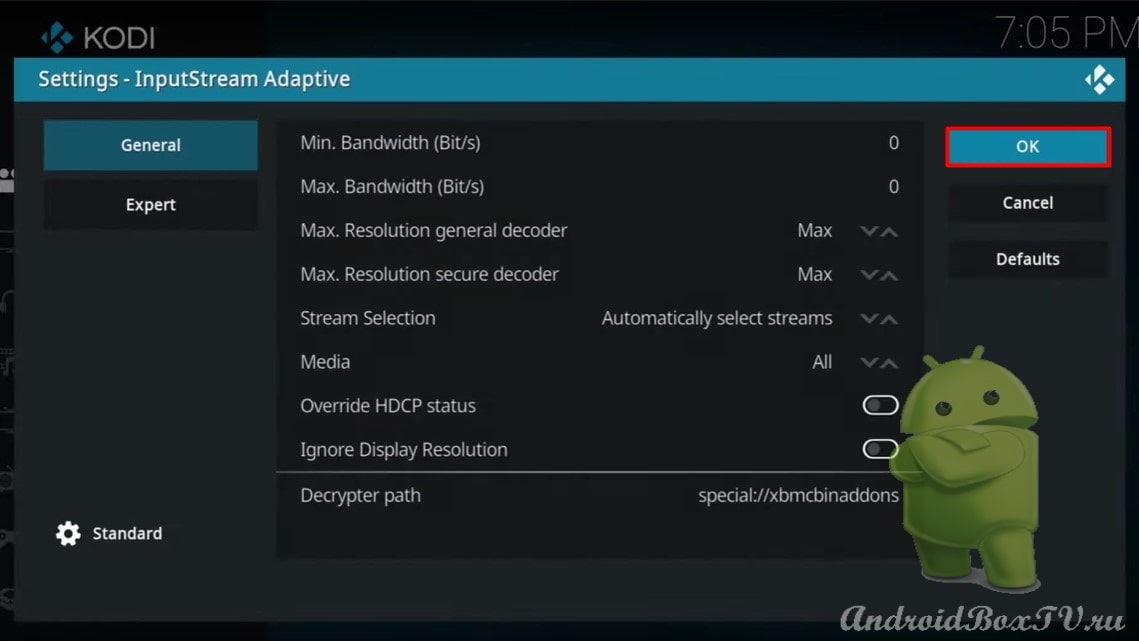
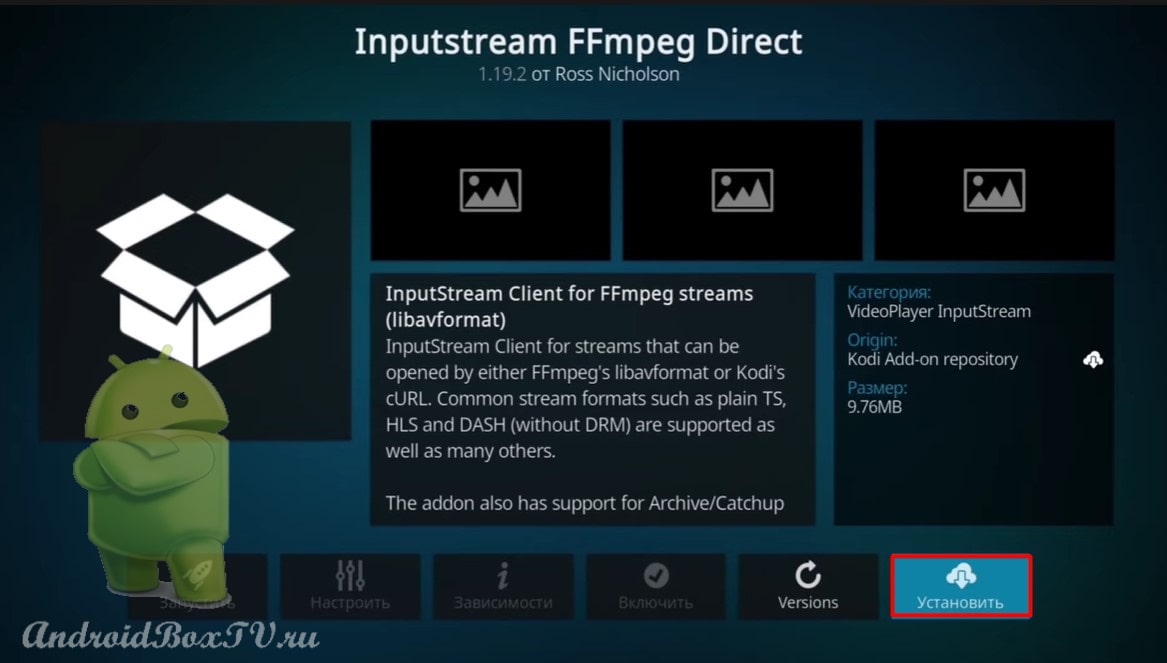
Press "Install”:
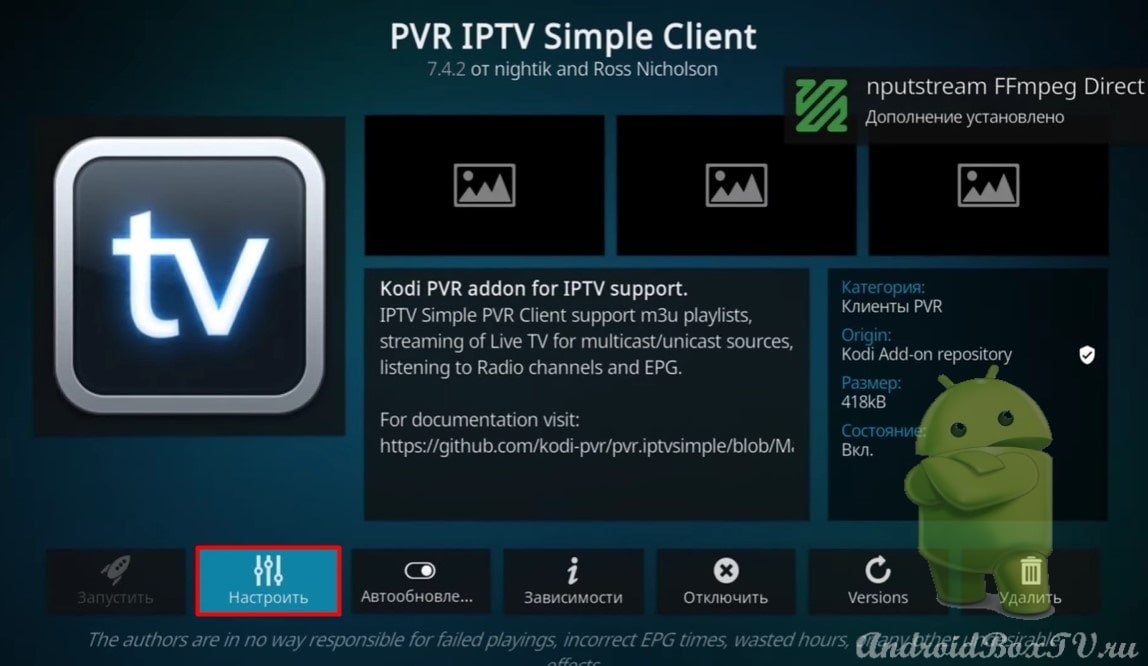
Add-on installed. We go back and go back to “ Settings”:
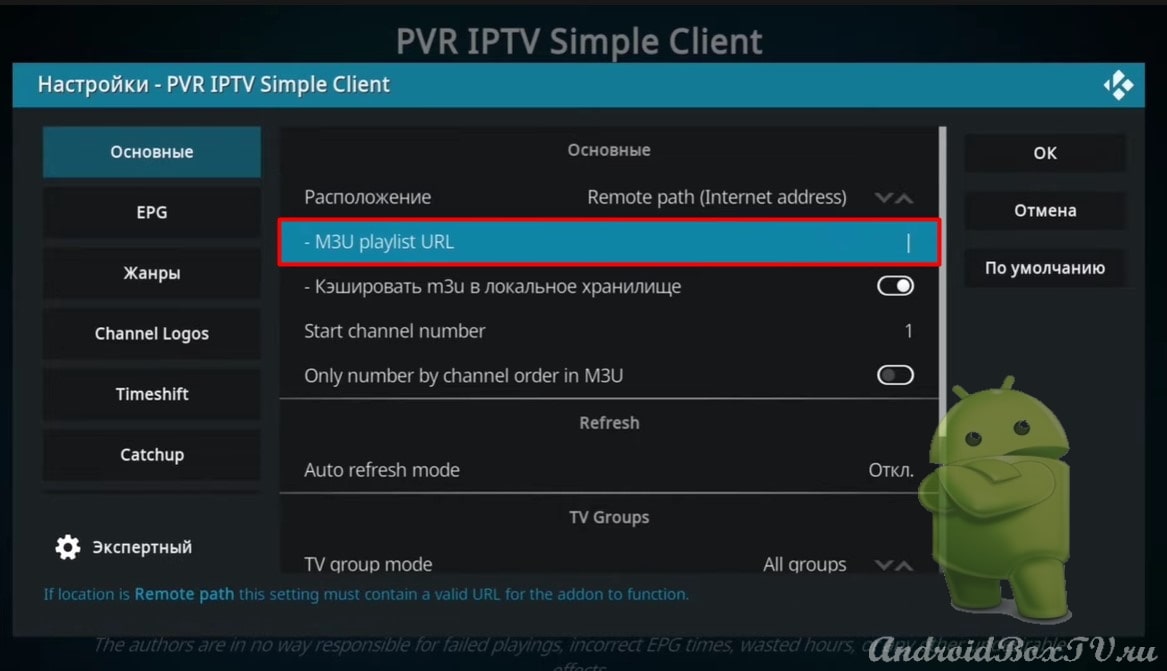
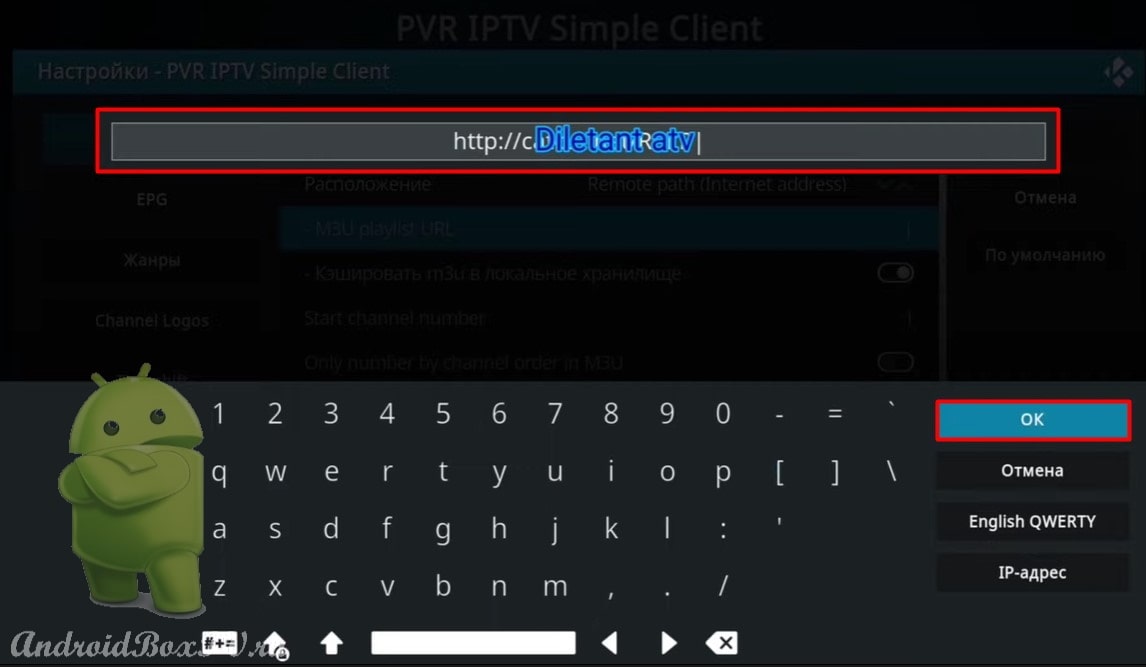
Select “Basic” and add the link that you took from your provider (if there is no link, skip):
Link for TV guide
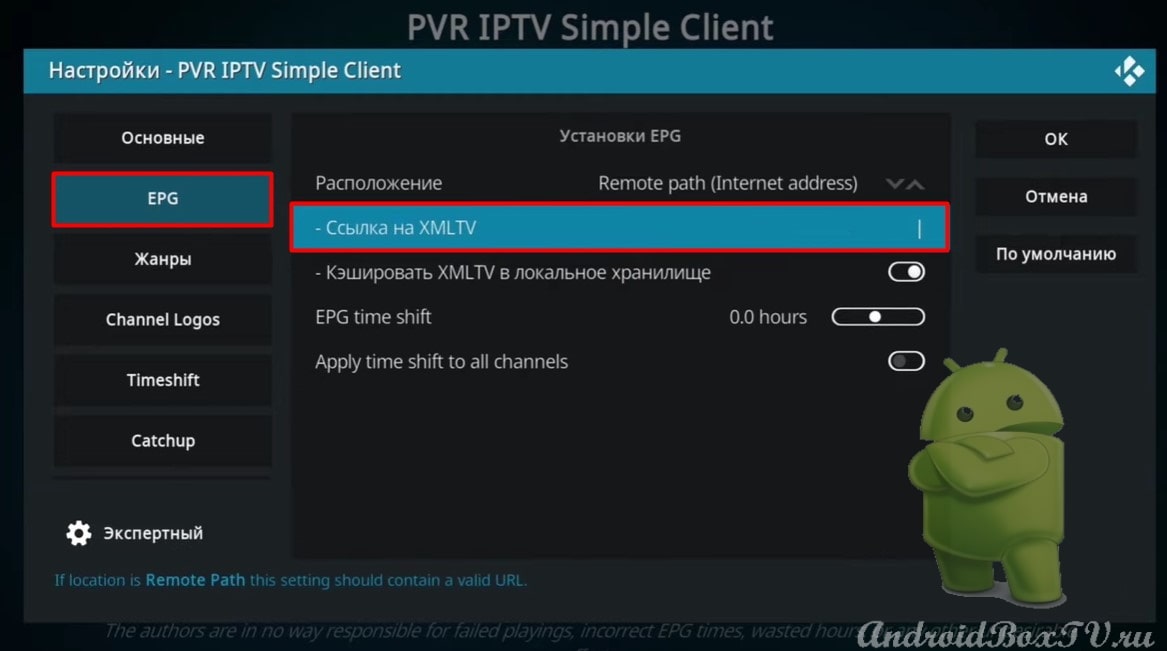
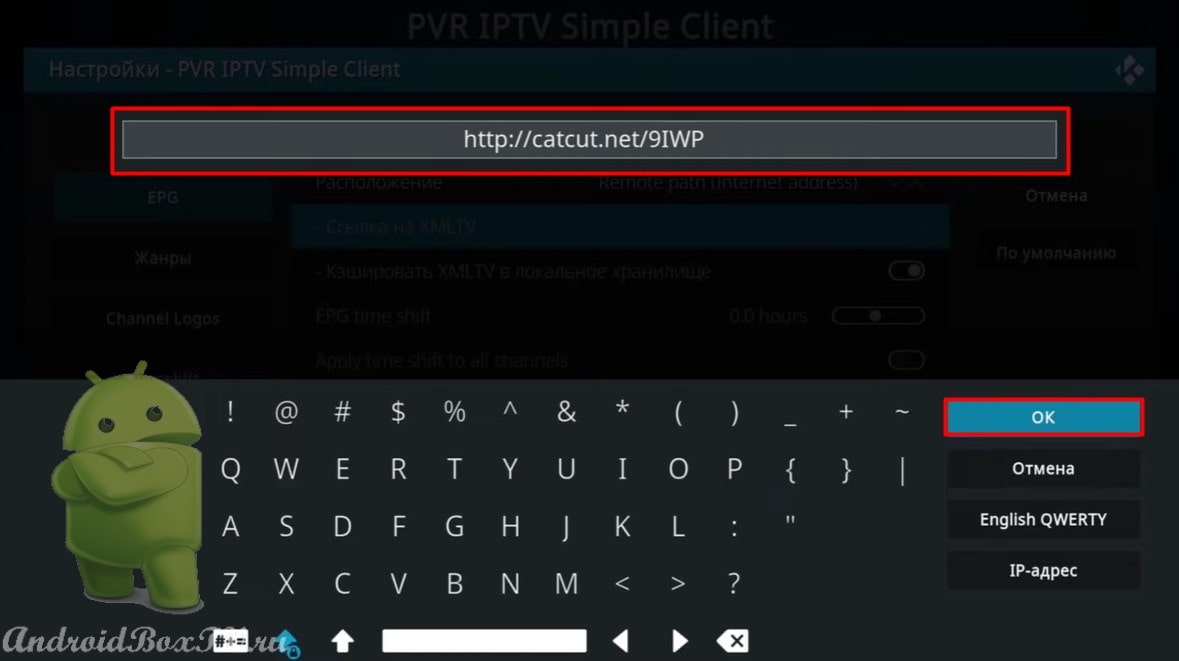
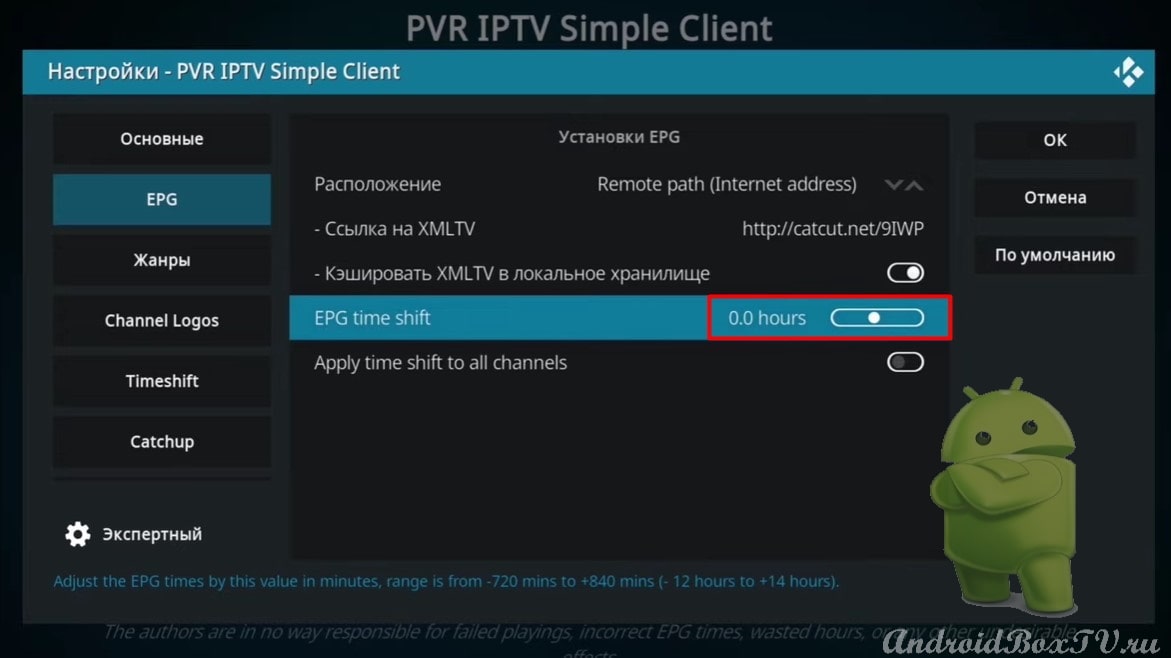
Next, you need to add a link to the TV guide - here :
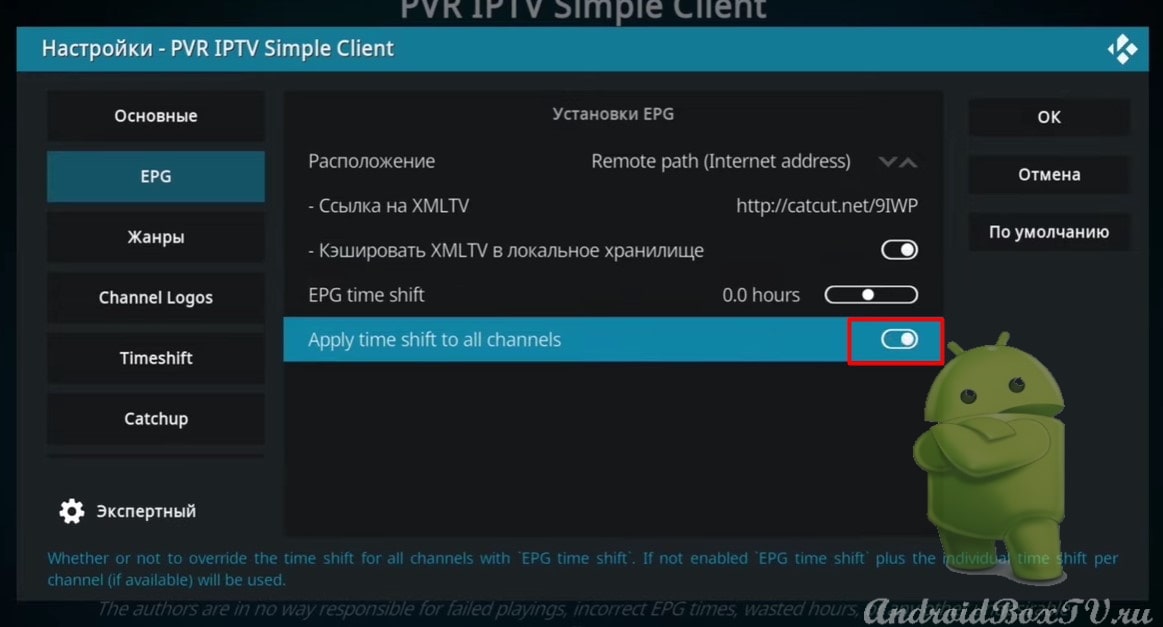
TV program shift in time. You can set your time zone and turn on “Apply to all channels”:
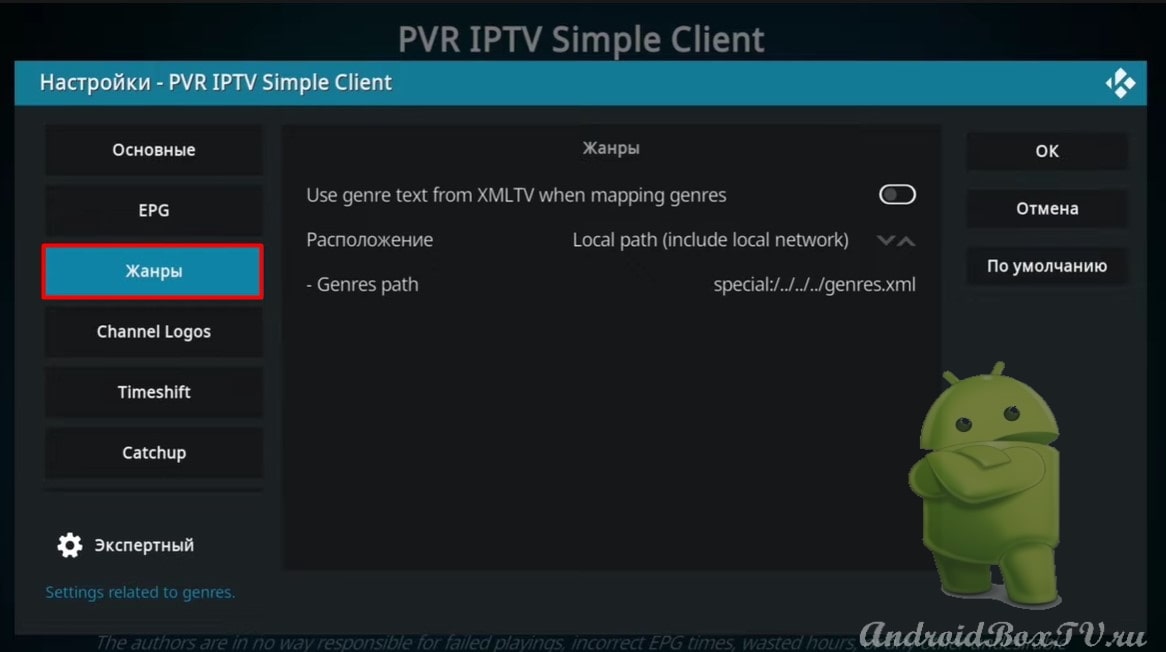
Section “Genres”:
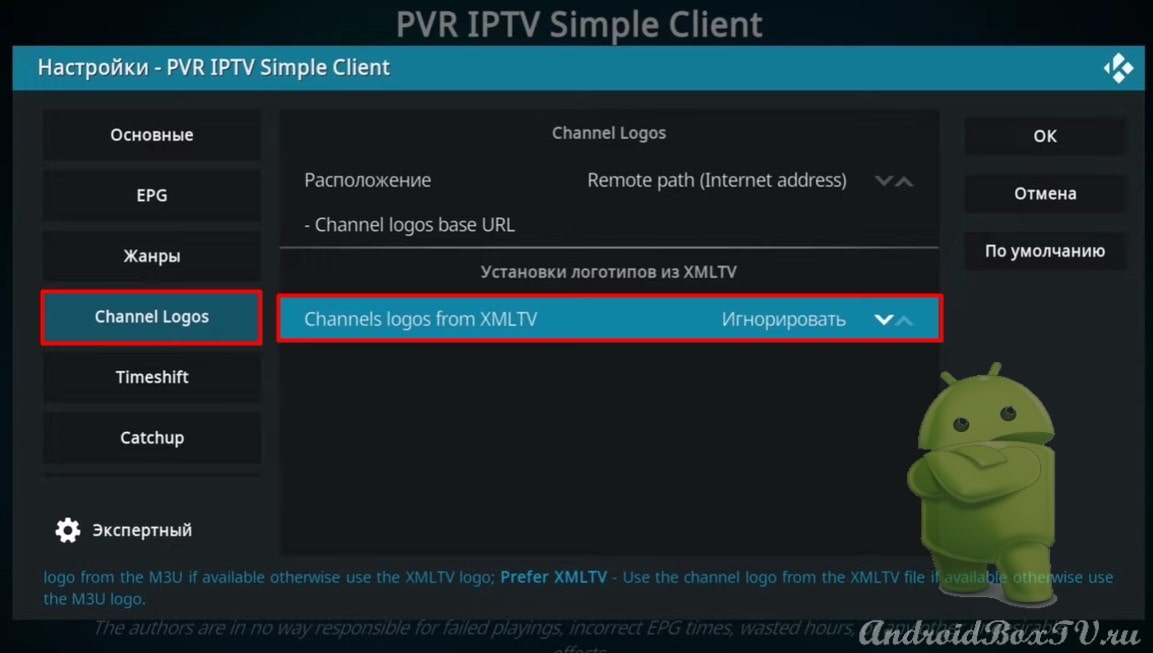
Next, “Channel Logos” (disabled):
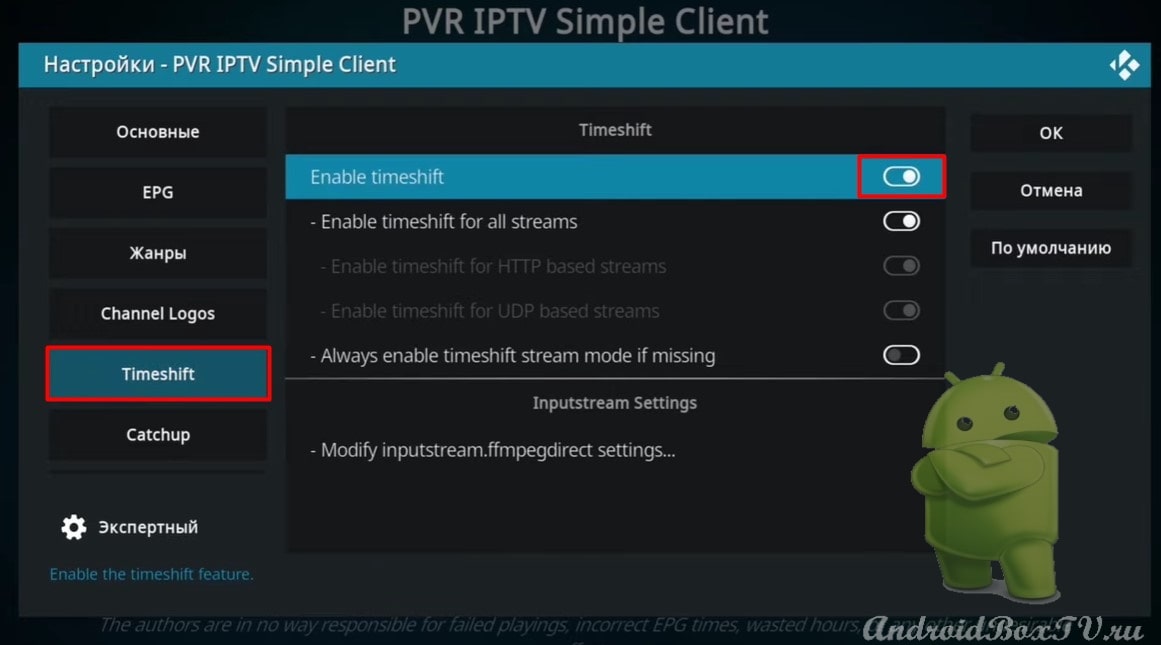
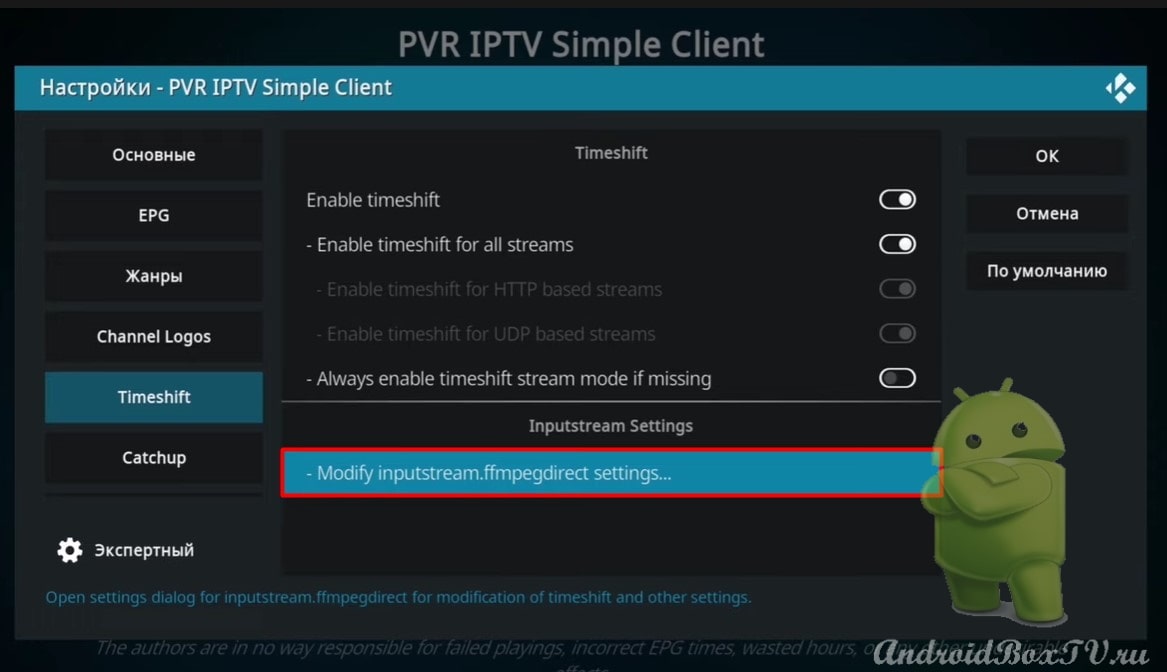
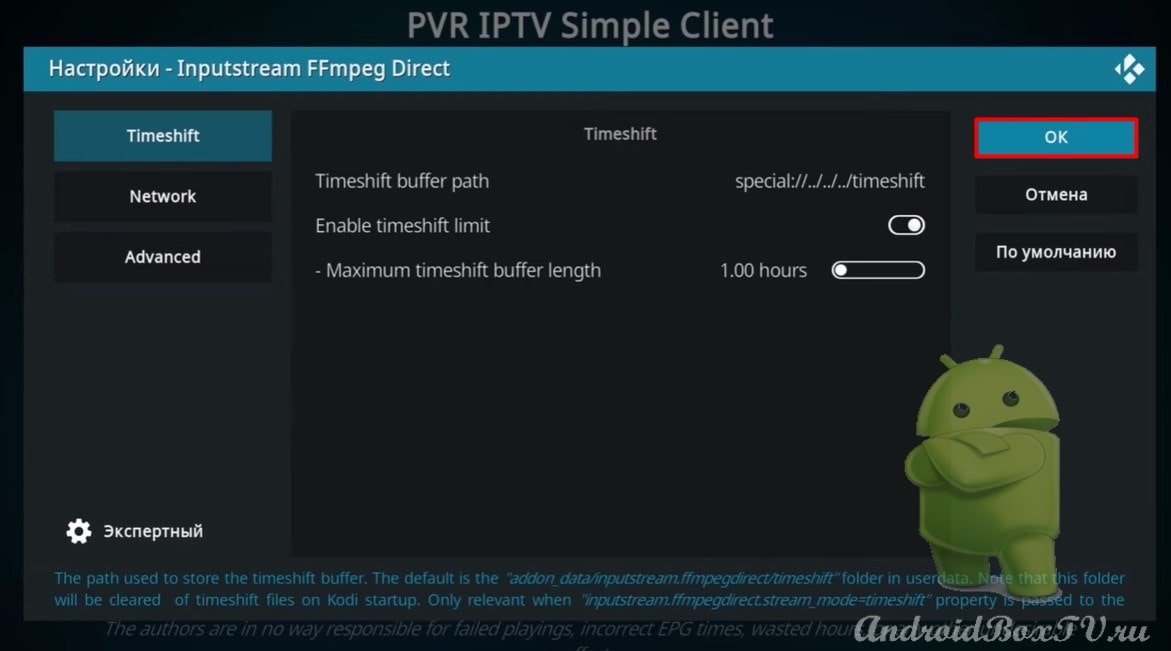
Turn on "Timeshift" , reduce TV set-top box freezes and go to “Settings”:
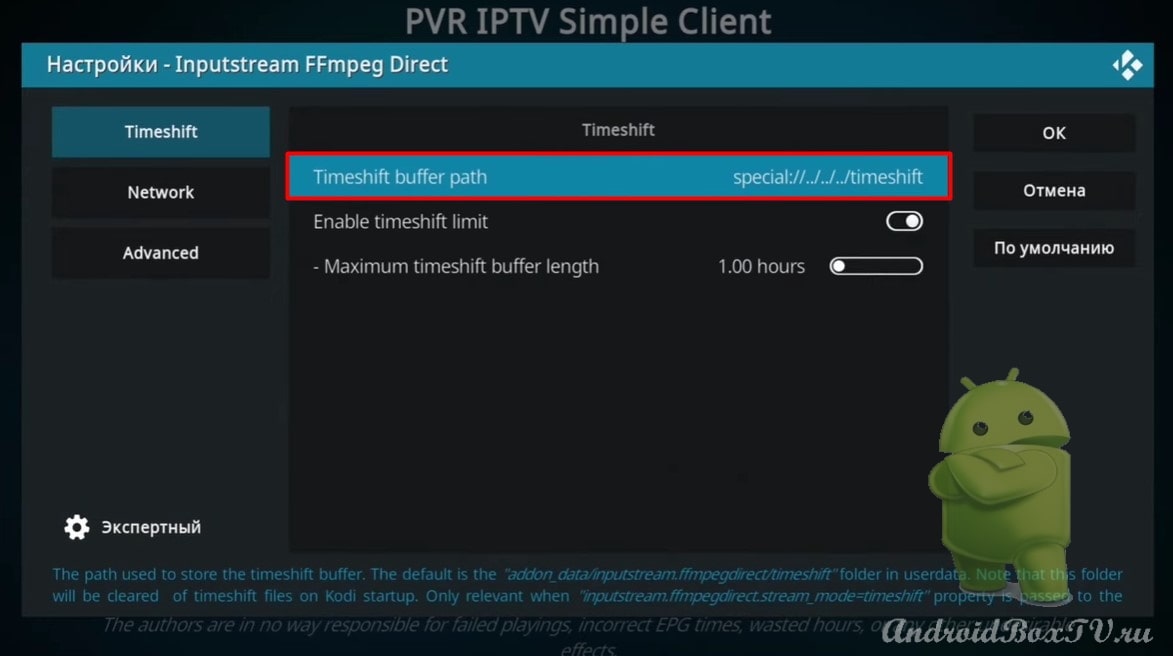
You can specify a folder here:
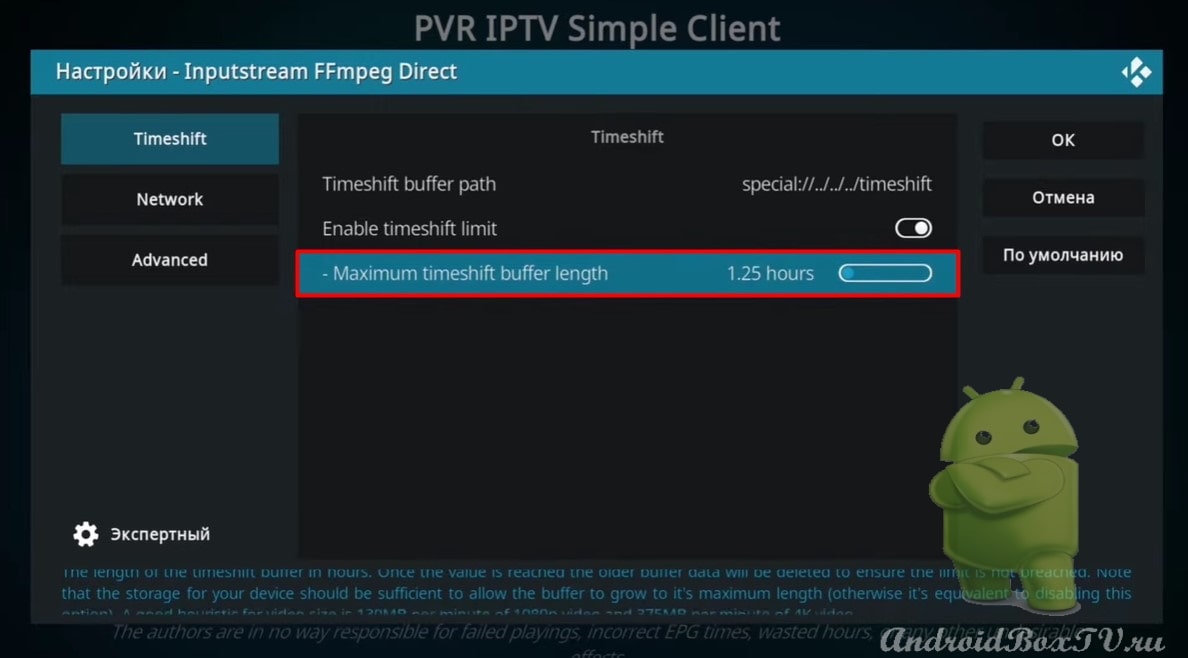
Also, you can increase the “Timeshift” buffer if the device memory allows:
We don’t change anything else and confirm “OK”:
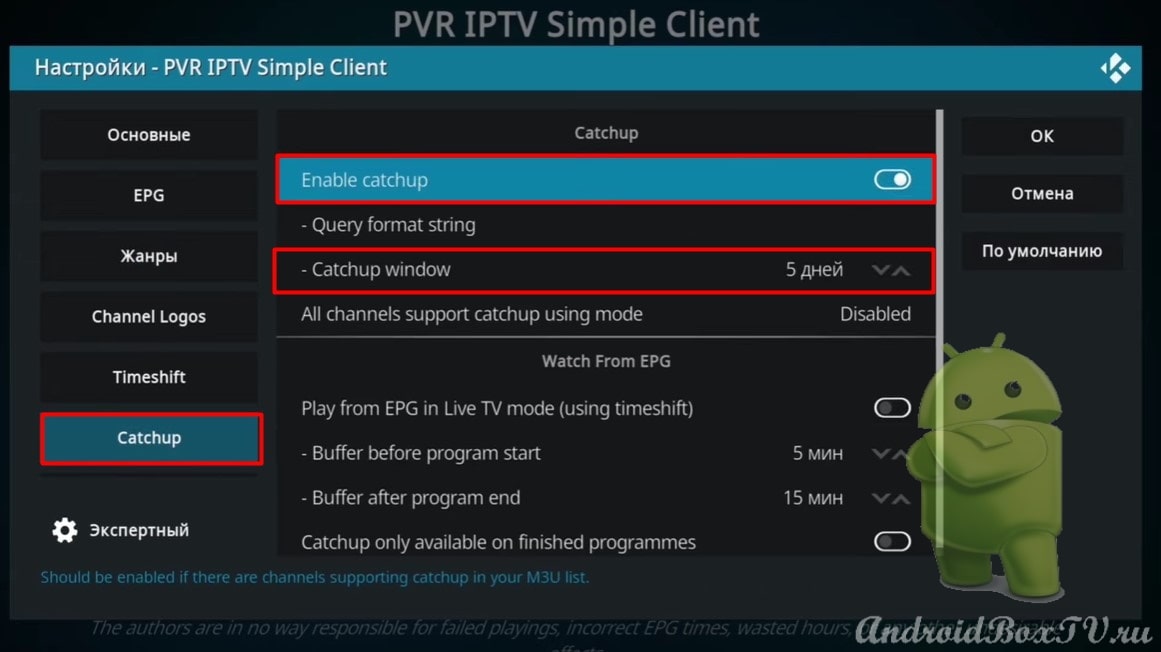
Catchup section. If the provider supports the archive, then enable “Enable catchup”. Also, you can specify the number of days:
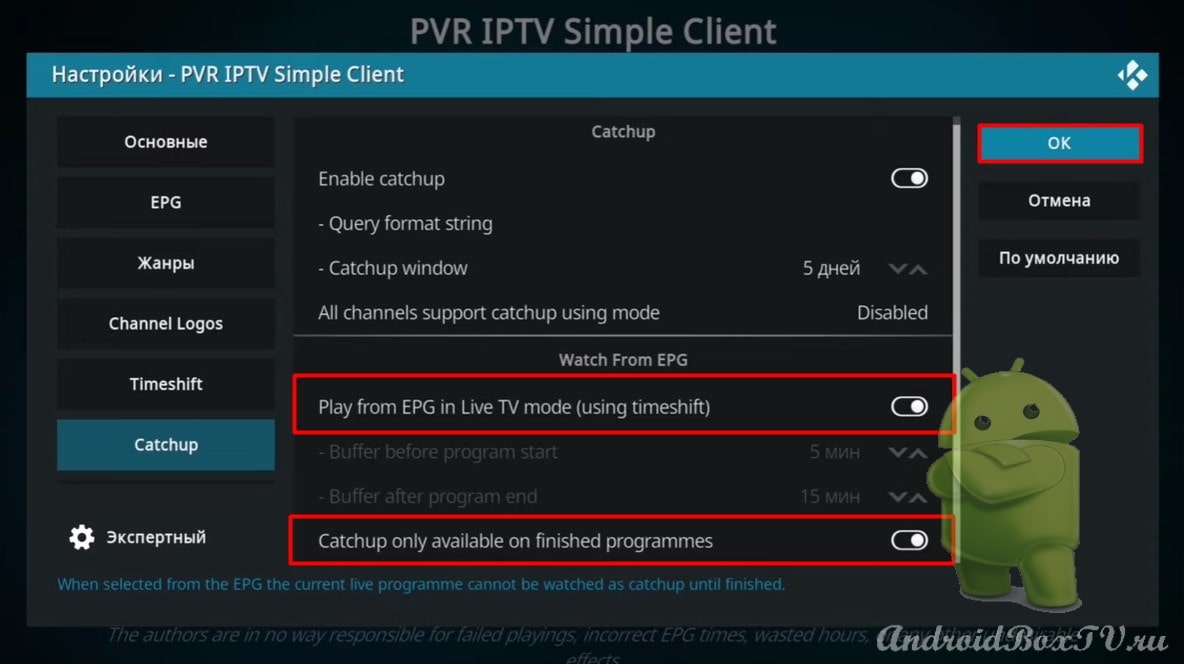
Turn on "Play from…" And "Catchup only….”:
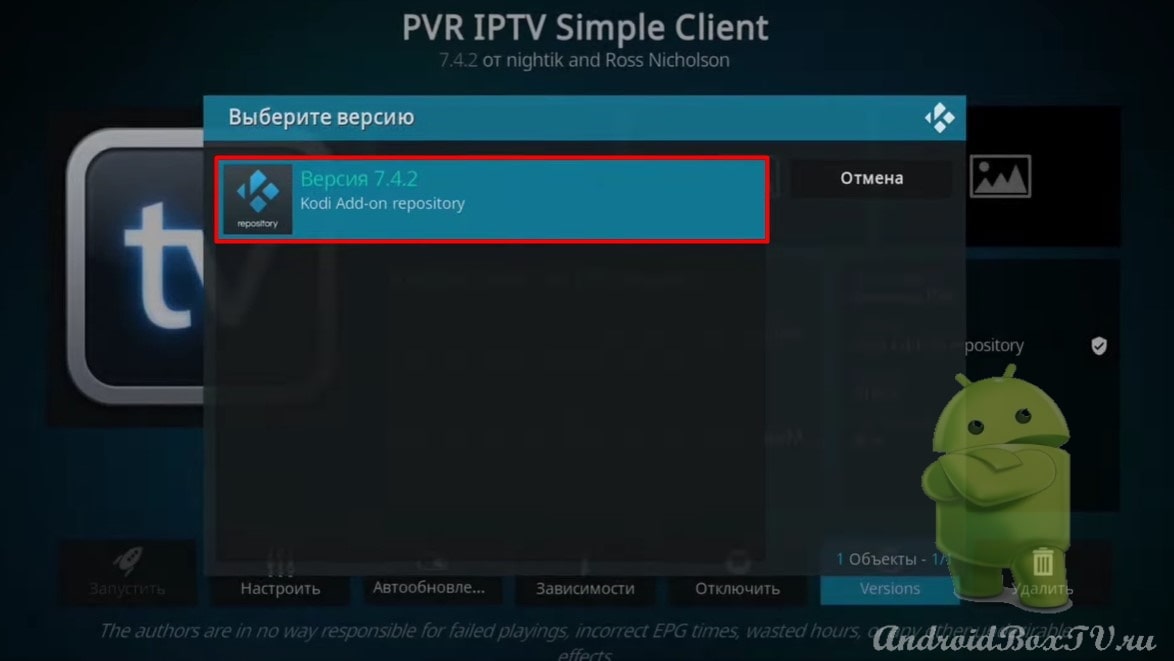
We update the version.
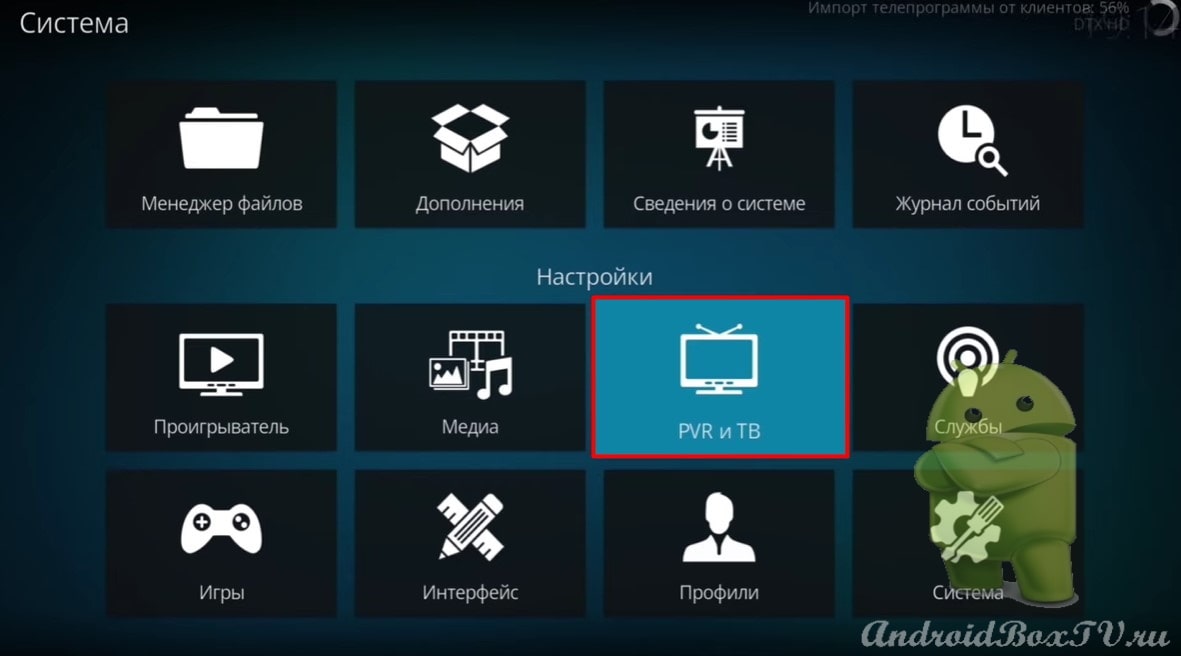
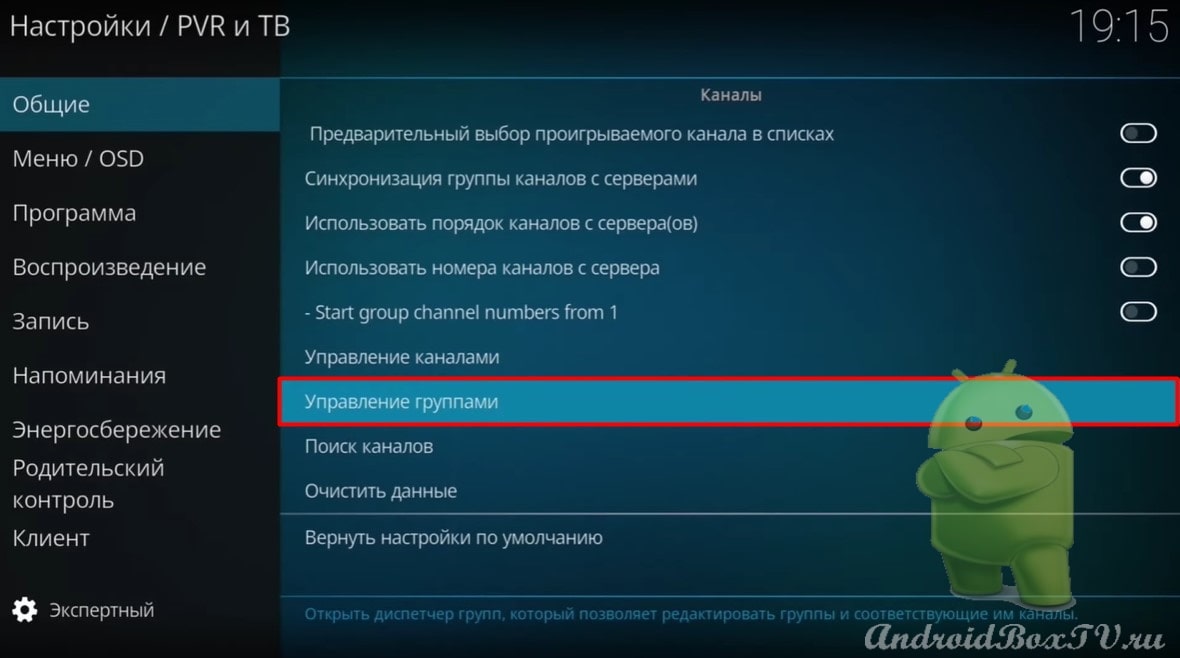
We return back. Go to “Settings” and select “PVR & TV”:
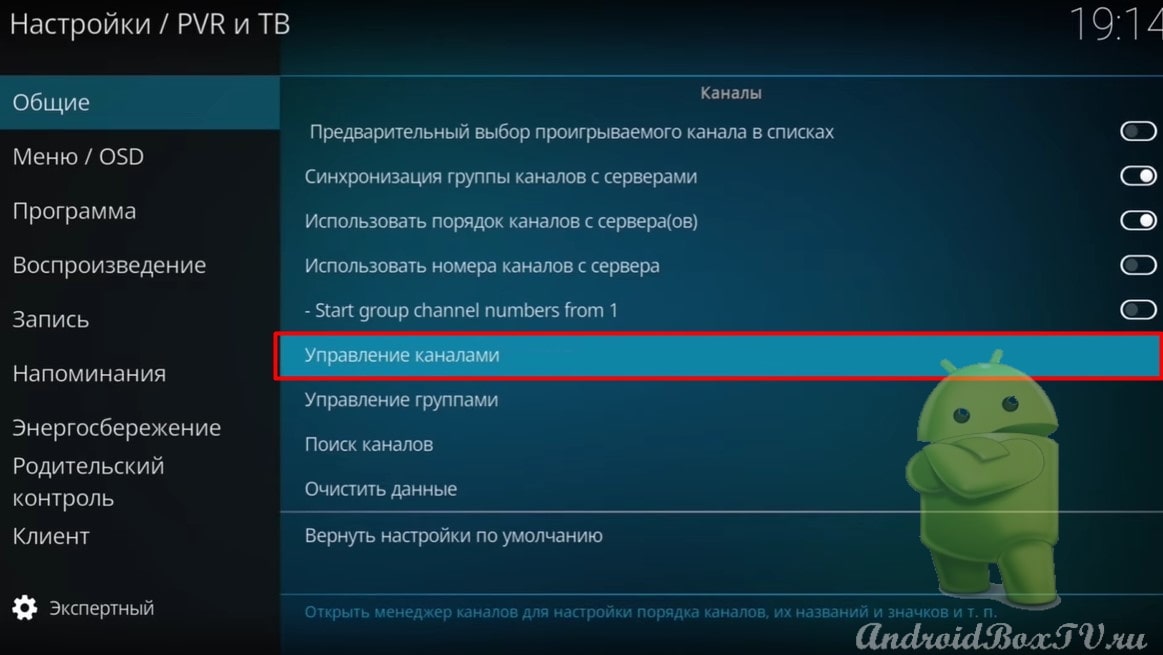
In the “General” section, select “Manage channels” android TV:
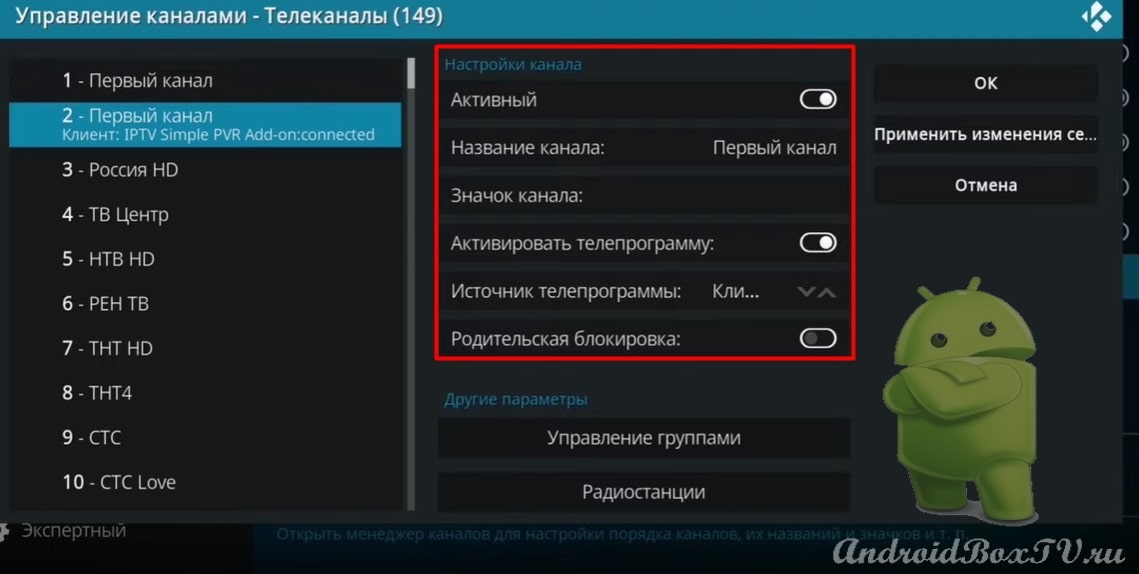
Here you can set up any channel:
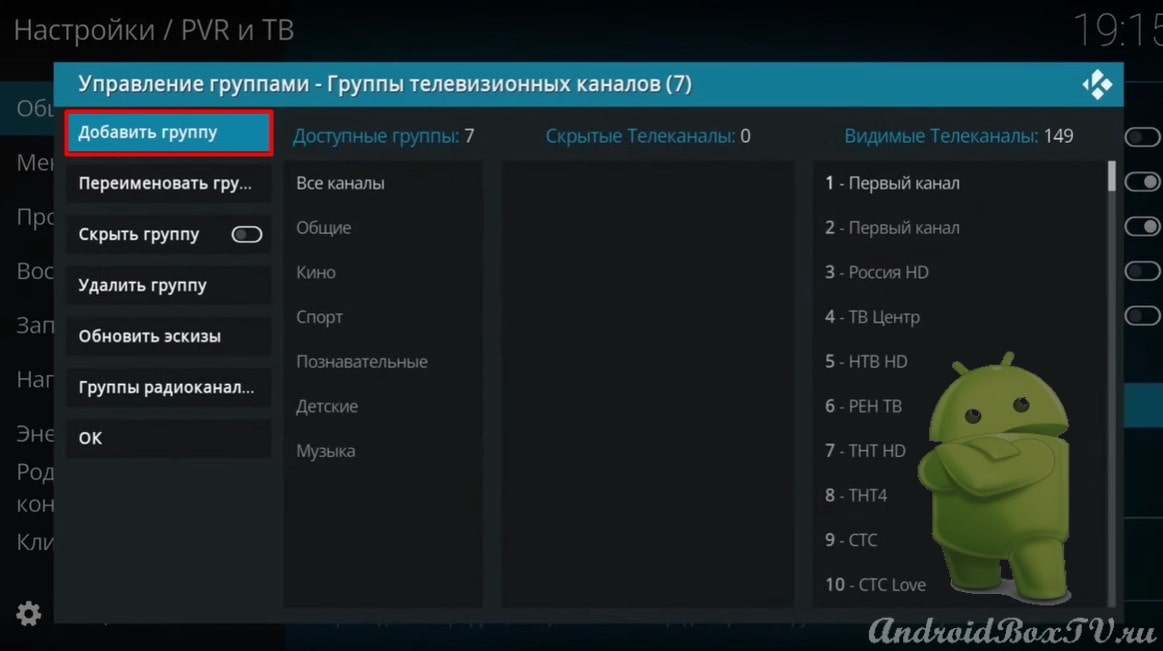
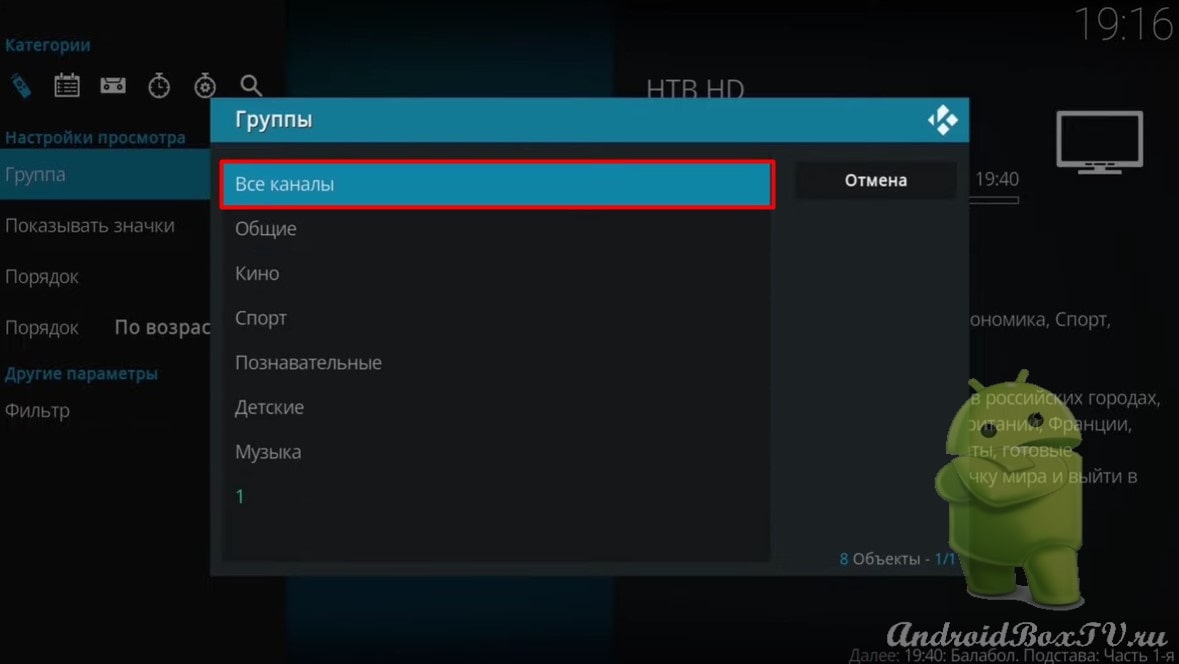
Group management section:
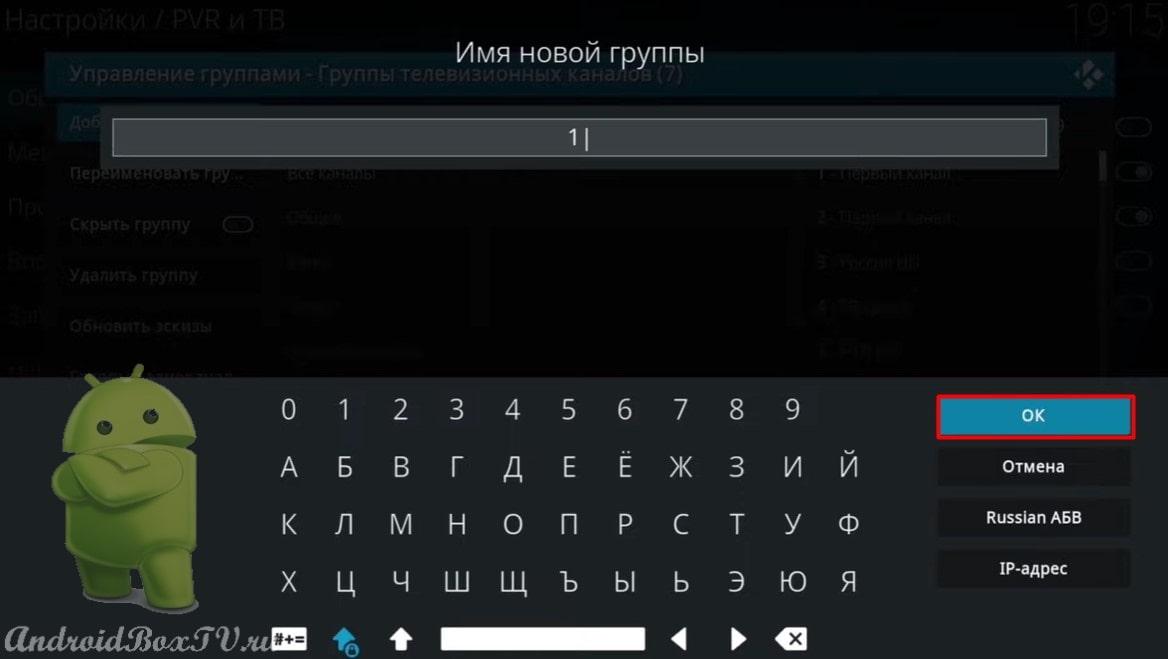
Here you can create your own group. Set a name and click "OK":
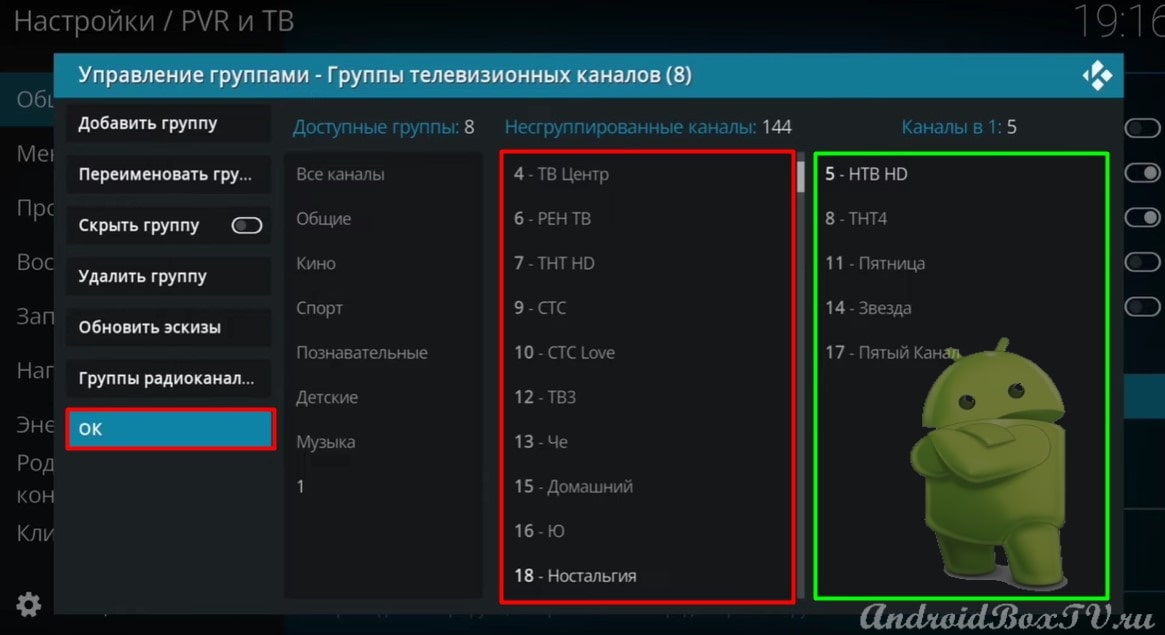
Select the channels that will be in the group and click "OK":
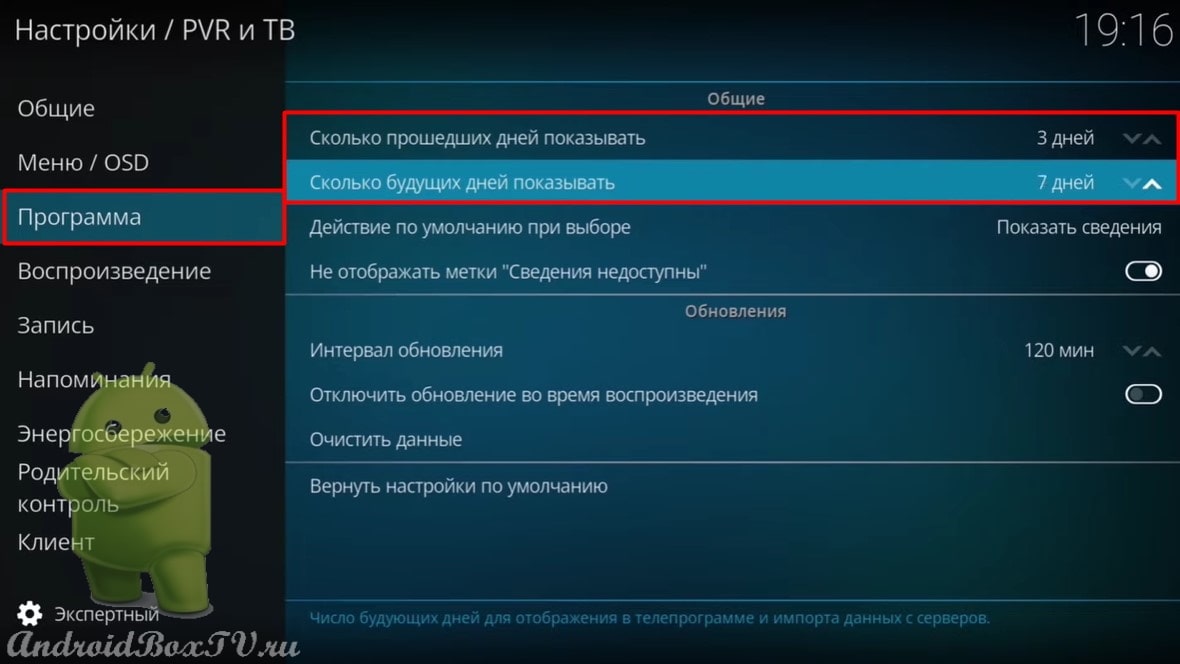
Go to the "Program" section. We put 3 past days and 7 future days:
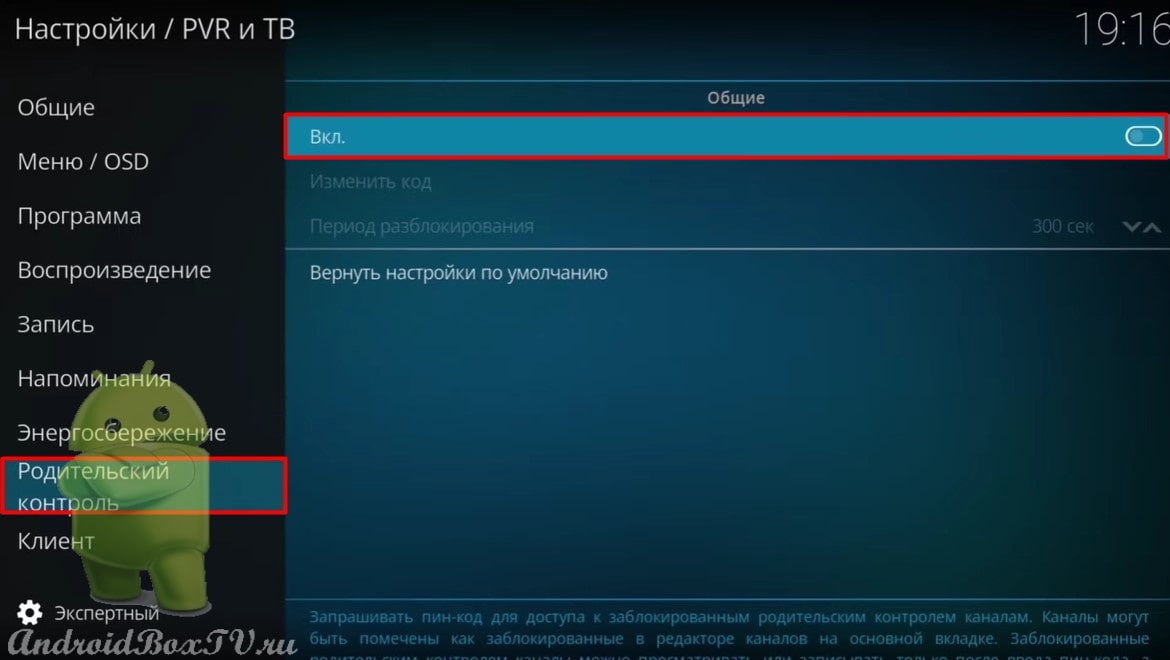
Then you can activate "Parental Control". Come up with a PIN code (write it down on a piece of paper):
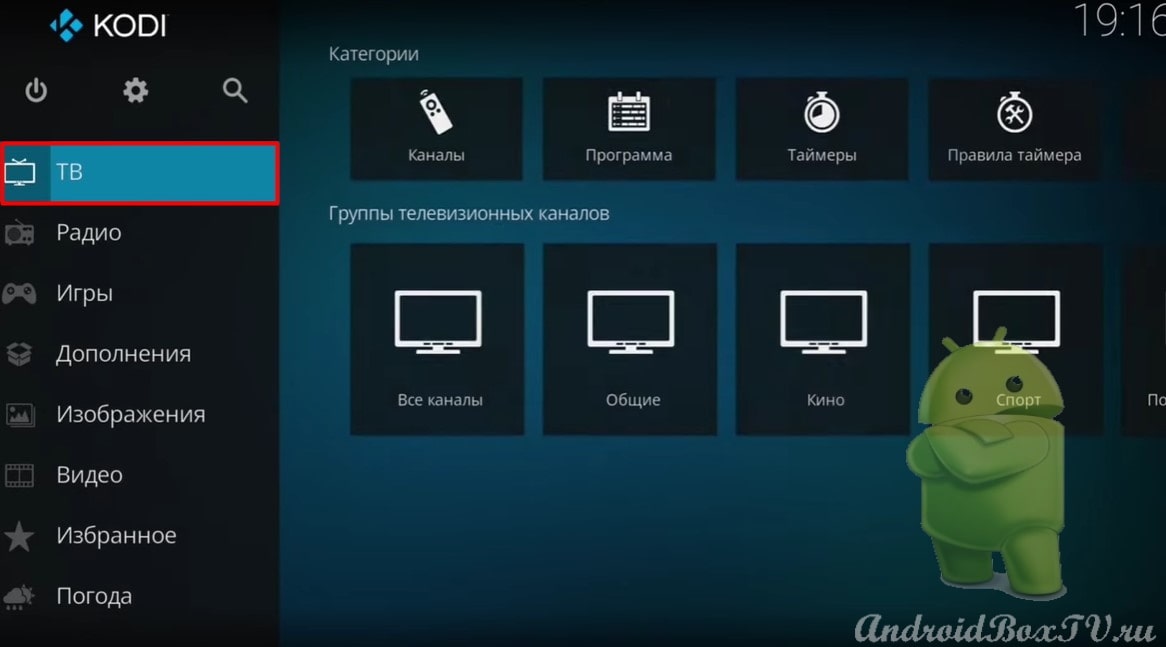
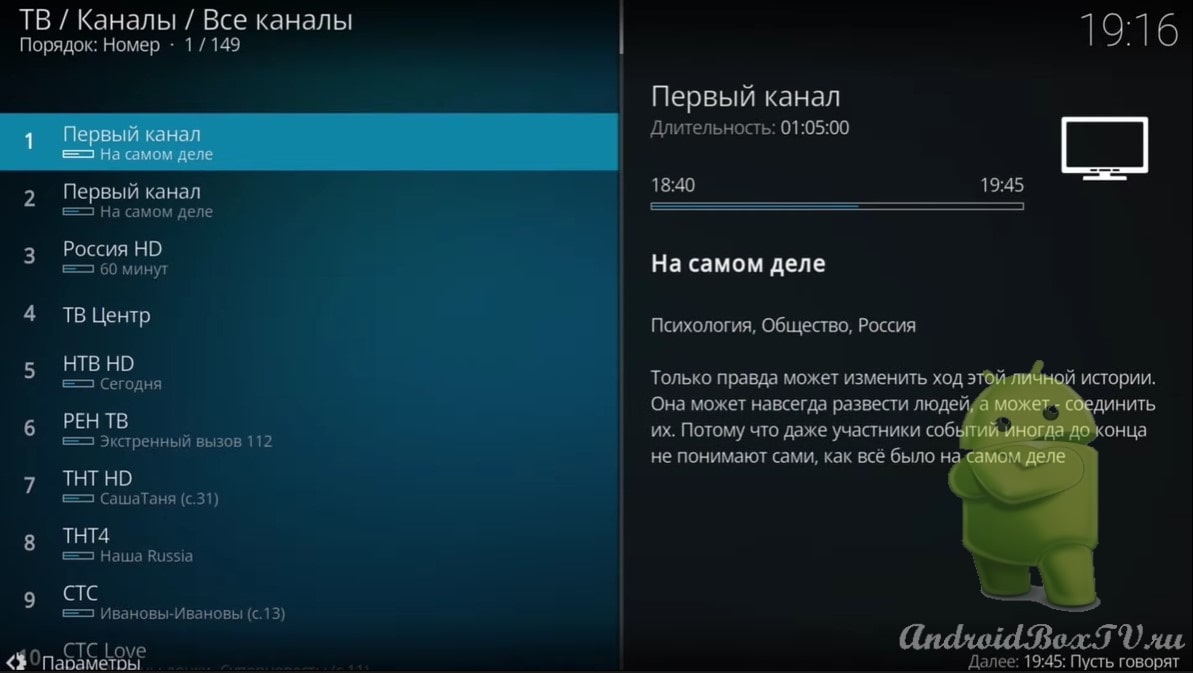
We return back. Open TV:
We see the group that we created:
Switch to all channels:
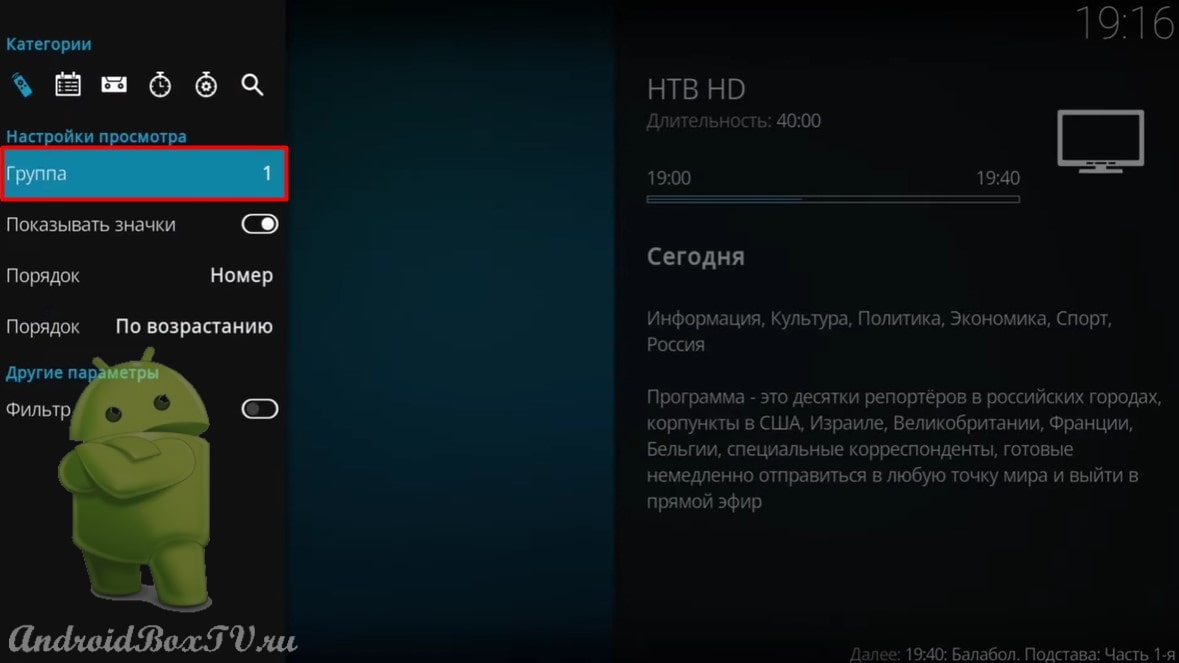
This is how it looks (channel logos are disabled):
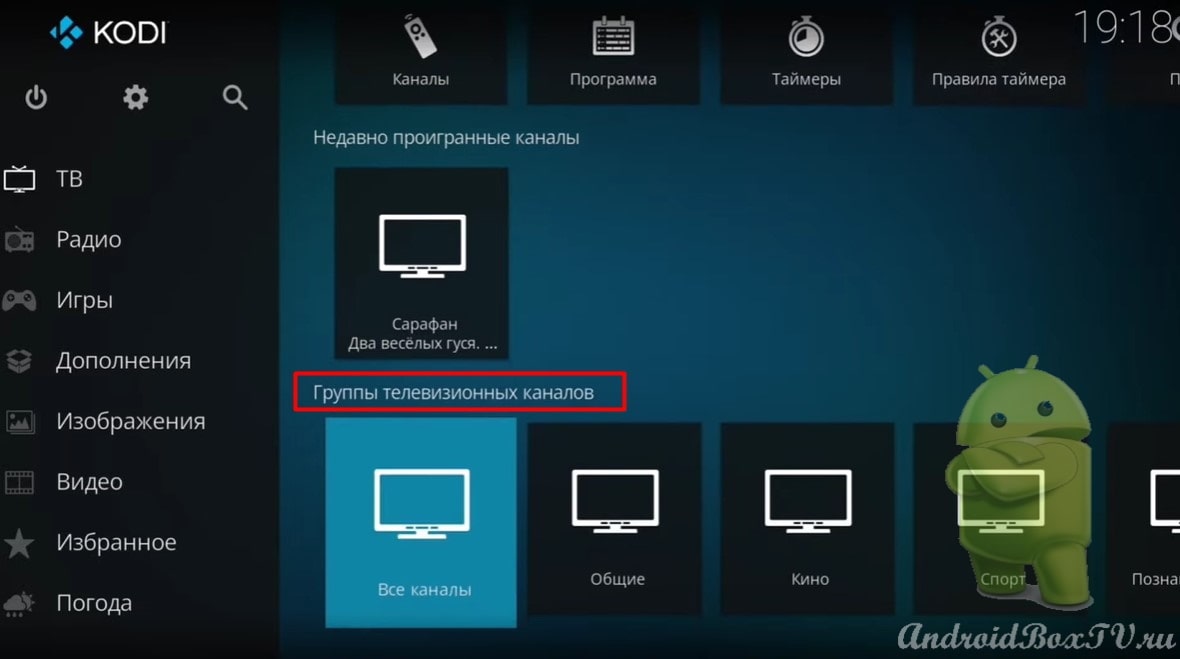
Channels by groups are available from the main menu (if you enable channel logos, they will be displayed here):
That's it! Check out other articles from the category “Watching TV, media files” here .
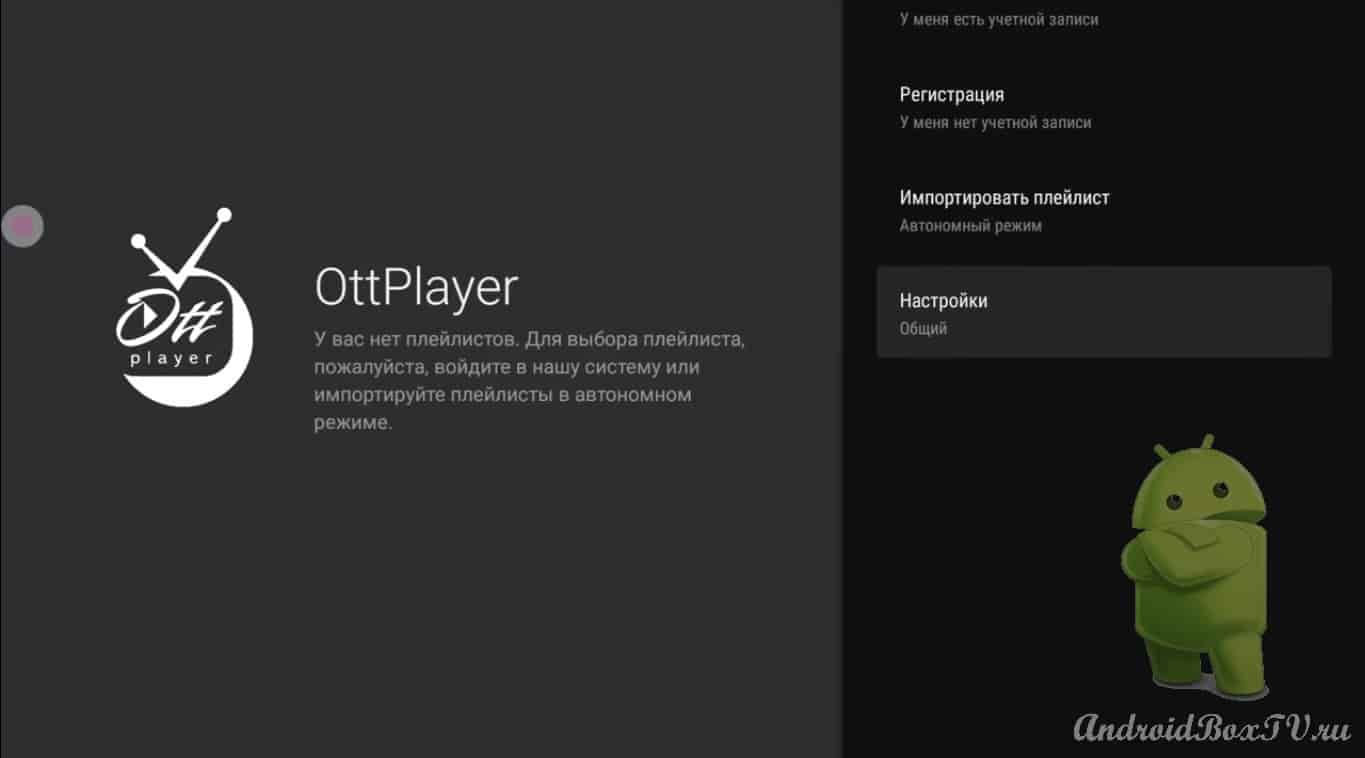
I reinstalled OttPlayer IPTV and saw the application really adapted to the remote control, unlike the previous version, it is much more convenient to navigate, but immediately ran into an authorization problem - I could not enter the application in any way.
Let's figure out how to solve this problem for anyone who has it, and also go to the site of the same name and see how to register, add a playlist and add groups to it, and add a channel to groups
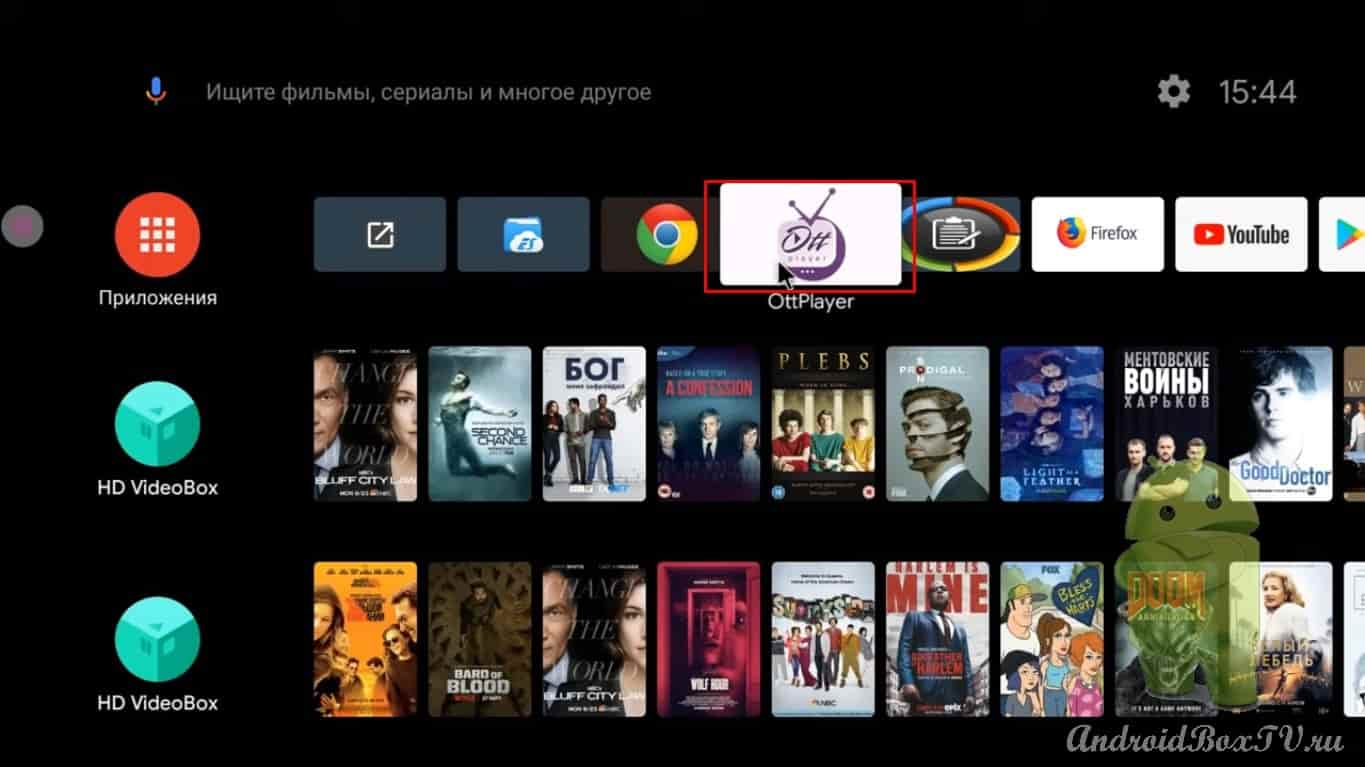
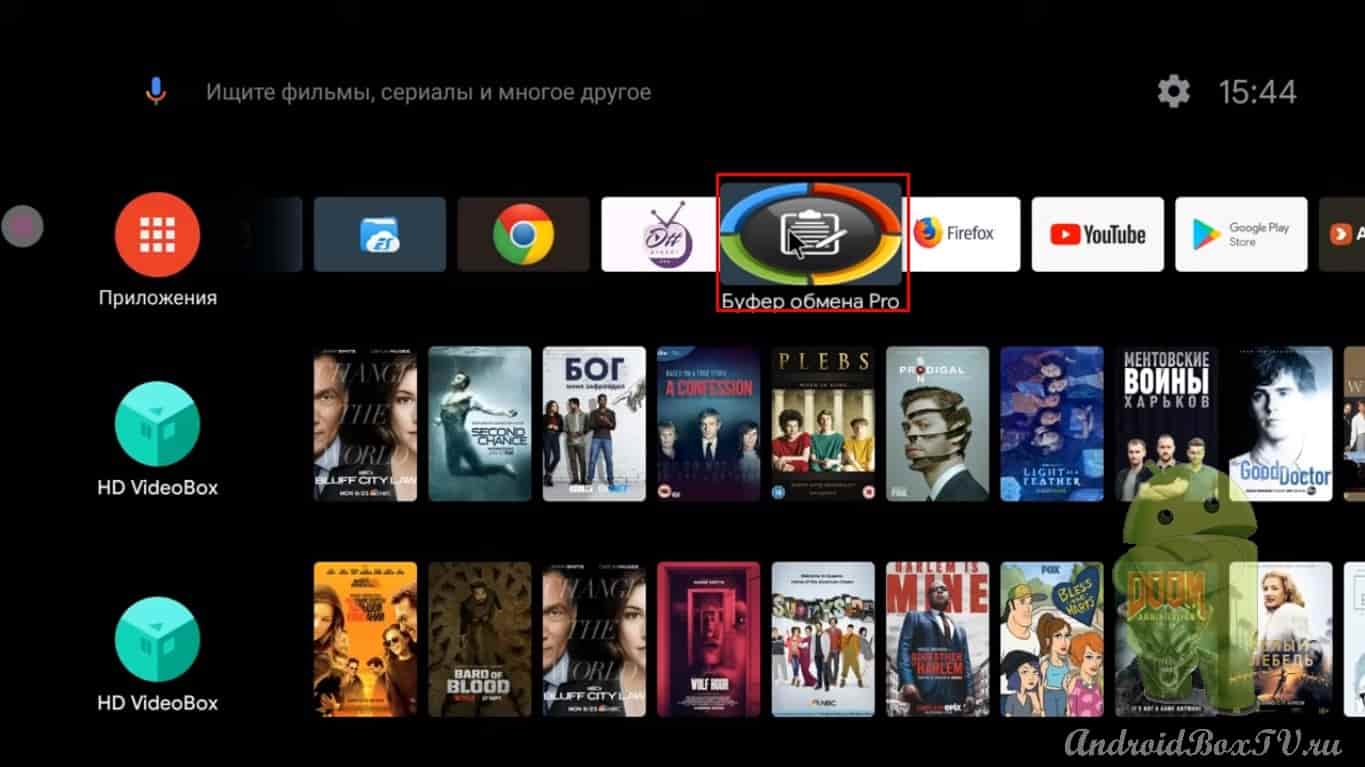
Here is the player, which is freely available in the Play Store :
We go. We install. I will also use the Clipboard PRO so as not to type links manually:
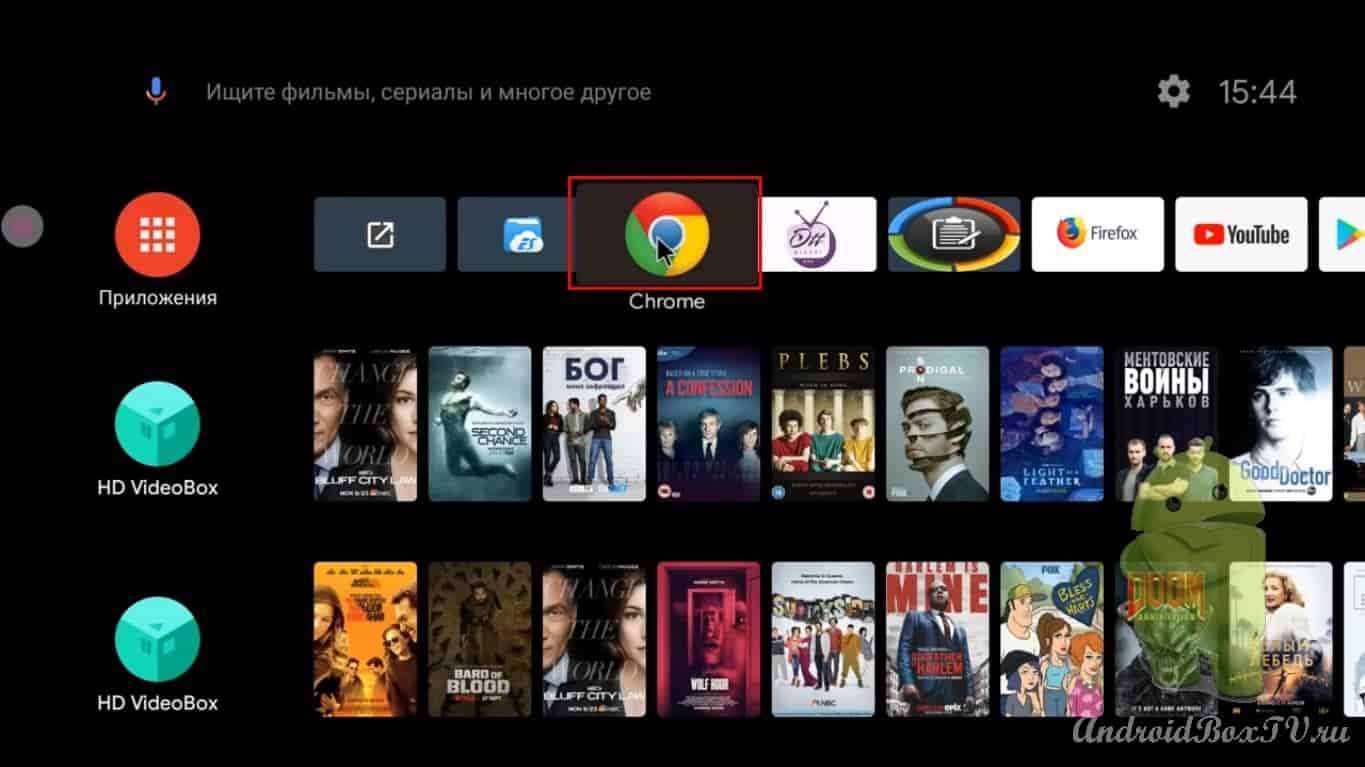
Using the Google Chrome app:
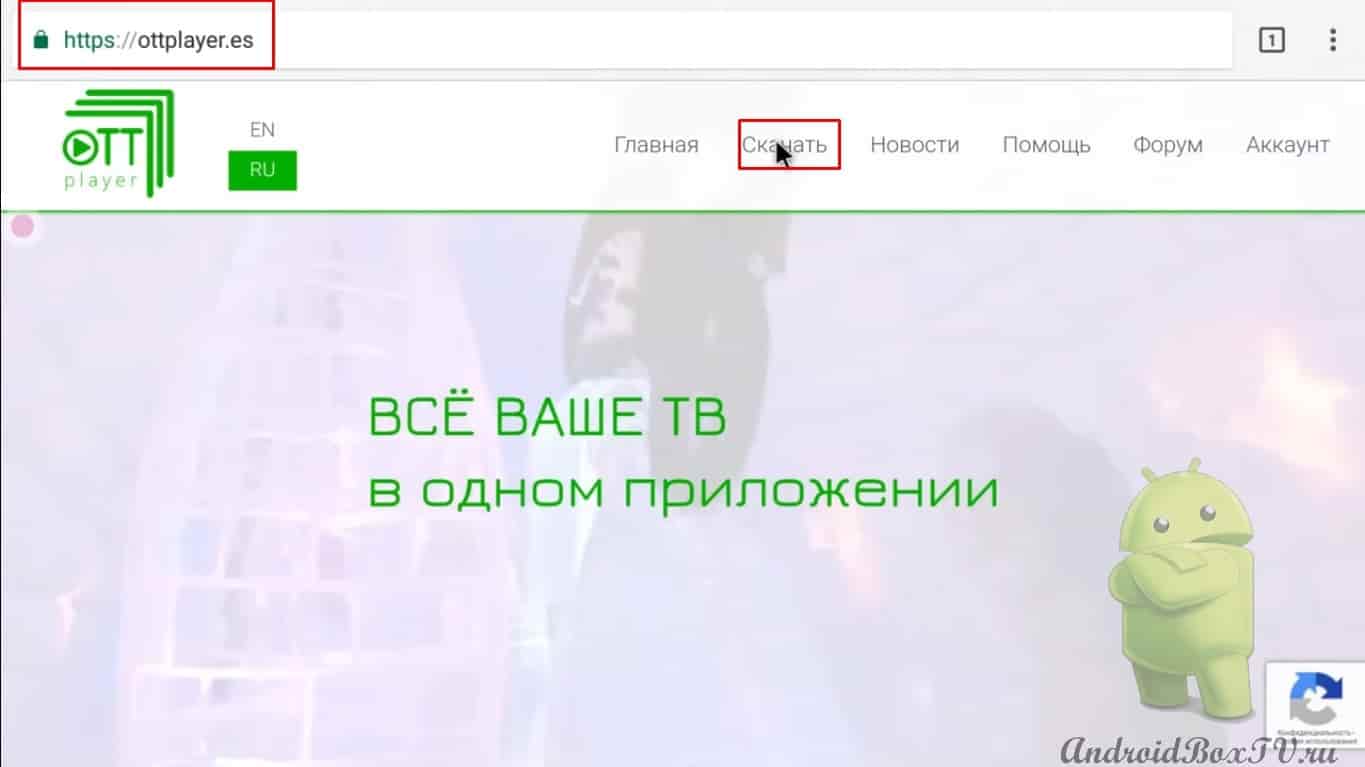
Also, all this can be done on a computer, tablet, smartphone, where it is more convenient for anyone. We go to the site . Let's go to the download this item for different operating systems:
Help if someone does not understand something, you can read everything:
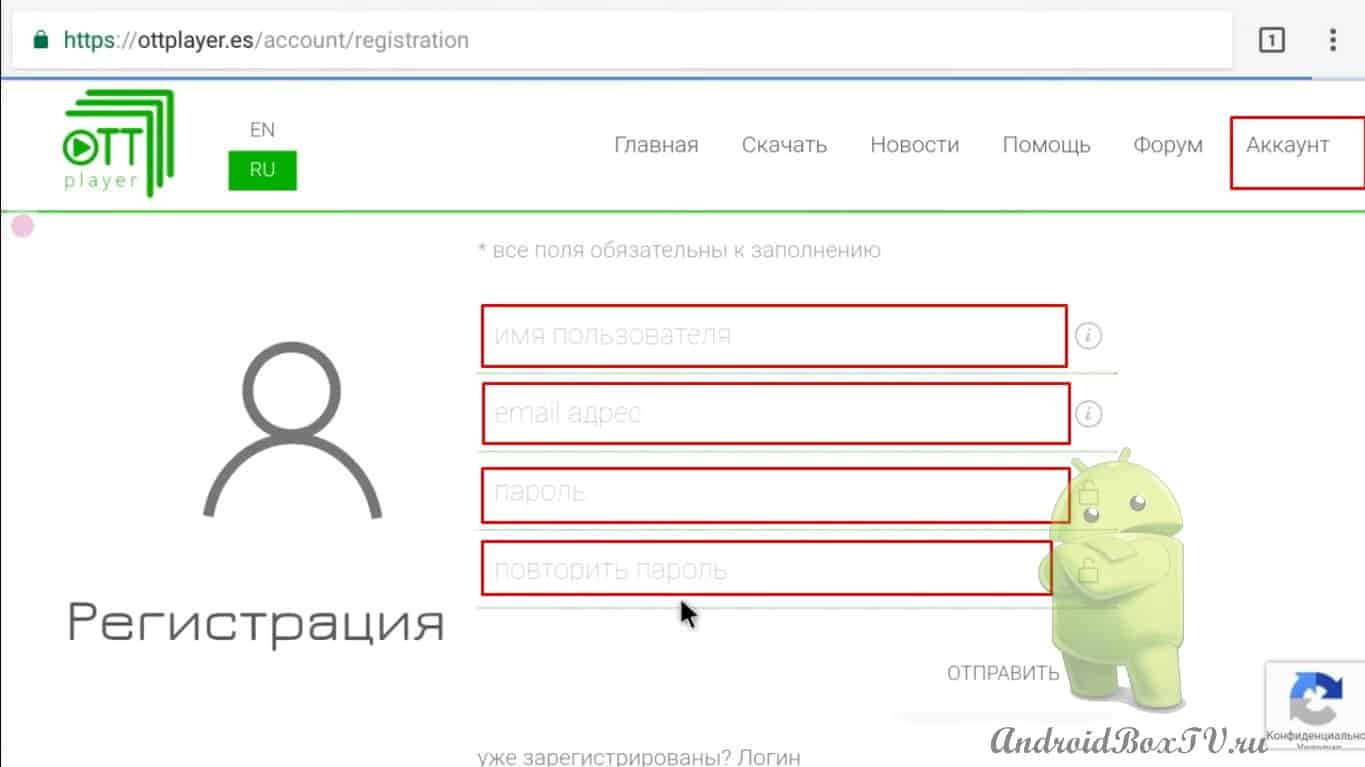
Go to registration, enter: name; · mail; · password; password again and click send:
A letter will come in the mail. Follow the link and all registration is completed. It is not necessary to add a phone number. We go into the device, exit here with the home , we will not close anything.
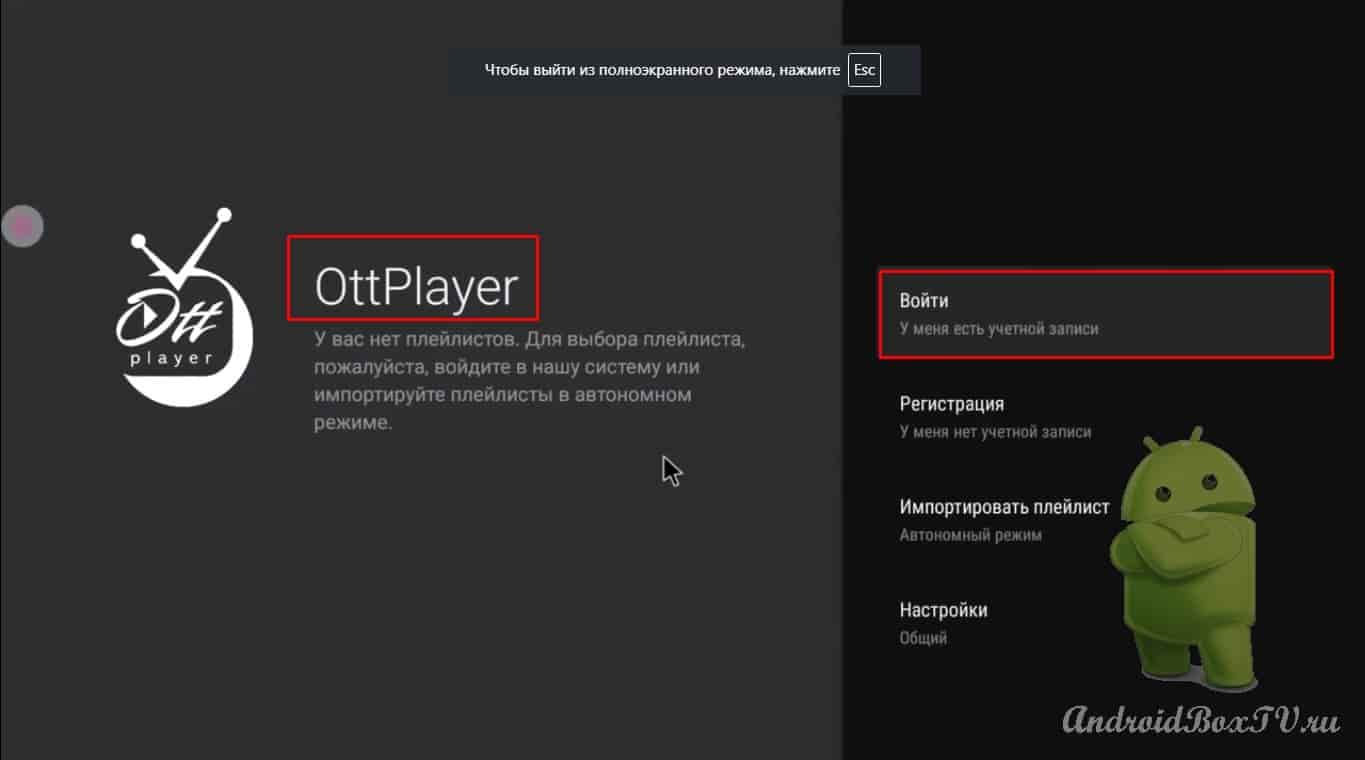
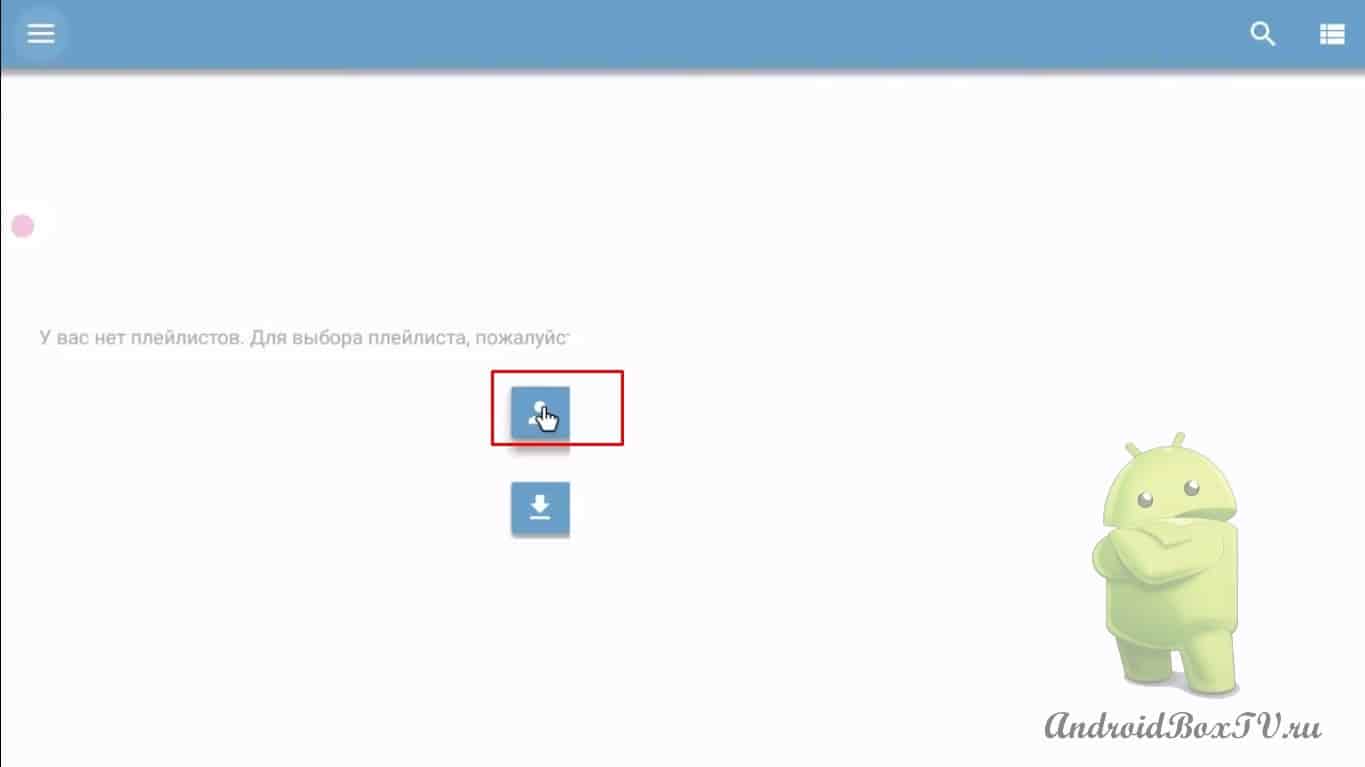
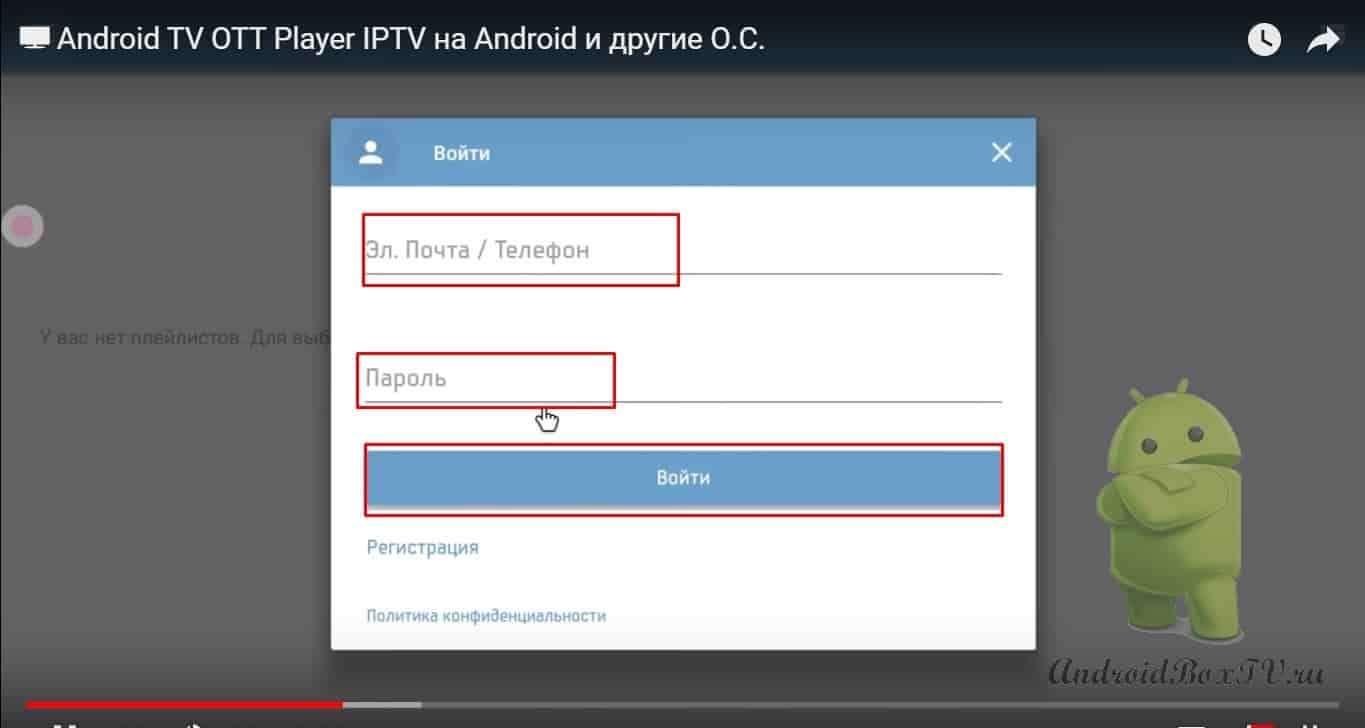
Open the OttPlayer app and try to login:
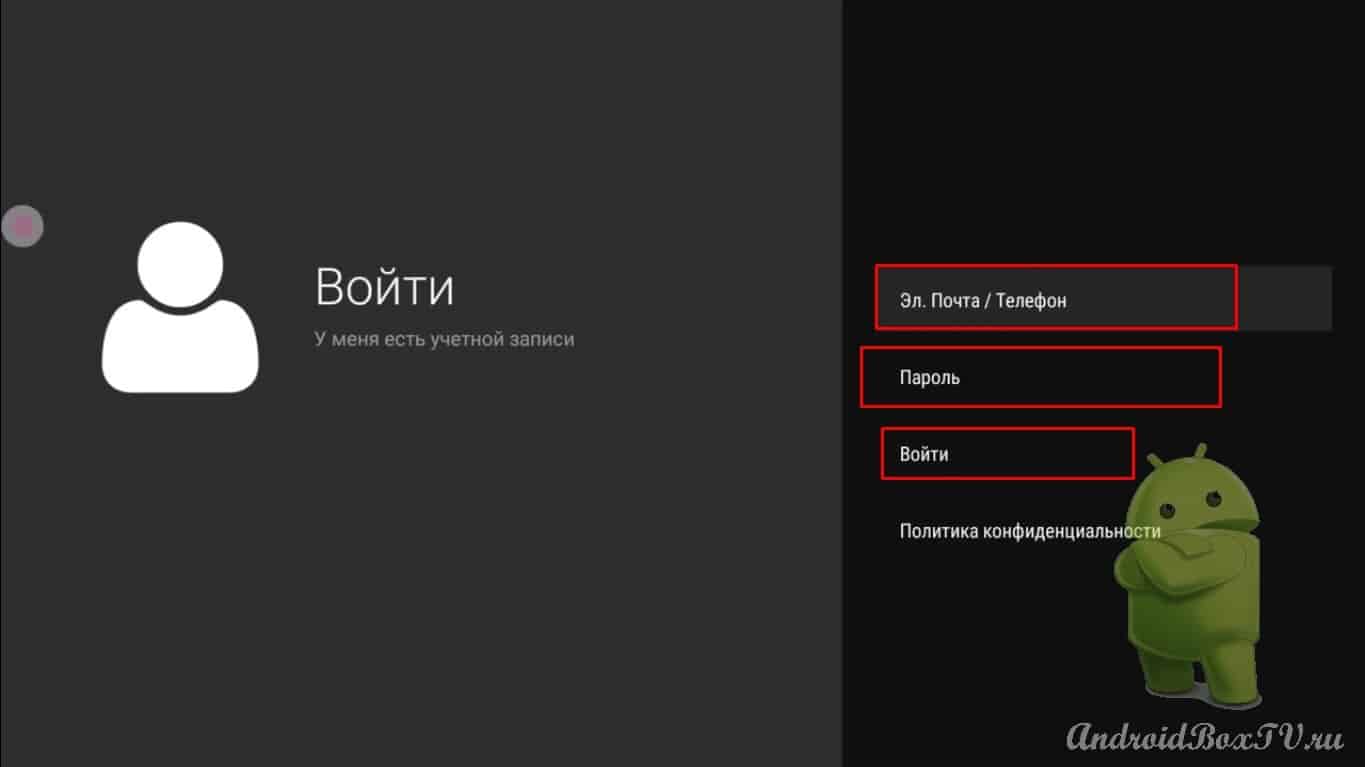
Here we enter all the data of the site mail password (which we came up with above during registration):
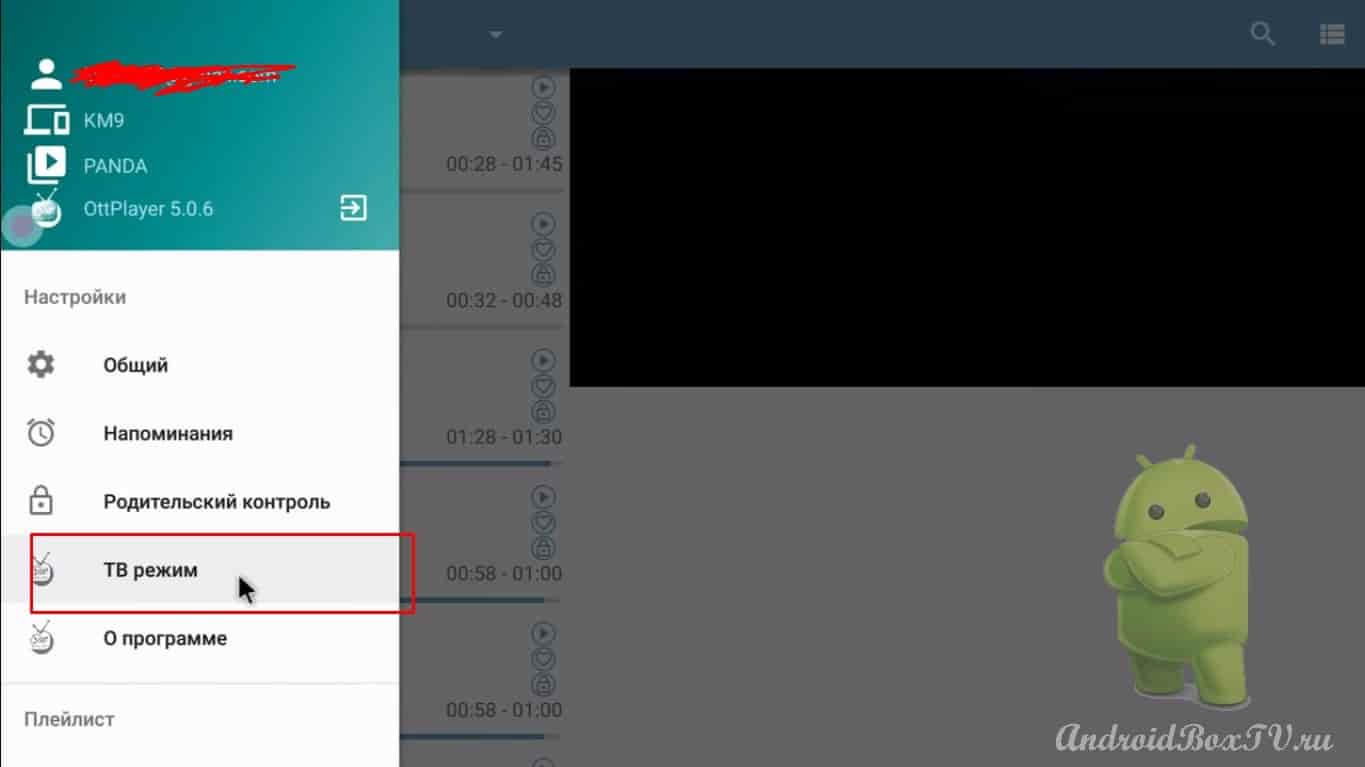
If it doesn't work here, how do I go back. Settings:
And exit the mode:
Now click on the avatar:
Add email and password:
Click on plus:
And add the device:
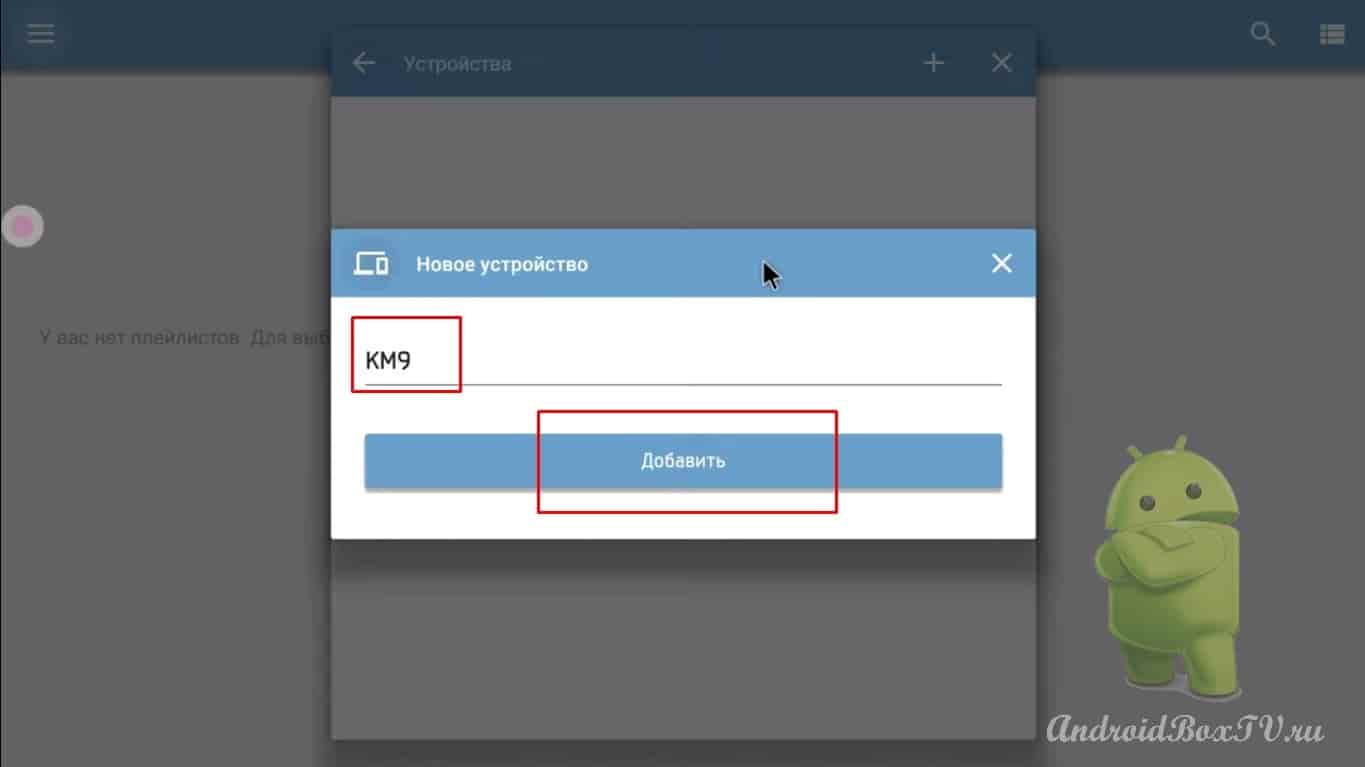
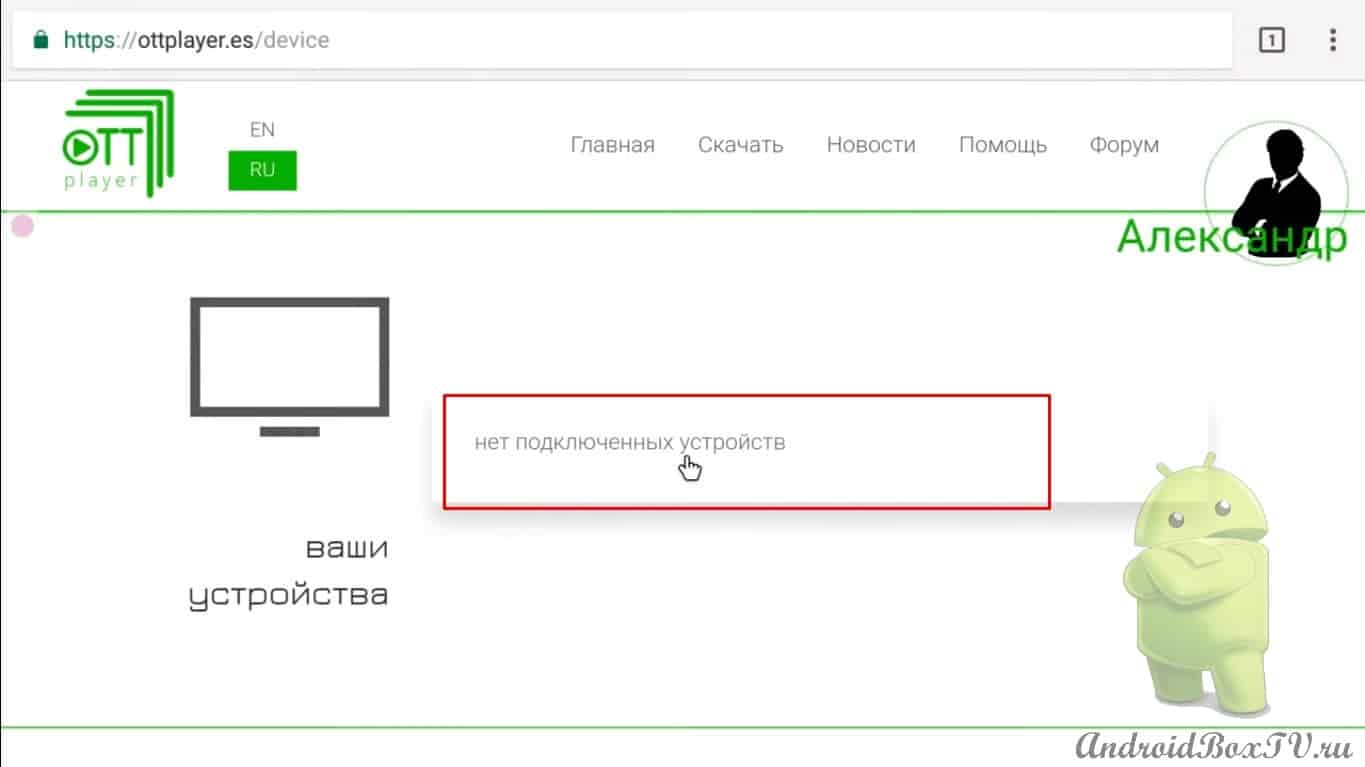
We also exit here with the "Home" , return to the site. No connected devices:
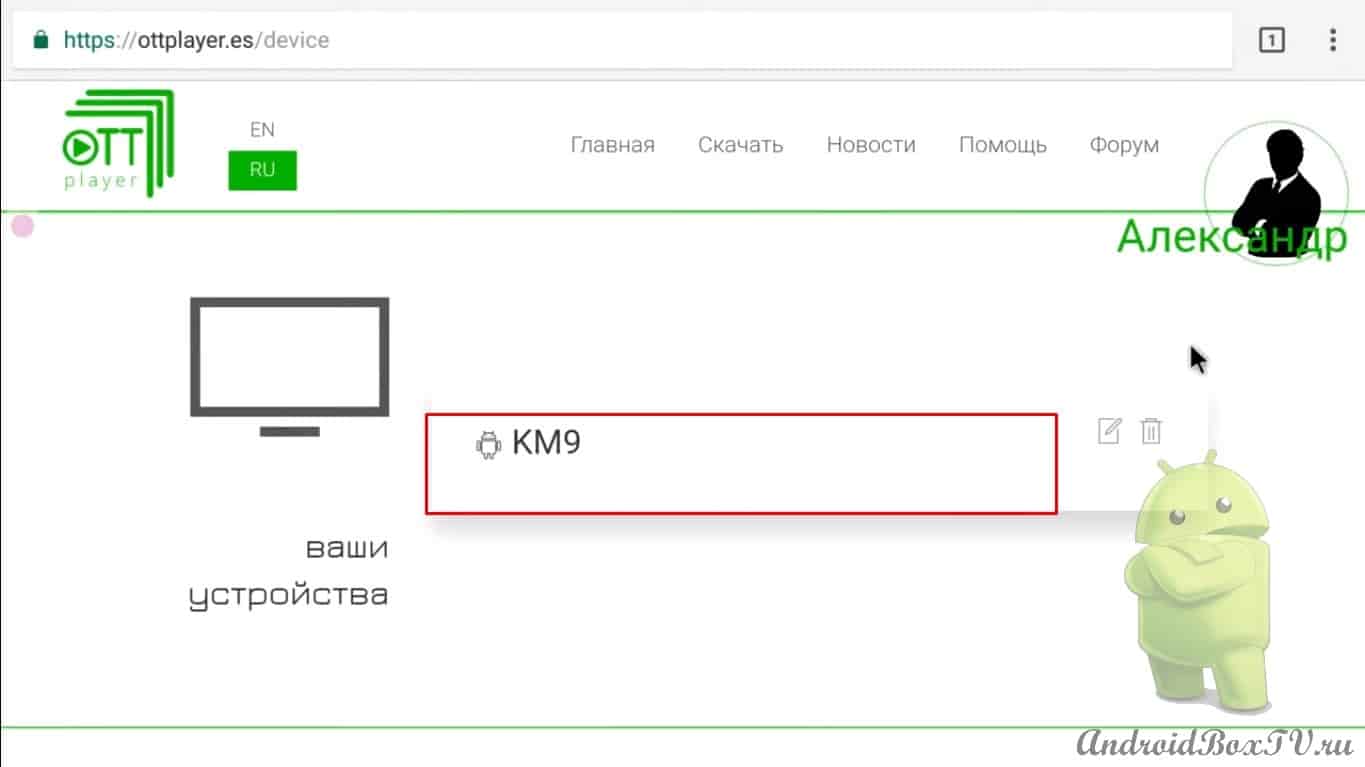
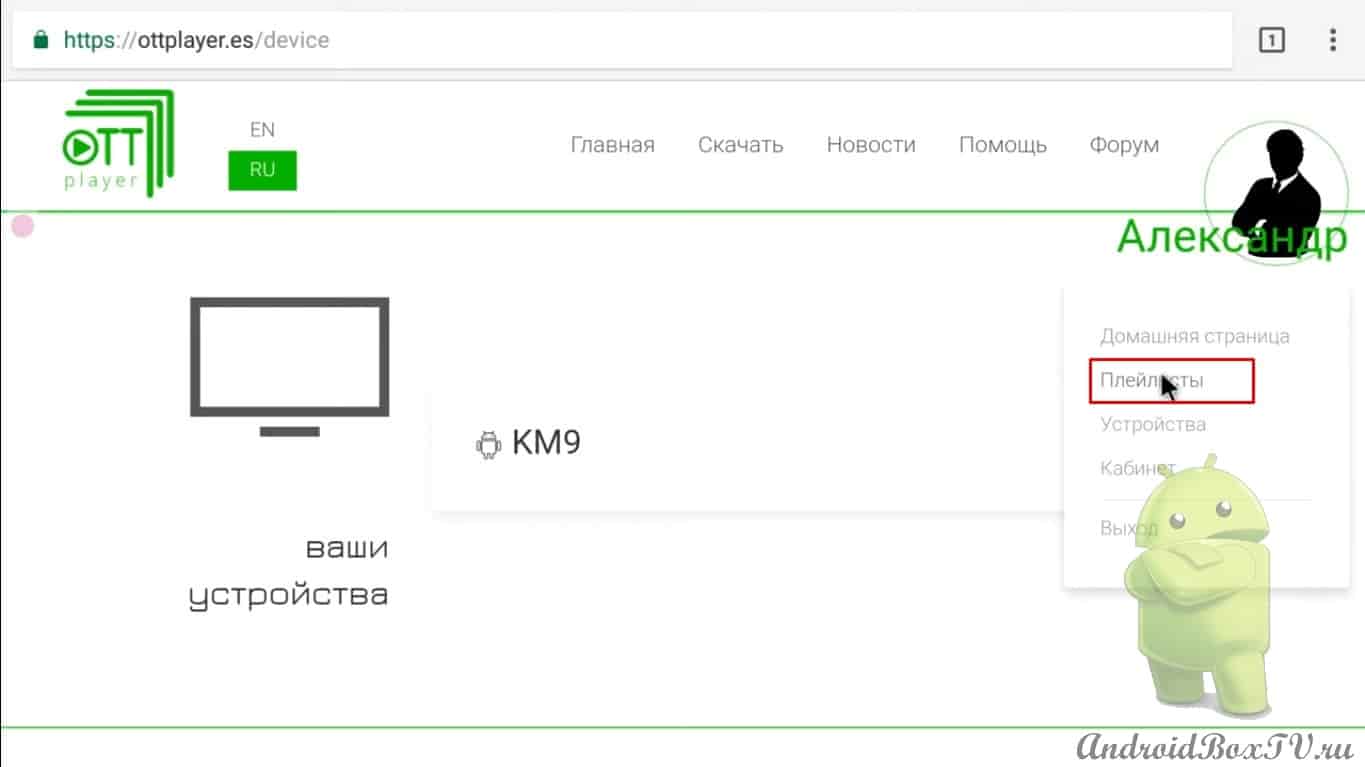
Refresh the page:
Connected KM9, go to playlists:
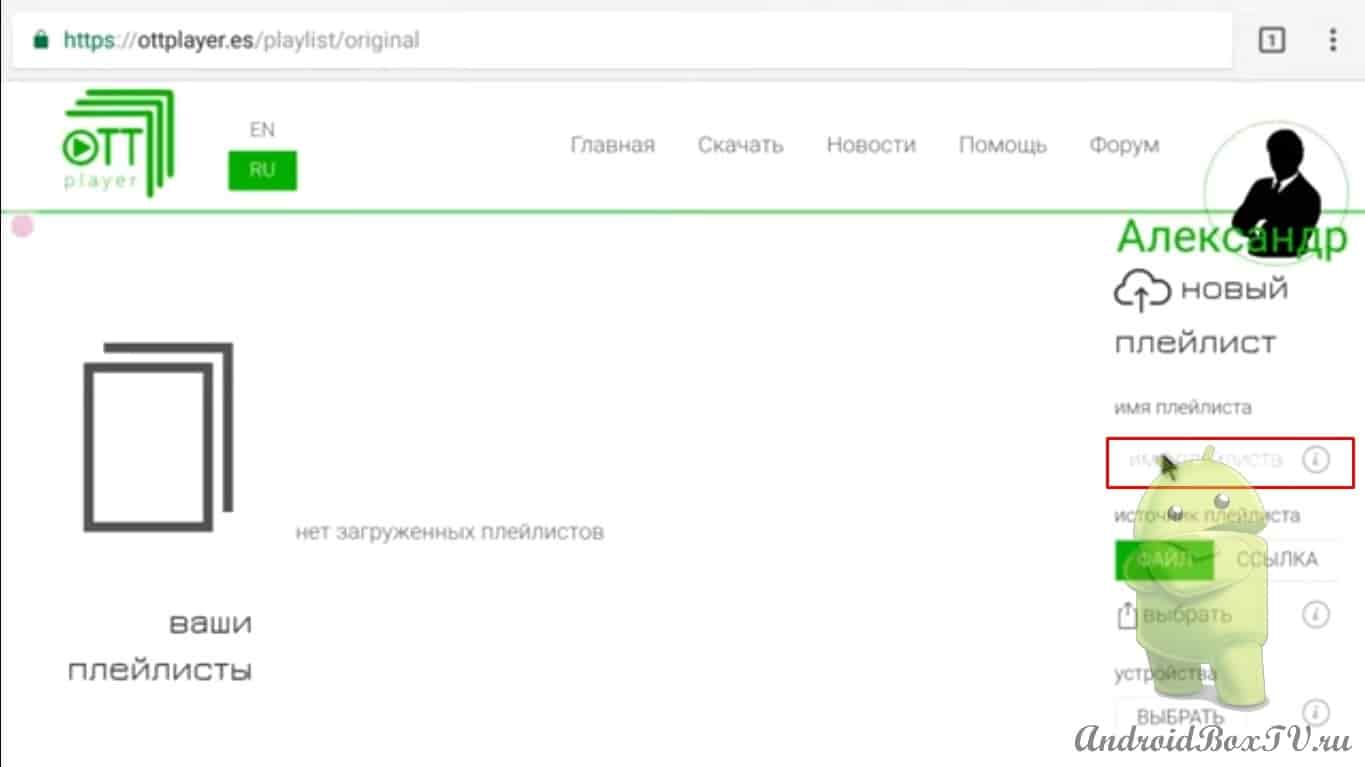
And write the title:
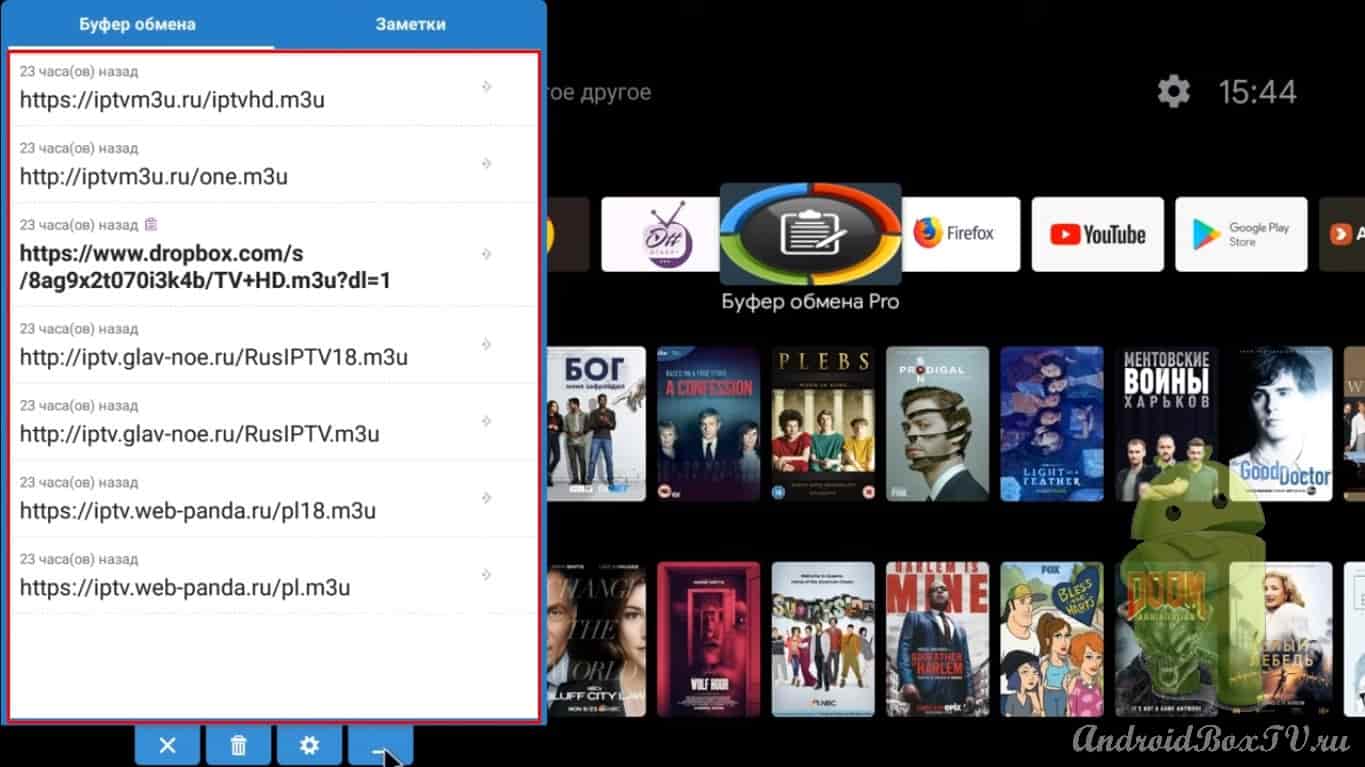
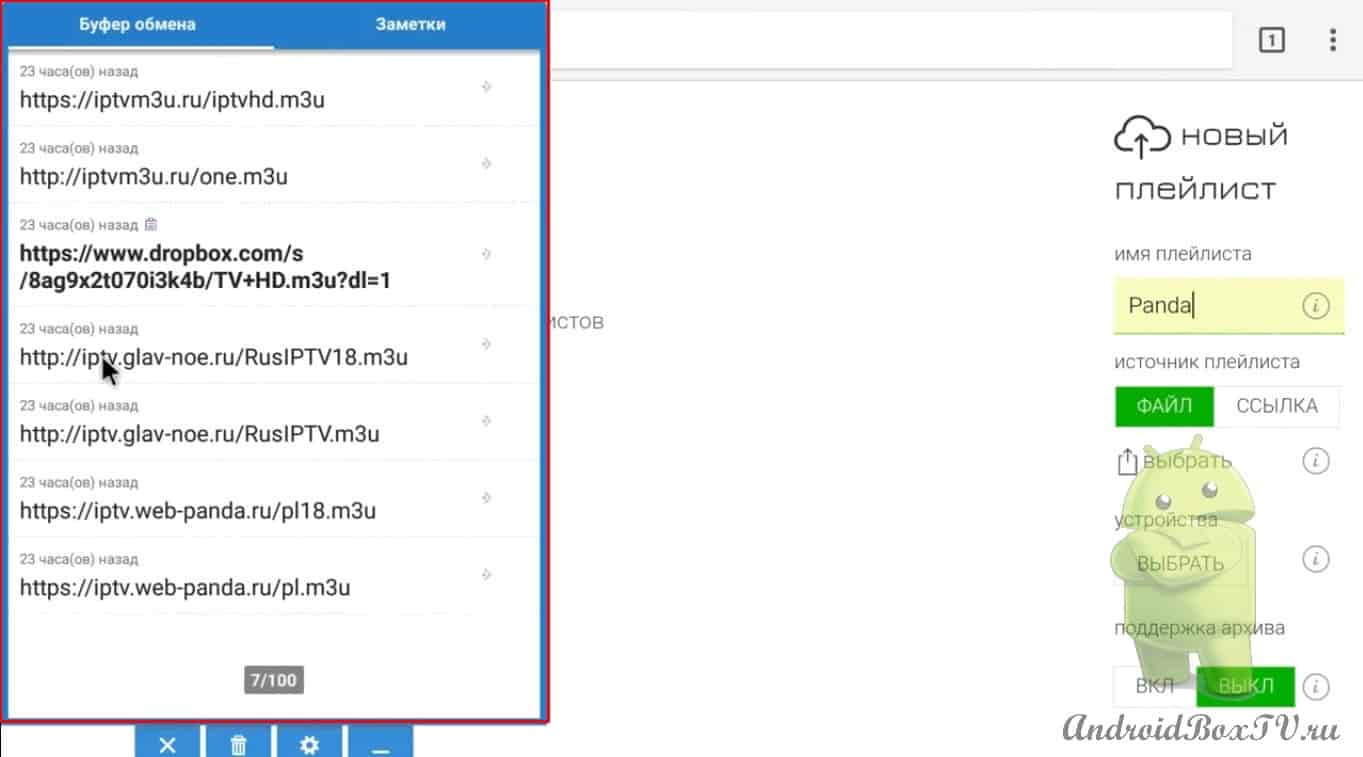
I already wrote this, I'm all set to open the clipboard:
Links to sites with playlists. Copy the link we need here, click the link, hold, paste:
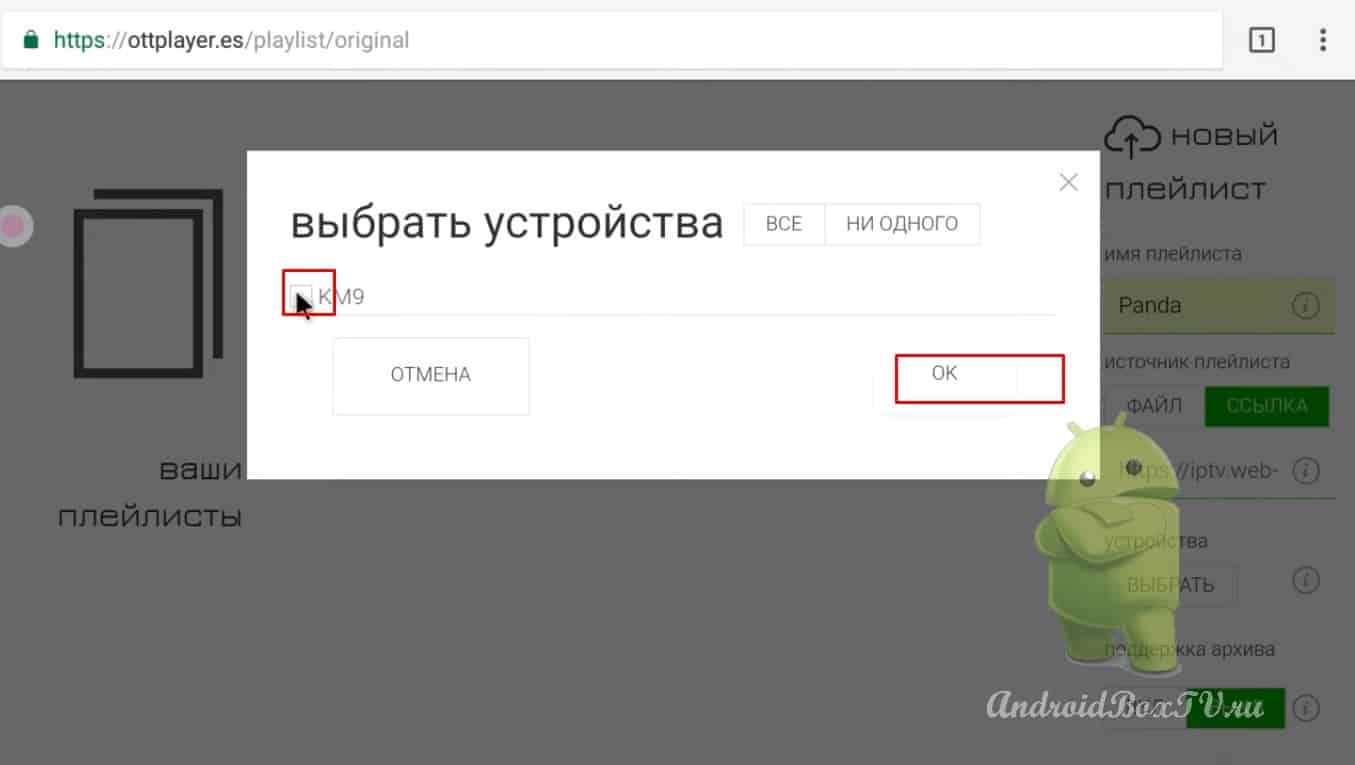
We add a playlist to the device, we have only one device:
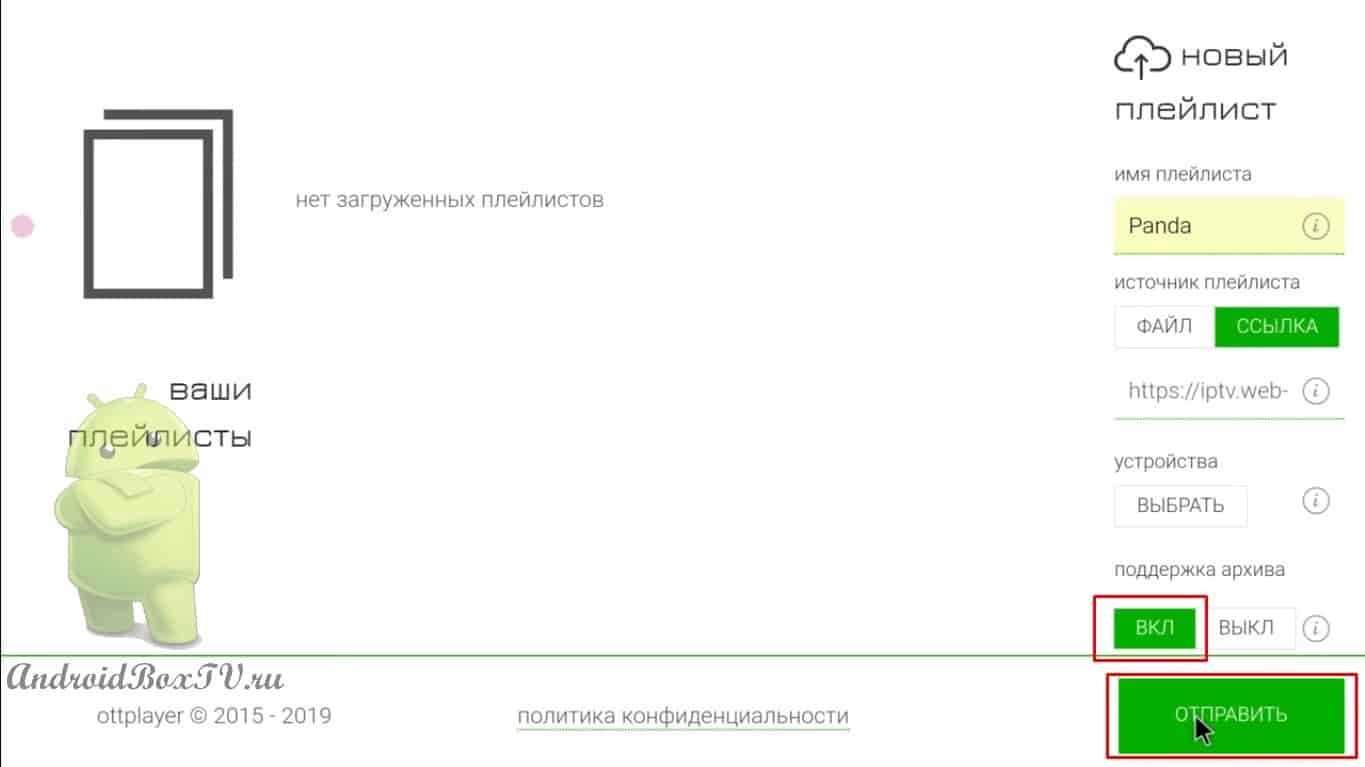
If the playlist has support for archives, enable it, click send:
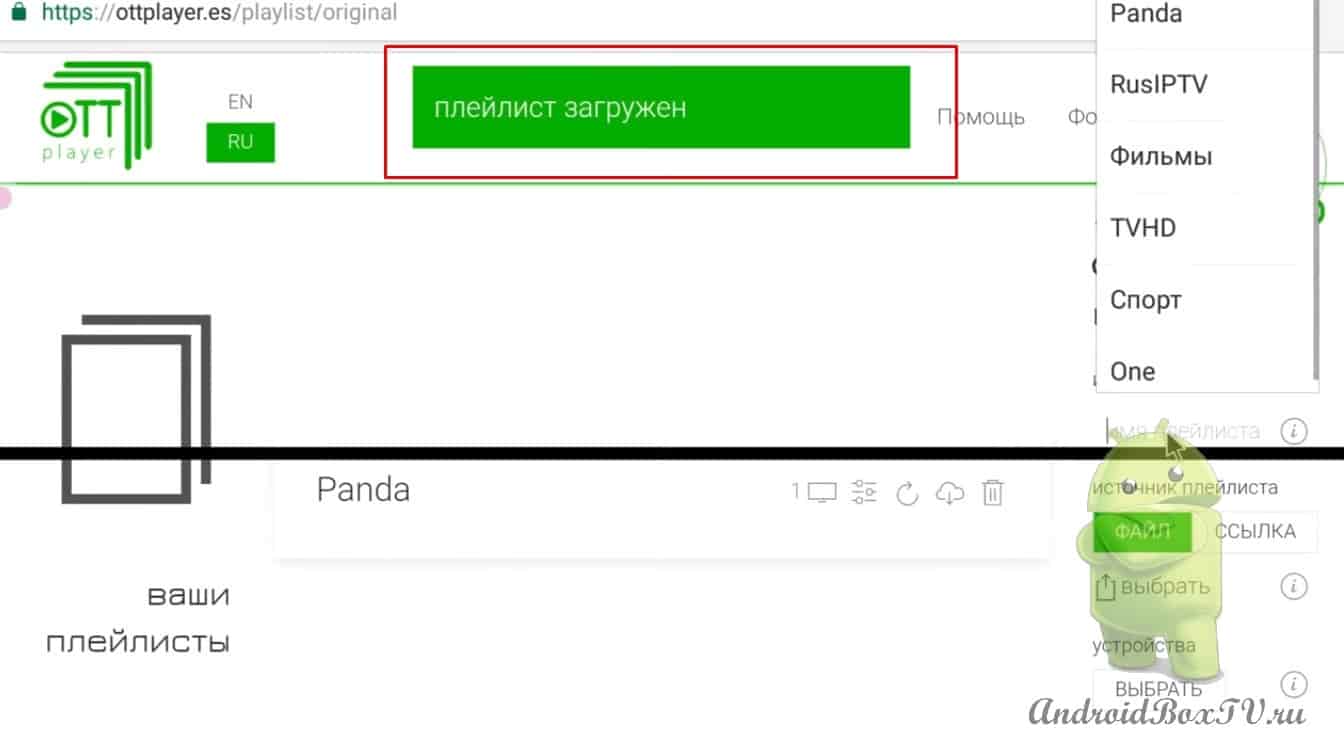
Playlist uploaded and added:
We do everything the same - add two more playlists. You can also copy from one link if the PRO clipboard is not installed, or you can generally enter it manually to someone as it is more convenient. Please note that we are adding the same device - an Android set-top box.
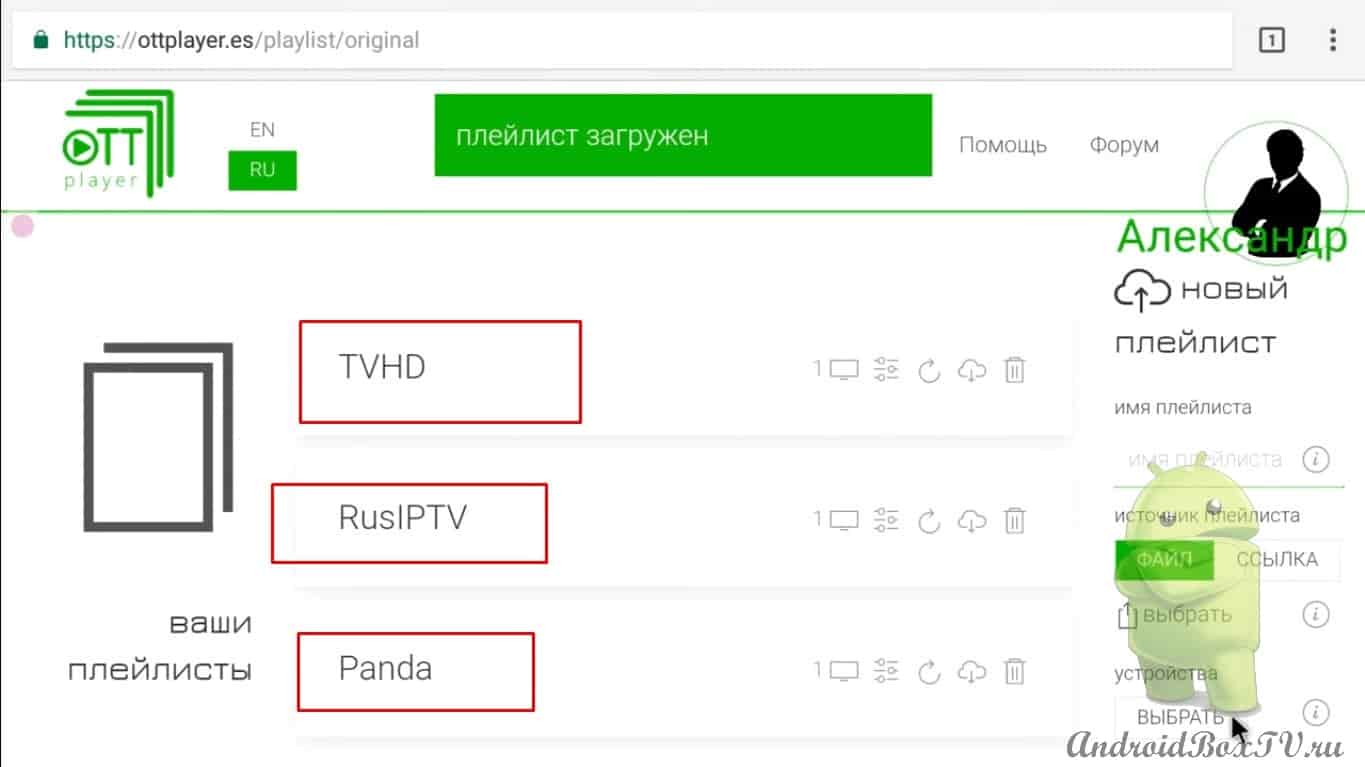
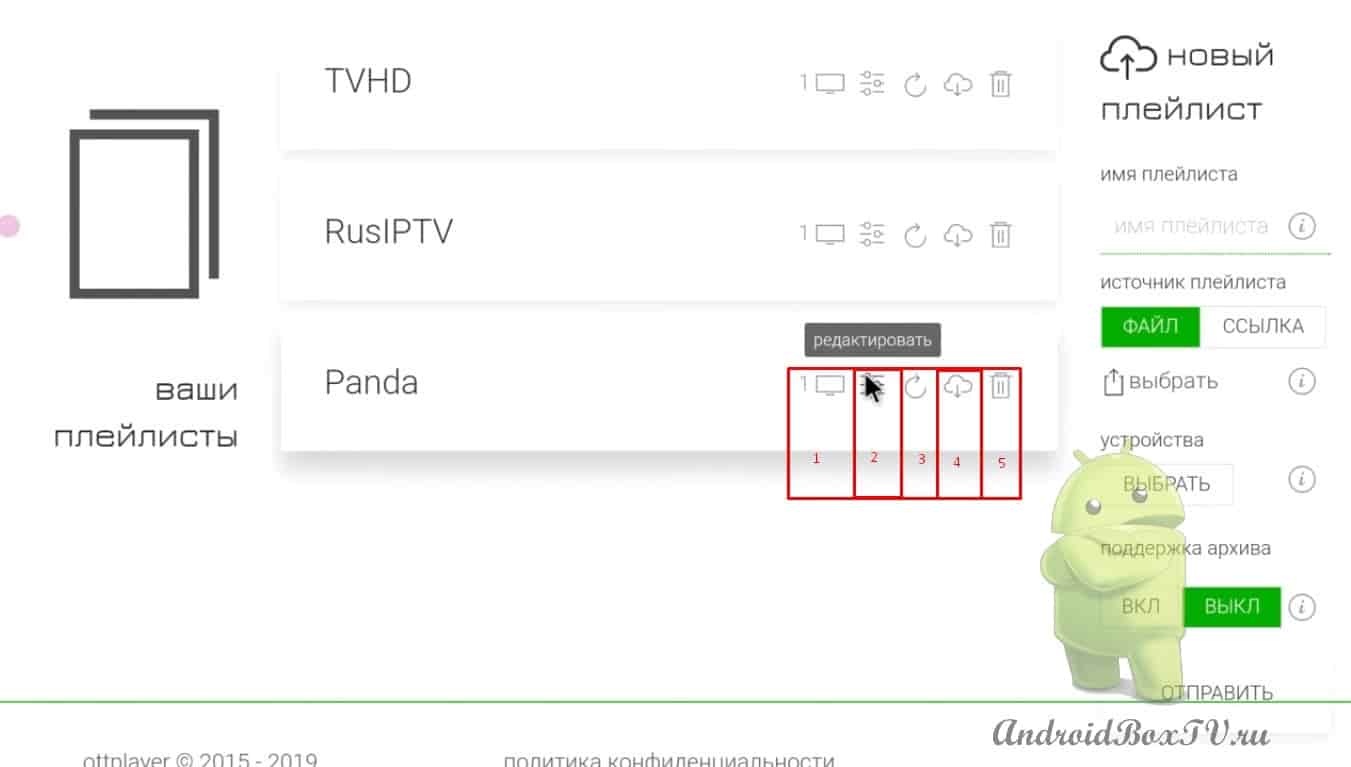
Added playlists:
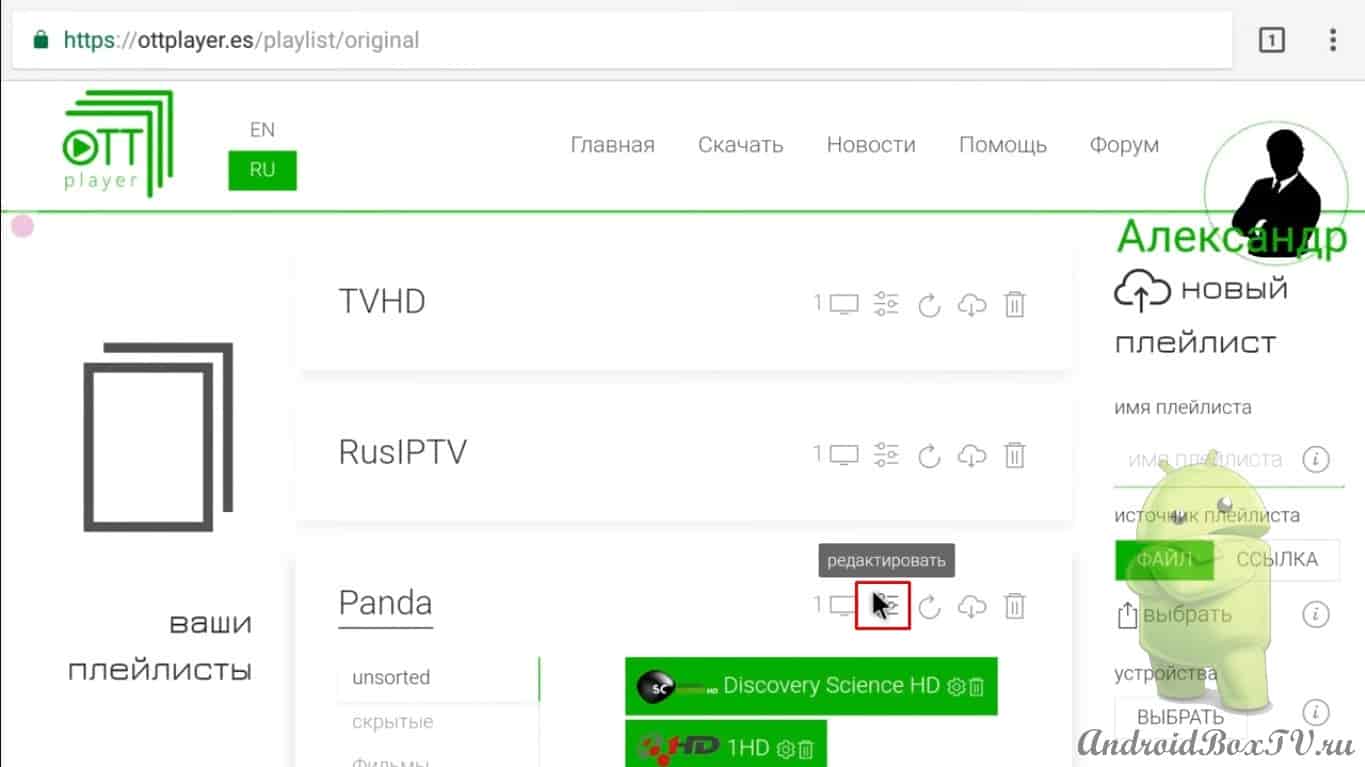
We look:
this device;
edit;
update playlist ;
share can be sent to someone;
delete:
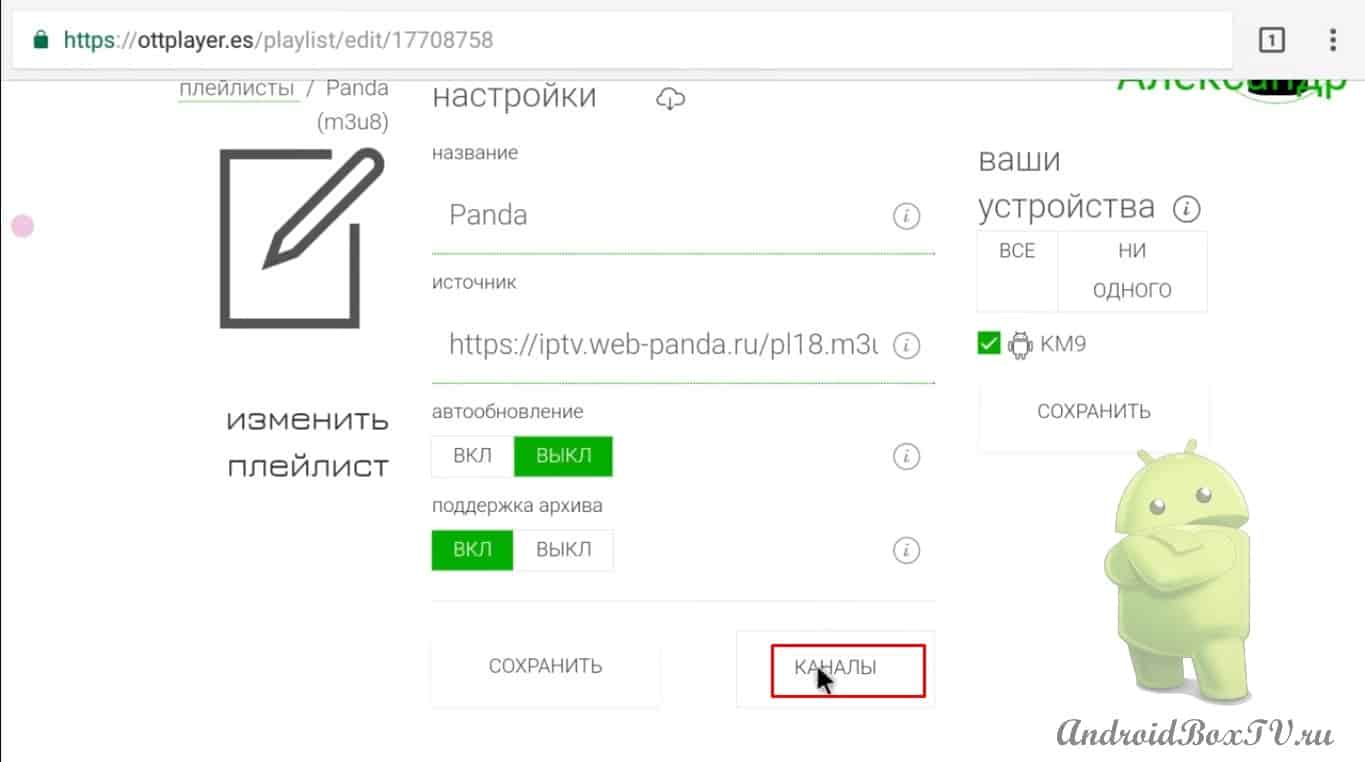
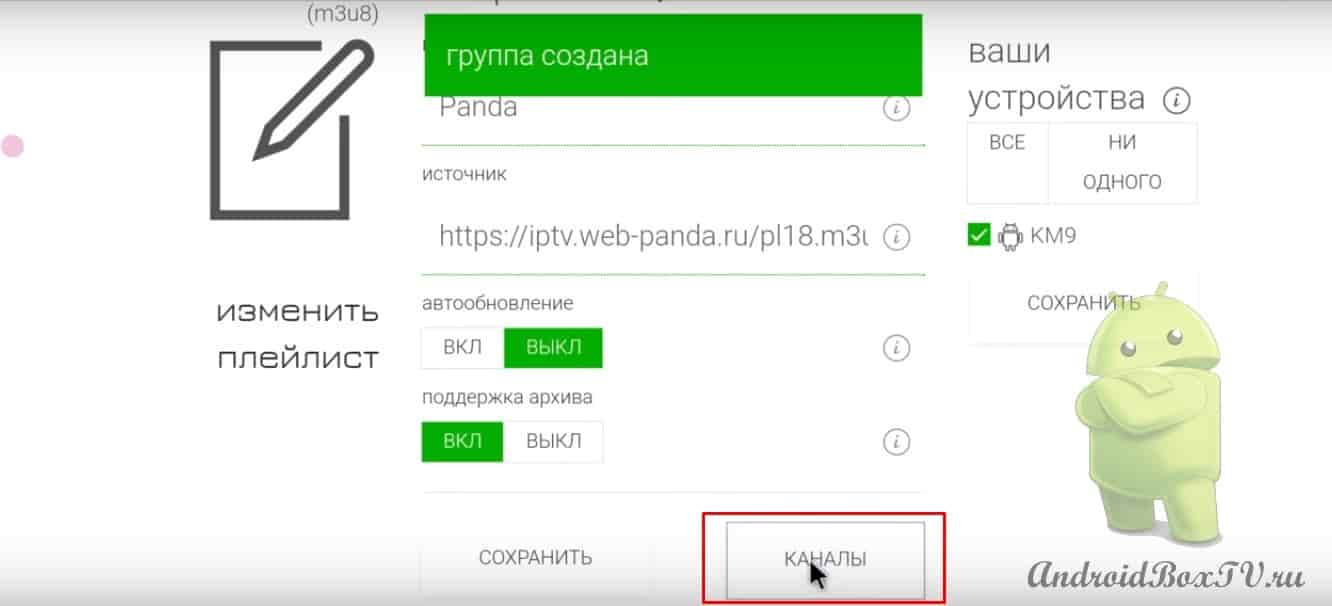
Let's go to edit (number 2 in the screenshot above, let's see how to add groups.
Click on channels:
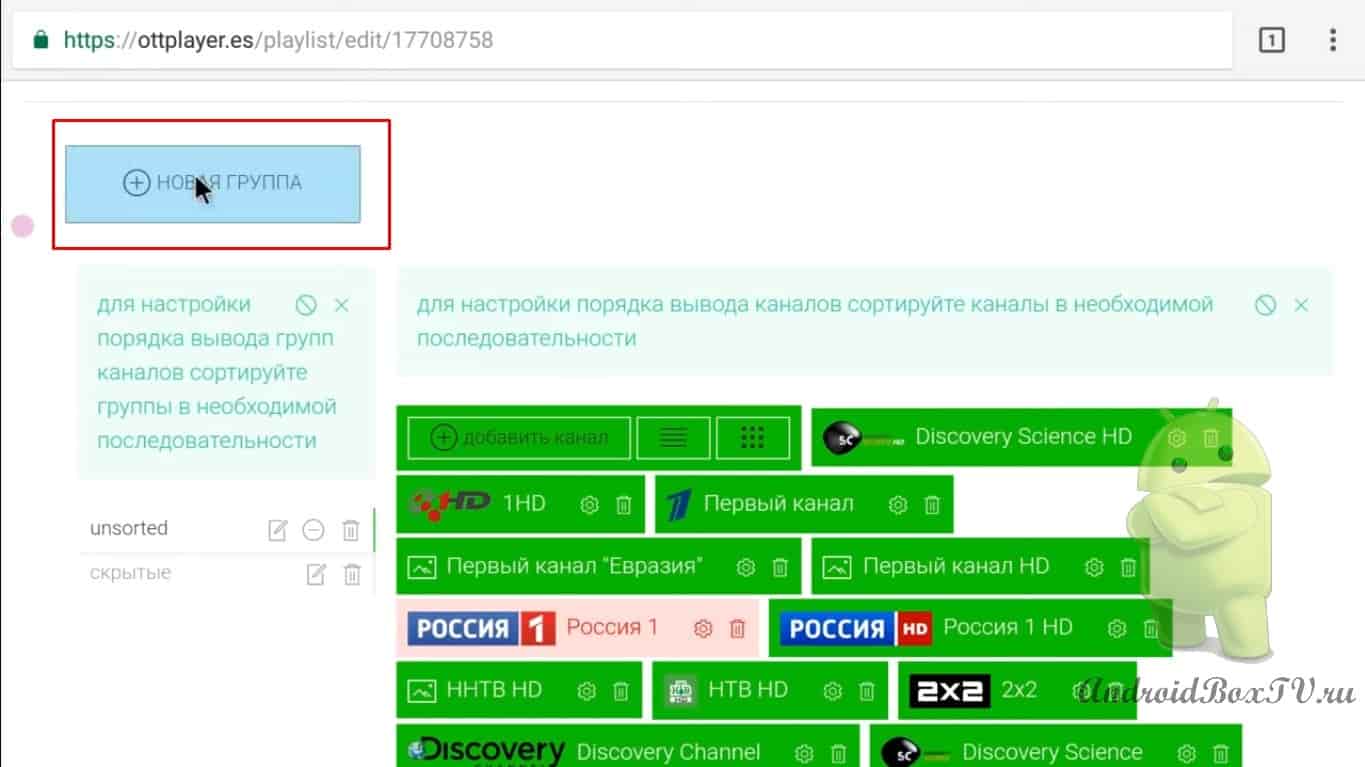
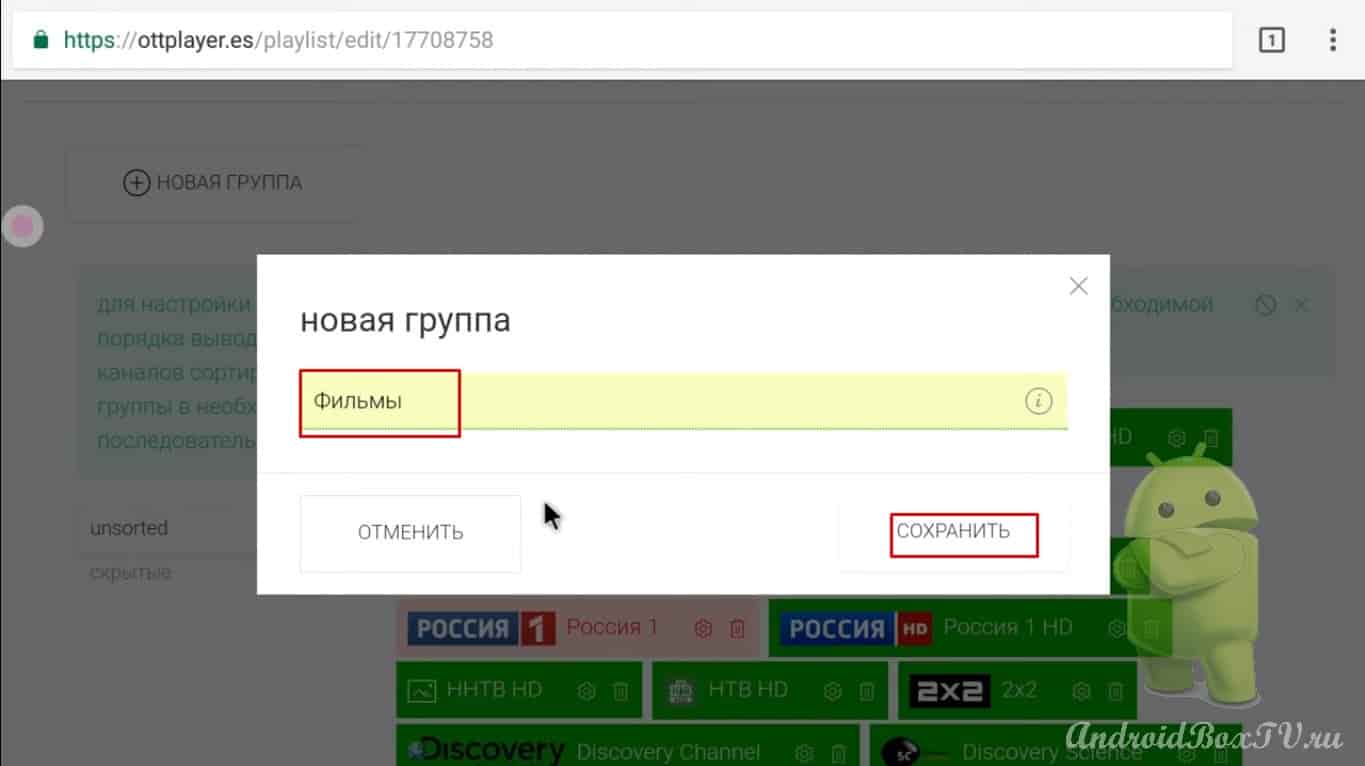
Now "New Group":
Write the name of the group and click save:
We are waiting for a while to load.
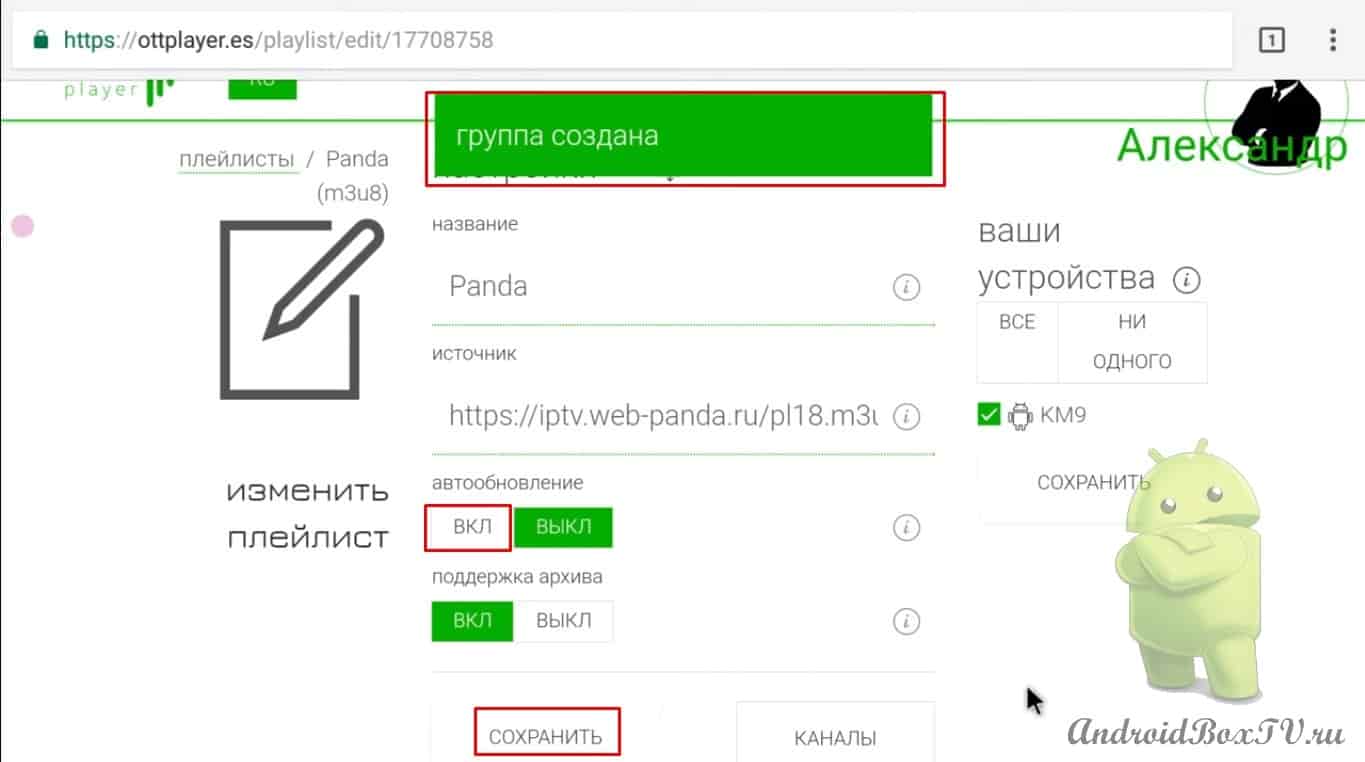
Don't forget to enable auto-updates!
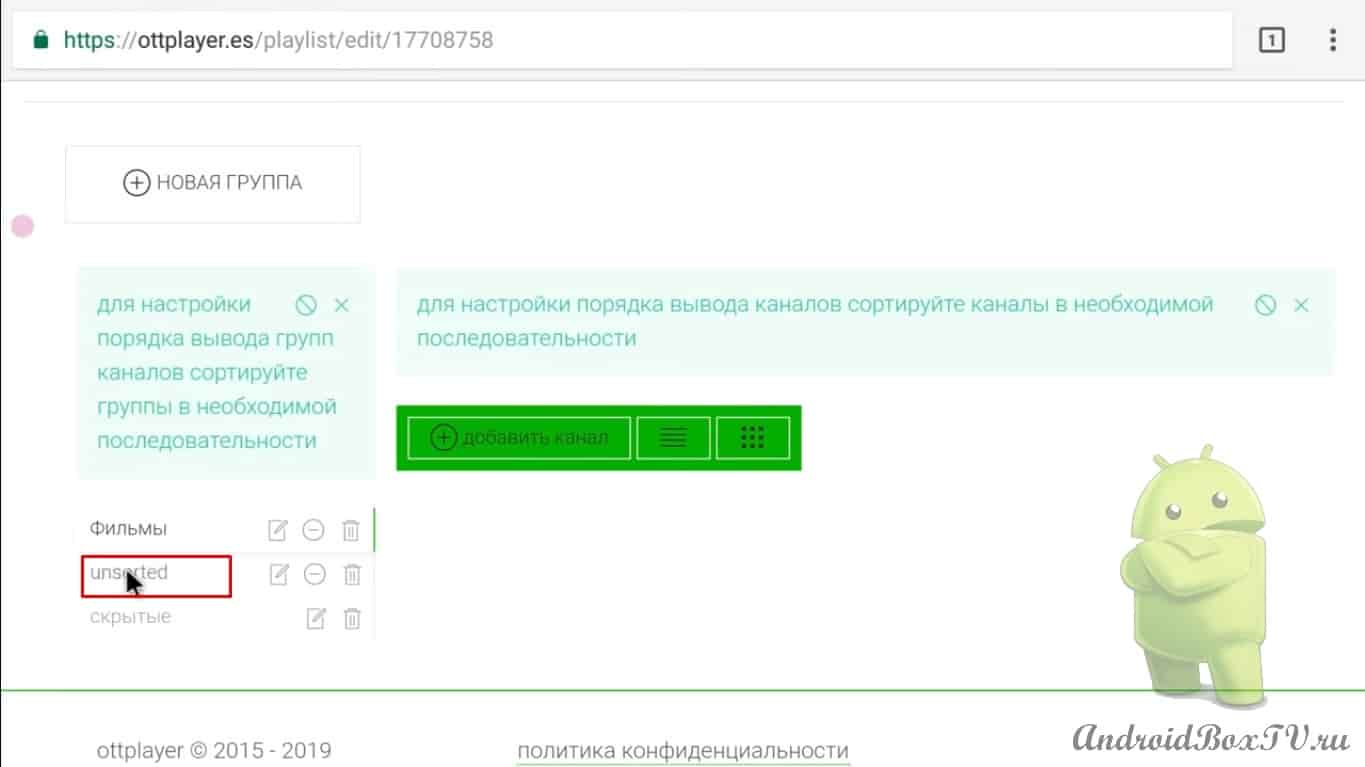
Group added:
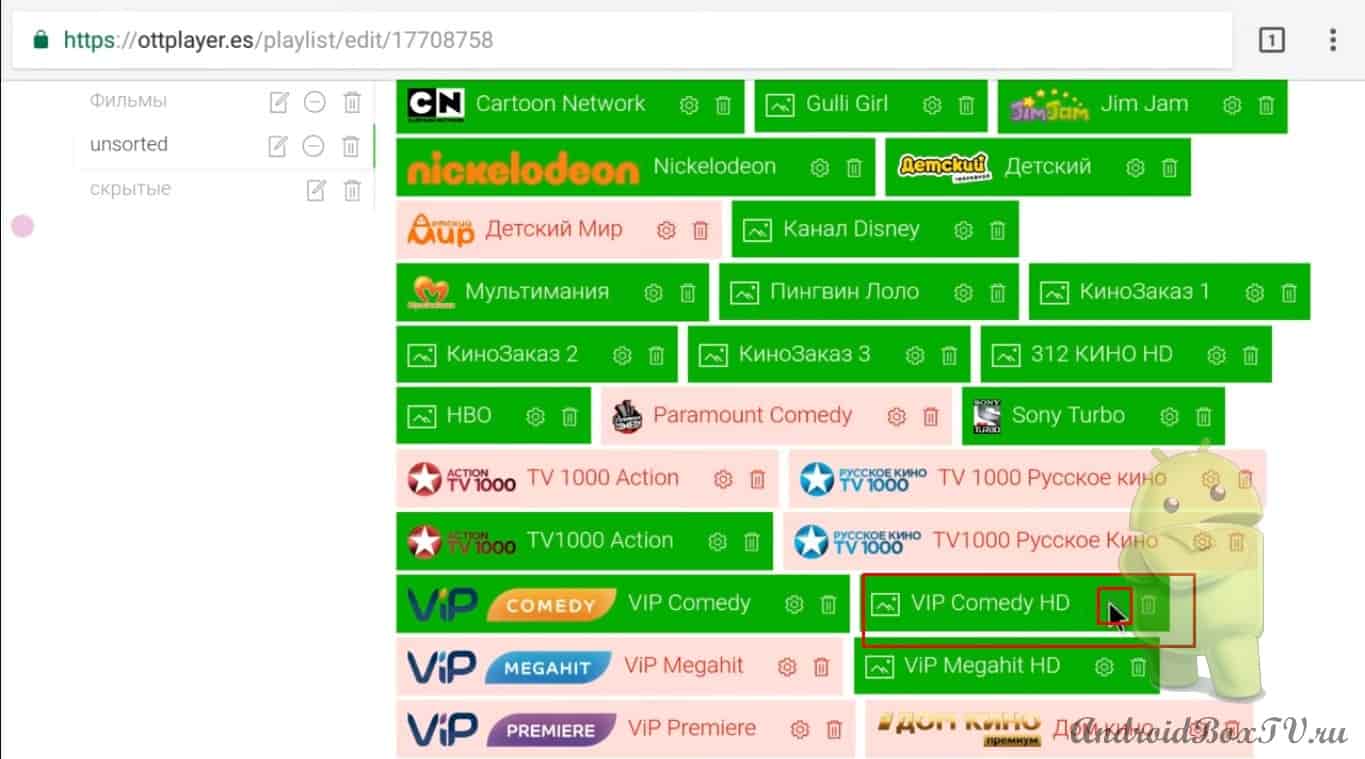
Now let's see how to add a channel to a group. Click on the channel on the android console:
Empty group push to unsorted:
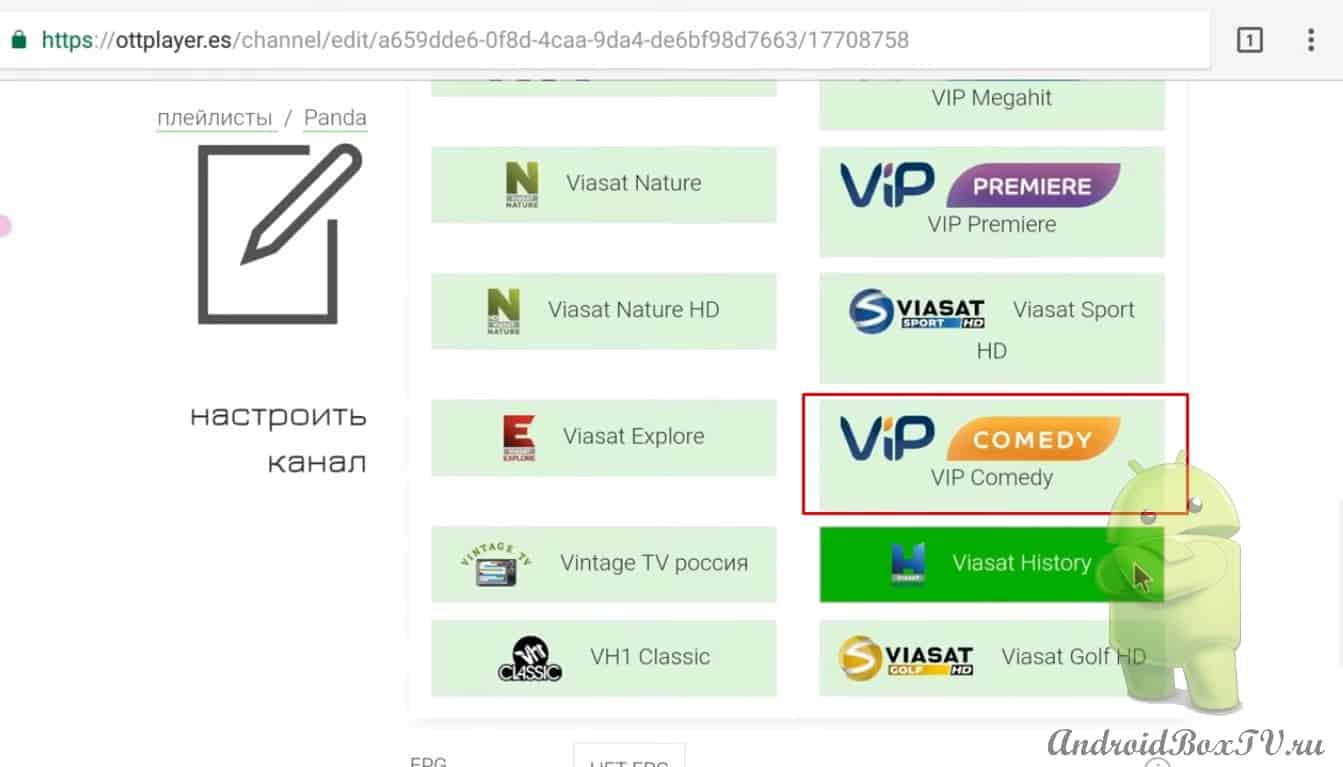
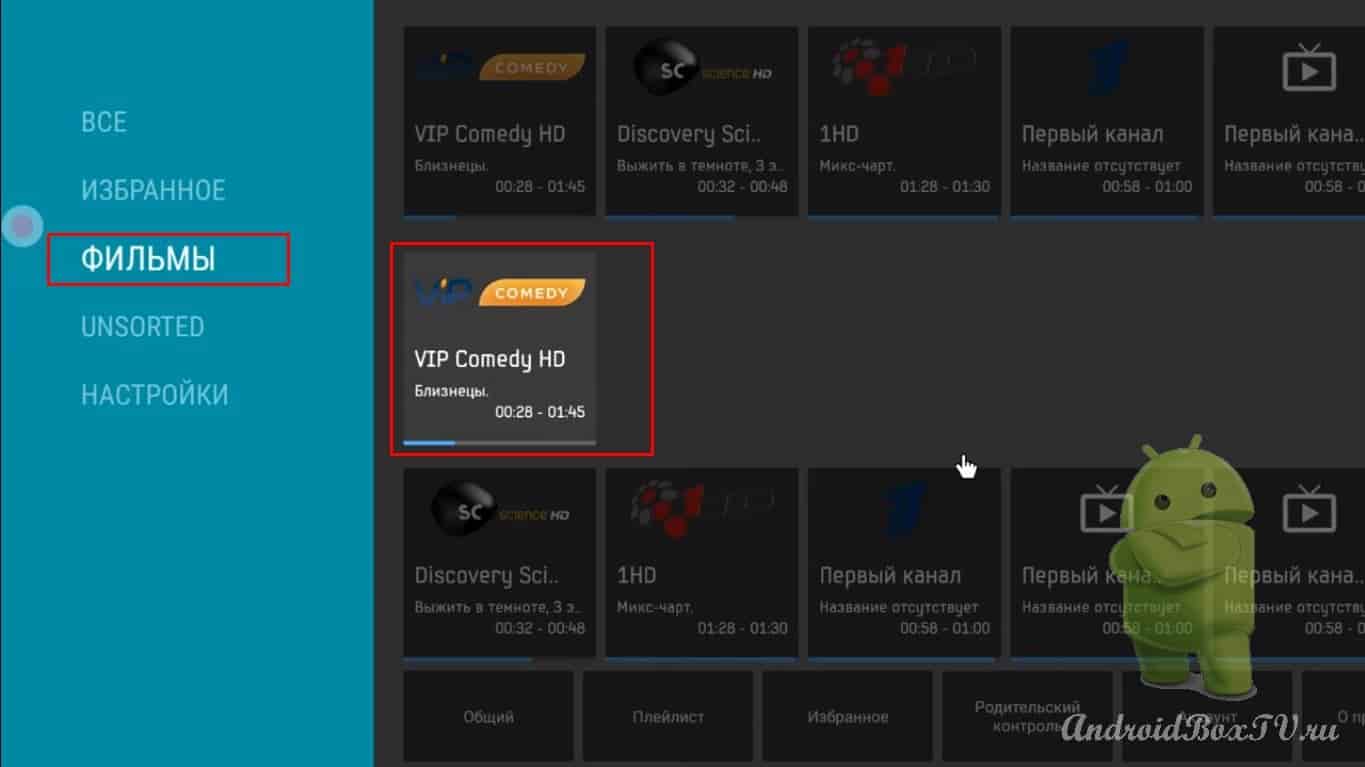
Now let's select some channel without a logo, at the same time we'll see how to add a logo on a set-top box. Let's VIP COMEDY HD. Click on the gear:
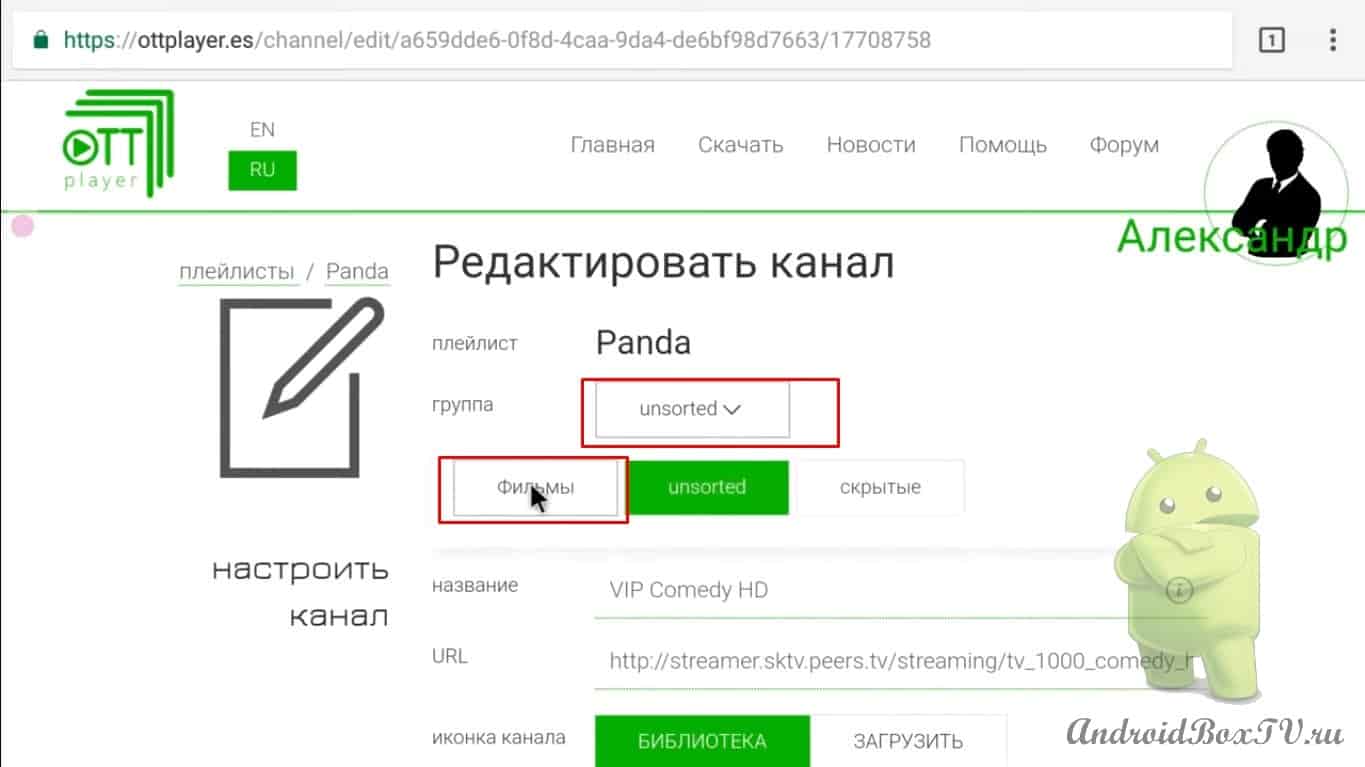
And select the created group "movies":
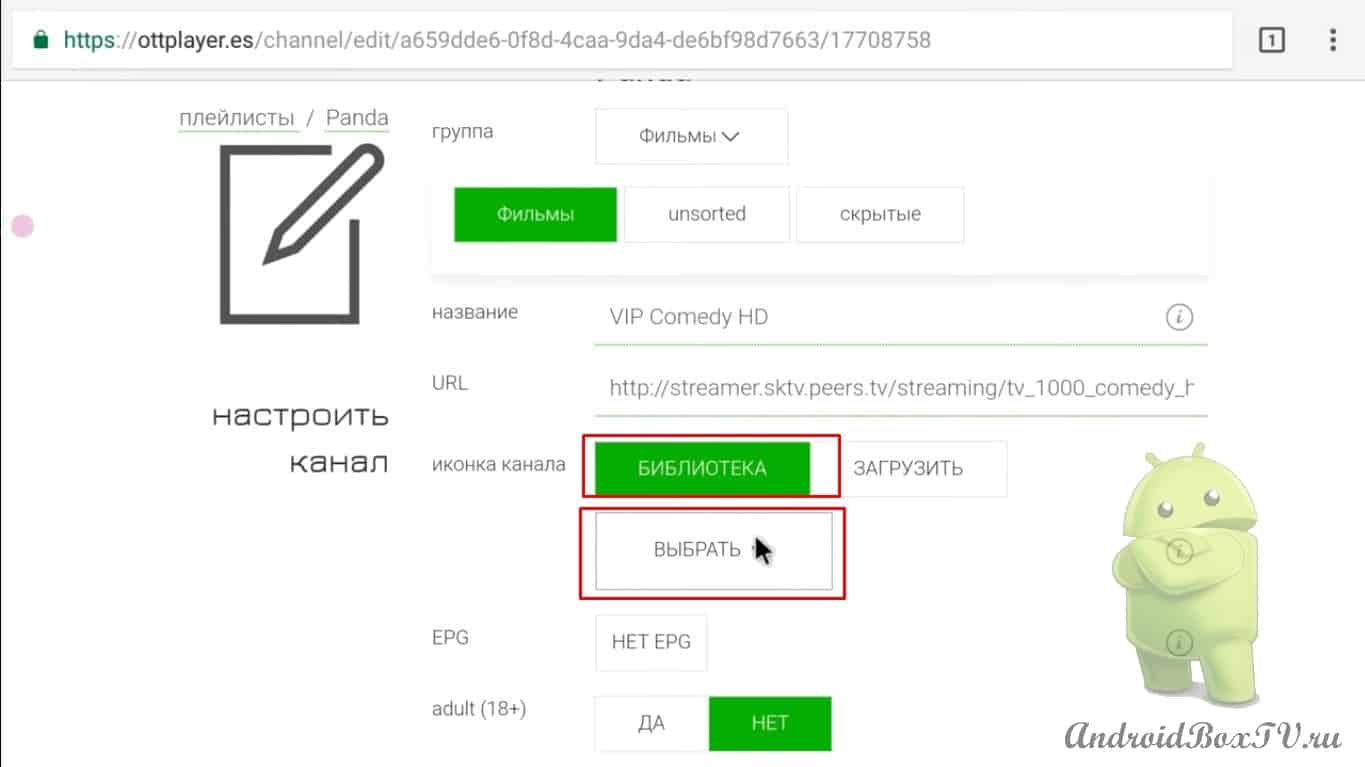
From the library:
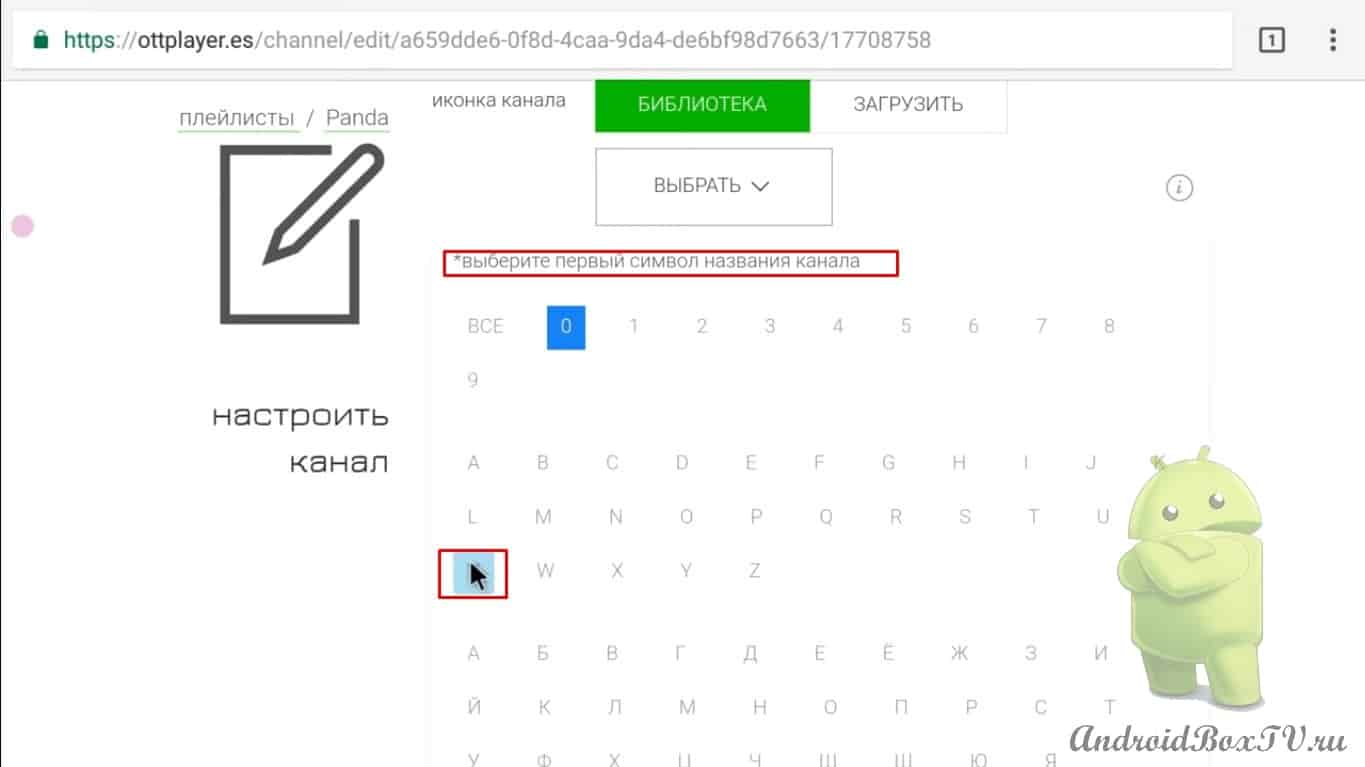
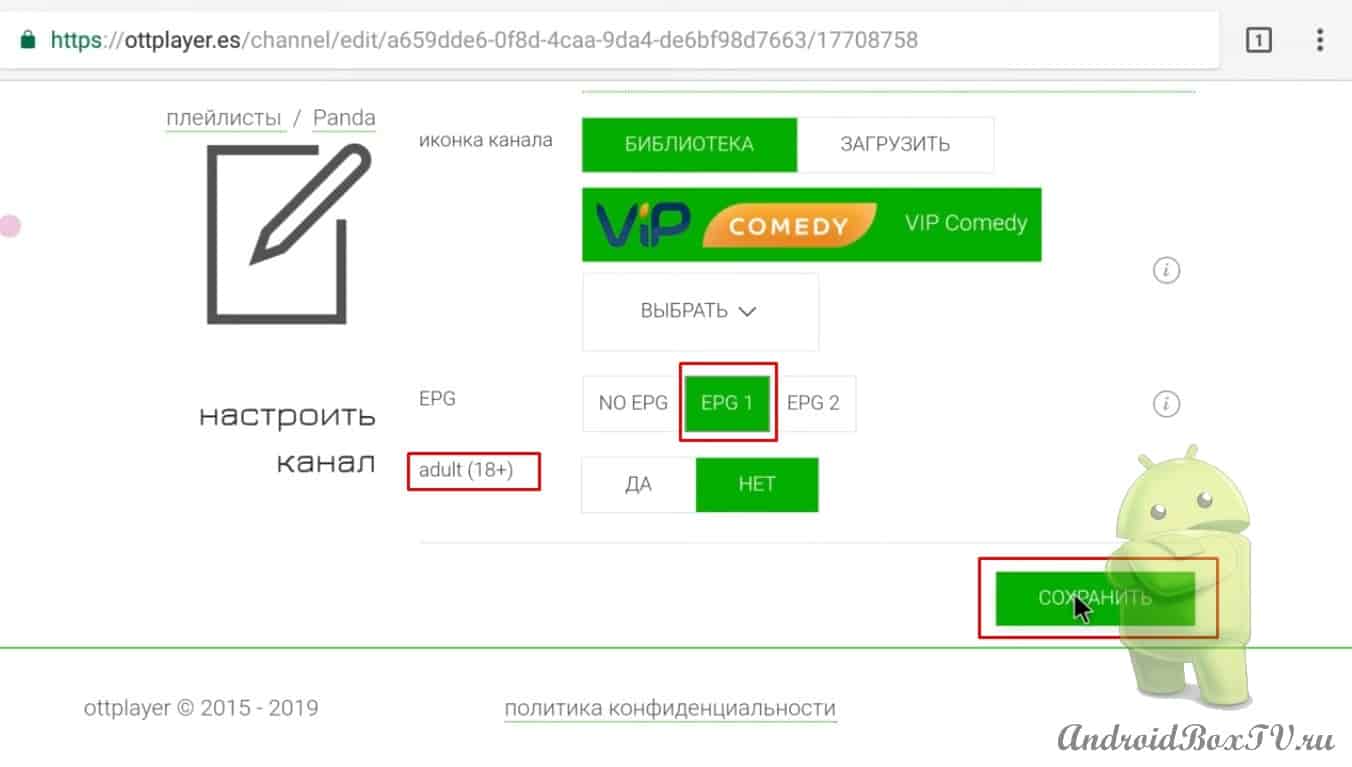
Let's add a logo, for this we specify the first group of the channel name (V):
Here it is VIP COMEDY HD:
A logo was added and immediately it became possible to turn on the TV guide and add an age limit. Click save:
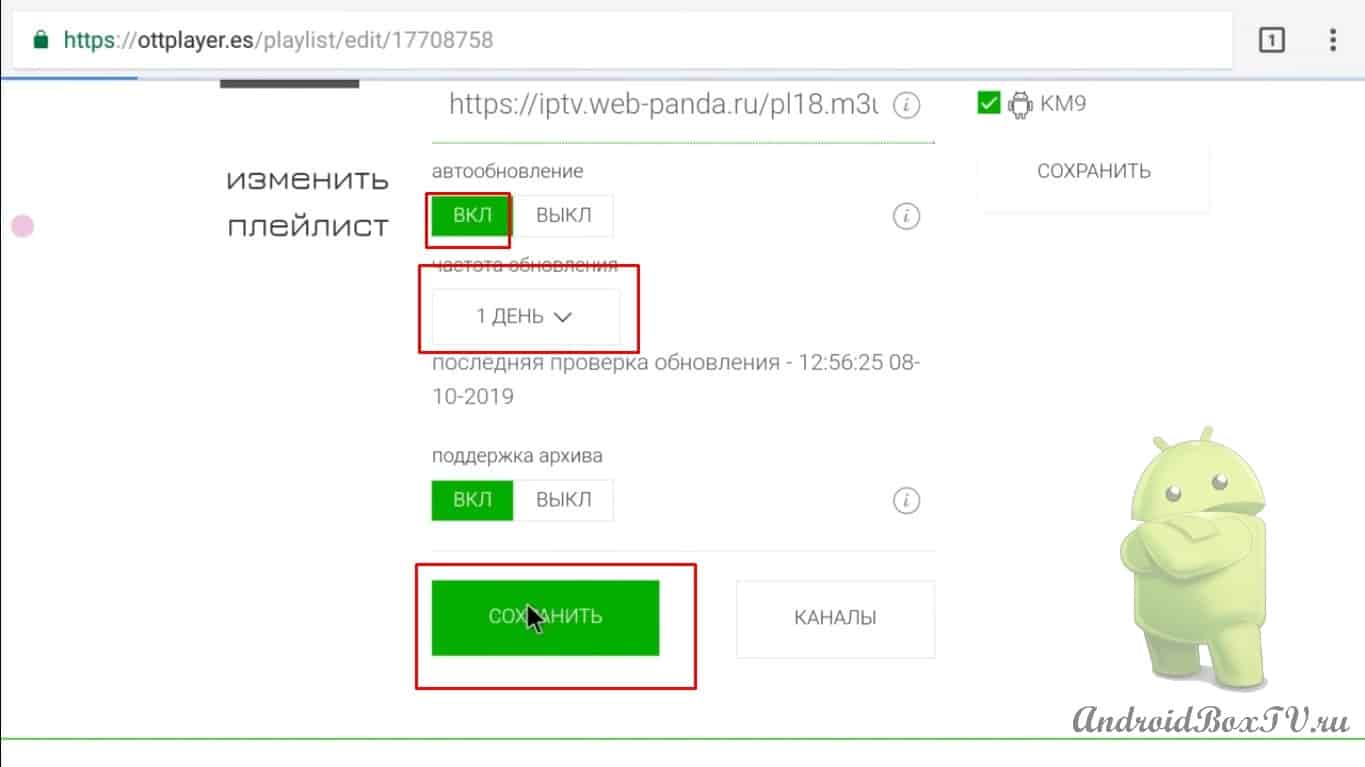
You can also add a channel to a group here. It seems even more convenient here if you have already created groups. Let's go edit:
Turn on auto-updates. Otherwise, the playlist will not be updated. Let's leave one day and "Save":
All included auto-update. Let's close everything and get out of here.
Open the application, click on the KM9 device. Playlists added:
We choose a playlist. It has loaded and back in "TV mode" the playlist is loaded:
Here's the channel we've added:
Let's go to the settings. Here you can do a lot, for example, choose a player:
Change screen scale:
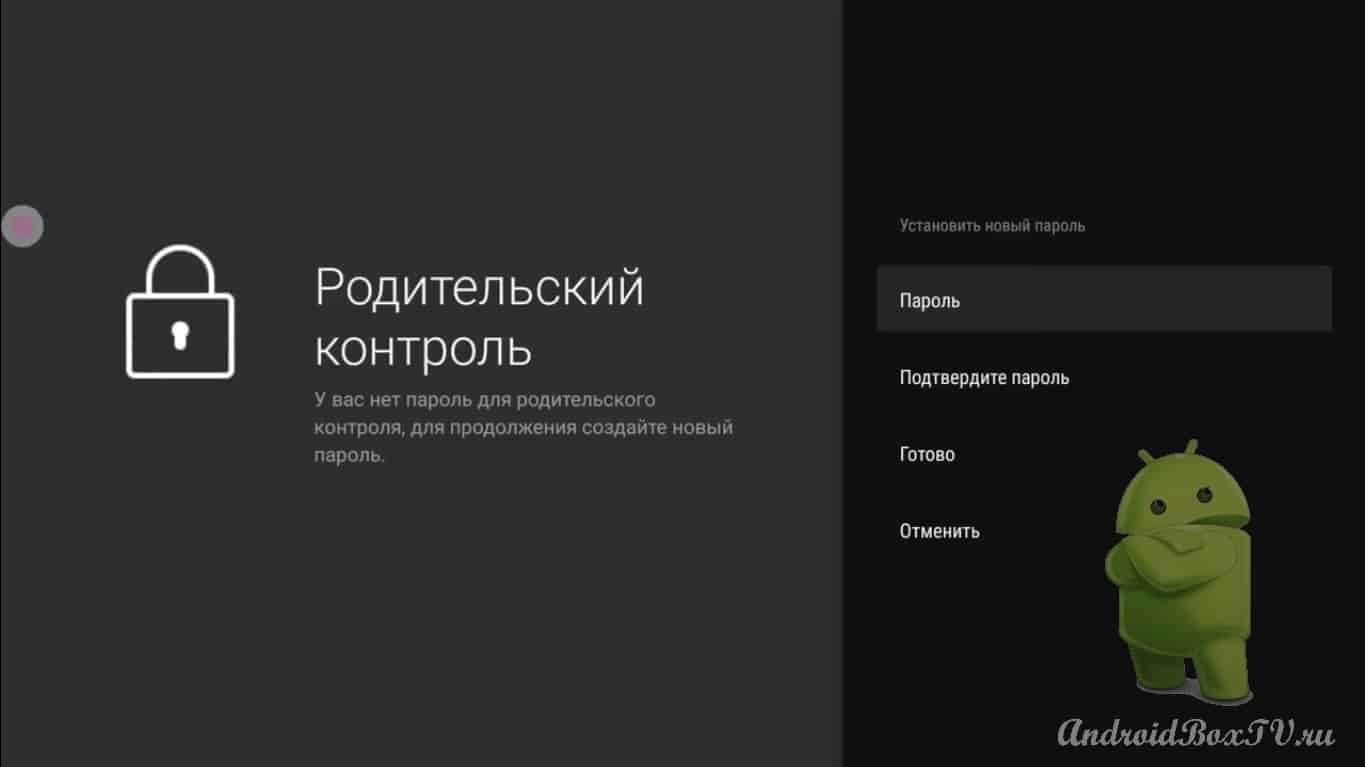
Parental control:
You can also change the playlist here.
Further, you will understand the views yourself, discussed the main nuances when working with free playlists of the android console.
Here is such an article. If you have any questions or would like to extend it, write below.
SS IPTV application and see how to add your playlist in it. Both on the app and on the website. This application has the ability to view channels from your ISP, if such a service is available.
The application is fully adapted to the remote control, it is possible to create a list of favorite channels, and the channels work from different playlists.
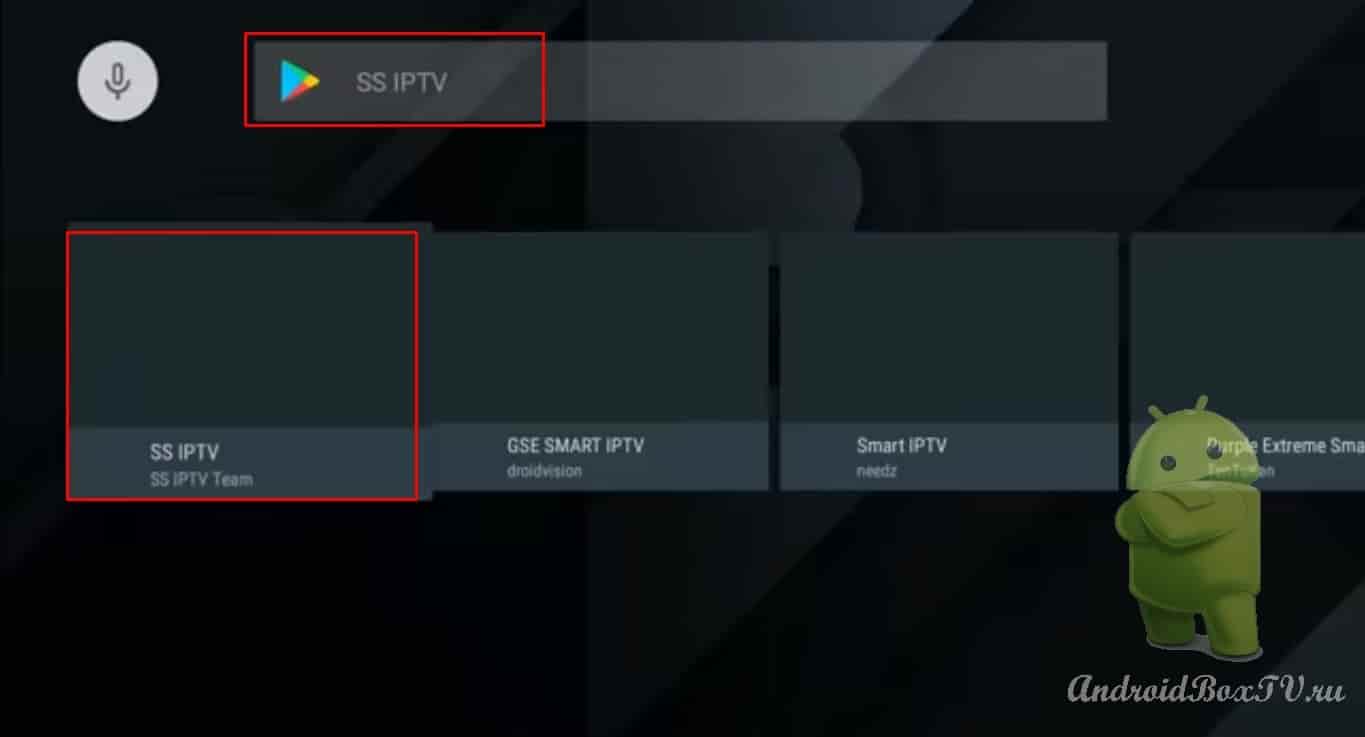
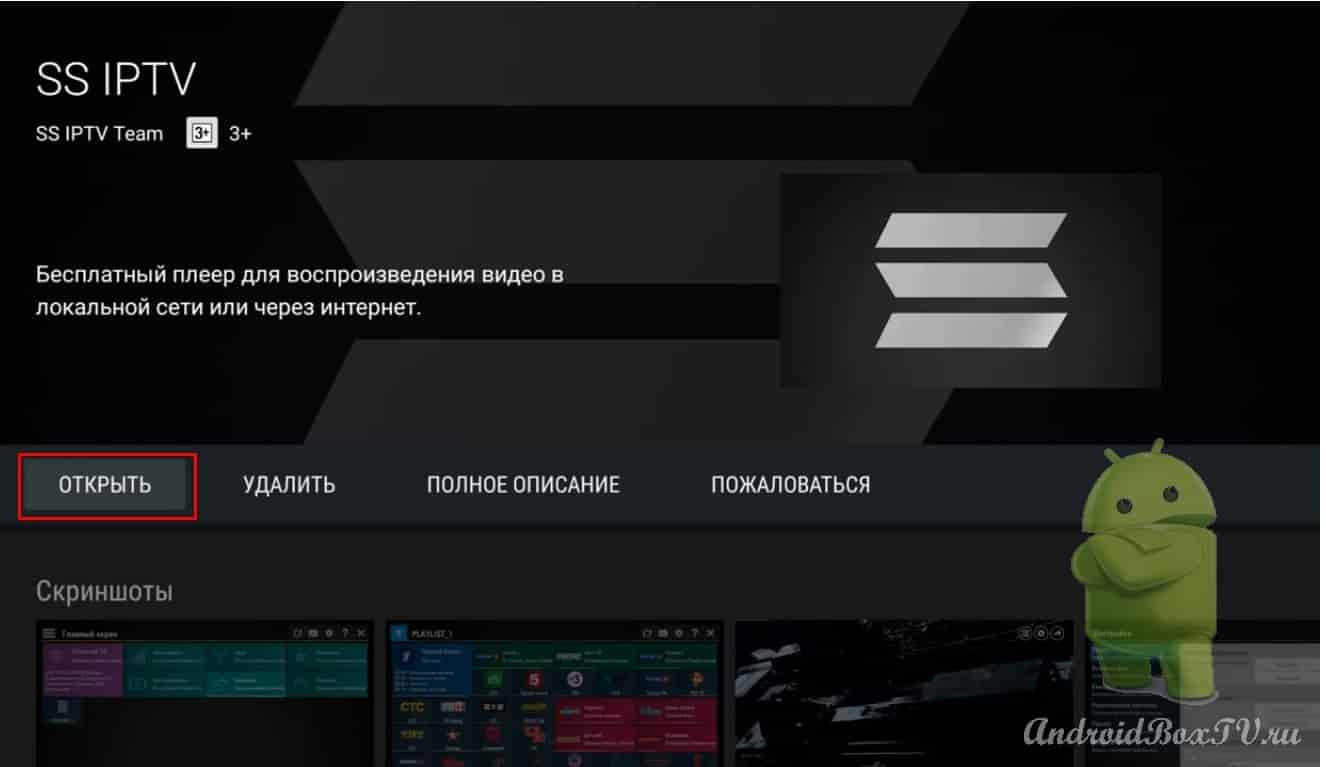
Let's install. We open the Play Store in the search, we type "SS IPTV" here is this application:
Install:
Downloading. Installed. We open. Accept:
It is better to use the mouse quickly, I can do everything with the remote control.
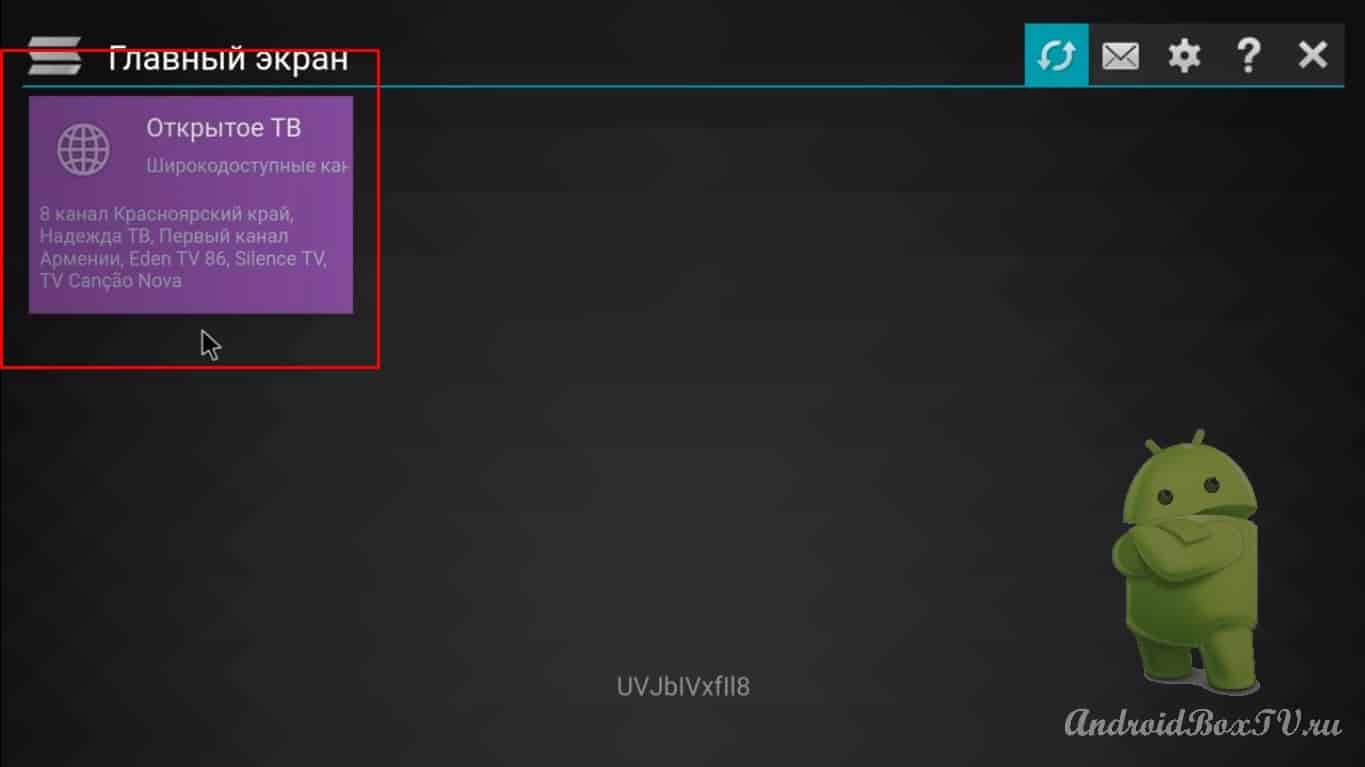
So these are free channels:
They are freely available, if your provider is not defined, you must manually enter. Now let's go to the settings:
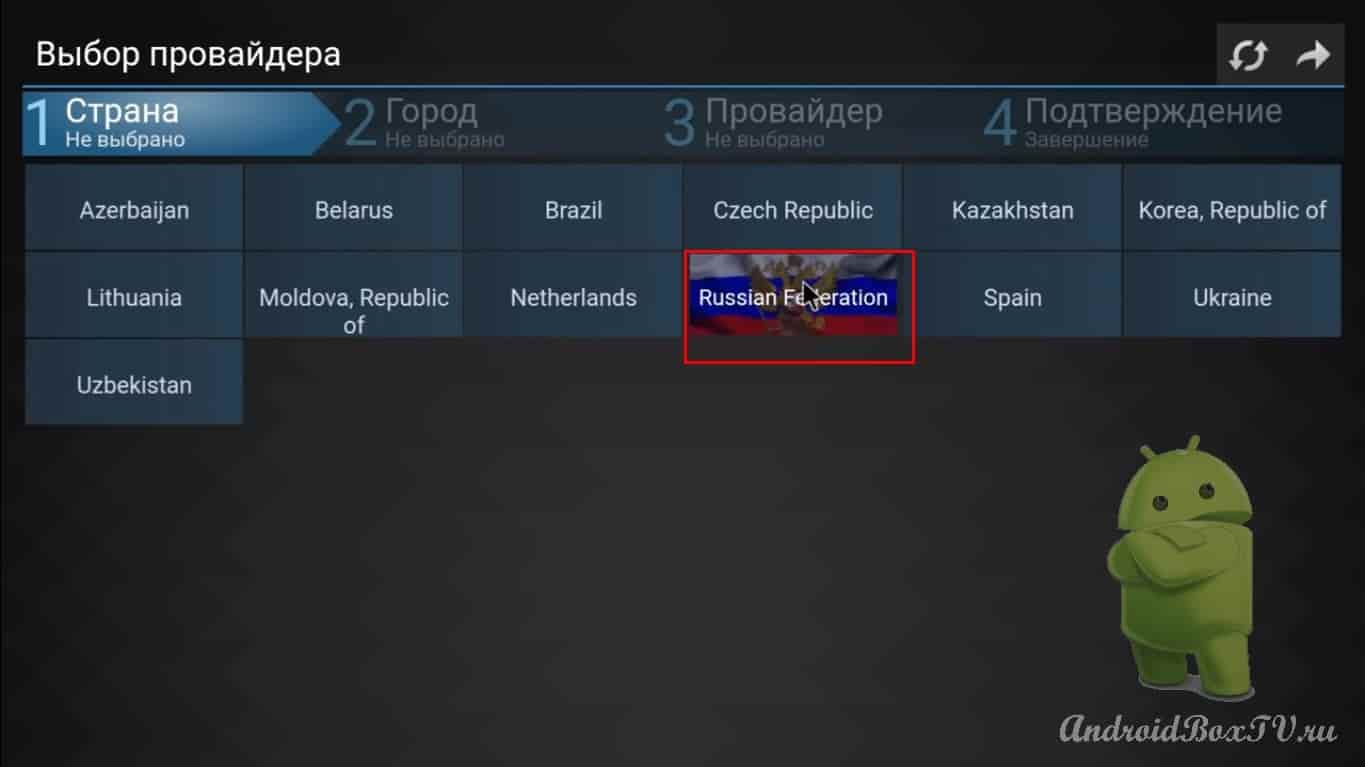
Select the country, then the city and your provider:
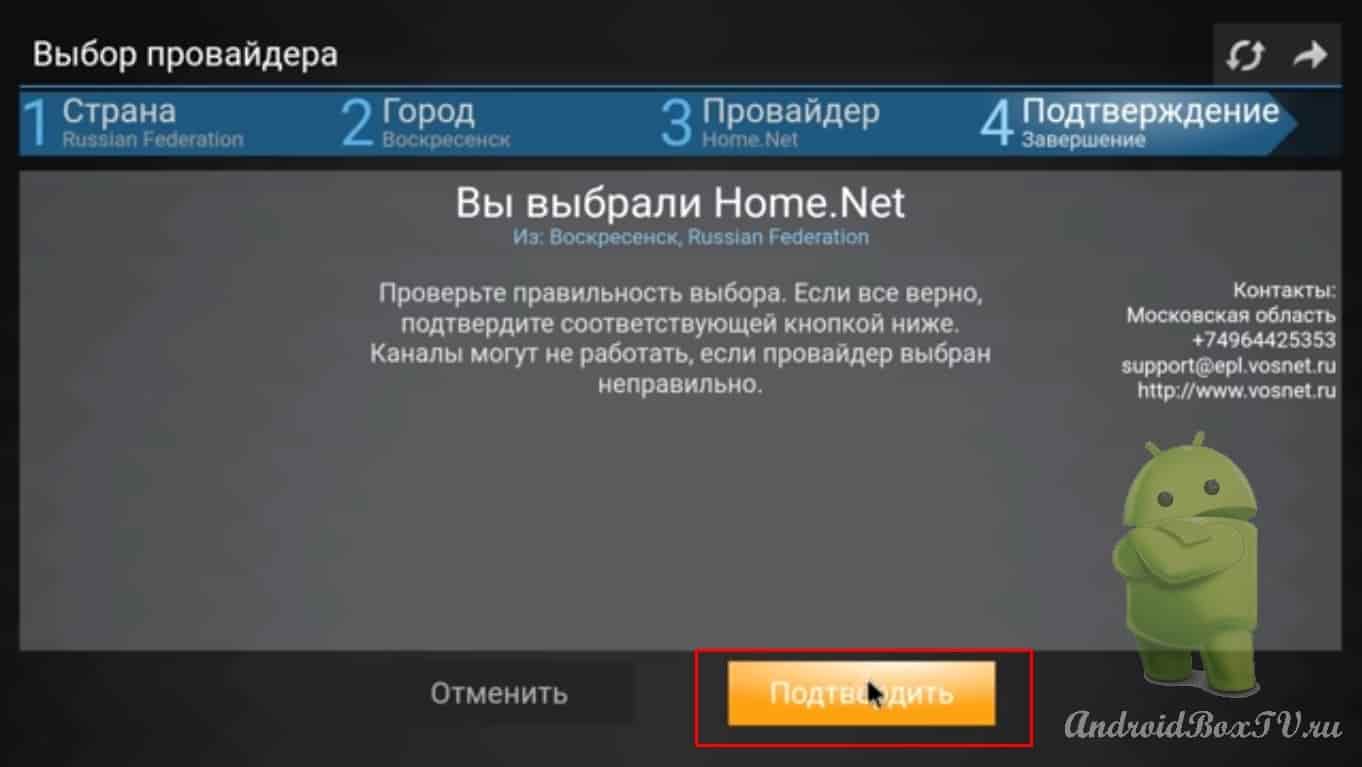
Confirm:
Let's go back to the main menu of SS IPTV for Android TV. Let's open. Let's see:
Here are how many channels are free:
For a full package of channels, you will have to pay an average of 100 rubles.
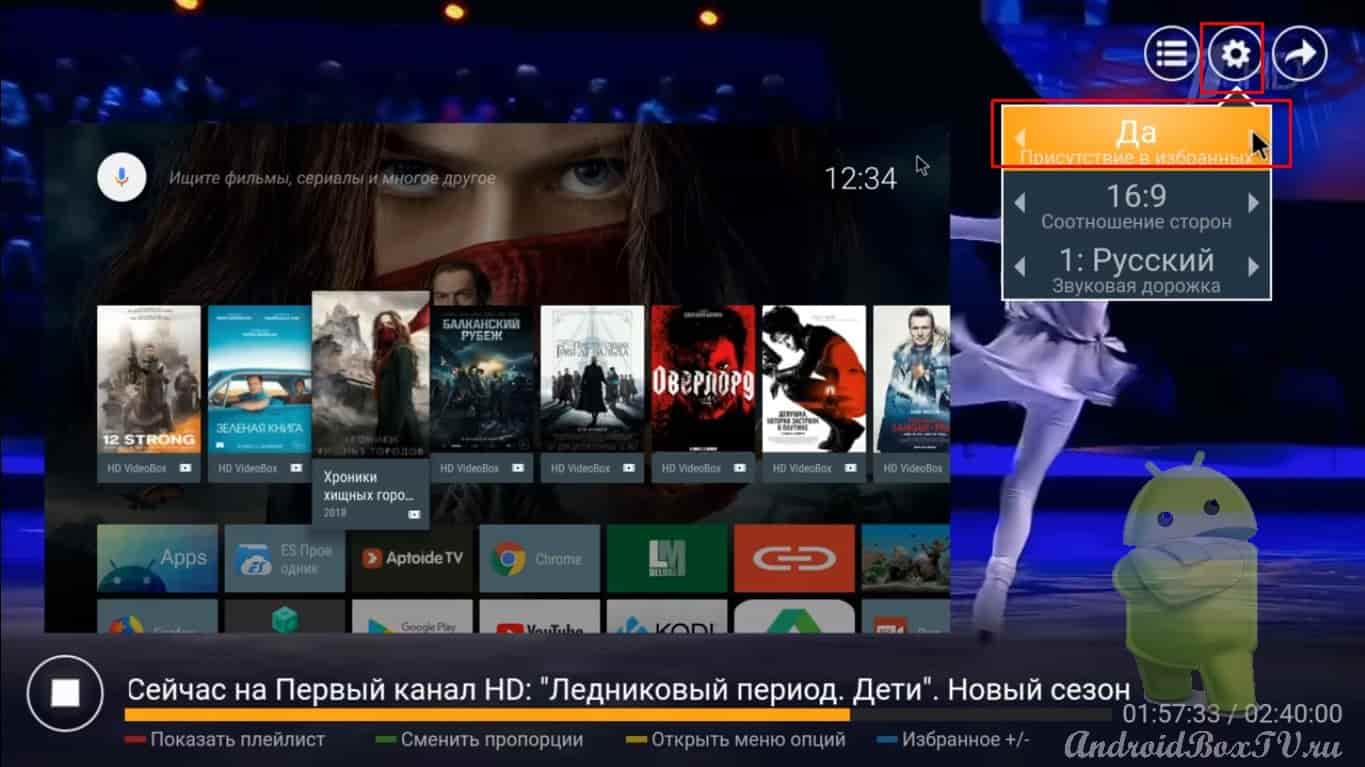
Who on the remote control has colored buttons, you can use the blue button to add a channel to the favorites list. Or this option: click here and add:
In the same menu, the format is changed and the audio track is selected (if possible).
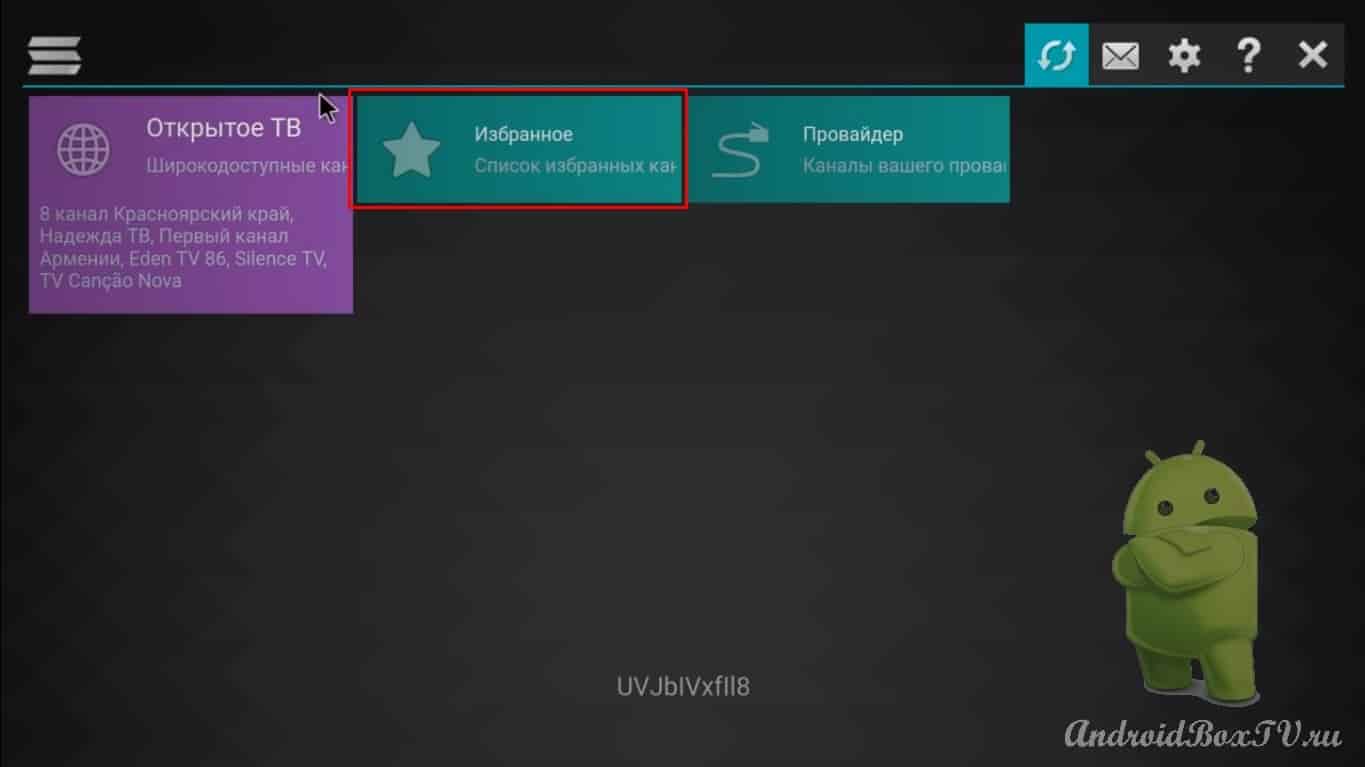
Let's go back - here is a list of favorites, and here you can add channels from different playlists:
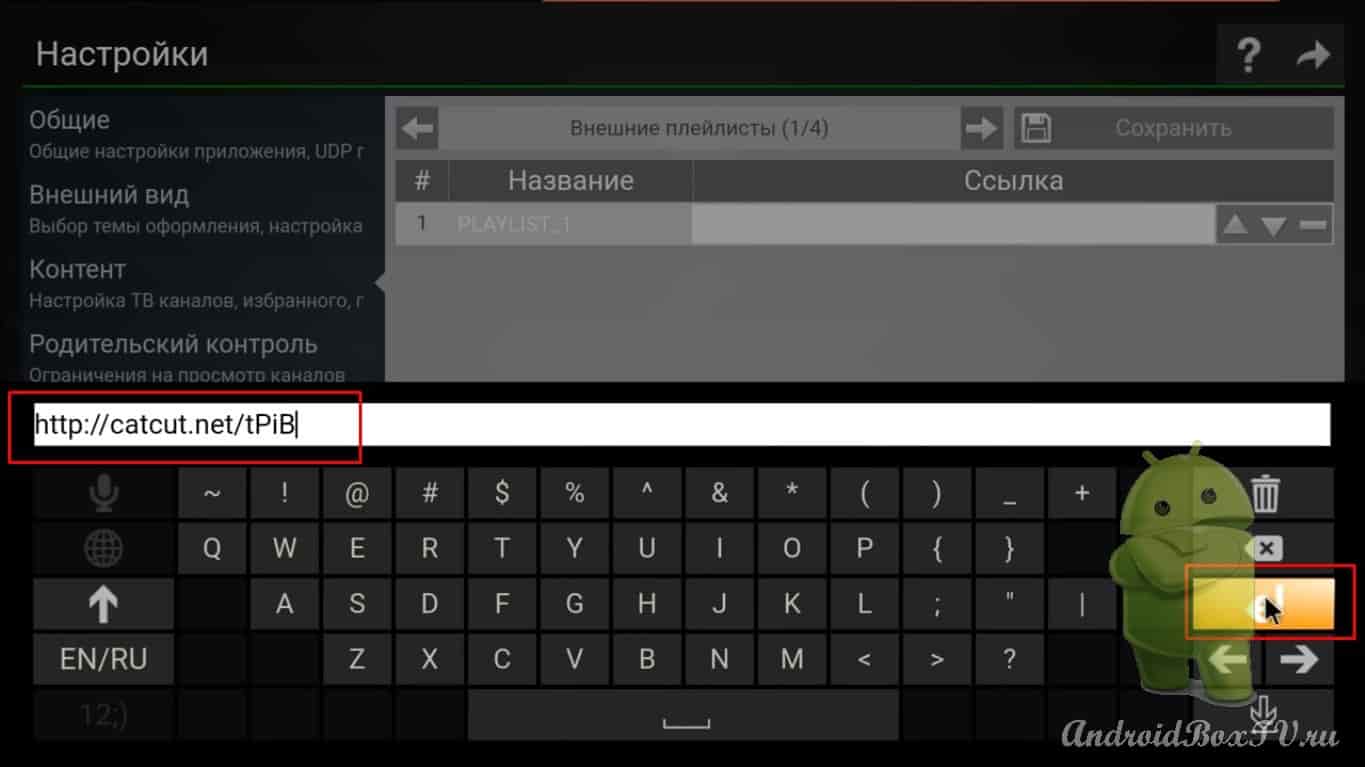
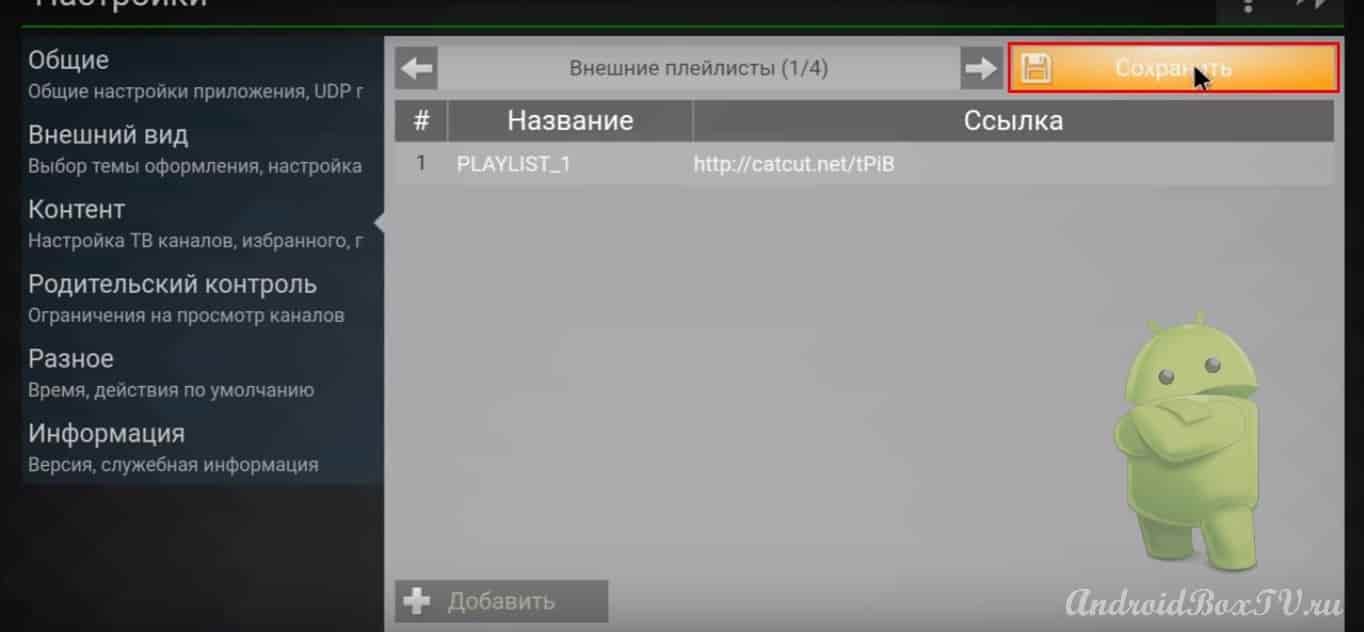
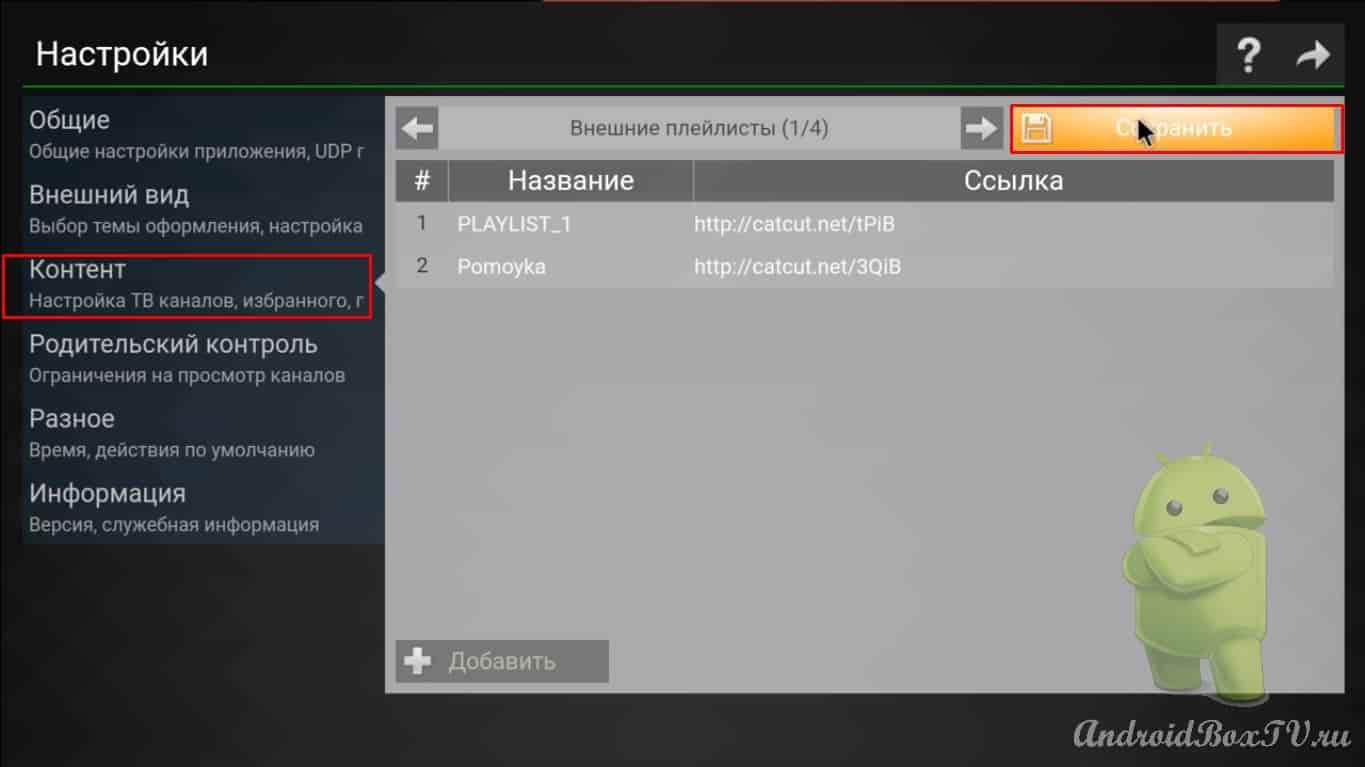
Let's go back to the settings. Content. Click to add:
Let's add a playlist now: And enter the address. Links to download playlists hereorhere(long), short to fit:
This is a shortened link to an internal playlist. Now click save:
Added playlist, open:
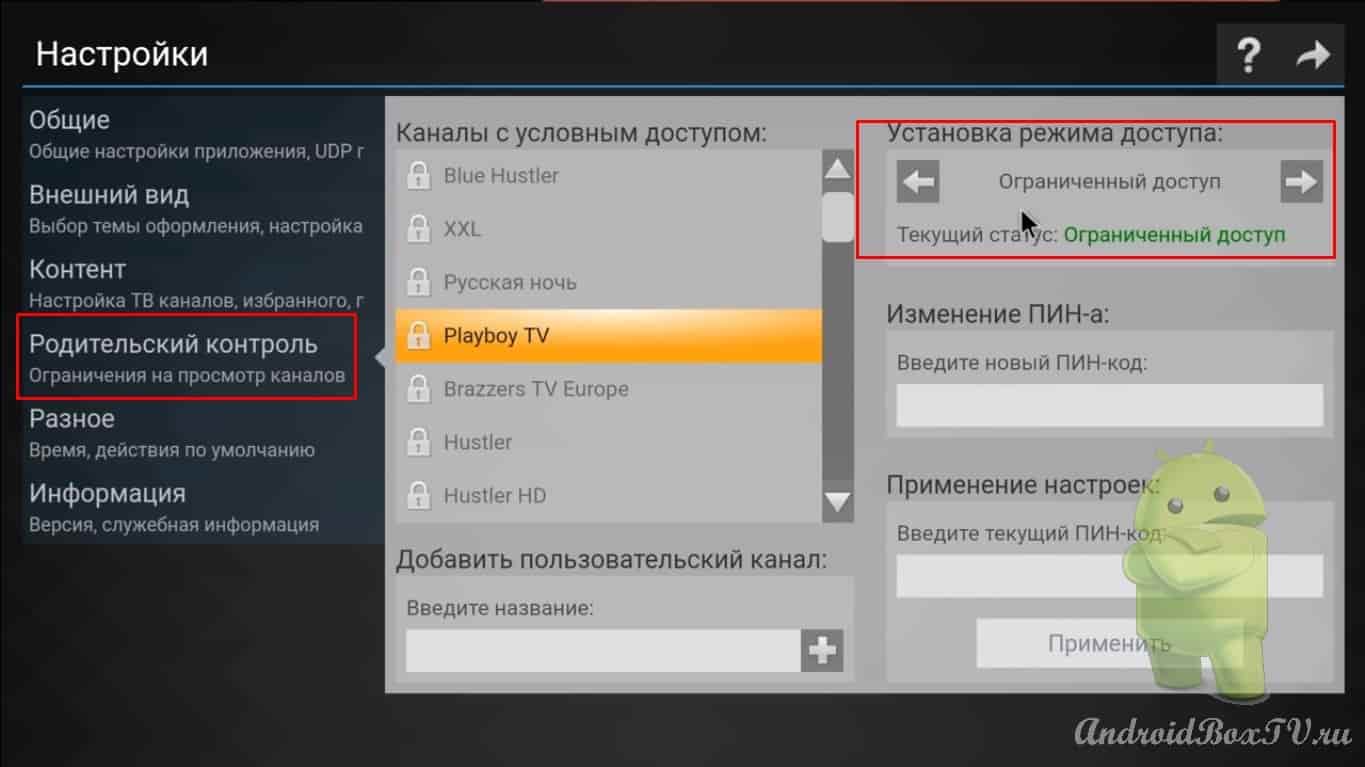
Once again, let's go to the settings and see the parental control, there is limited access. Let's change this now:
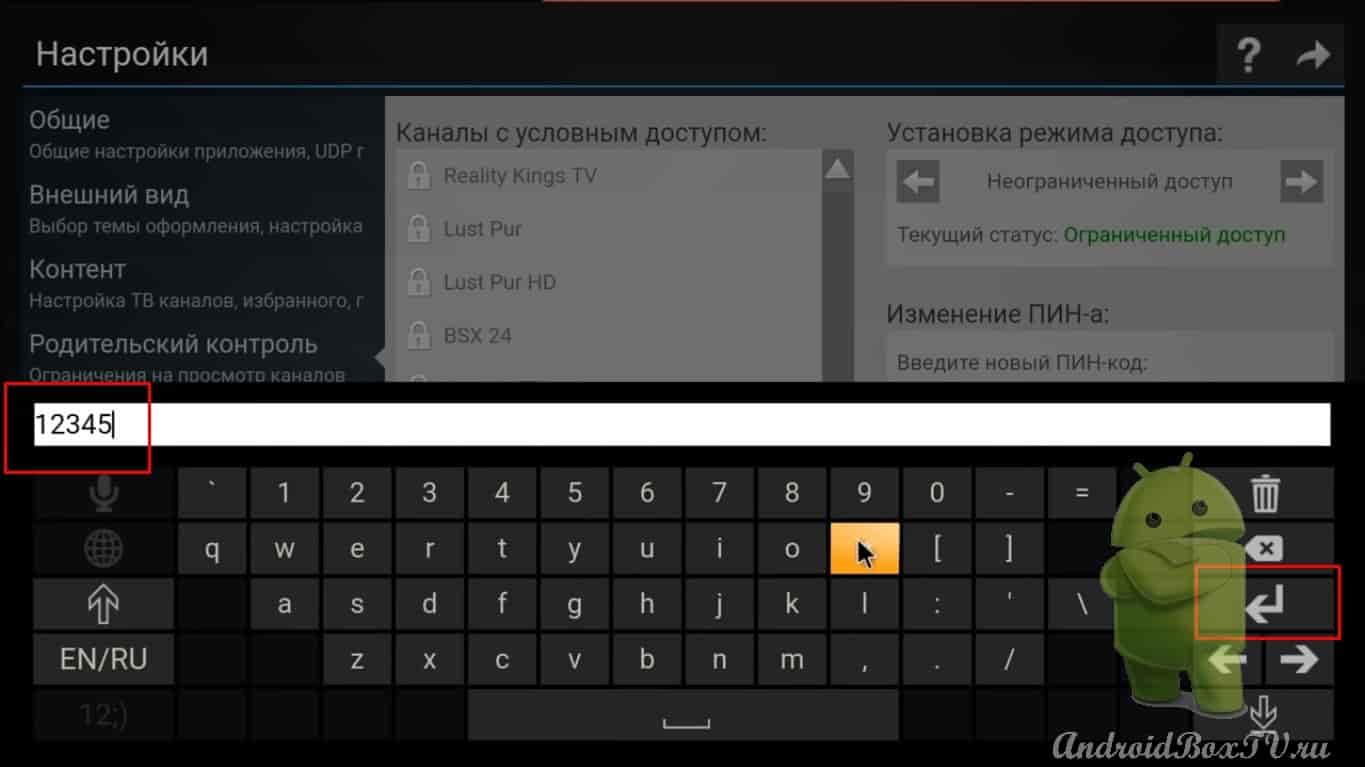
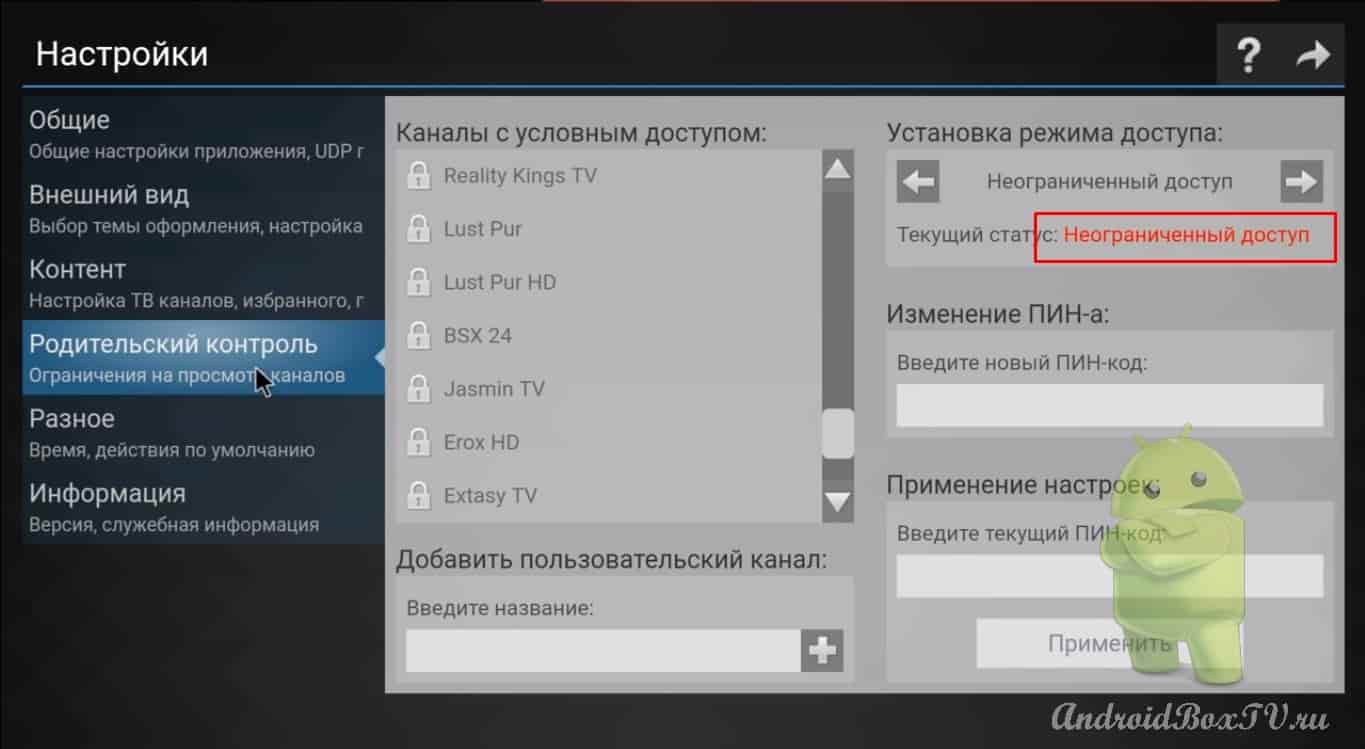
The channels are set by default in the app. 18+ you can create a pin code yourself. Your default value is 12345. Enter, click save and we have unlimited access:
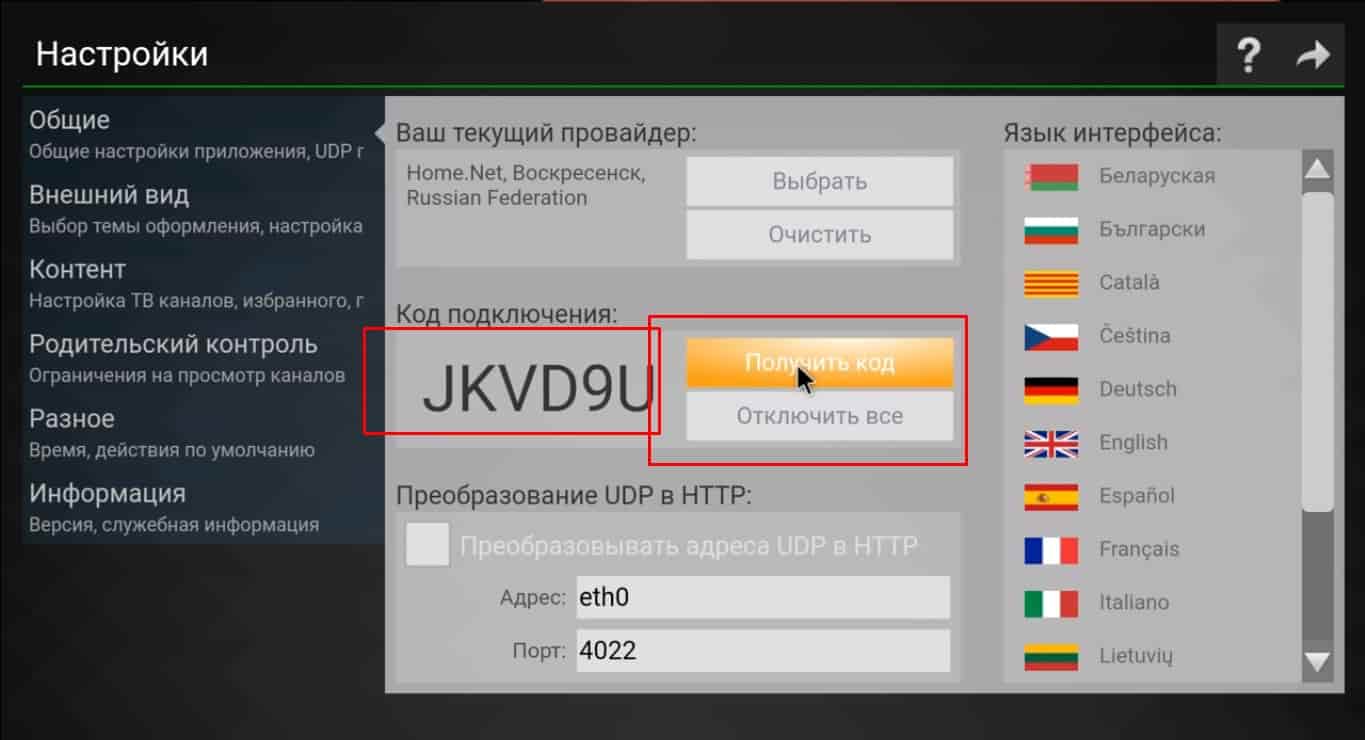
Now we will get the code to add a device on the site:
We wrote it down (preferably on a sheet) and exit the application. We close. The site can be accessed from any device: phone, tablet, computer. In the search, we type SS IPTV. Link to site .
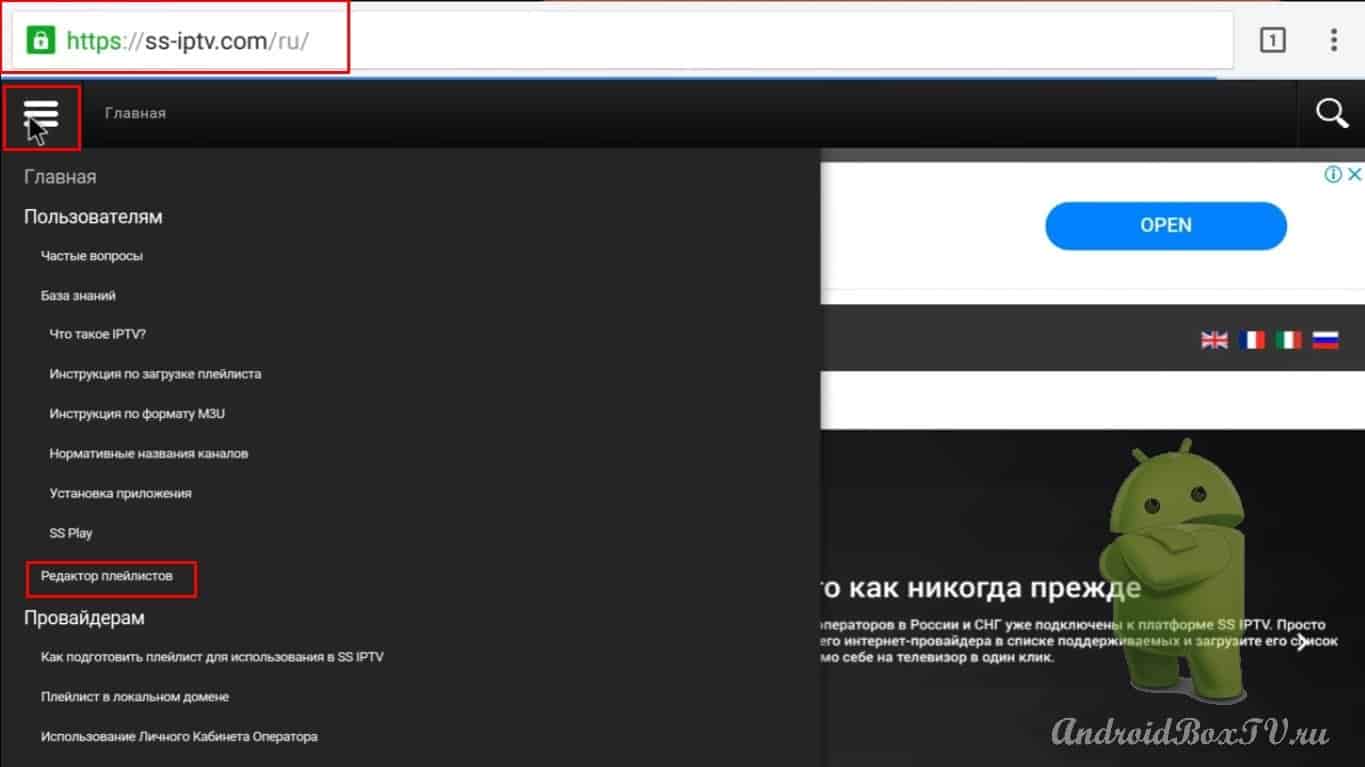
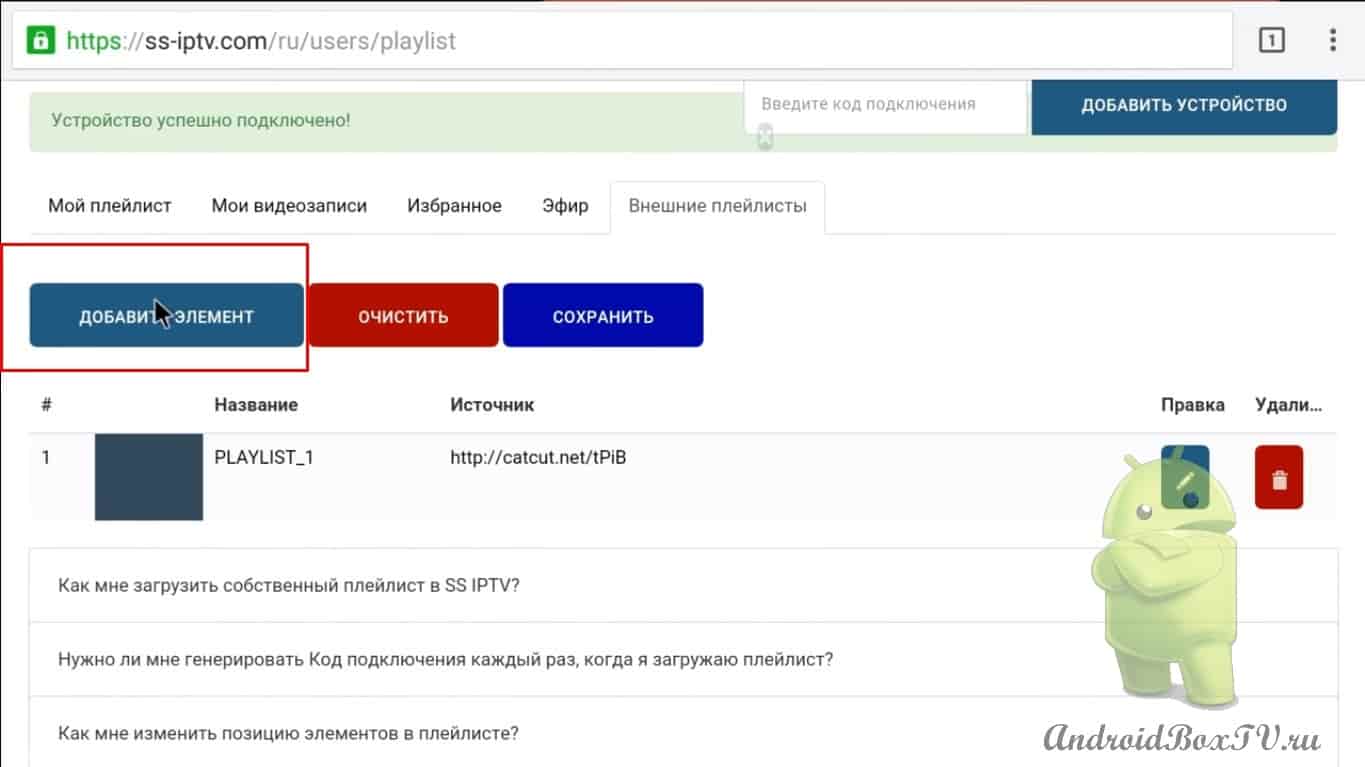
This is what the site looks like. We open the menu and we need "Playlist Editor" .
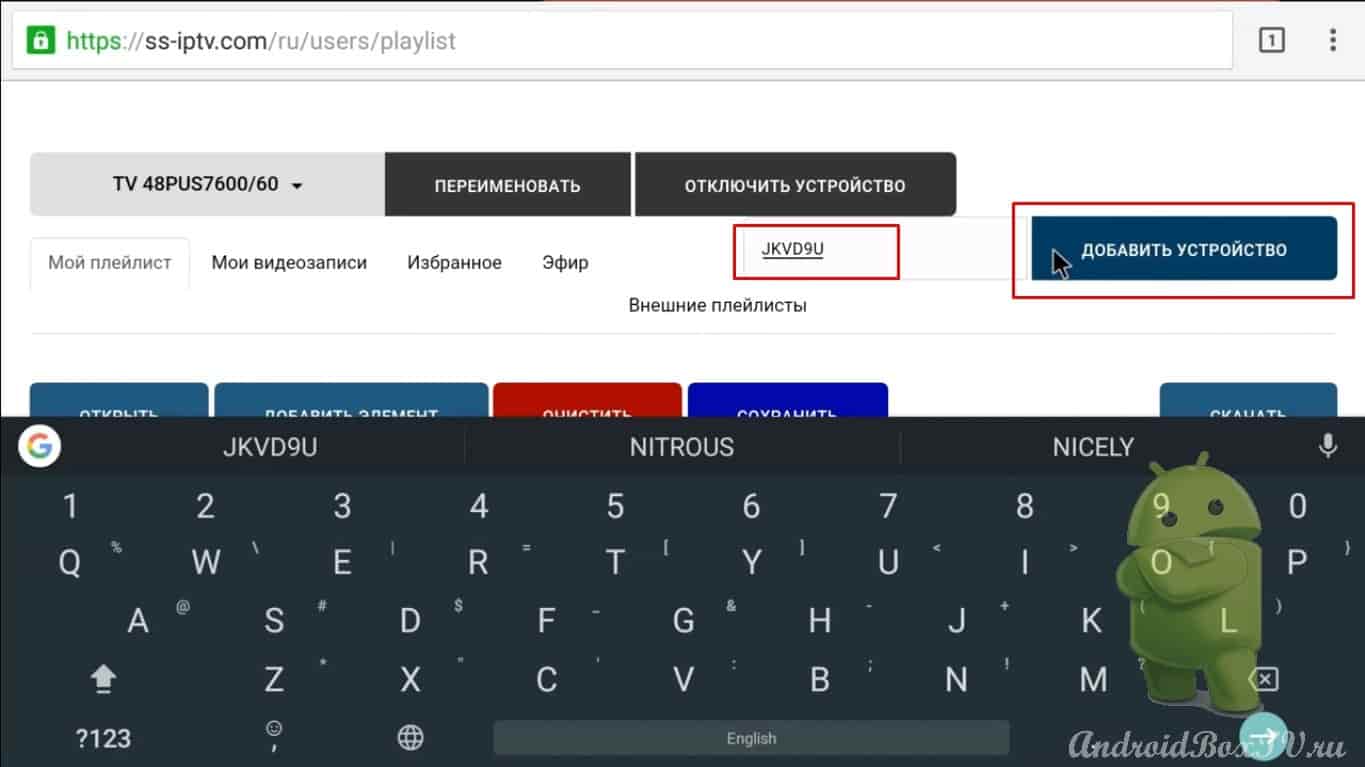
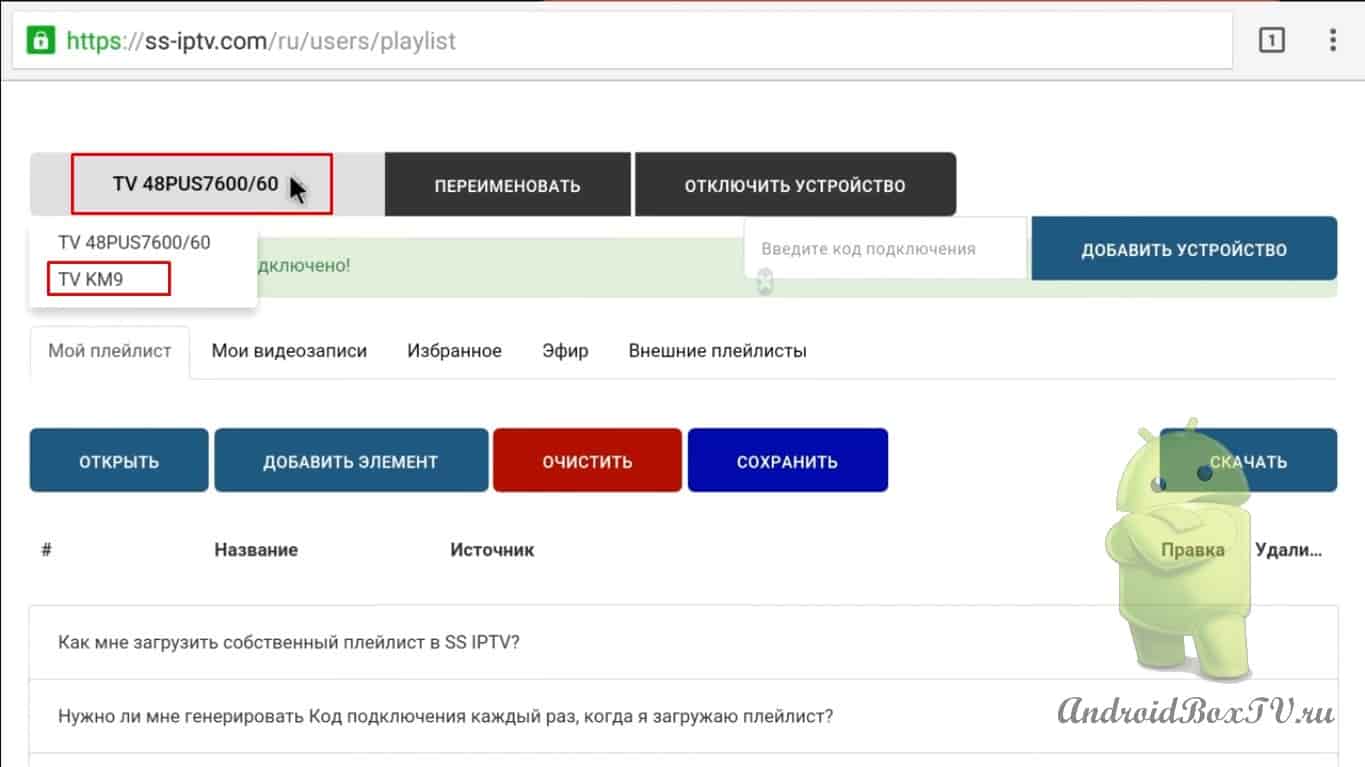
Here I have a TV already added here, now we are executing the code from the application on the console:
Entered. Click add device. Added. We open. Here comes the attachment:
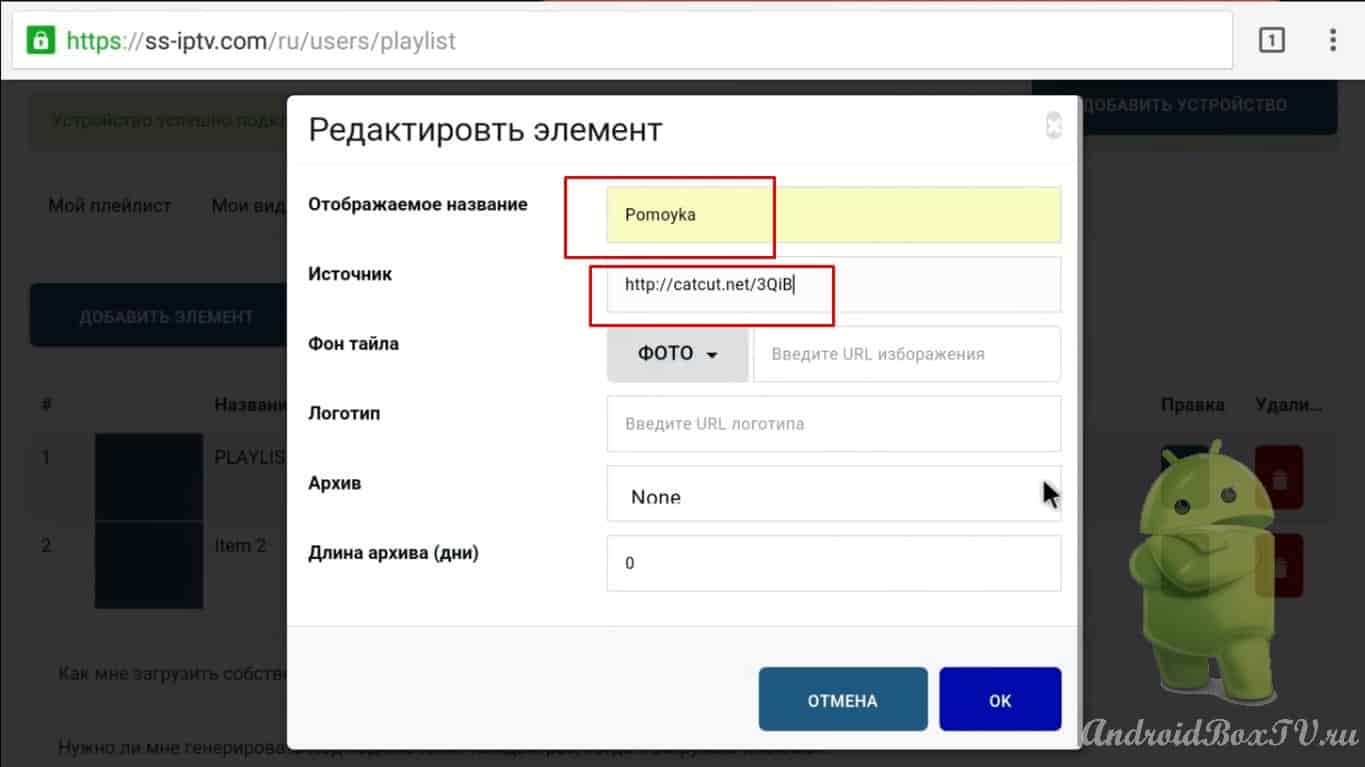
You can add playlists here, add:
Here you can write any name with this playlist:
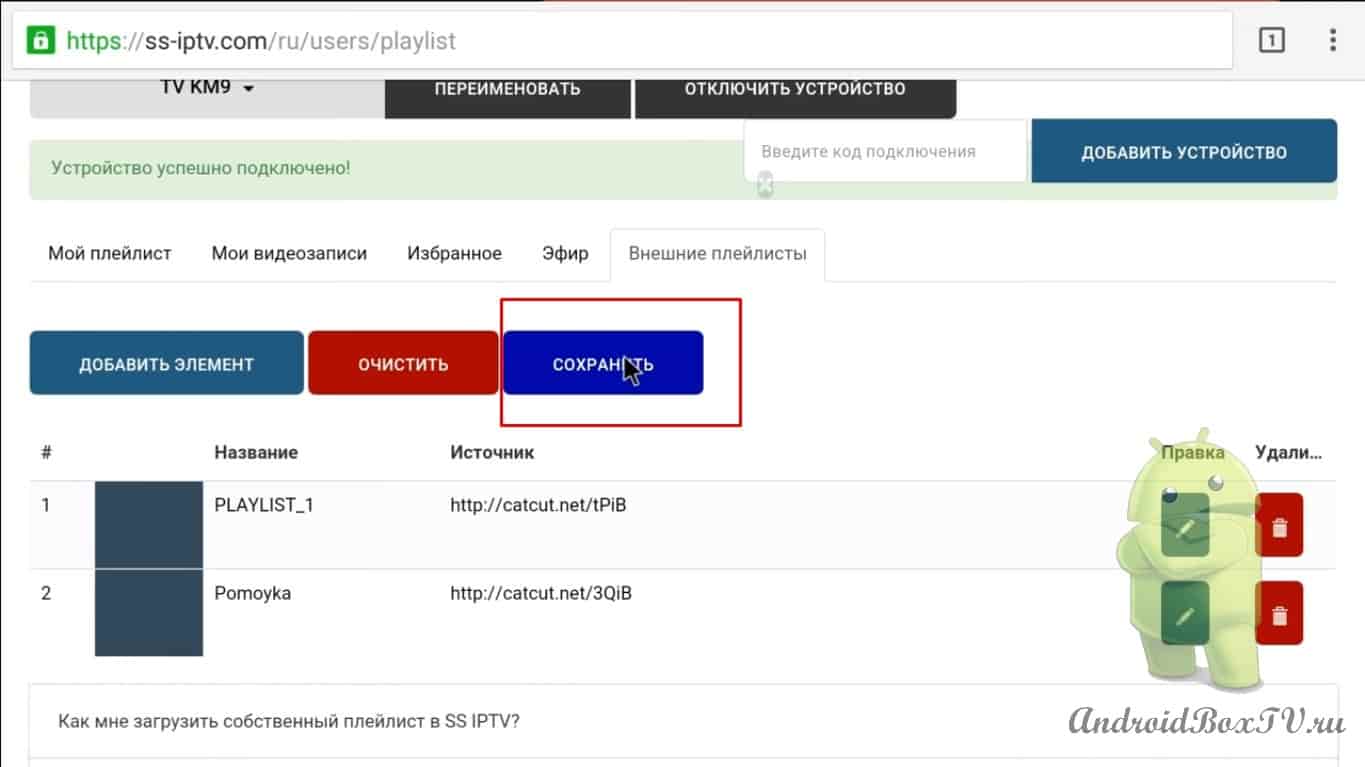
And you need to click save:
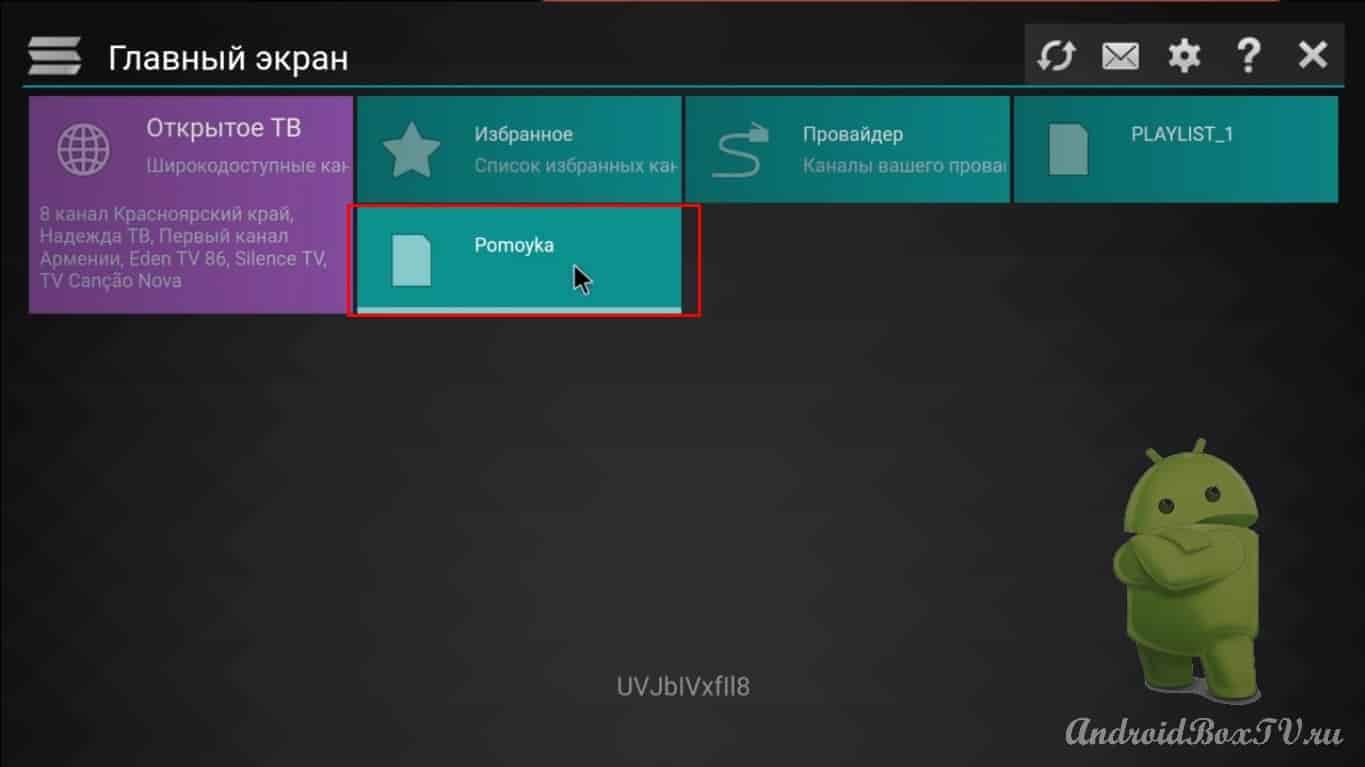
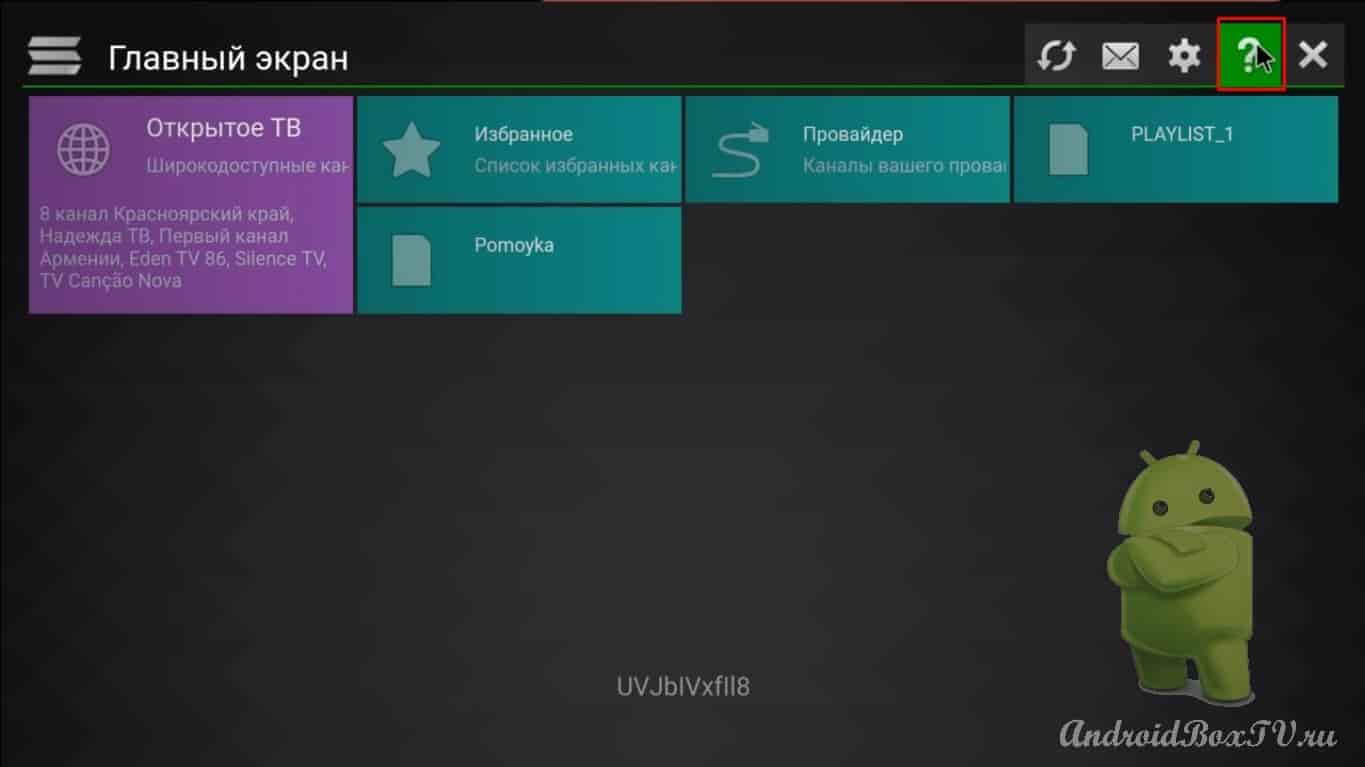
We saved and we all get out of here. And let's go back to the application and add it to the main screen. We open here it was immediately added:
If it is not added, you will need to go to the settings, content and click "save":
Here's the info:
If something is not clear how to configure what, how to add what, you can read it all here.
In principle, everything is clear. Try it, add your playlists to free TV, test the application.
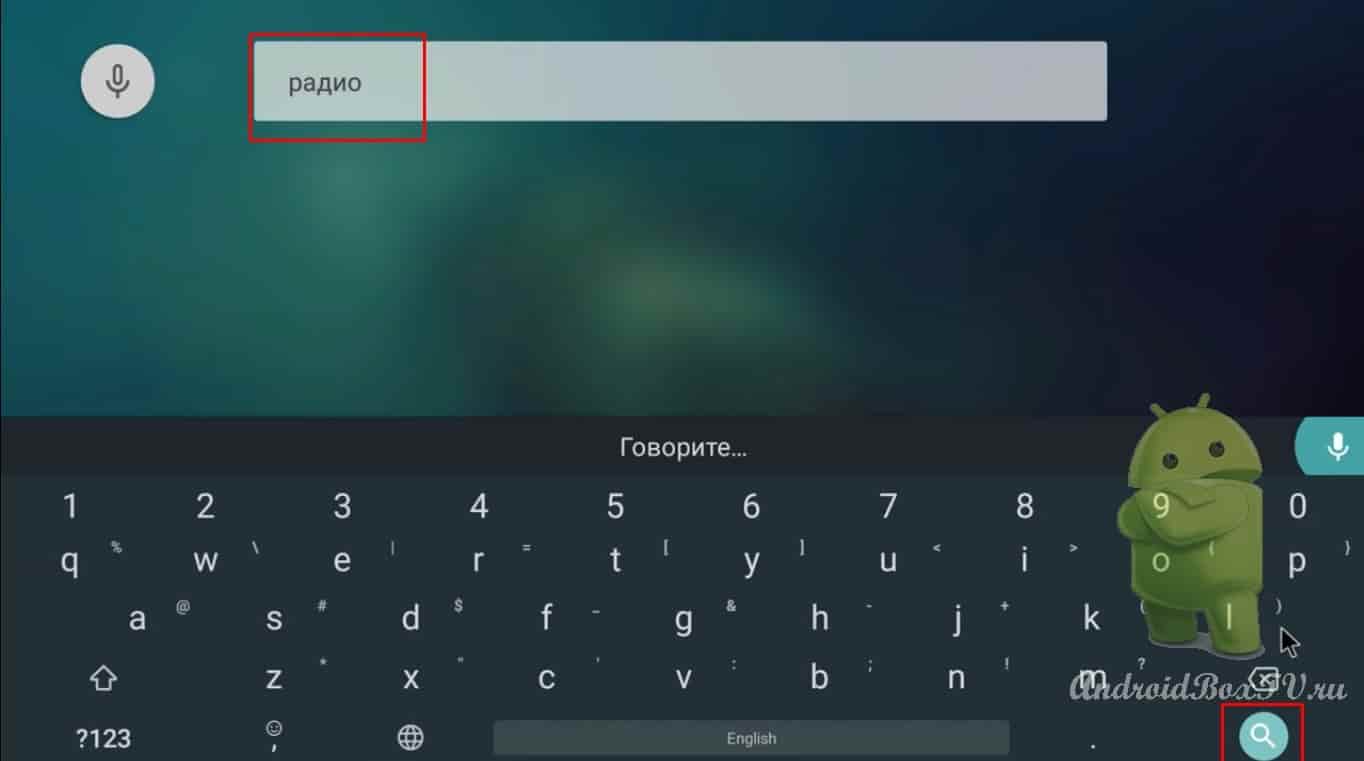
Recently there has been a request for radio. I didn’t think that someone on Android TV listens to the radio, but if so, let’s install it. Let's look at the application for listening to radio stations, it's called My Tuner Free. Download it from the Aptoide TV app store (installation of which is described here ). Open Aptoide TV in the search, type “my tuner free” or you can simply type “radio” :
Here is the application, the name may vary by region:
Install:
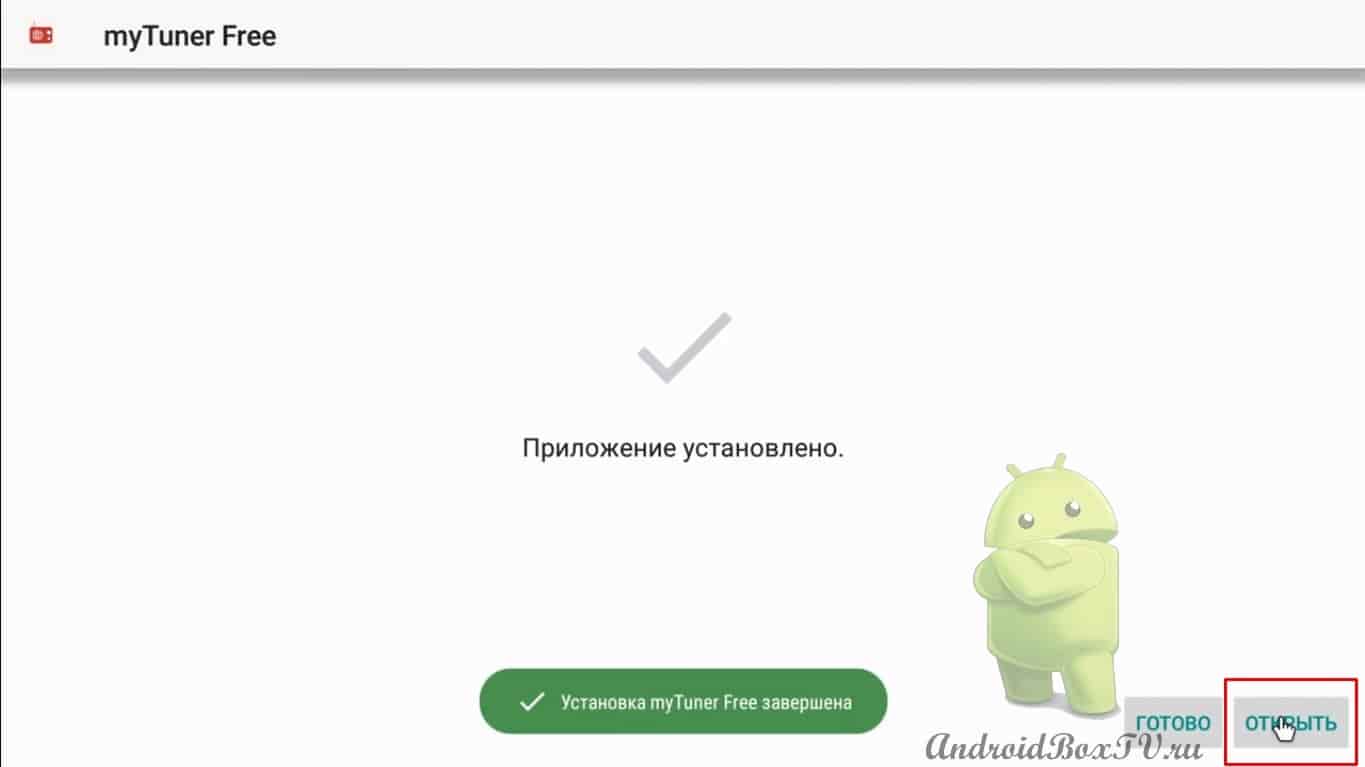
Loaded unfortunately the application does not create a shortcut. Link to the apk file , also to the folder with shortcuts, where you can find a shortcut for this application.
The application is being installed, please wait a bit. We open:
Not very conveniently done. At first, you have to resort to using the mouse, but you can skip all this. We select the radio stations we need. Claimed 50,000 but not tested:
We mark podcasts with stars, also, as I understand it, these are archives of certain program radio stations:
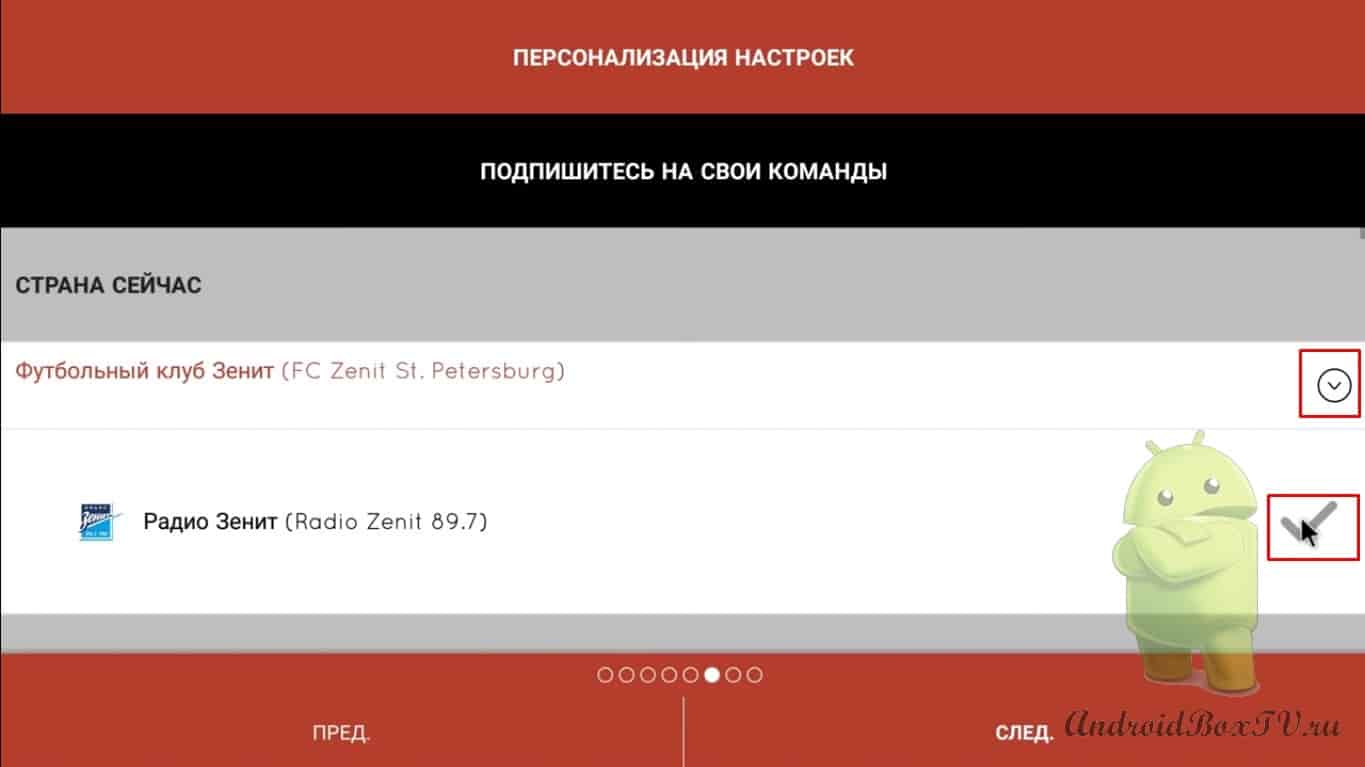
The preference is that we listen to musical genres, sports teams have their own radio stations, you can also choose:
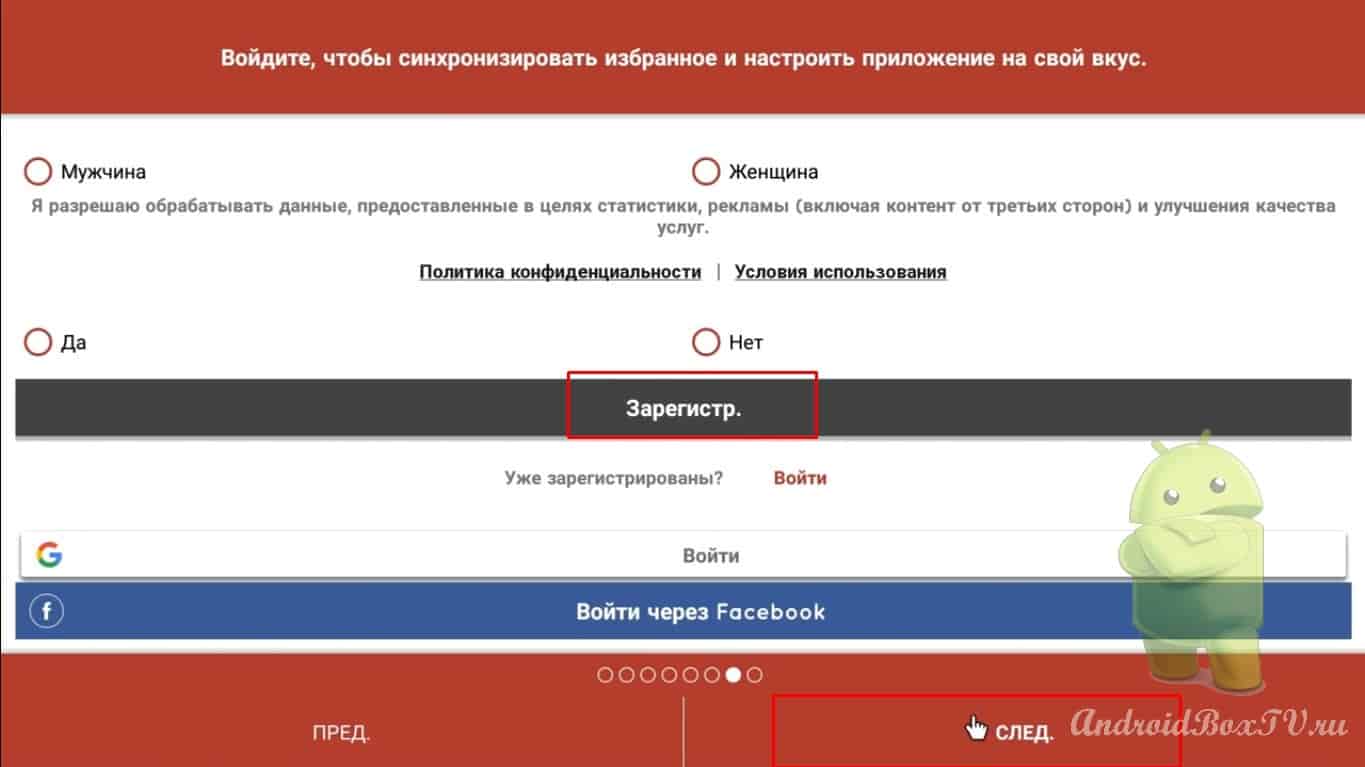
Sign up (you can sign in with your google account):
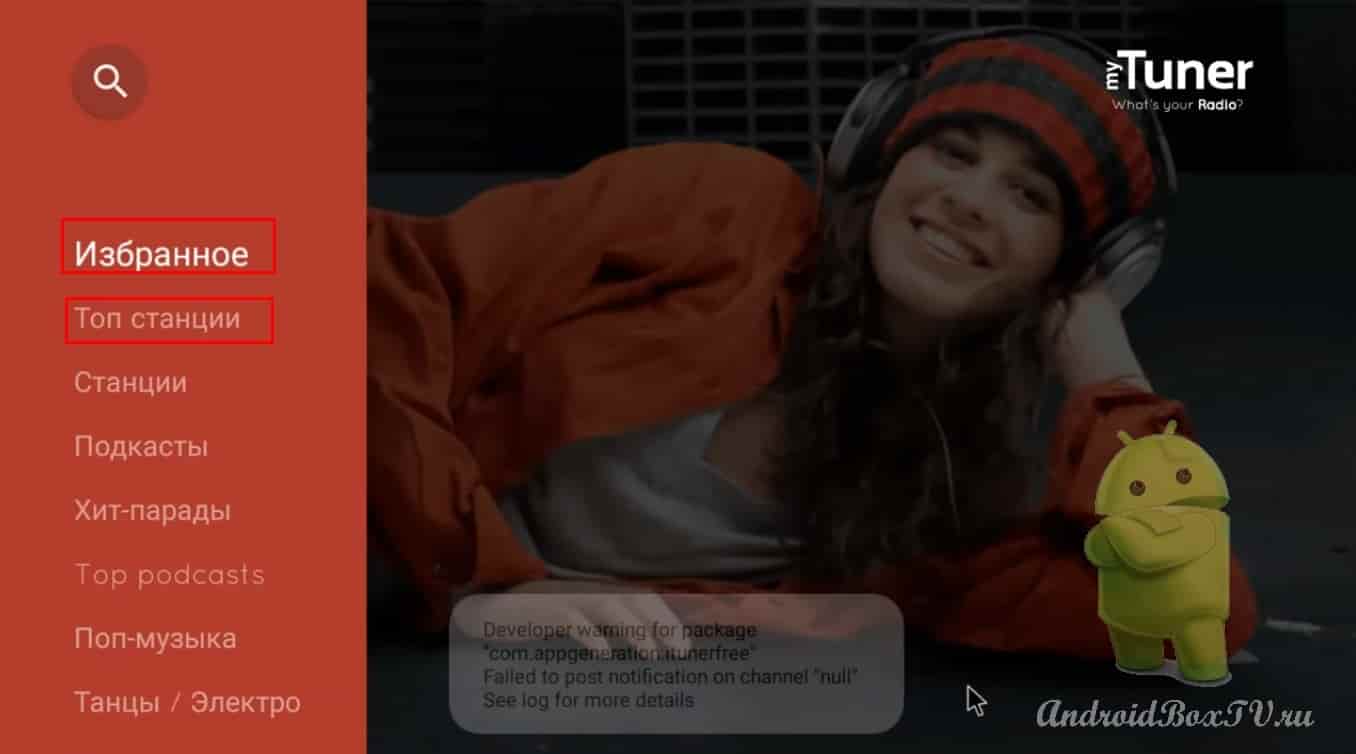
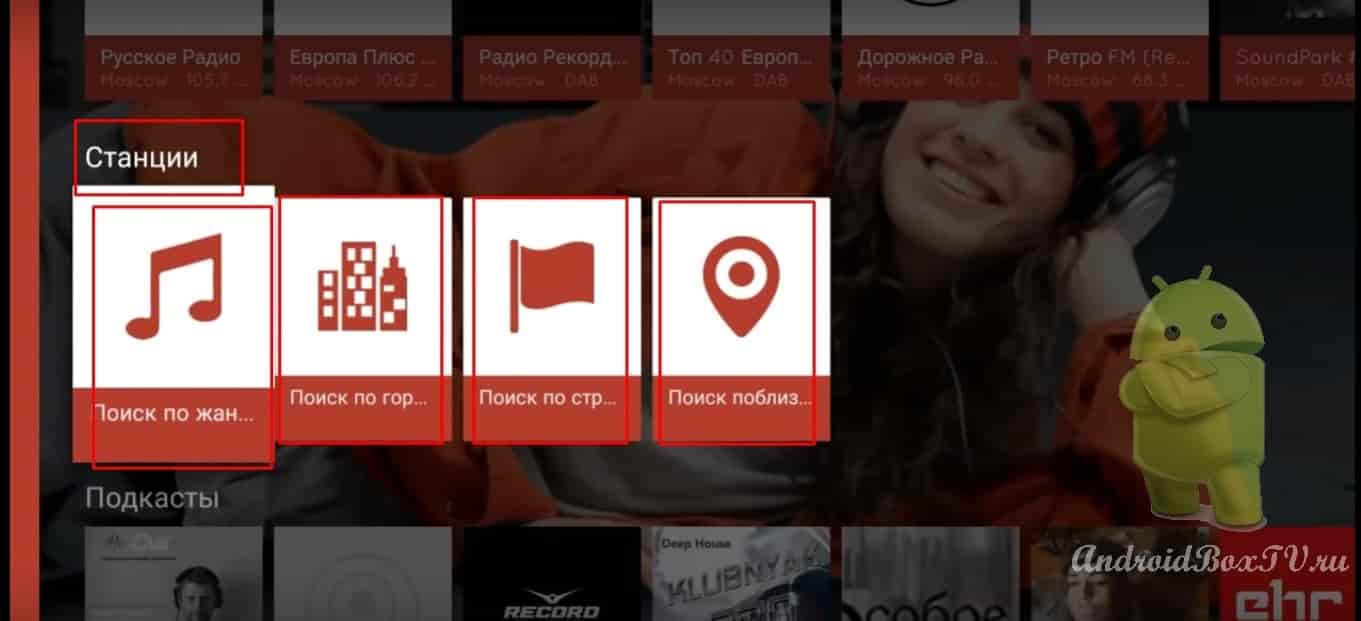
Here are the favorites that we have added, "Top Stations" :
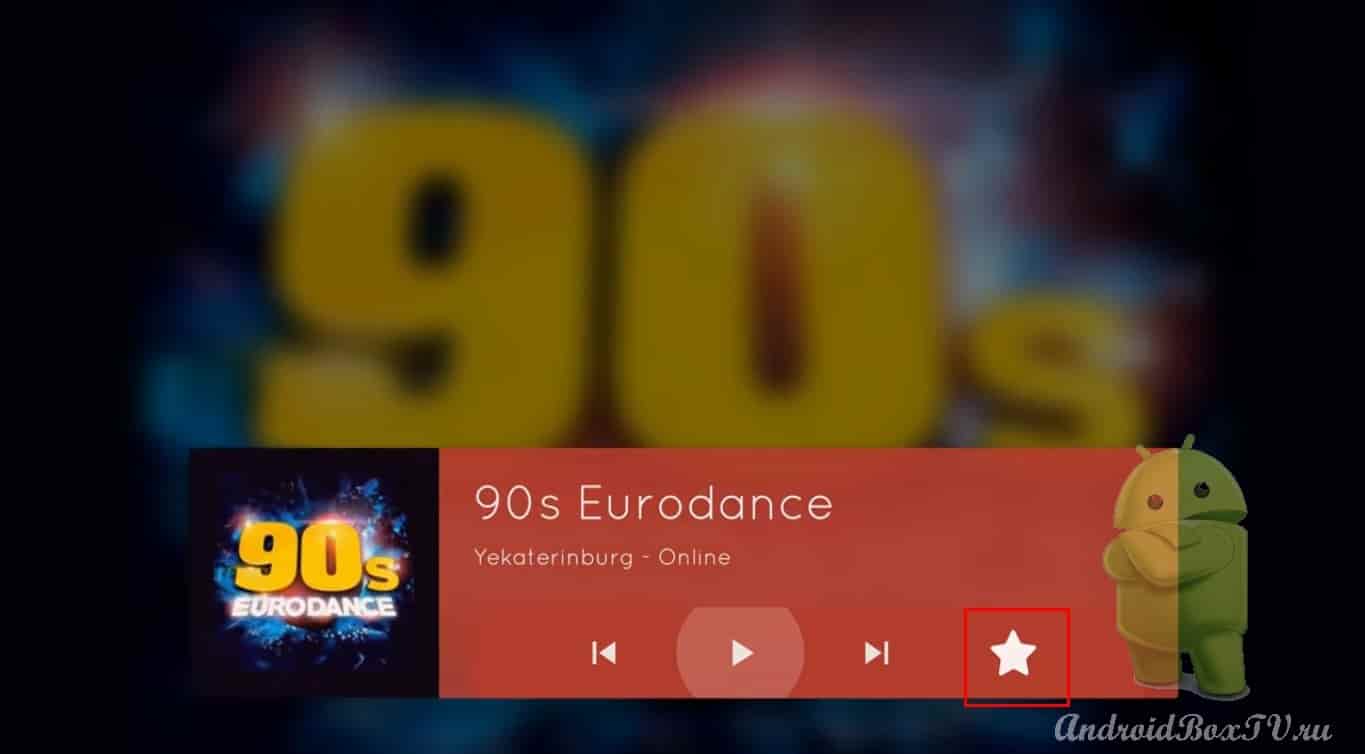
From here you can add to your favorites. To do this, we mark the stations we need with an asterisk:
In the station menu, we can search by:
by genre;
by cities;
countries;
proximity:
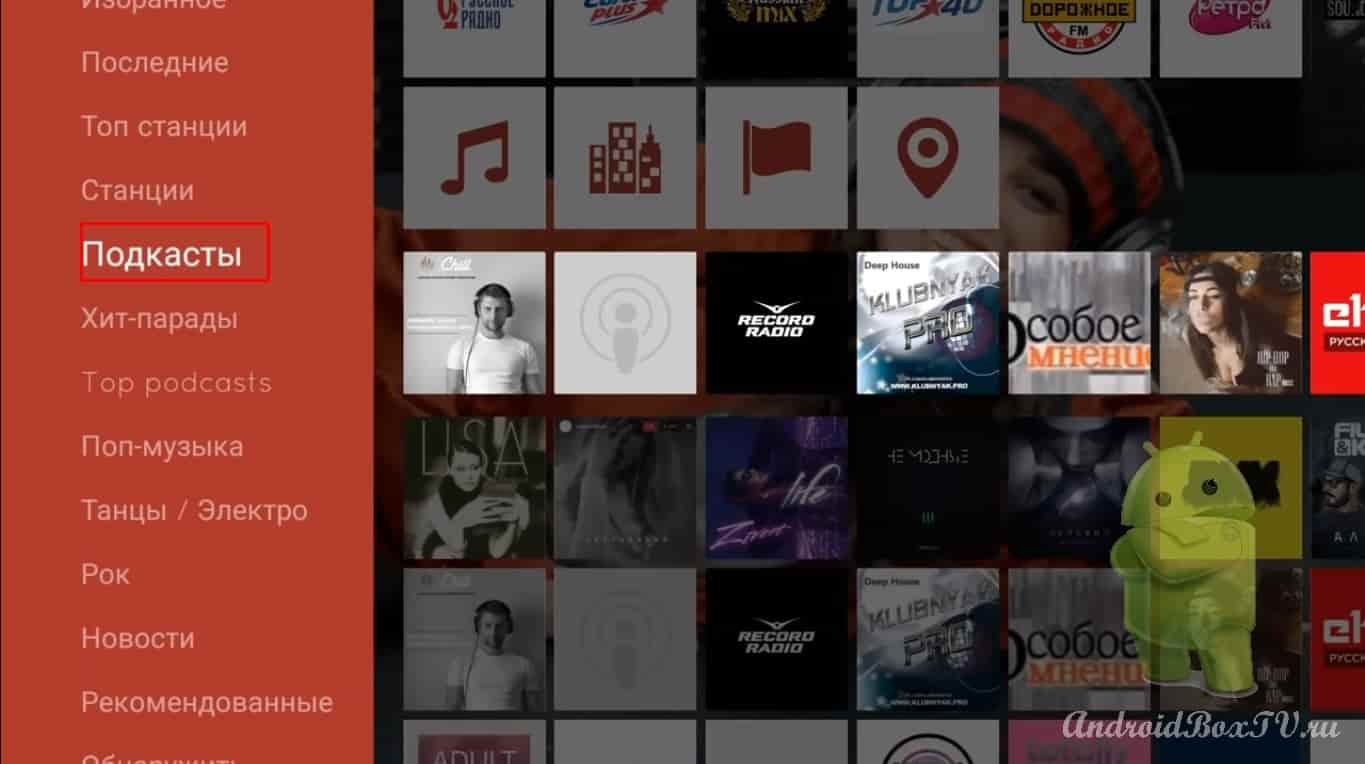
Podcasts. You can have a look if you're interested:
Next in the Hit Parades menu - I didn’t understand why it took 30 seconds. Here are the popular ones. Well, and so on.
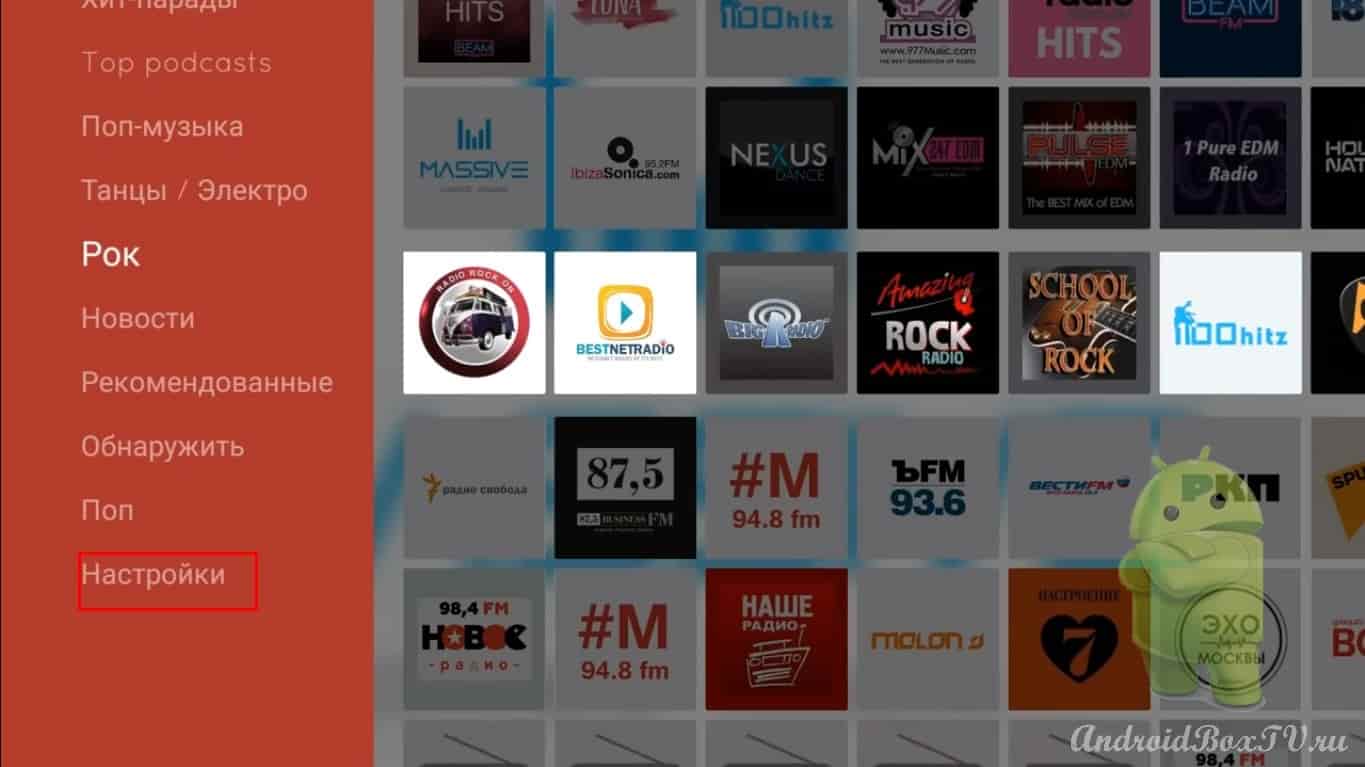
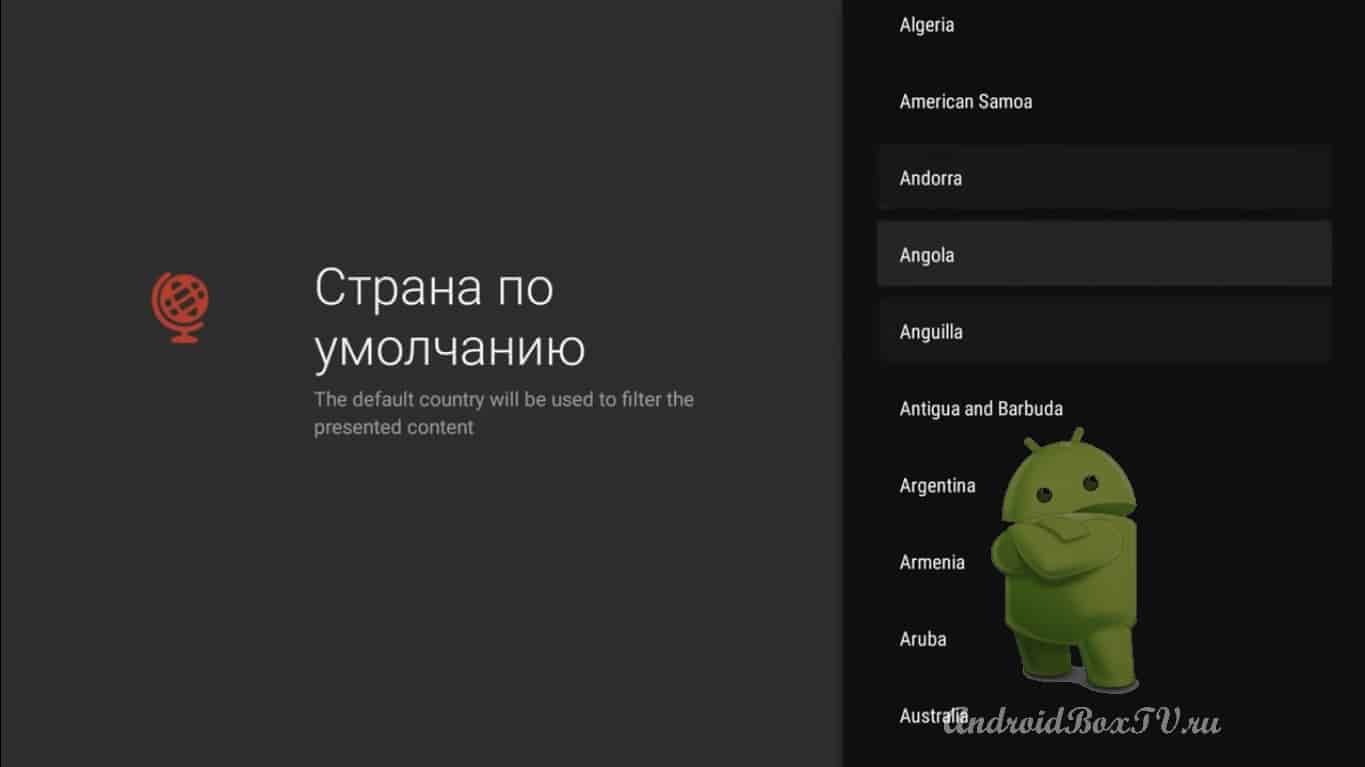
In settings:
You can select the country of interest to us:
We turn on the radio station we need and exit with the home button. We click on the house and the radio stations selected by us are played.
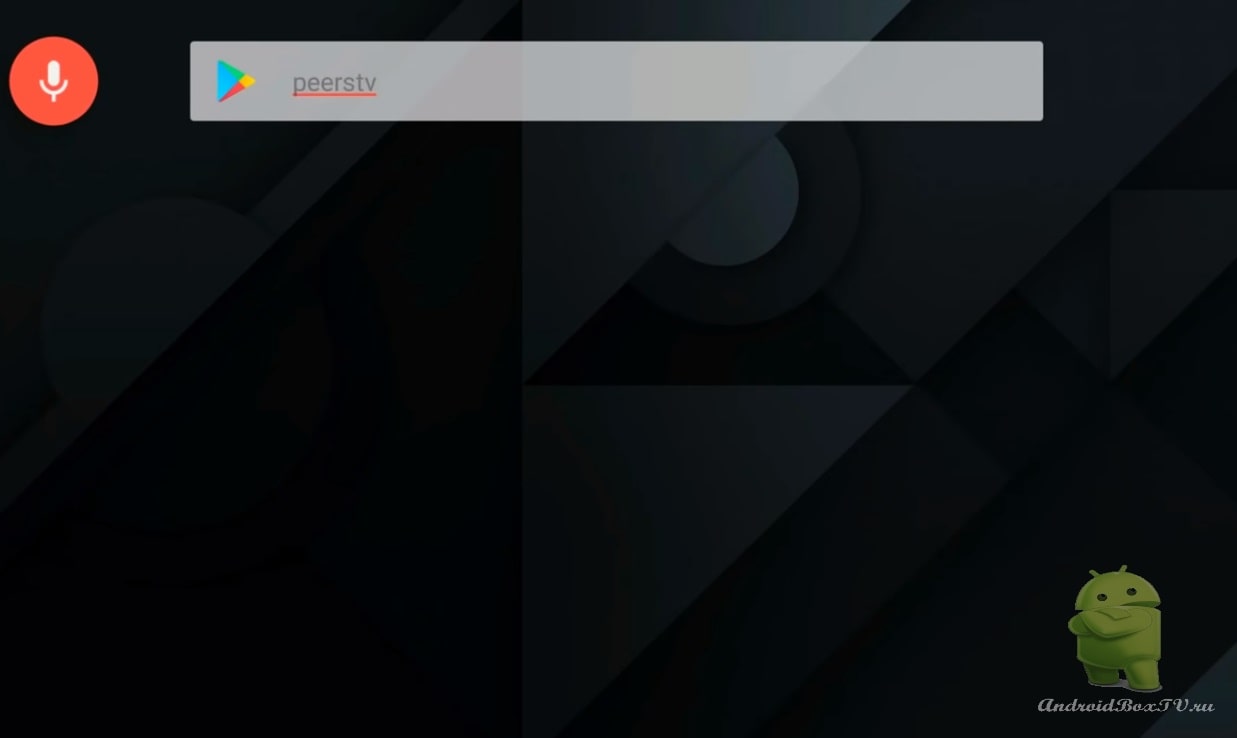
In this review, we will install again and see the application called Peers.tv. It is freely available on the Play Store. This is for those who do not like to invent a good solution. We have already reviewed this article here , but did not mention playlists then. Let's go to the Play Market and type peerstv in the search:
I have the application already installed:
Copying a playlist
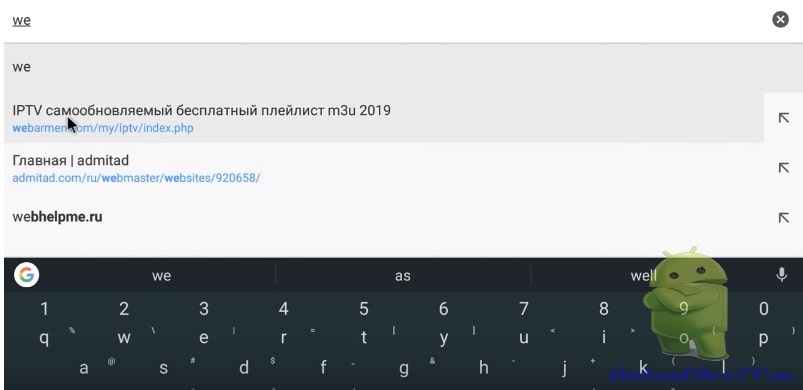
Let's go out, go to the browser and copy a third-party playlist so that there are more channels in the application. Link to playlist . The link works through a VPN .
A third-party playlist can set at its discretion.
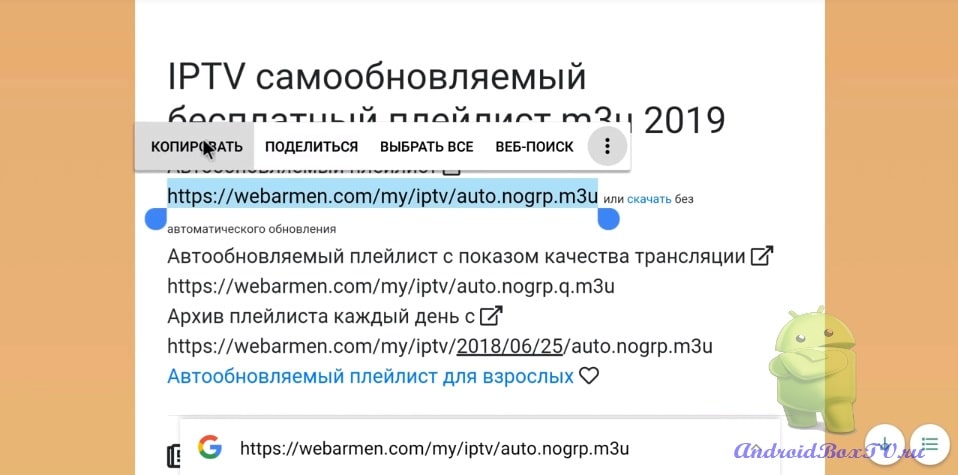
Let's copy this:
Open the peers.tv app:
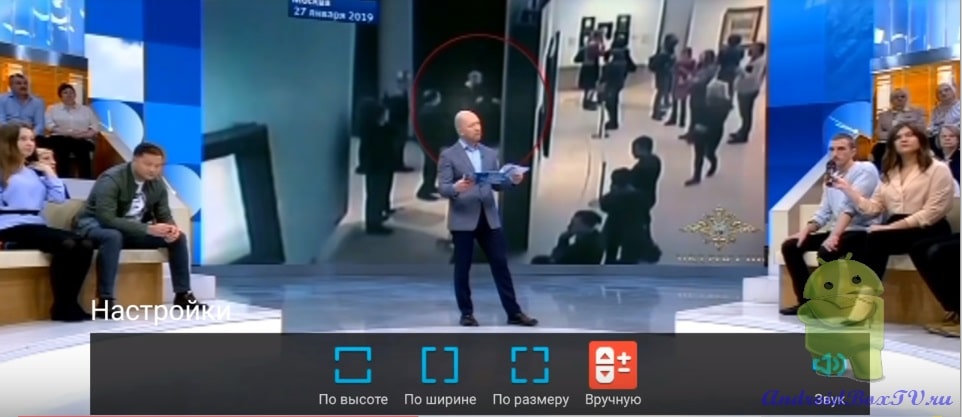
You can rewind the live broadcast, experiment with the buttons indicated here(rewind, zoom, favorites, volume control).
Find the archive! Here you can find past programs to watch:
Here you can find:
program guides, other days archive, 161 channels by default.
These are the collections, maybe someone will be interested in something:
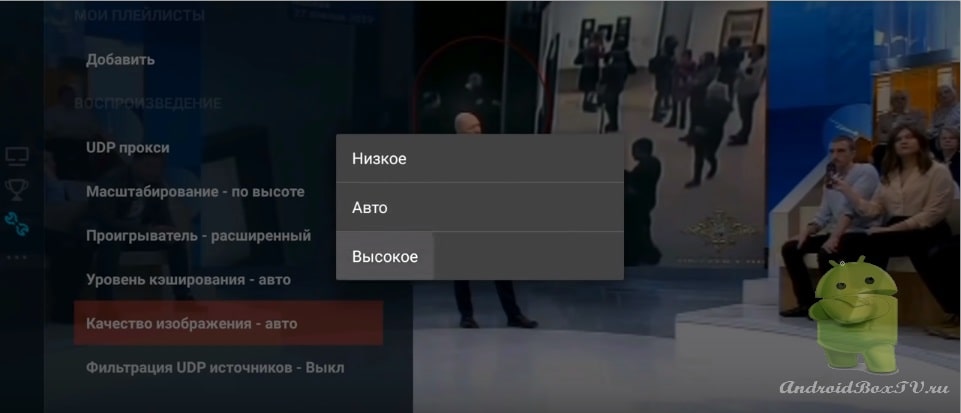
Let's go to the settings. The default player is advanced. Quality:
Insert Playlist
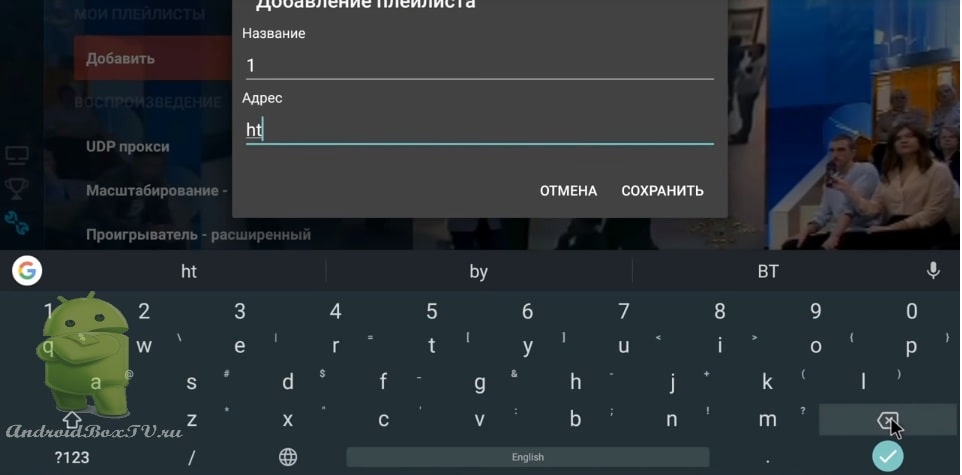
Add copied:
Title: 1 Paste below what was previously copied from here . We save.
Here are the HD channels:
Somewhere there is an archive, somewhere there is no archive. Try it, install the application. See how it works, delete if you don't like it.
We go into any browser, but first we’ll decide on the film, we liked “Pacific Rim 2”, so I’ll review it.
So the browser, I have it called:
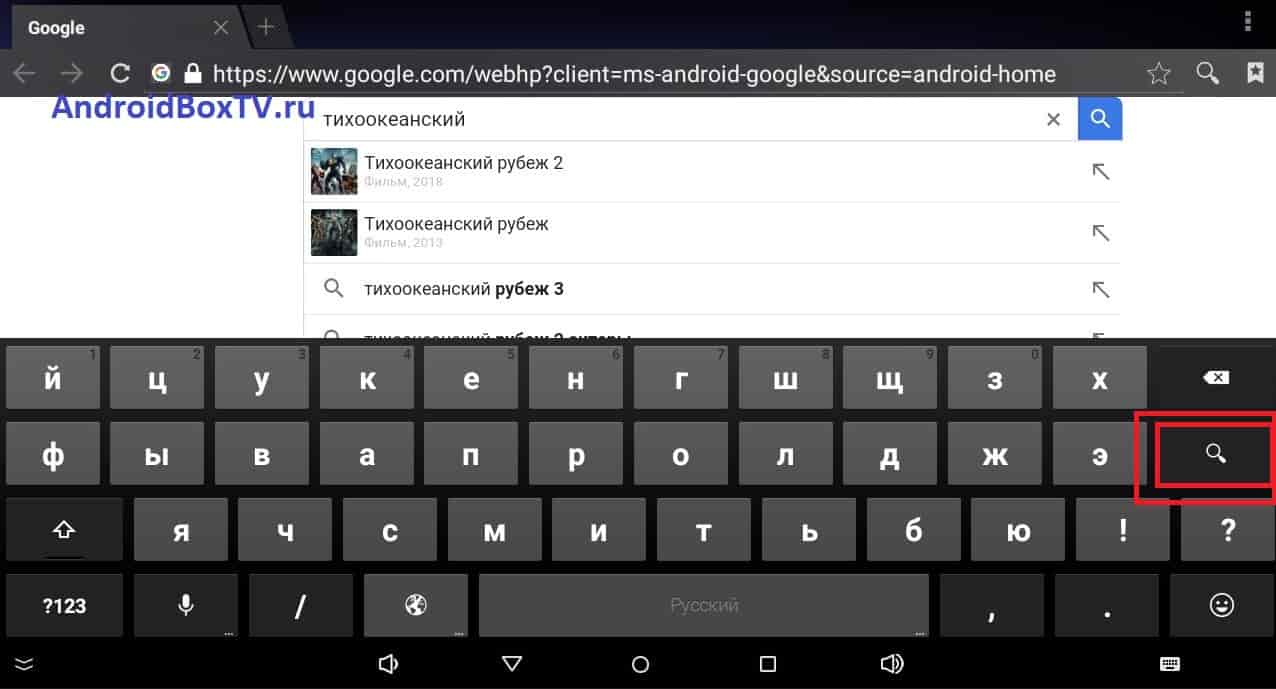
We enter and in the search engine we type: “Pacific Rim 2 online”; it is important not to click on the tips that drop out with pictures, but to dial to the end:
Scored. We clicked on the magnifying glass in the corner of the keyboard, found the sites, now we have to be patient. You will have to log into most pages and expect the Android Box's ad-heavy pages to fully load.
Wait for the pages to fully load and view the page to the bottom, otherwise we will not understand whether the site is suitable in this case or not.
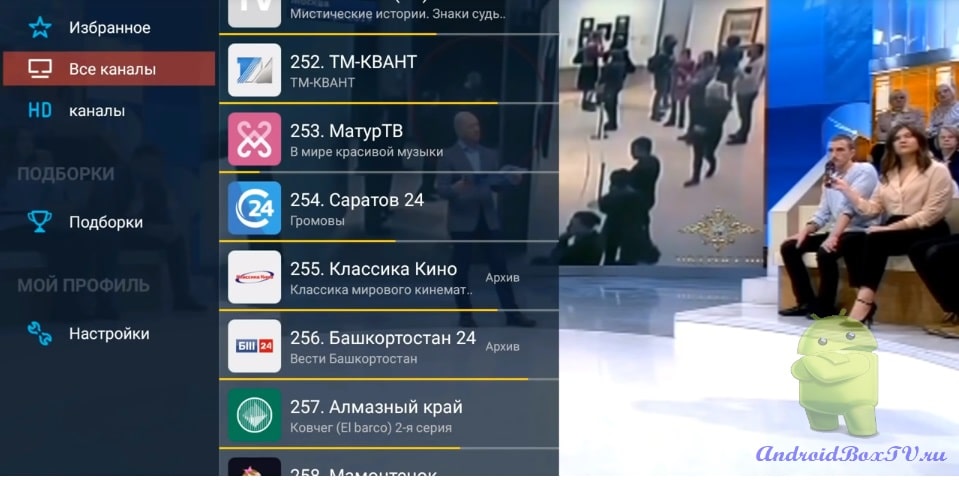
If such as “online movie”, or the like has loaded, then immediately - no:
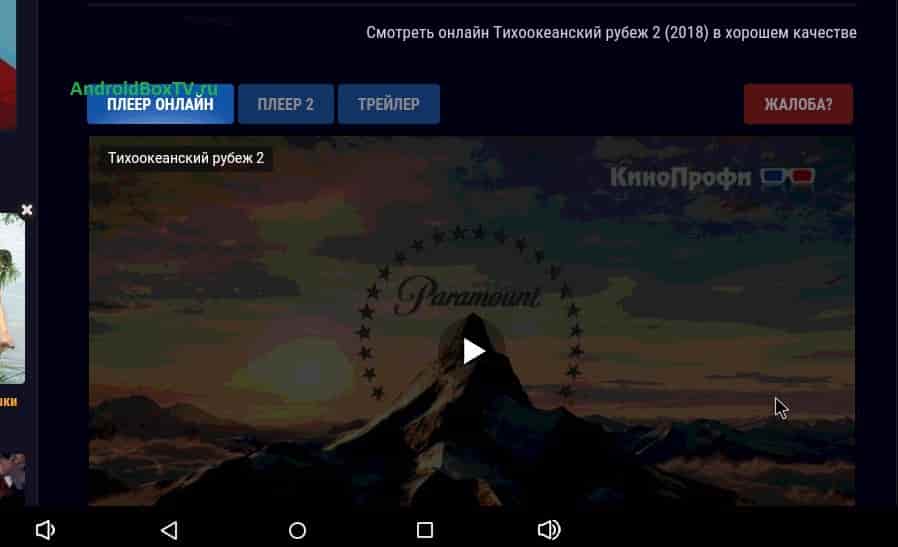
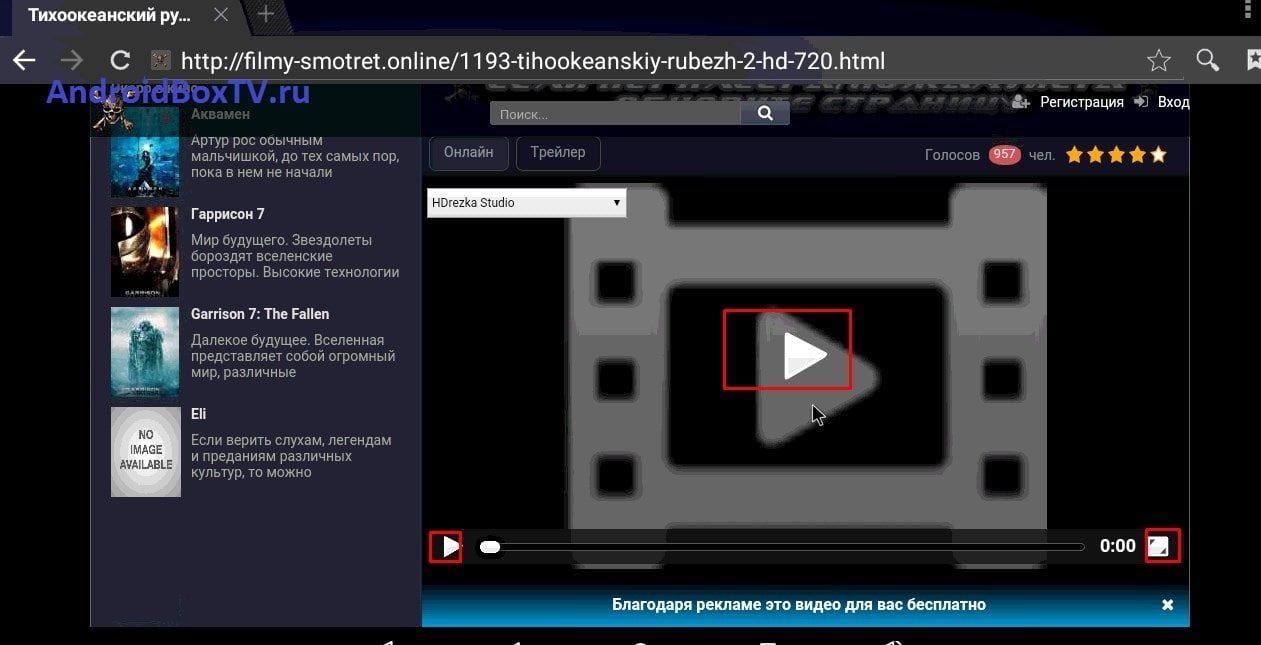
We need to find this to watch the movie without problems on an android set-top box:
The main blocks to start viewing and deploying the screen are highlighted in the screenshot.
It is this image with a large film on the rear screen that expands without problems to the full screen and shows smoothly and clearly. Of course, the image is not the same as in the MEGOGO application (I already wrote about it here
The main blocks to start viewing and deploying the screen are highlighted in the screenshot.
What to say instead of ZY!? I found 100% of films and programs, usually on 2-5 pages, I don’t look for films in “screen quality” especially, because I like relative quality. If you have difficulty finding a movie, you can try a combination of the words “online for free” or “watch for free”, well, to the name of the movie,
Sorry for the "multi-letter", thanks for reading! Write comments, as well as what difficulties there are, maybe we will help the whole world.