Programming the remote control of the TV set-top box

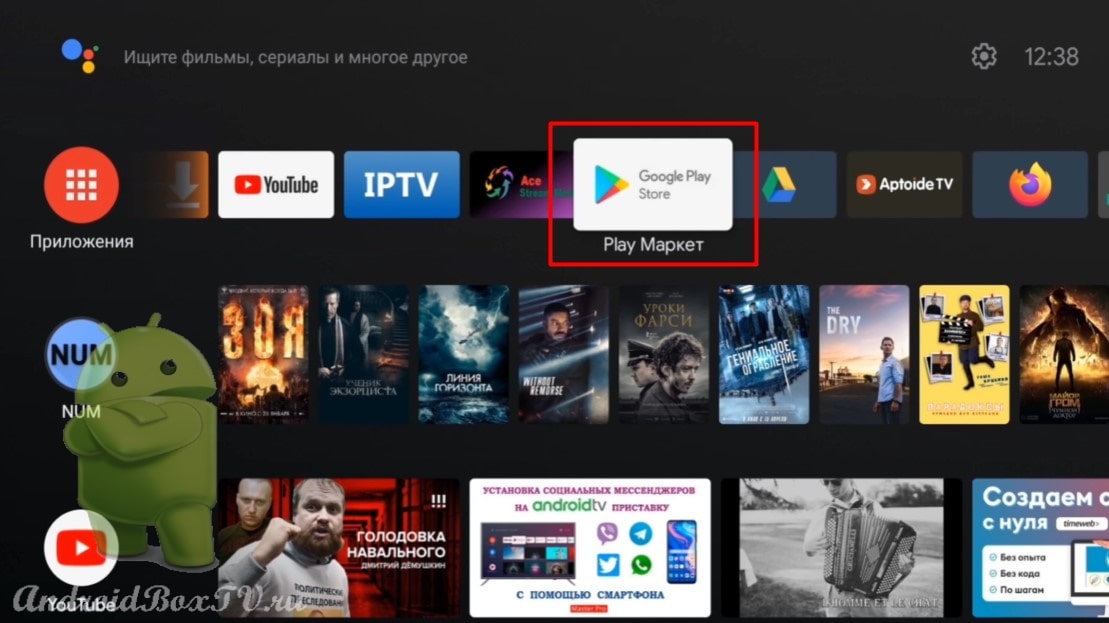
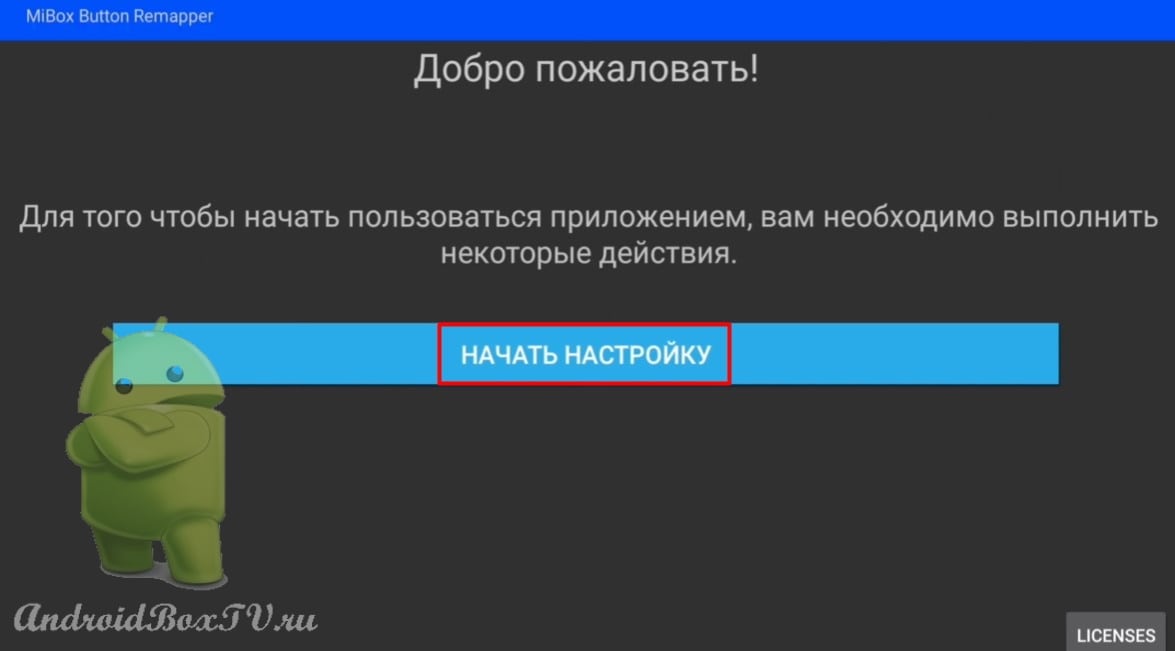
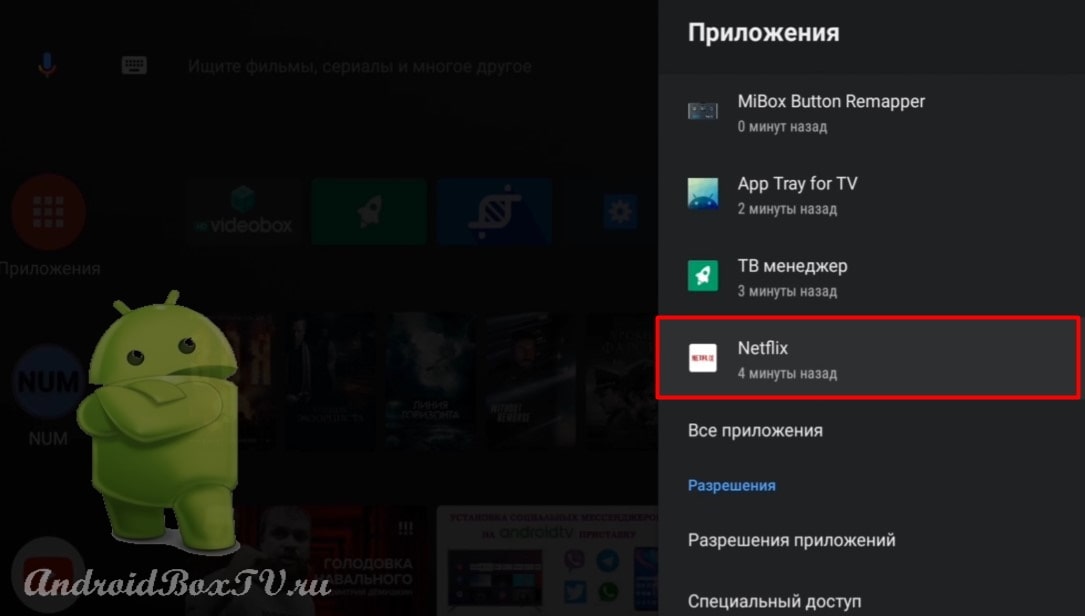
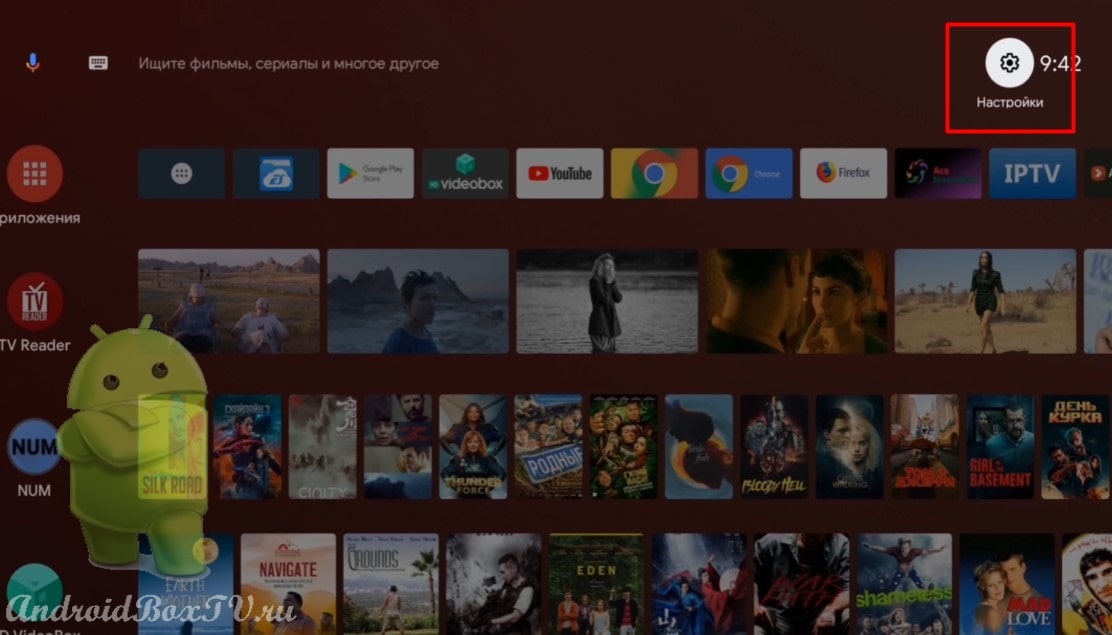
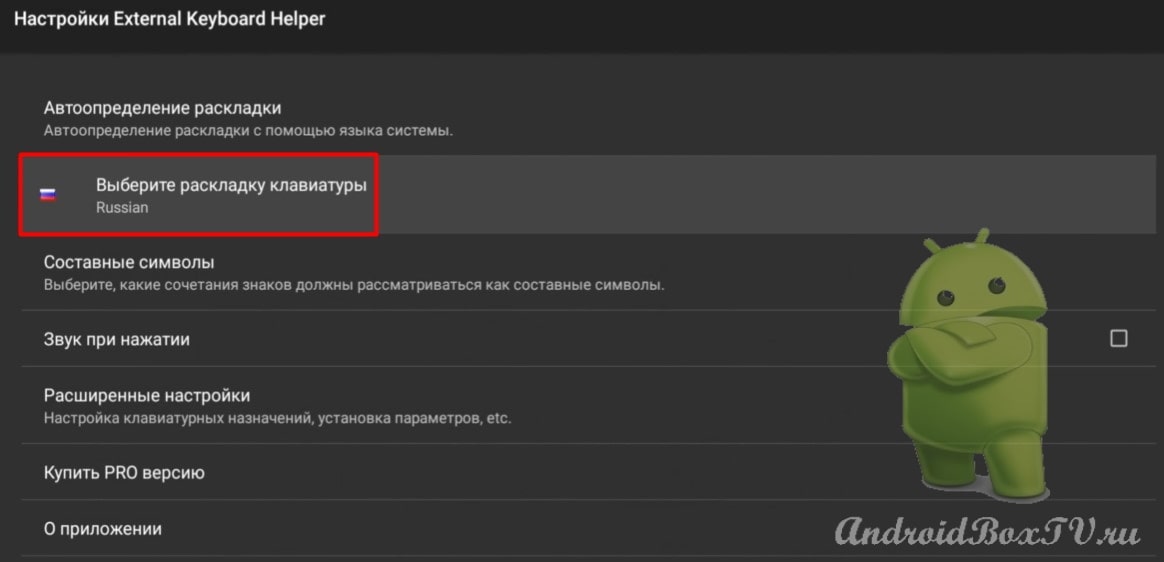
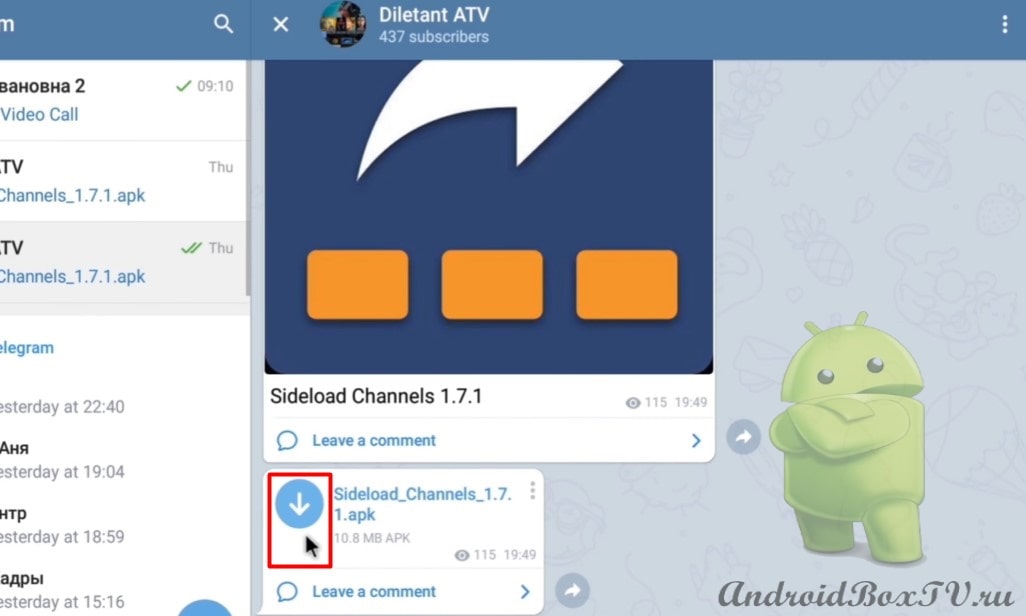
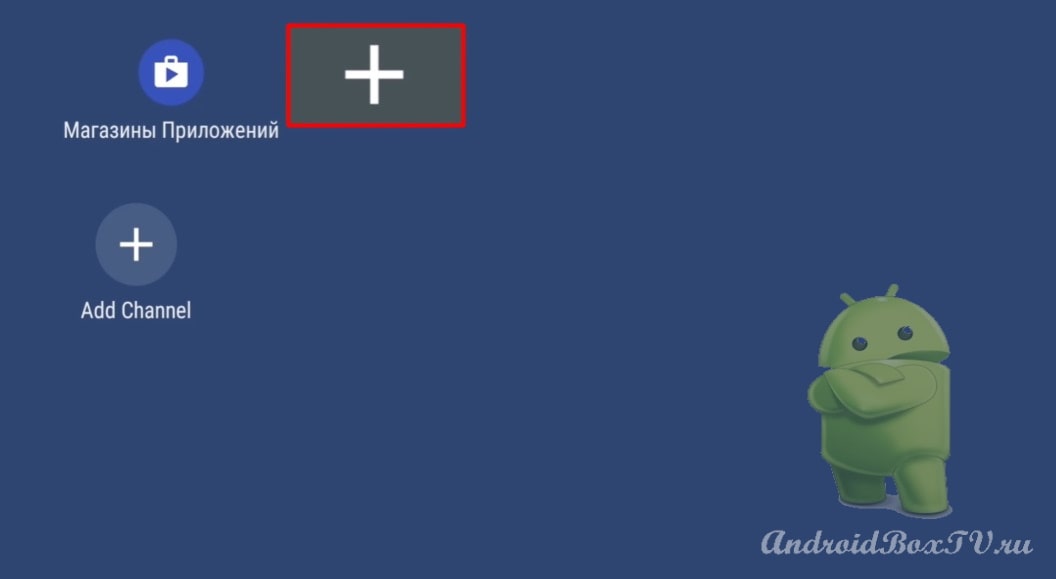
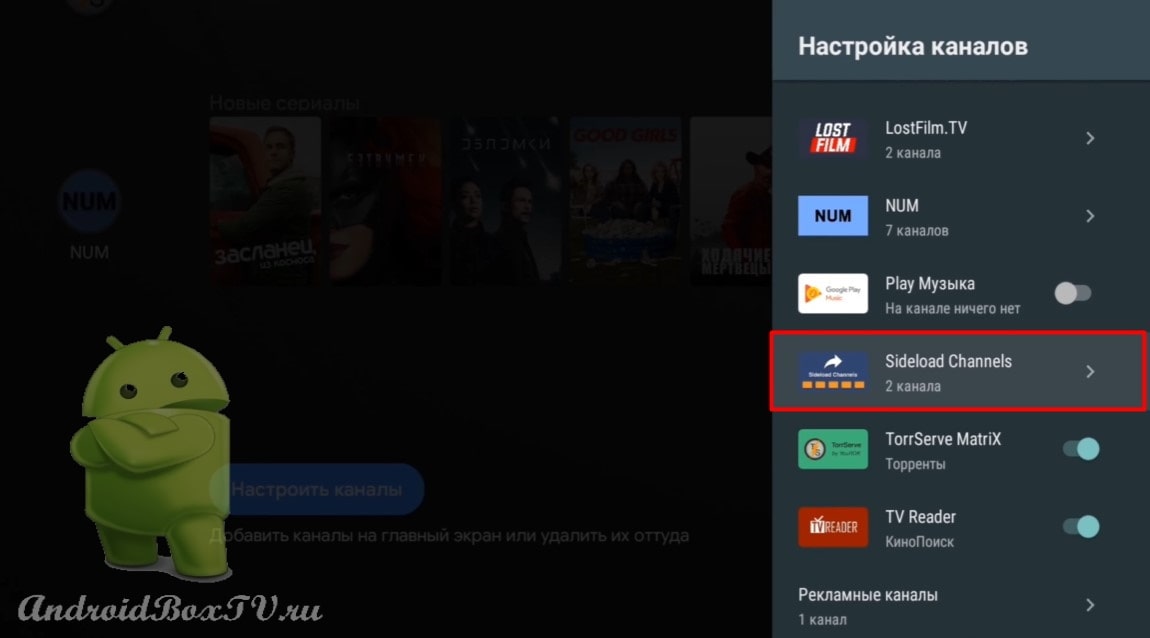
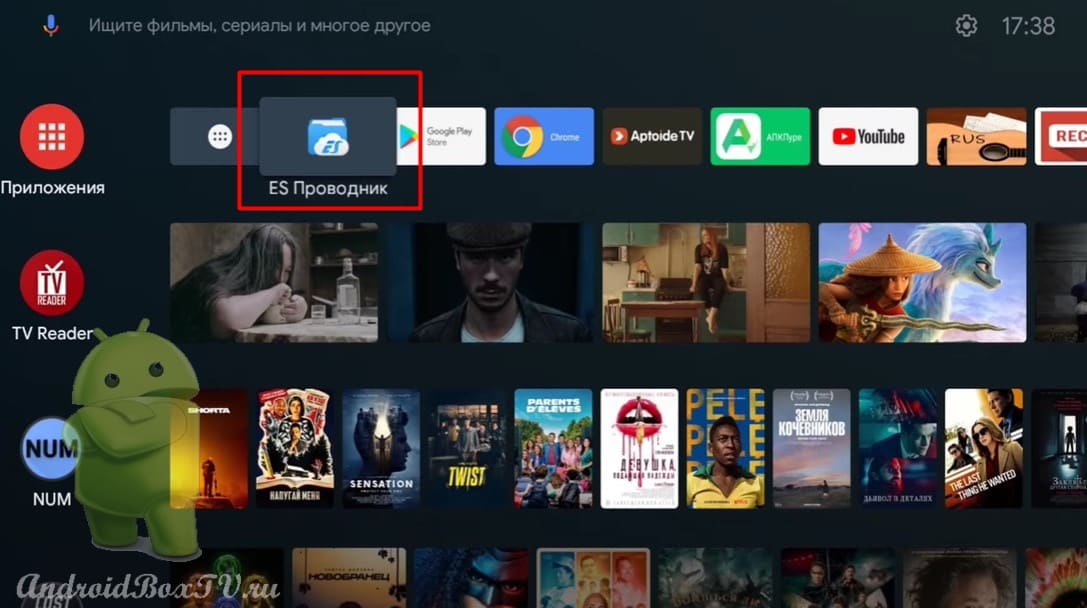
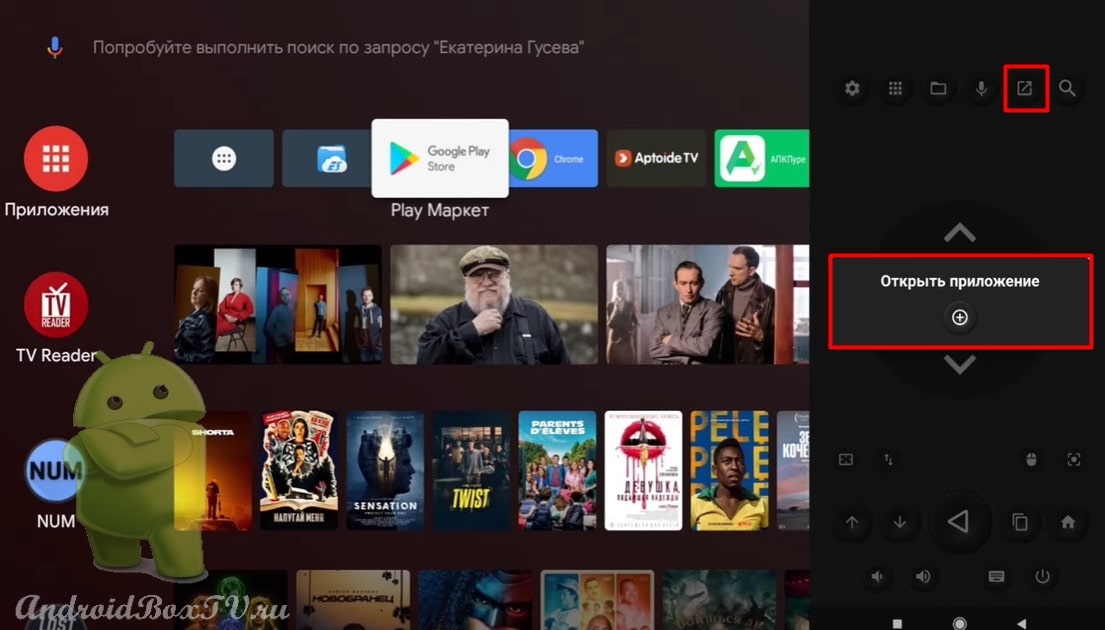
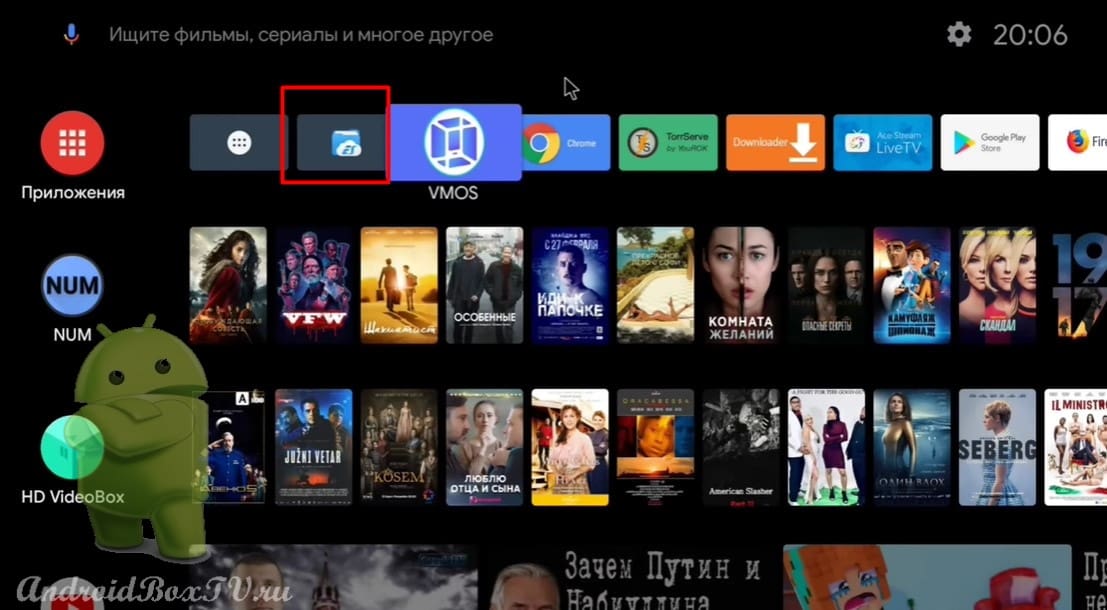
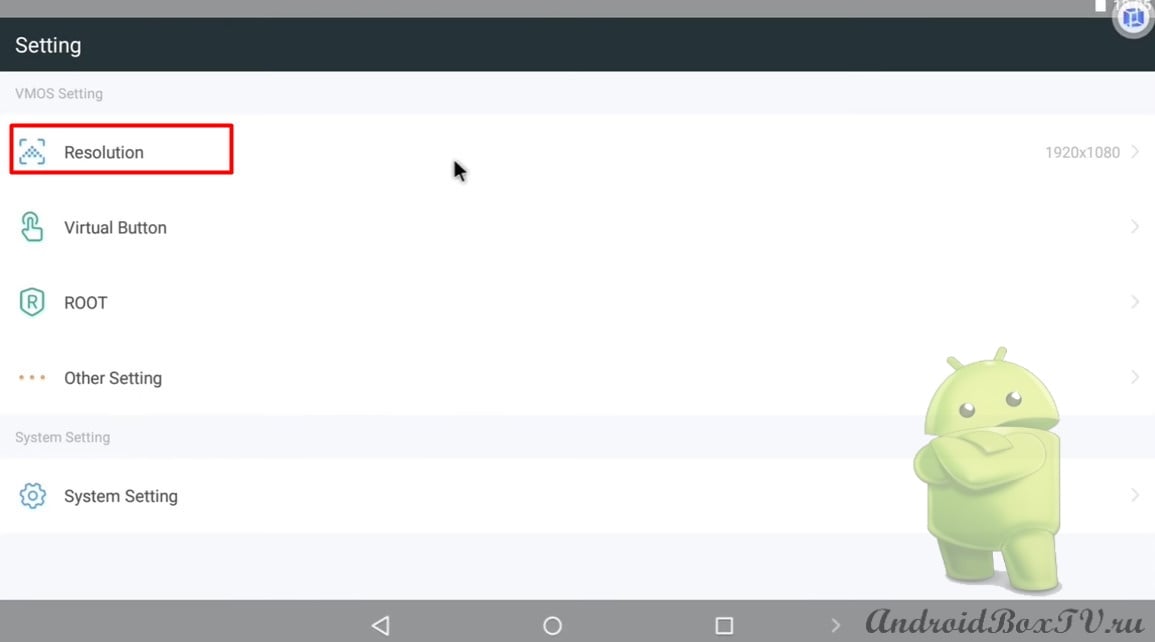
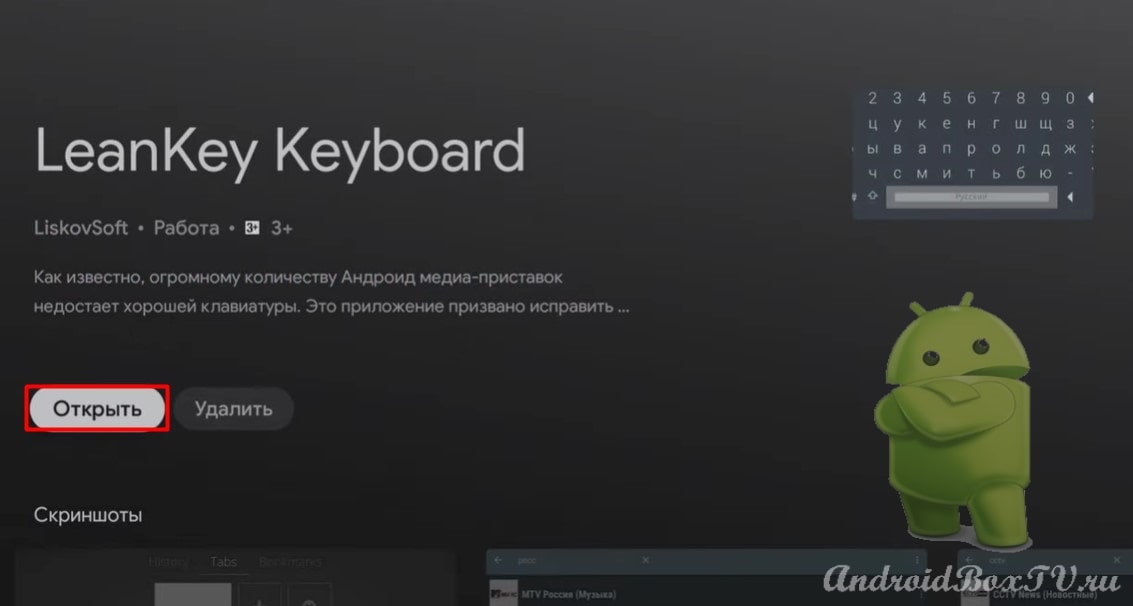
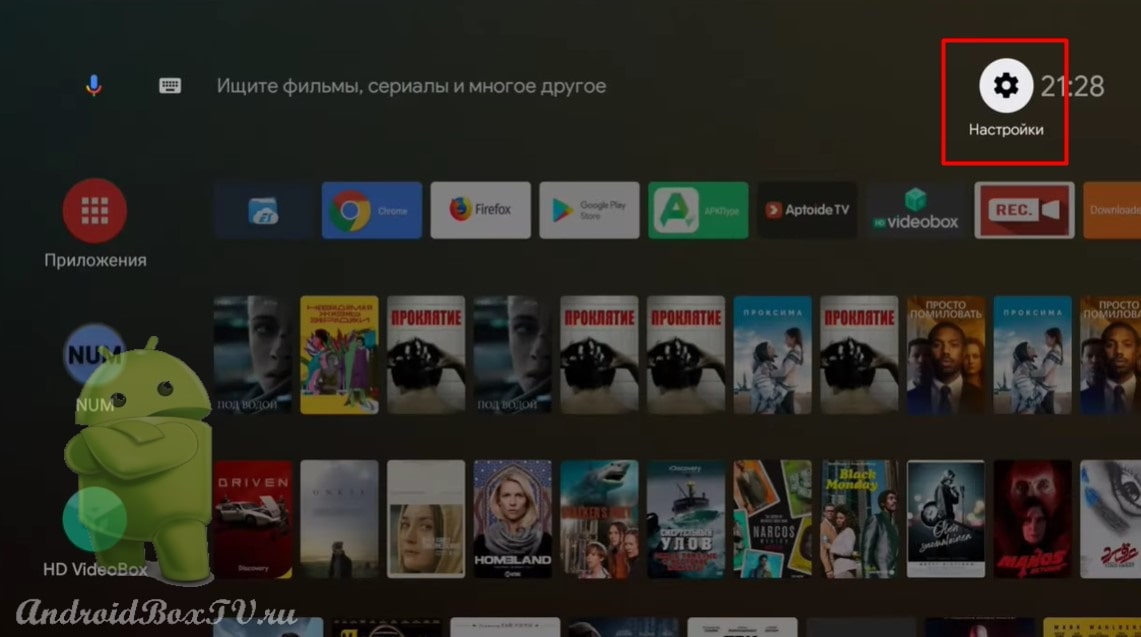
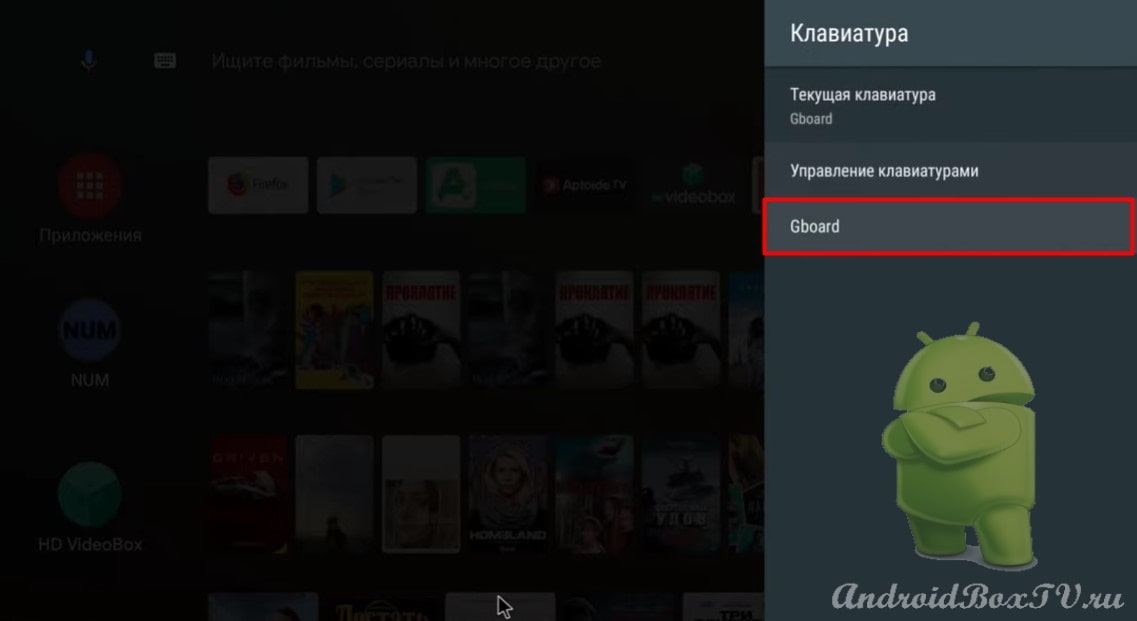
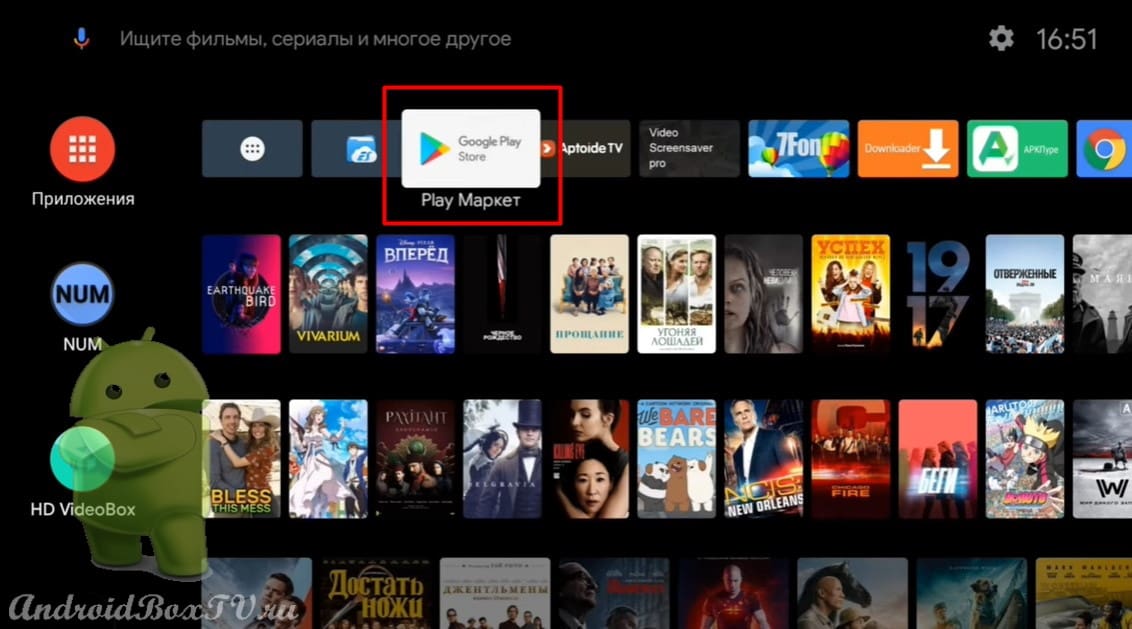
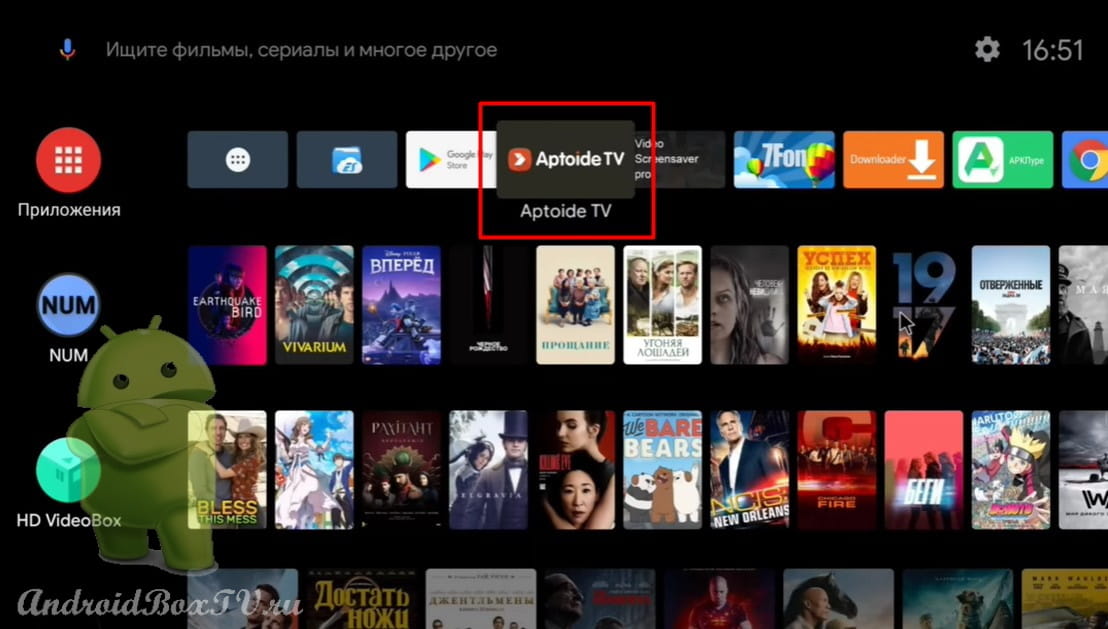
Today we will look at how to determine if the remote control was sent to you from the TV Box and how to program this remote control.

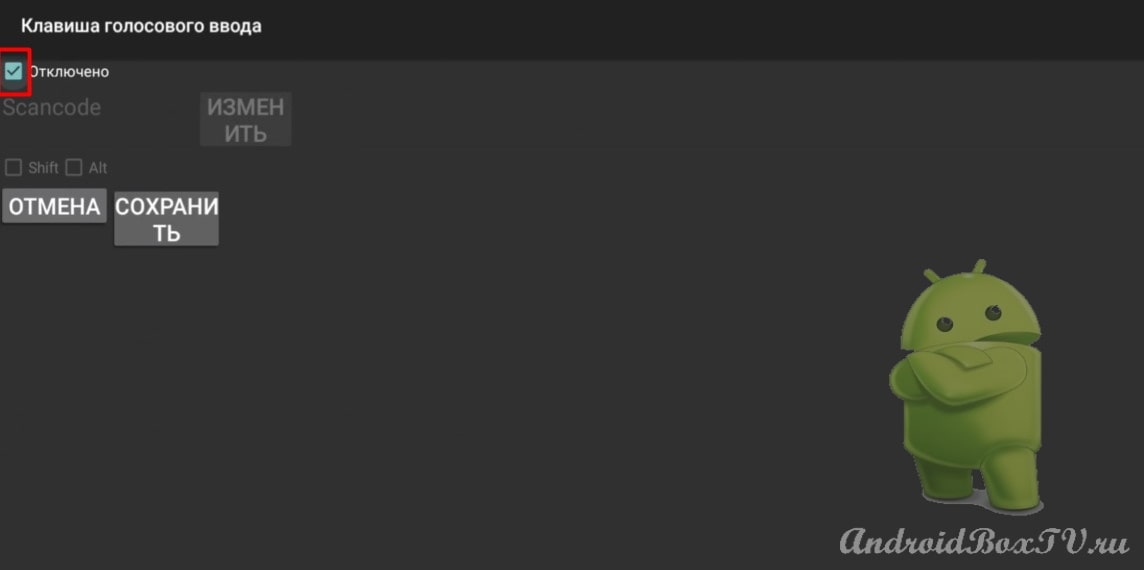
Many, when ordering a smart set-top box, do not realize that the remote control that comes will not function in full, that is, the upper keys will not work:

In order to determine whether you have a programmable remote control or not, you need to hold down the top button and hold for at least 10 seconds:

When pressed, the button blinks, then it stops and lights up in red - this is a programmable remote control:

In a non-programmable remote control, the button does not stop its flickering, that is, releasing the button will turn it off.

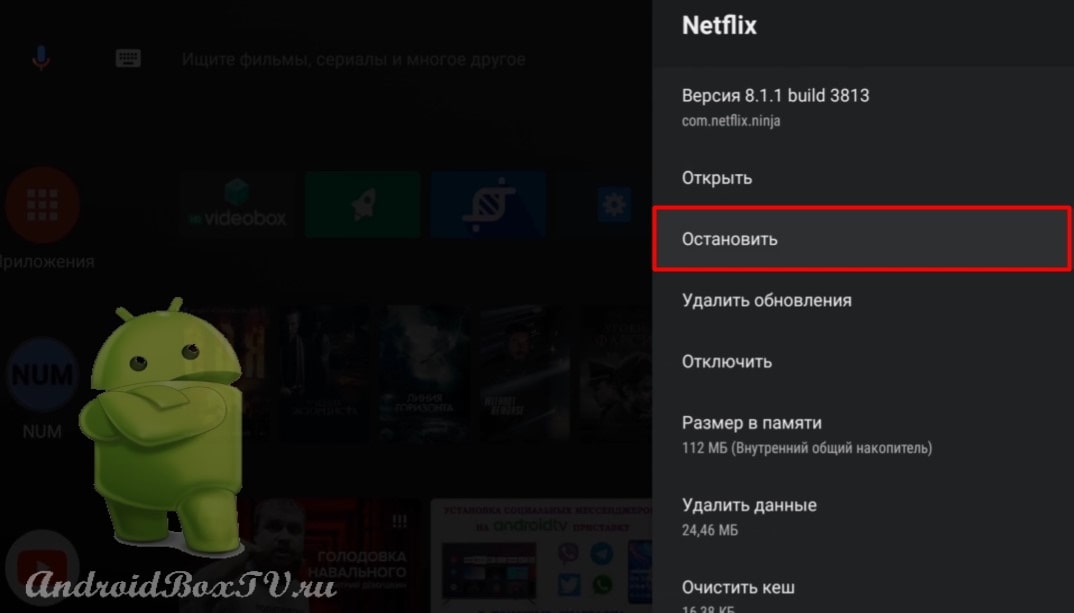
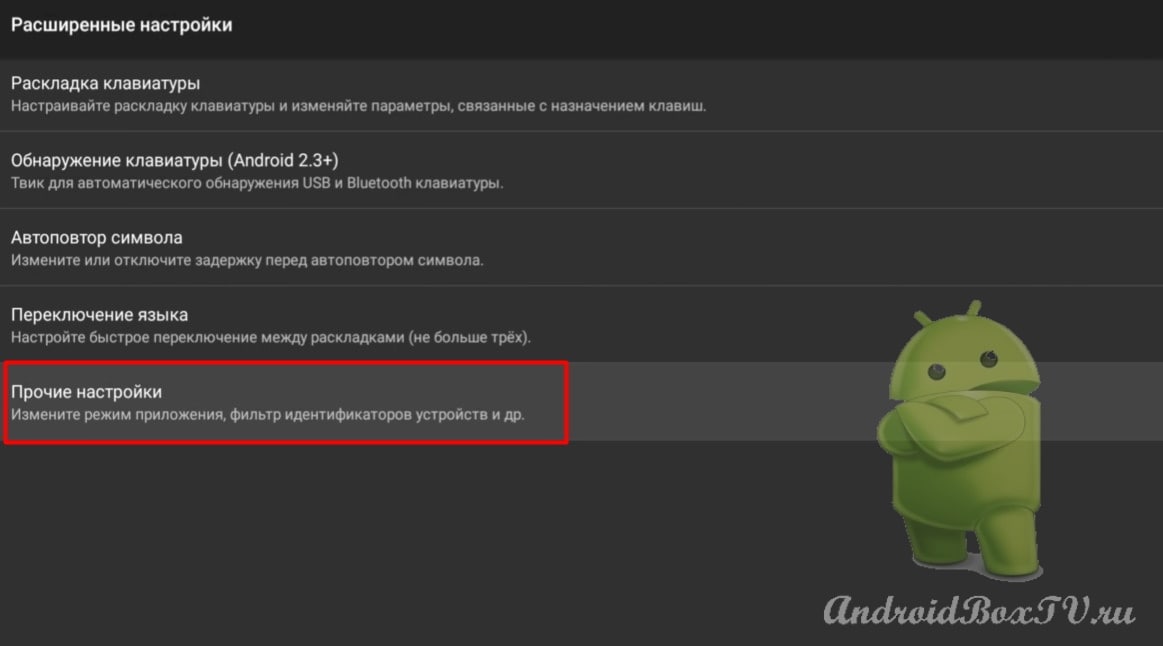
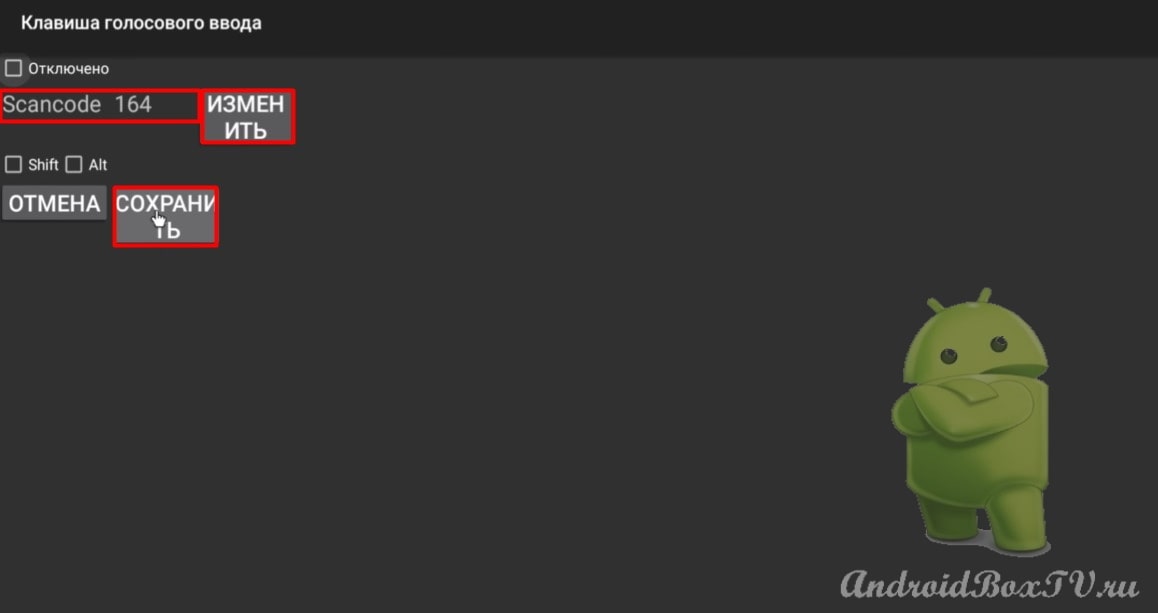
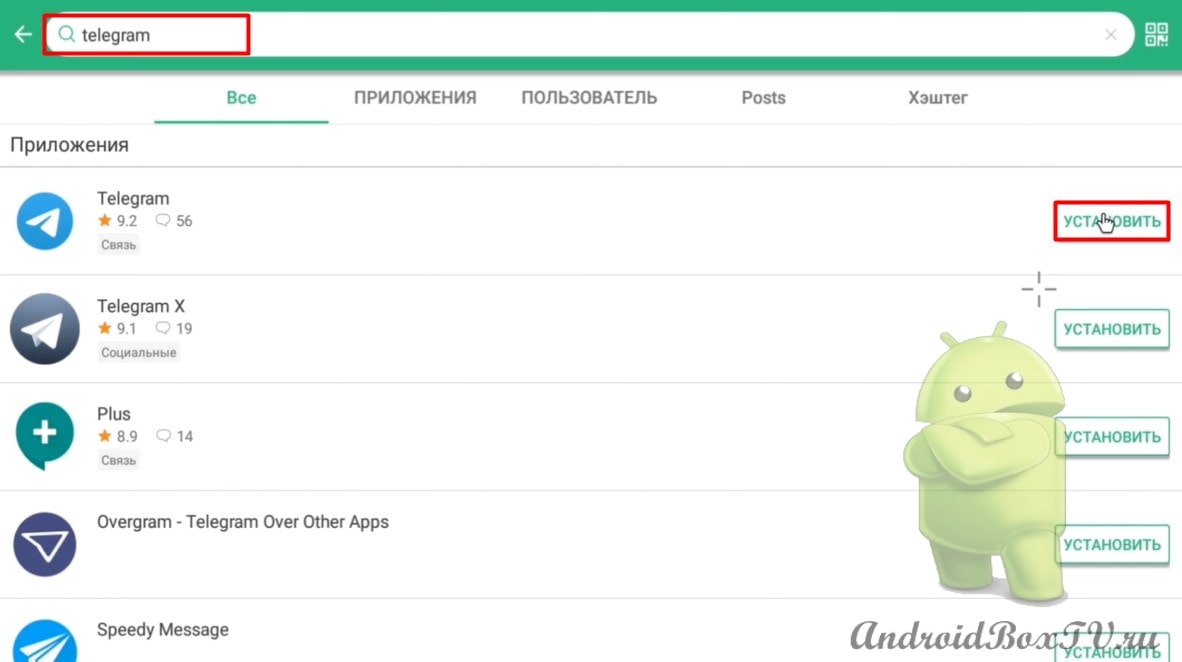
Now let's look at how to program signals from a regular TV remote control to an Android set-top box remote control:

Press and hold the button for 10 seconds until the button stops blinking:

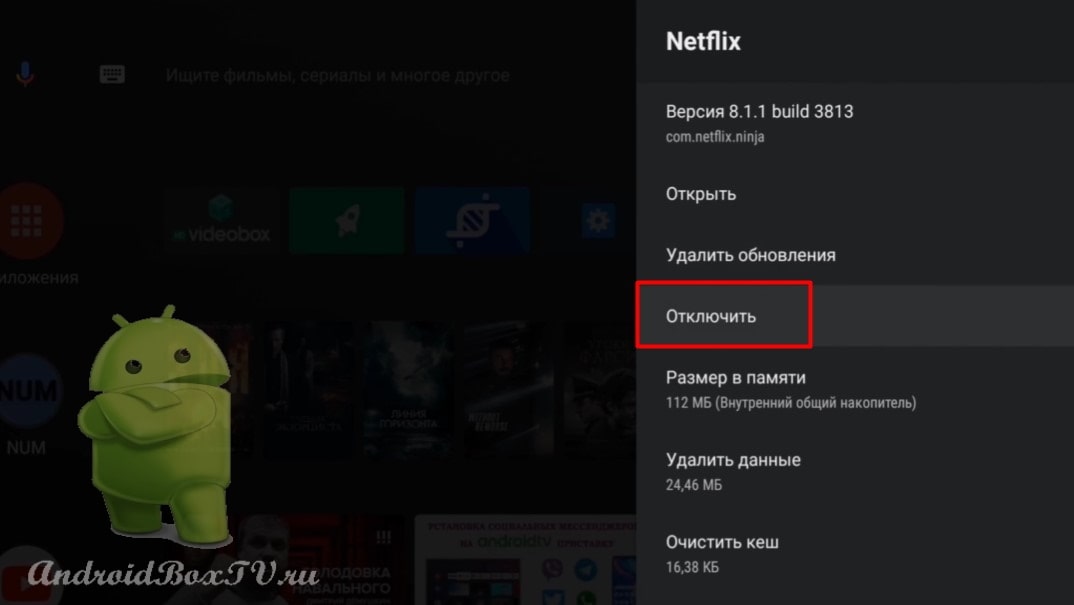
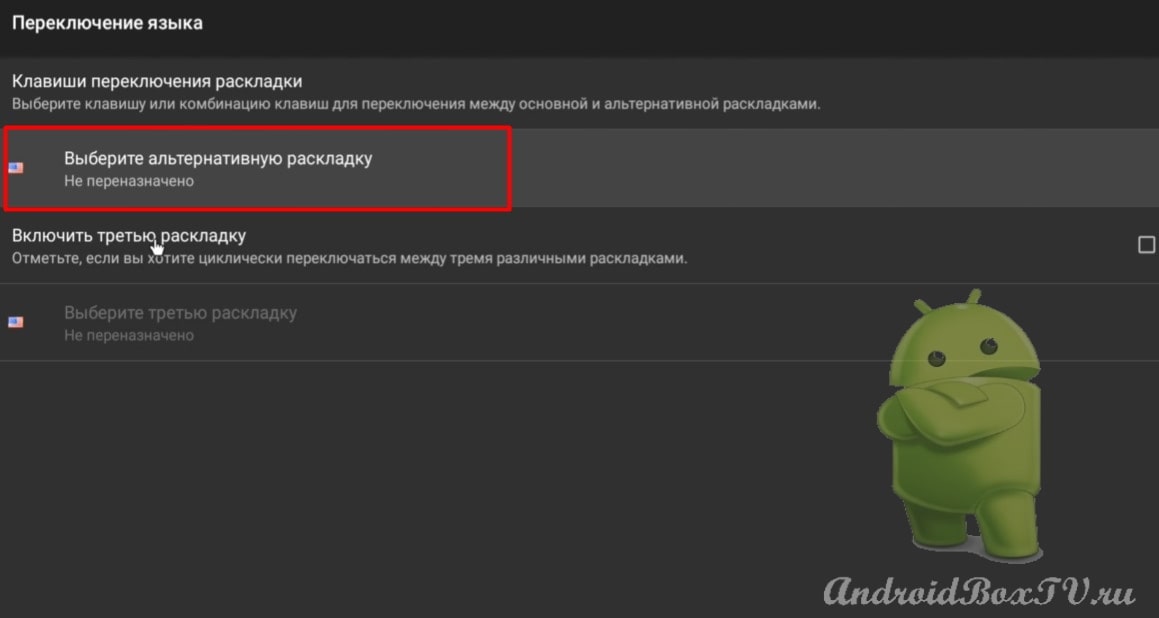
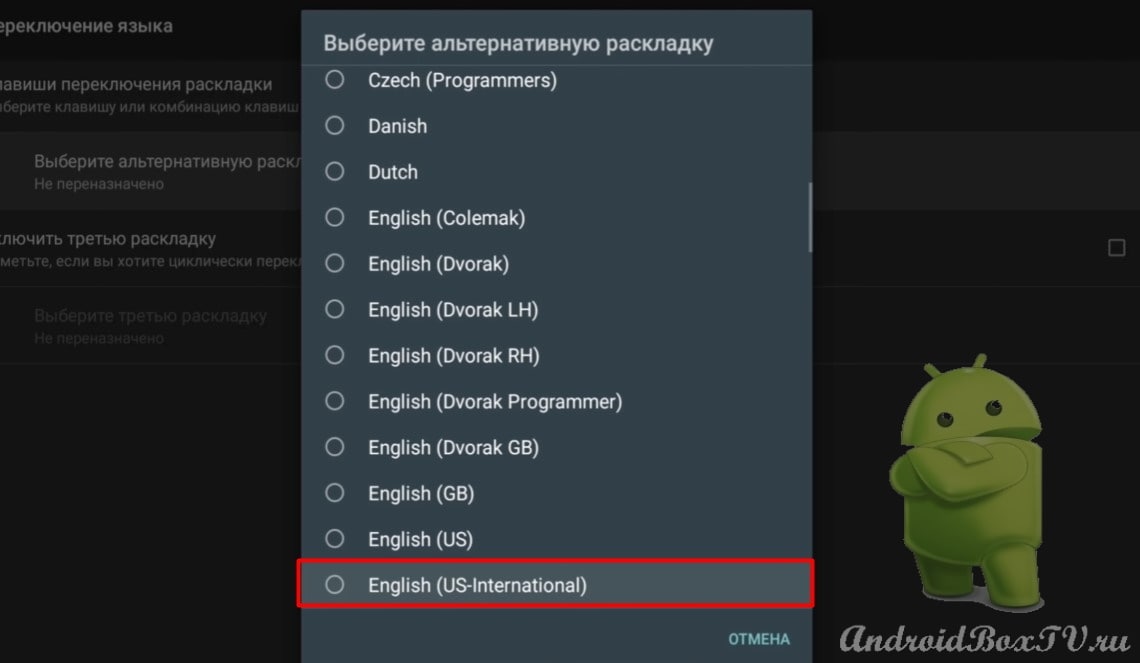
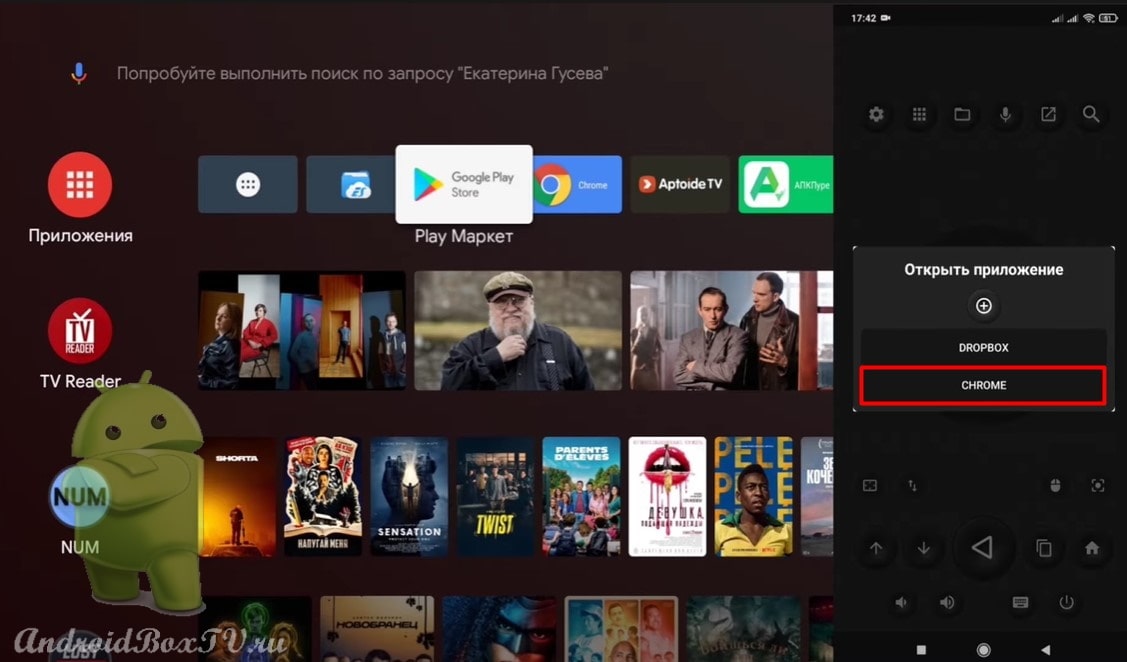
After that, select from a number of buttons: SET, TV IN, VOL-, VOL + and the connection button, select the button that we need to program:

For example, pressing the VOL + , and we see a flicker:

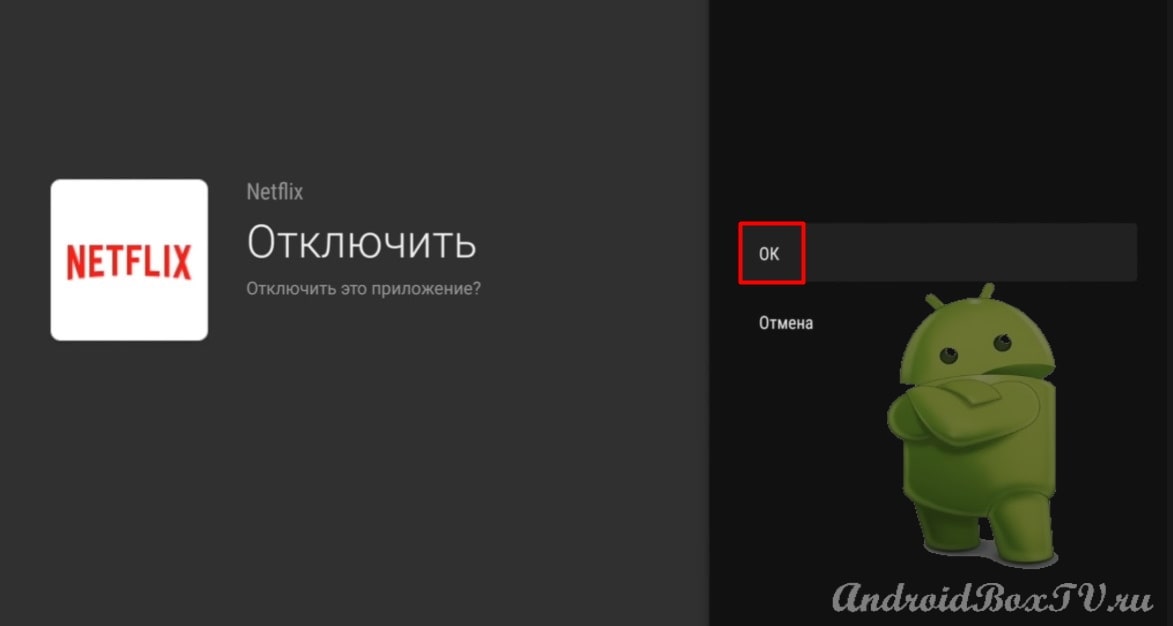
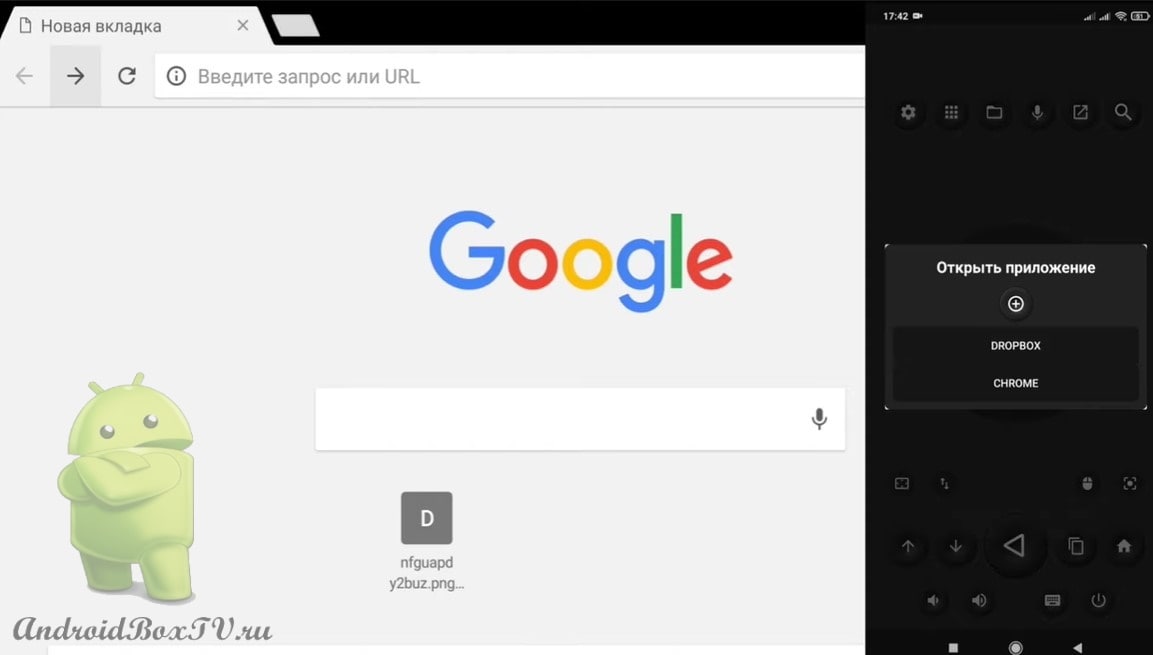
Next, we take the remote control from the TV and press the volume up button (on the TV remote control (in the picture below). We direct the TV remote control to the set-top box:

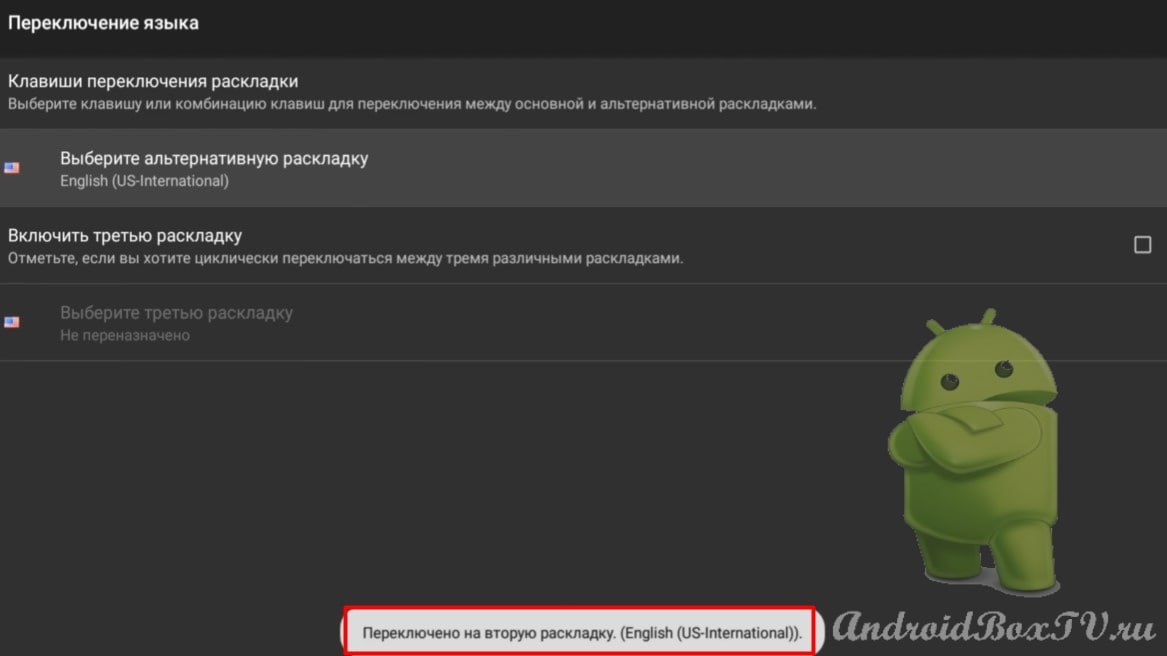
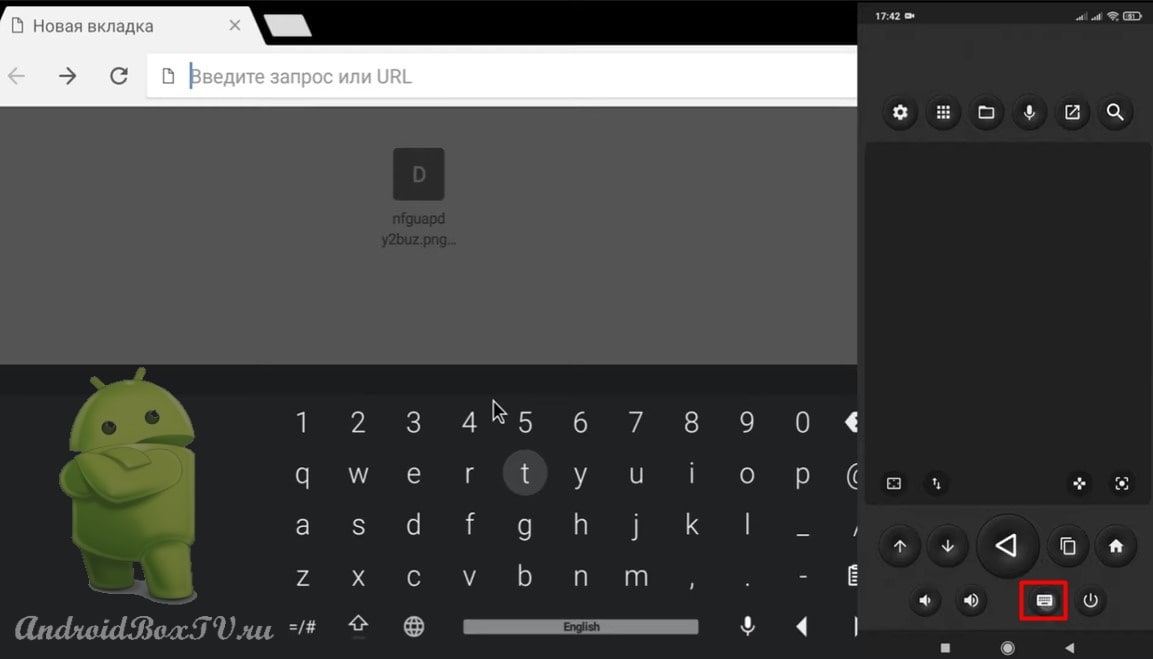
After the flickering of the button on the TV Box remote control has stopped, then the button is programmed:


Try pressing the button on the new remote, the volume should increase. The same is true for the rest of the programmable keys. Slowly. There will be questions - write
Check out other articles from the rubric “Working Moments” Here.

Mi Box Button Remapper. Assign the Netflix button on the remote

Today we will look at how to remap the “Netflix” button on the Mi Box S and Mi TV Stick using the Mi Box Button Remapper on the remote control.

Perhaps, those who stayed on Android TV 8.1 will have to enable USB debugging for the application to work (we wrote about this often, for example, here (the beginning of the article)).

Install the application from the Play Store (the program is free, there are no ads):

Enter the name "mi box” and install the Mi Box Button Remapper program. abbreviated " MiBBR“:

After installation, open the application:

In order to start using the application, you need to follow some steps. Click on " Start setup”:

Further, in order to be able to assign your actions, you must disable the application “Netflix”:

We return to the main screen and go to “device settings“:

Choose "Applications” and find “Netflix”:

Open and click "Stop":

Next, press "Disable”:

Coming back"Back” and add the downloaded application to the main screen (we wrote in more detail Here):

Opening the application:

Click on "Application List”:

You can add an application that is not adapted for Android TV, for example, rotation control (good program for screen rotation, we installed it here). Choose:

We return to the main screen. We click on the “Netflix” button and the application that we assigned opens:


Another application opens with this button! Hooray! Did you succeed?
Check out other articles from the rubric “Working Moments” Here..

External Keyboard Helper. Language layout not switching

Today we will look at how to solve the problem when the language layout does not switch when using a physical external keyboard. Let's see how to solve this problem using the External Keyboard Helper for an external keyboard. Also, let's see how to add voice typing in the application settings, that is, assign a button on the keyboard that will activate the voice text input function (all actions were performed on the LOGITECH K400 Plus keyboard).

First, install External Keyboard Helper application the Play Store . We go to the Play Store and enter the name:

Here are two versions of this program - Demo version and Pro version (paid):

Install demo:

After installation, return to the main screen and go to “Settings”:

Select "Keyboard settings" and "Manage keyboards":

Activate the installed keyboard:

Next we go back. Select "Current Keyboard" and External Keyboard Helper:

Let's go to the settings:

Consider the functions of this application. You can change the language:

Advanced settings:

Keyboard detection, if the device does not see the USB keyboard, then check the boxes everywhere:

Next, the section “Switching the language”:

Select "Keys for switching layouts":

Uncheck the box and click "Edit":

You must press the key with which you will switch the layout (in the example, the key is “Space”).

Activate "Shift”, that is, the layout will be switched with the keys “Shift" And "Space”:

Let's try to switch. Toggled but no second layout selected:

Choose an alternative layout:

Let's try again and everything switches:

Now let's select a key for voice input. Go to the "Other settings" section:

Select "Voice input key" and uncheck:

Click “Change” and select the key you need (in the example, the key “Play/Pause”):

On some devices, the “Enter” may not work, so let's see how we can fix it. Go to device settings:

Select “Keyboard” and keyboard settings:

Go to “Advanced settings” and select the first item “Keyboard layout”:

Turn on "Failsafe Mode":

On MI Box key “Enter” worked, but there was a side effect: navigation stopped working in the menu settings. Try it, and write in the comments if this key works for you. And what other side effects have appeared.

Check out other articles from the "Working Moments" section here .

Telegram. TV use

Telegram on Android TV . This application works the same way as on a smartphone, you can communicate via audio and video calls with a webcam and microphone.

Basically, “Cart” is installed on Android TV not for communication. Telegram has many channels where they upload APK files of applications, they can be downloaded without any problems . Before installing TG for those who have not registered, you need to do this on your smartphone.

Let's see how to install this application. a mouse to navigate the application .

Open the Apkpure or AptoideTV :

Enter the name in the search and click "Install":

Next, click “OK” and the download of the APK file will begin:

Click "Install" and open:

Enter the phone number that was used when registering on the smartphone:

In Telegram on your smartphone, you will receive a confirmation code. Enter the code and click "Next":

Click "Allow":

Now let's take a closer look at the capabilities of this application.

You can make an audio and video call:

Let's see where to find APK files. In the search, enter the name of the channel you need:

Select file and upload:

Open and go to settings:

Click "Allow installation from this source" and install:

Also, if the device has Google Chrome You can download the file from a direct link and install the application:

Or download from Google Drive:


Another description of Telegram (the article is more modern) was written by here . Compare and write which program is better.
Check out other articles from the rubric “Working Moments” Here.

Sideload Launcher, Sideload Channels. Installed apps not showing

Today we will look at the “ Sideload Launcher ” and “ Sideload Channels ” programs. Very often, users who have purchased a device on the Android operating system have such a problem: they installed the application, but they can’t find it anywhere, or they open it through ES Explorer .

The site has an article on how to create shortcuts for applications that are not adapted for Android TV:

  • TV App Repo (does not work correctly on Android 8+).

The " Sideload Launcher" provides access to all applications installed on the device.

With the help of the “ Sideload Channels ” program, you can create a channel and add these channels to the main screen.

These programs can be installed from the Play Store . Open the Play Store:

Enter the name in the search and install the application:

The second program costs a little money, but if desired, a free version can be found on the Internet:

We open. Program " sideload launcher provides access to all applications installed on the device:

Next, we will create a channel in the program “Sideload Channels” . Open the program and click on the plus:

Enter the name of the channel and click "Next":

Also, you can select an icon:

Change icon color:

We pass to the main menu. Click on the plus and add the necessary applications:

Applications added:

Now let's add these channels to the main screen. Go to the "Set up channels" section:

Choose "Sideload Channels” and turn on the channels:

Channels added to the main screen:

Do you have any questions?
Write in the comments! Check out other articles from the "Working Moments" section here .

Remote, Mouse, Aeromouse from Android smartphone Zank Remote

Today we will consider the application “Zank Remote” - this is a remote control from an Android smartphone. This program includes the following features:

  • Mouse
  • air mouse
  • touchpad
  • TV remote control
  • Regular remote

Also, you can transfer files two-way.
(How to use the mouse and air mouse I already told here )

First, install the application on Android TV. We go to the Play Store and enter the name “ Android Remote ” in the search bar:

Install and click "Open":

Click "Allow":

It is suggested to enable “USB Debugging”:

Enabling USB debugging is not recommended! Consider how to get permission differently.

Open E S Explorer and go to “APPs”:

Highlight "android remote” and go to “Properties”:

We go to the section "About the application":

We give permission to show over other applications:

We return to the main screen.

Go to the "Device Settings" section and select "Accessibility":

Next, turn on "android remote". The mouse pointer appeared:

Now let's look at how to get permission on Android 9+.

Go to "Settings" and select "Applications":

Next, select “Special access” and “Over other applications”:

Turn on "android remote” :

Next, go to “Device Settings” and select “Accessibility”:

Turn on "android remote” :

Now you need to open the application:

In case it doesn't connect automatically, you can find the IP address here:

Now we take a smartphone and install the application “android remote” . We open:

Click on the magnifying glass and the device search begins (both devices must be on the same Internet network):

The device is found, click "OK":

There is a pointer:

Now let's take a closer look at the buttons of this remote control.

Aeromysh mode:

Next, “Touchpad” (drag with your finger):

Regular remote with navigation keys:

The next button allows you to add an application for quick access:

Add an application, click on it and open:

Also, you can call the keyboard on your smartphone and type from it:

Scroll down/up:

Back button:

Voice search:

Next, click the "Upload Files" button. Click “Allow” and you can select a file to transfer to your smartphone/device:

Next is the remote for the TV (supported with Android TV 7):

Button “Settings”:

Volume up/down buttons:

The next button shows the latest apps:

Download the application "Zank Remote" and use.

Check out other articles from the "Working Moments" section here .

VMOS. Virtual Android OS on Android TV

In this article, we will consider an application called “VMOS”. An additional Android 5.1 AOSP operating system is installed on the device as an application, the same as on smartphones.

Let's see how to install this application. Download link http://catcut.net/aRRI .

Download the link and go to ES Explorer :

Select "Device" and the folder "Download":

First, install "mod1.apk”:

Install and click "Open":

Press "Continue”:

Press "Set up now” and turn on “Show over other applications”:

Let's allow all actions:

The first time can be a long installation:

The application has started. Pull out the bottom curtain:

Not yet Play Store and Services Google. In order for them to appear, you need to install an application update.

Go back to ES Explorer and install “ mod2 ” (update):

Install and click “Finish”:

We return to the main menu. Opening the application:

After updating the application, the Play Store and Google Services appeared:

Now let's look at this application.

This is what the main screen of the app looks like:

On the main screen of the device there is a floating widget that opens the control panel:

With this button, you can open a window and dock it:

"Full screen mode":

There is a top and bottom curtain:

From the bottom curtain, you can add an application to the main screen:

By holding the screen, you can add widgets:

Also, there is a “Voice input”:

File transfer section:

"Import" - allows you to install the application from the main device:

"Export" - allows you to transfer files to another device. The exported file can be found on the device in the “Download” folder:

Settings:

Chapter "Resolutions”:

Chapter "Use virtual button”(you can swap the buttons):

Chapter "ROOT”:

Chapter "Other setting”:

The device settings are the same as on the smartphone:

Installation completed.
Check out other articles from the category “Difficult Tasks” here .

Virtual keyboard LeanKey Keyboard, Gboard

Lately, Android TV tends to default to “Google Keyboard”, which is not very convenient to use. In this article, we will consider the “ LeanKey ”, which can be used with the remote control, as well as with the mouse (articles about mice have already been written here and here ). In the latest version of this application, voice dialing has become available.

Also, let's look at how to update the stock keyboard "Gboard". After the update, control is only possible with the mouse, since this version is for mobile devices, but the following functions will appear:

  • Voice input
  • Translator
  • Clipboard (using the Clipboard, you can paste a link into an application where there is an input field, without calling the context menu)

We go to the Play Store and in the search bar we type “LeanKey Keyboard”:

Install and open:

Click "Activate Keyboard":

Select “Virtual Keyboard” and “Manage Keyboards”:

Turn on "LeanKey” :

We return back. Go to the “Select layout” section and select the desired languages:

Go to the "Miscellaneous" section and check "Show on screen":

Section “About the application”:

Next, go to the device settings and select “Keyboard”:

Select "Current Keyboard" and turn on "LeanKey” :

Let's see how this keyboard works.

This is how it looks initially:

You can type with both the remote control and the mouse.

Voice input:

Settings can be accessed by holding down the globe icon:

Let's try to increase the keyboard in the settings:

Now let's look at how to update the stock "Gboard" keyboard.

Aptoid TV app store and type “Gboard” in the search bar:

We open. Click "Update":

After installing the update, we open the application, but you will not be able to open the application settings here:

Therefore, go to the device settings and select “Keyboard”:

In the "Current keyboard" section, check "Gboard":

Next, we open:

In the settings section, turn on the “Row of numbers”:

“Keyboard Height”:

Enable "Long press":

Also, you can set the duration of the long press:

Next, the “Languages” section, you can add the desired language:

Section "Theme":

Here you can highlight the contours of the keys:

Section “Continuous input”. This is for mobile devices, so we turn it off so as not to interfere:

Voice input is enabled by default.

Dictionary section. You can remove unnecessary or misspelled words:

Search section:

Section “Additional”:

Now let's see how the keyboard works.

Voice input works:

Menu section. Can be dragged:

"Floating mode":

Let's check the Clipboard.

Copying text:

Next, open the “Clipboard” on the keyboard and click on the copied text, it is inserted into the input field:

We hold the copied text and you can fix it, or delete it:

Ready?
Everything worked out? Check out other articles from the "First Acquaintance" section here .

Well, if you are interested in another application for the SwiftKey keyboard, go here .

Screensavers. Video screensaver. Video Screensaver

In this article, we will consider an application that creates screensavers from photos, pictures and videos that can be downloaded from the Internet, or you can use your own files. The program is called “ Video Screensaver ”.

You can install this application from the Play Store . Also, install the program “Wallpapers and Screensavers 7FON”, so that later you can download pictures from there.

Consider the paid version of the application. We go to the Play Store and enter the name of the program in the search bar:

Version 1.0.12. If you wish, you can purchase a paid version, if you don’t like it, you can refuse and the money will be returned to the card:

Now let's take a look at the free version of this app in "Aptoide TV". For those who have not installed this app store, follow the link - Aptoide TV.

We go to “Aptoide TV” and in the search bar we type the name of the application:

Version 1.08:

Now install the "Wallpapers and Screensavers" program. In the search, we type “7FON”:

Open and install:

Next, open the applicationVideo Screensaver” :

Here you can get into the device settings:

We go to the application settings:

In the settings you can sort files:

Turning on “Adjust Video Length”:

Reboot operations section:

Turn on "video table”:

Open the device settings and select the “Screensaver” section:

Open Screensaver and selectVideo Frame Pro”:

We see the files that are on the device:

Also, you can store files on a USB flash drive so as not to occupy the device's memory.

Select, for example, “Waterfalls” and click “Enable”:

This is what it looks like:

The frequency of changing pictures can be changed in the settings. Also, you can mark all files and everything will be played in turn.

Switch to “ Video Table Pro ” and select the desired files:

This is what it looks like:

These wallpapers are downloaded from the Internet, if someone has not installed the Google Chrome browser yet, follow the link - Google Chrome .

Next, let's look at how to download the necessary themes into the Wallpapers and Screensavers application. Open the application "7FON":

Let's choose, for example, the section "Flowers":

Open the image and click on the plus:

Next, download the image:

Go to ES Explorer:

Select a device and make folders for each section of pictures:

Let's see how to create a folder.

Click "Create" and select "Folder":

Open the folder with pictures, select the folder “7FON”:

Select the pictures and click "Cut":

Open the created folder and click "Paste":

Next, go to the device settings and select “Screensaver”:

Mark the created folder and click "Enable":

This is what the screensaver looks like:


I did it! And you?
Check out other articles from the category “Difficult tasks” Here.

Tv App Repos. Application shortcuts

Today we will look at how to create shortcuts for non-adapted Android TV applications using the “Tv App Repo” application so that they can be opened from the main screen. On Android TV 8+, the application does not work correctly due to the end of developer support.

Also, consider a site with which you can create shortcuts regardless of the version of Android TV, as well as for protected applications, which “Tv App Repo” cannot handle. Link to a folder with ready-made shortcuts - http://catcut.net/5wBE . You can install them in the same way as installing the apk file of applications (we talked about this here ).

Let's look at how the application itself creates shortcuts, how it creates shortcuts with images found on the Internet, as well as with images stored on the device, and see how to create a link in the form of a shortcut to frequently visited sites.

“Tv App Repo” can be downloaded from “ Aptoide TV ” app store, or from the link – http://catcut.net/FNkP .

Opening the application:

Select the application for which we want to create a shortcut, and click "Create Shortcut”(Create Shortcut):

Install and click "Finish":

Now let's see how to create a label using an image found on the Internet. We open the application we need:

Choose "Advanced” and you will need a link to the image:

We exit with the home button. Open the browser and in the search we write " android assistant”:

By clicking on the image section. Open the desired image, hold and click "Download Image":

Open after download. We hold the link and it is copied:

We return home.

Open "Tv App Repo". Paste the link and click “ Create Shortcut ”:

Install the application and click "Finish":

Now let's see how to create a shortcut using images that are stored on the device. For this we need ES Explorer.

Open ES File Explorer:

Click "Device" and select the "Downloader" folder:

We select the image. Go to the “More” section and select “Properties”:

Select "Copy full path":

We return to the application “Tv App Repo”. Select the application of interest, and click " Advanced” :

Paste the copied path and click "Create Shortcut":

Install and click "Finish":

Next, let's see how to add a bookmark to the home screen for frequently visited sites.

Go to the “ Custom Shortcuts ” section and select “Web Bookmark”:

You will need a link to the site.

Exit with the Home button. Open the browser and in the search we write the name of the desired site:

Hold and copy the link:

We return back. Paste the link and click "Create Shortcut":

The application can create a label itself, or create a label with an image that we choose. Press " Advanced”:

Exit with the Home button. Open the browser, select the image and download the image:

Open and copy the link:

Go back and paste the link:

Install and click "Finish":

Now consider a site where you can also create shortcuts. Link - http://atvlauncher.trekgonewild.de/ .

Opening the site:

All actions are described in detail:

We return back. Let's add the shortcuts created by the app to the home screen.

Android Assistant (image from internet):

Next, the image from the device:

Next, the application itself created the shortcut:

Site bookmark:

All shortcuts have been added to the main screen:


Ready! Enjoy!
Check out other articles from the rubric “Working Moments” Here.