The second part is an addition to the Video Launcher Fire TV . In this article, we will look at how to solve the problem if the regular Launcher starts after the device is rebooted. Also, if you have Root access, get a recommendation of third-party applications on the main screen. This action can only be done if you have a “BackUp Firmware” so that in case of an error, you can restore the device (all actions are under your responsibility).
At the moment, the version of Launcher 23 , on Android 8 +, it is not possible to get recommendations, even the items Enable recommendations and the Recommendation line have disappeared. In this article, all actions are performed on TV Box Android 7.1 AOSP .
In the last article , we settled on the fact that we managed to get recommendations from YouTube:
Now go to the Launcher settings:
Select "Sources of recommendations":
IN 23 version, recommendations from third-party applications appeared, but they are not on the main screen:
Go to the device settings and disable “USB Debugging”:
The “FireHelper” application can be uninstalled.
There is such a side effect, if the system starts to voice the action on the screen, then you need to find the “Google Speech Synthesizer” in the system applications and turn it off:
We confirm:
That's it!
Check out other articles from the category “Difficult tasks” Here.
Today we will consider installing and updating Kodi Media Center to version 19.0, which is available in the Play Store. Also, consider the changes and initial settings of the application; how to add a TV channel from your ISP. To do this, first, you need to get a link for configuration from your Internet service provider.
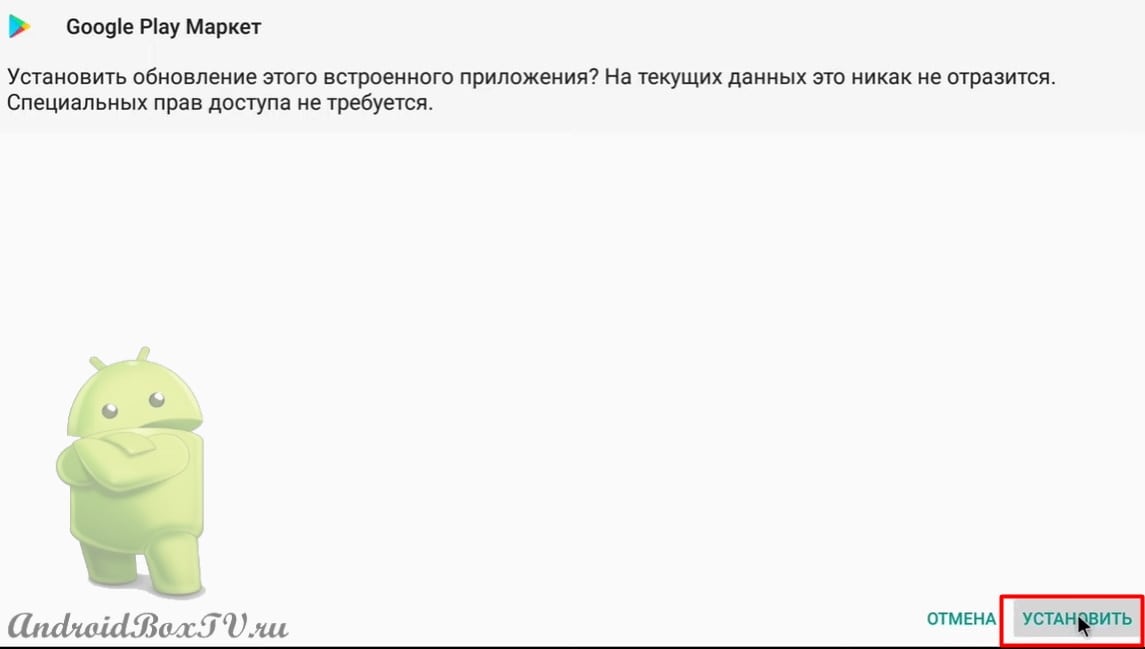
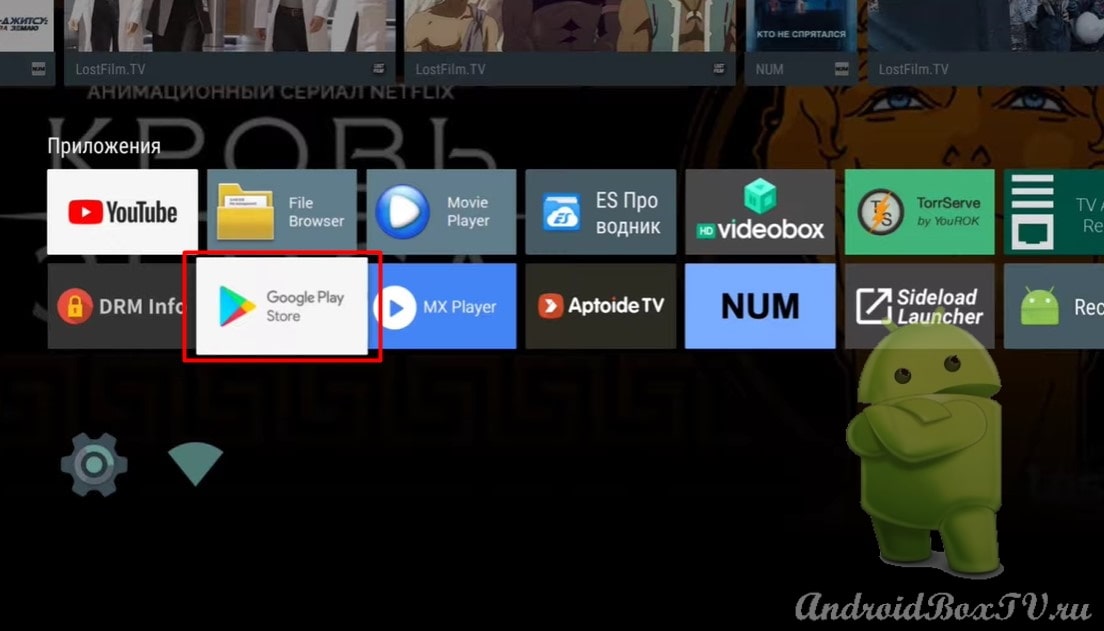
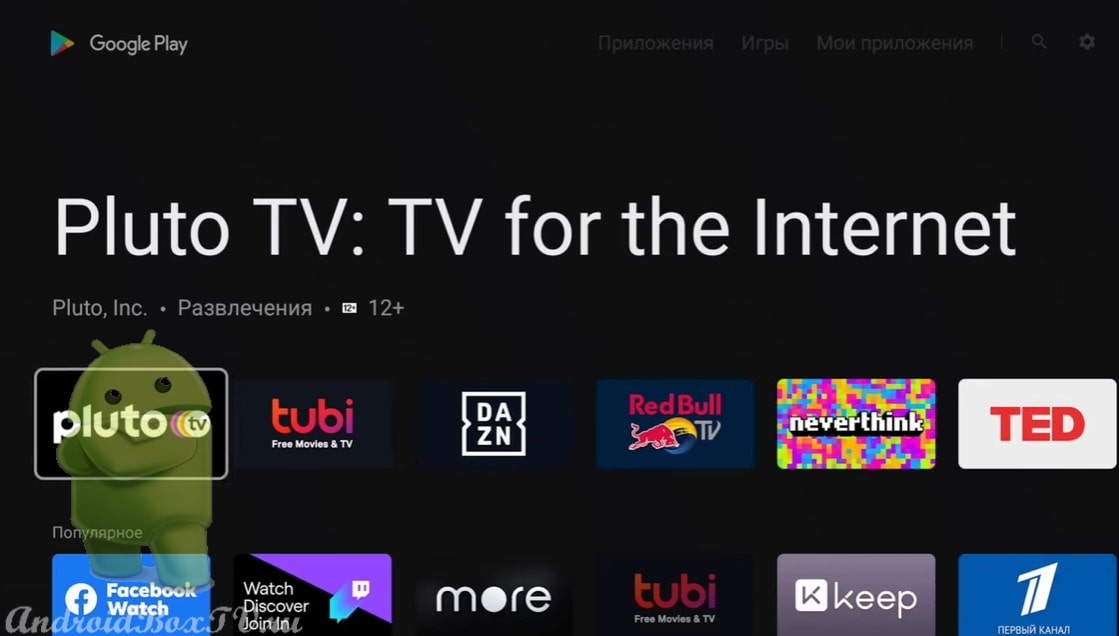
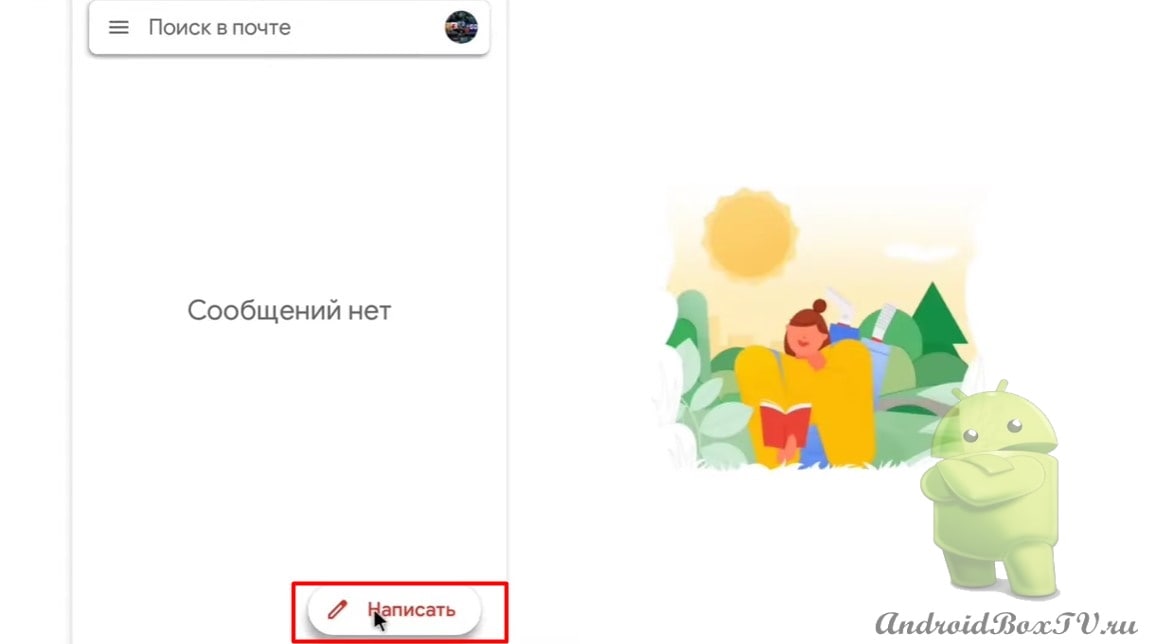
Let's get started. Download Media Center for Android TV from Google Play and open:
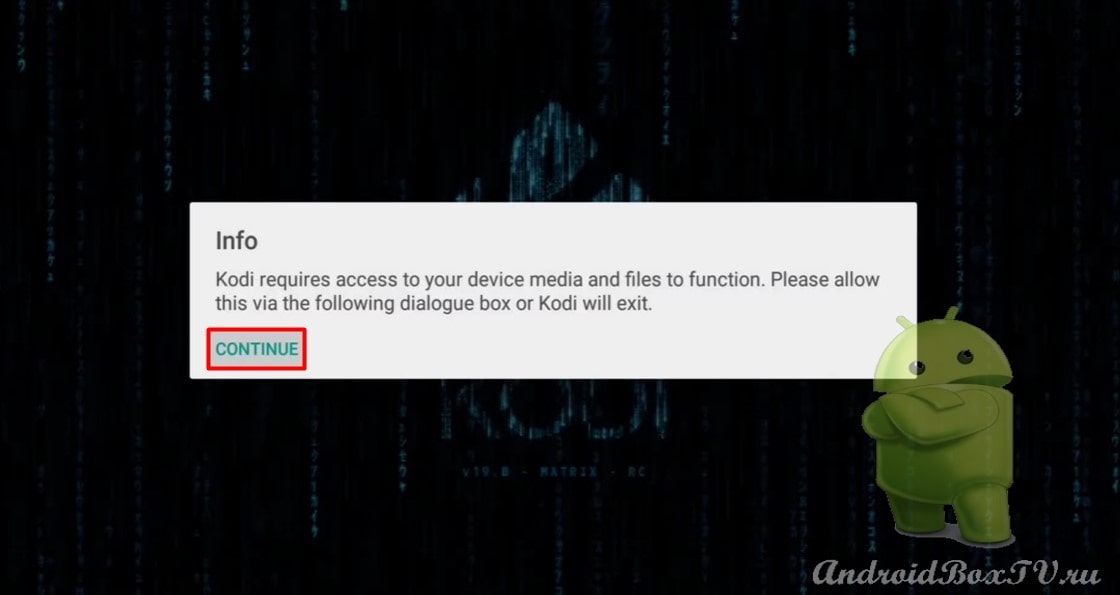
We launch the installed Kodi application on smart TV and click “ Continue ”:
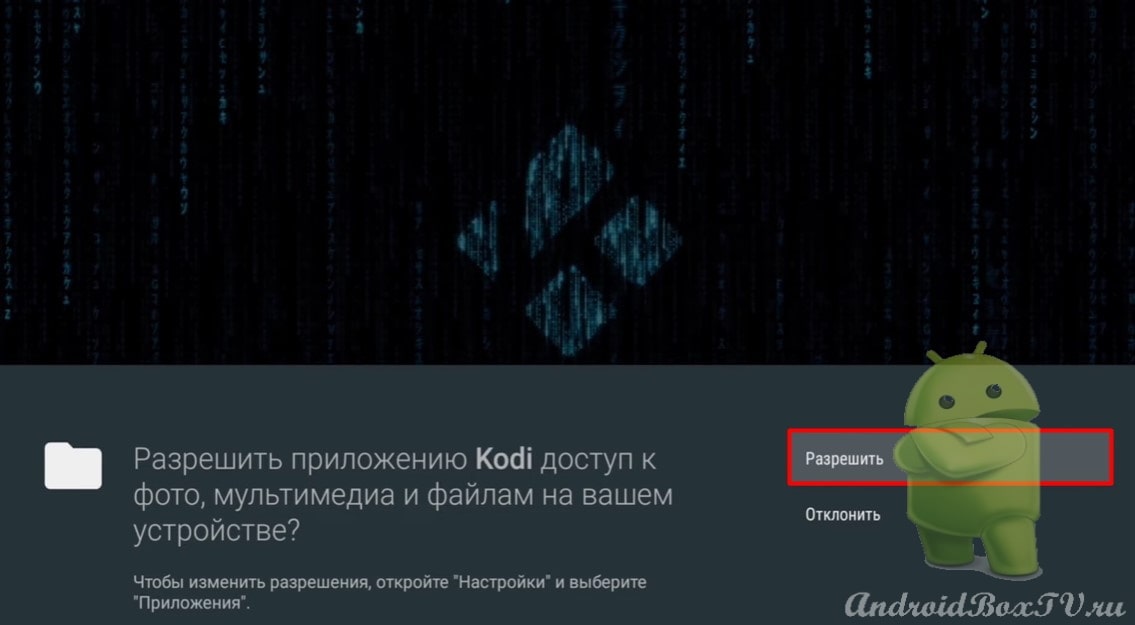
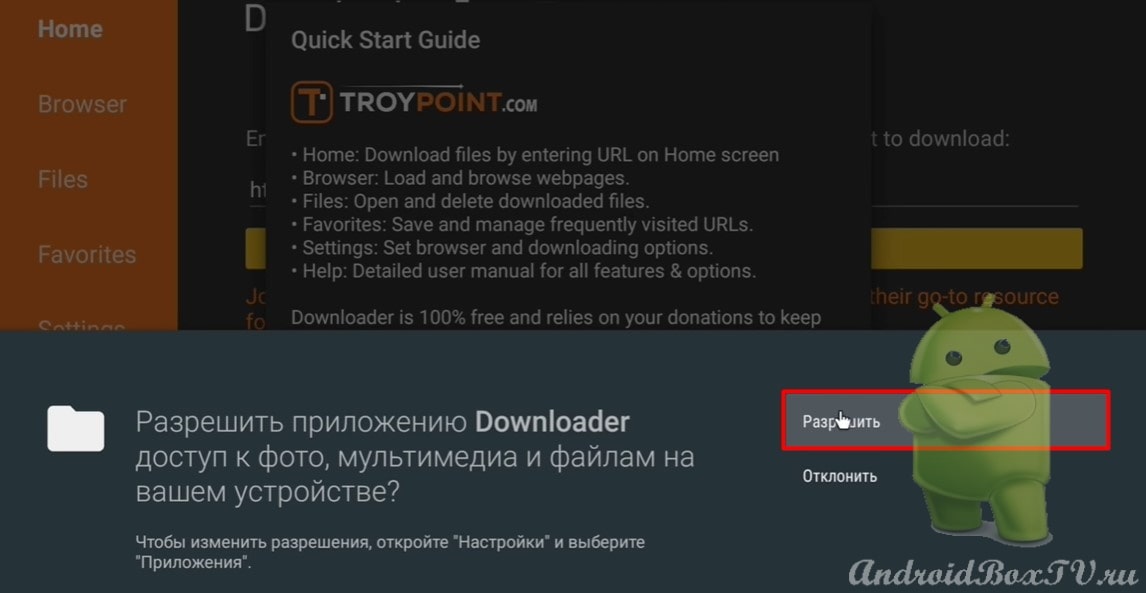
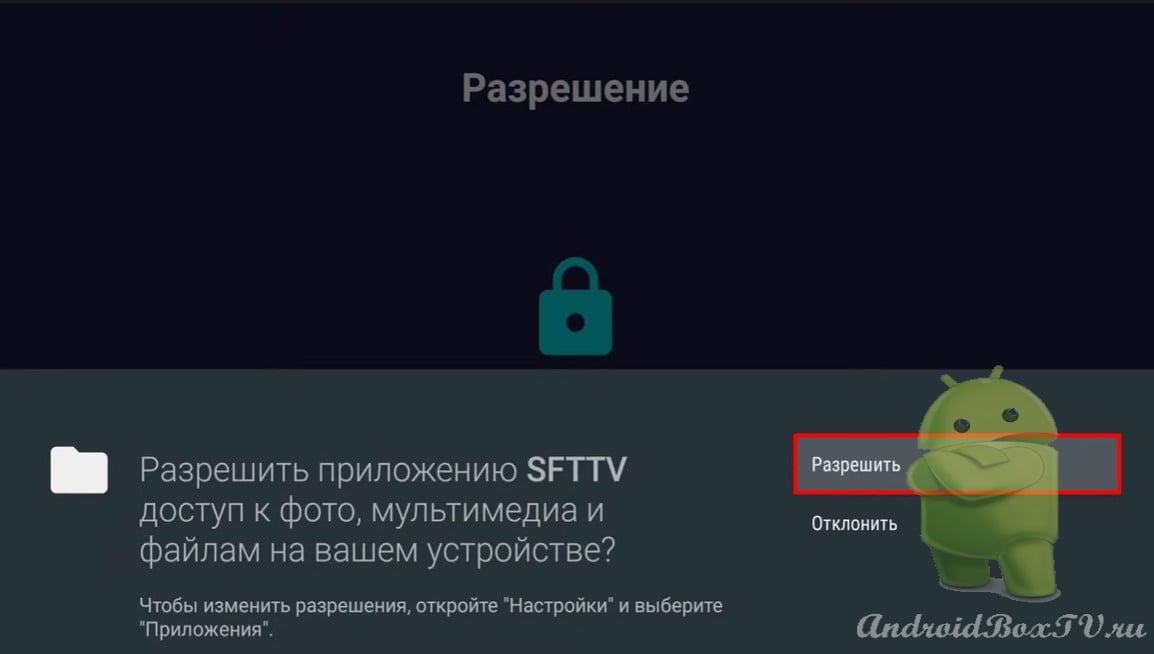
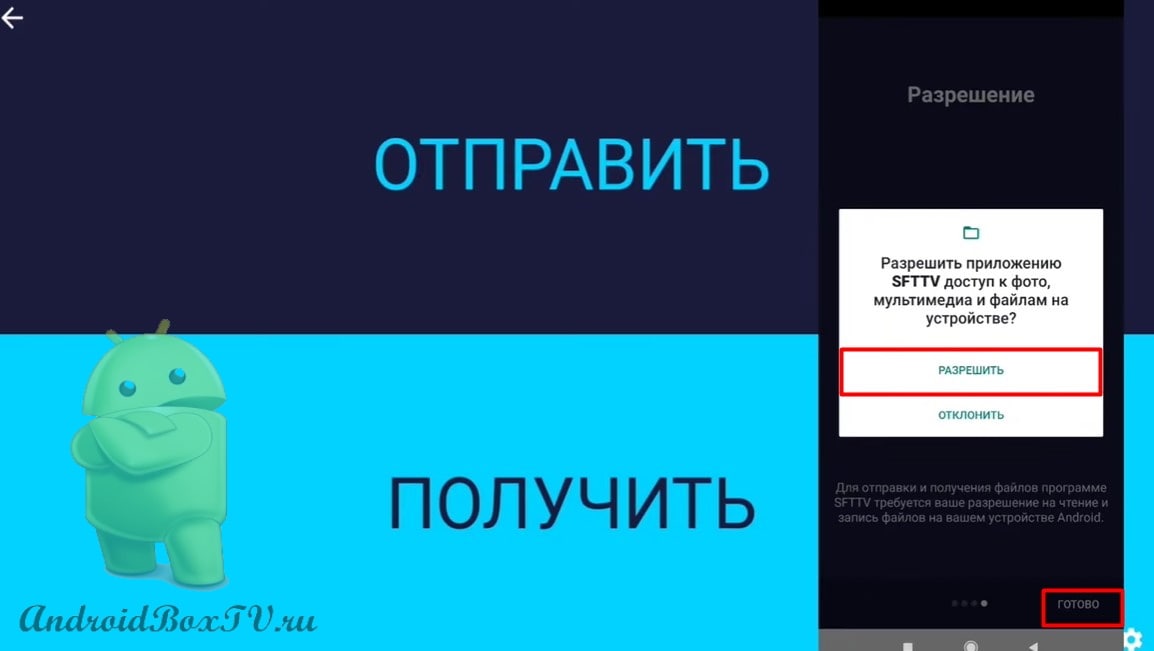
Click “Allow” (continue):
Access permission
We allow the Media Center access to your photos, multimedia and files. To do this, click " OK ":
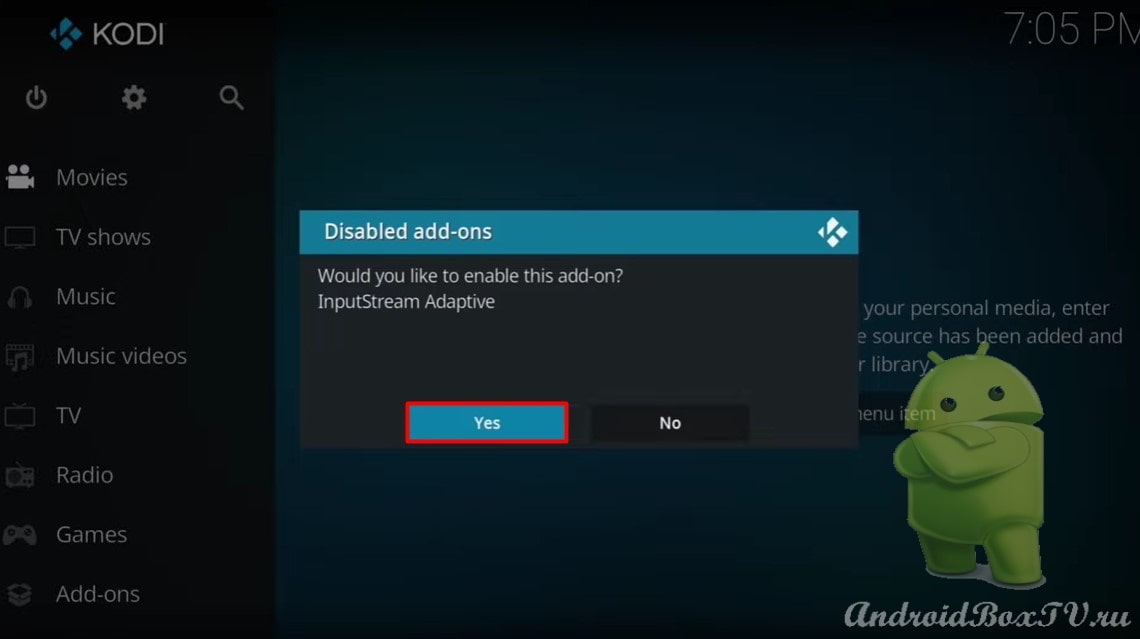
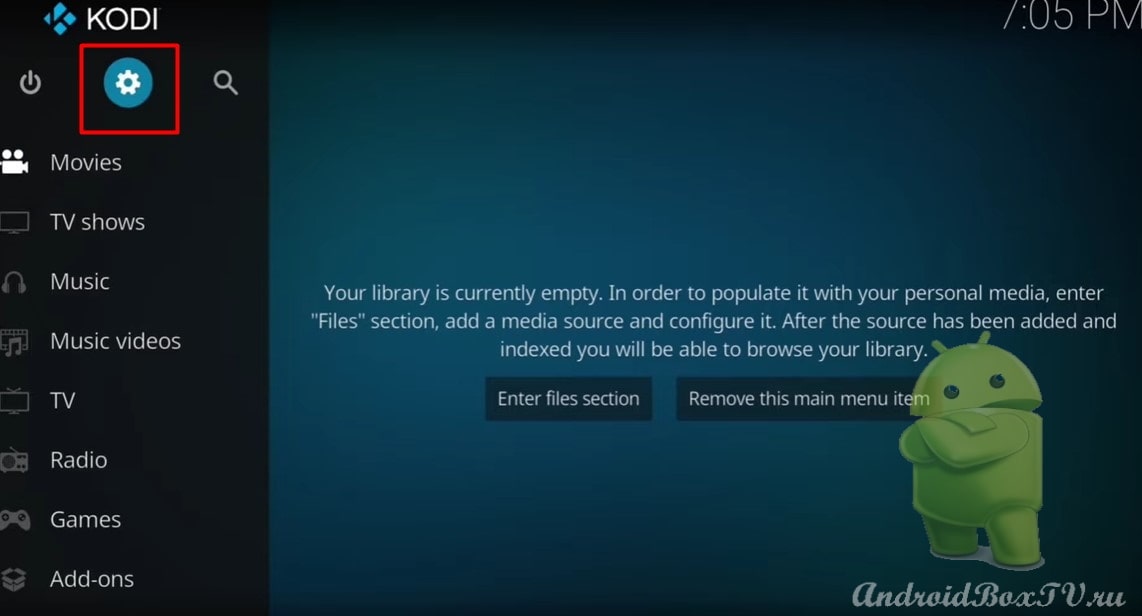
Go to the “Settings” of the smart TV set-top box and select “Interface” (interface):
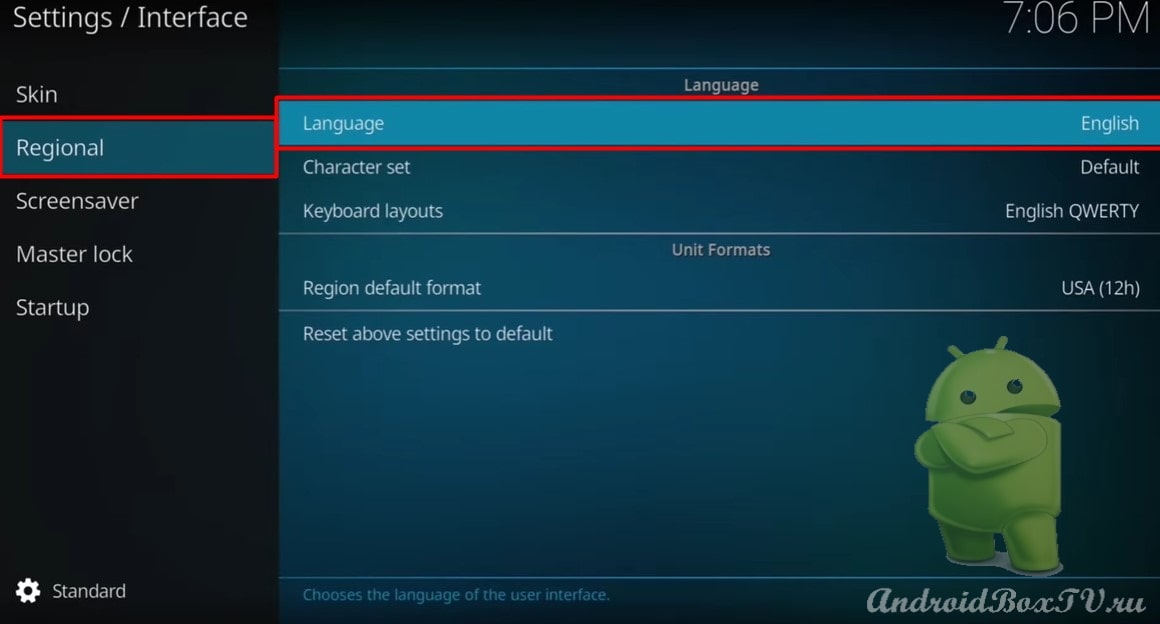
Next, choose a region:
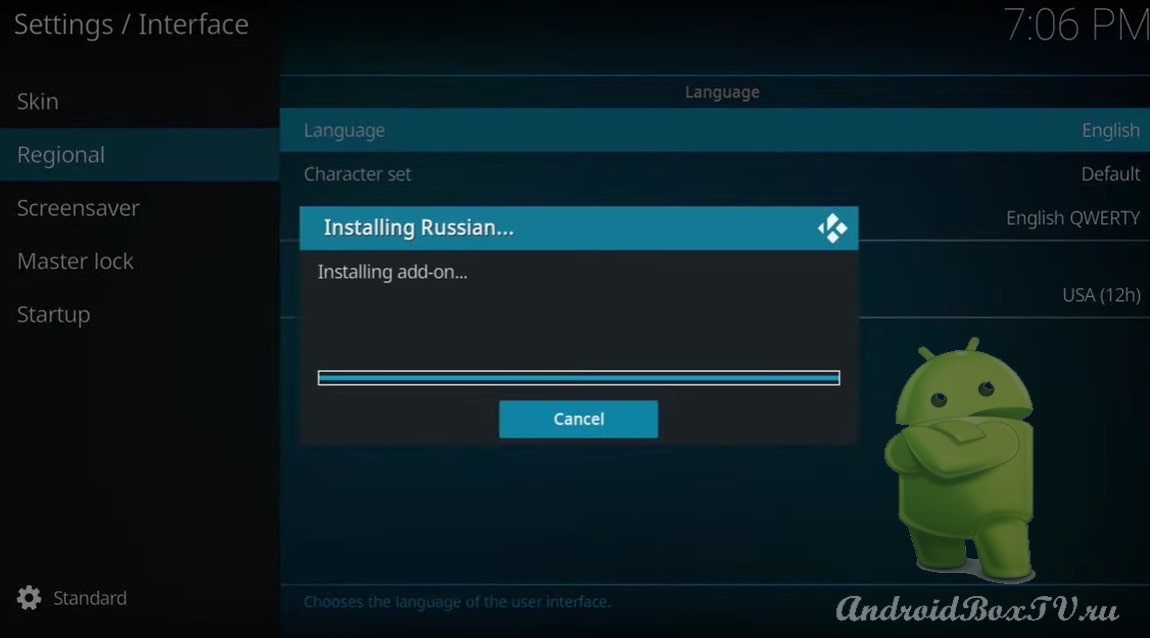
And finally, we switch to Russian:
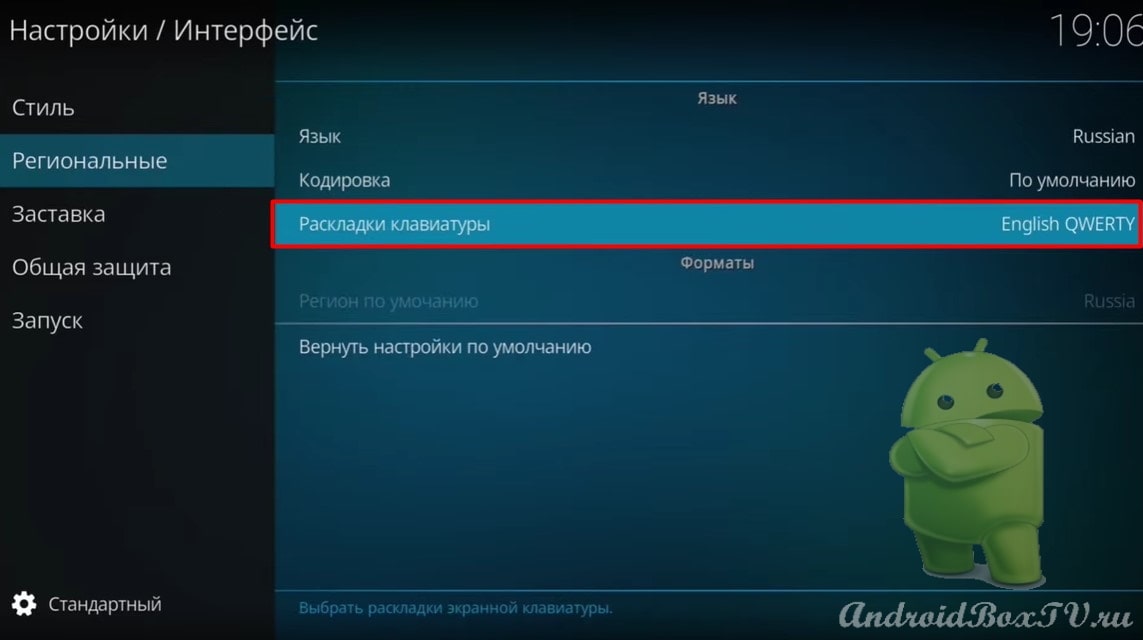
Now let's add a keyboard layout:
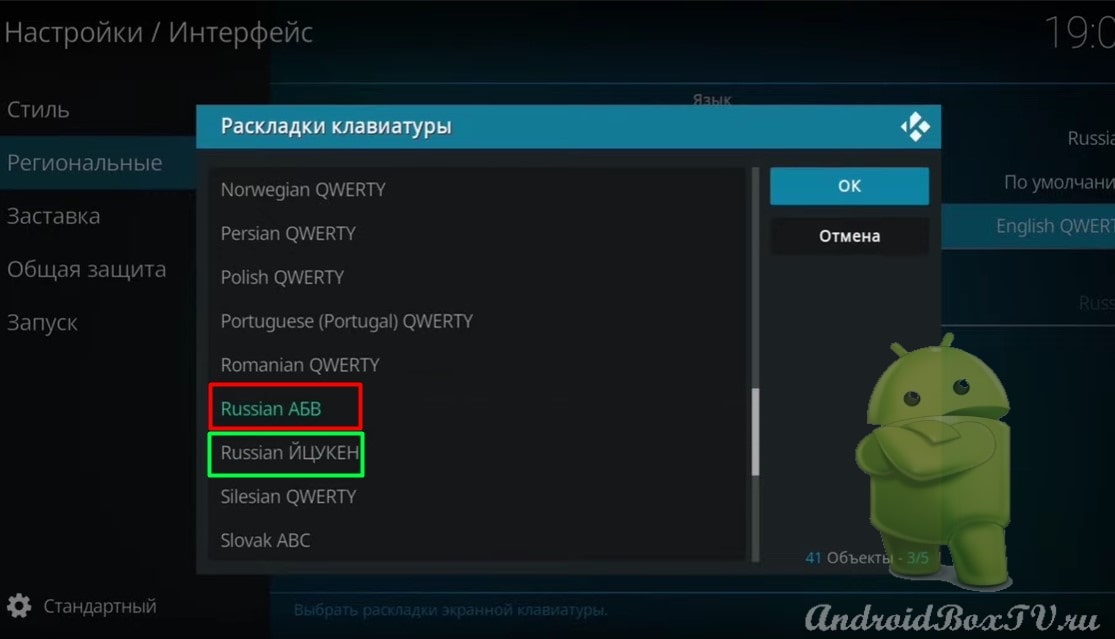
Here are two layouts:
alphabetically
starting with Y (this is the usual keyboard layout for all of us, like on a computer).
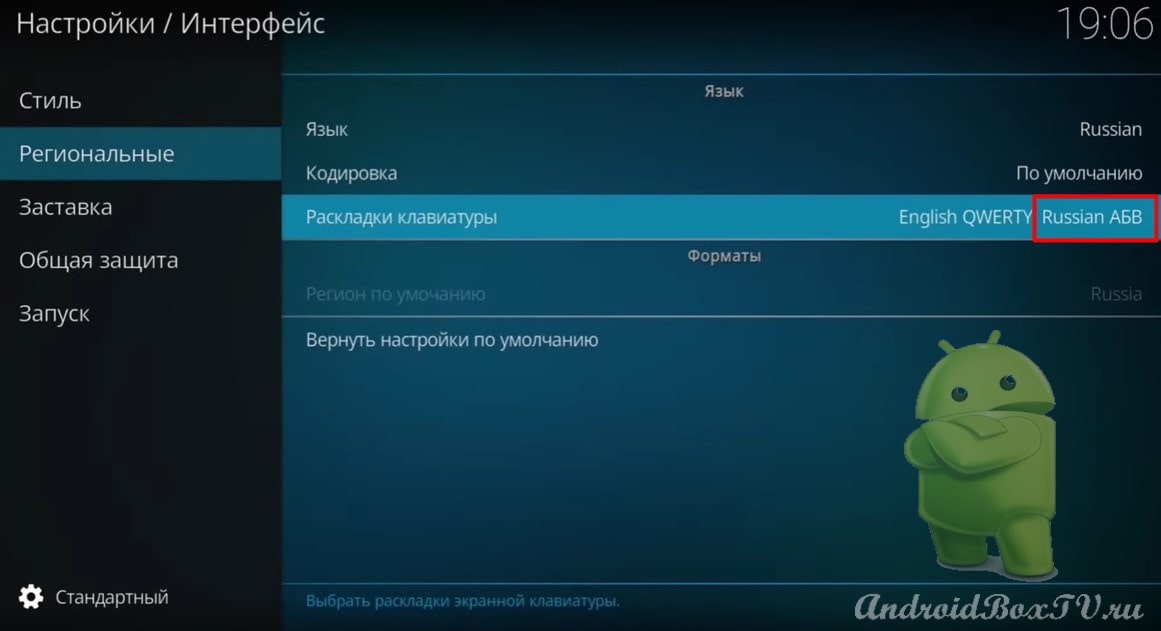
Layout installed:
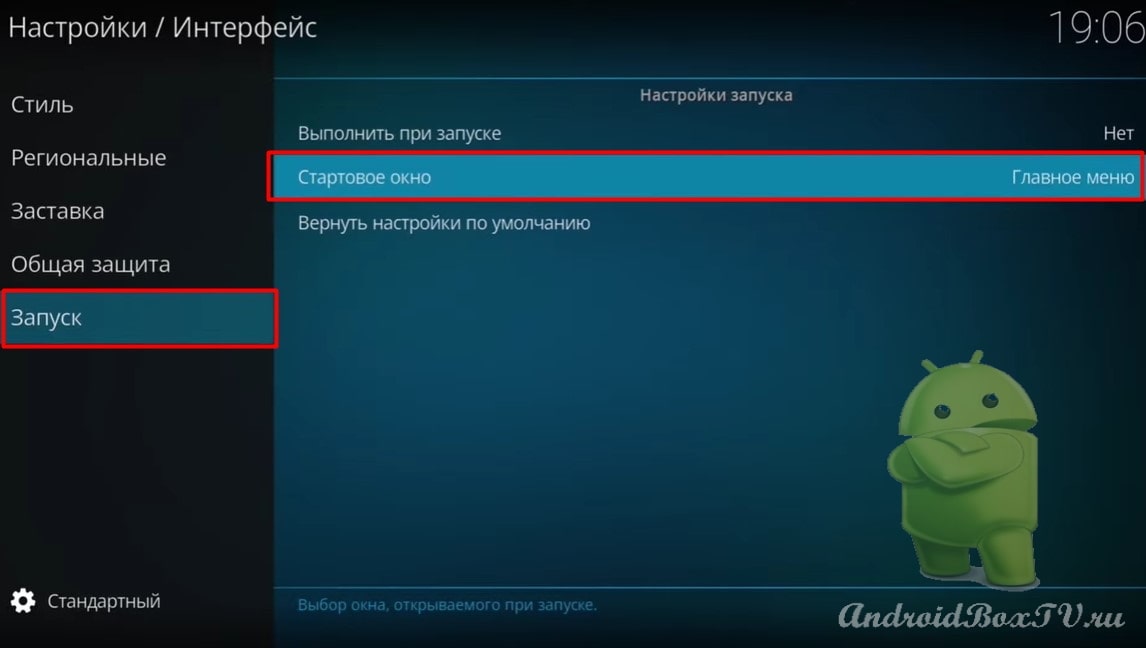
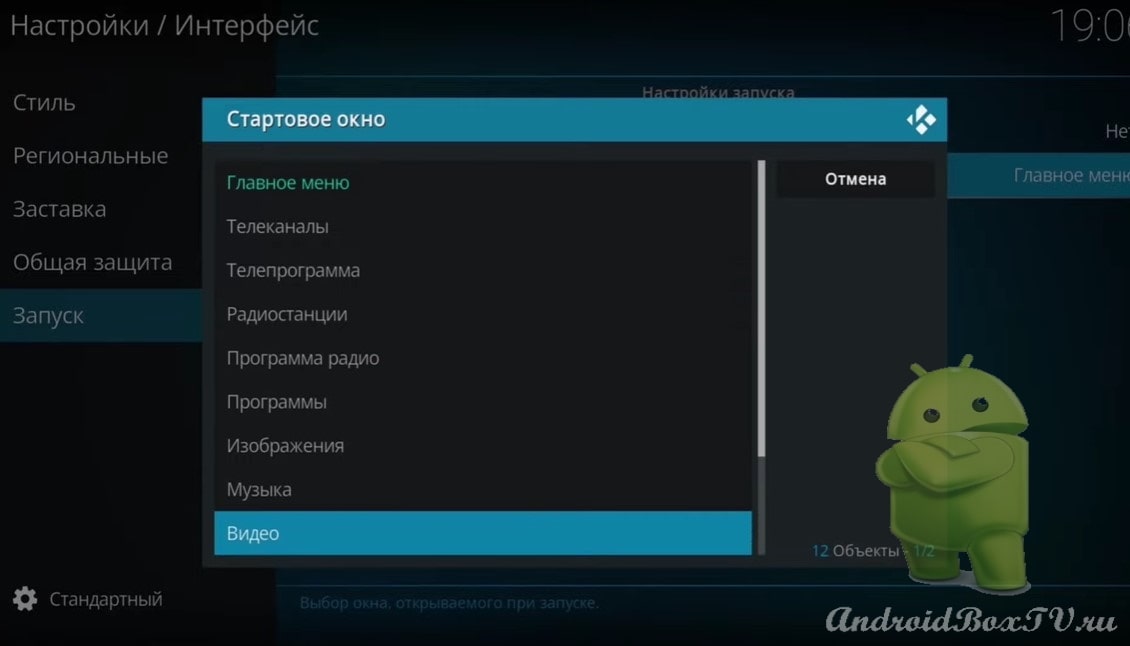
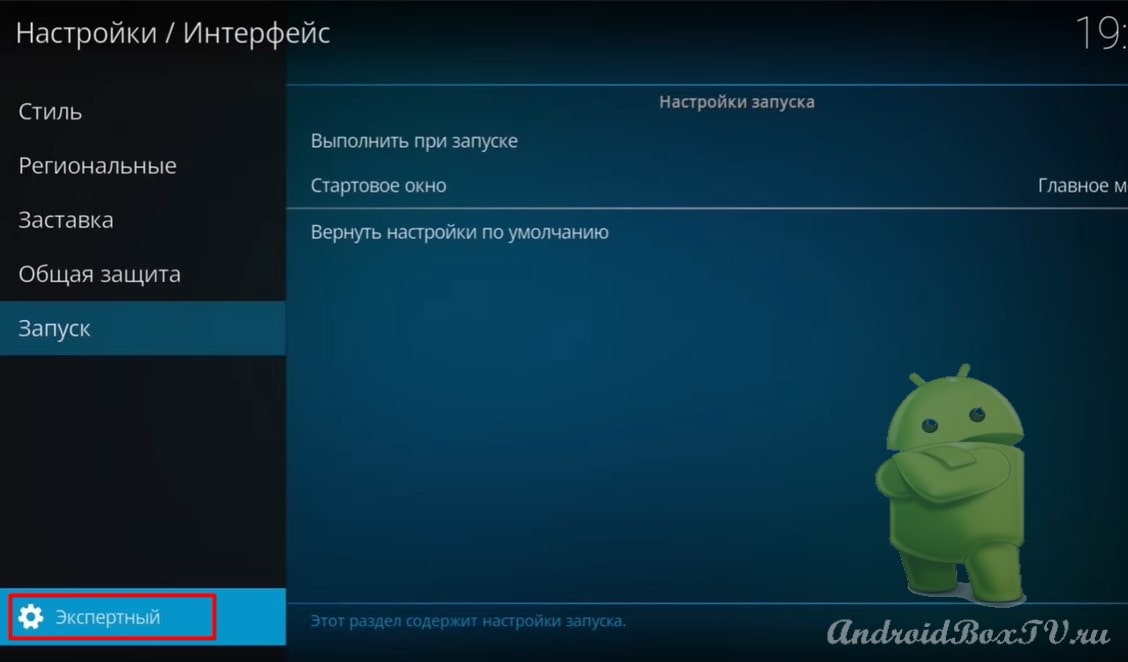
In chapter "launch”You can choose from what the application will be launched on Android TV, experiment:
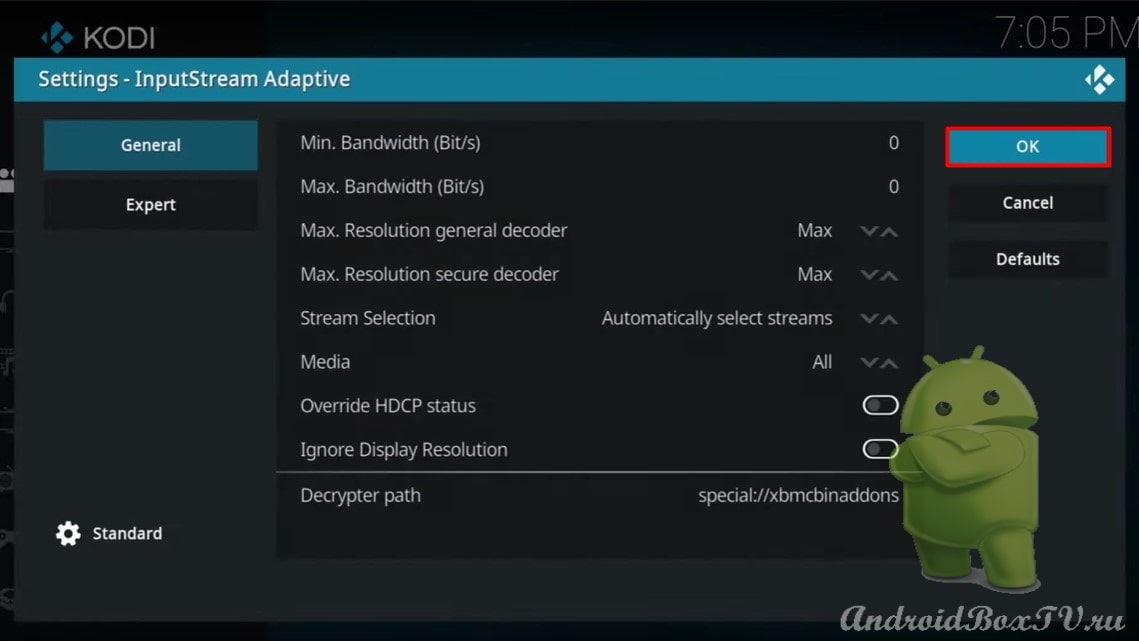
Set the settings level to “Expert”:
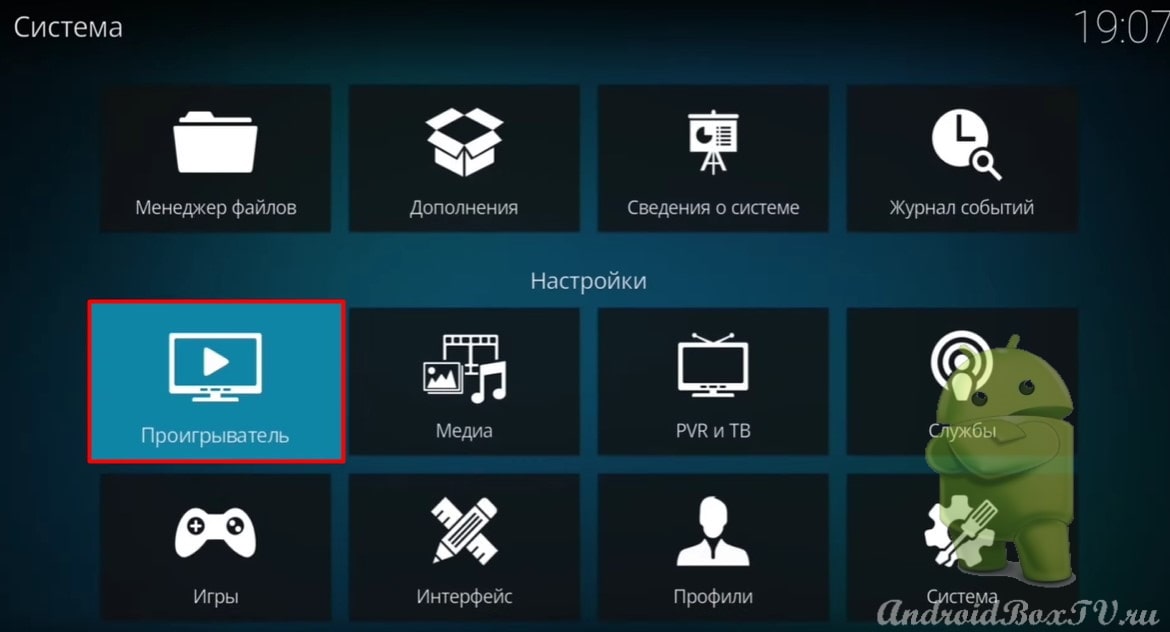
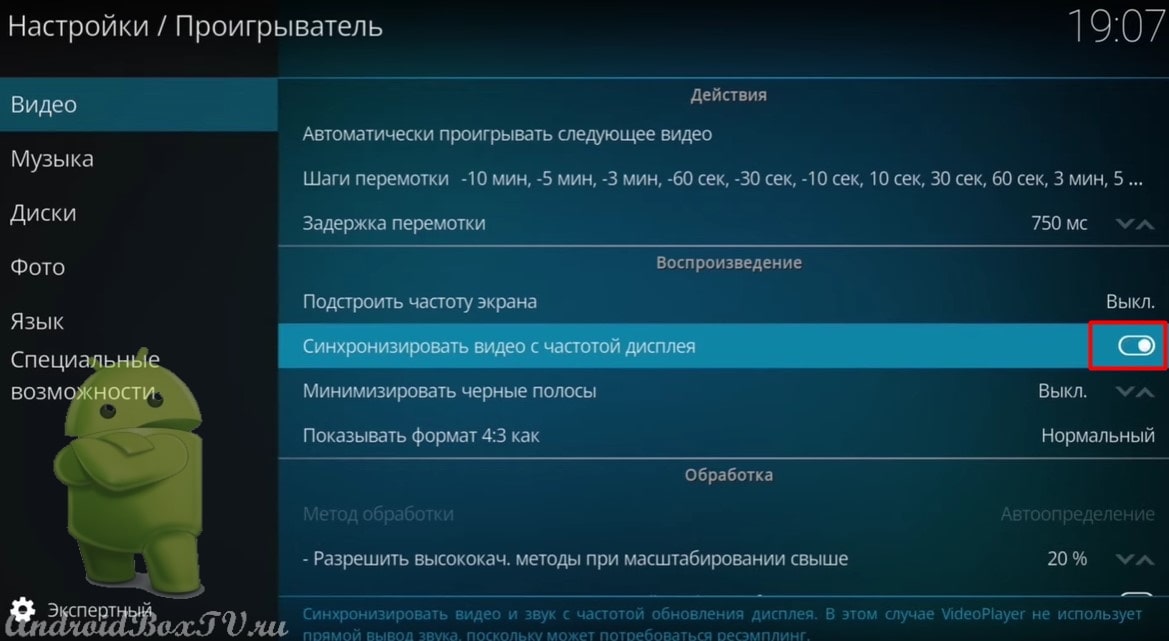
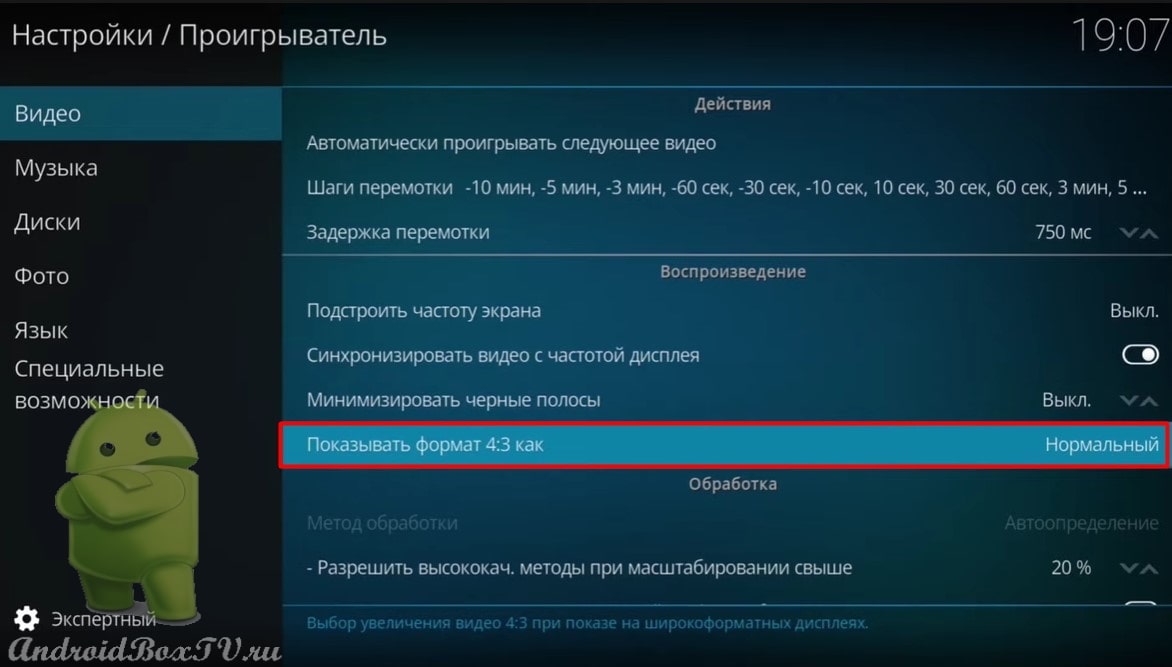
Now go to the "Player" section:
Select “Video” and turn on frame rate synchronization (if available on the device):
Next, choose the format16:9”:
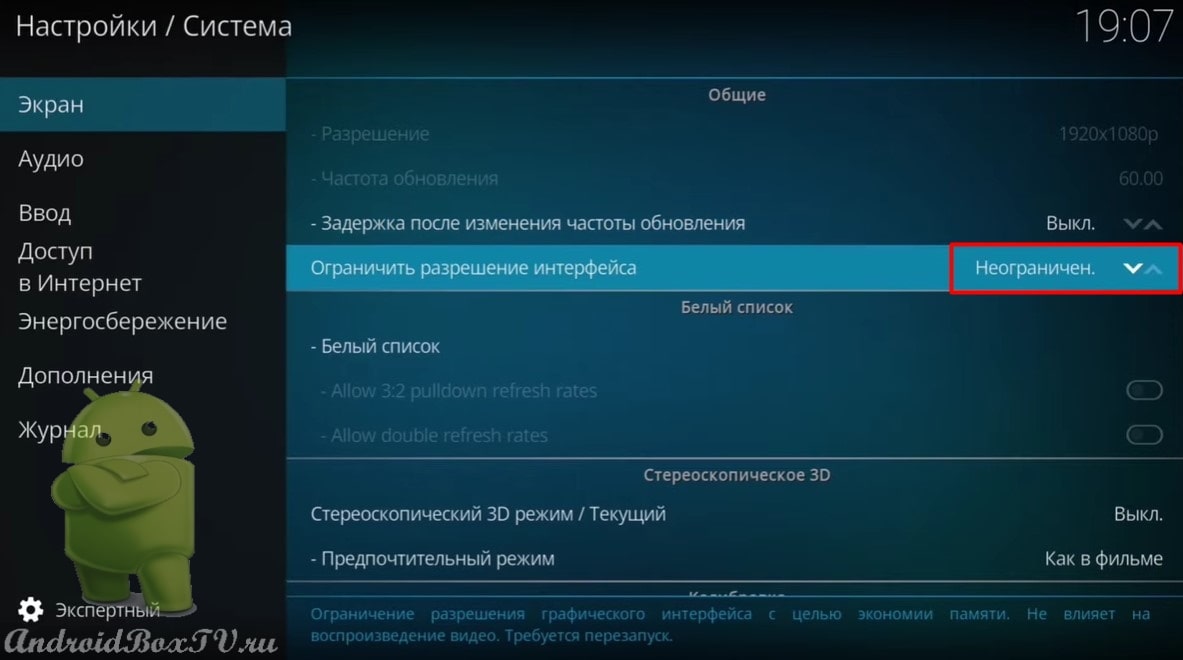
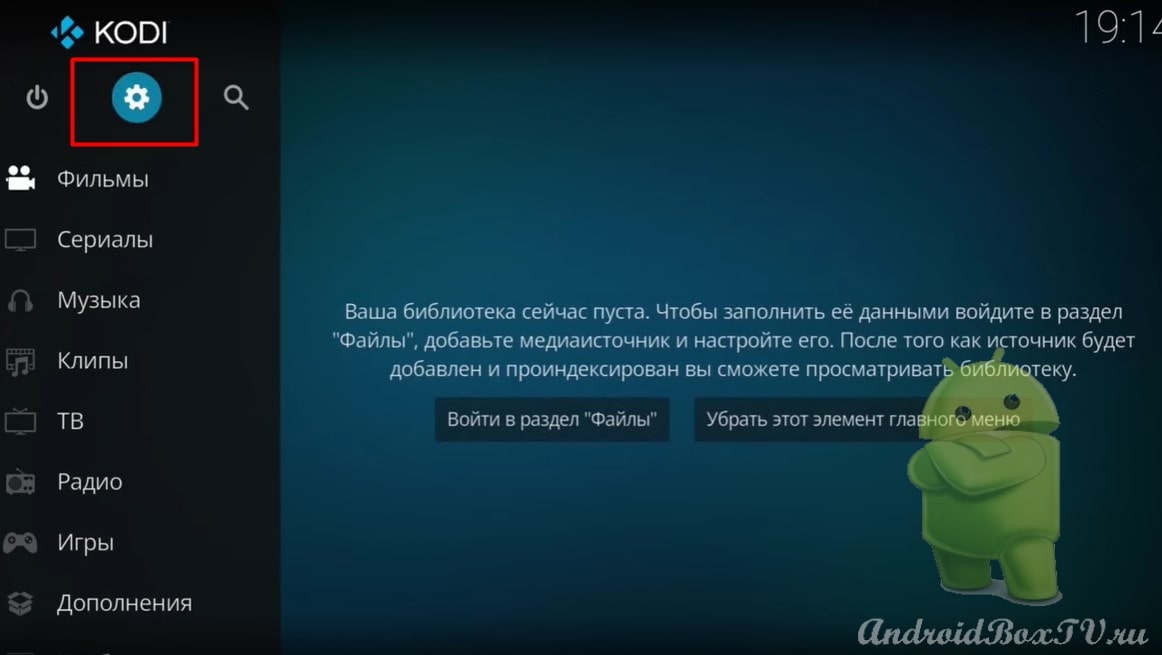
This section contains all settings. Go to the "System" section:
Select "Screen". If the TV 4k, put “Unlimited”, if you don’t understand what kind of TV you have - start small, gradually increase:
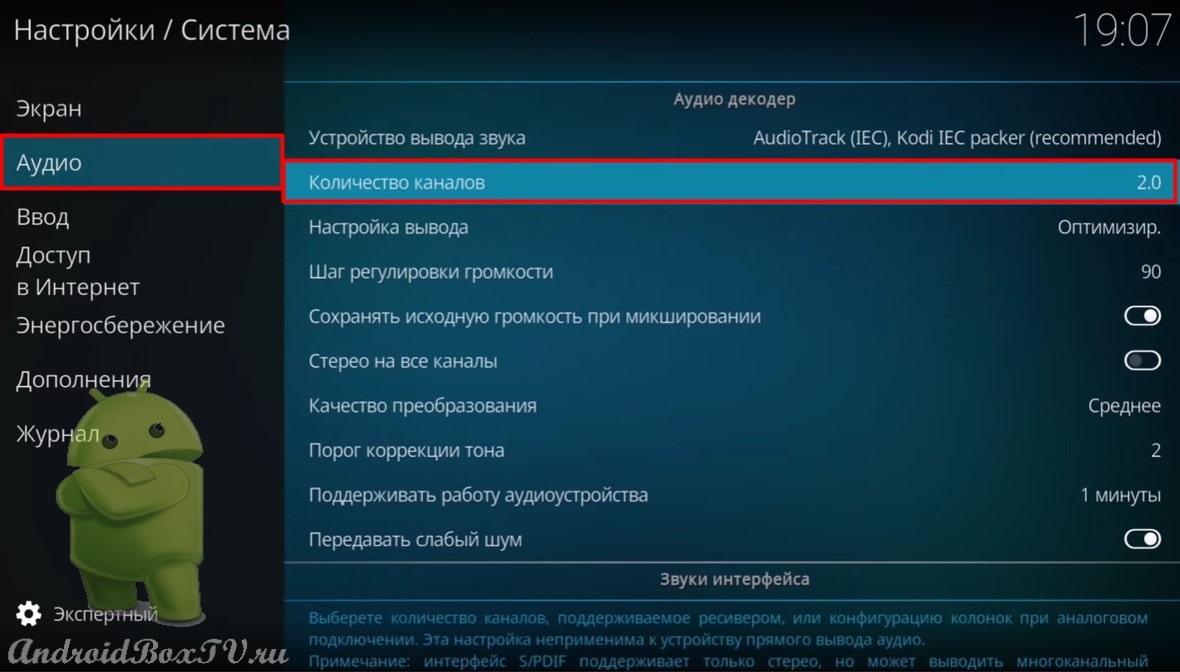
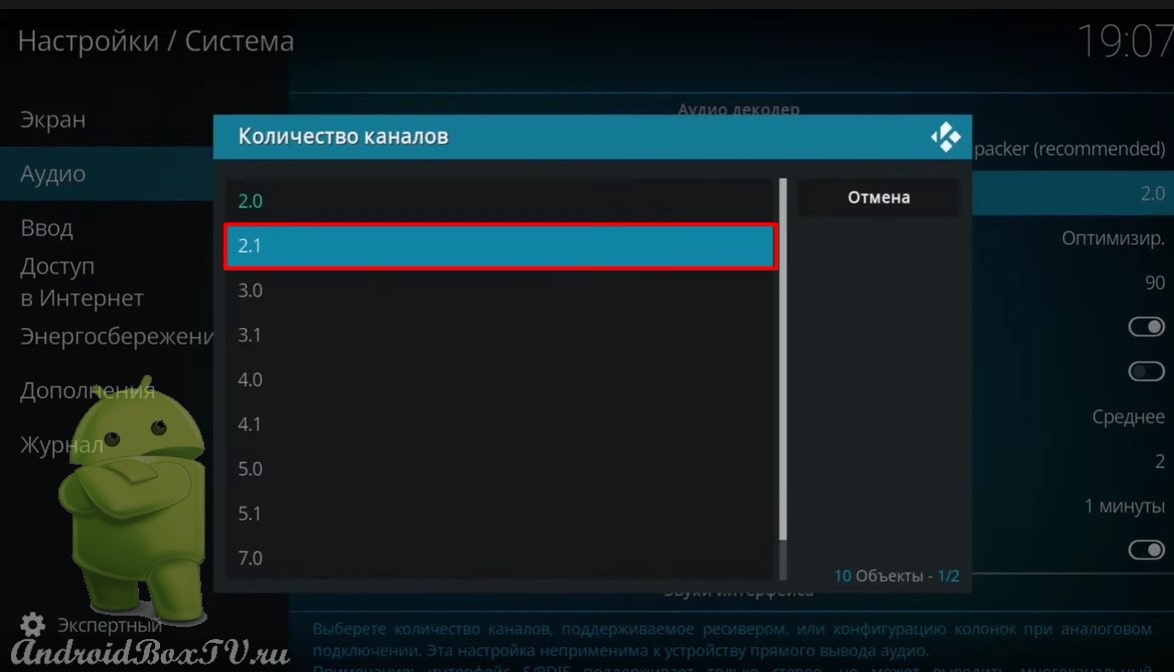
Select "Audio" and put "2.1”- the number of channels, if you have a lot of speakers, then you understand what to do:
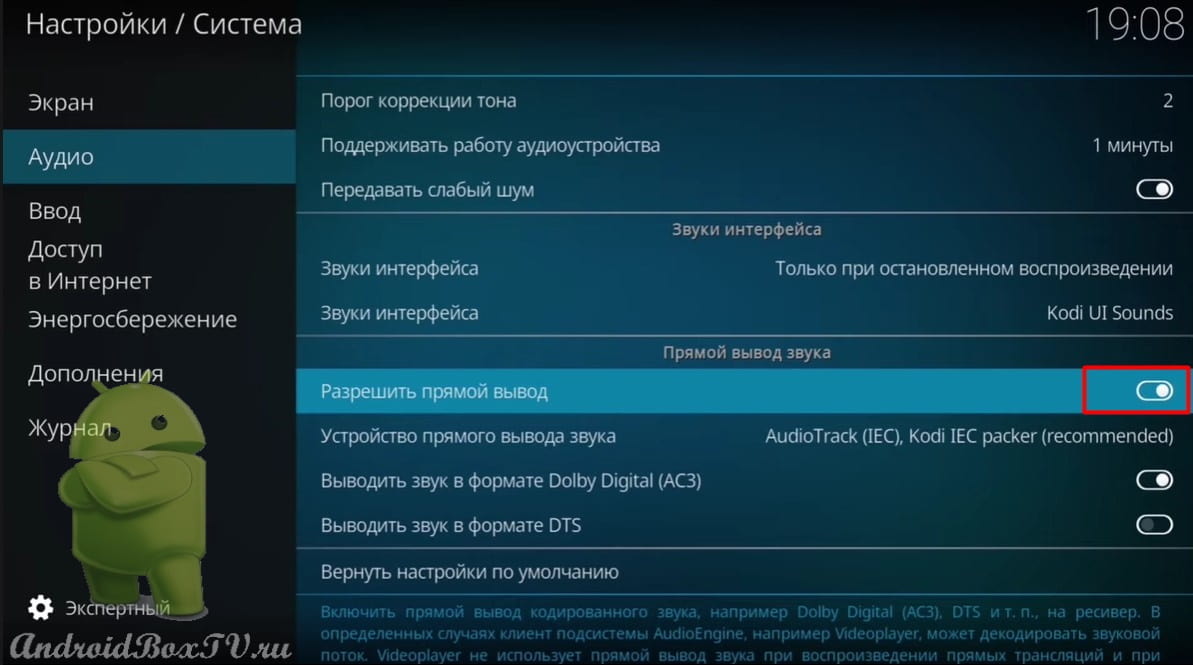
Also, if available, you can enable direct sound output for android TV (for those who use a home theater, receiver and acoustics, amplifier):
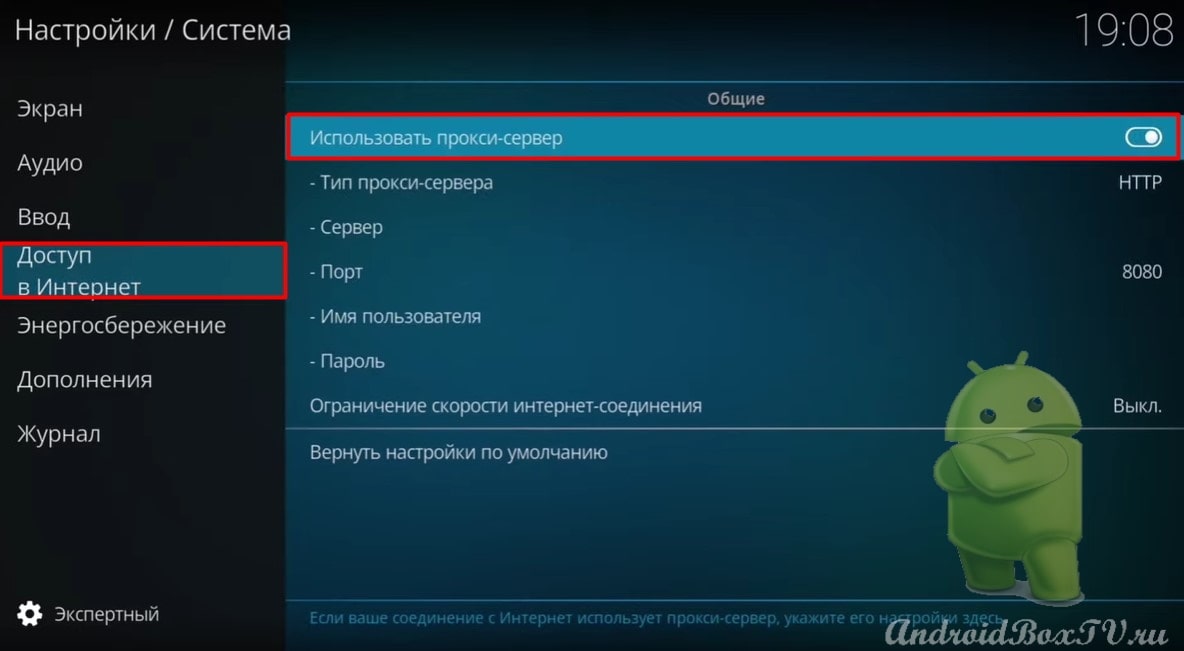
Section “Internet access”, for using a proxy server:
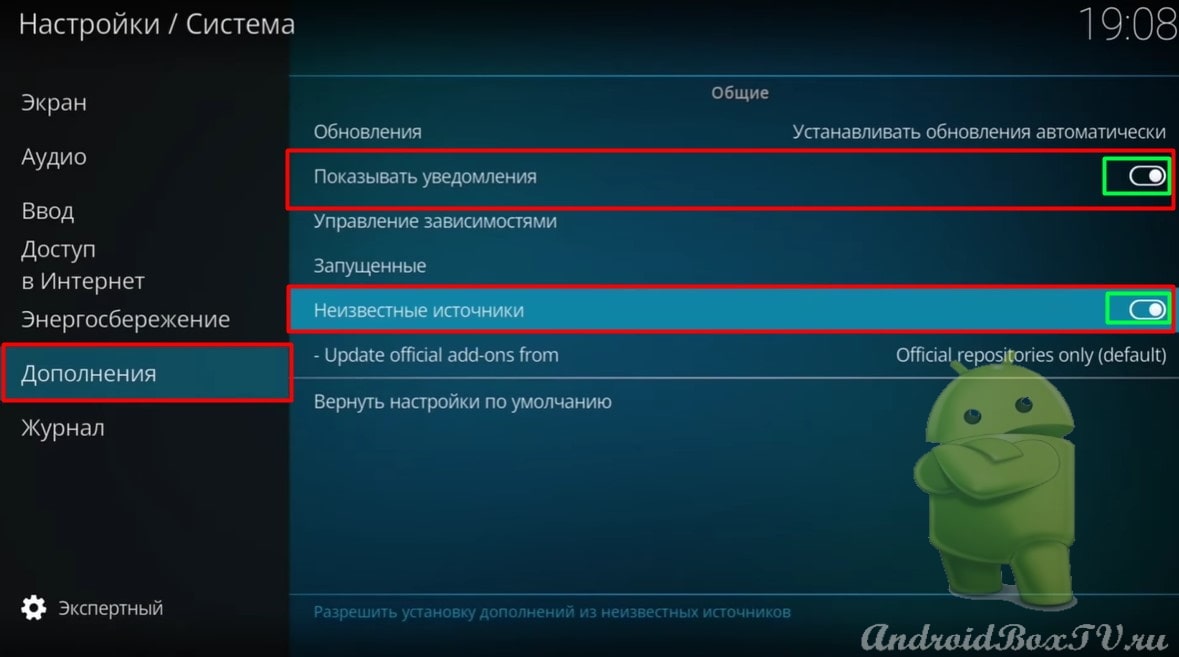
In the "Add-ons" section, enable "Show notifications" and allow installation from unknown sources:
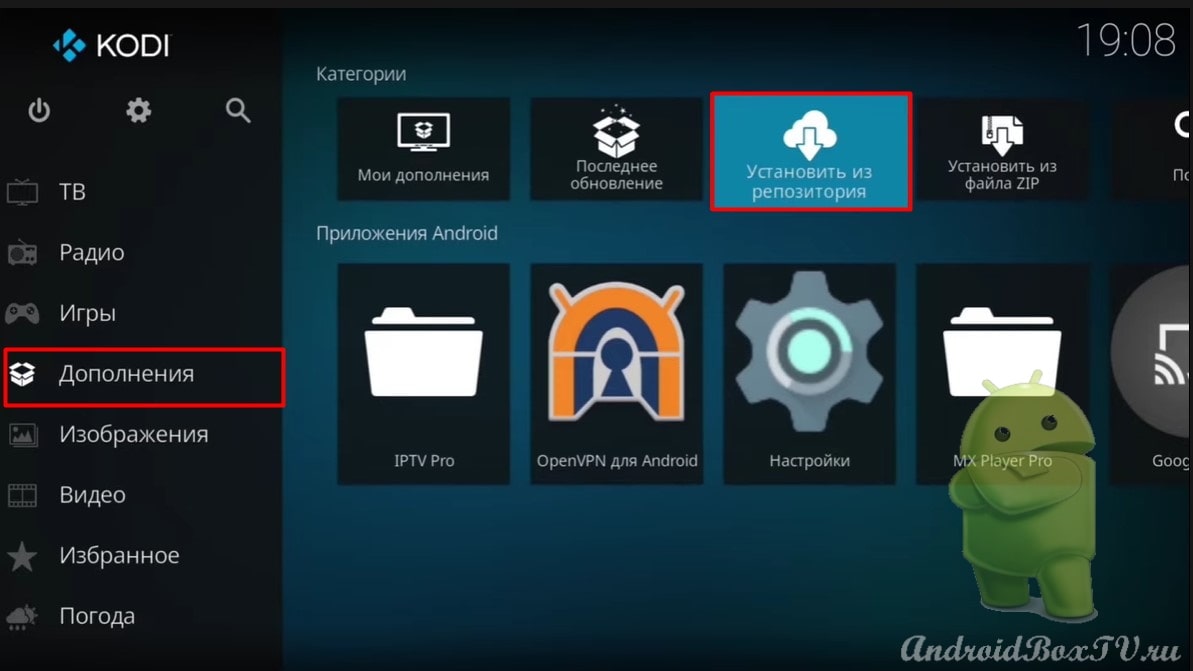
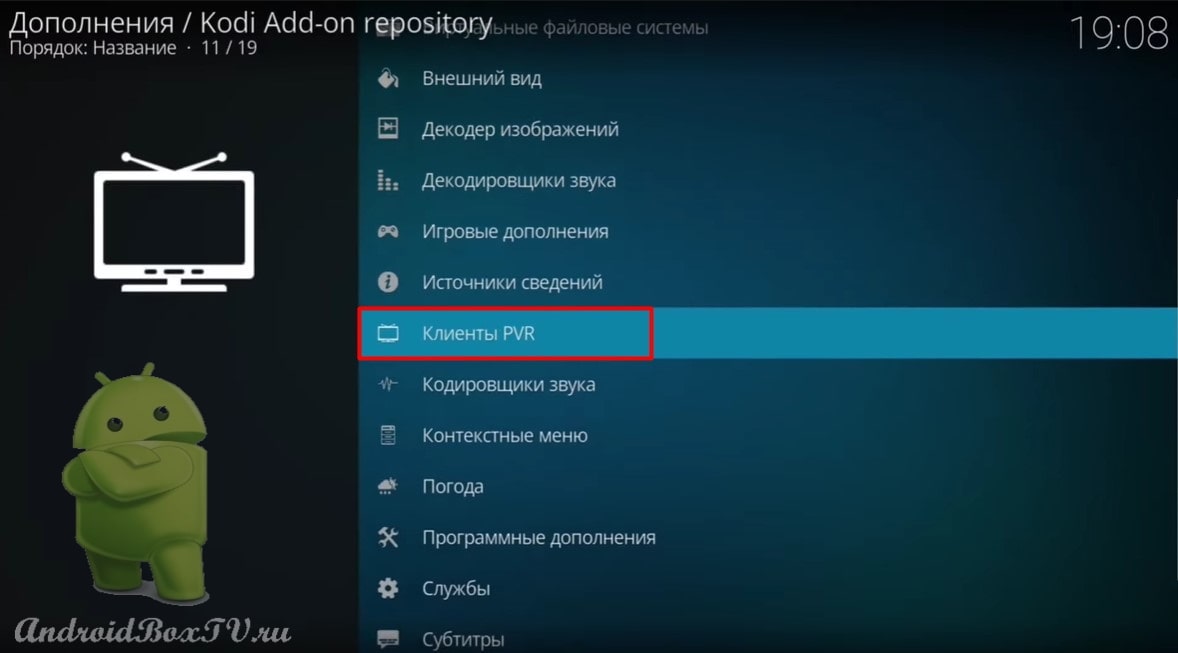
We return back. Select "Add-ons" and "Install from repository", as in the screenshot:
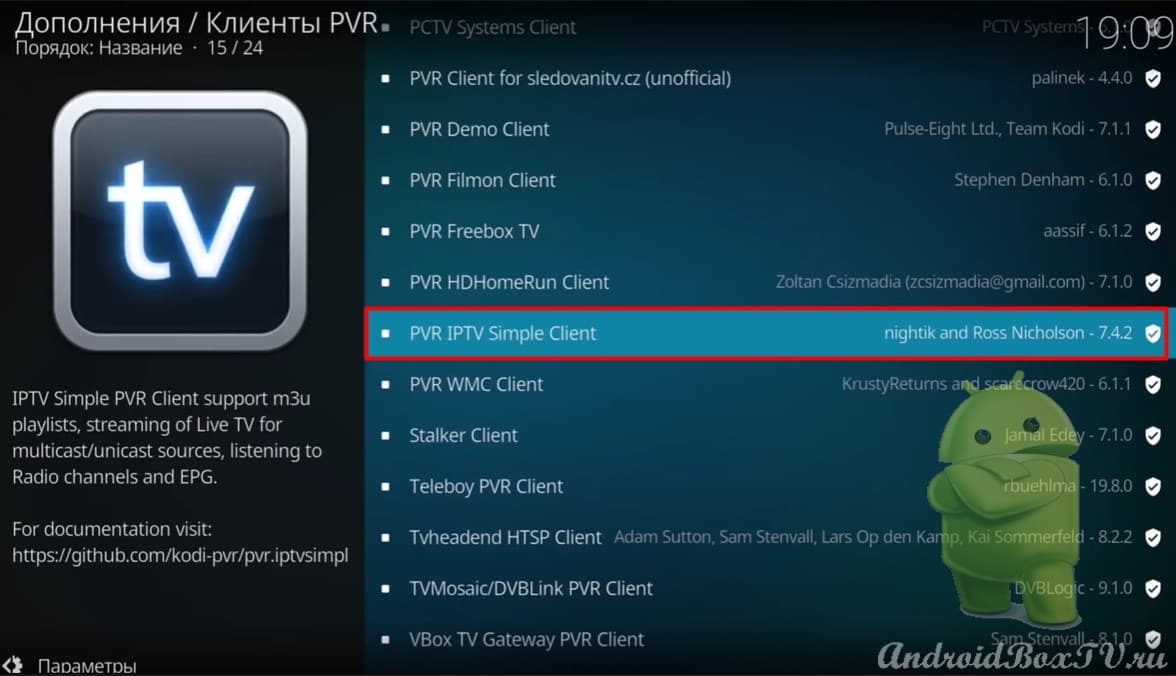
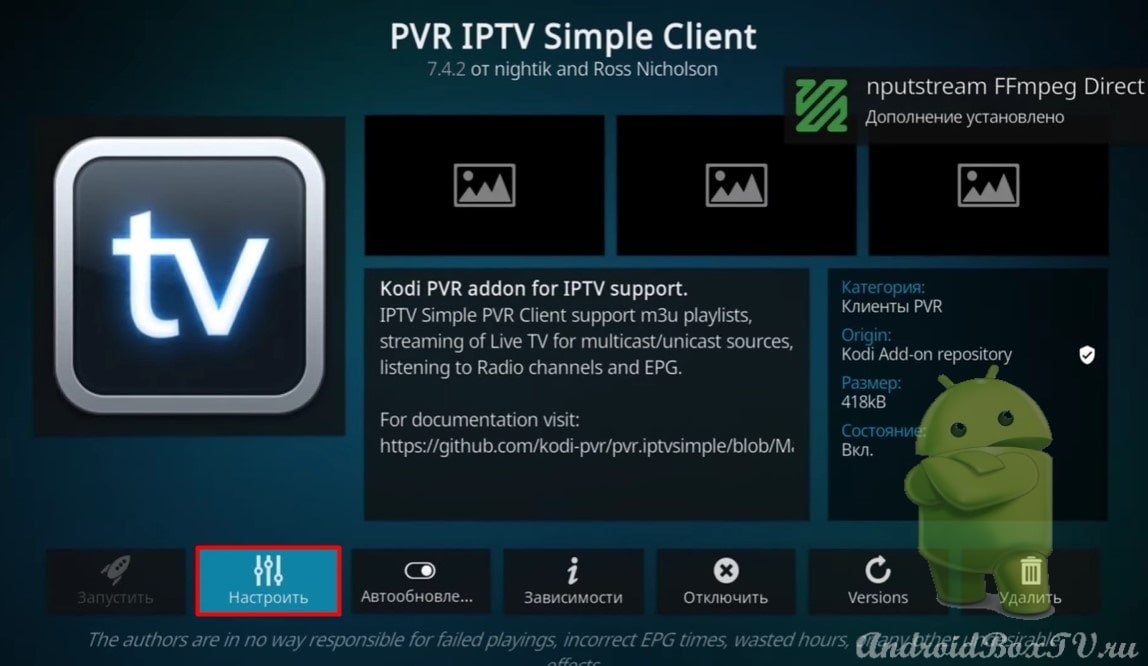
Choose “PVR Clients” And “PVR IPTV Simple Client”:
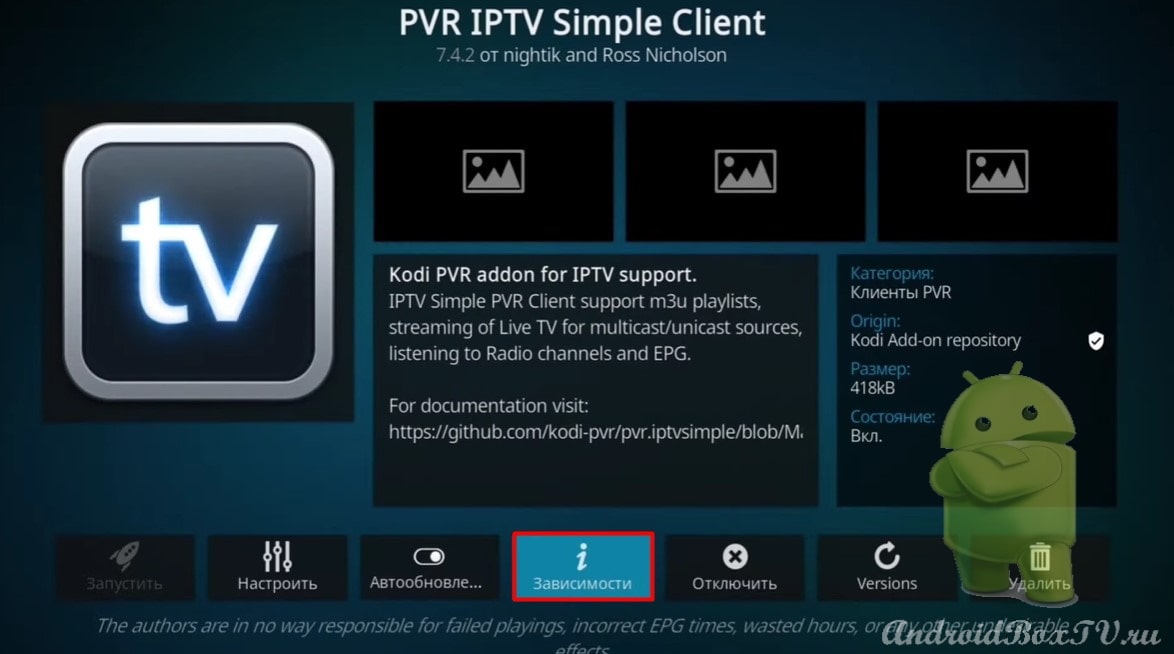
Unfortunately, add-ons are not automatically loaded. Let's try to add manually, suddenly you will be added - skip the next paragraph.
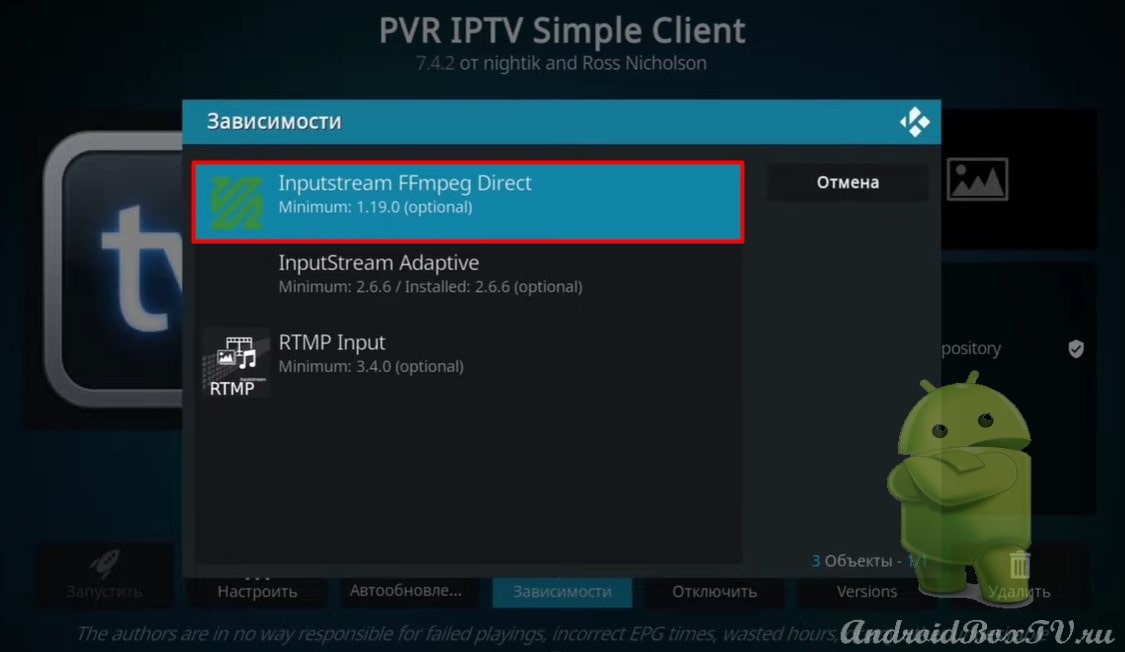
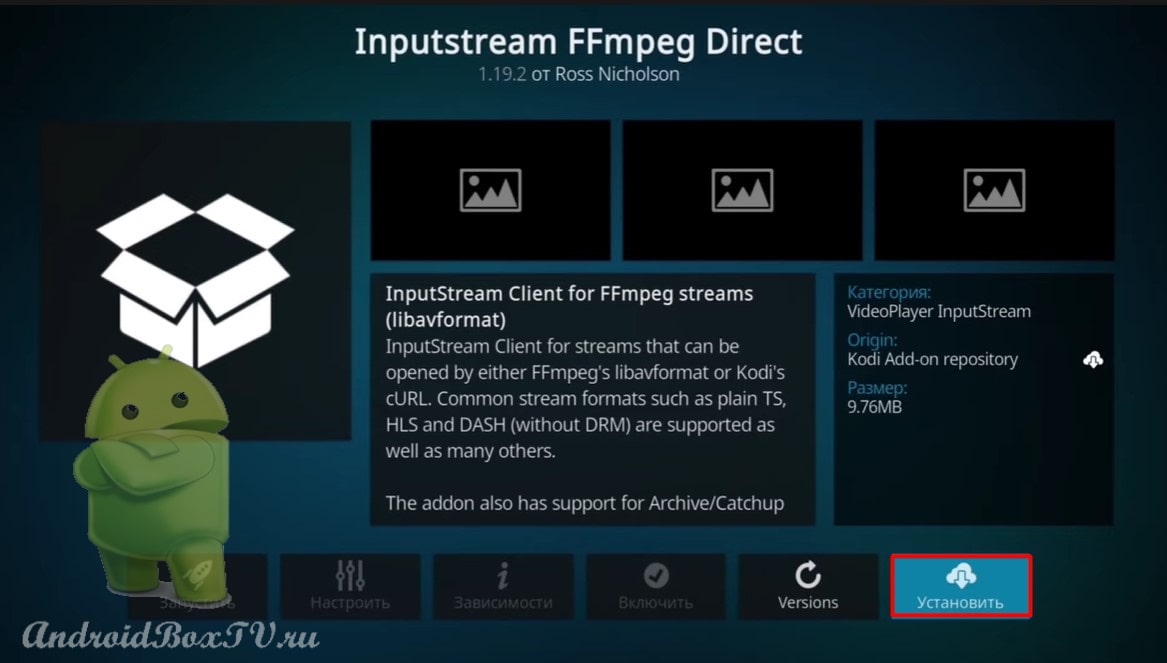
Go to “Dependencies” and select the first addition that is needed for “ Timeshift ”:
Press "Install”:
Add-on installed. We go back and go back to “ Settings”:
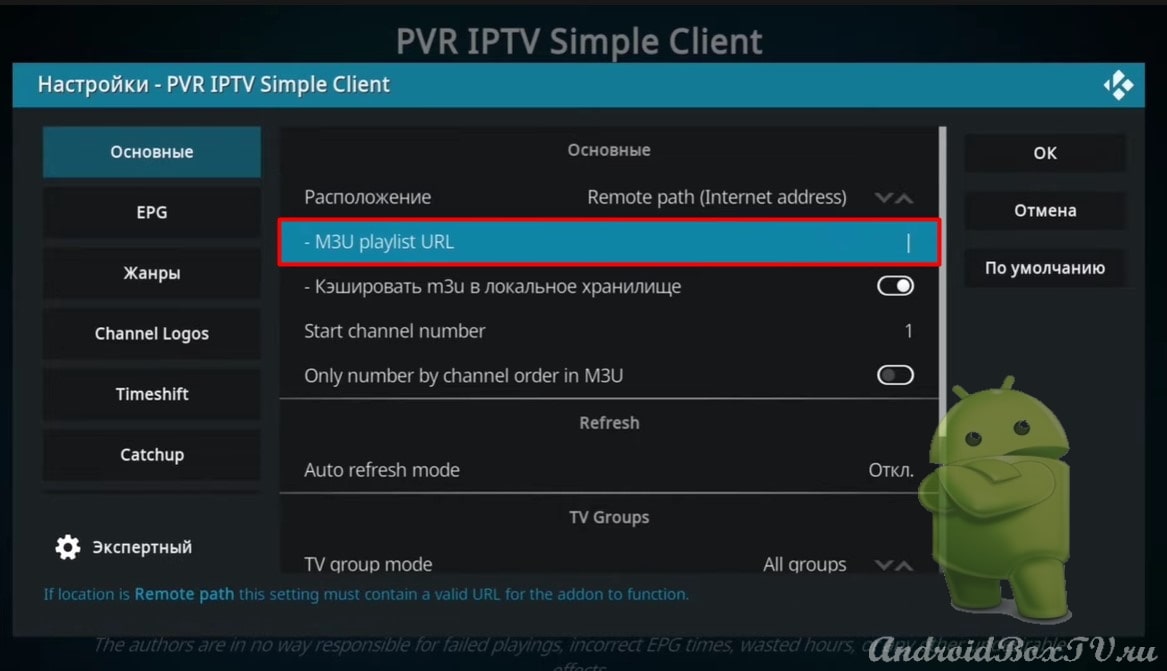
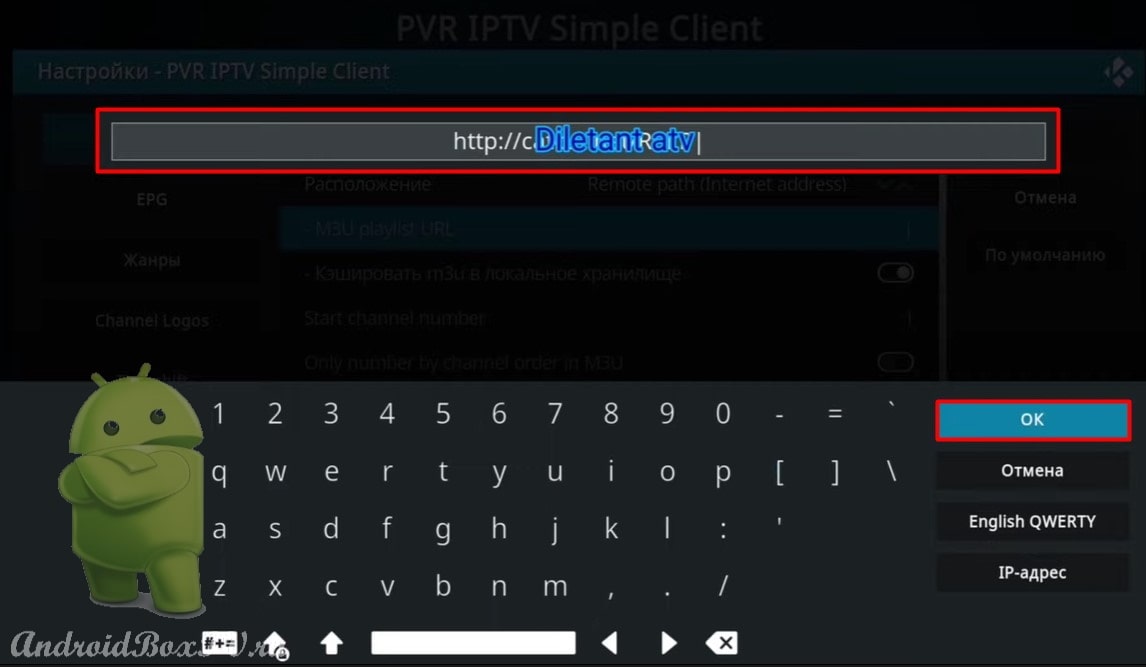
Select “Basic” and add the link that you took from your provider (if there is no link, skip):
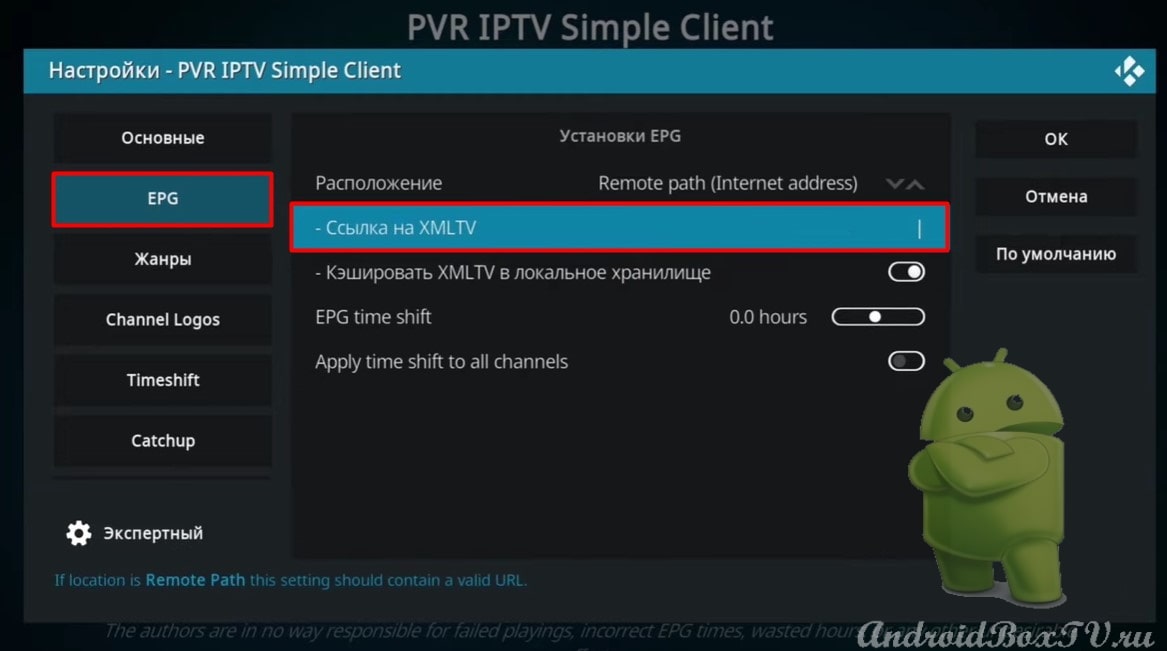
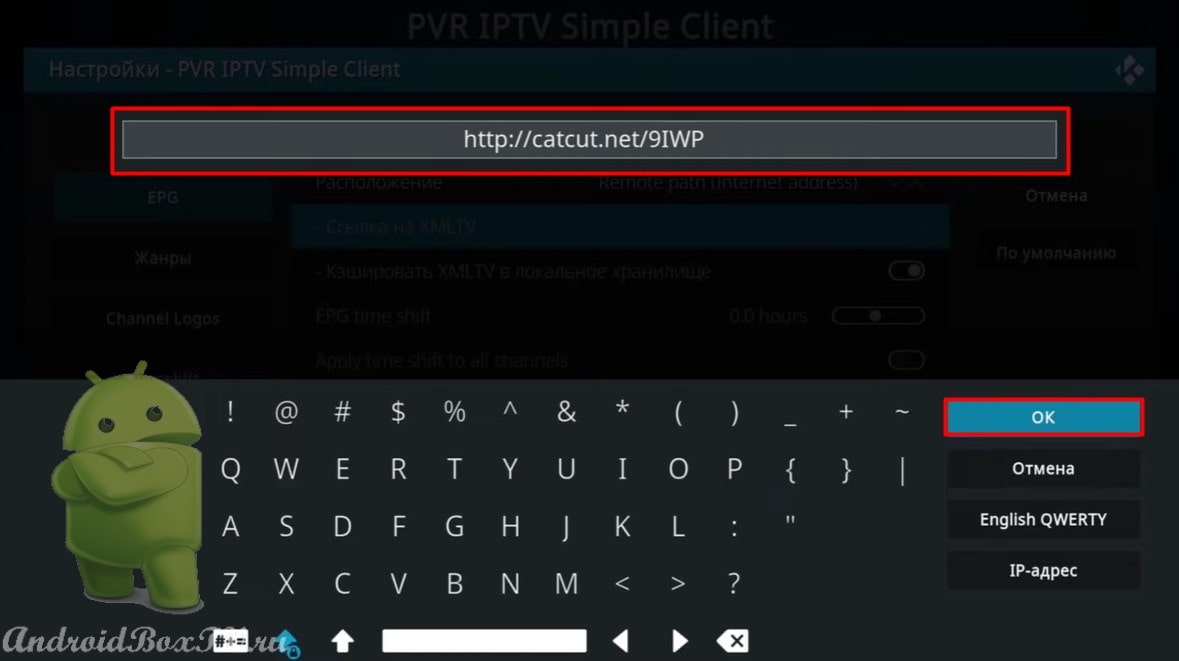
Link for TV guide
Next, you need to add a link to the TV guide - here :
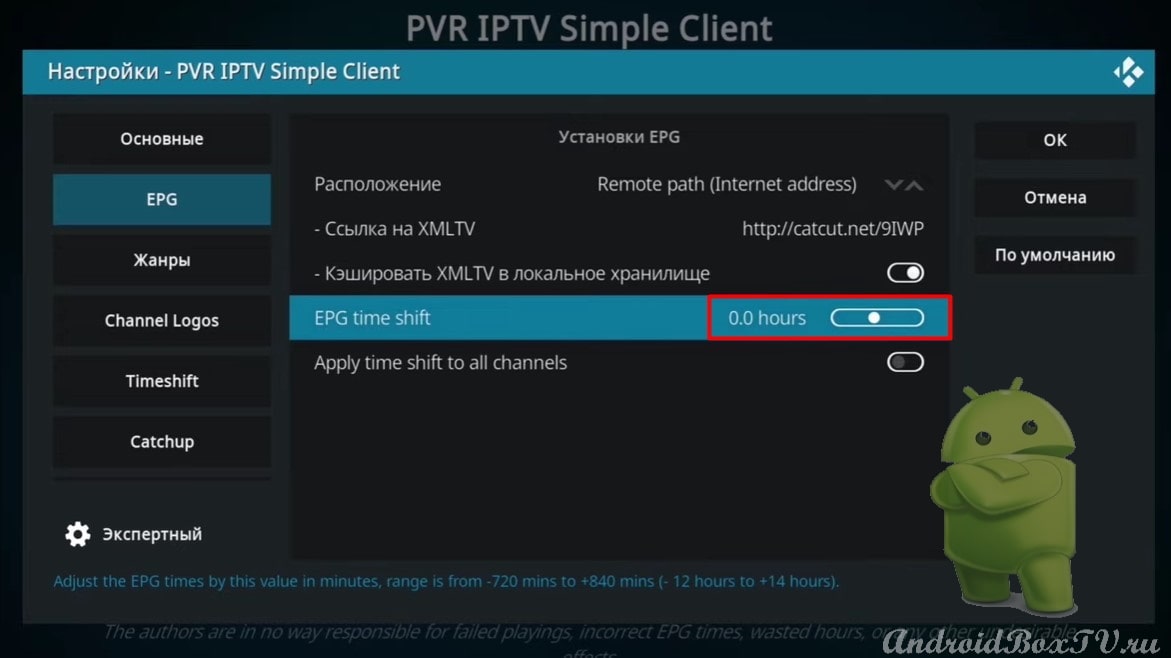
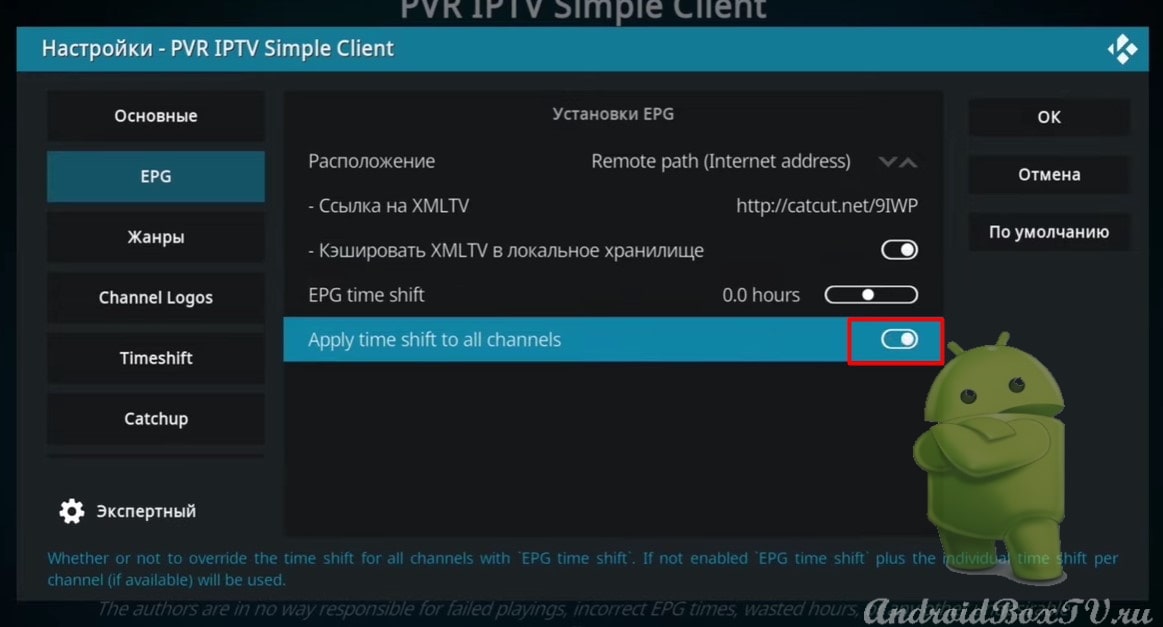
TV program shift in time. You can set your time zone and turn on “Apply to all channels”:
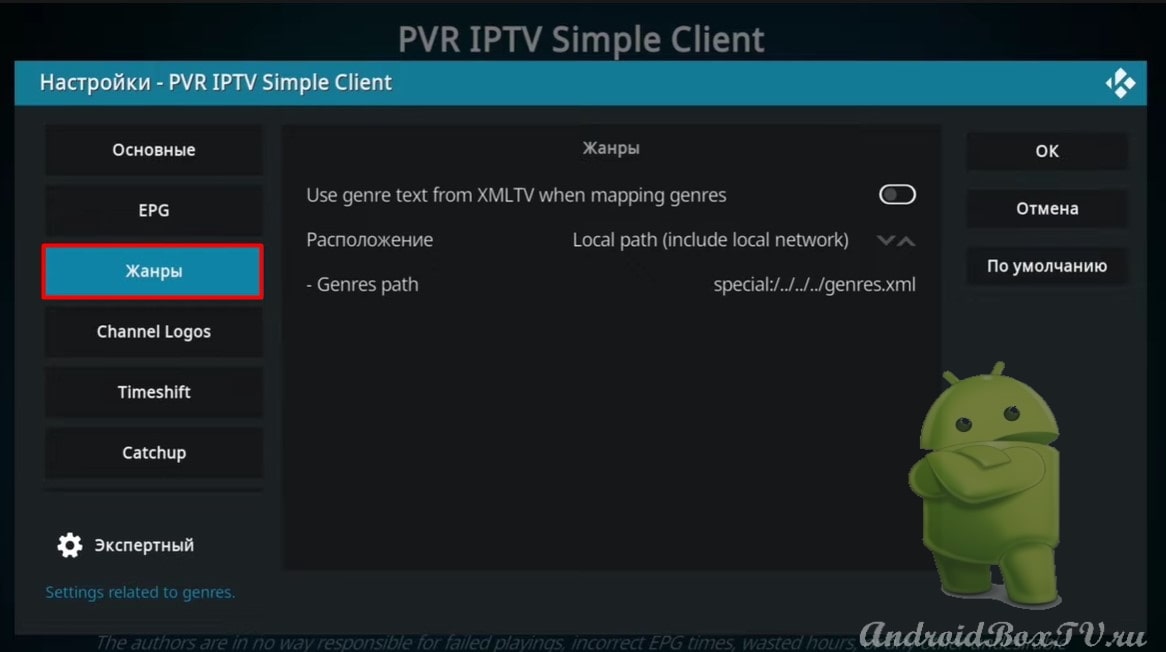
Section “Genres”:
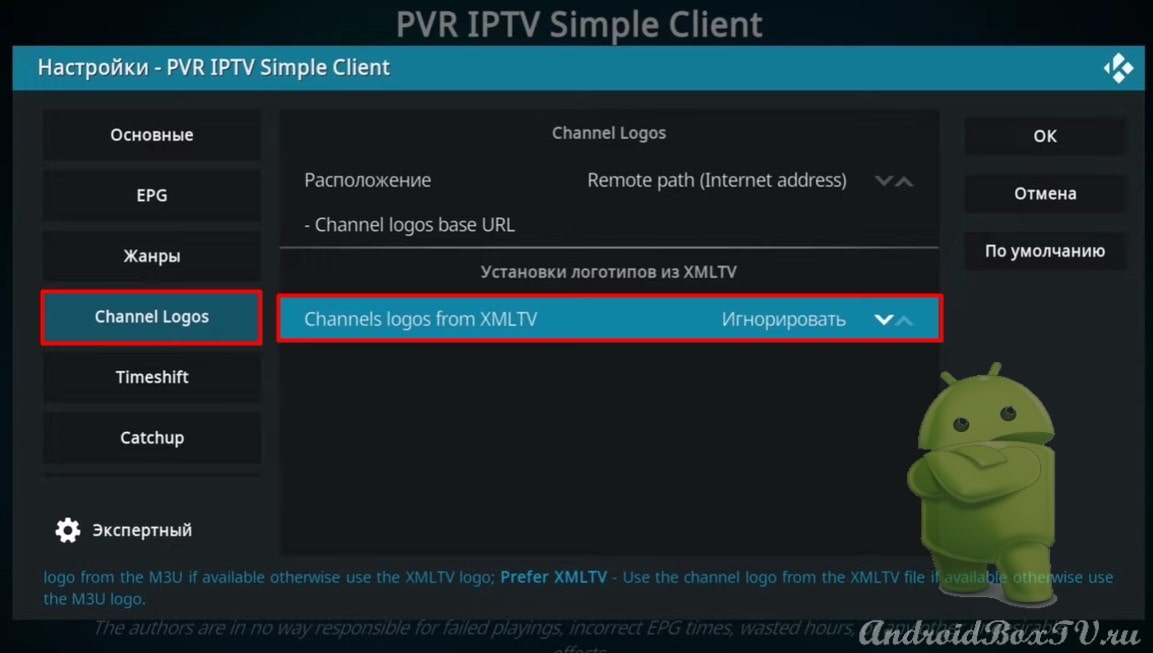
Next, “Channel Logos” (disabled):
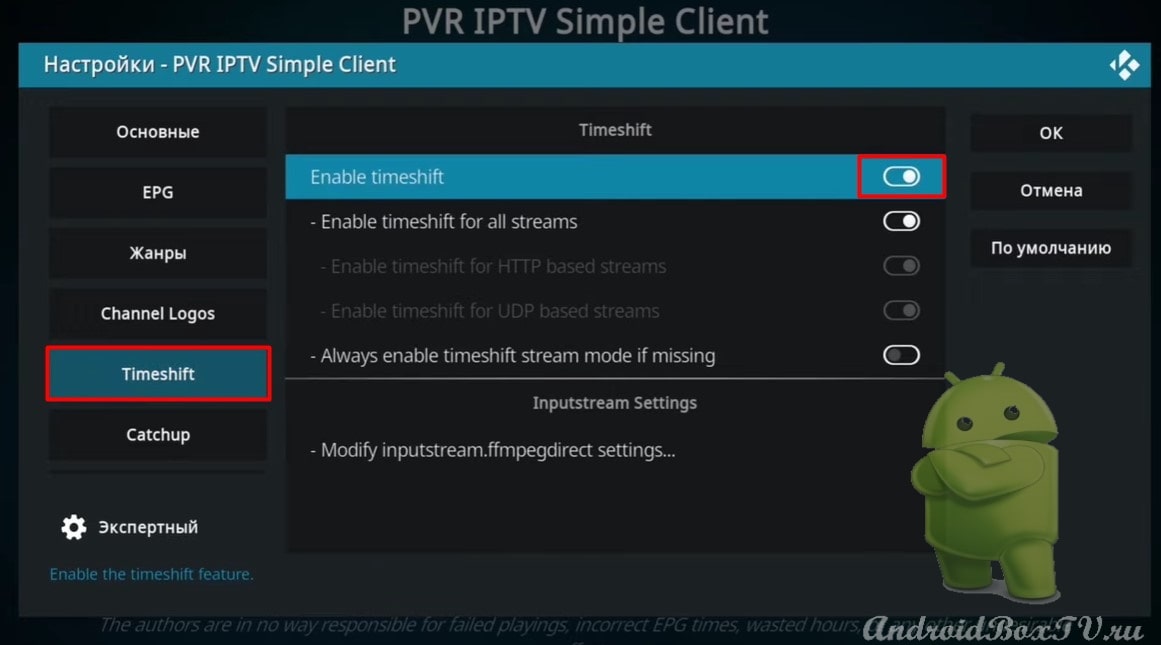
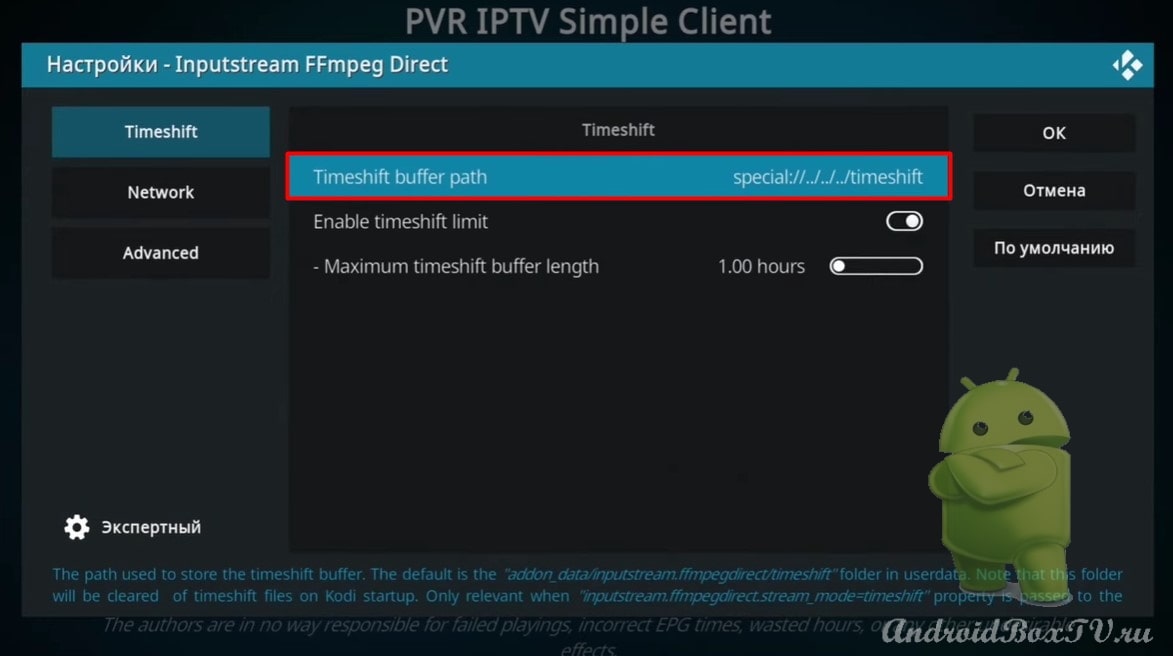
Turn on "Timeshift" , reduce TV set-top box freezes and go to “Settings”:
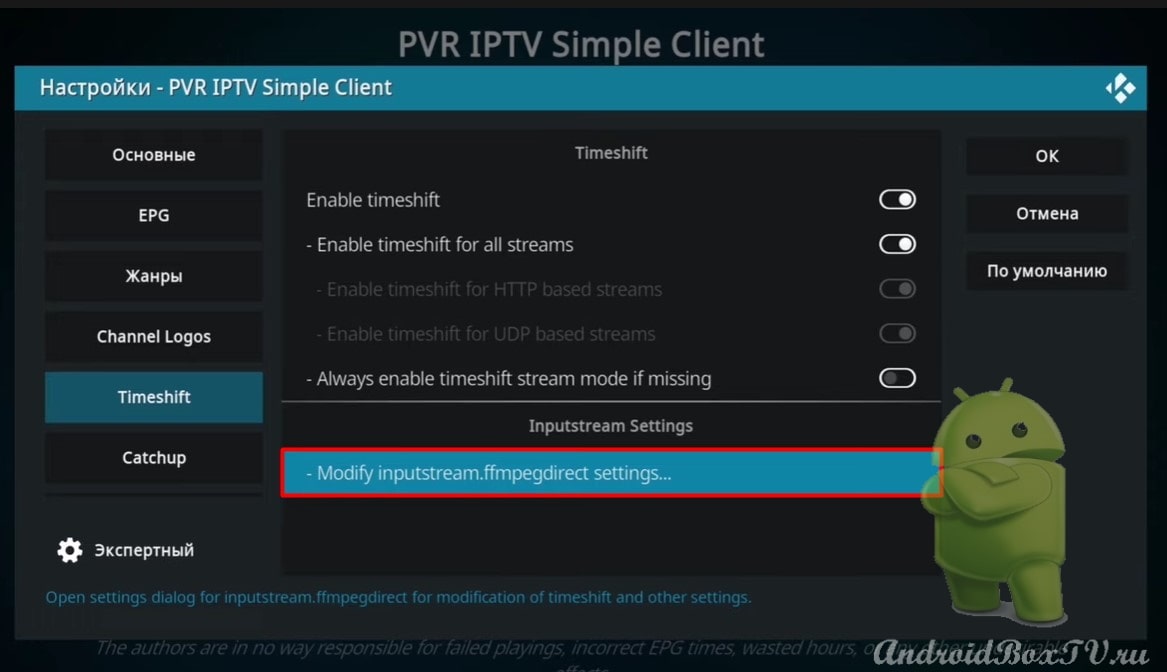
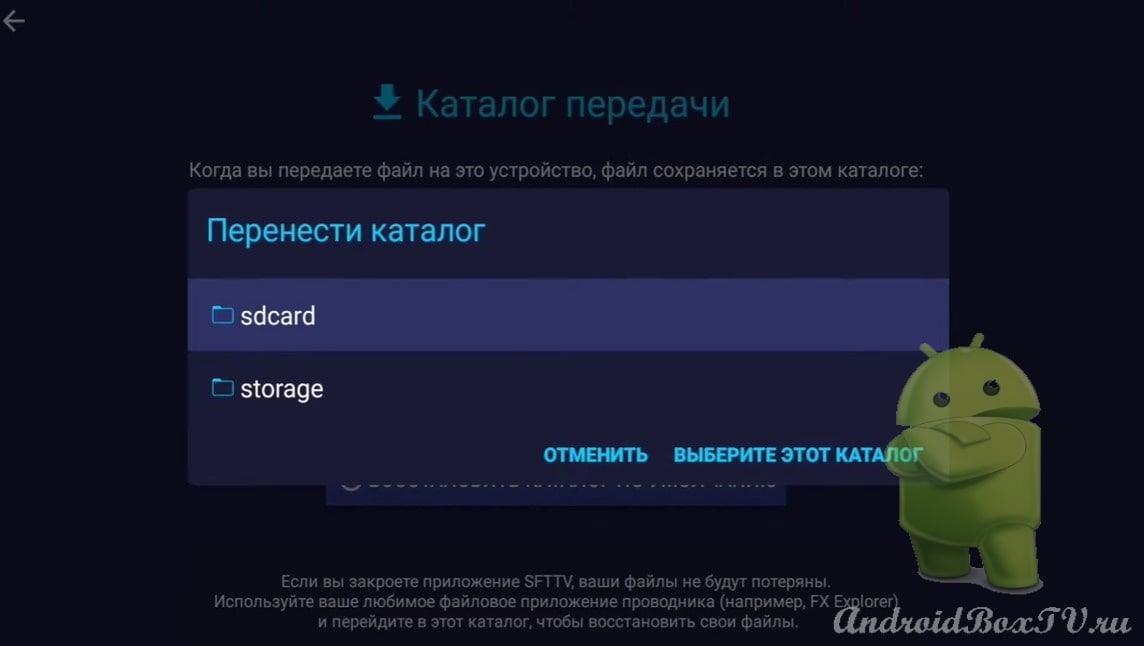
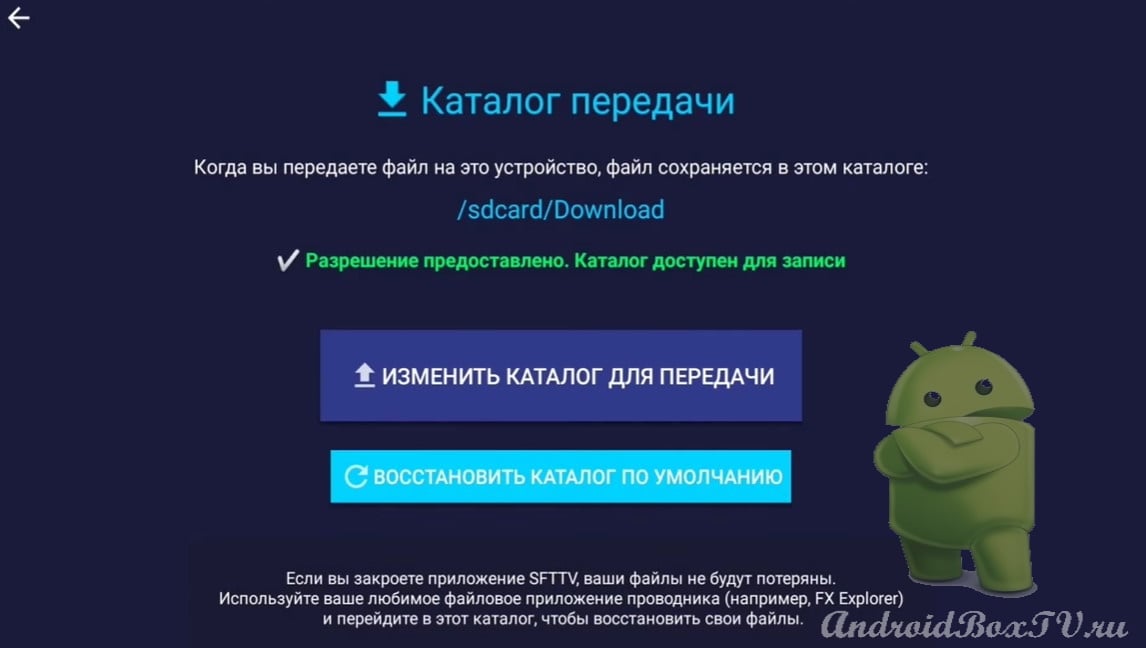
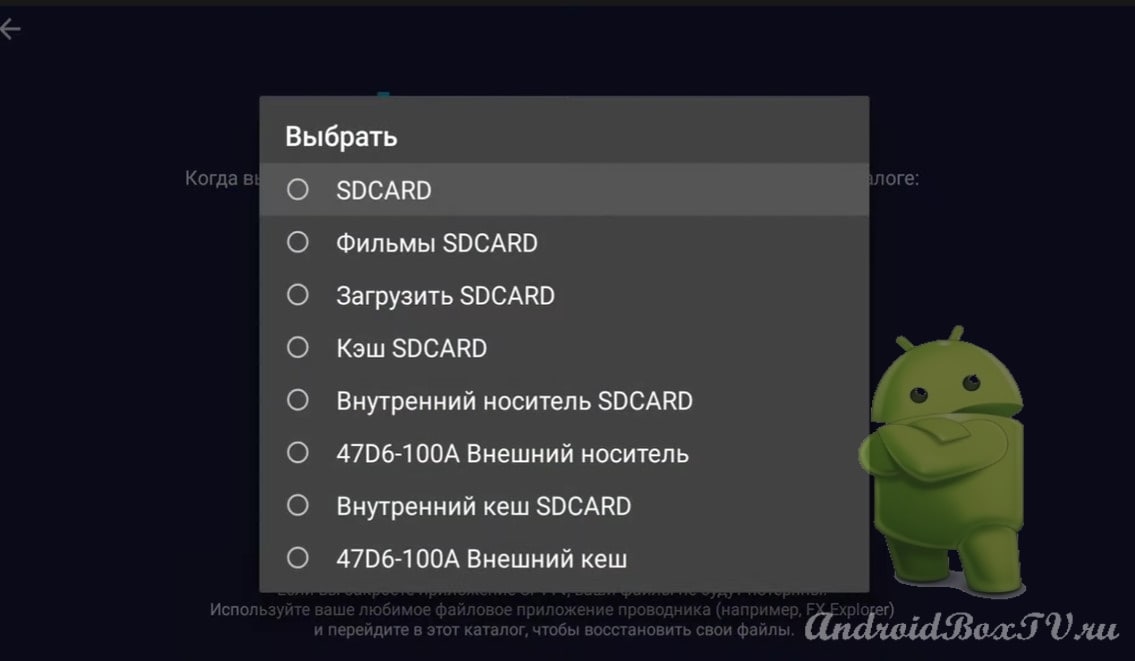
You can specify a folder here:
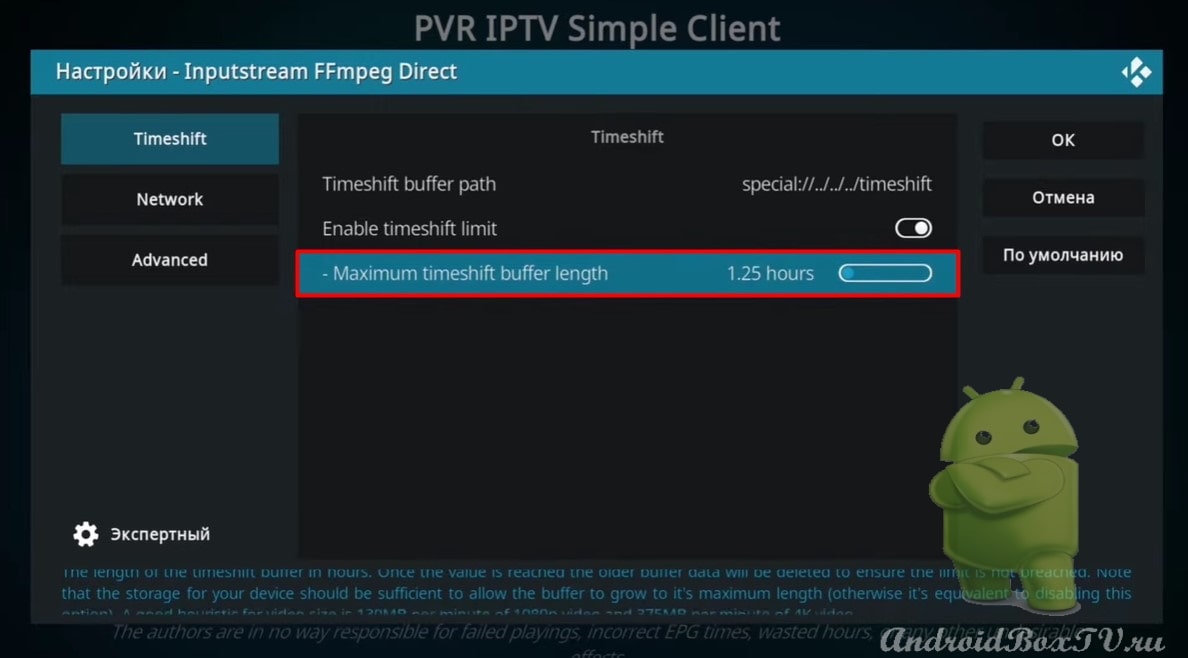
Also, you can increase the “Timeshift” buffer if the device memory allows:
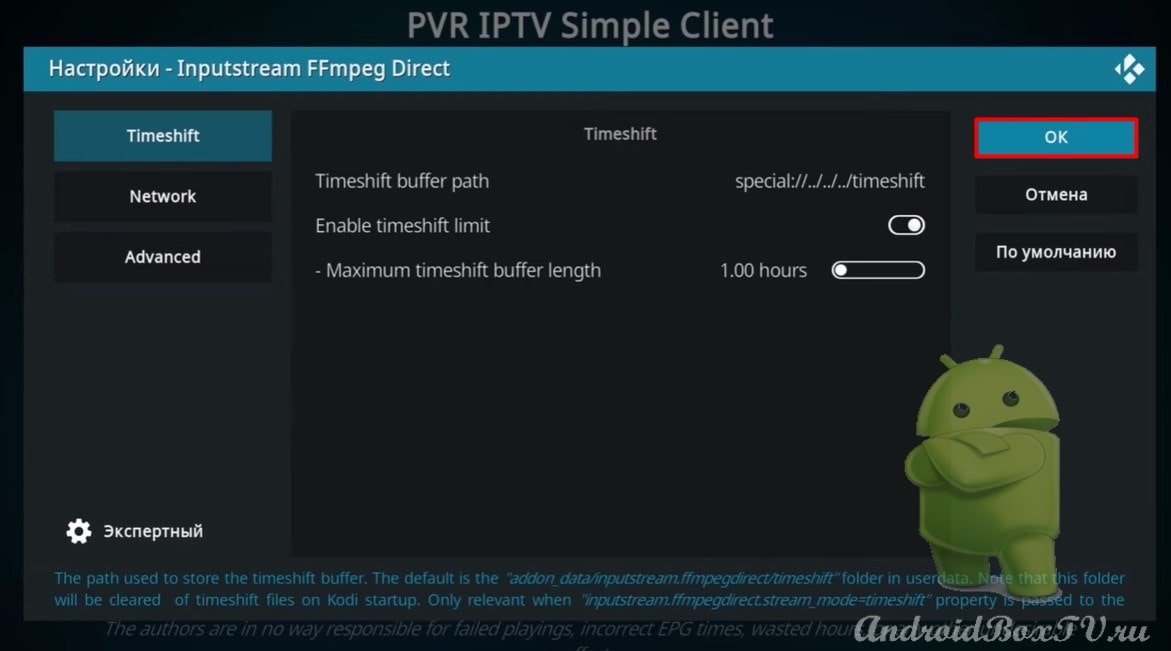
We don’t change anything else and confirm “OK”:
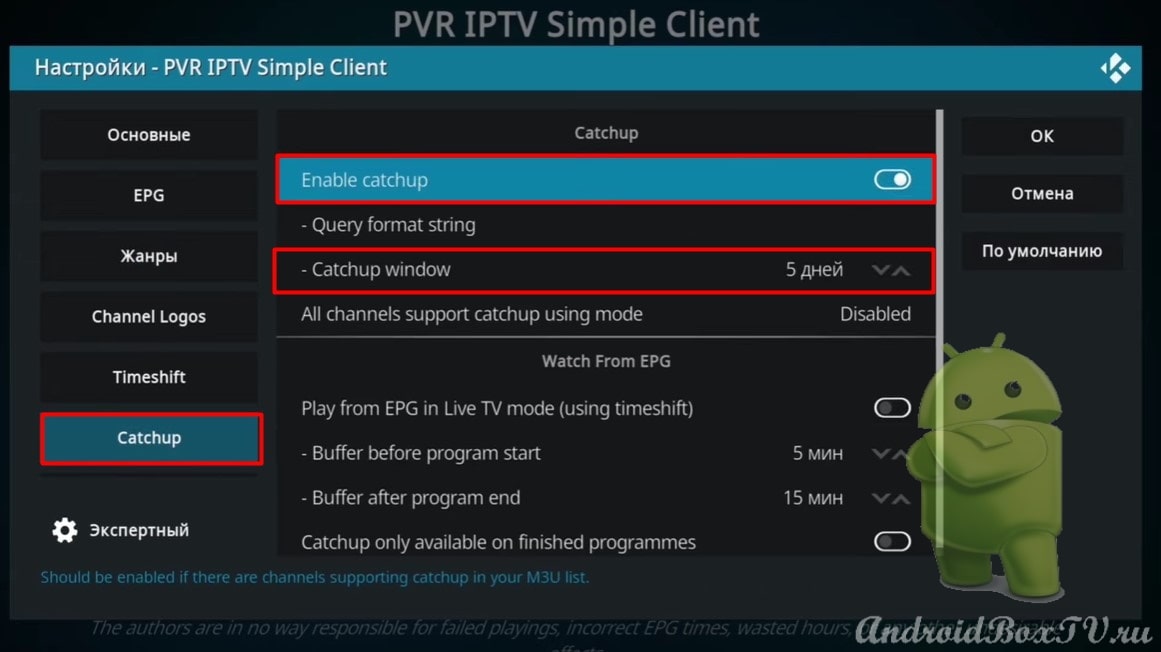
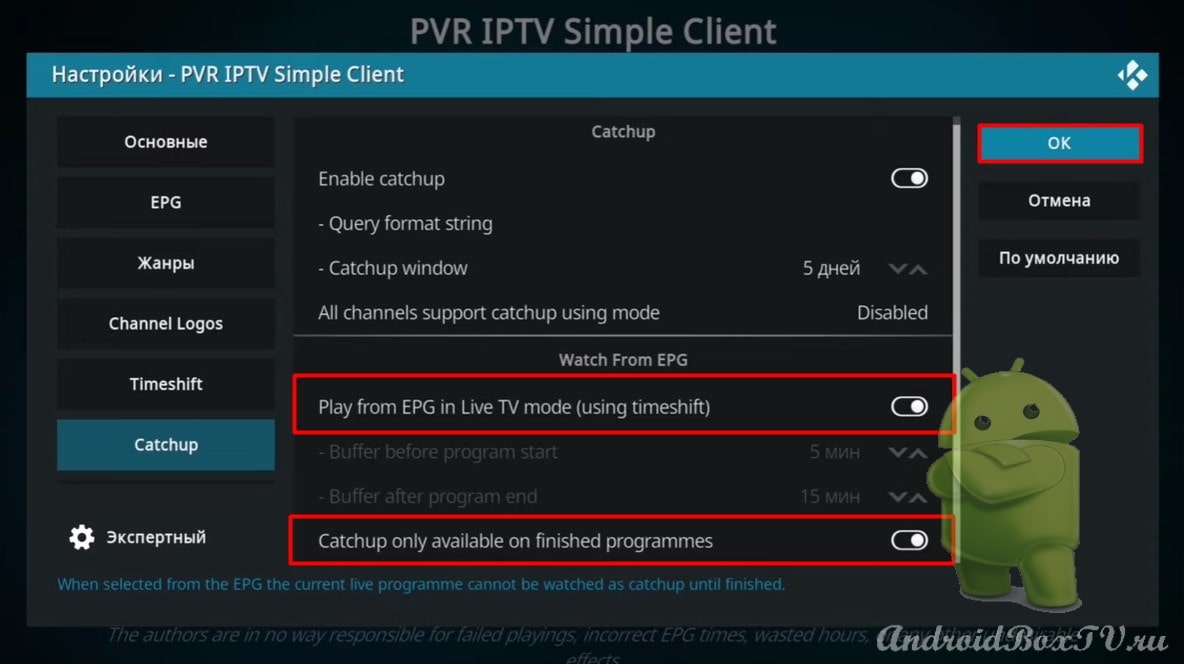
Catchup section. If the provider supports the archive, then enable “Enable catchup”. Also, you can specify the number of days:
Turn on "Play from…" And "Catchup only….”:
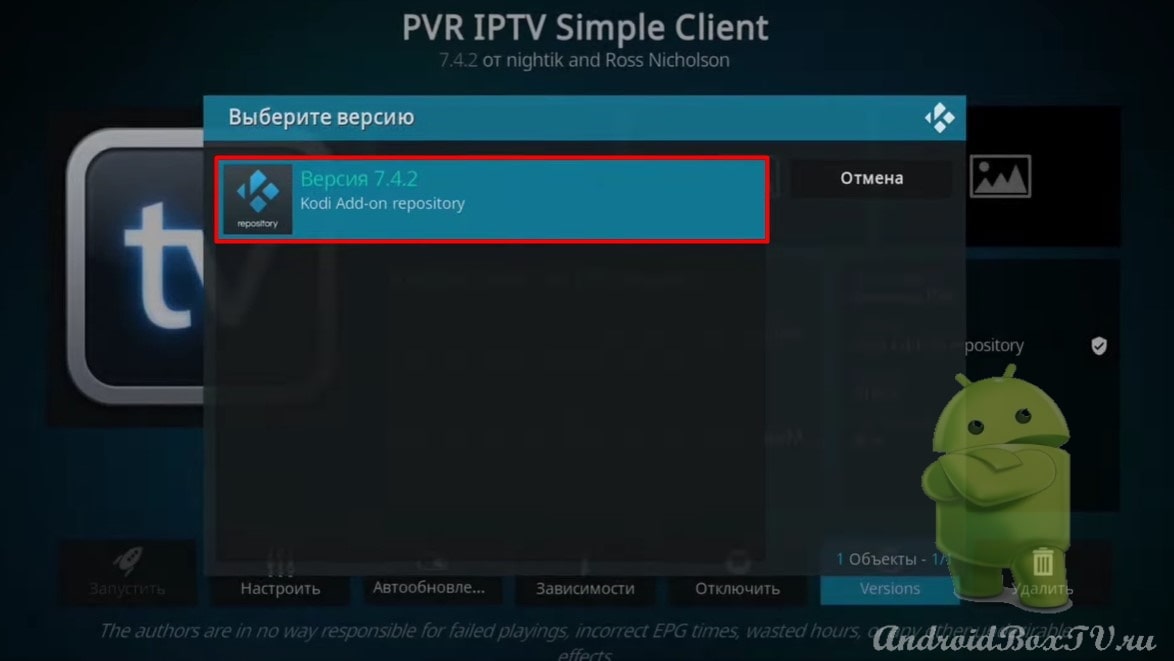
We update the version.
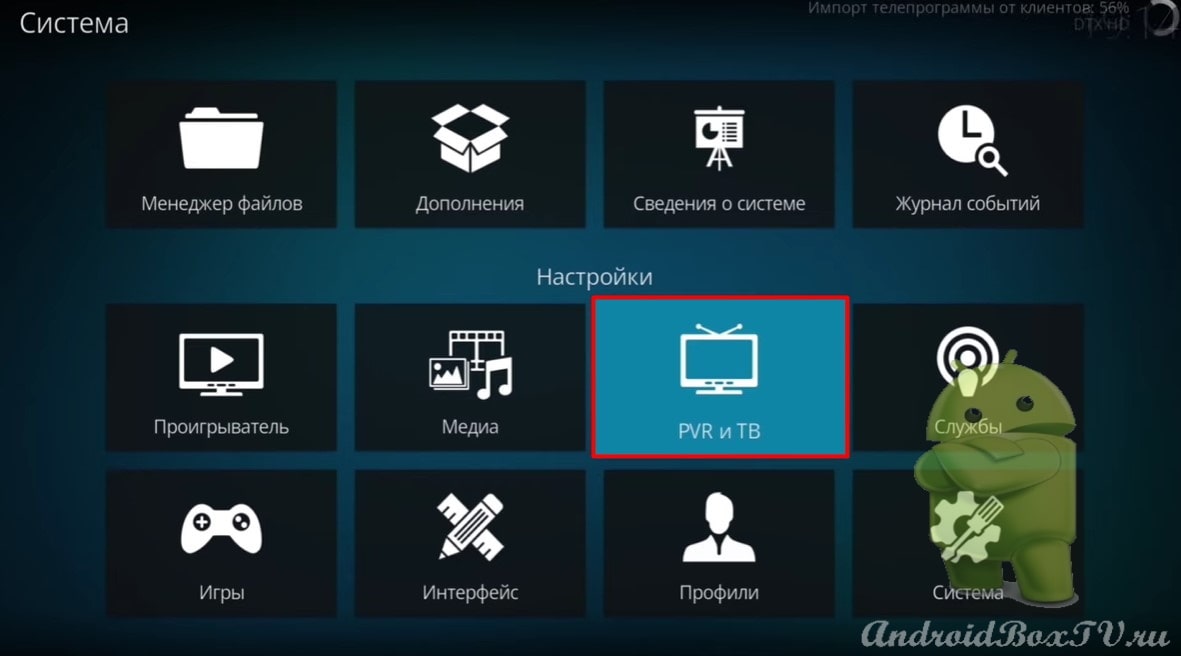
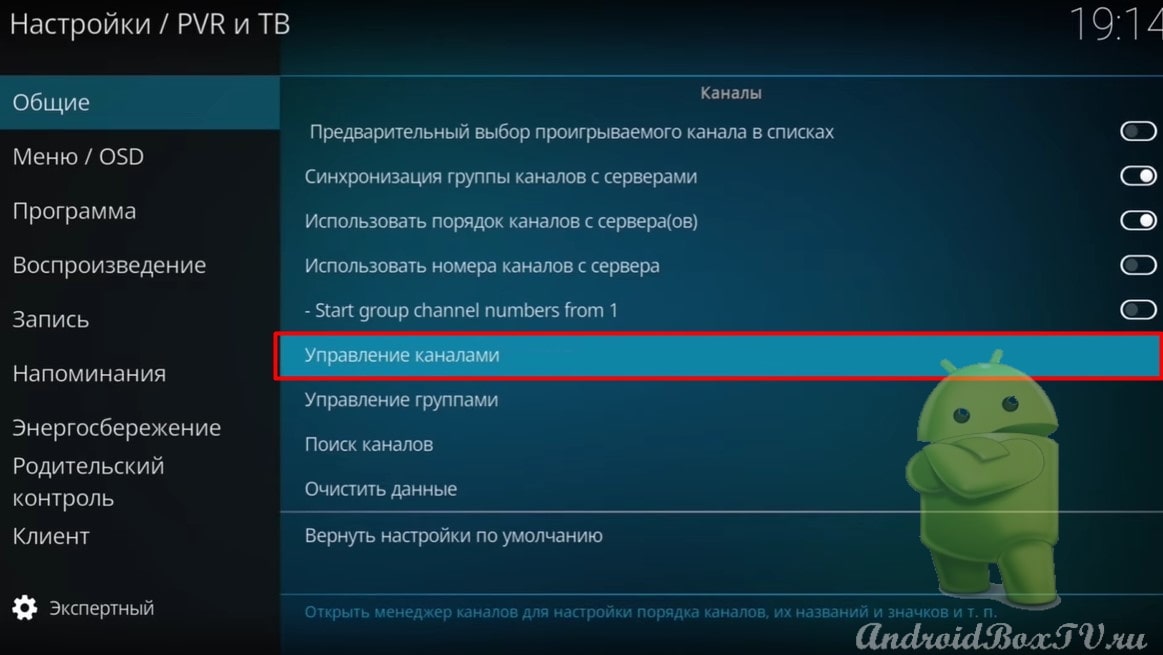
We return back. Go to “Settings” and select “PVR & TV”:
In the “General” section, select “Manage channels” android TV:
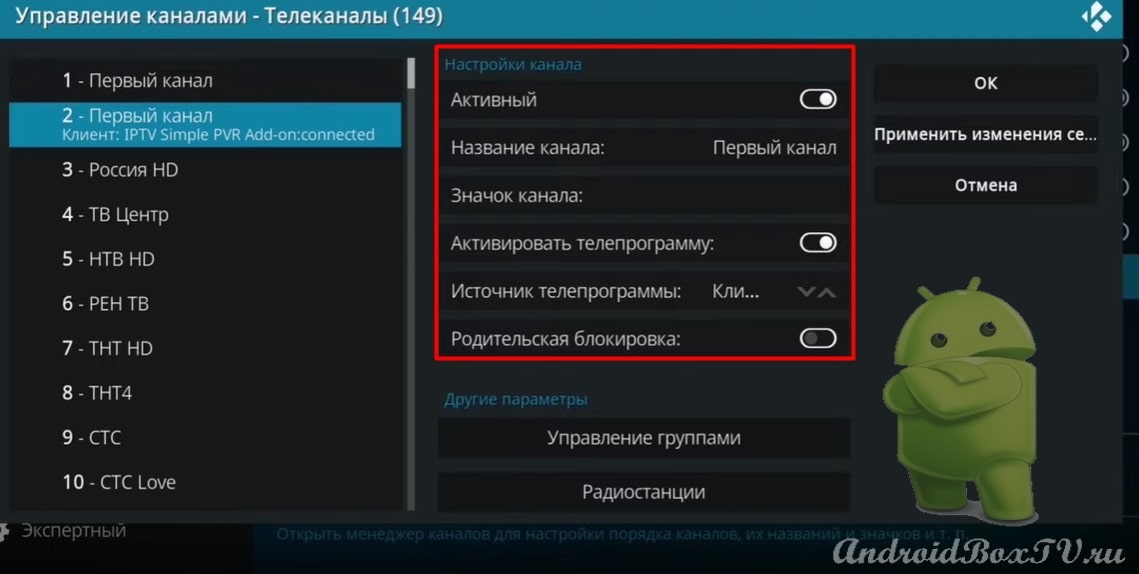
Here you can set up any channel:
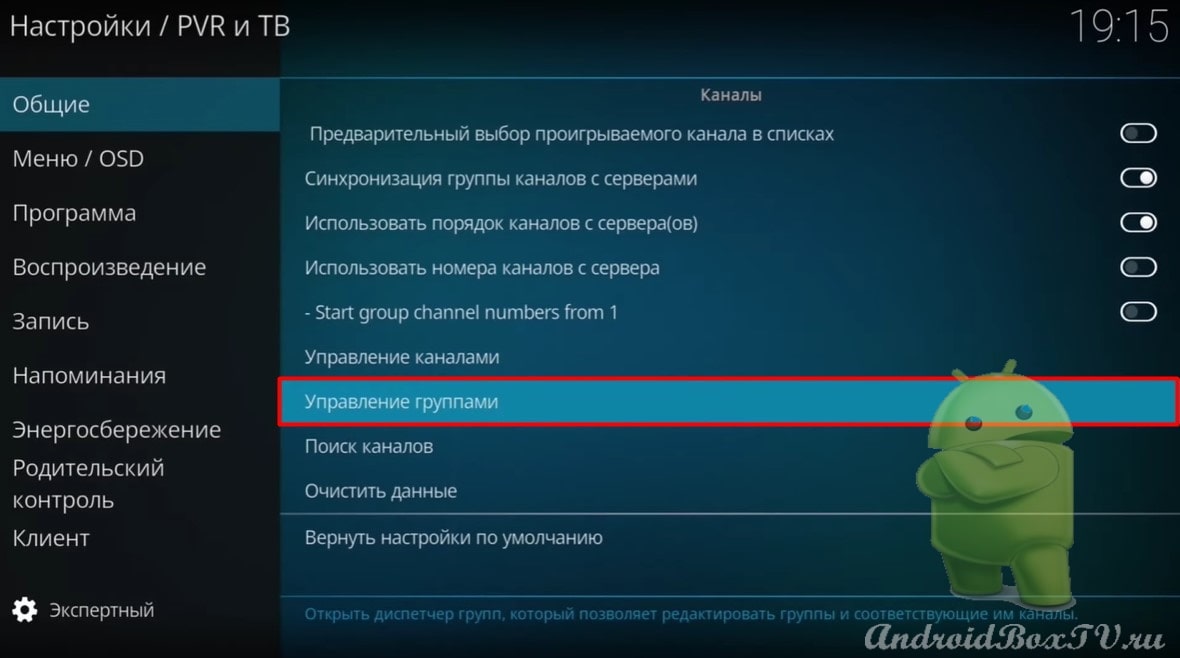
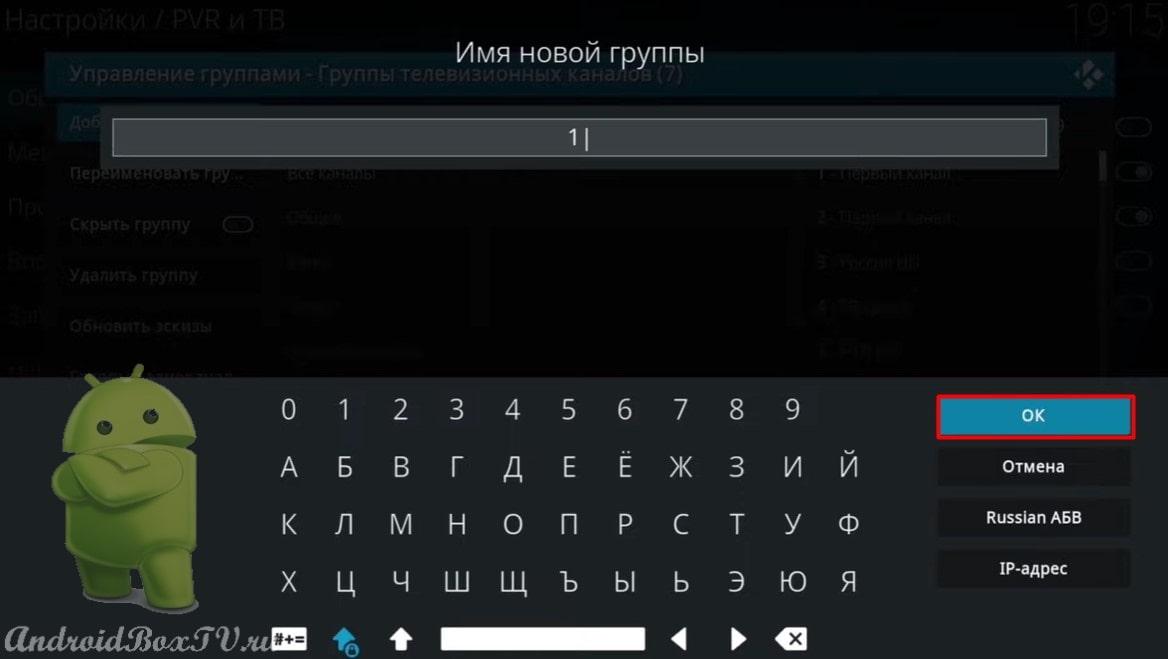
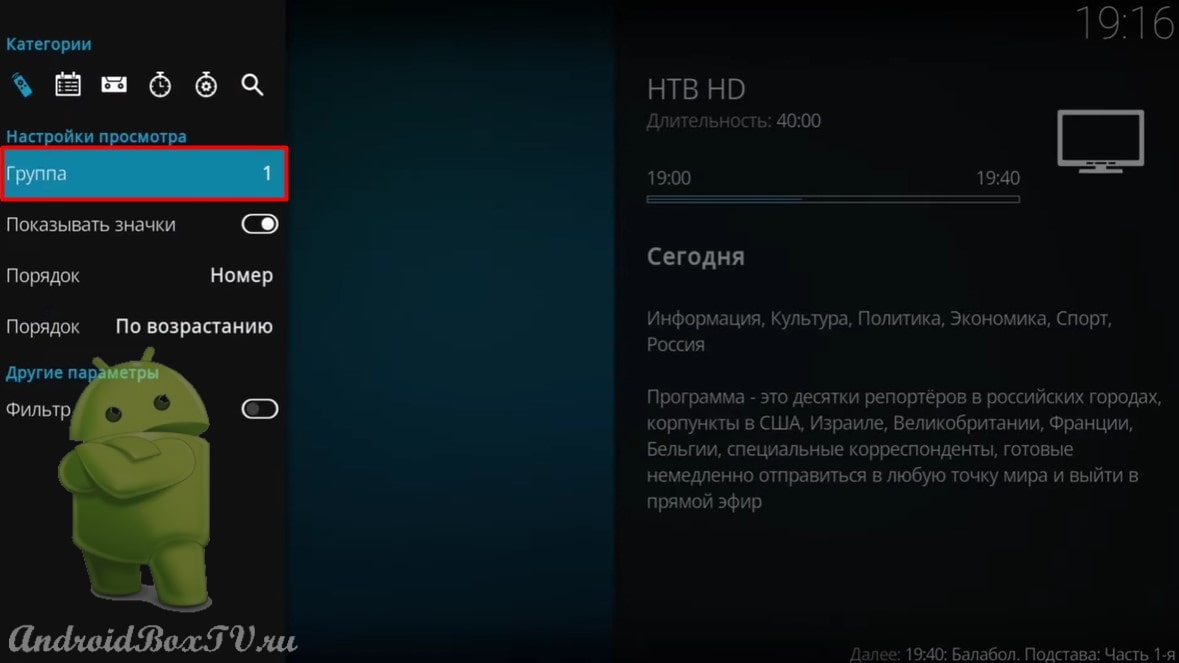
Group management section:
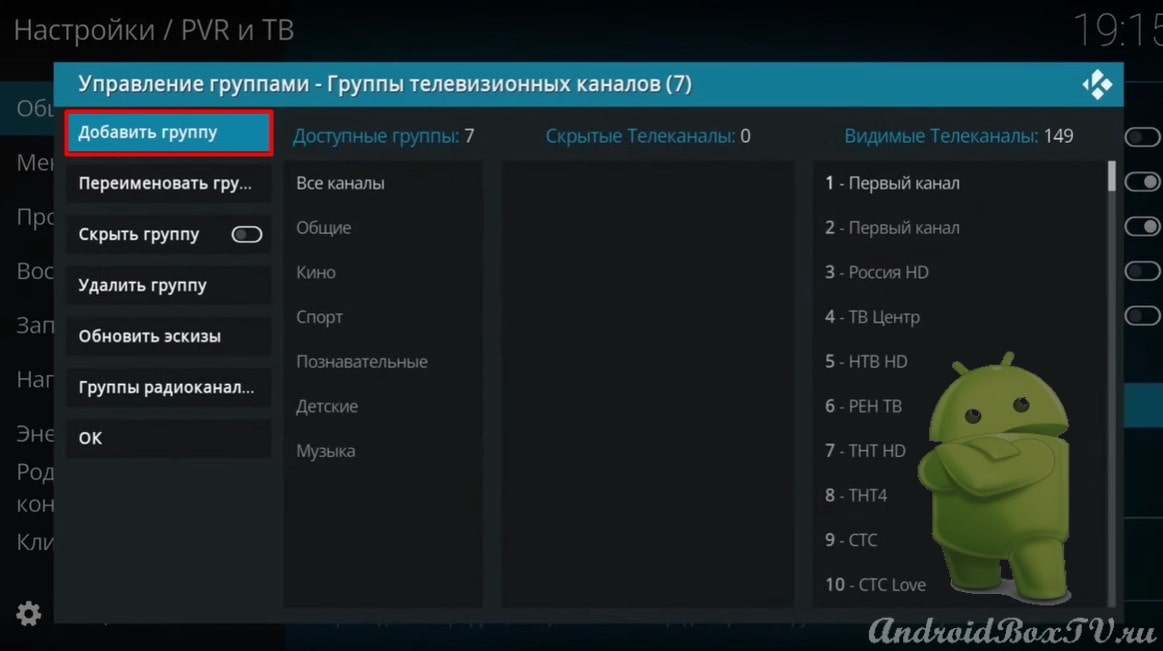
Here you can create your own group. Set a name and click "OK":
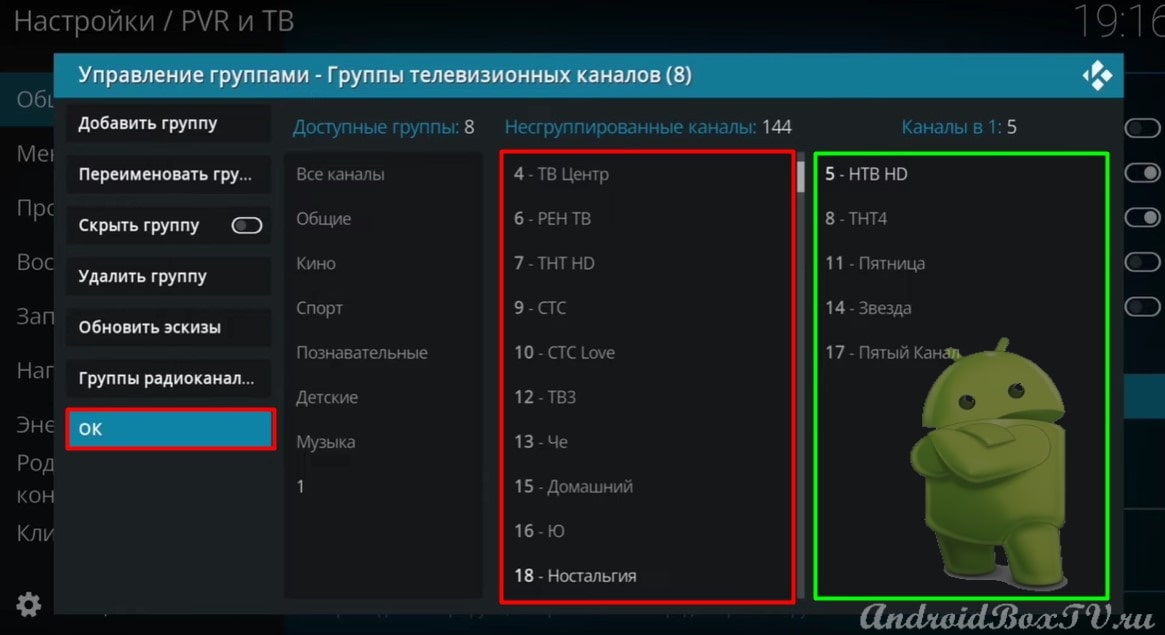
Select the channels that will be in the group and click "OK":
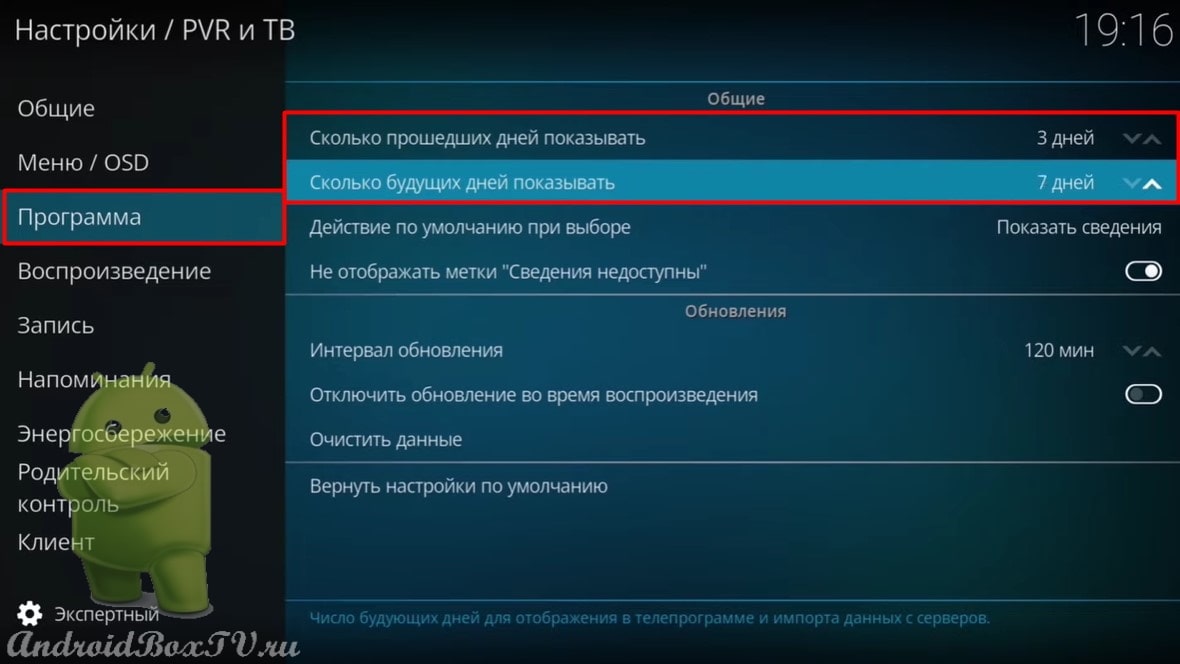
Go to the "Program" section. We put 3 past days and 7 future days:
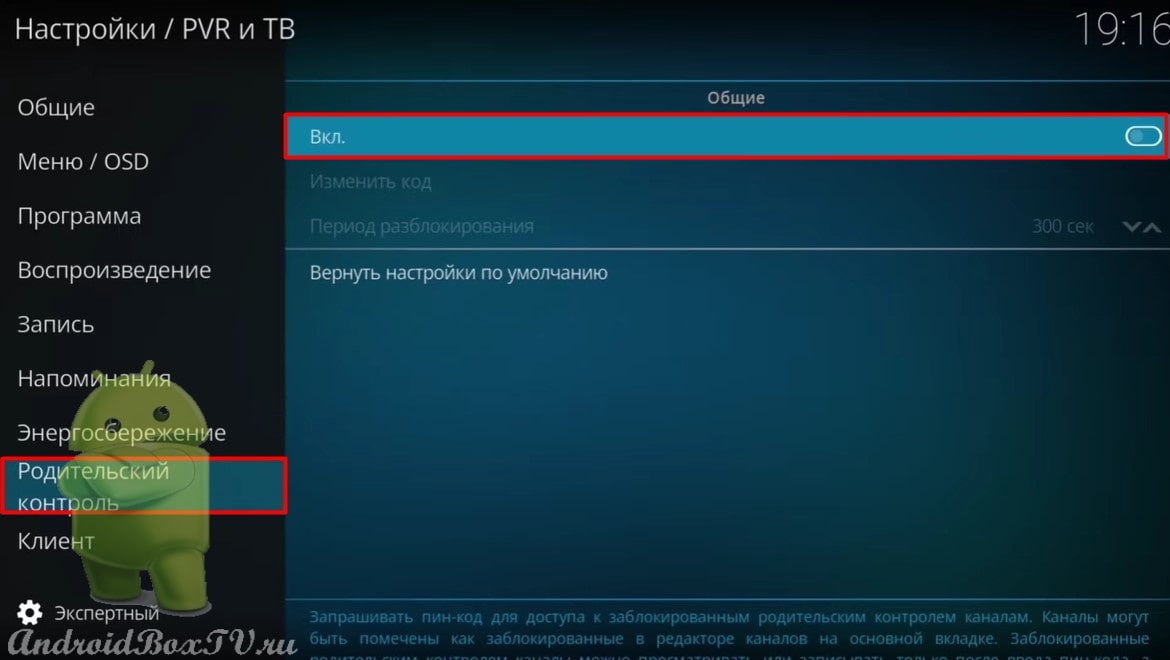
Then you can activate "Parental Control". Come up with a PIN code (write it down on a piece of paper):
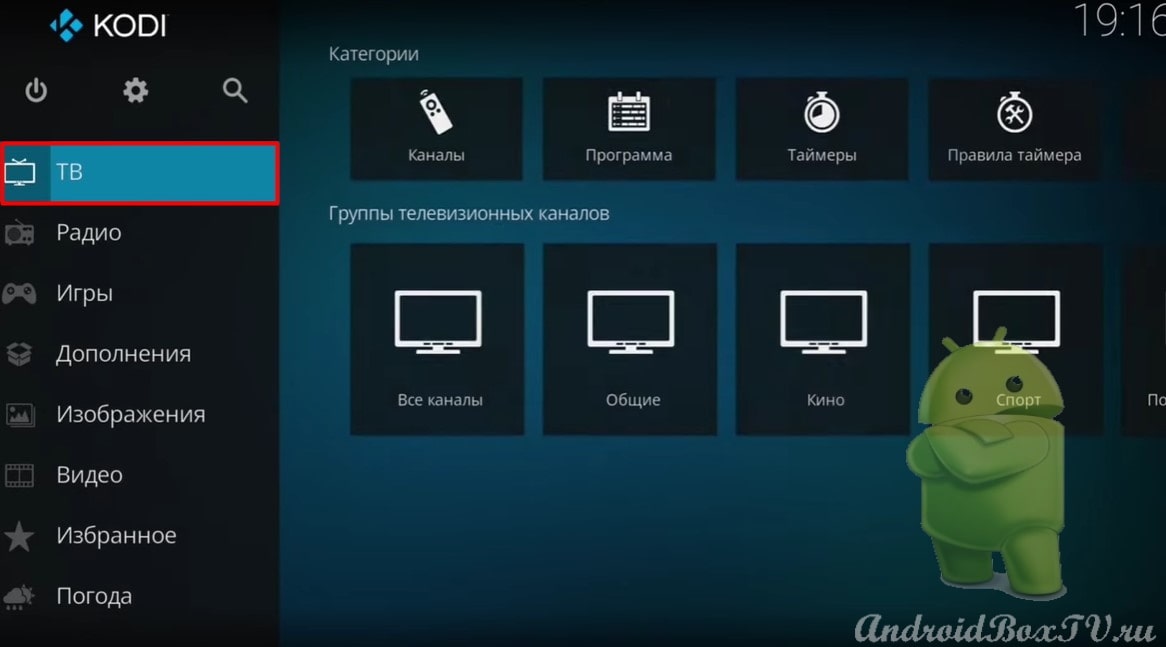
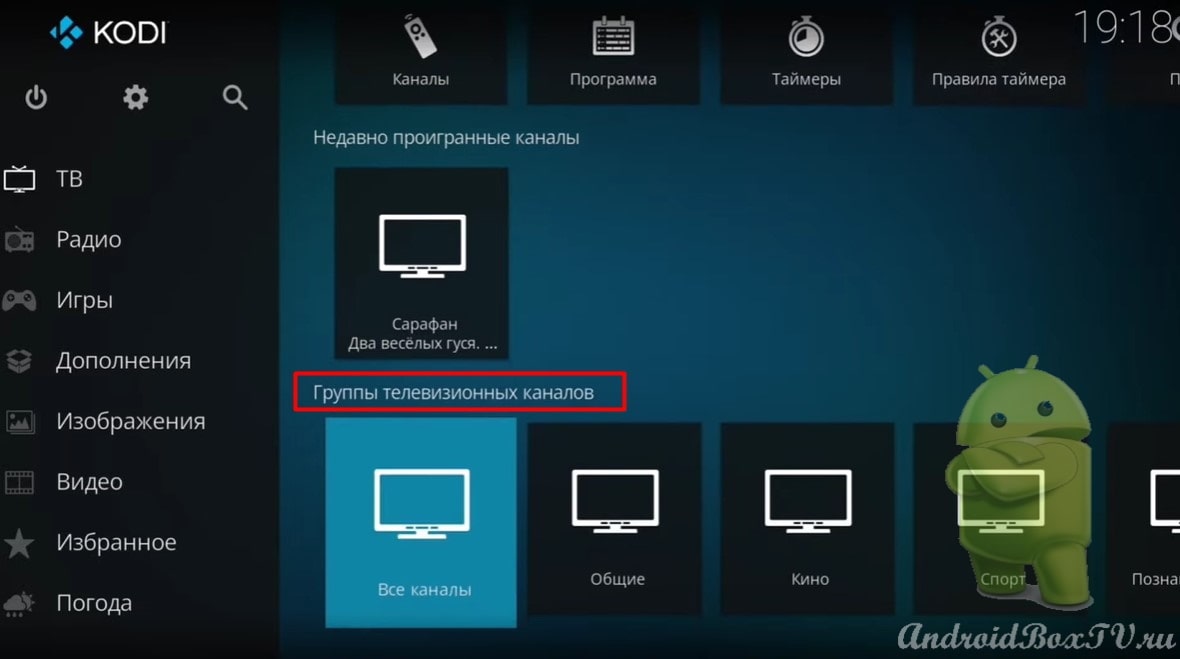
We return back. Open TV:
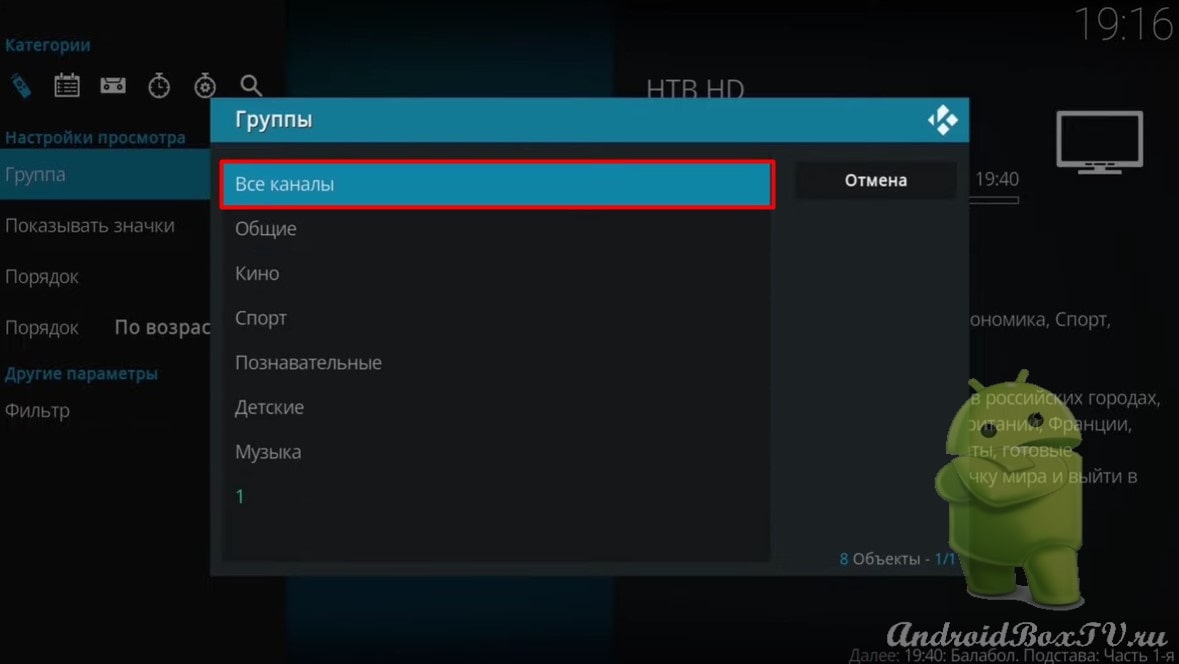
We see the group that we created:
Switch to all channels:
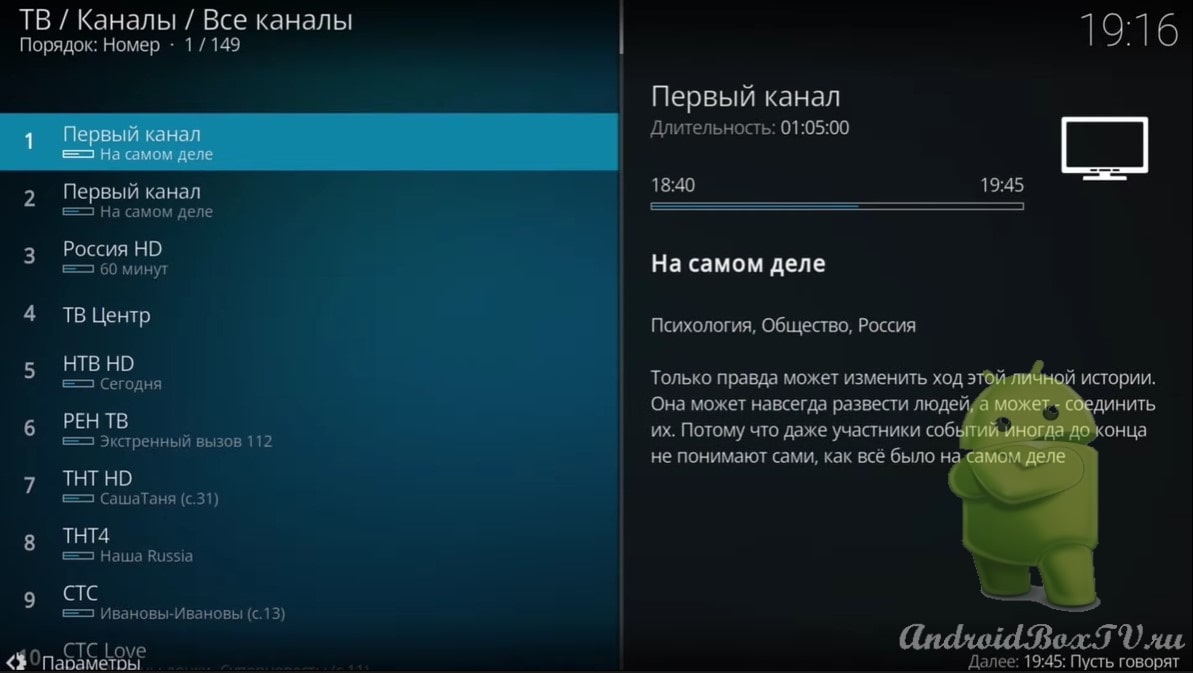
This is how it looks (channel logos are disabled):
Channels by groups are available from the main menu (if you enable channel logos, they will be displayed here):
That's it! Check out other articles from the category “Watching TV, media files” here .
Today we will look at how to install the application on Android TV in the easiest way. This article will be useful for beginners who still do not really understand where to find and how to install the application on Android TV. Please do not post the code on social networks, as the disk may not withstand the load.
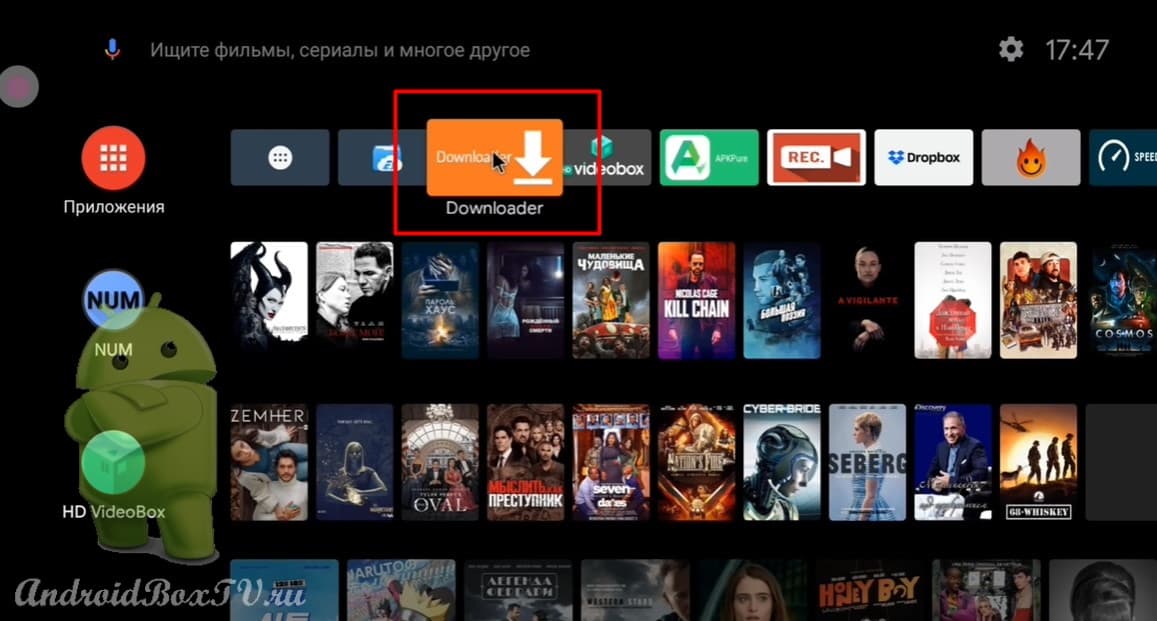
To begin with, install from the Play Market , who has not yet installed, the “Downloader” program. We open:
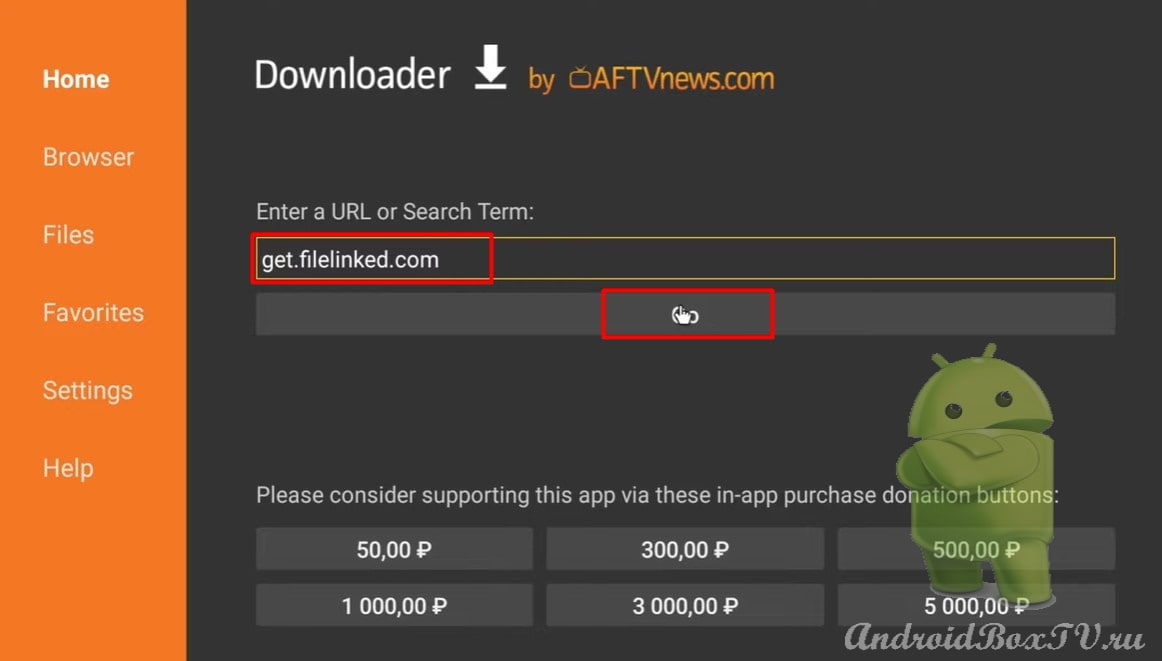
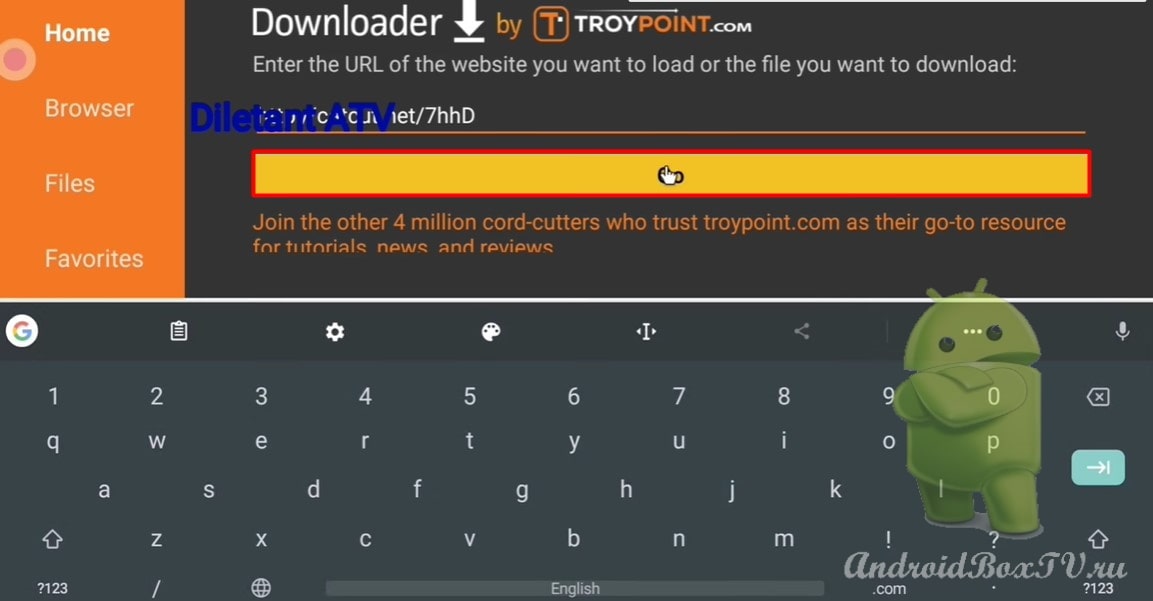
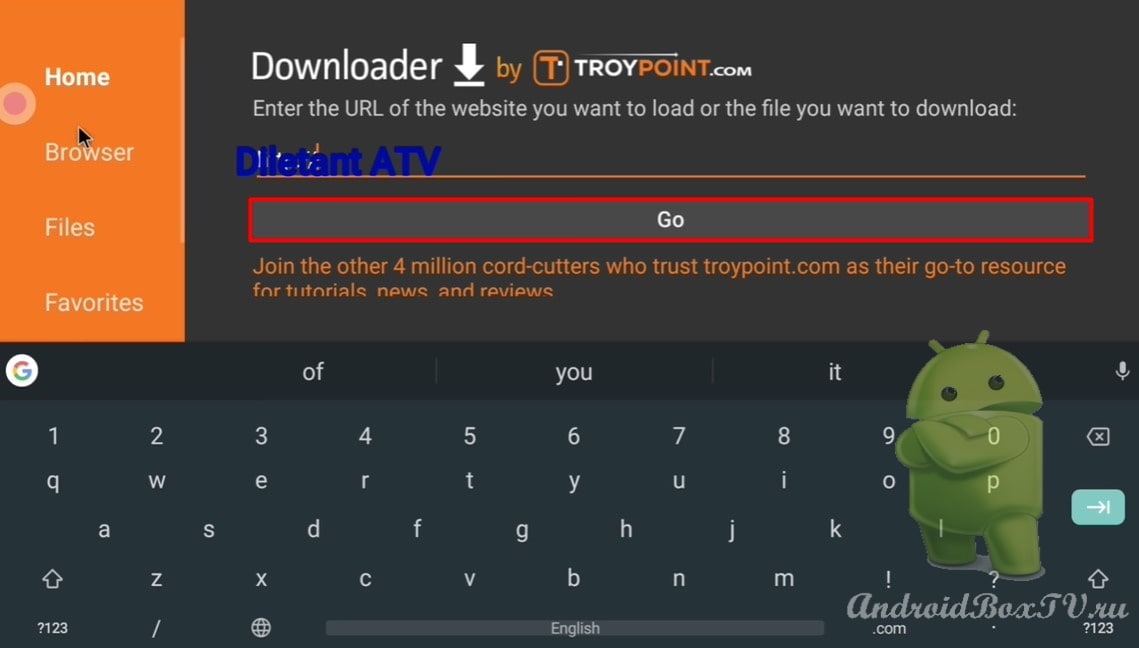
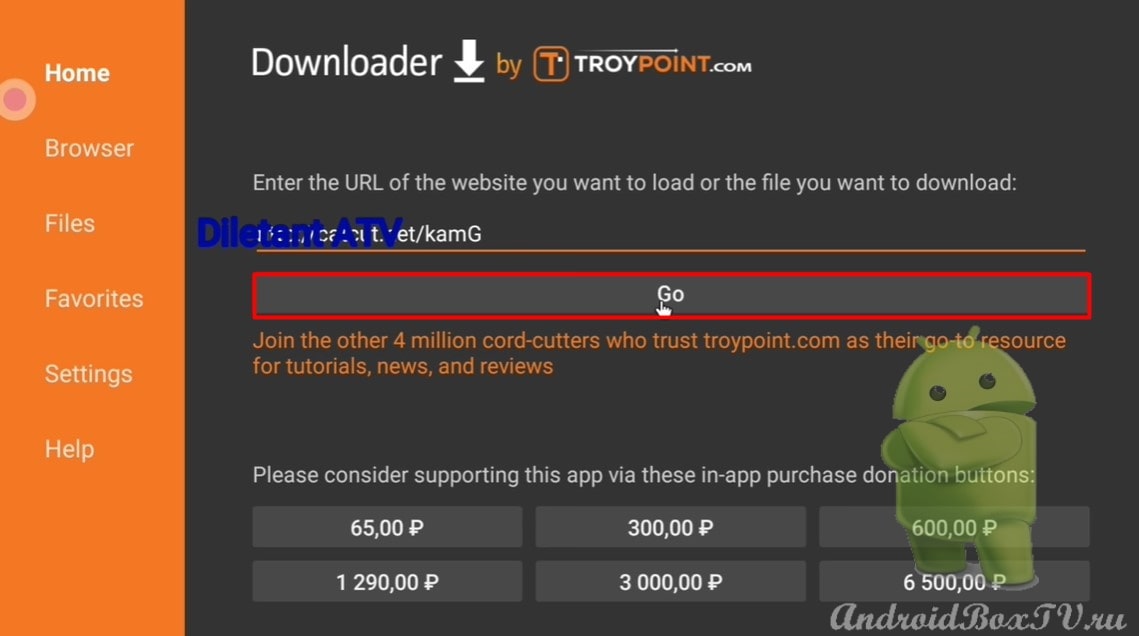
We give all permissions. Enter link - get.filelinked.com and click "Go":
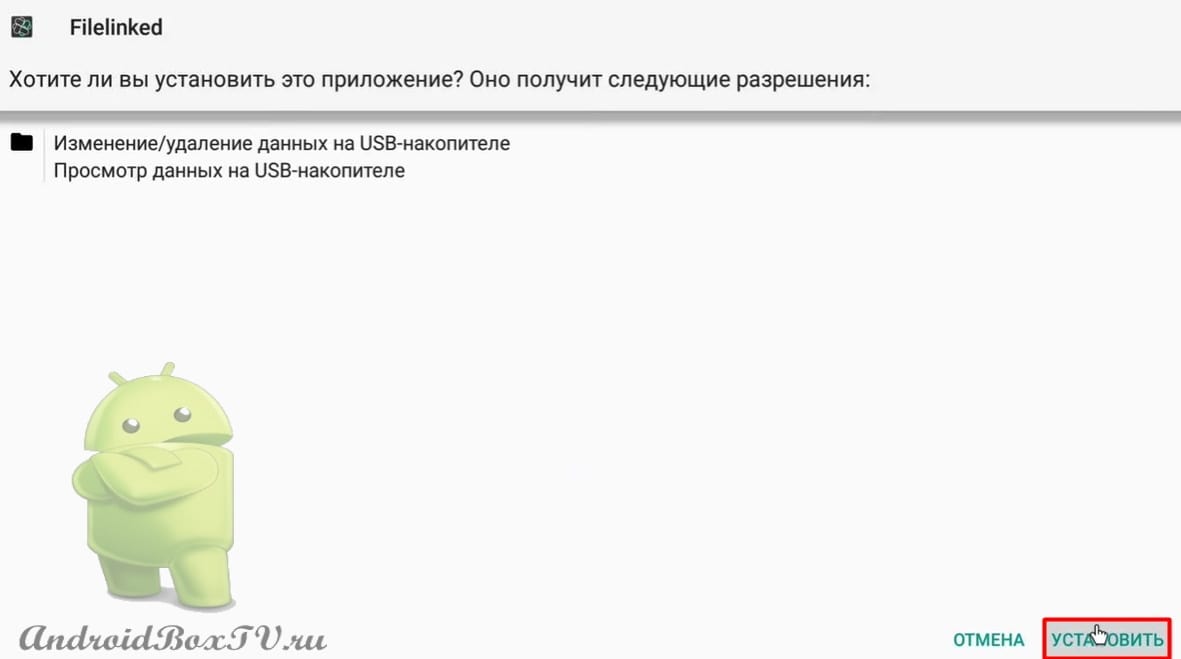
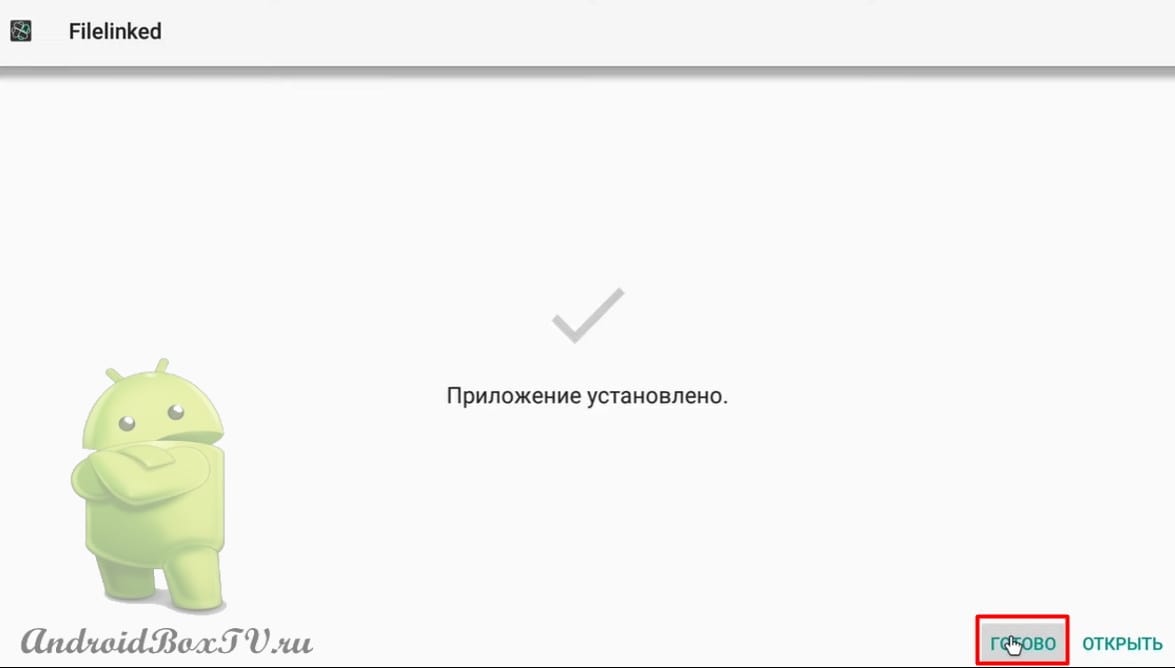
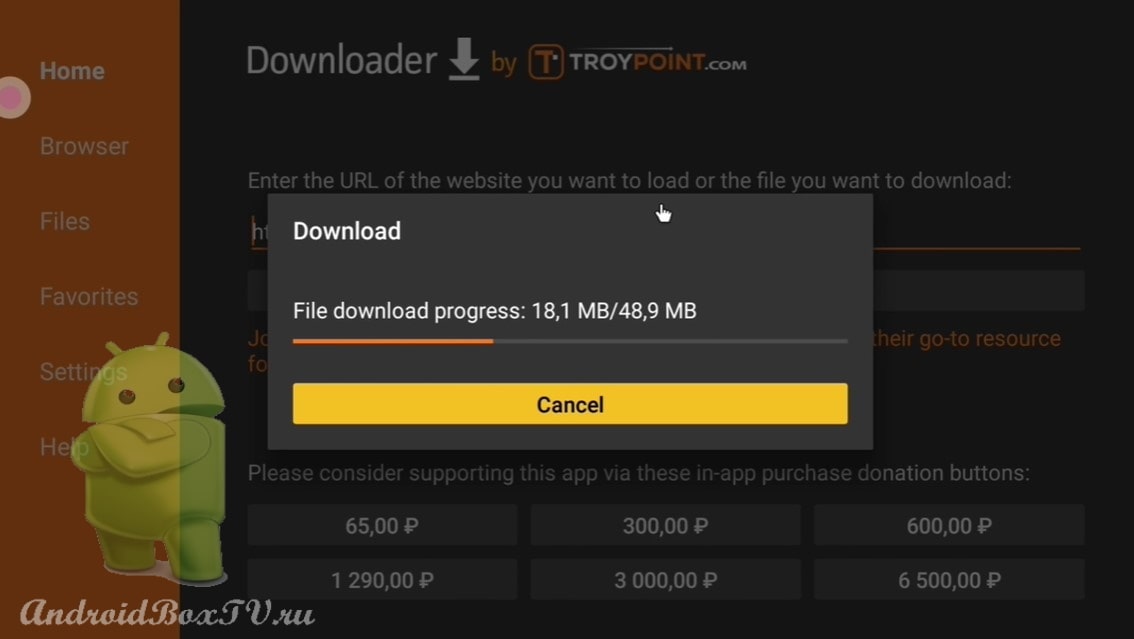
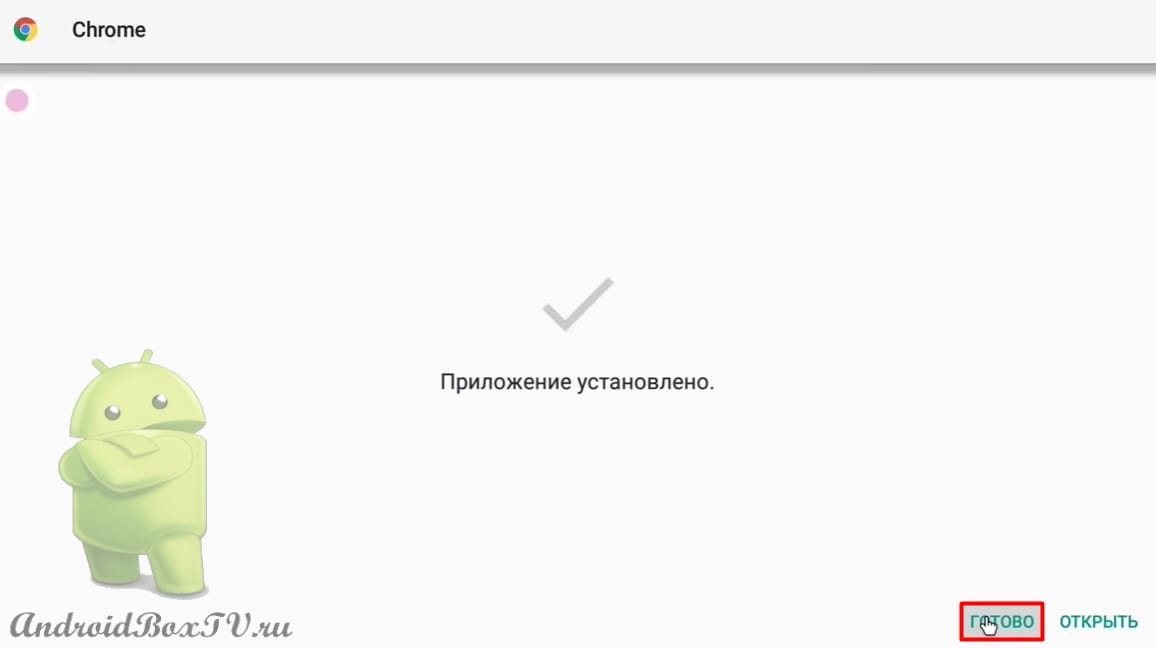
Install the application and click "Finish":
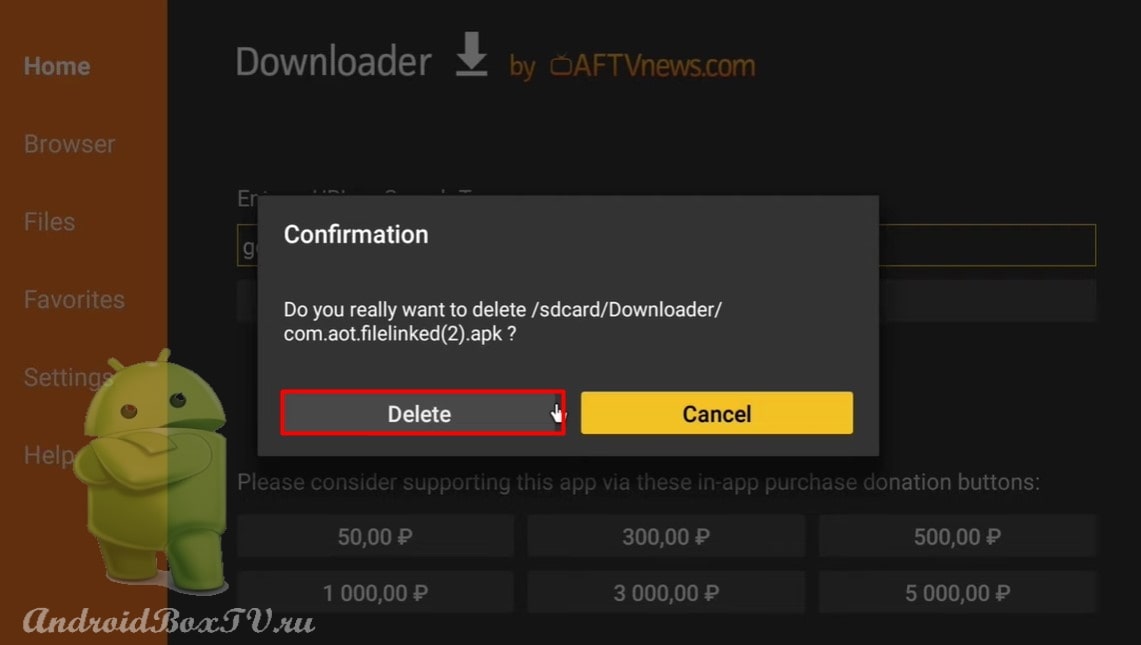
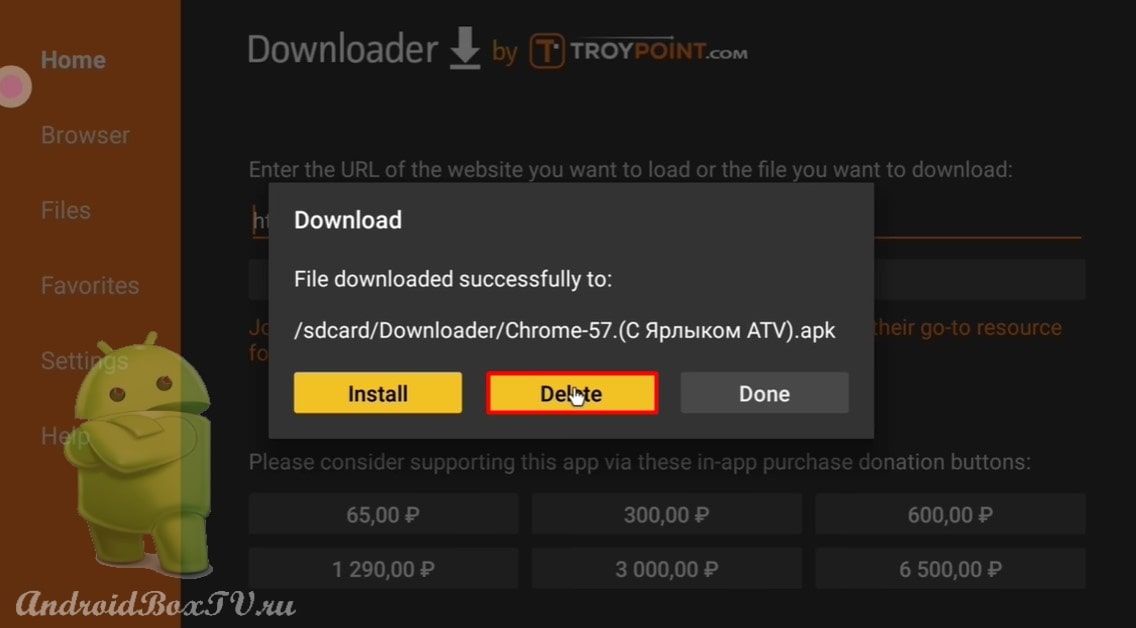
If the APK file is not needed, then delete it:
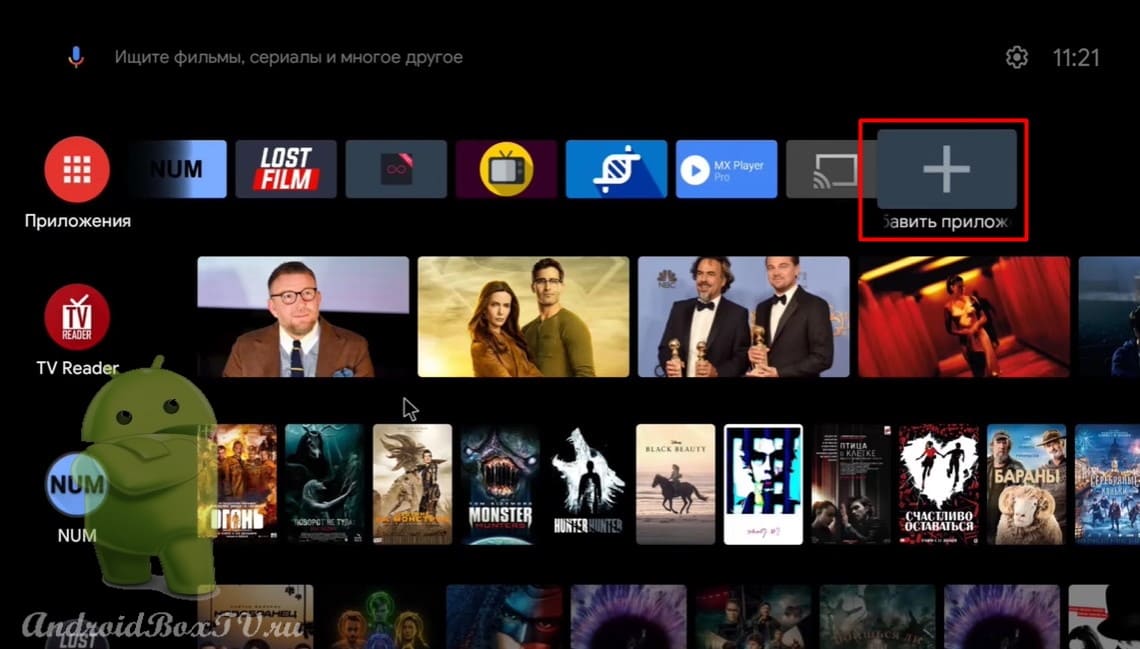
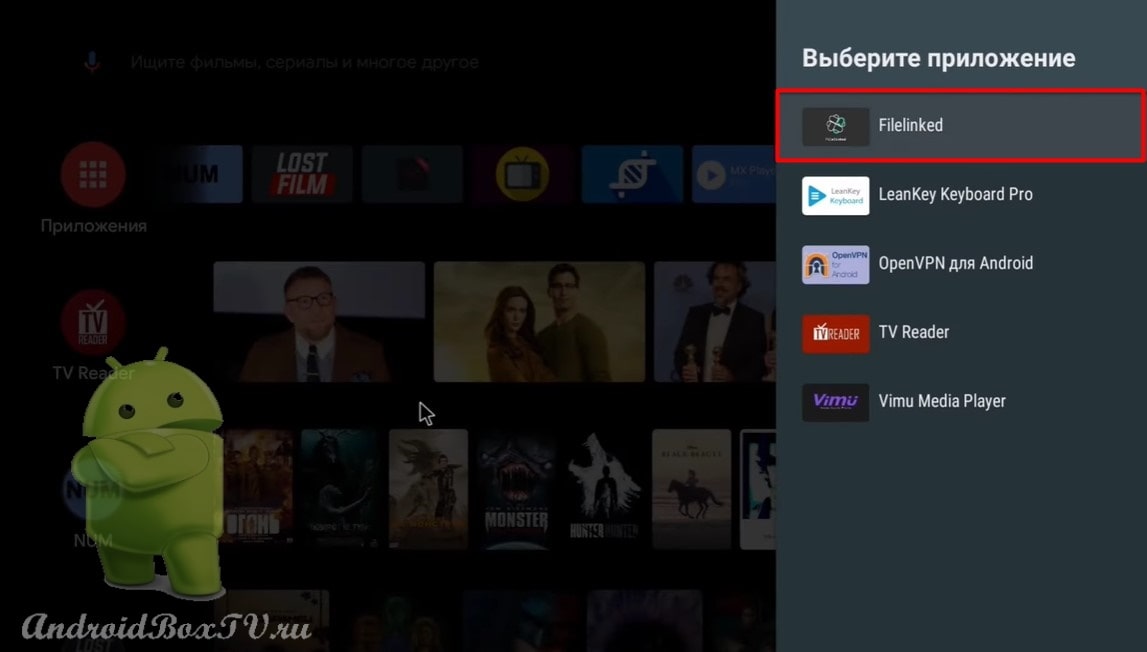
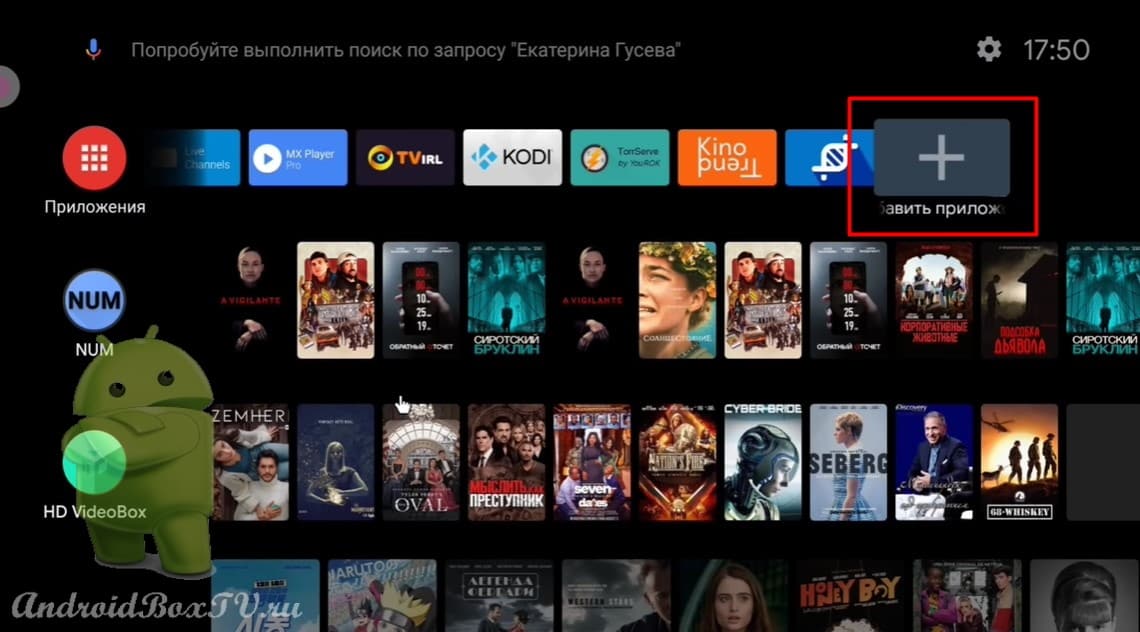
Let's add an app to the home screen:
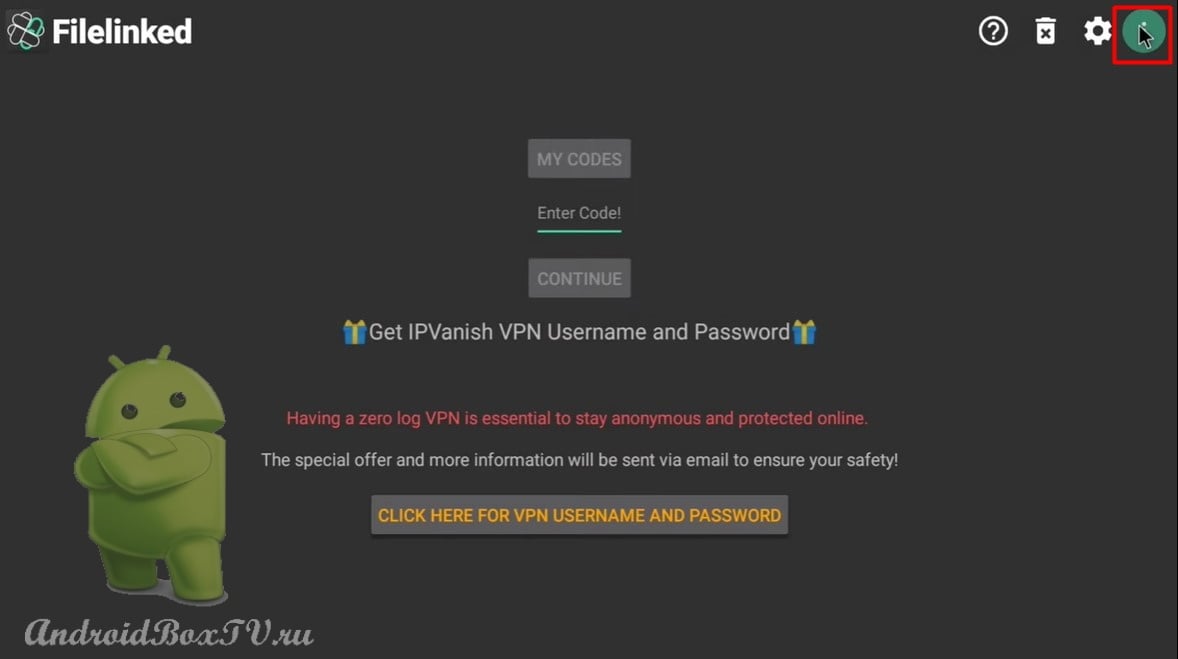
We open:
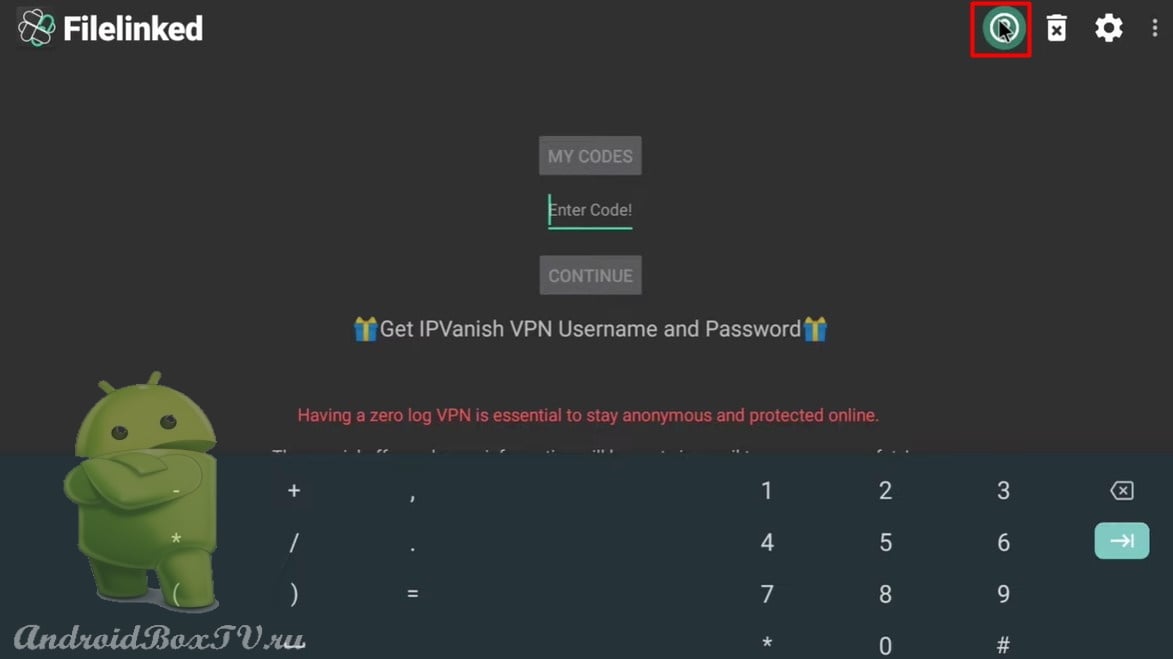
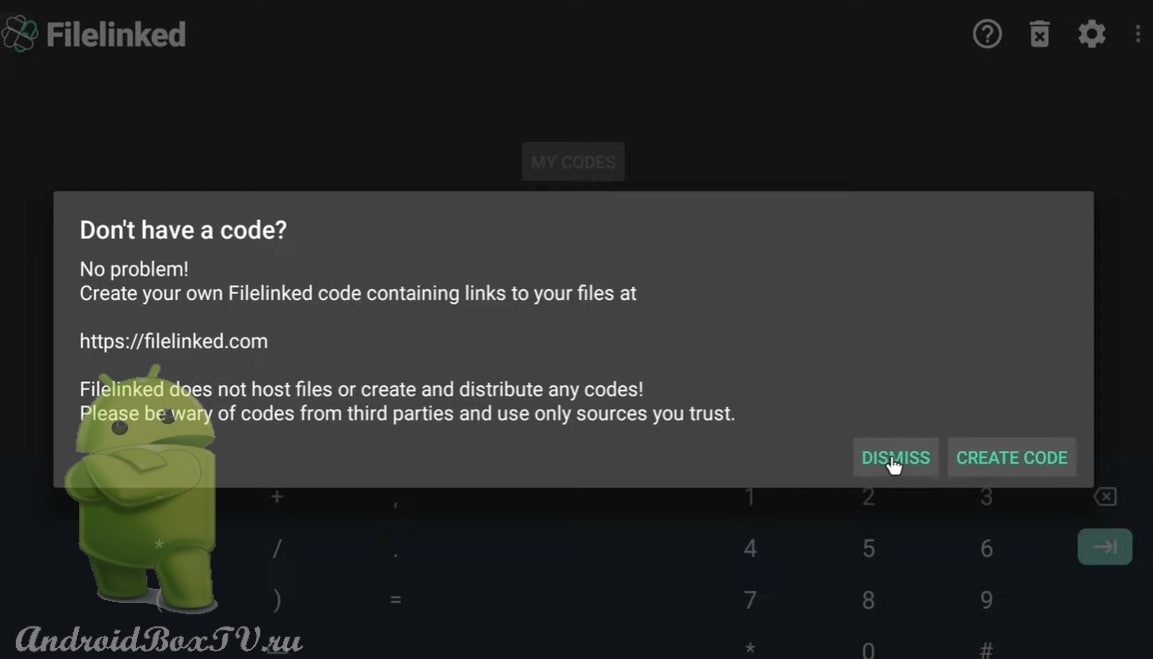
Let's take a look at the features of this app. The question mark allows you to go to the site and create your own code and storage:
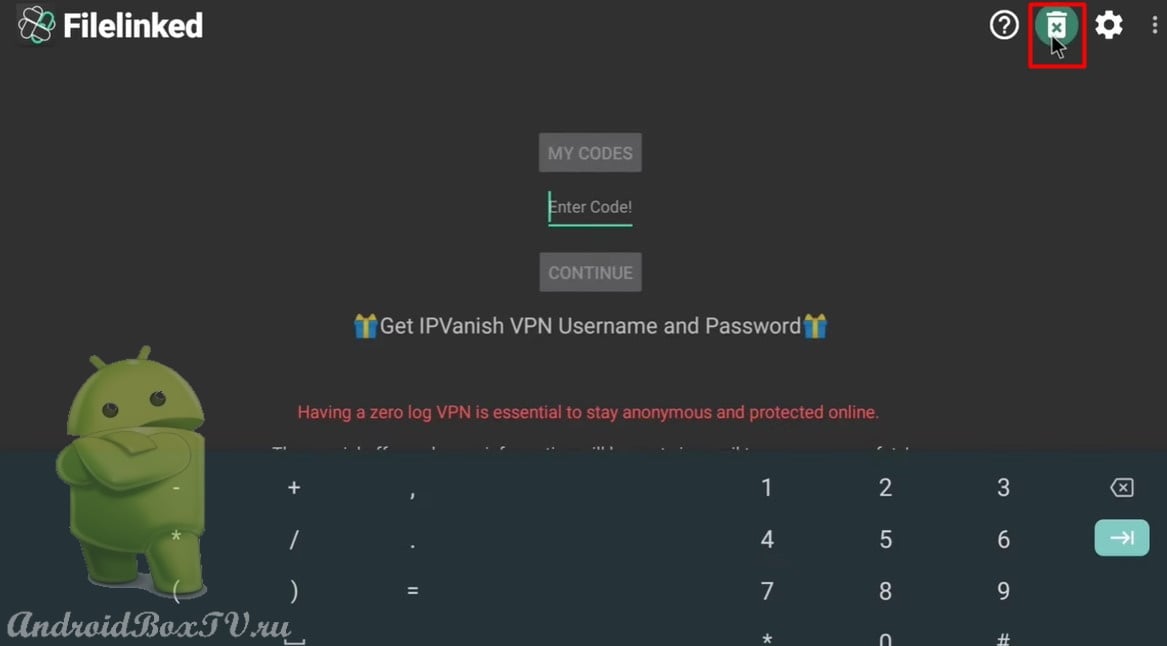
The Recycle Bin allows you to empty the “Download” folder and delete files:
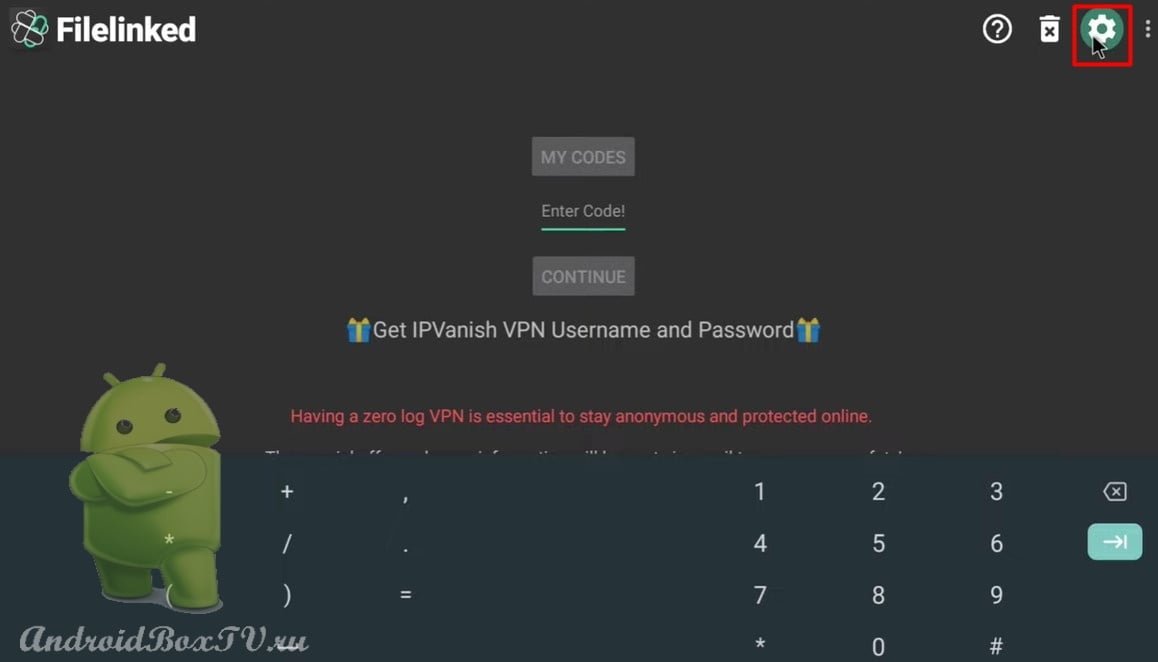
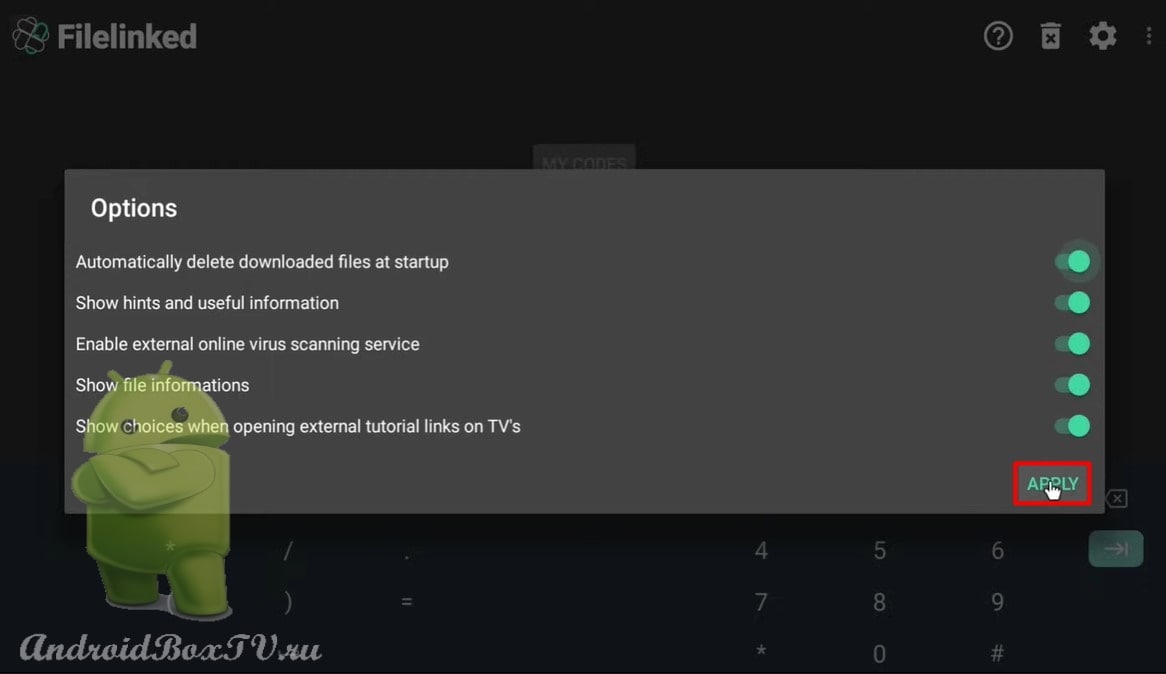
Settings, enable everything:
Menu section:
Subscribe to newsletter
Denial of responsibility
Application version information
Check for updates
Exit
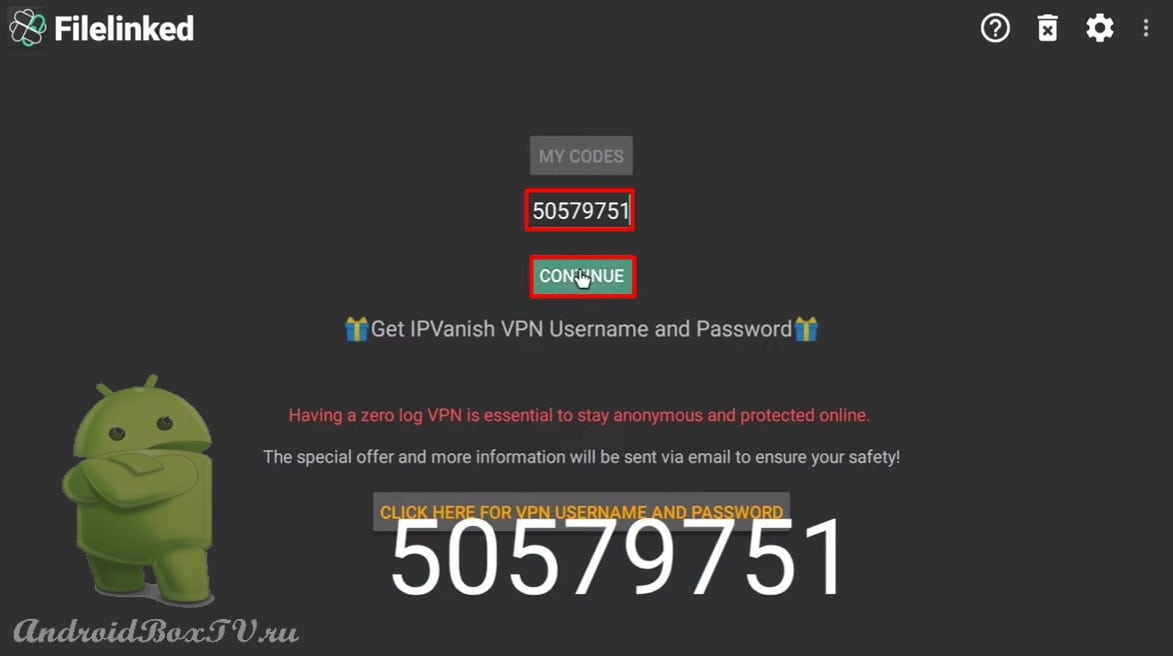
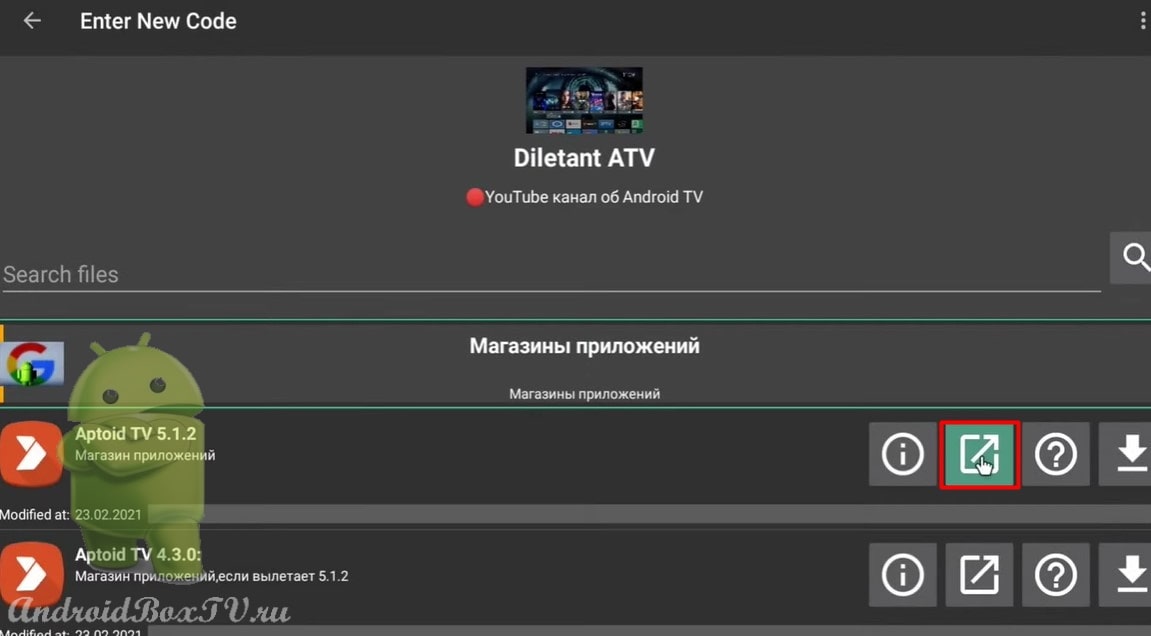
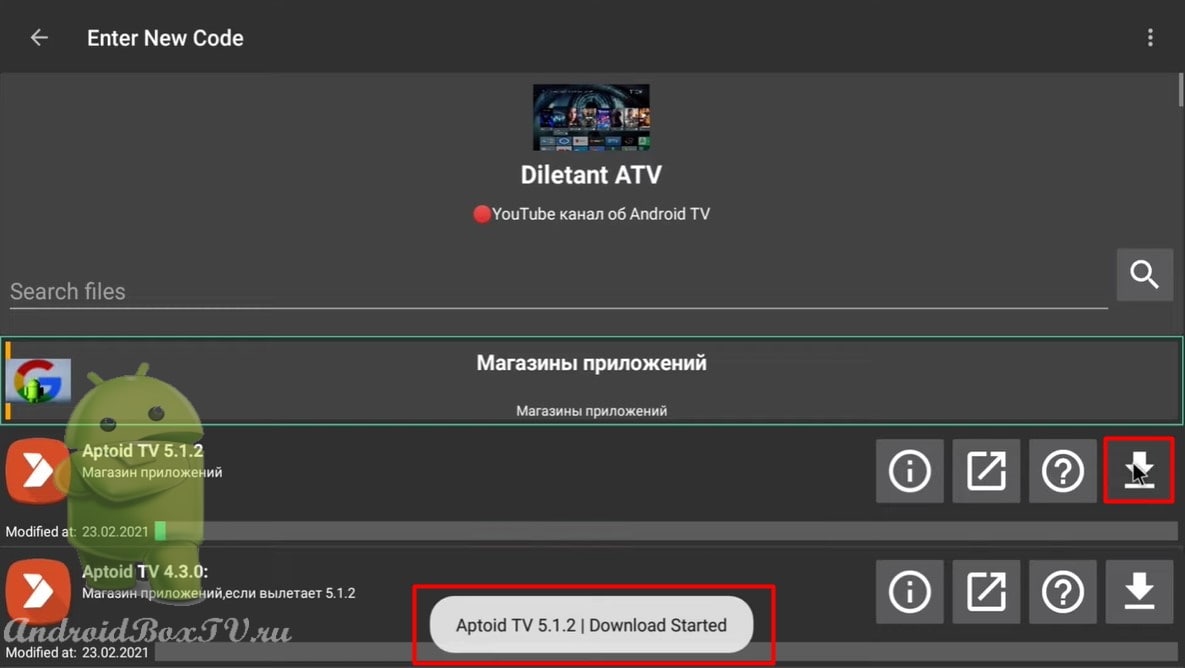
Next, enter the code:
This is what it looks like:
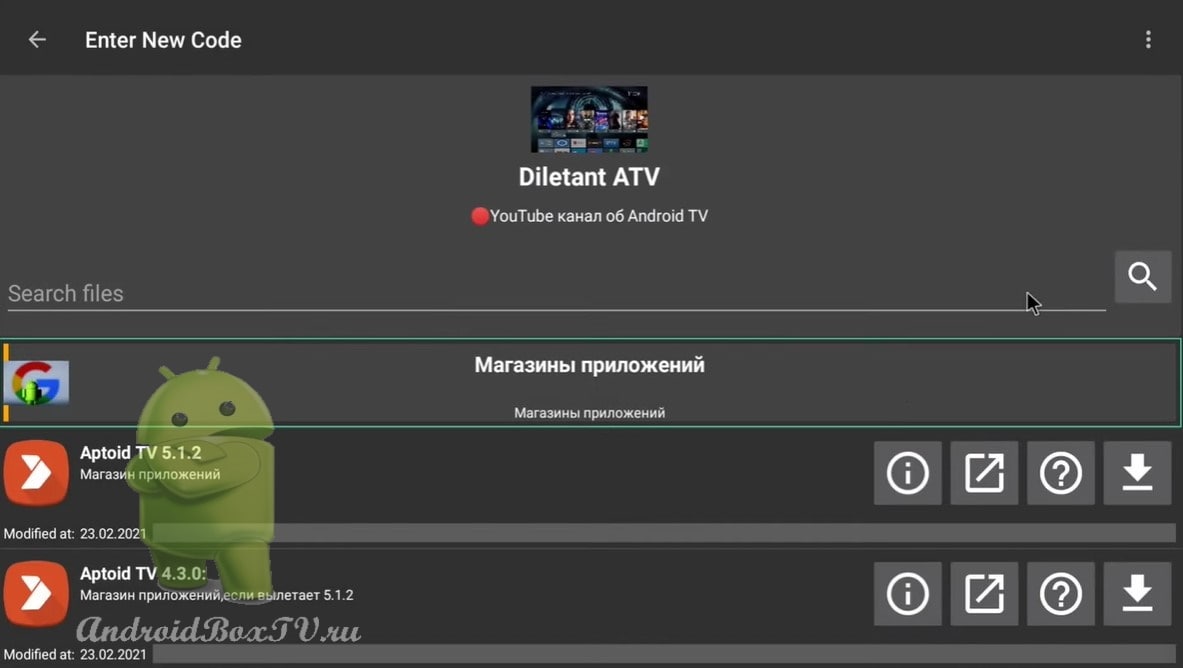
Menu section:
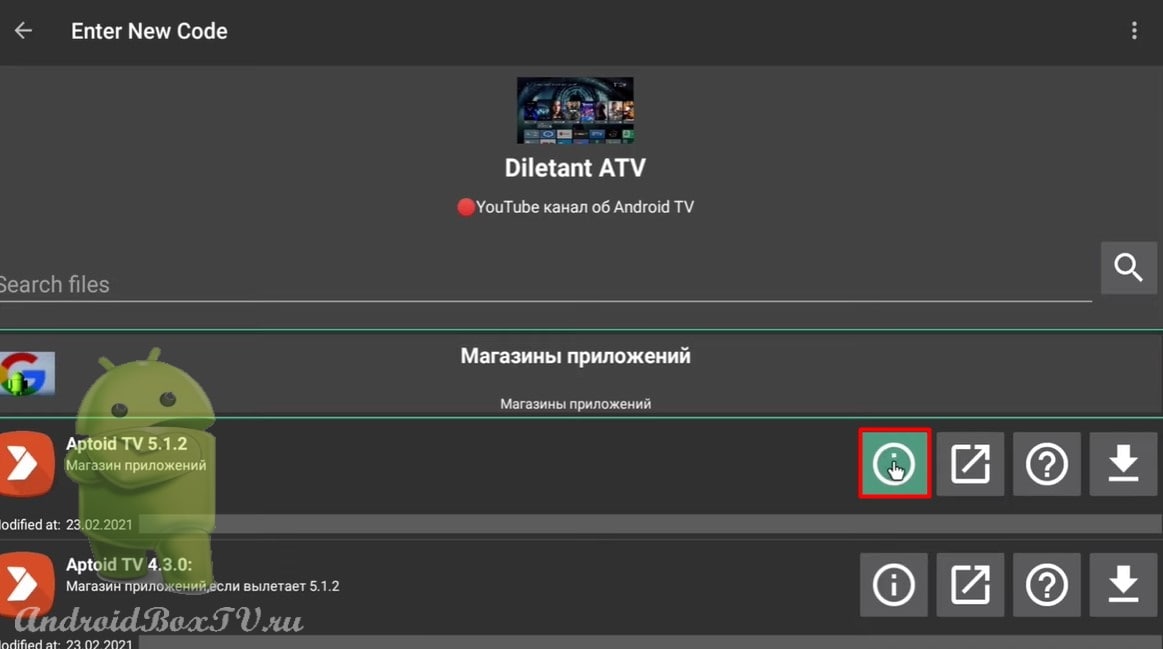
Icon “i” – information about the file:
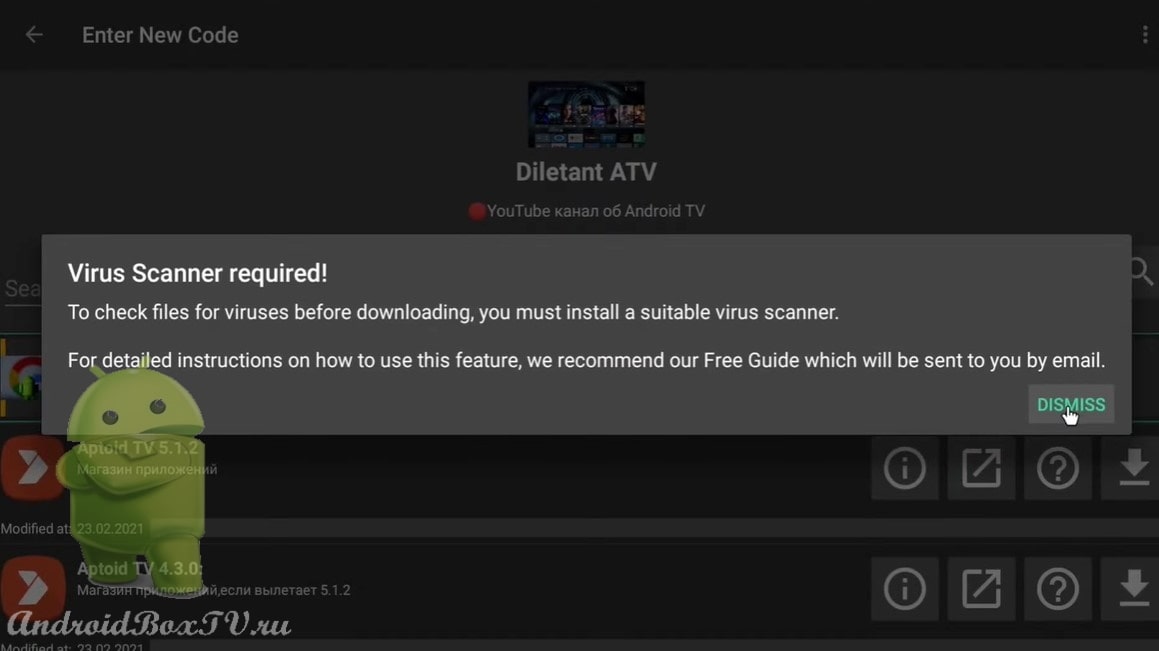
Next, the “Scan for viruses” icon:
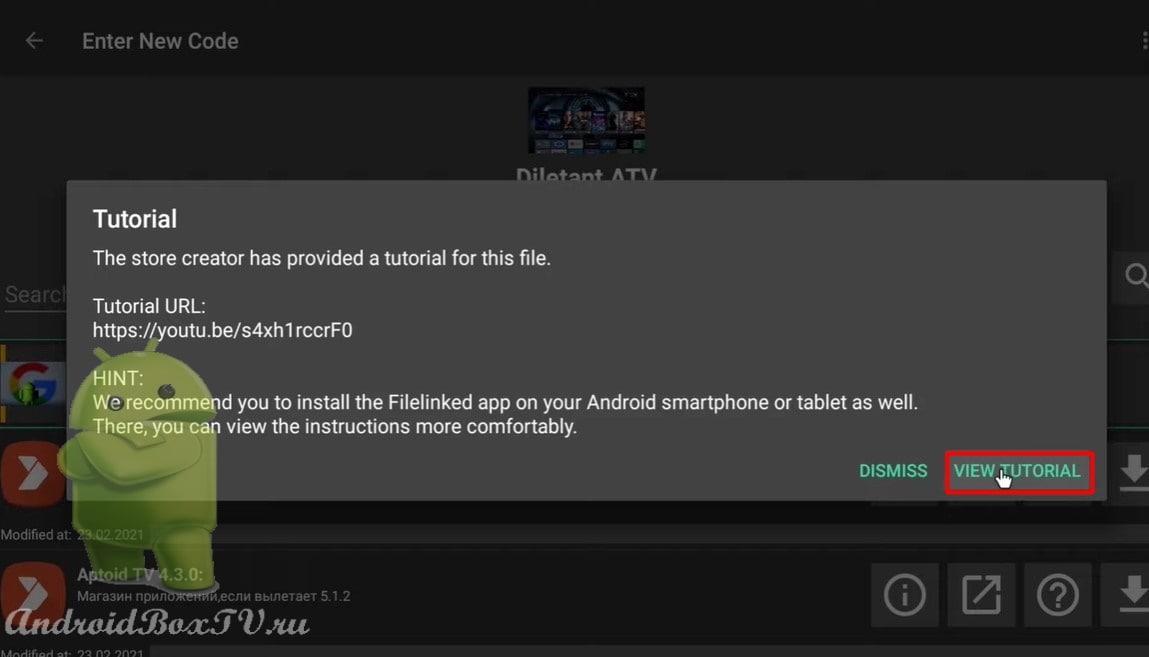
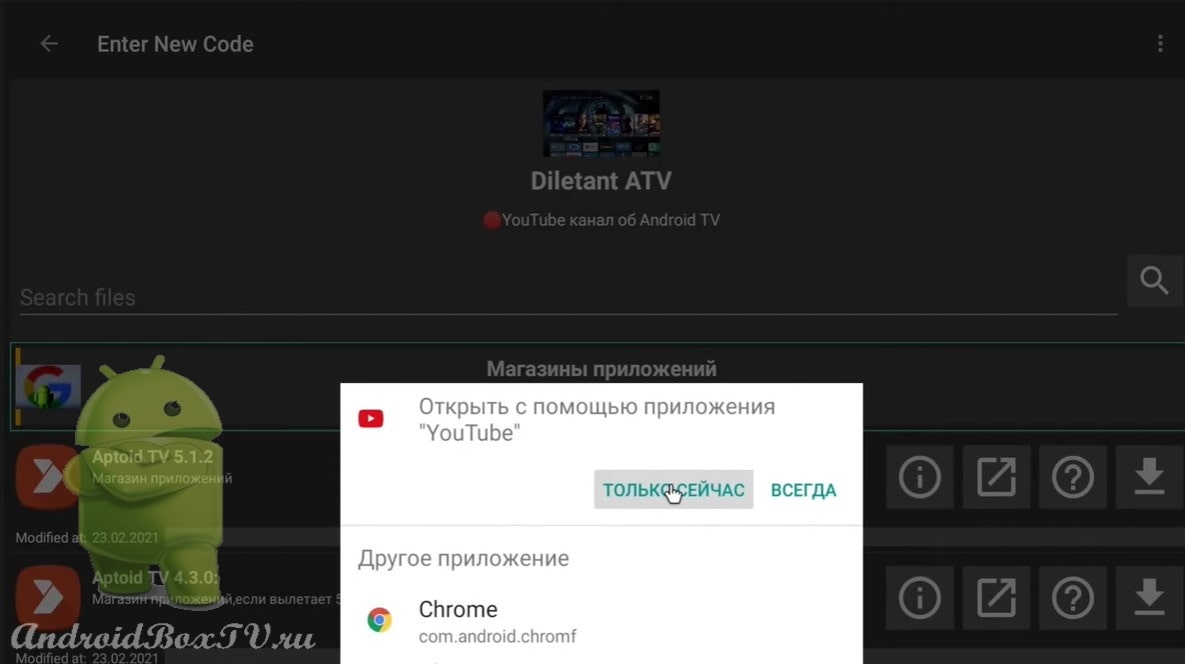
“Question mark” - if there is a link to a review, then from here you can open “YouTube” and see a review of this program:
Download the APK file:
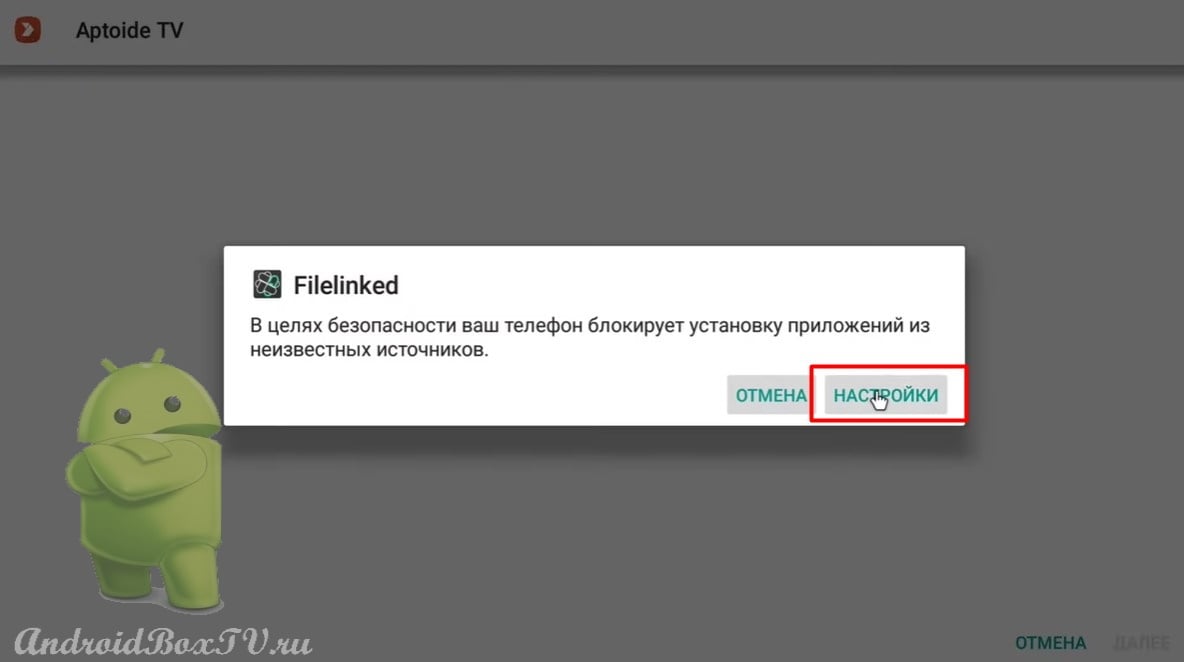
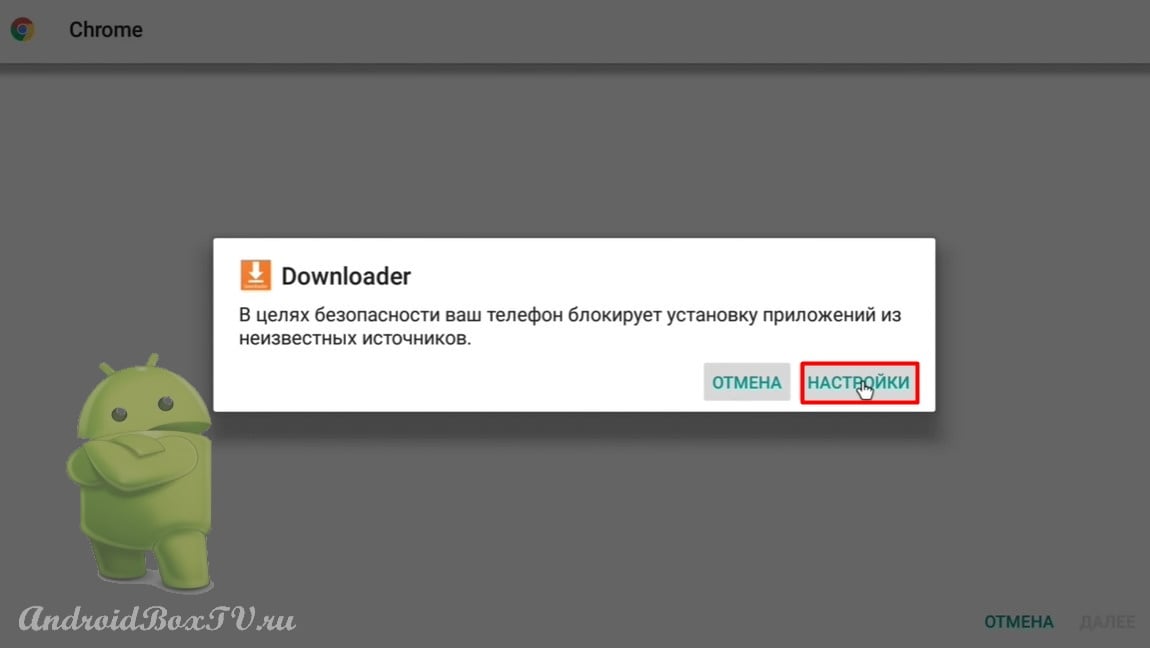
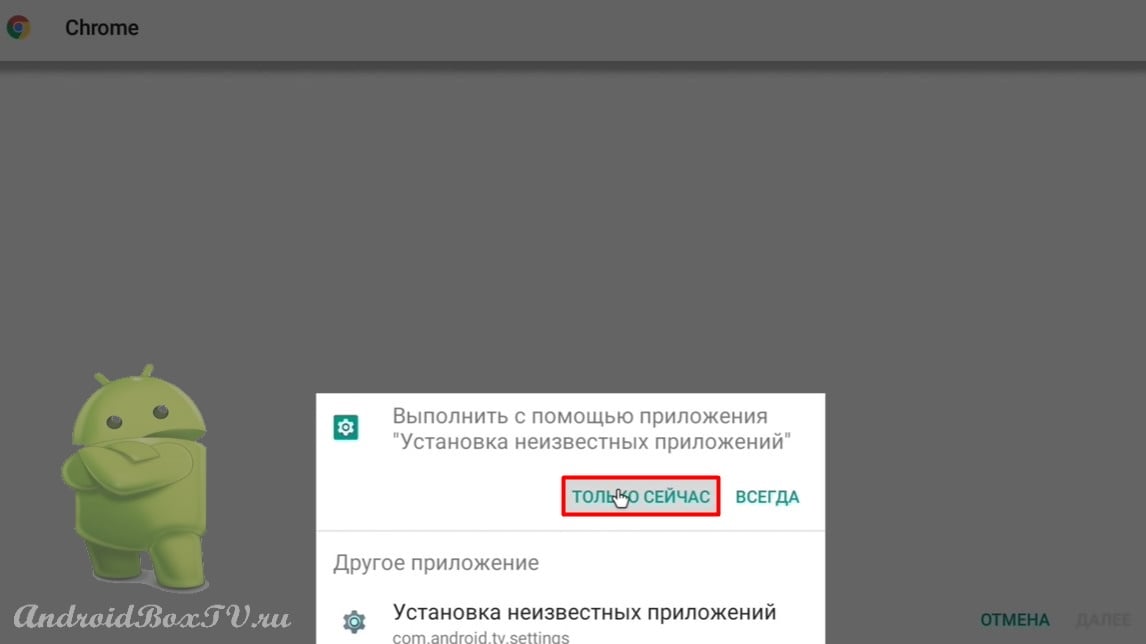
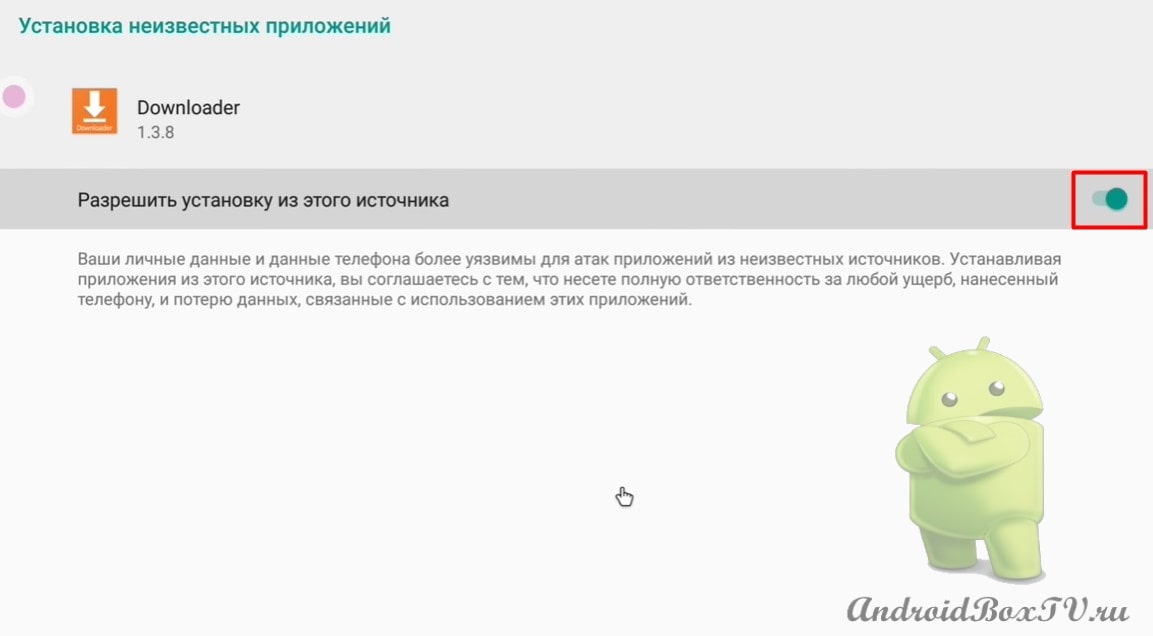
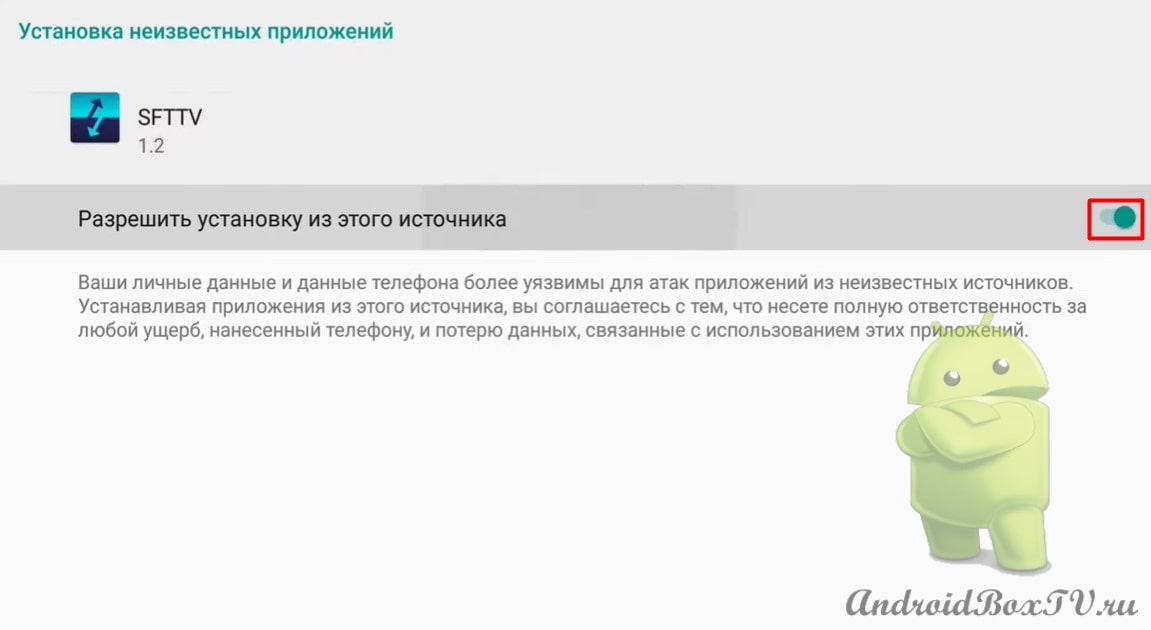
Go to “Settings” and allow installation from this source:
Installing the program:
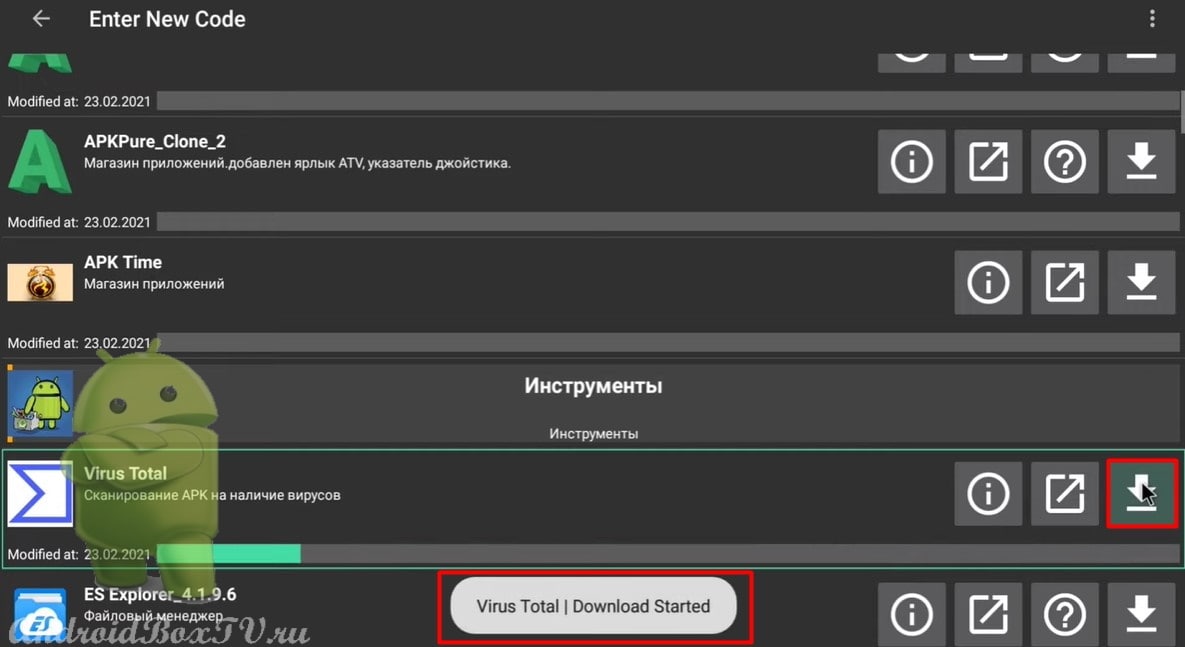
To scan files for viruses, install the “Virus Total” program:
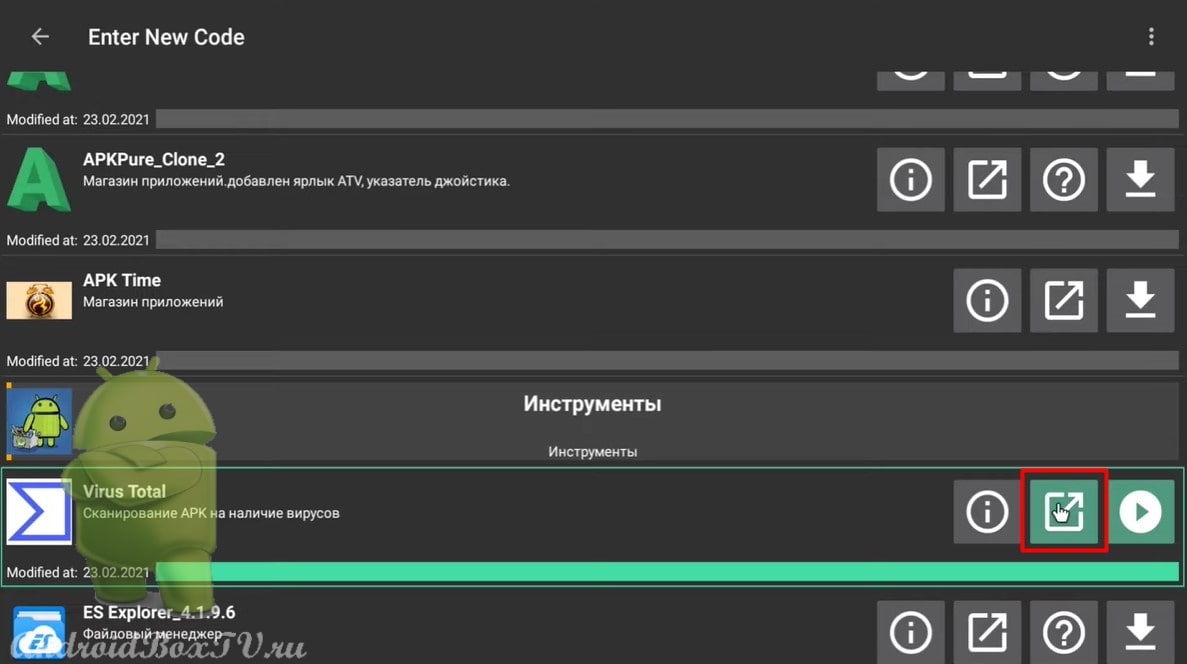
Click install and "Open":
Now we can scan the application:
Click "Scan":
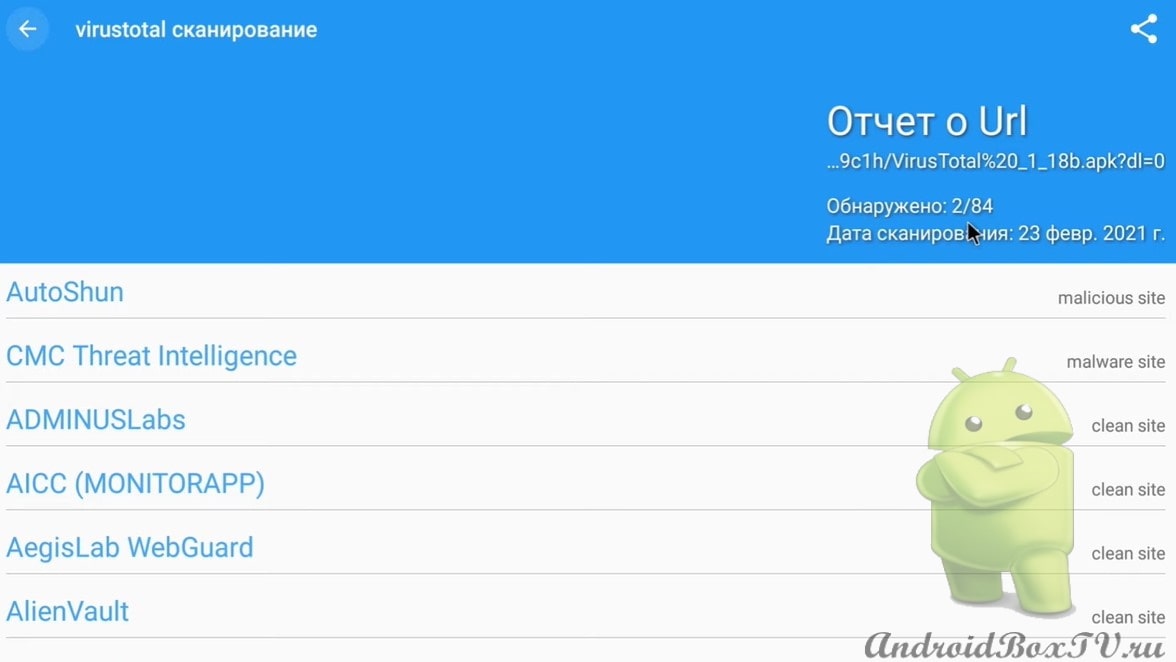
Scanned. We see that two engines out of 84 found some suspicions in the program, but there is nothing wrong with that:
The program is working. Enjoy.
Check out other articles from the rubric “Working Moments” Here.
Today we will consider Chromecast. Chromecast technology is the playback of a video stream from the Internet or from a local network. In this article, from a smartphone with the Android operating system to a TV or TV Box with the same AS. Currently, many applications support this feature: YouTube, Google Chrome, IPTV by Alexander Sofronov, Netflix .
Not all smartphones out of the box support the mirror screen function. In this article, we will install an application on a smartphone to access this function. Also, on a non-Google certified device, we will install a modified “ Google Cast Receivert ”, because Chromecast technology does not work on these devices. Also, this program can be installed on TV Box with Android AOSP (Android with regular Play Store).
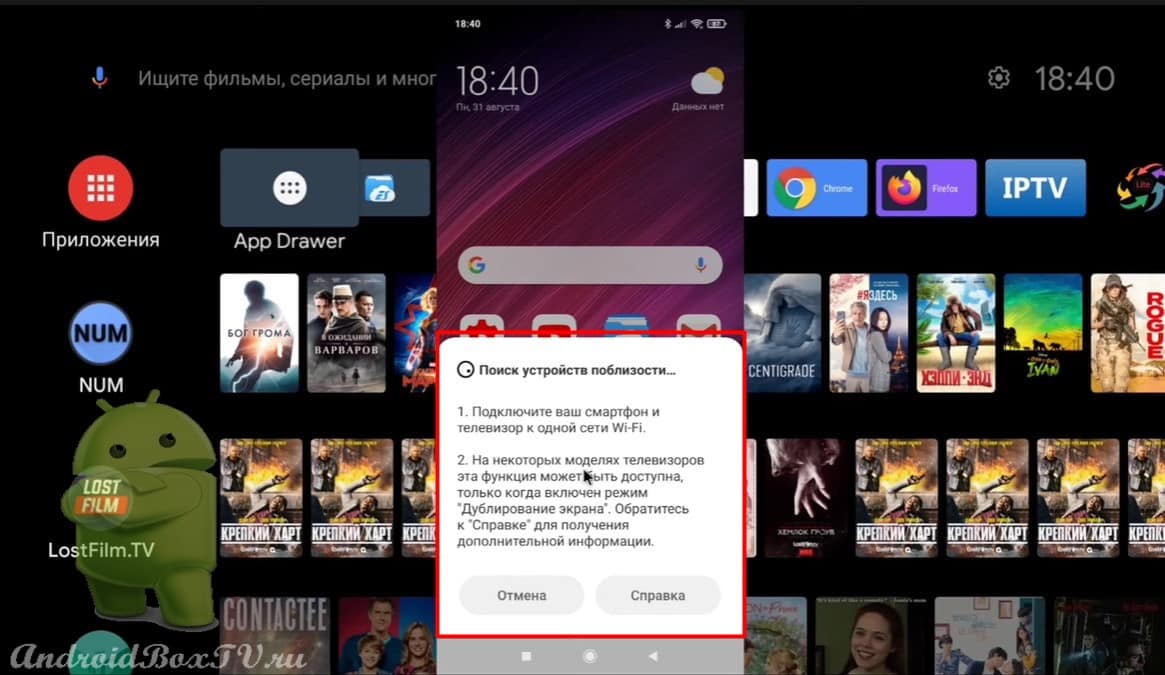
Let's get started. Both devices must be on the same home Internet network. First, let's try to start broadcasting from the curtain :
The search for local network devices has begun:
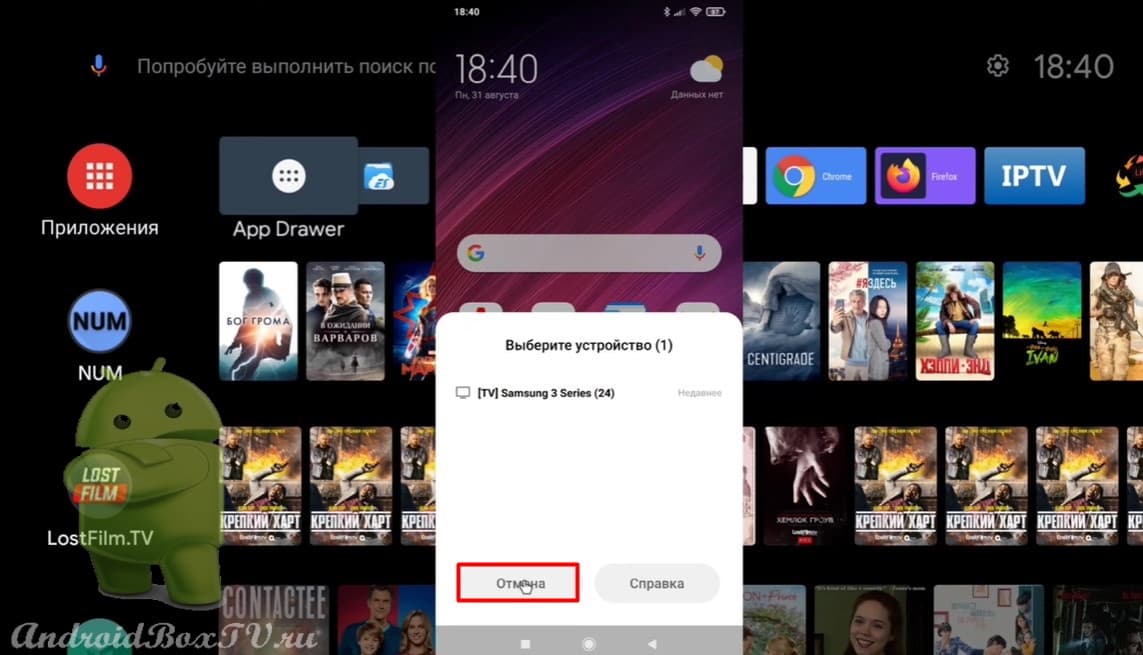
TV detected “Samsung" and nothing more:
To solve this problem from Play Market install the applicationScreen Mirroring". This application is nothing of itself, it's just access to the system application "Mirror Screen".
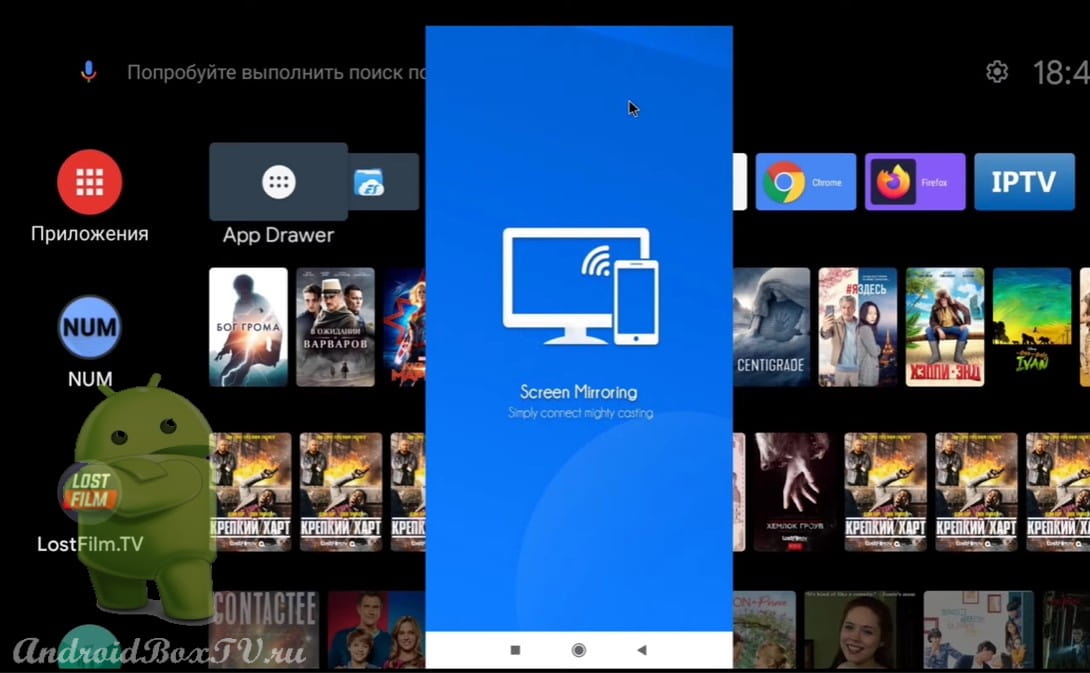
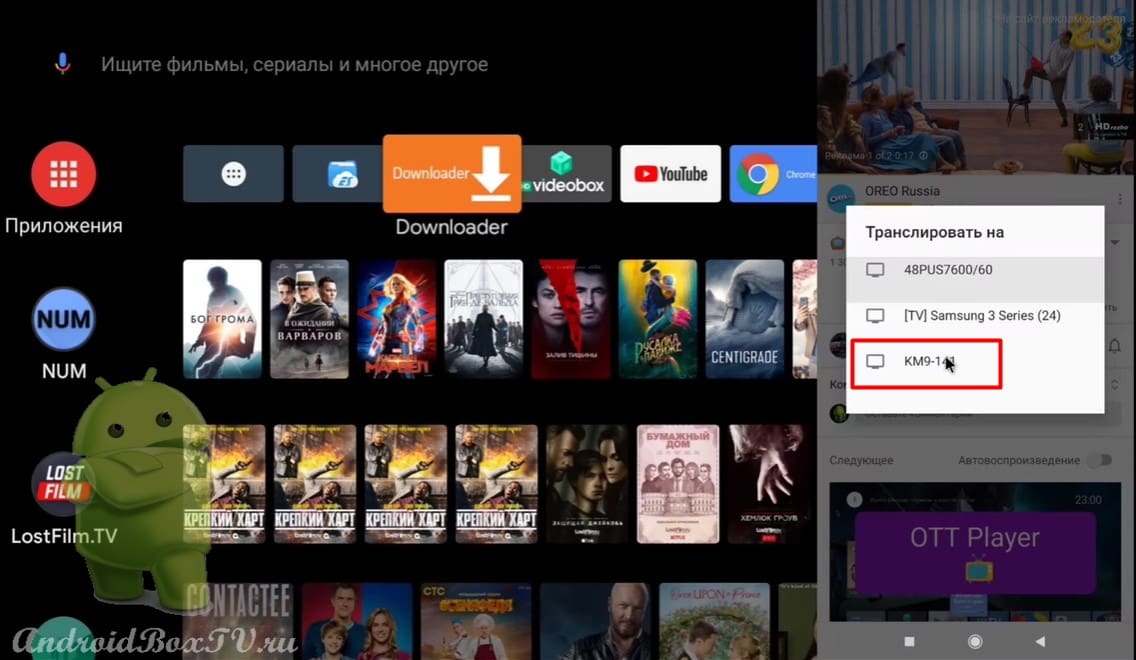
Opening the application:
Click on the "Chromecast" icon:
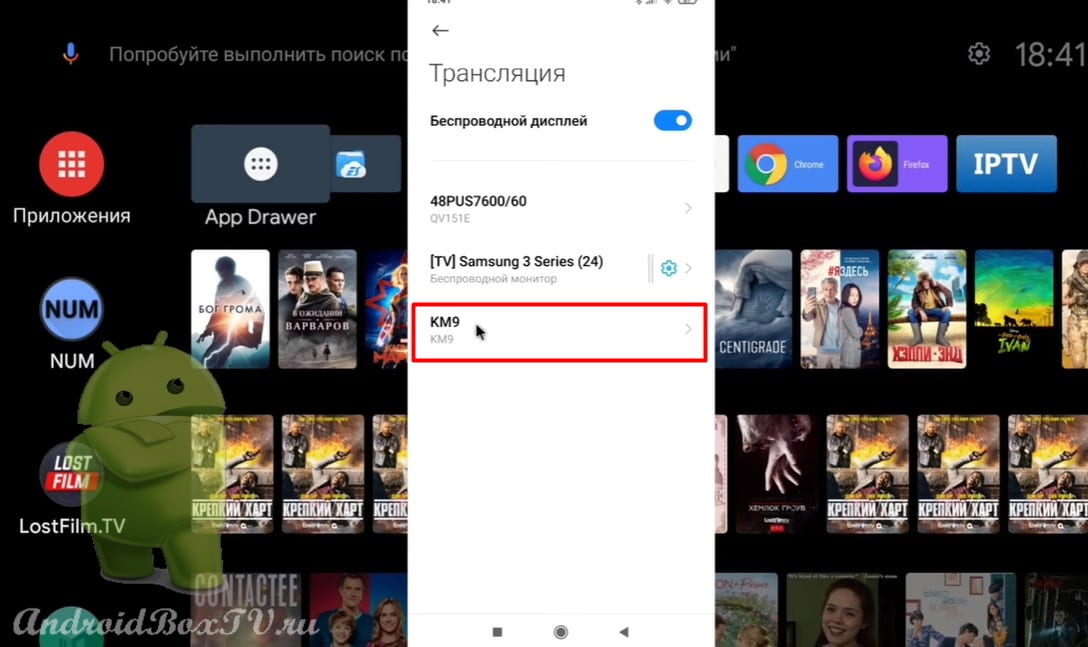
Choose "KM9”(you choose yours):
The device is not certified, so the “Chromecast” technology does not work on it:
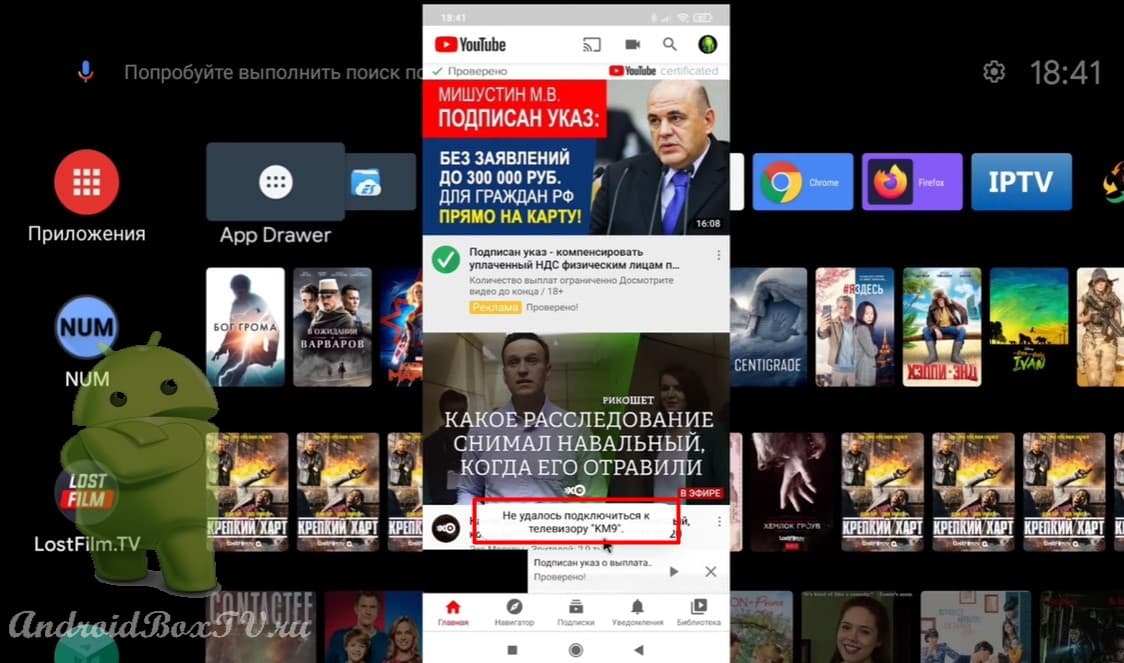
Now we will duplicate it on YouTube. Go to YouTube, click on the “Chromecast” icon and select “ KM9” :
Also failed to connect:
If you have the same problem, let's see how to solve it.
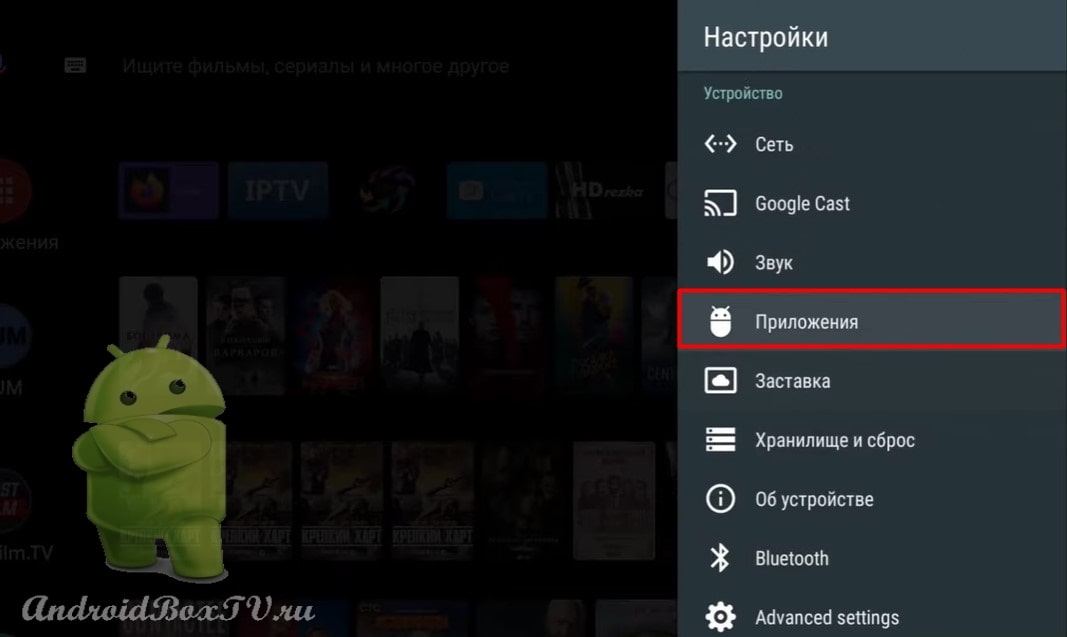
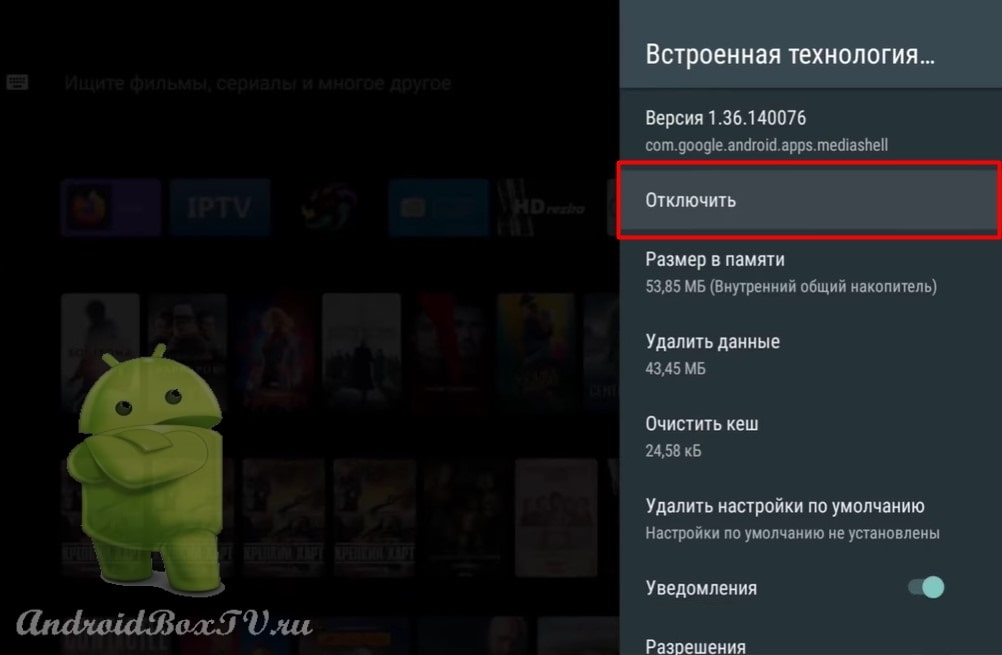
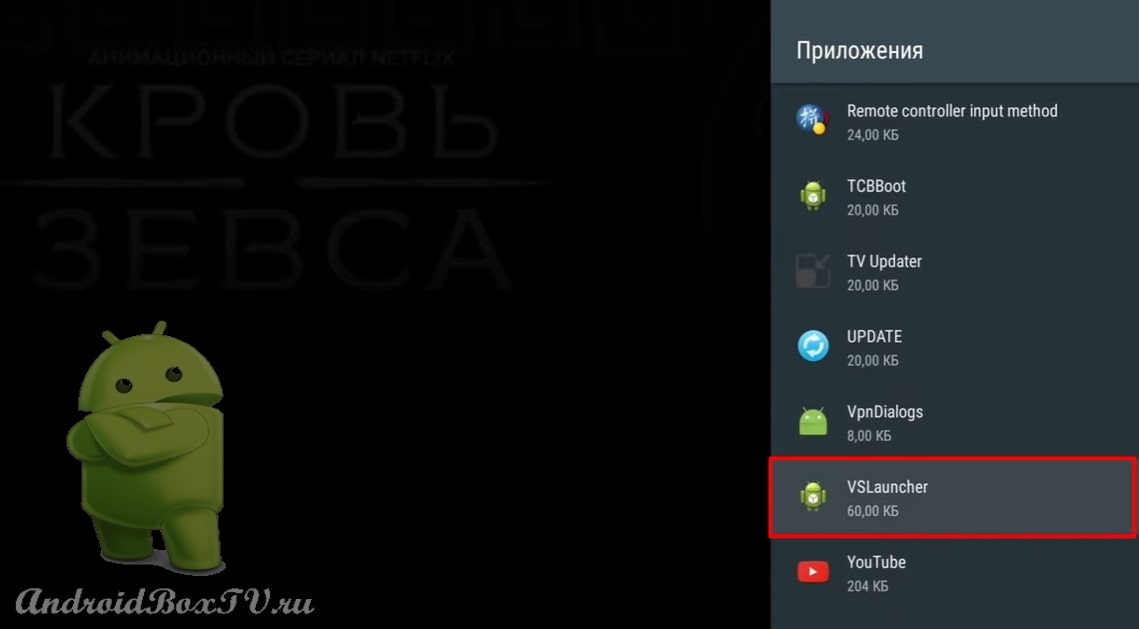
Go to device settings:
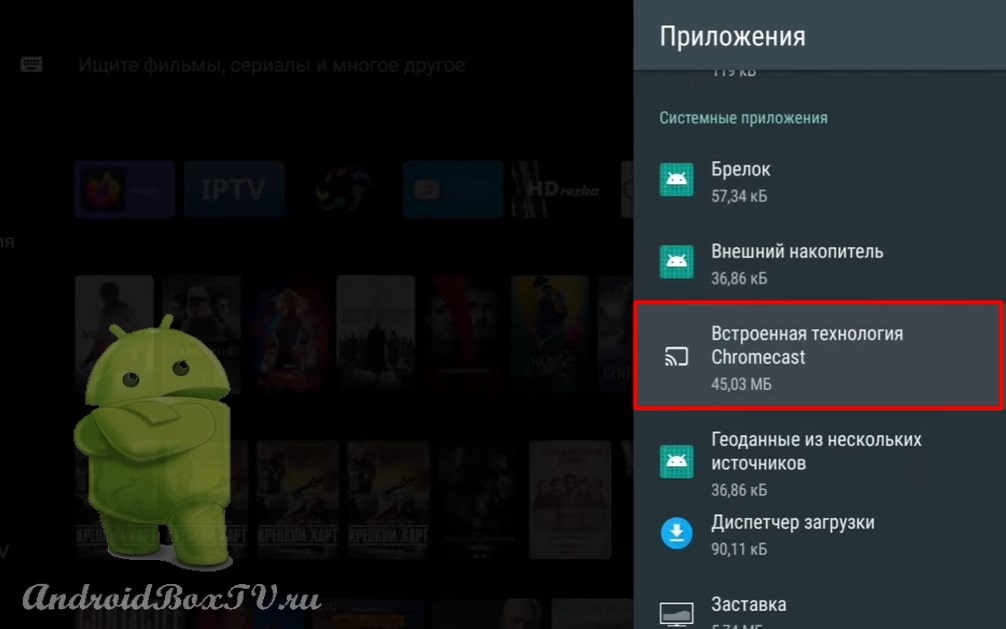
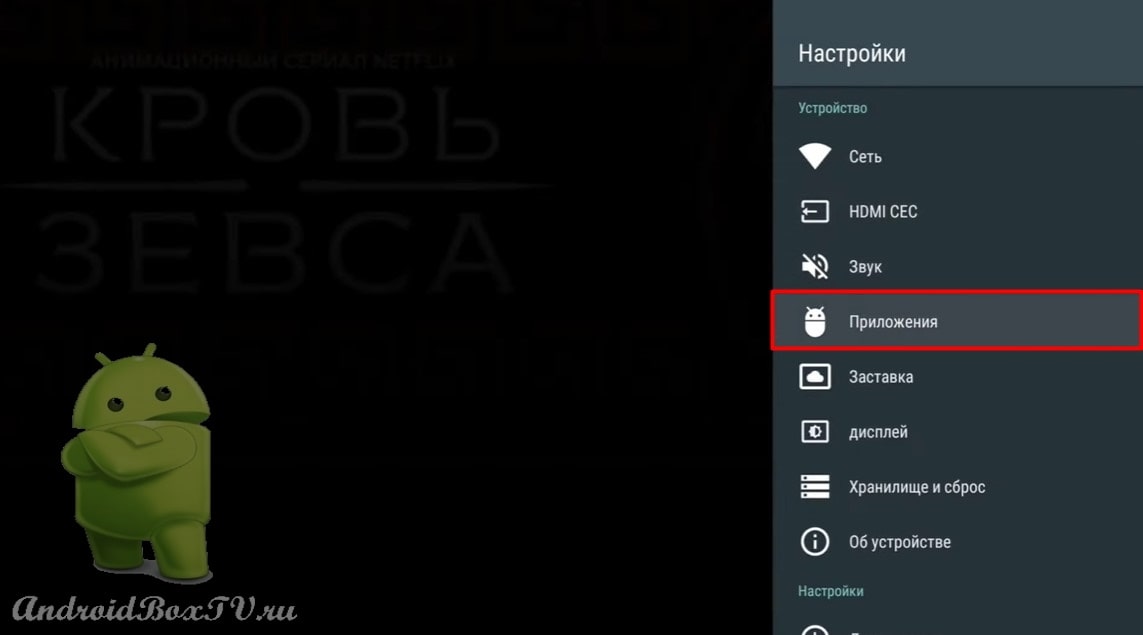
Open "Apps" and select "Integrated Chromecast":
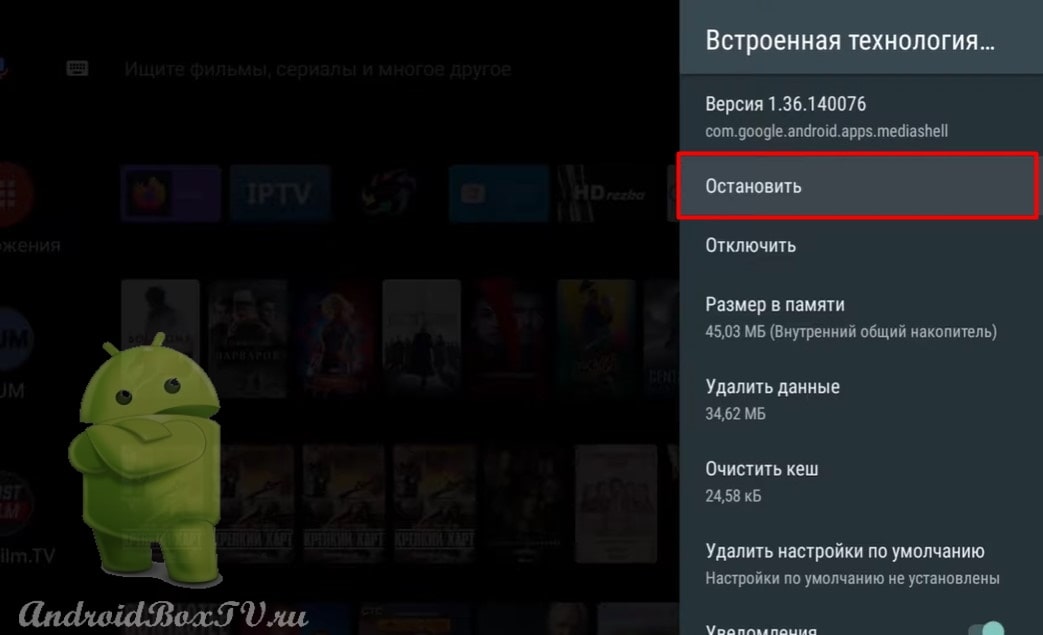
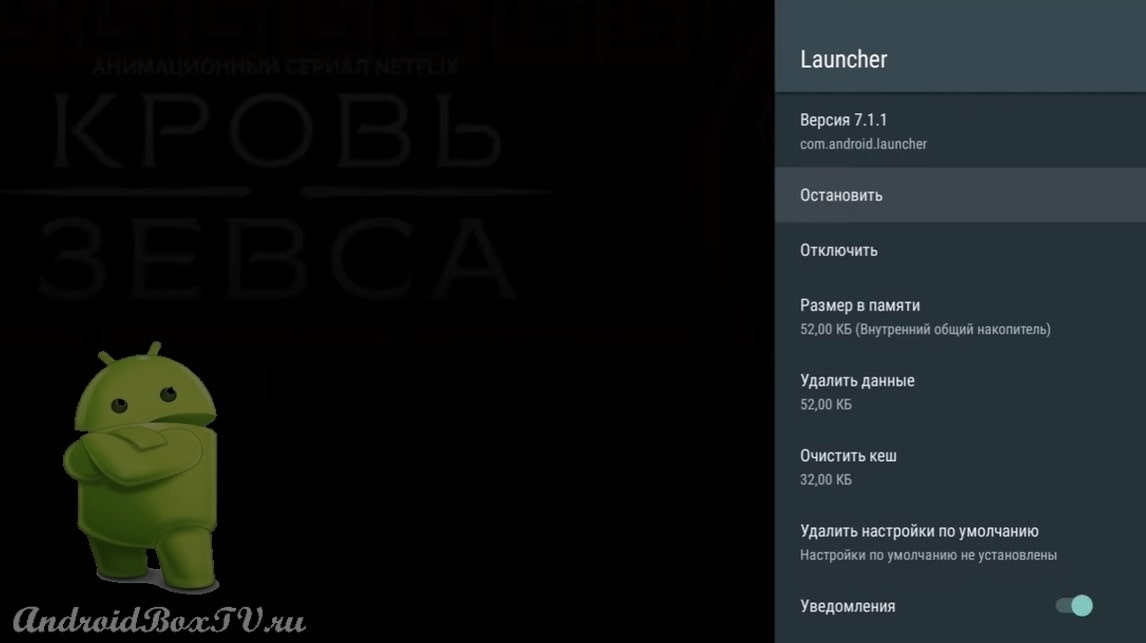
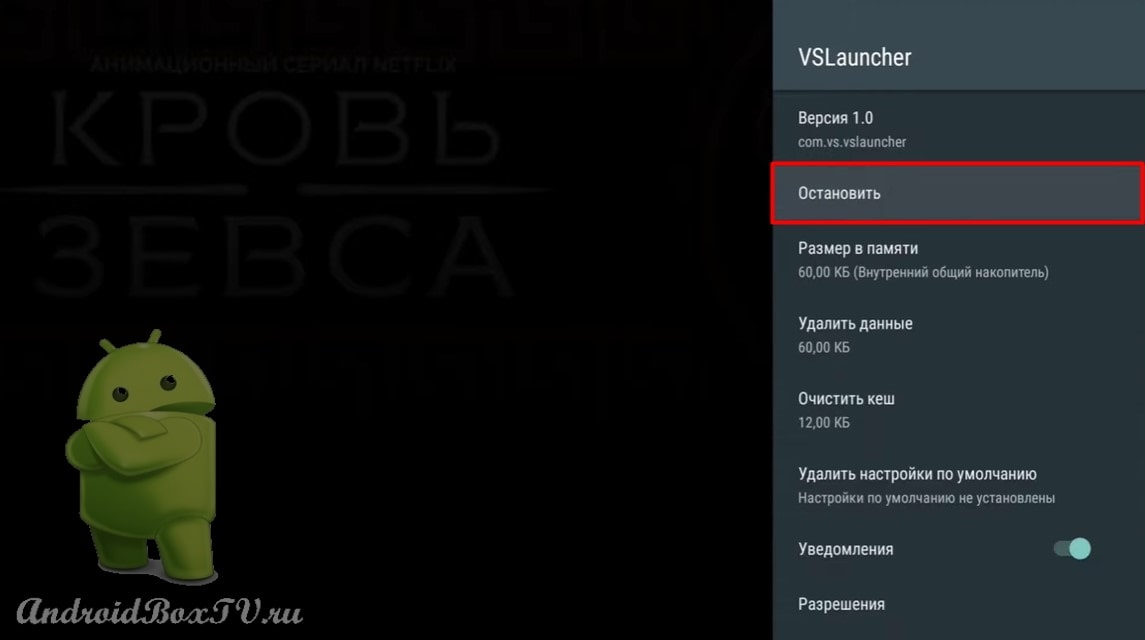
Click "Stop":
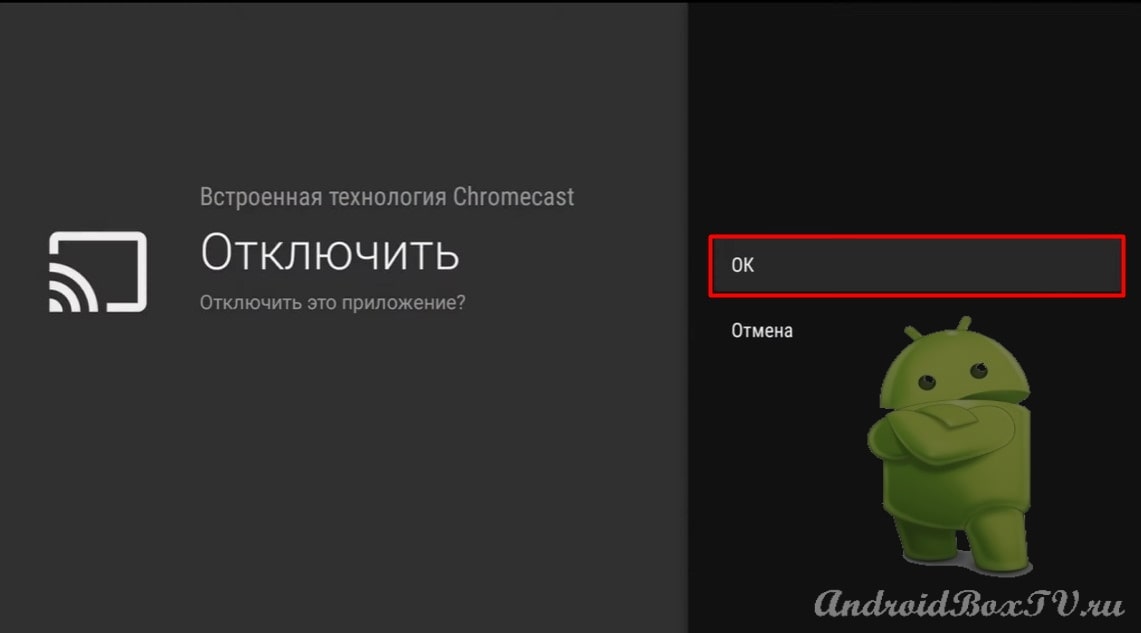
Click "Disable":
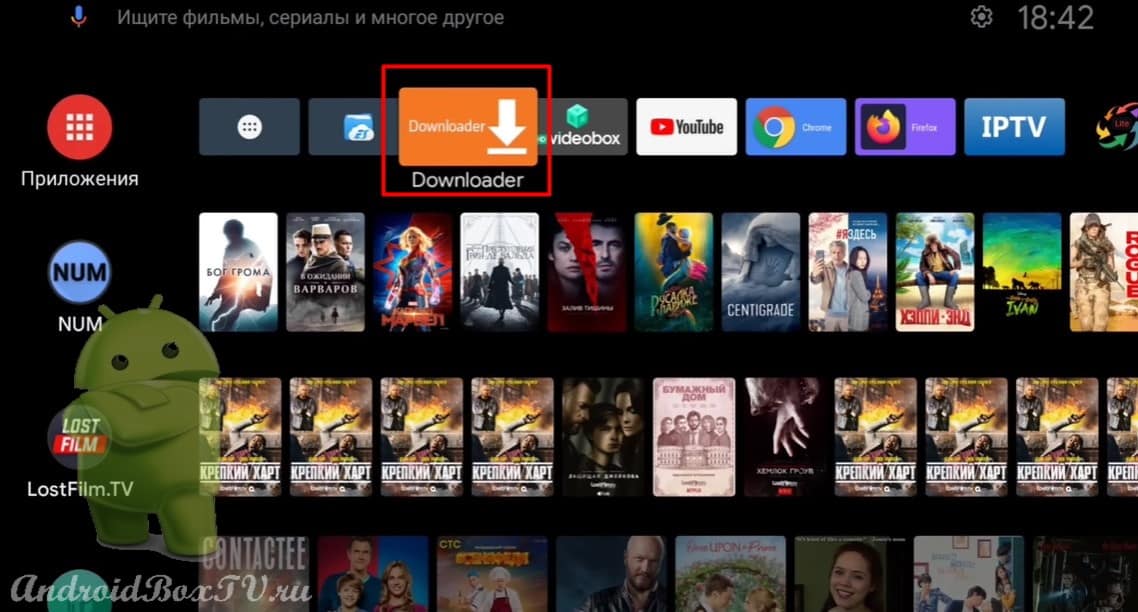
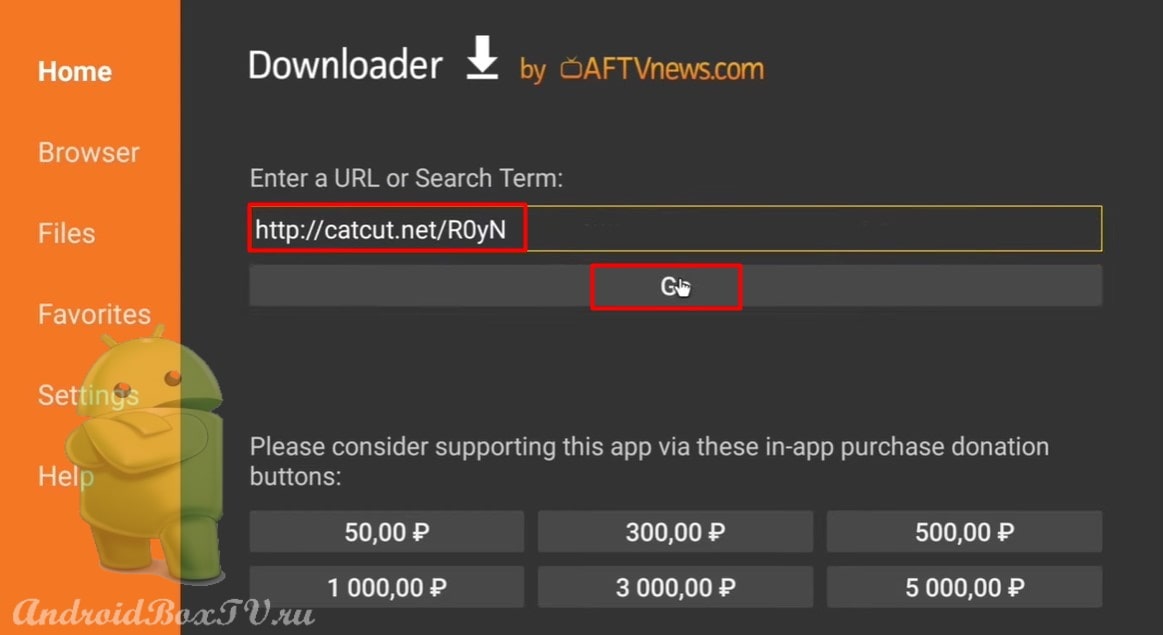
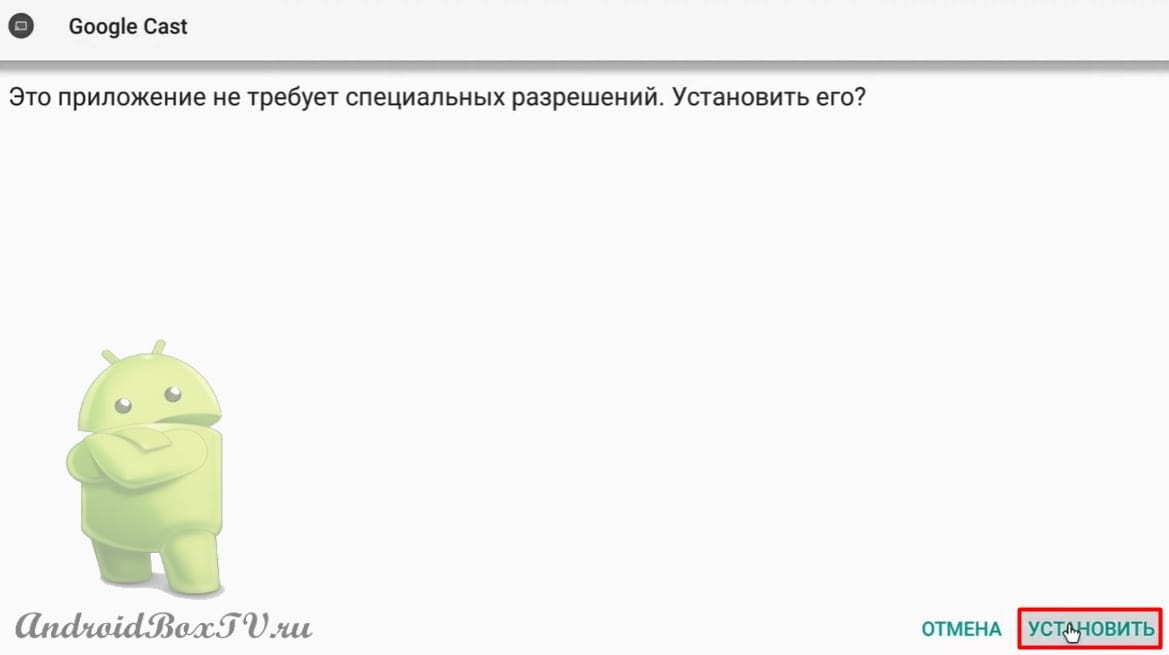
We return back. Open “Downloader”, enter the link to the APK file and click “Go”:
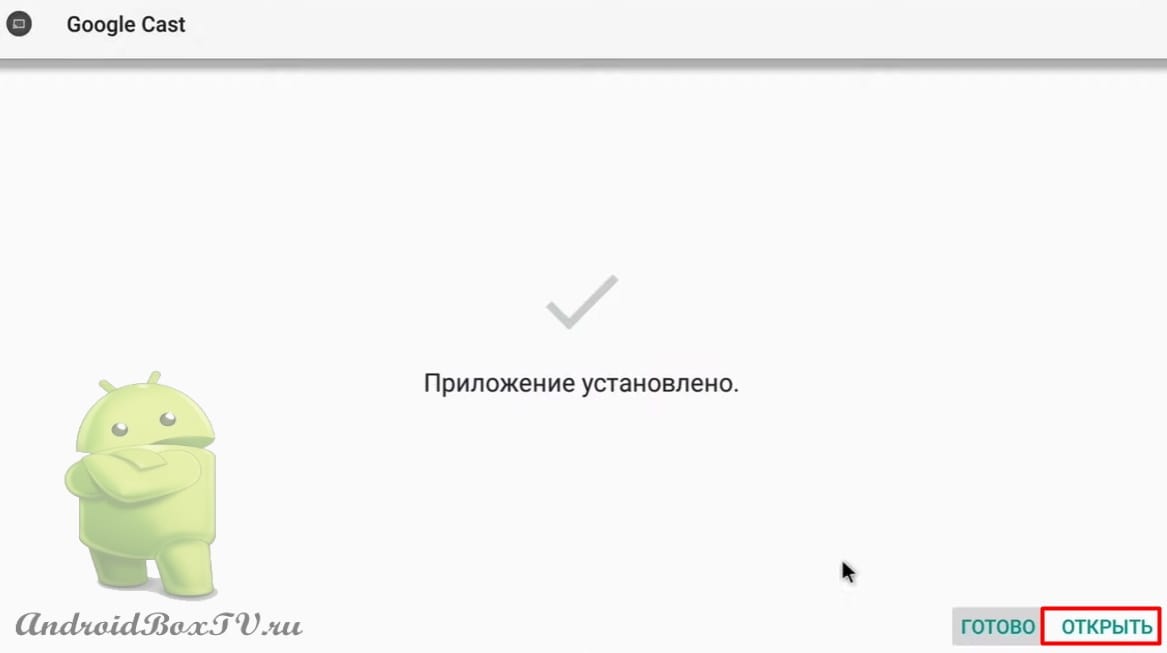
Install the modified program "Google Cast":
Opening the application:
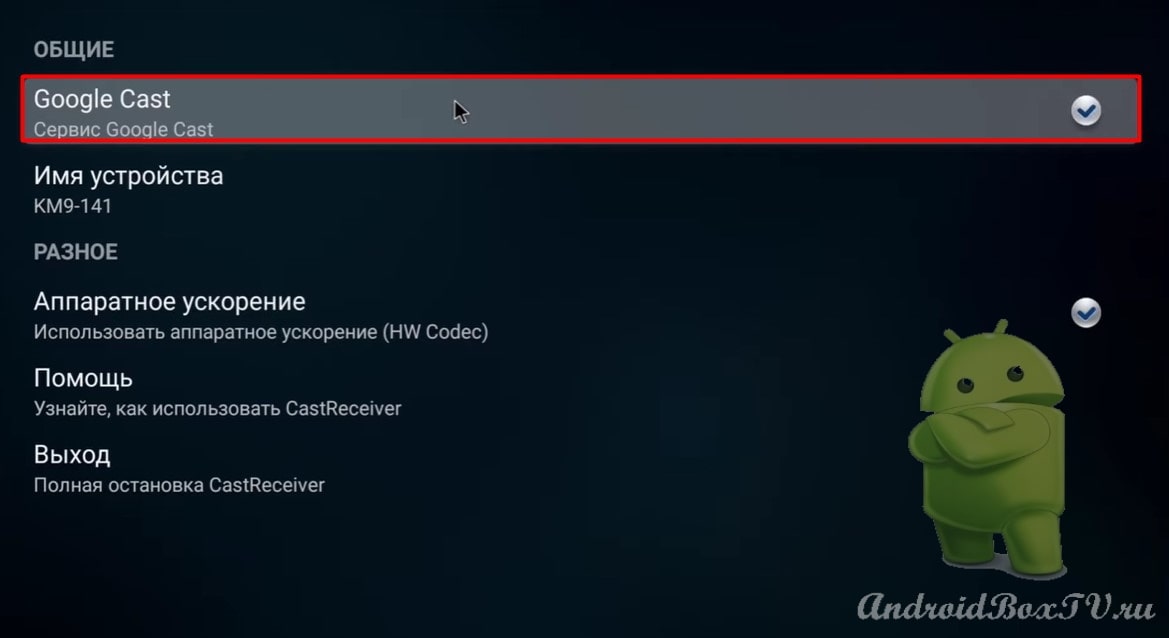
Here you can disable or enable it:
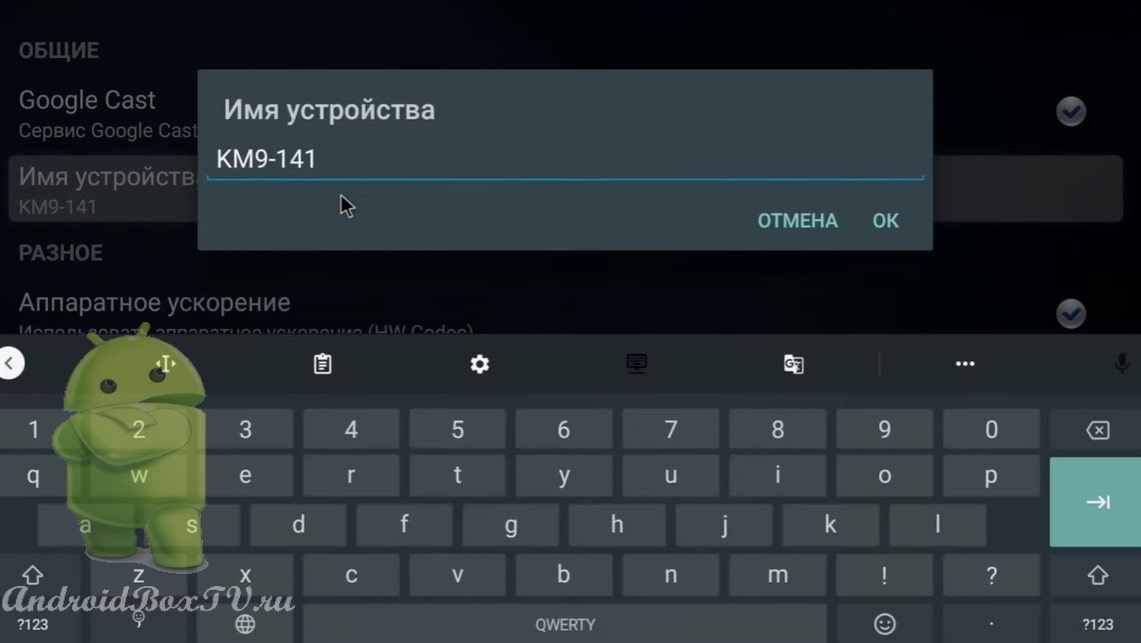
You can also rename:
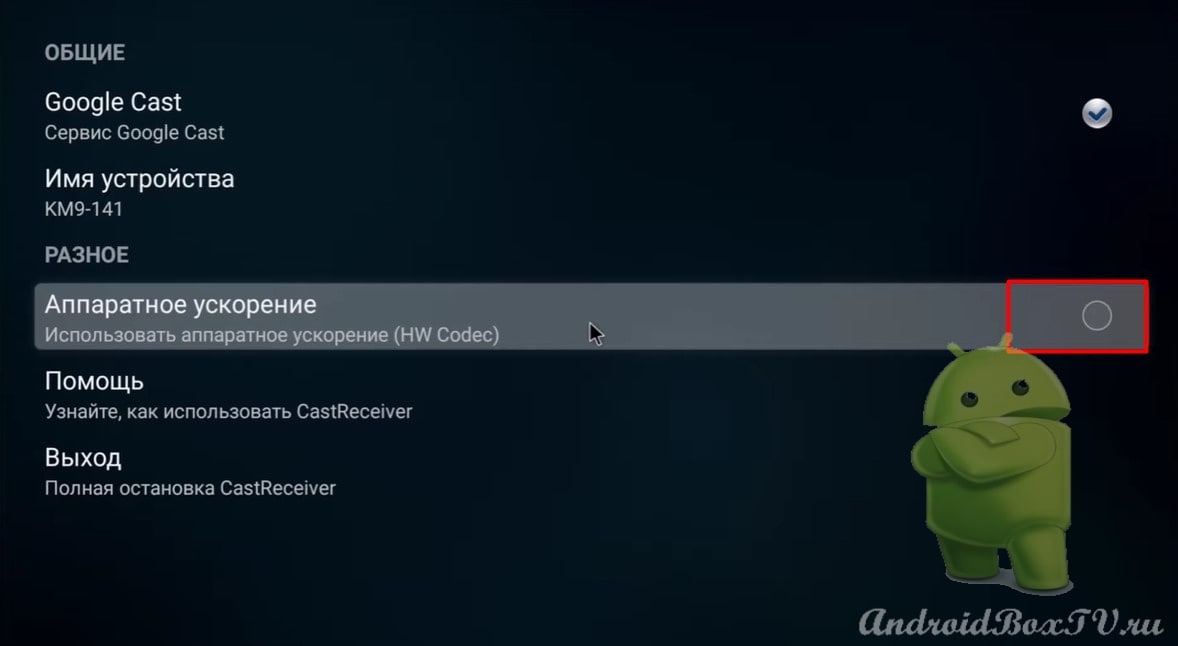
You can try to disable “Hardware acceleration” if something goes wrong:
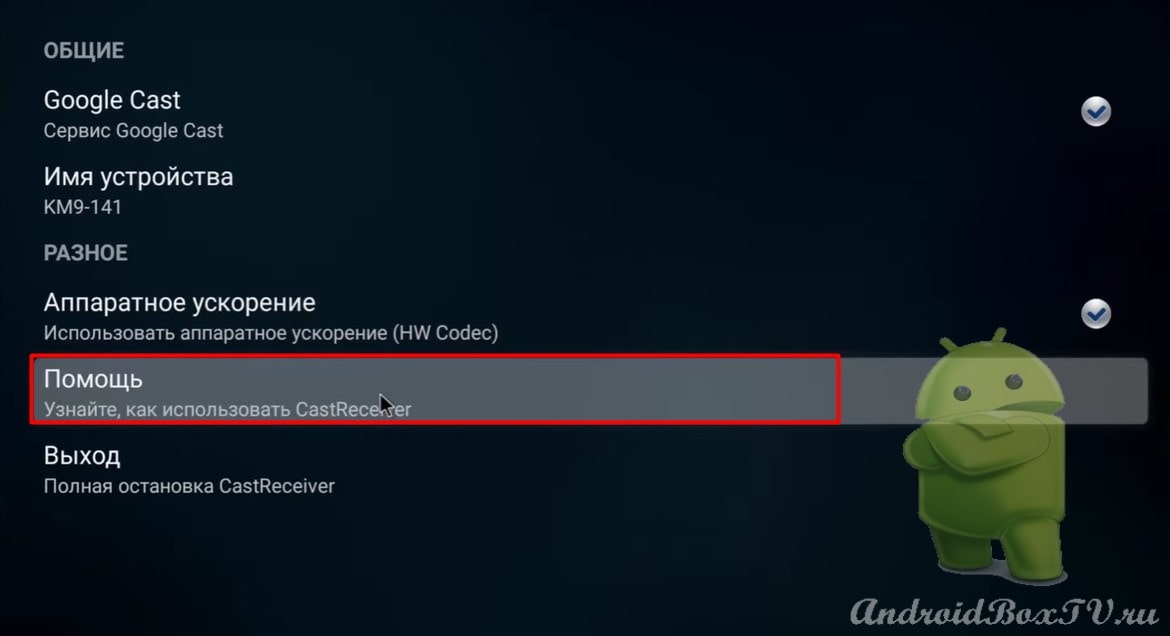
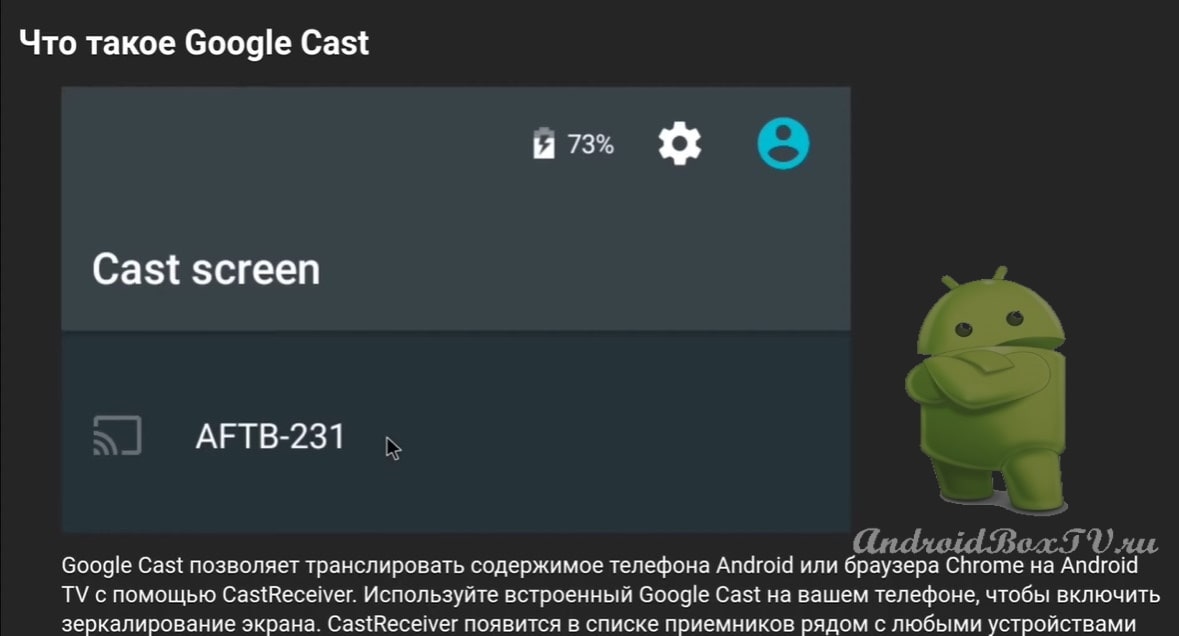
Help section (detailed information):
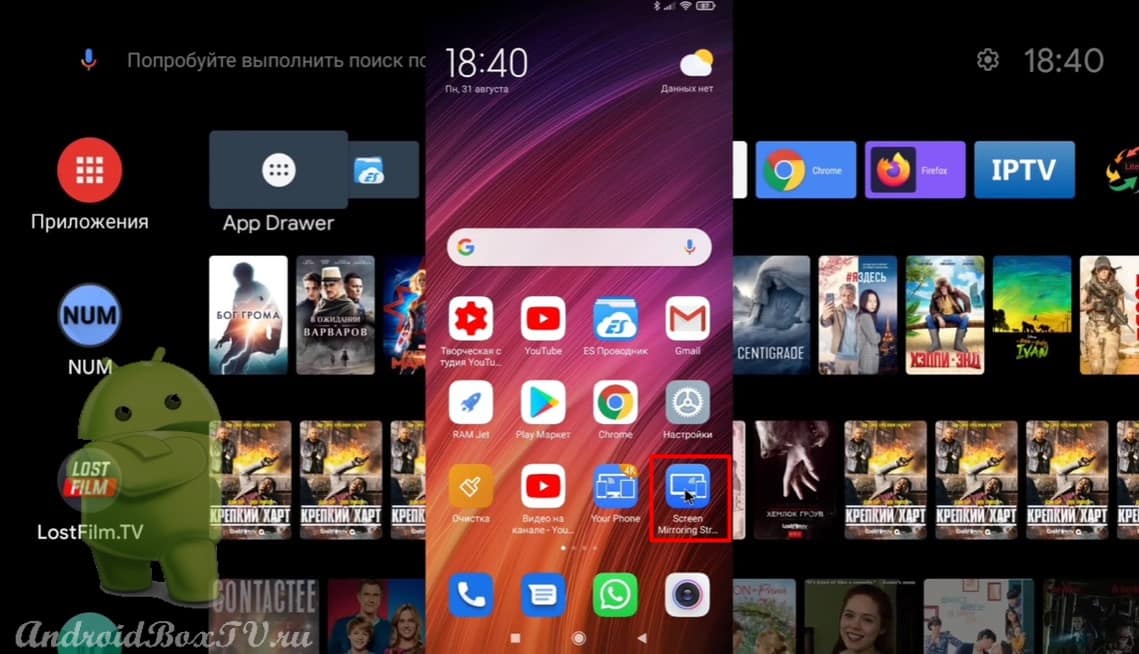
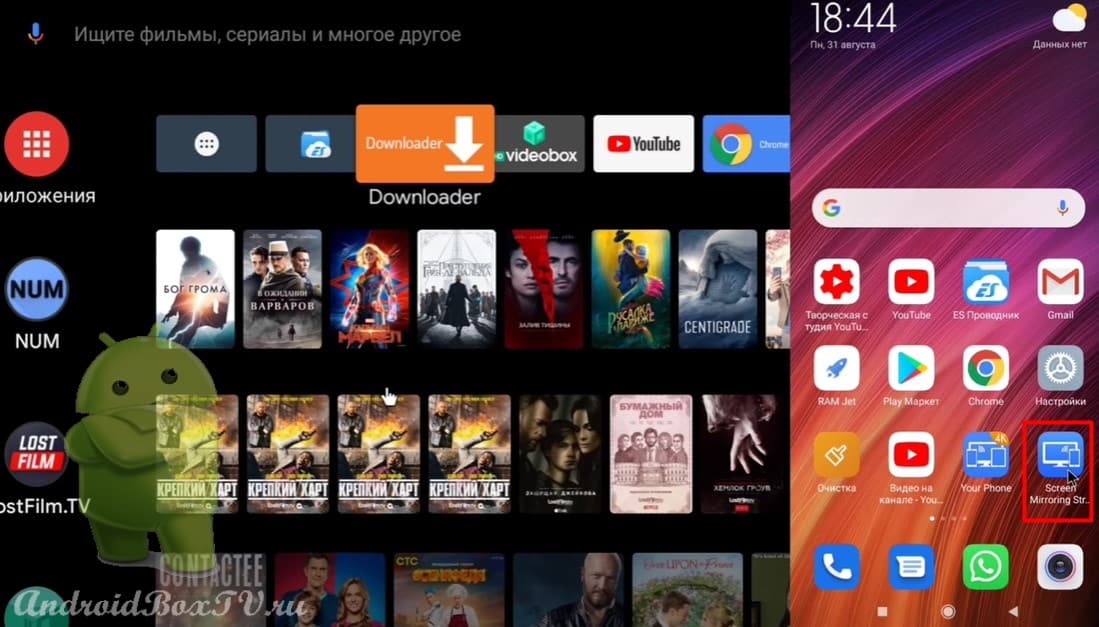
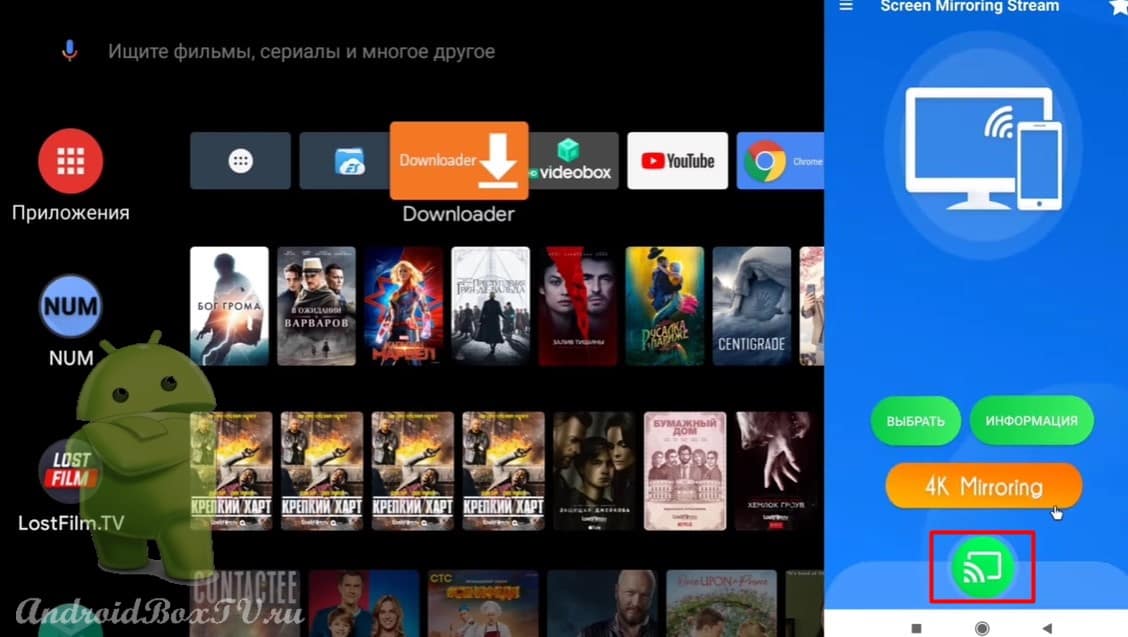
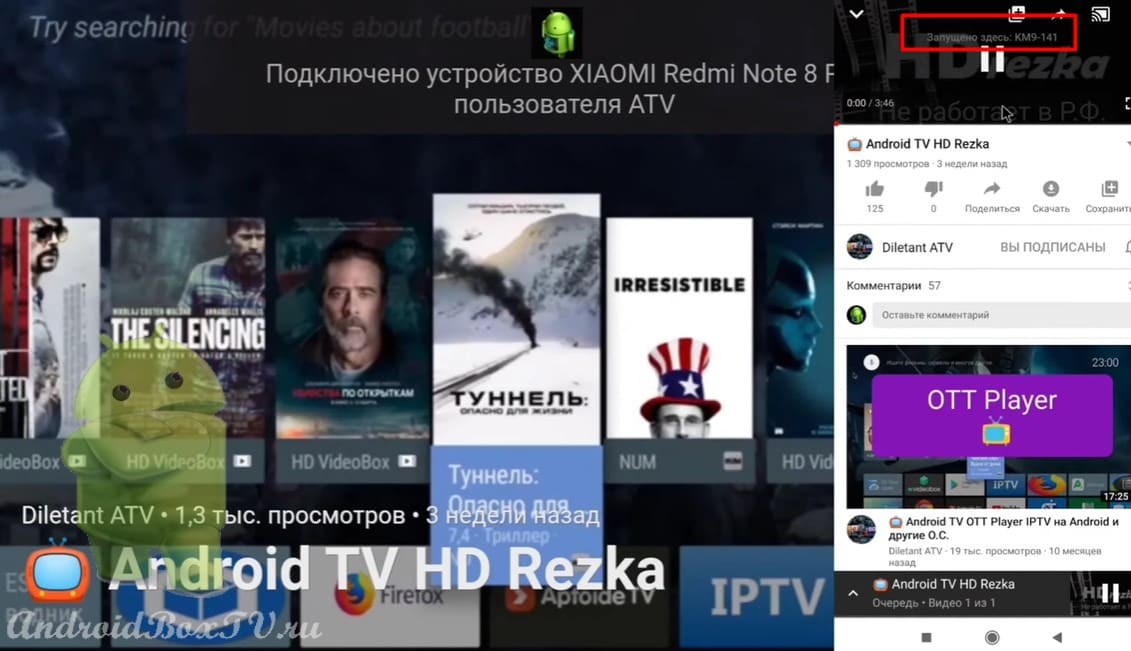
Next, take a smartphone and open “Screen Mirroring” :
Click on the "Chromecast" icon:
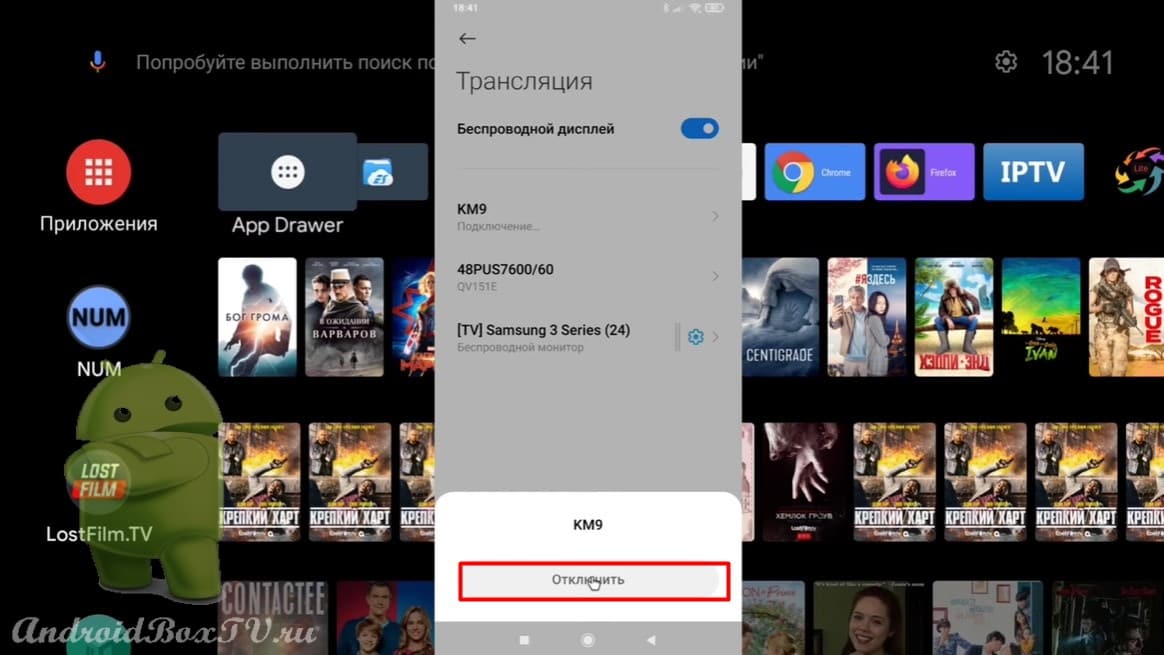
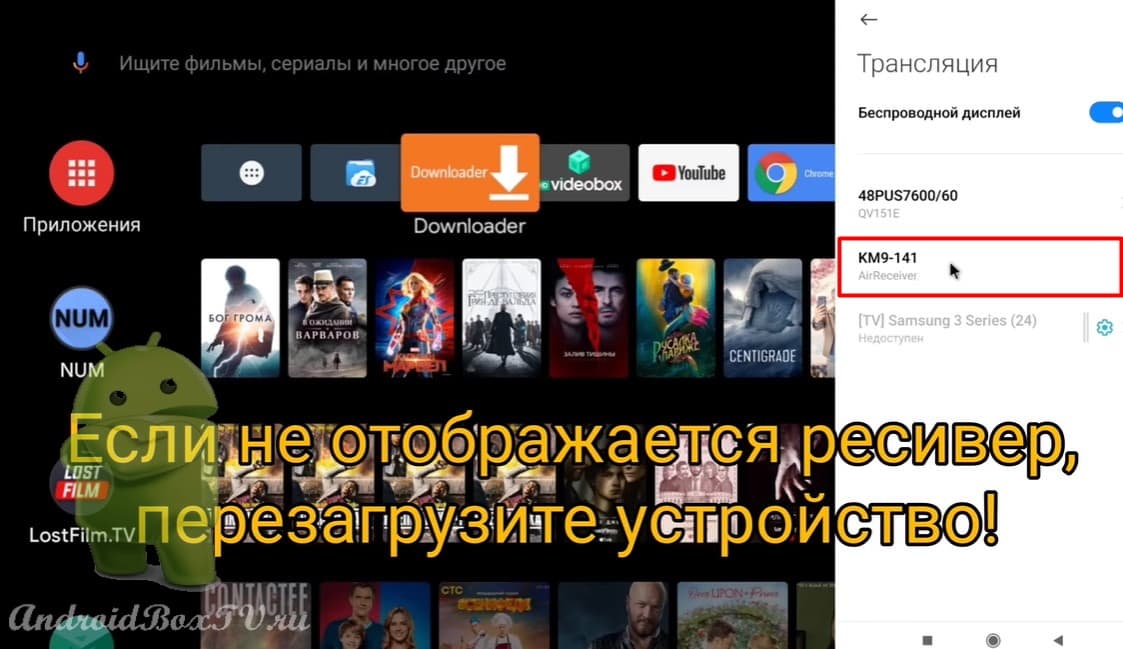
Choose "KM9-141” and see that everything is connected:
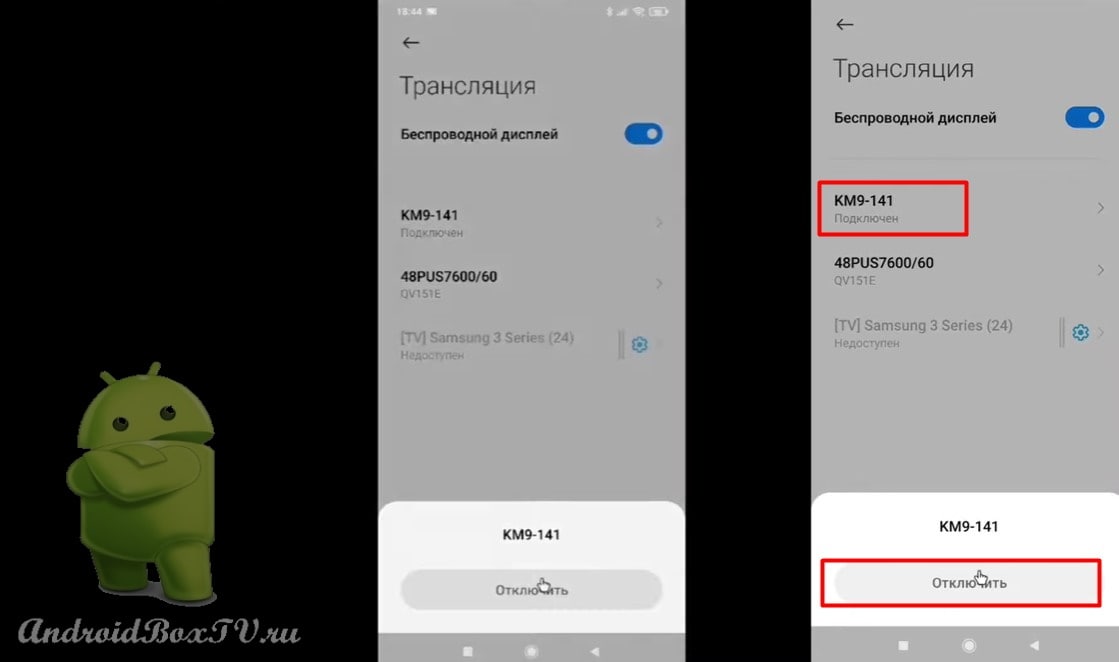
Stop streaming:
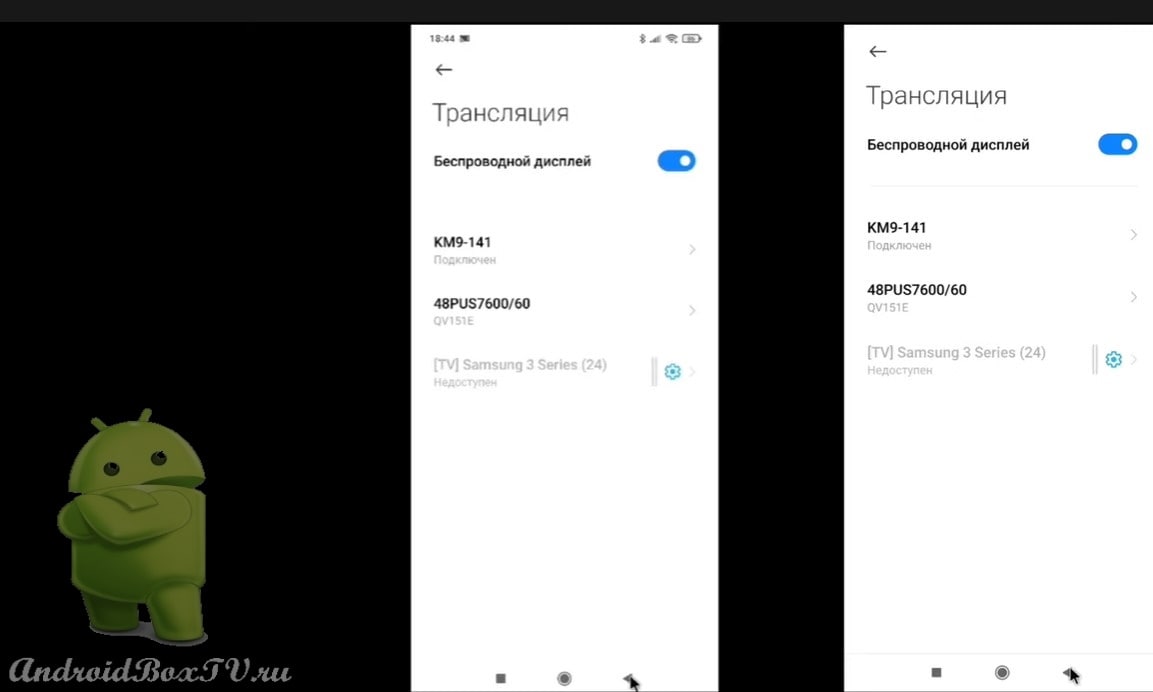
Let's see how this feature works in YouTube. Click on the "Chromecast" icon and connect:
Everything is working:
After all, everything is simple, right? Check out other articles from the "Difficult Problems" section here.
We have already described the Firefox for TV browser here, Google Chrome here . Today we will look at a web browser for a TV called TV Bro. This application is in the TV Play Store , but it cannot be found in the usual way. Now let's look at how to install TV Bro using ES File Explorer .
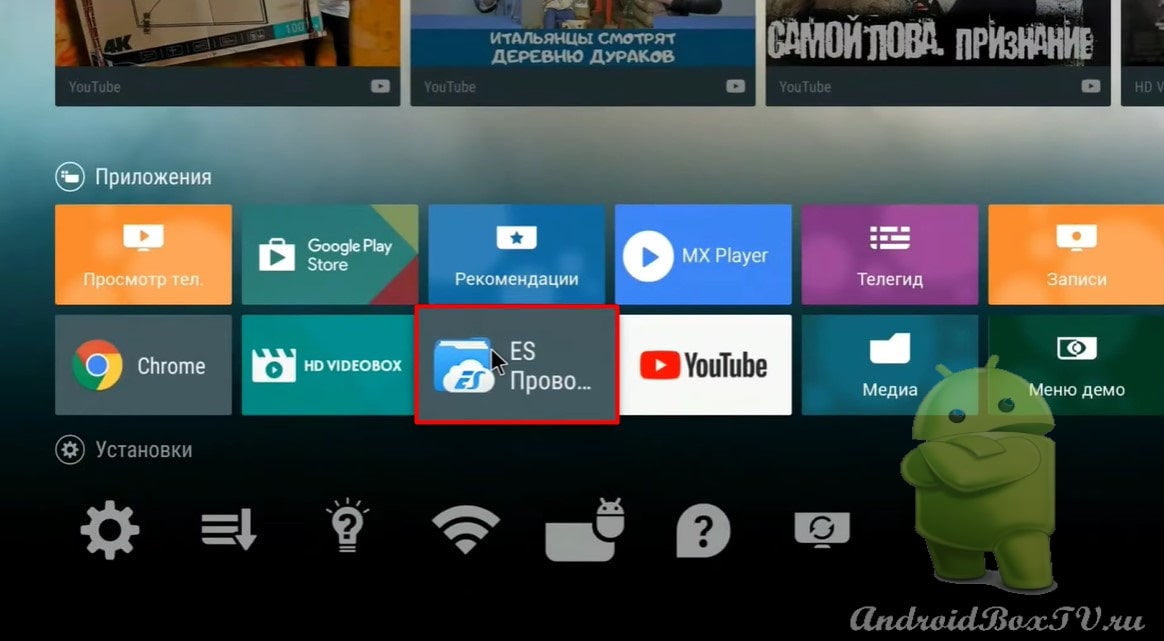
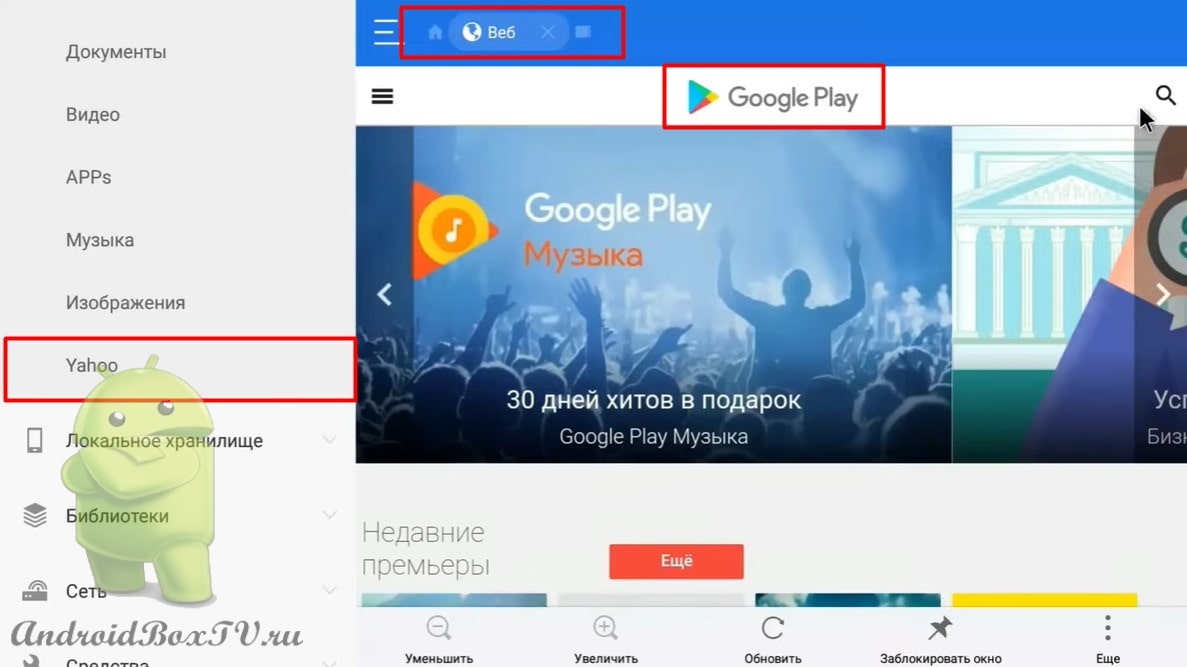
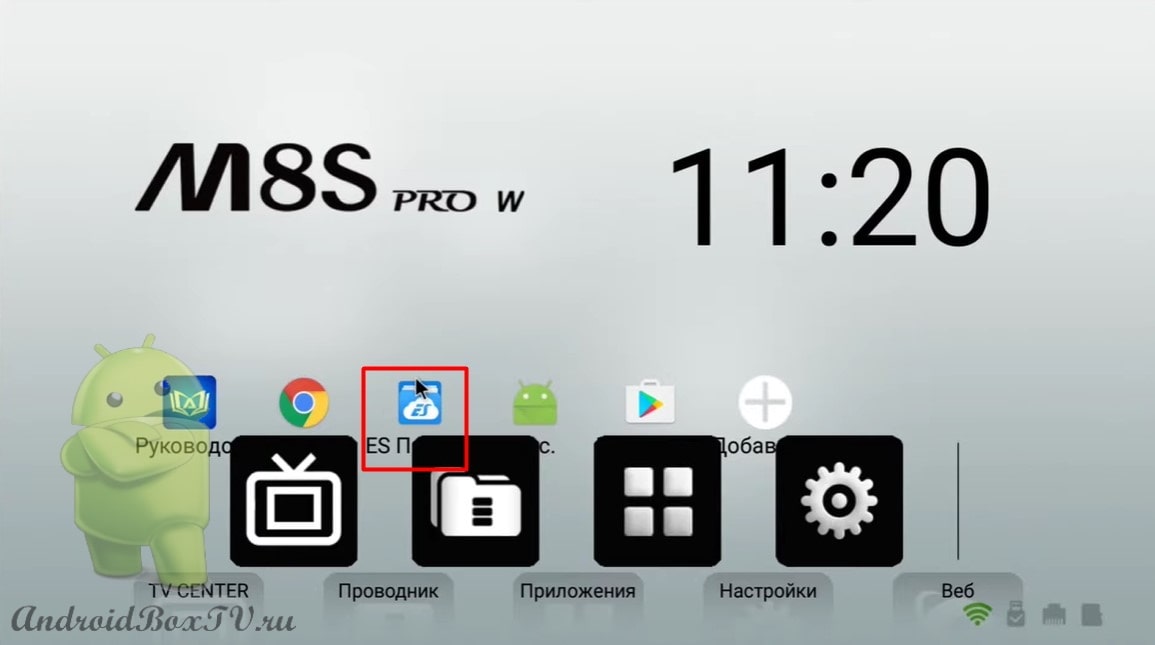
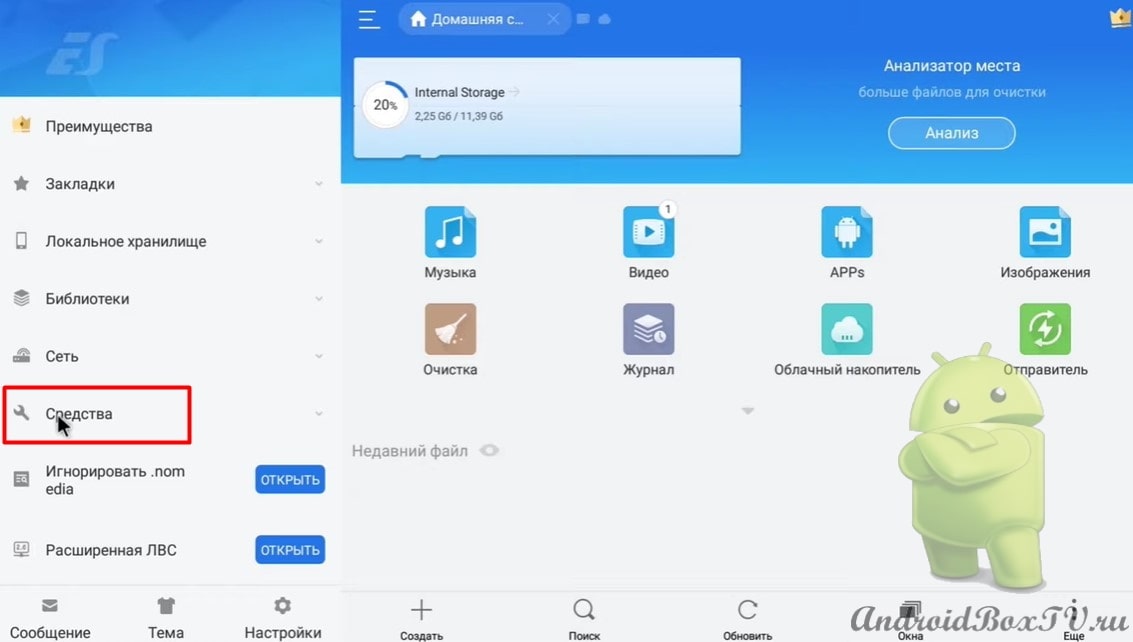
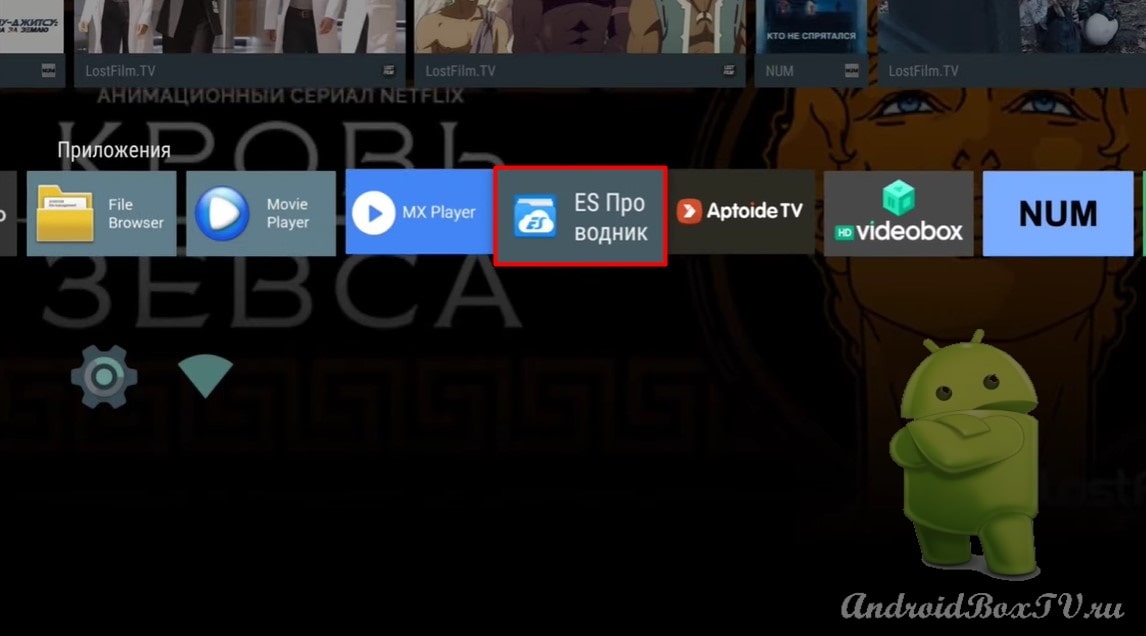
Open ES File Explorer:
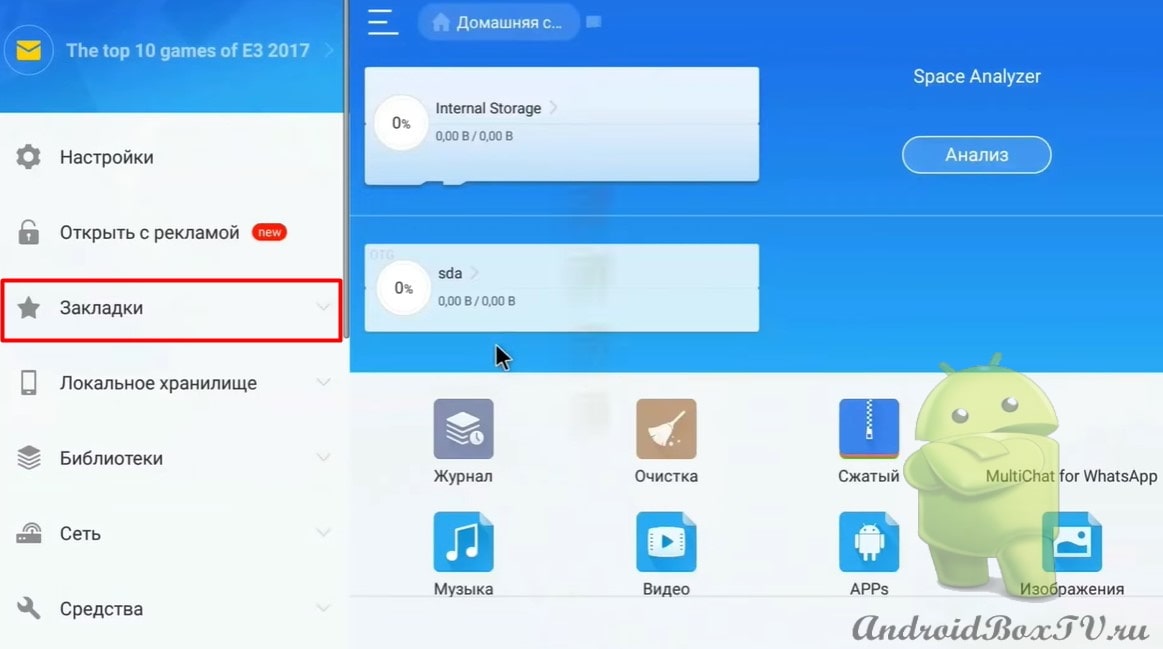
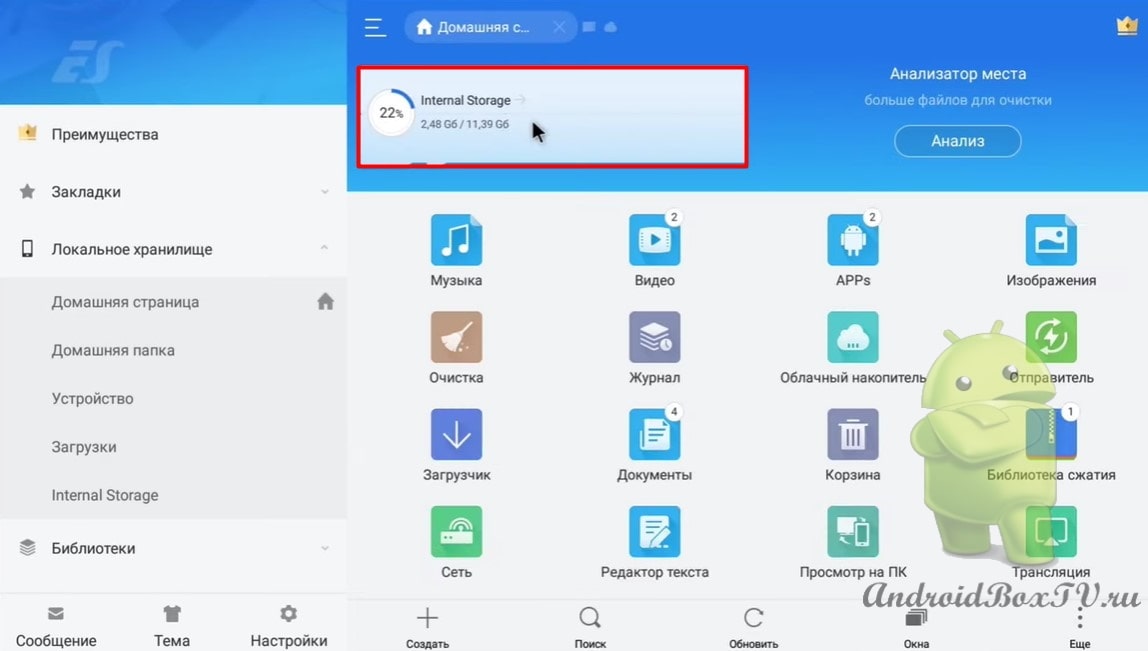
Go to the "Bookmarks" section:
We select the search engine "Yahoo" and in the search field we write Play Market:
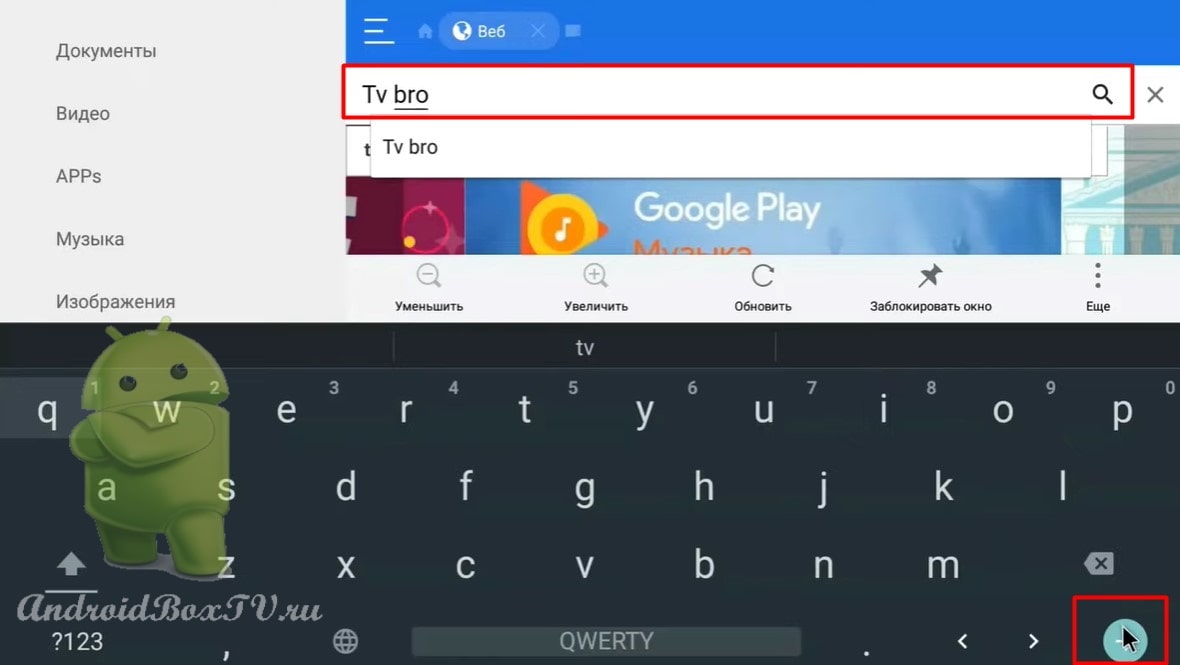
Open Google Play and write TV Bro:
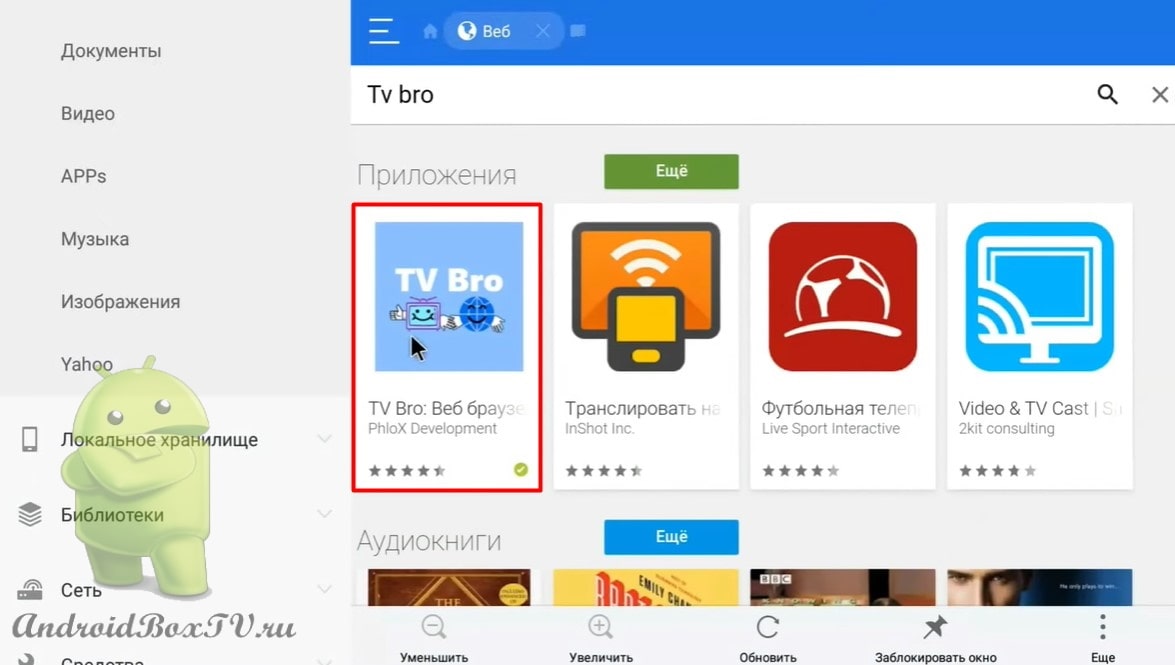
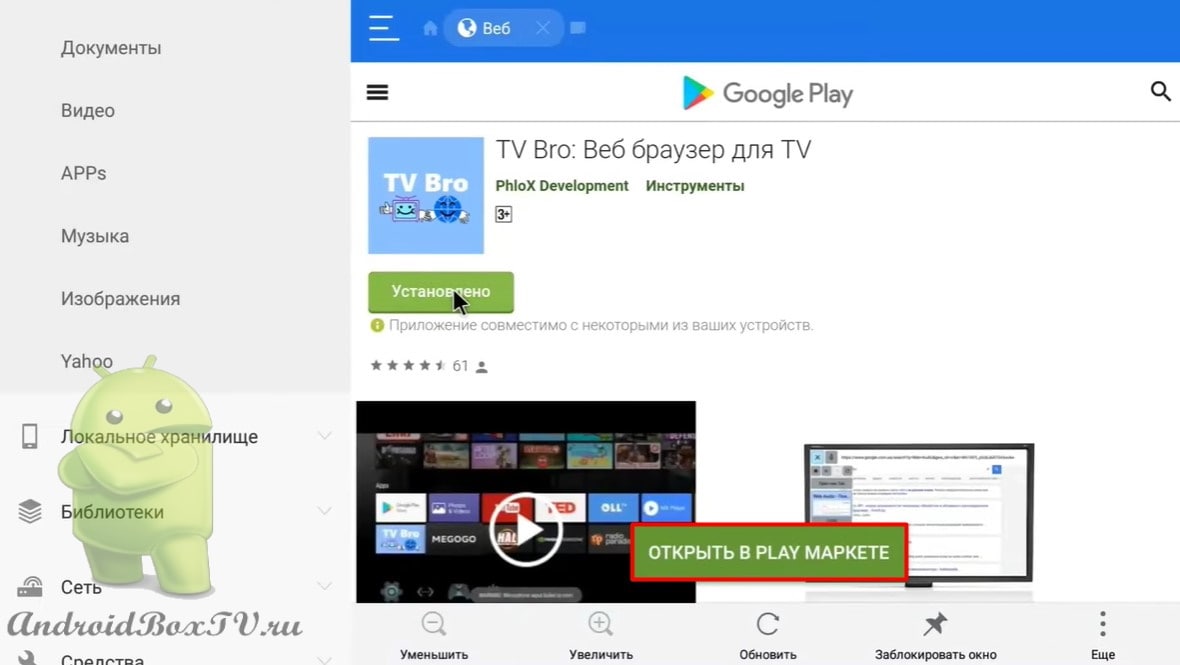
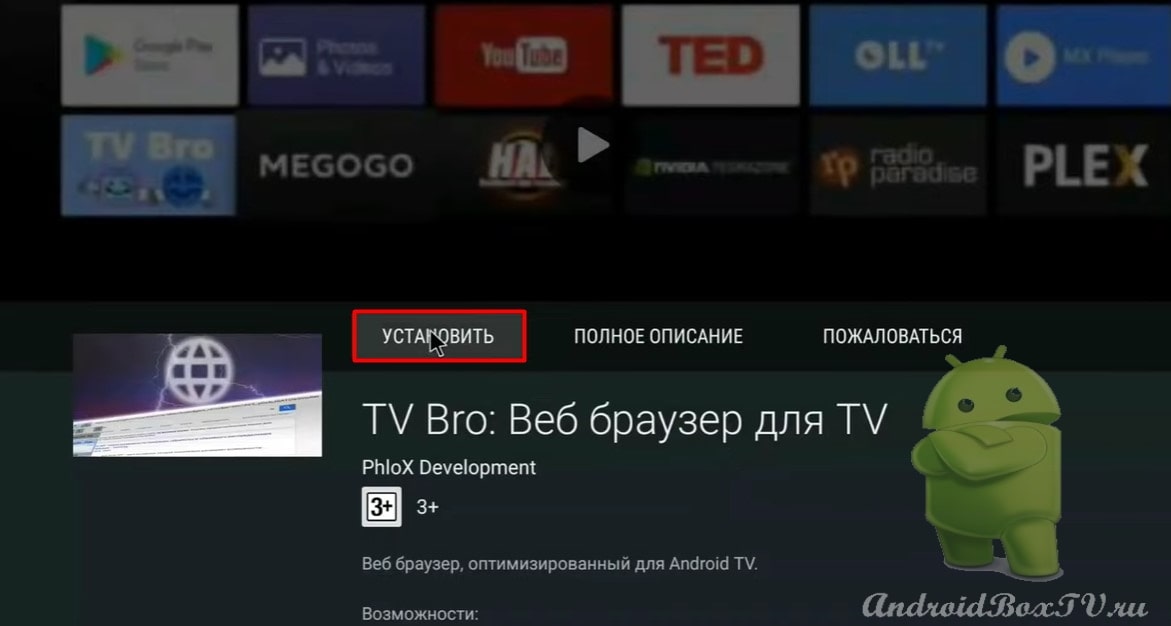
Select an application and install it:
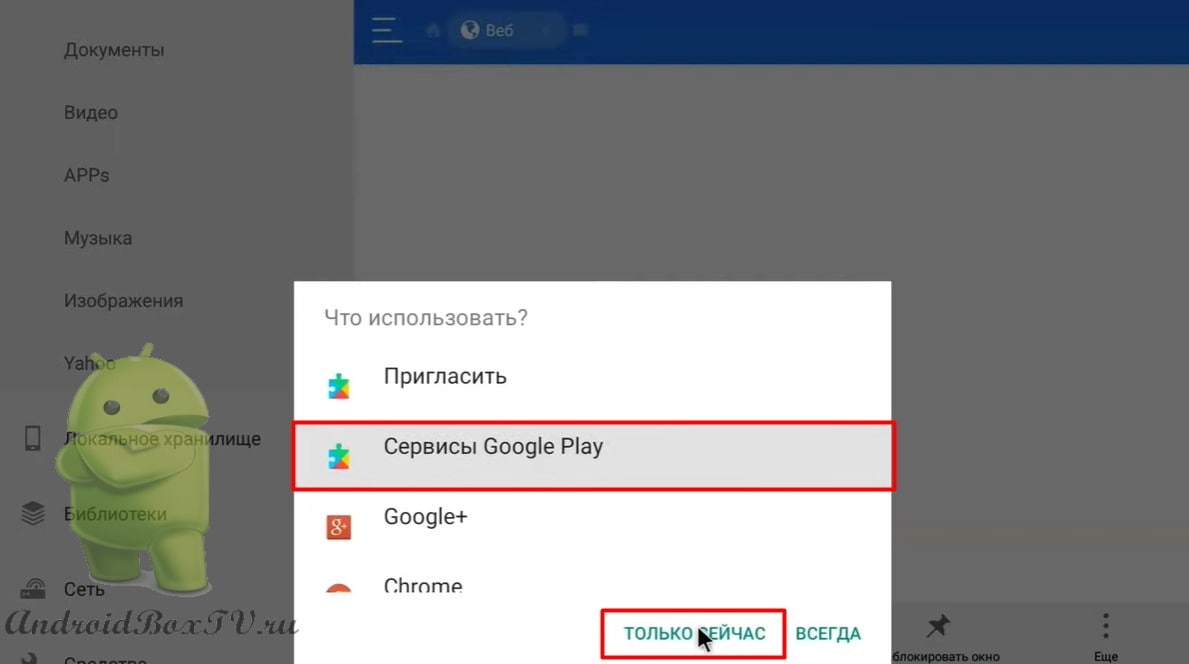
After installation, click on “Open in the Play Store” and select “Google Play services”:
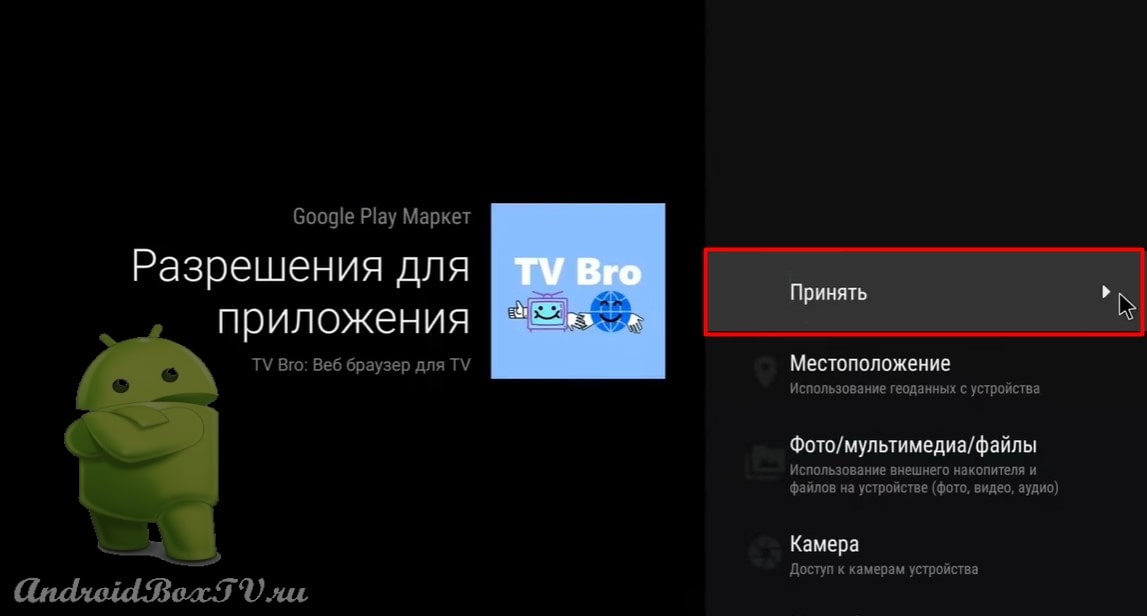
The application store installed on the TV opens. Click "Install" and "Accept":
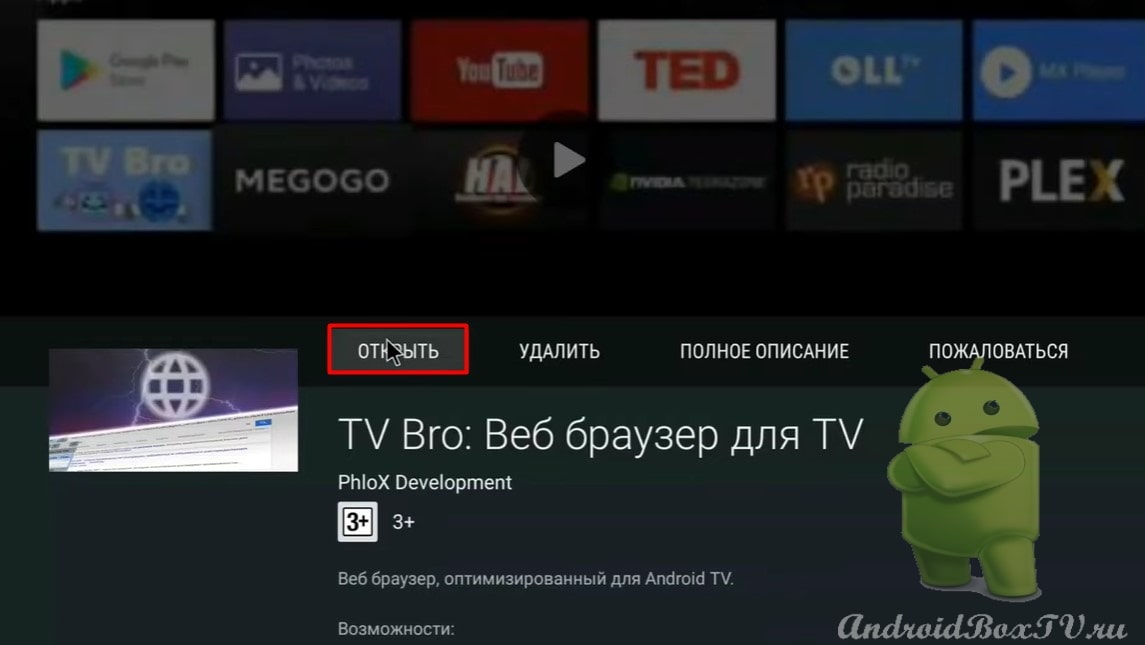
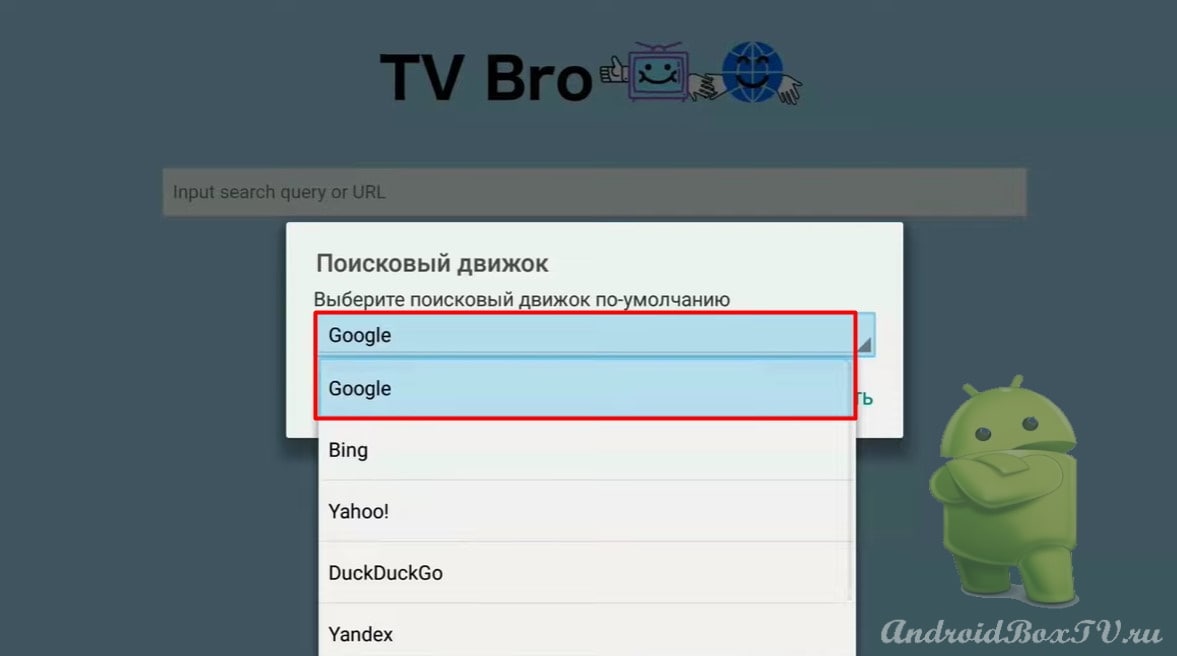
Next, open the application and select a search engine:
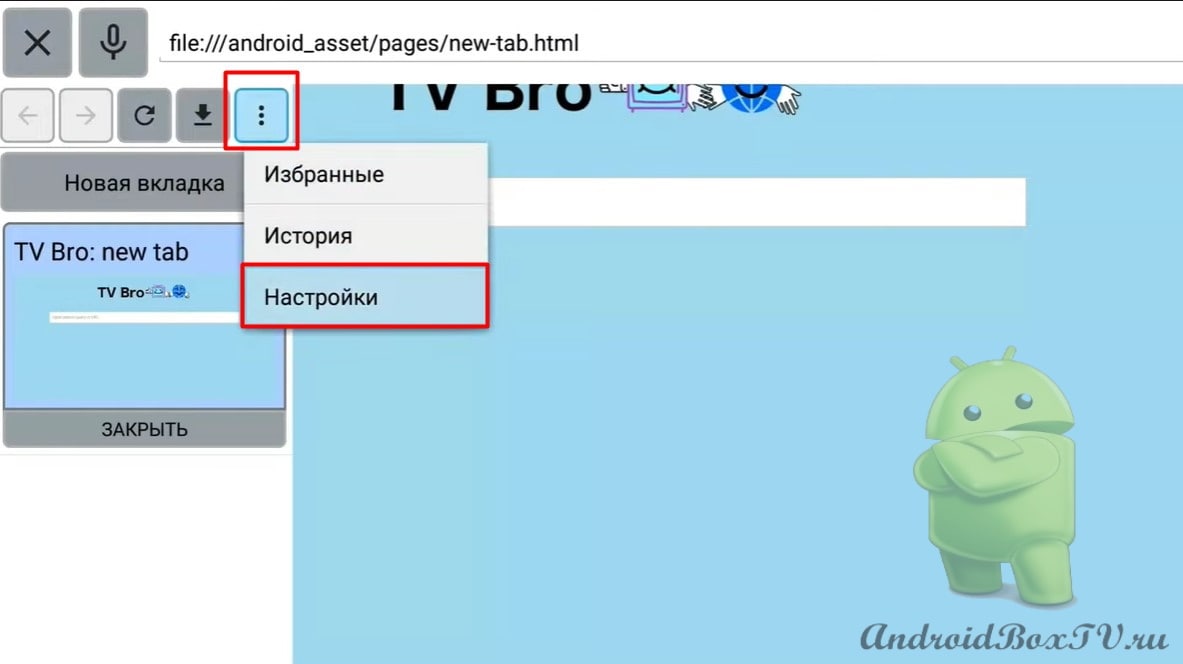
In the settings, you can configure keyboard shortcuts for convenient use. Go to "Settings" and select "Shortcuts":
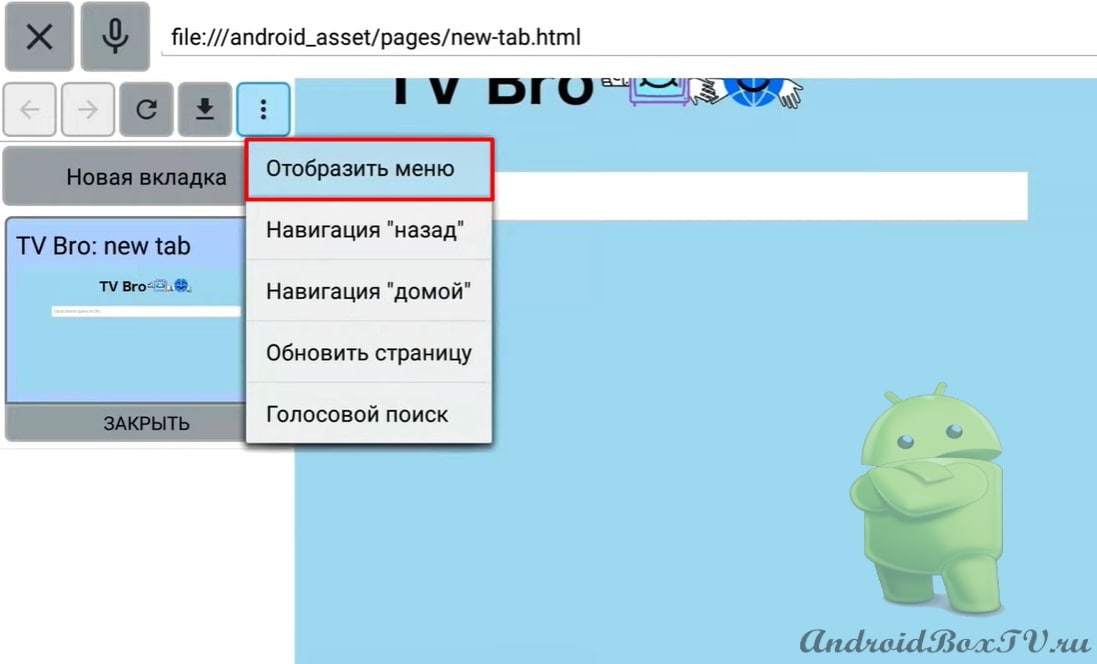
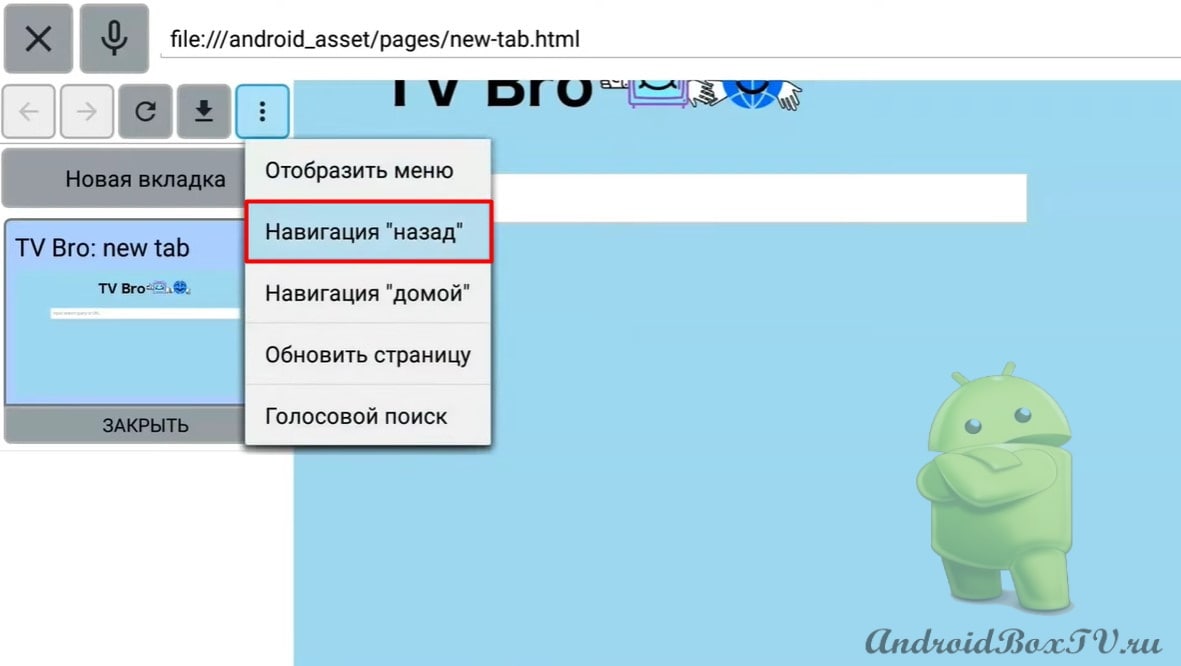
Select "Show Menu". Next, select any button on the control panel and click “Install”:
We return back. Go to settings and select "Shortcuts":
In the same way, you can set the keys:
Back navigation
Navigation home
Refresh the page
Voice search
We remove the menu with the assigned button.
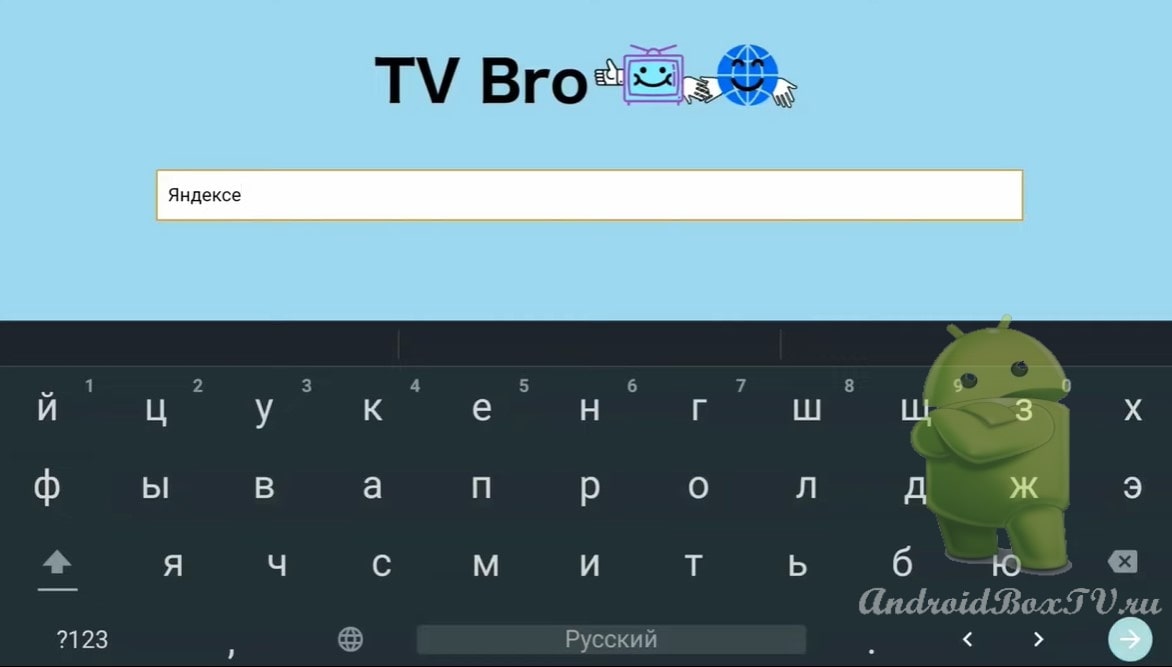
To check the application in the search field, enter "Yandex":
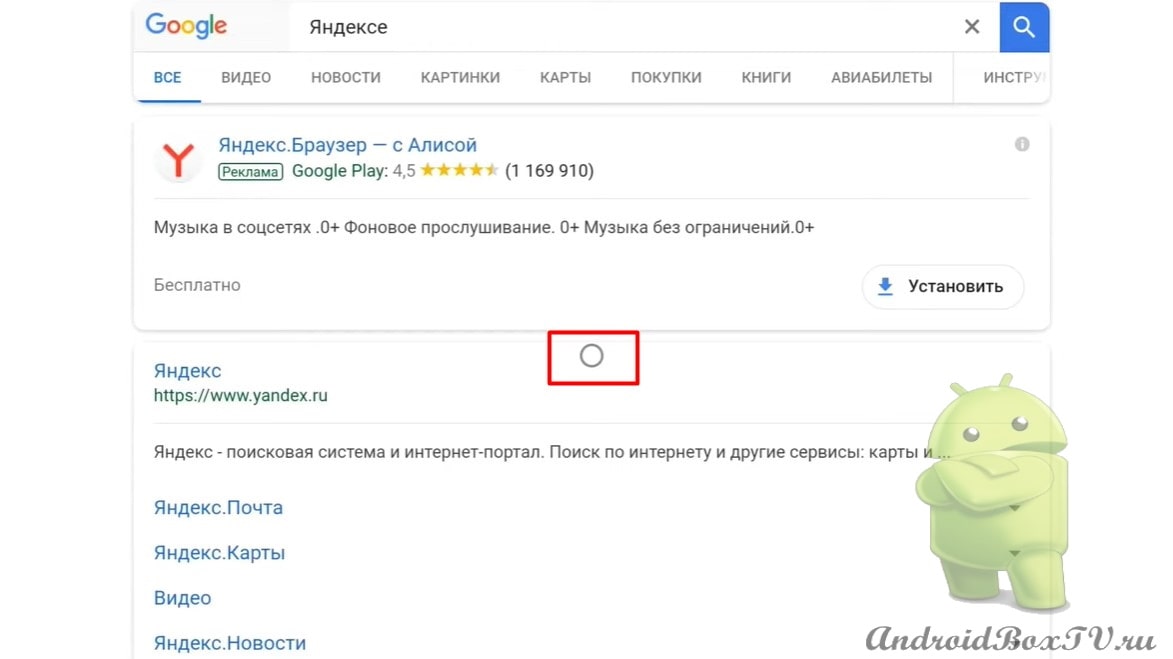
Quickly opens and cursor appears:
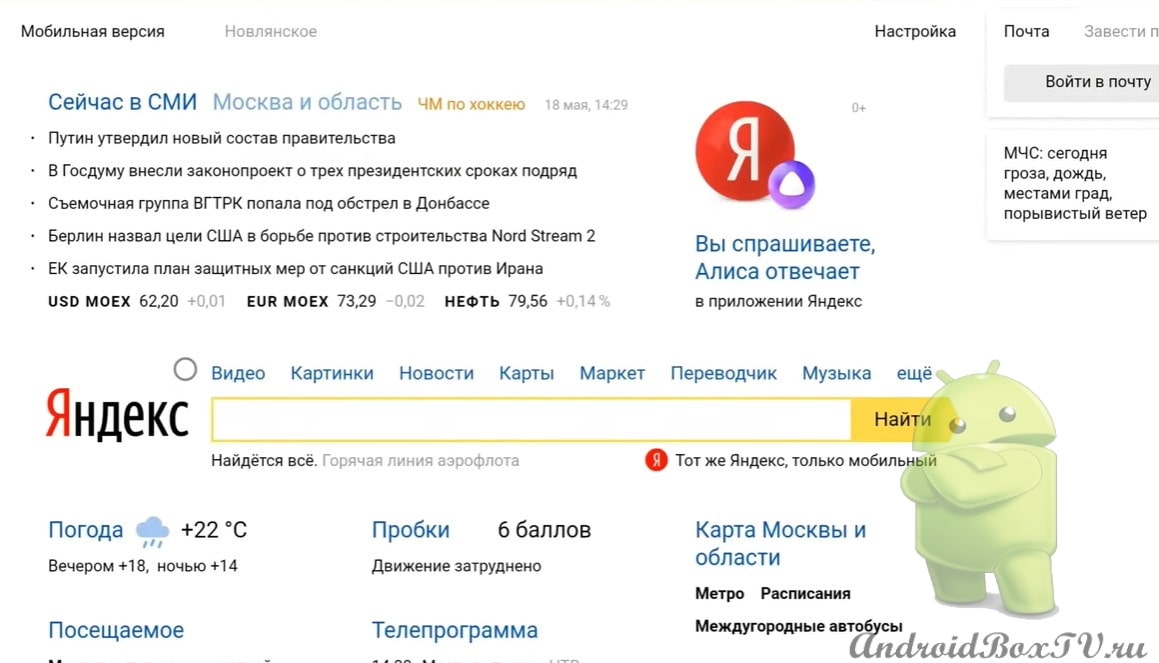
We open "Yandex" - full-fledged, as on a computer:
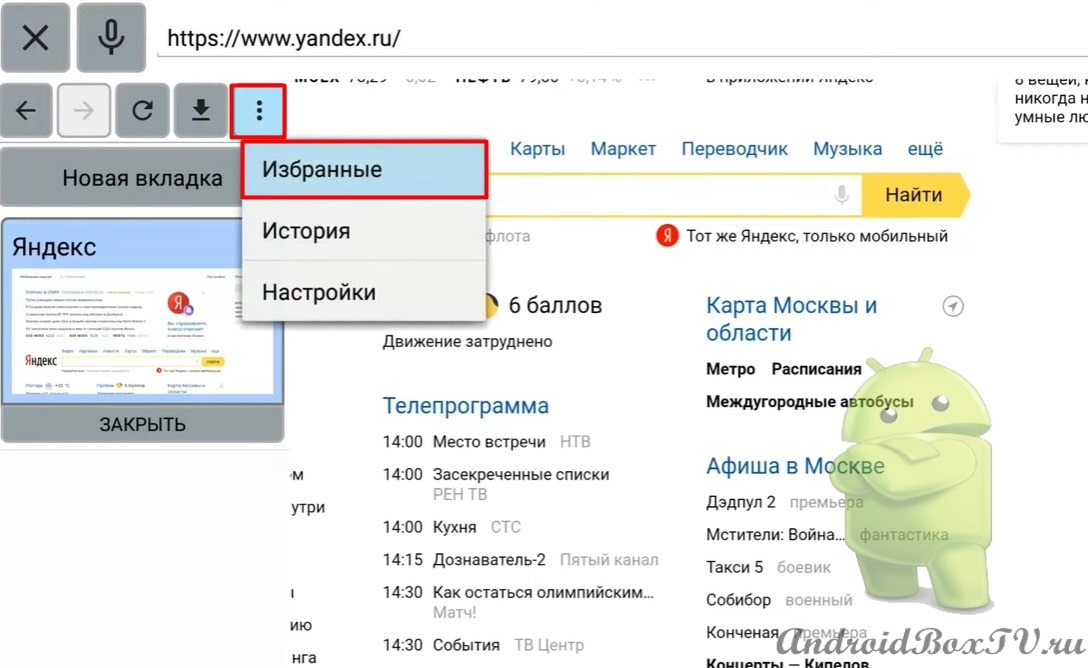
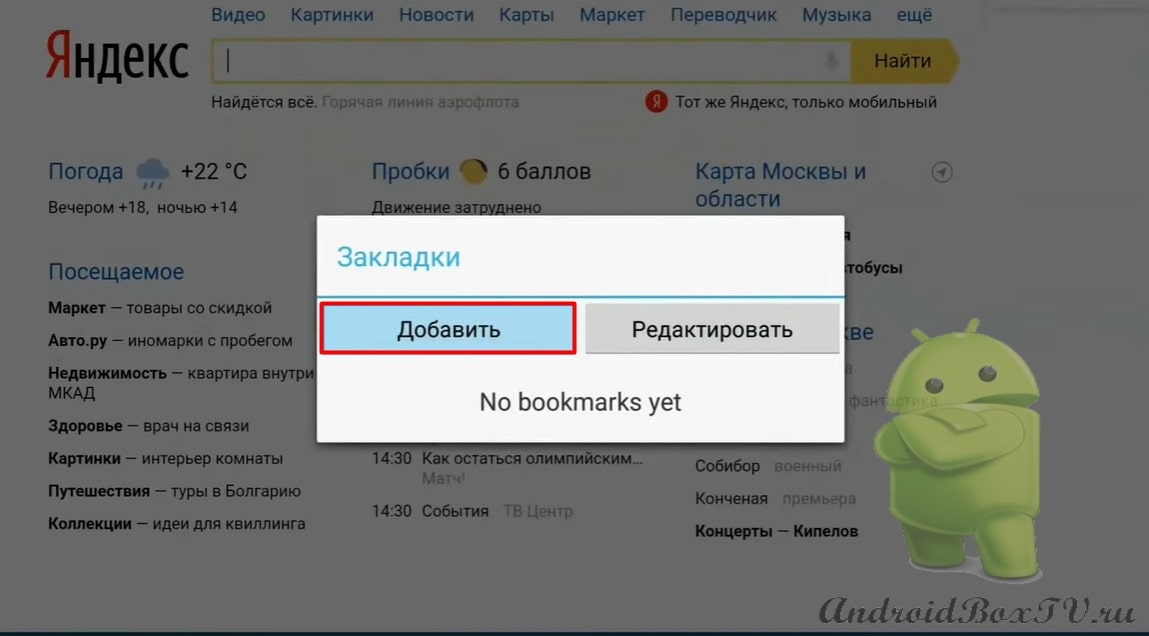
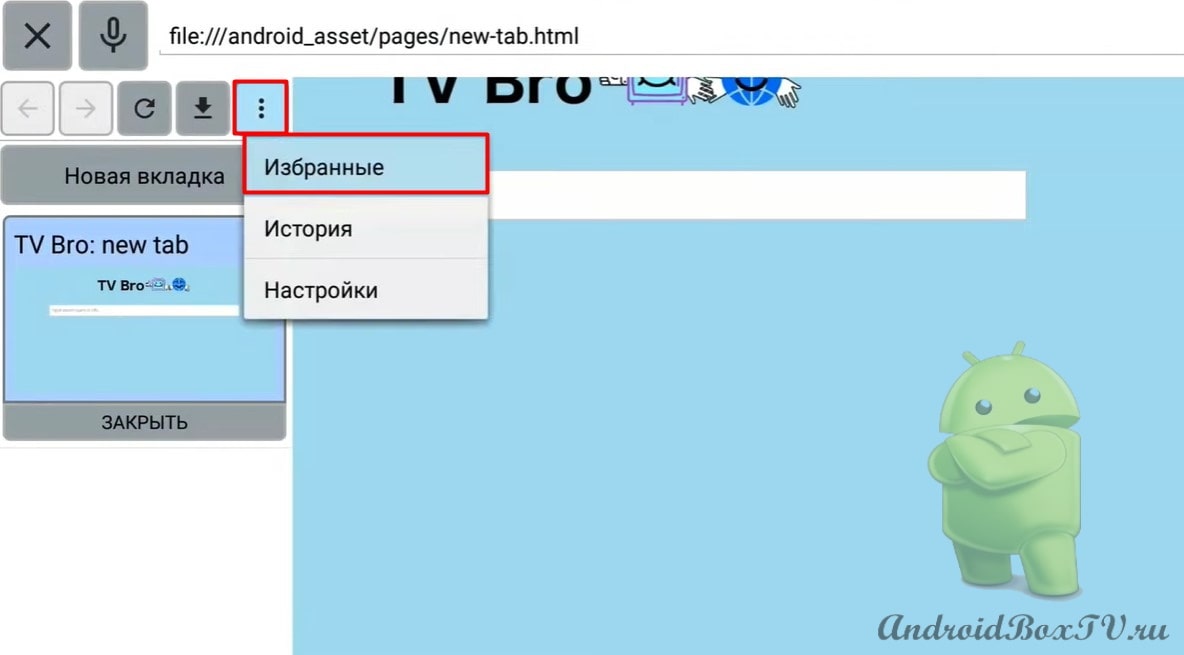
Let's see how to bookmark. We call the menu, click on the three dots, and select “Favorites”:
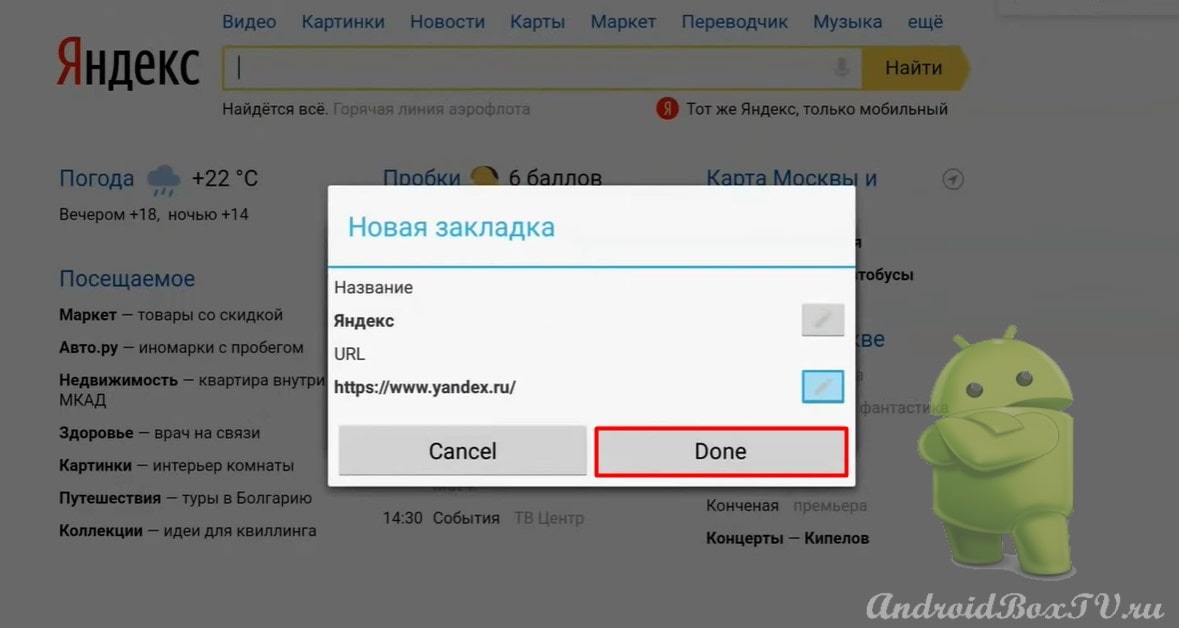
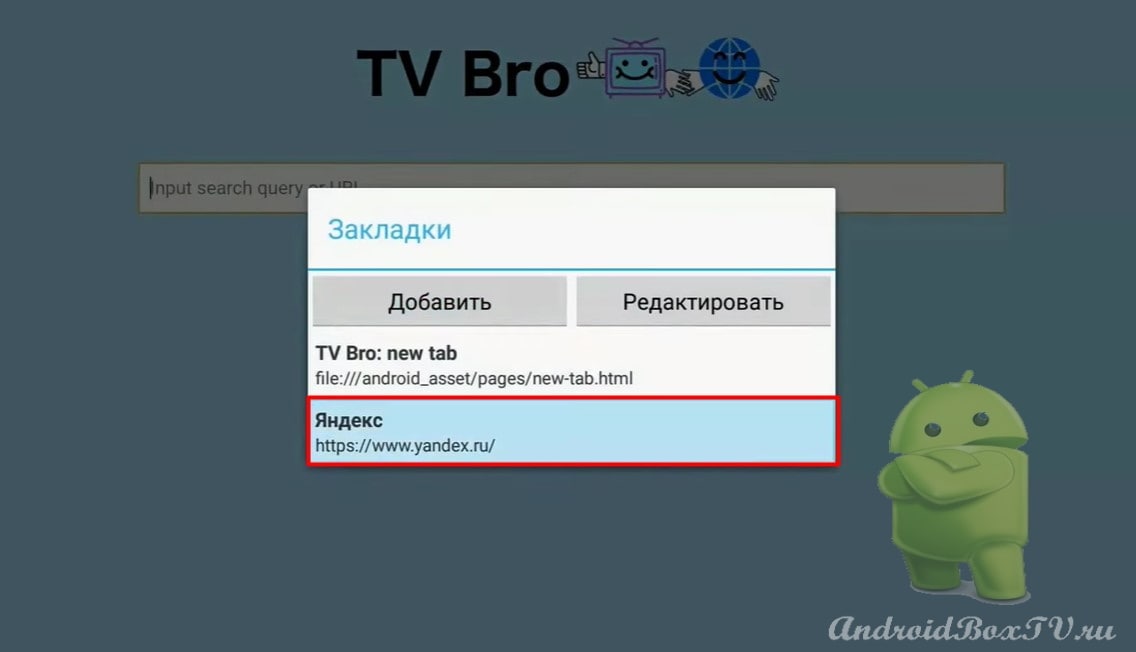
Click "Add" and select:
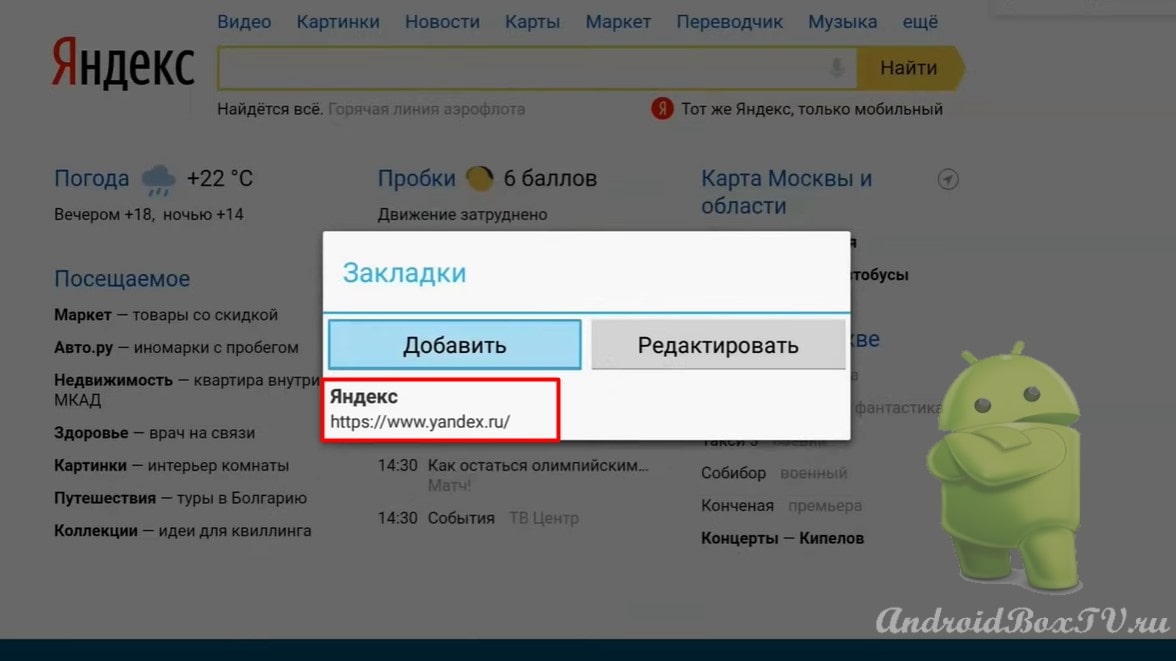
We see that a bookmark has appeared:
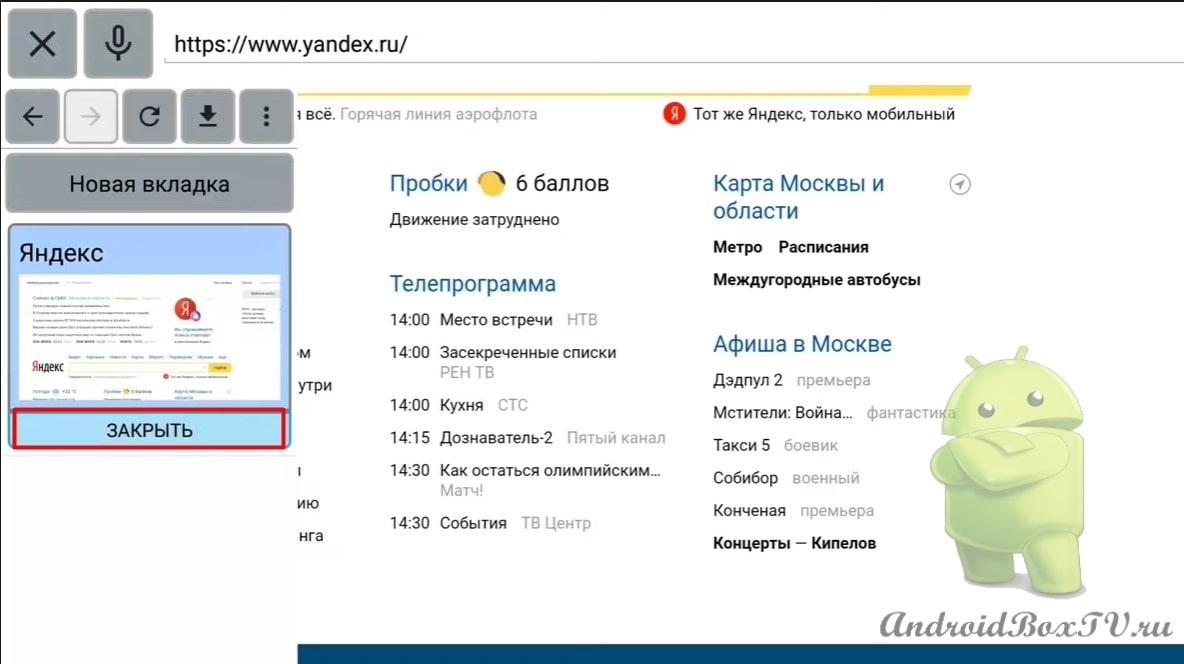
We call “Menu” and close the tab:
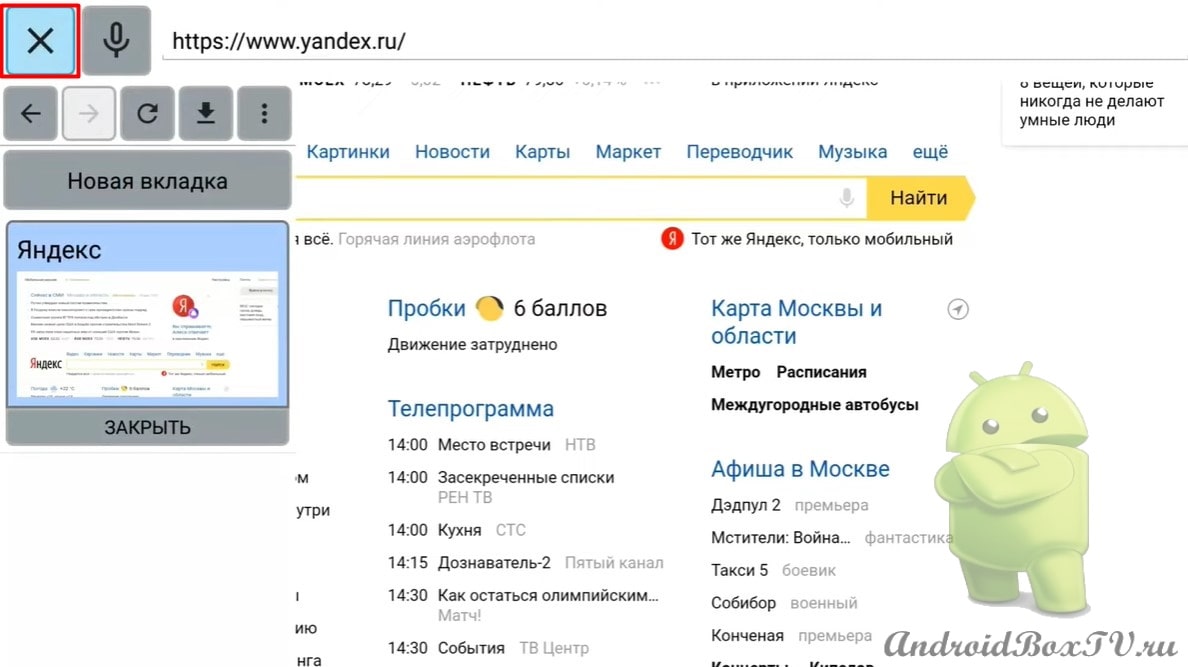
We go to “Favorites” and try to open “Yandex”:
"Yandex" opened. To close, click on the cross:
How do you like this browser? Did you like it? Check out other articles from the "First Acquaintance" section here .
Android TV Launcher on a TV Box with a regular Android . For this action, you will need “Root rights”, but as a rule, on such prefixes “Root” out of the box. Of course, you won't get an exact copy of Android TV, but something close to it.
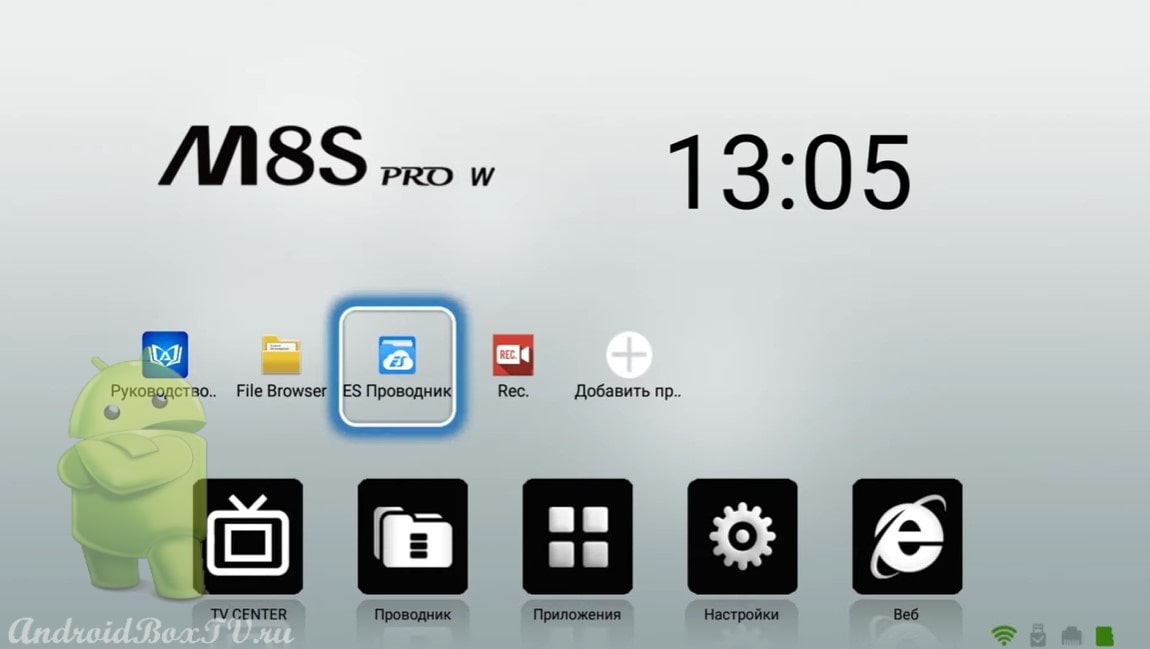
You don't need to flash anything. This program works well on Android 6 and 7, on Android 8 + there are no recommendations from the application. In this article, the application is tested on a set-top box - MECOOL M8S Pro W Android 7.1 .
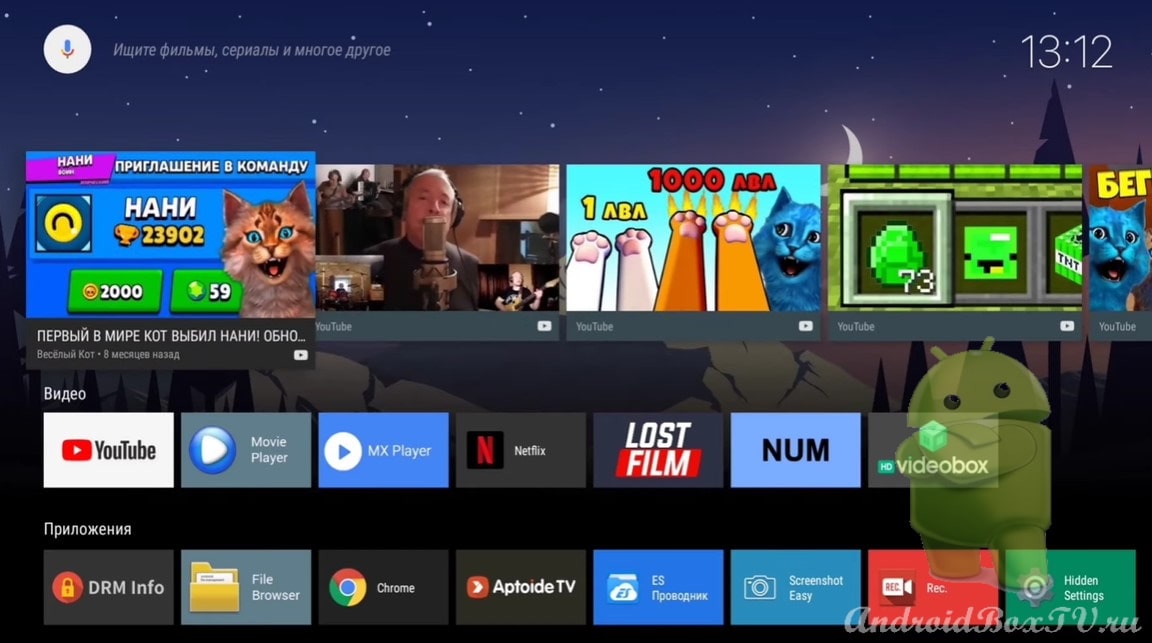
This is how the regular “Launcher” of the console looks like:
Today we will look at how to install the Google Chrome browser on devices with the Android TV operating system in a simple way. For comparison, let's install two versions of the application - “version 57” (the last one, in which text can be copied in the usual way); “79 version” release from Google Play. Also, let's look at how to copy text in the “79 version” using the “Clipboard” application and enable smooth scrolling in experimental functions.
We have already installed Browsers: TV Bro here Firefox for TV here
Let's install the next one! A mouse is required to navigate in the Google Chrome browser. In order to download the installation APK files you will need the “Downloader” application. This application is freely available on the Play Store .
We go to the “Downloader” application and click “Allow”:
Next, click “Ok”:
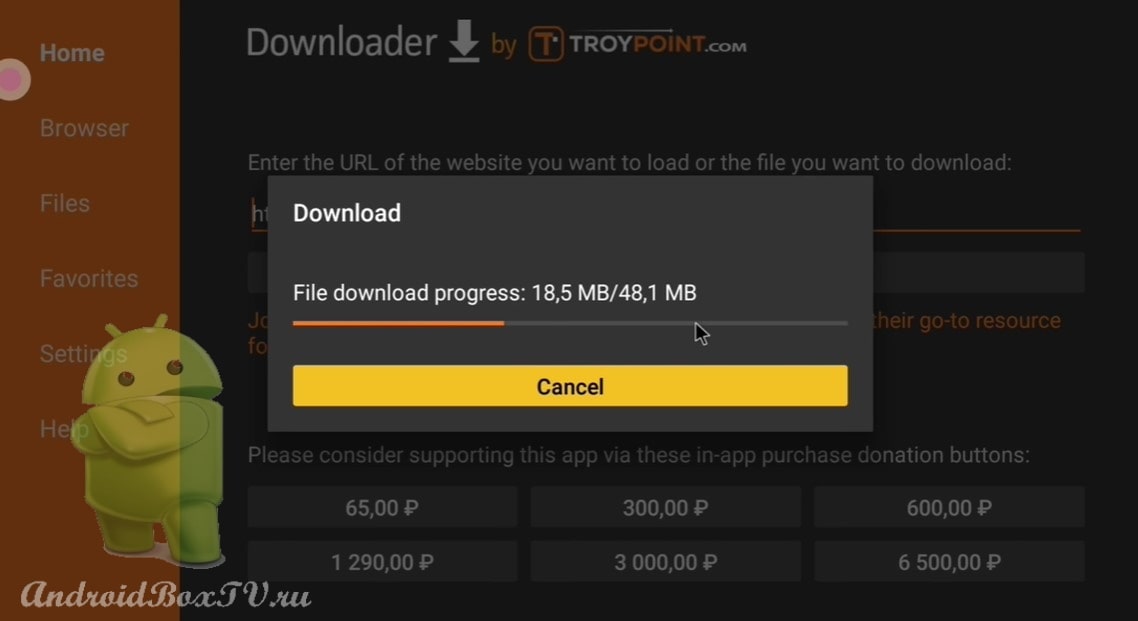
First, install the “57 version” of the application. Enter link - http://catcut.net/K3nP . Click “Go” and the download will begin:
After downloading, click "Settings" and open:
Next, give permission to install from this source:
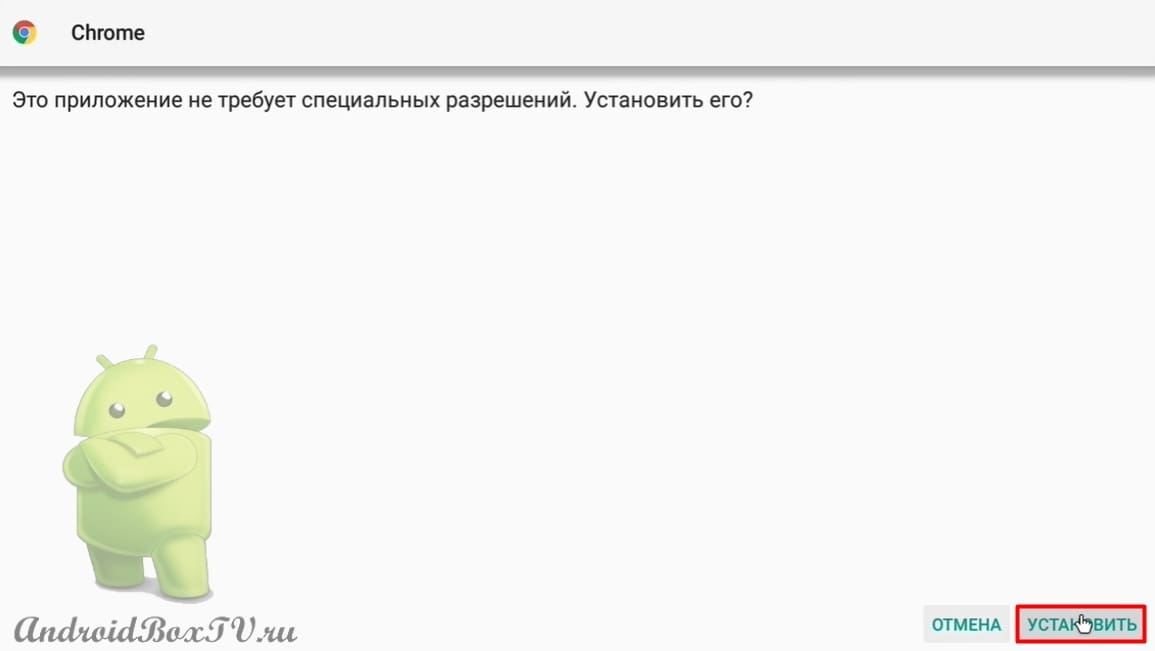
Install the application and click "Finish":
After that, you can remove the APK file if it is not needed:
Now let's install the “version 79” of the application. Enter the link, click “Go” and the download will start:
Install the application and click "Finish":
To the “79 version” we will set the Label. Enter link - http://catcut.net/64nP . Click "Go":
The Shortcut is installed in the same way as the APK file.
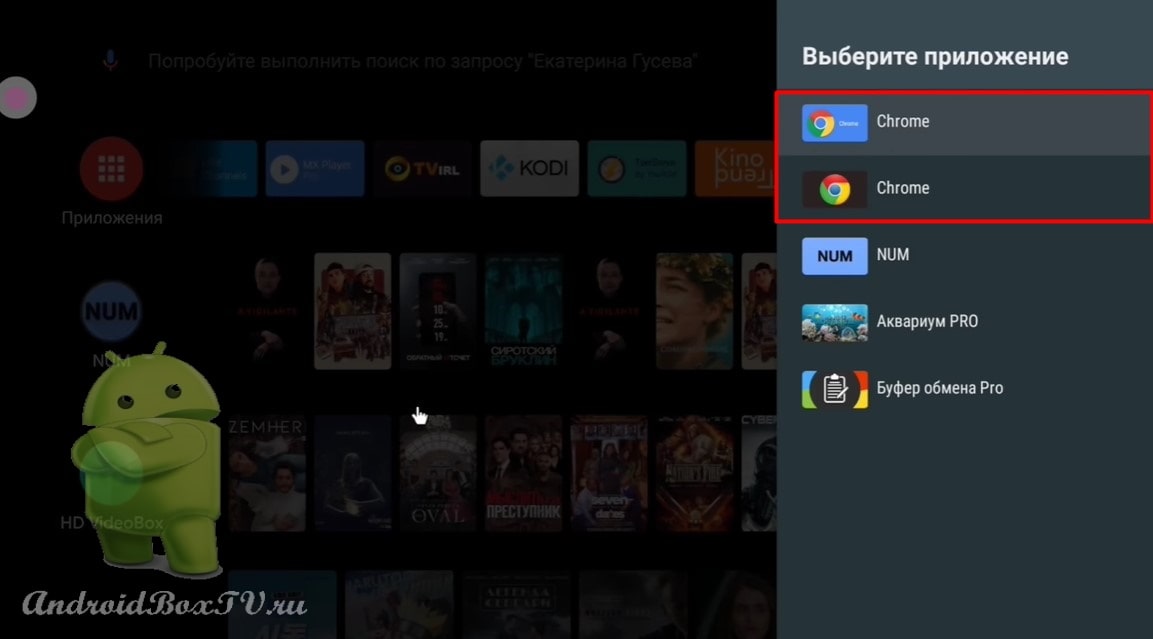
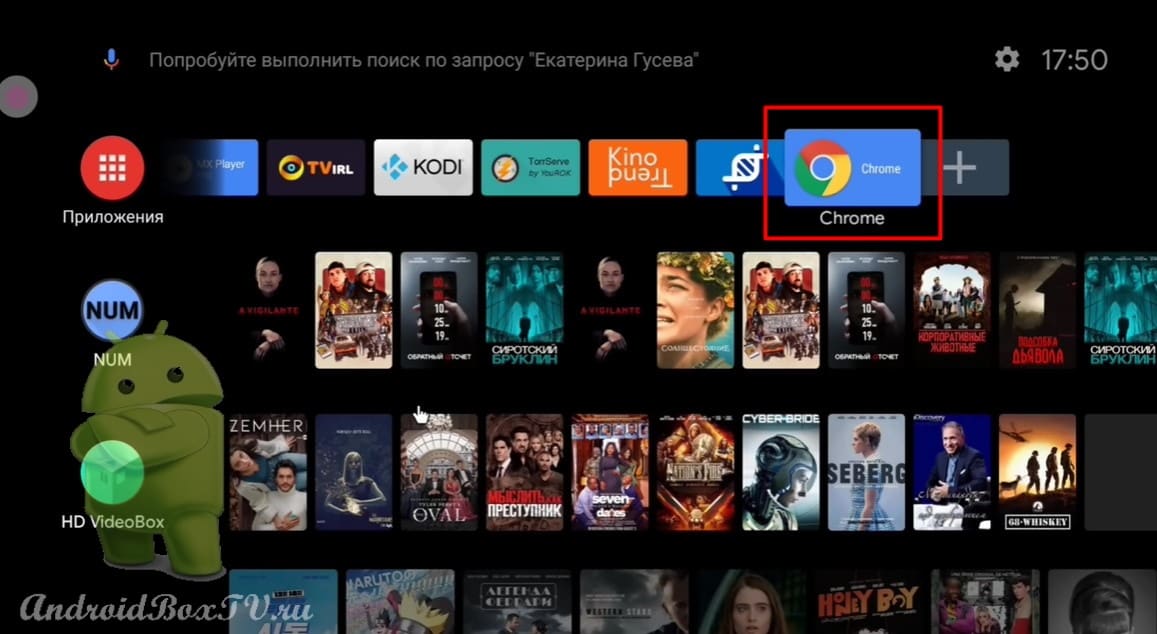
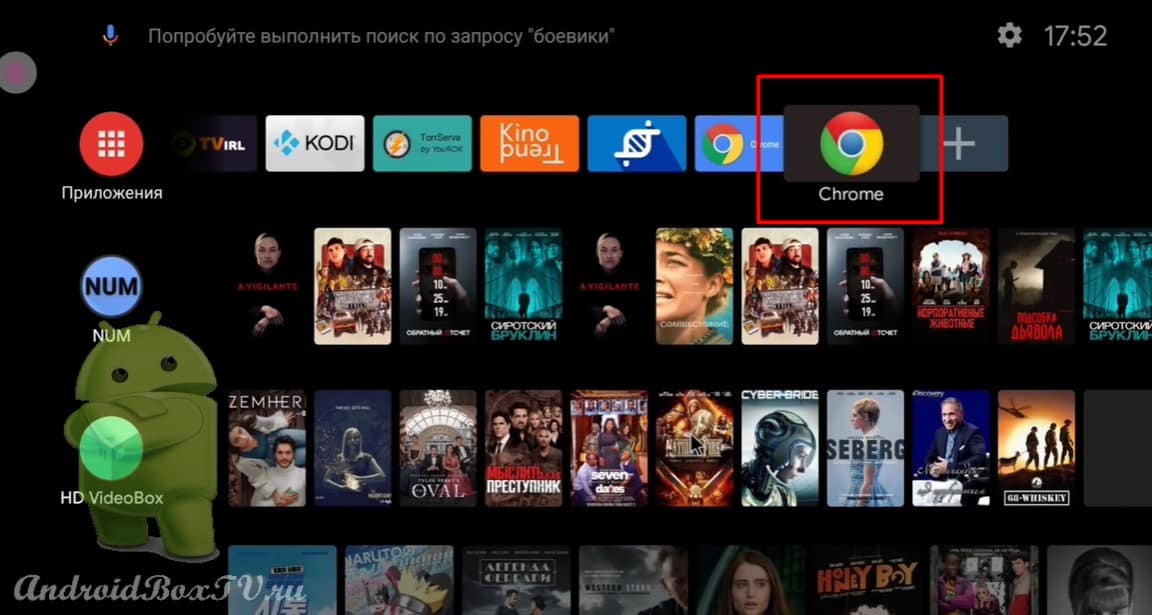
Next, add applications to the home screen:
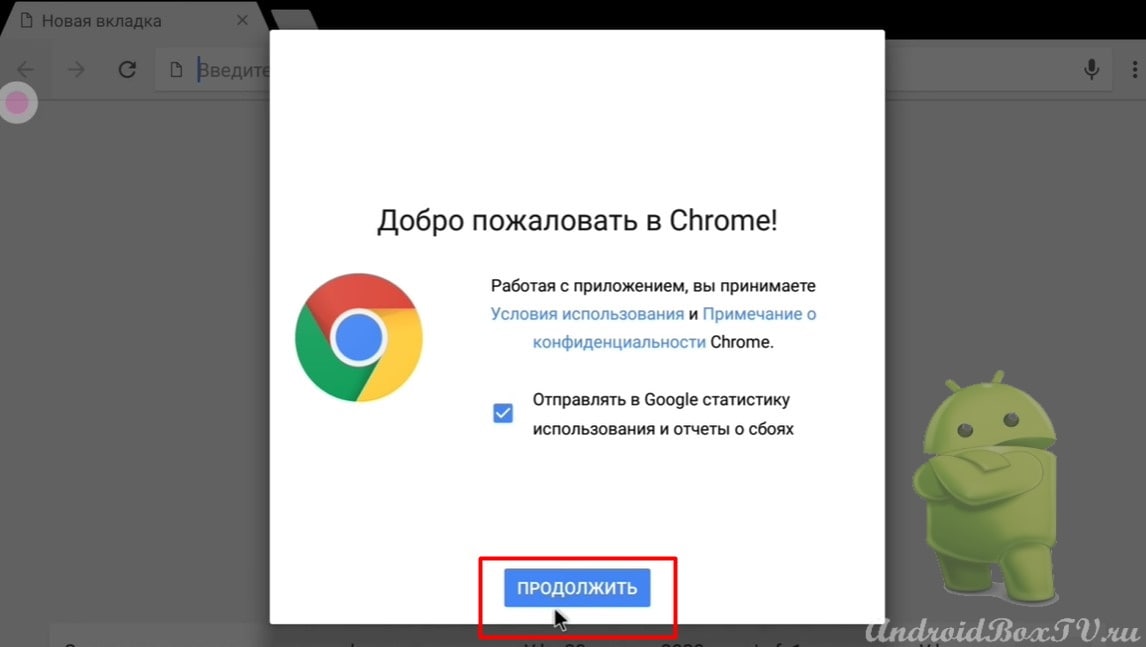
First, open the “57 version”:
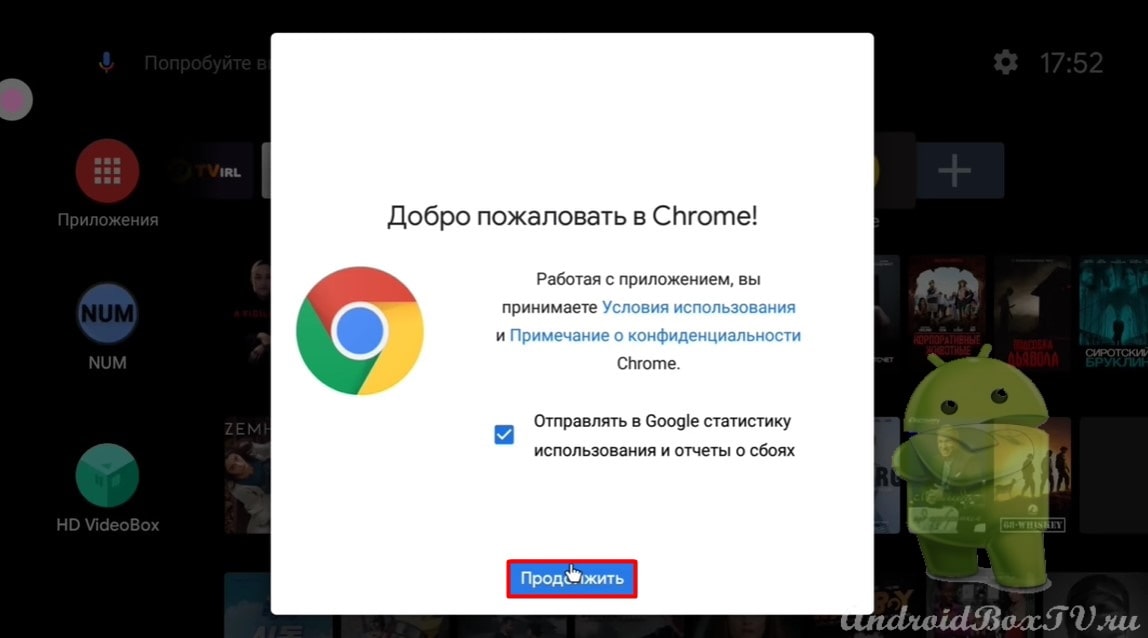
Click "Continue":
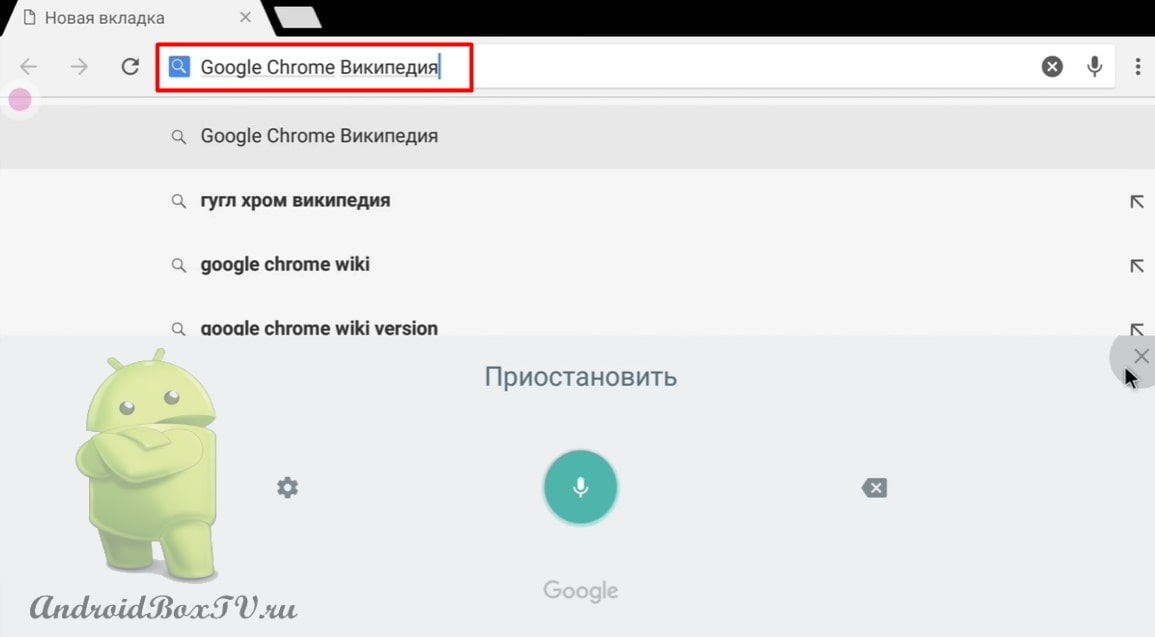
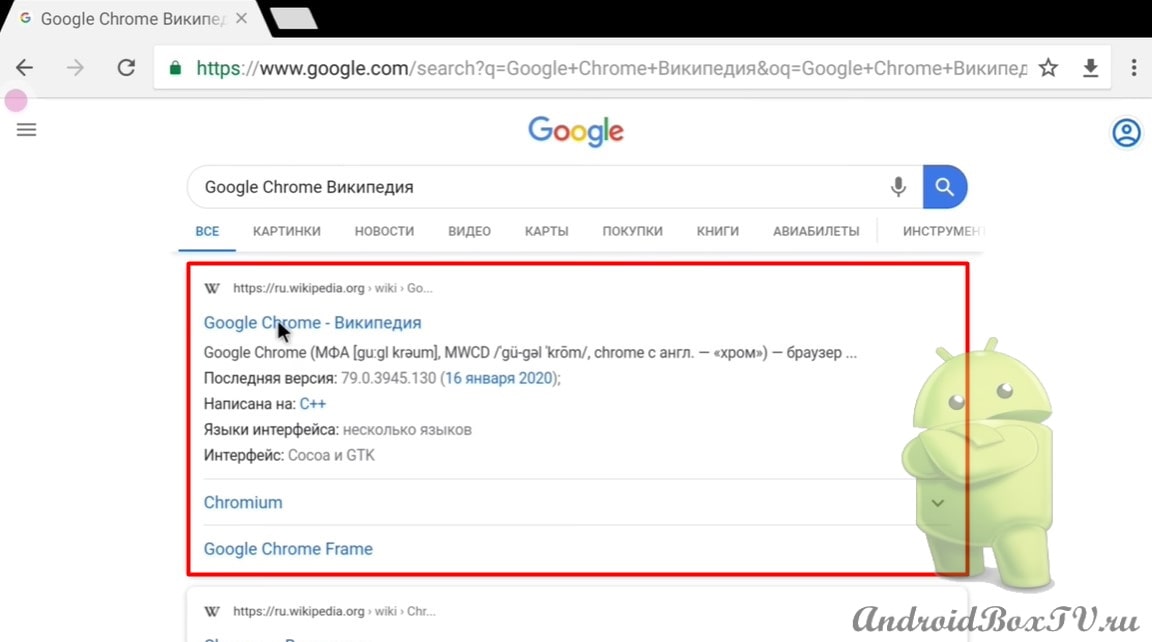
For example, in the search we type “Google Chrome Wikipedia” and go to the site:
In this version, you can cling the mouse and move the page. In the usual way, select the text and you can copy it:
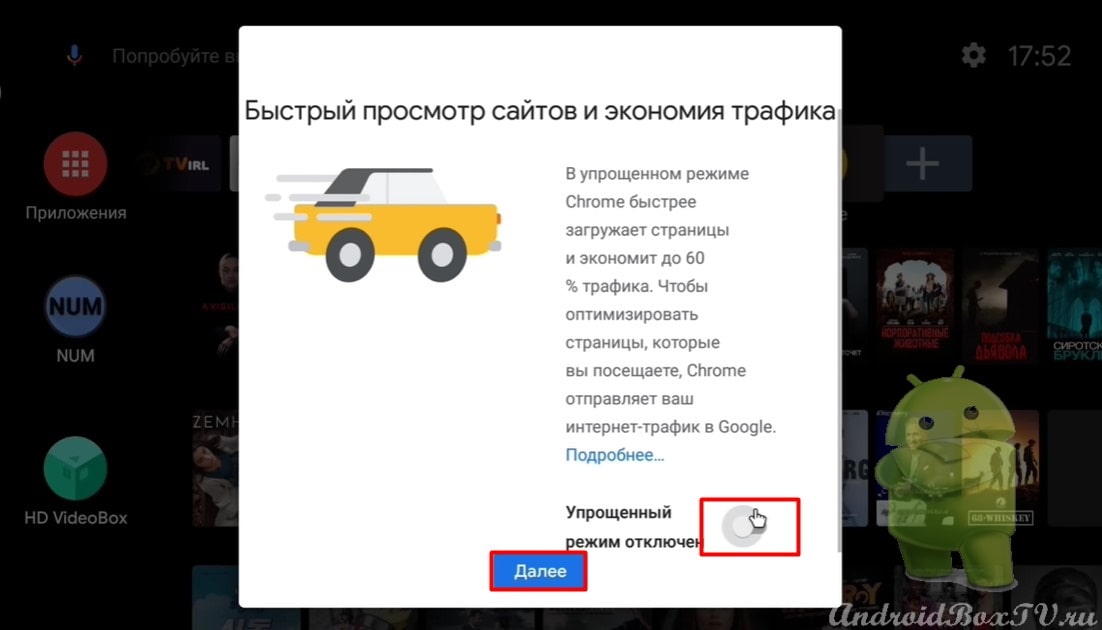
Open the “79 version” of the application:
Click "Continue" and turn off the simplified view:
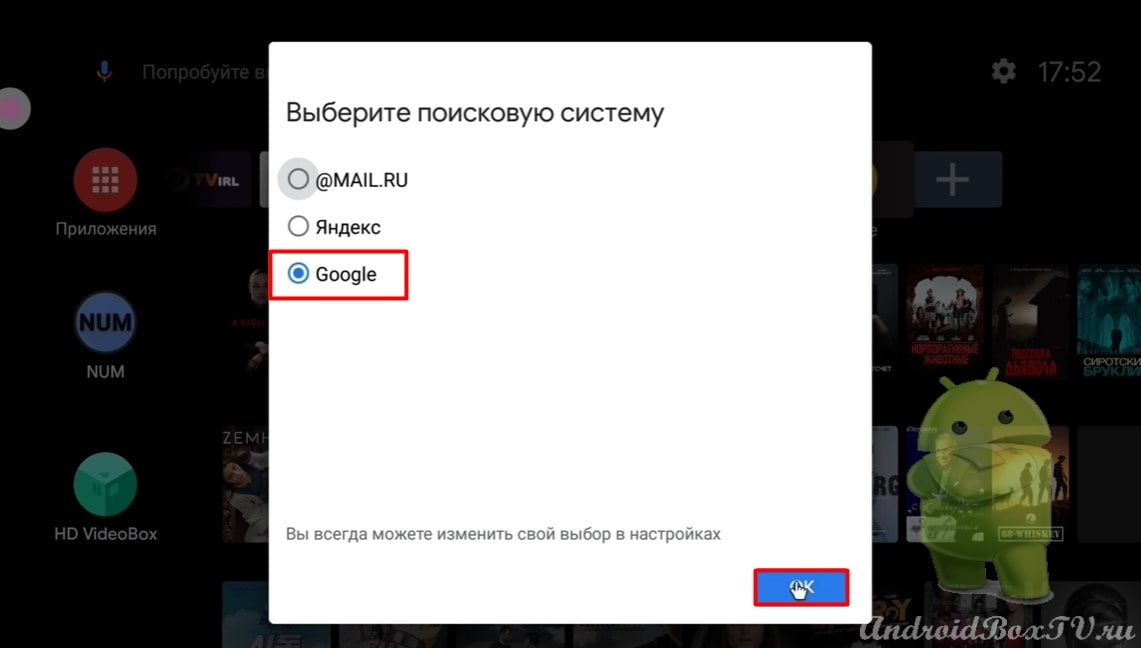
Select a search engine and click "OK":
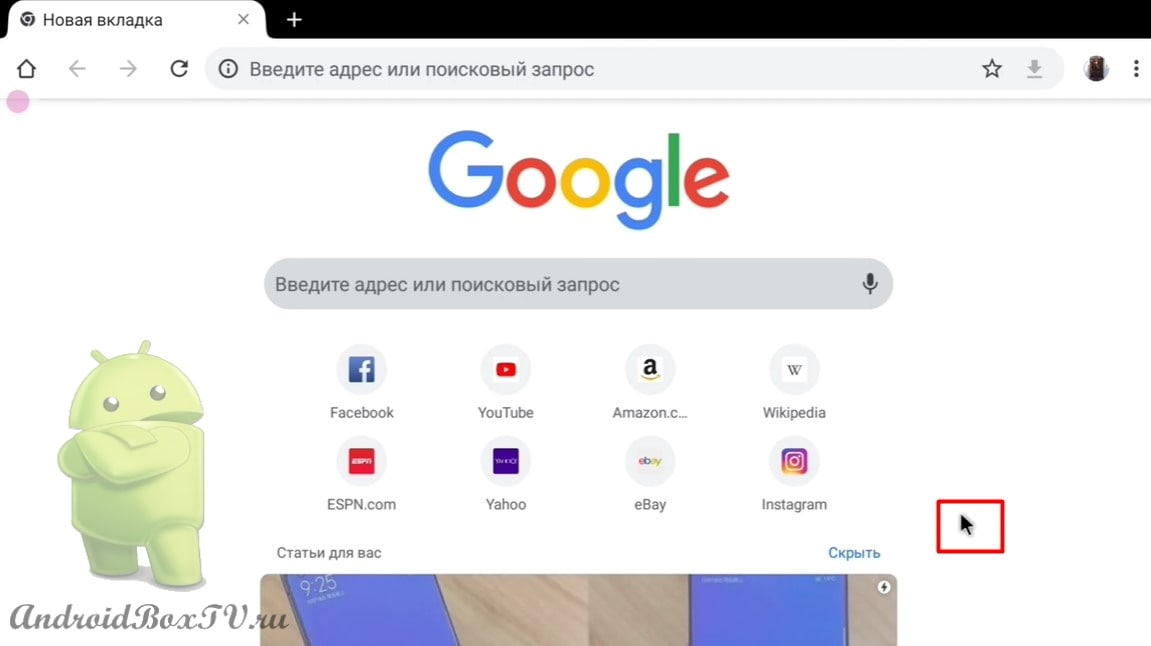
On the home page, you can still hook and move the mouse, but on the sites it is no longer:
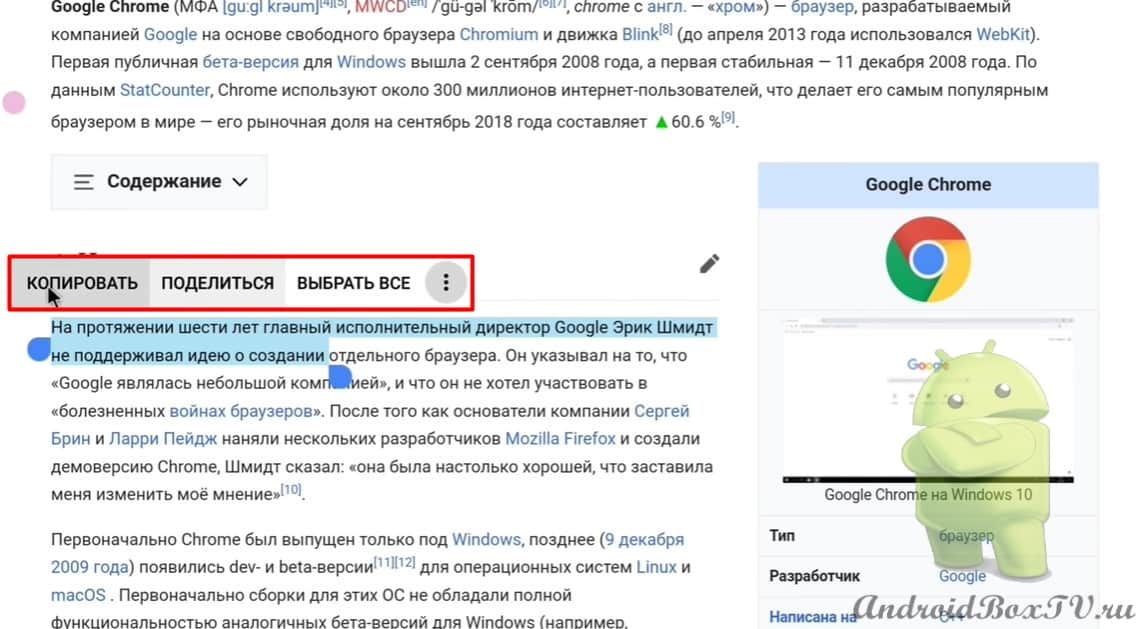
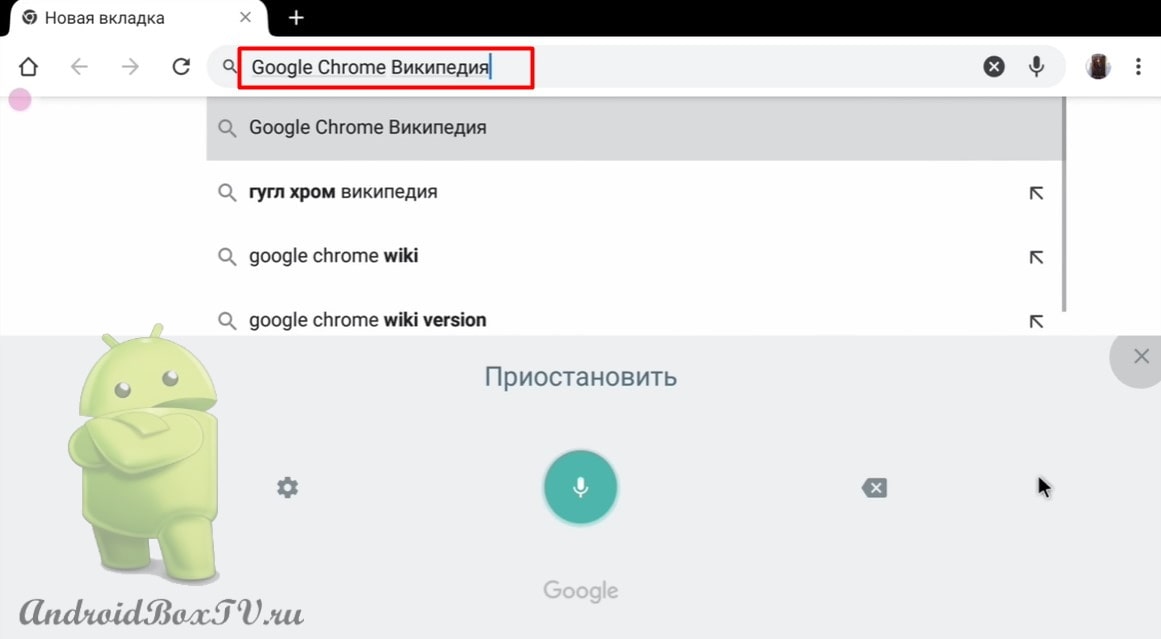
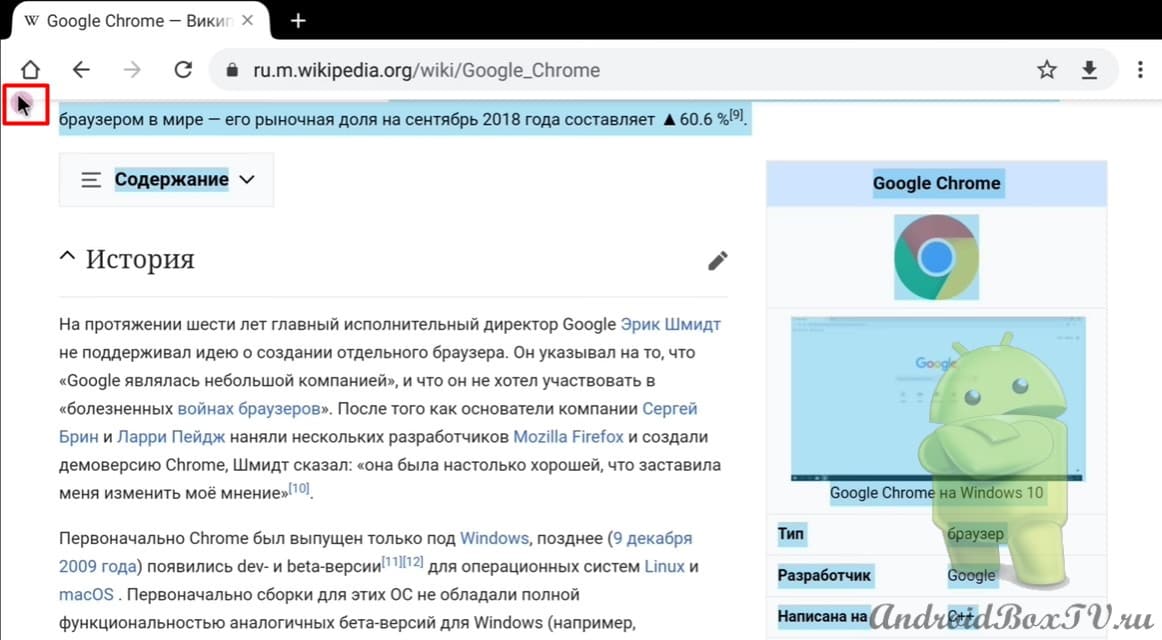
In the search we type "Google Chrome Wikipedia” and go to the site:
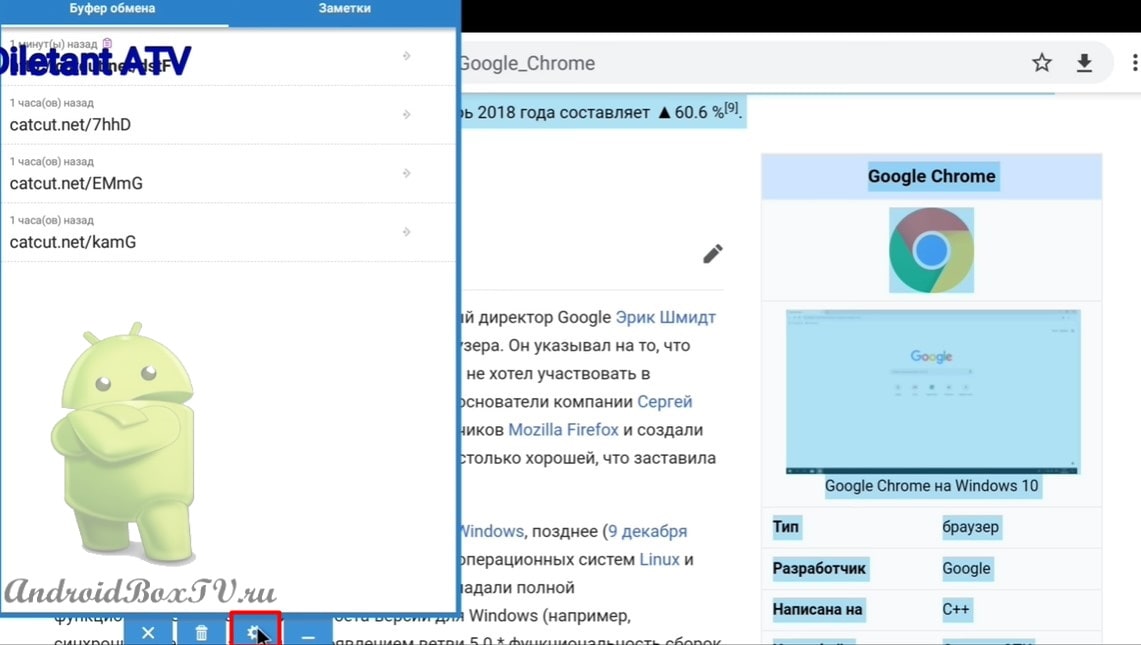
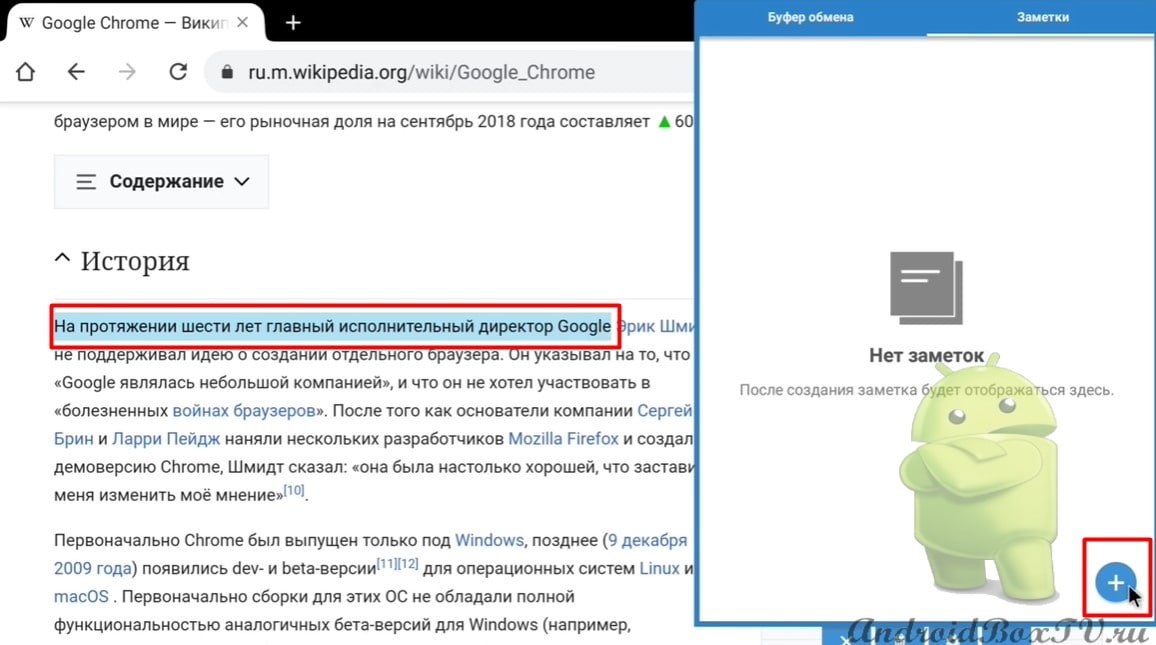
Here it is already impossible to hook with the mouse, only scrolling. Open "Clipboard" and click on "Settings":
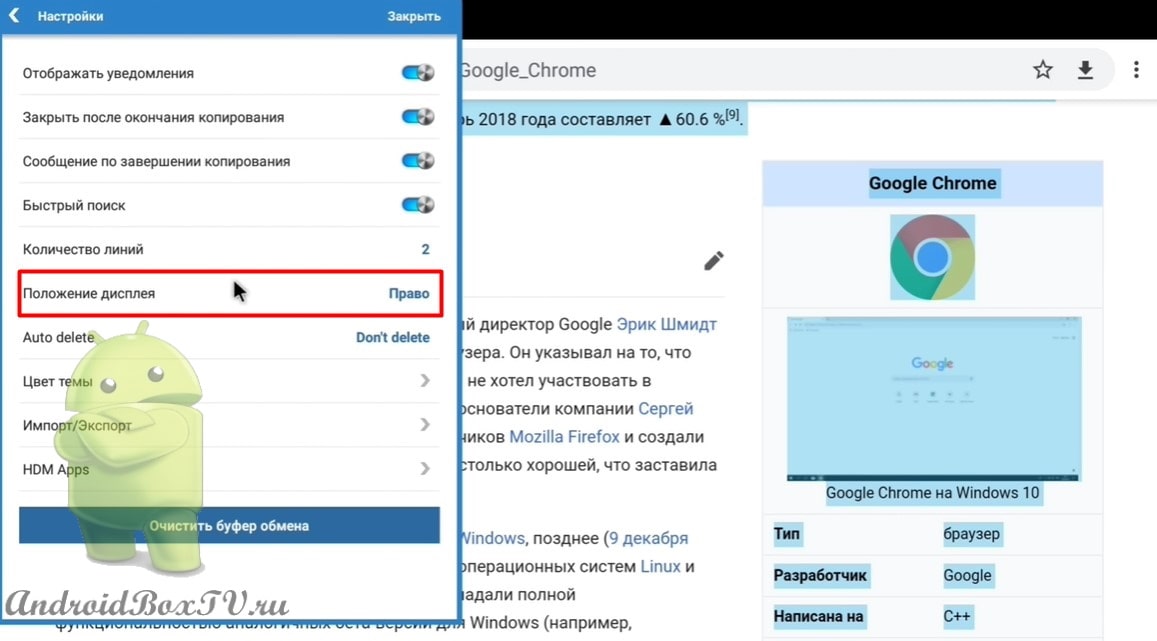
Moving on to the right side:
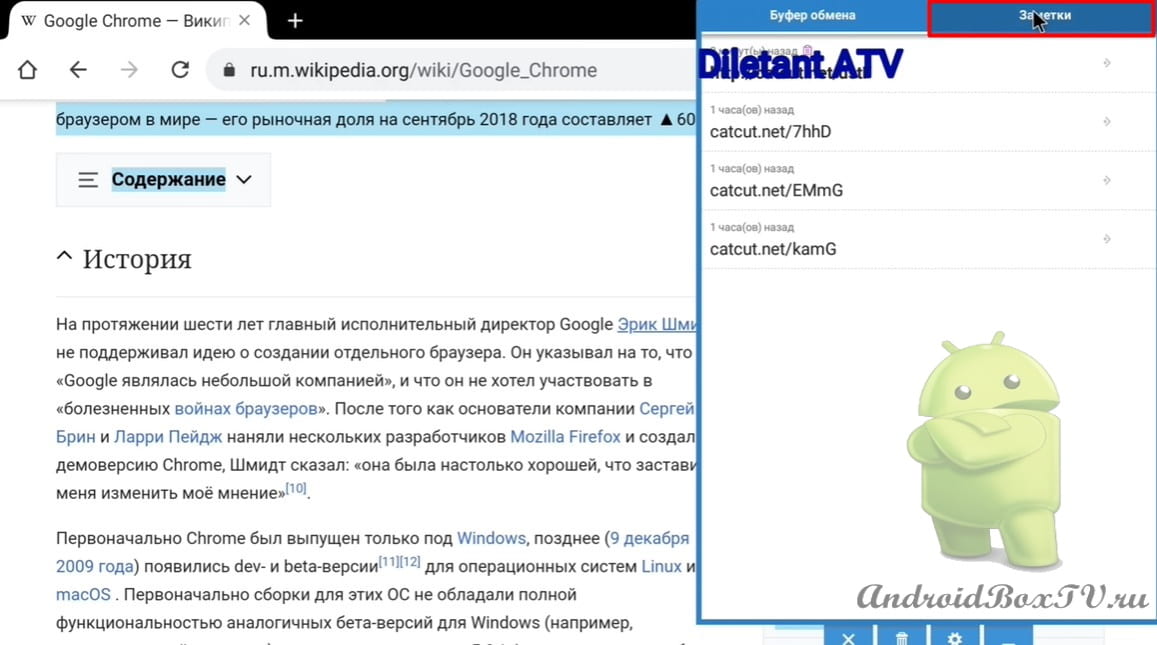
Go to Notes:
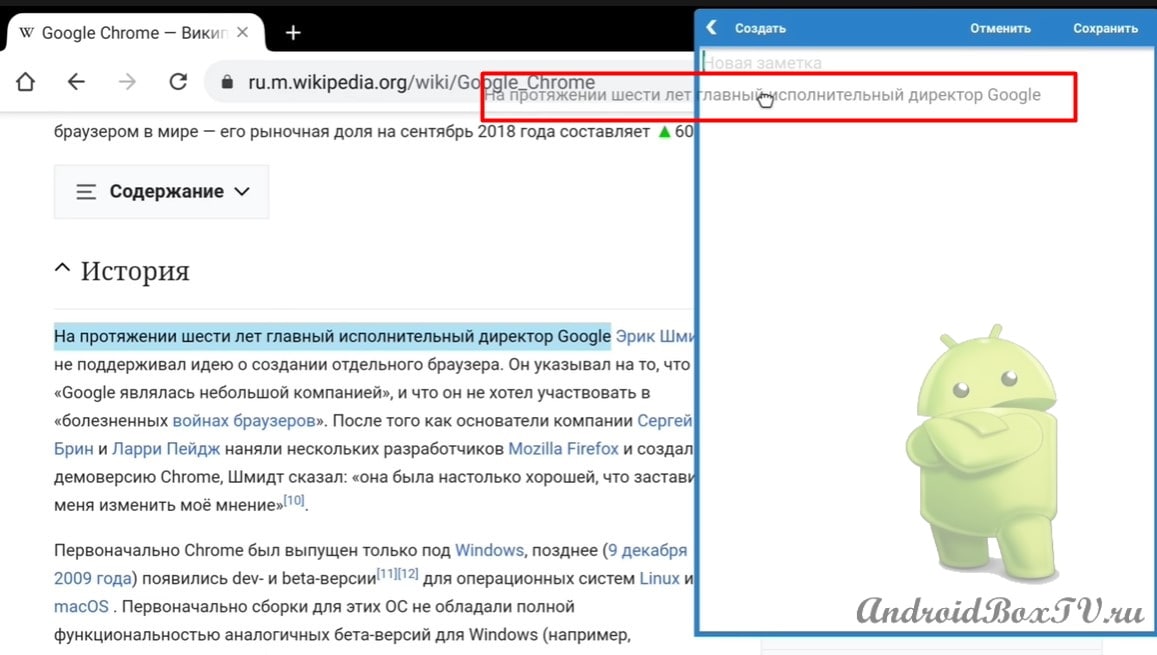
Select the text or link and click on the plus:
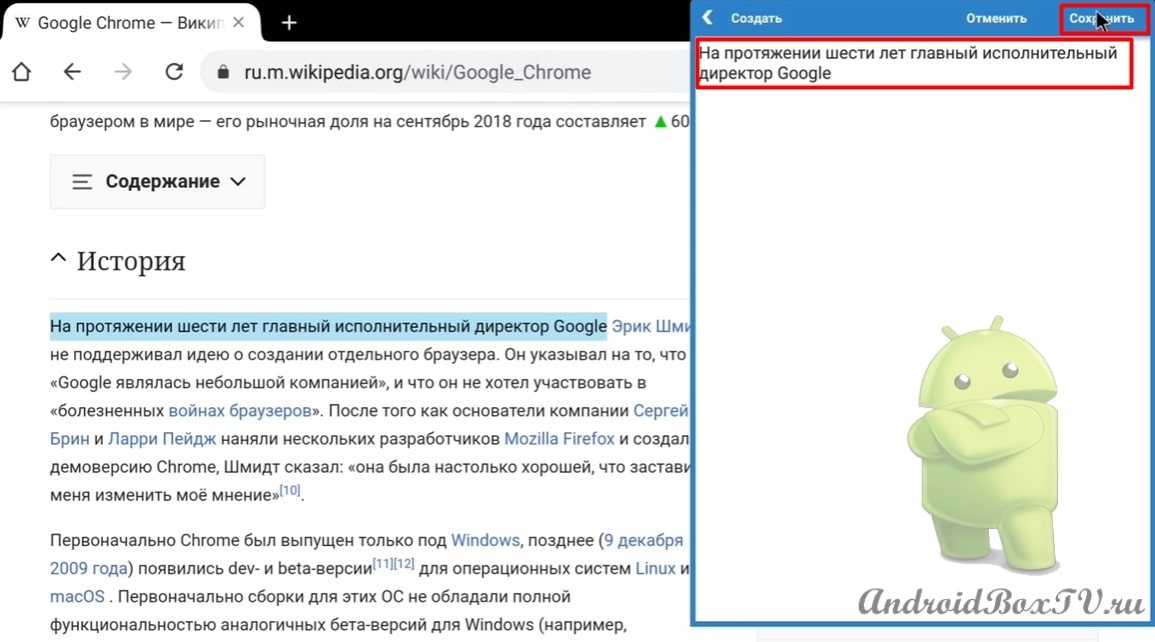
Next, we cling the text with the mouse, drag it to the clipboard and click “Save”:
Thus, in the “79 version” of the Google Chrome application, you can copy text.
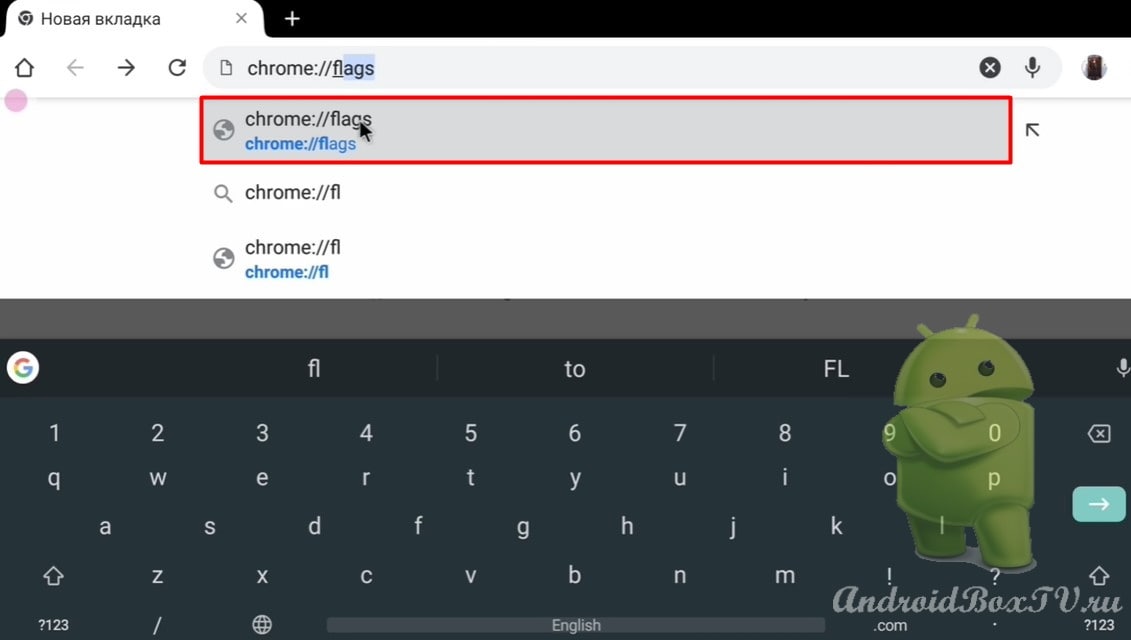
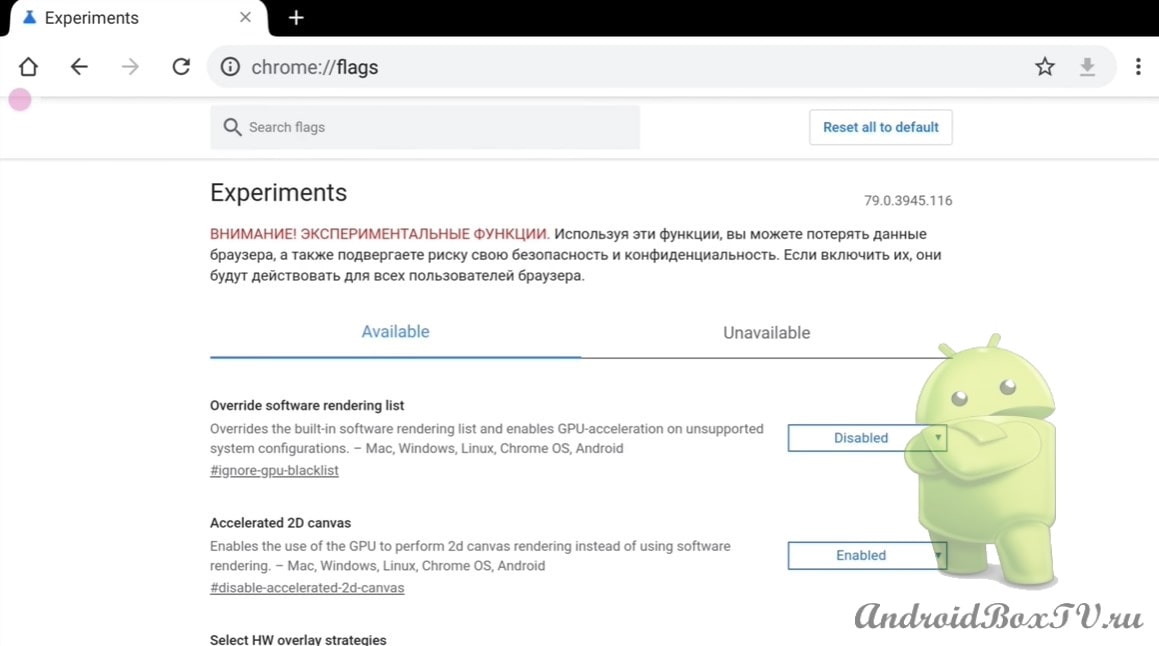
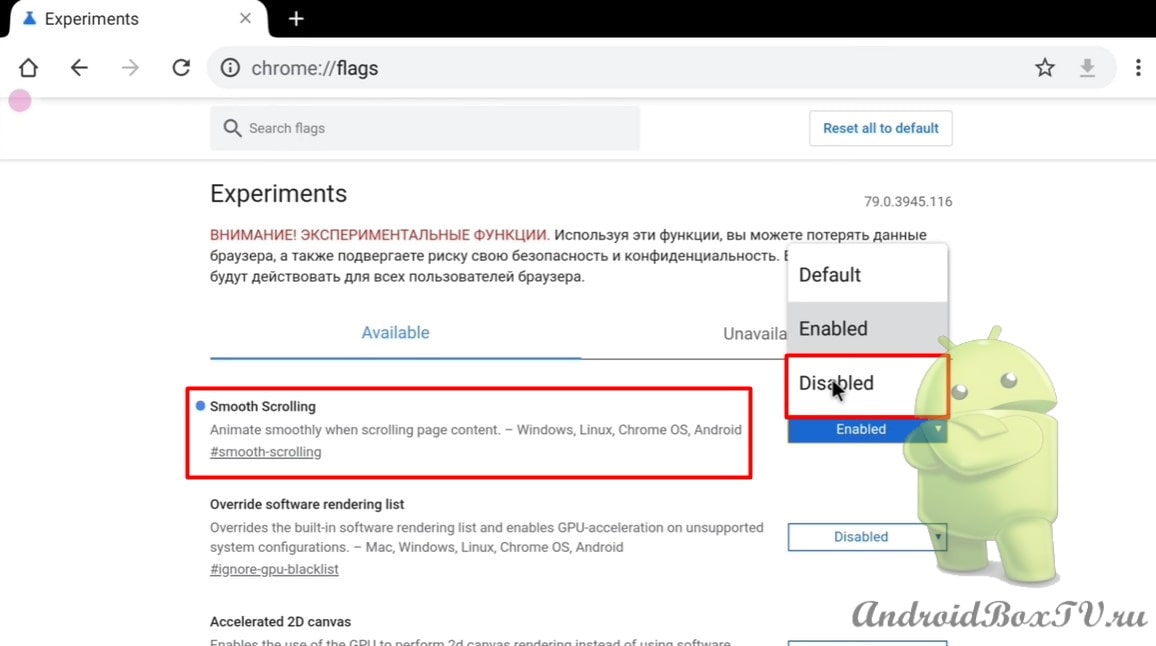
Next, let's look at how to enable smooth scrolling. In the search we type - chrome://flags :
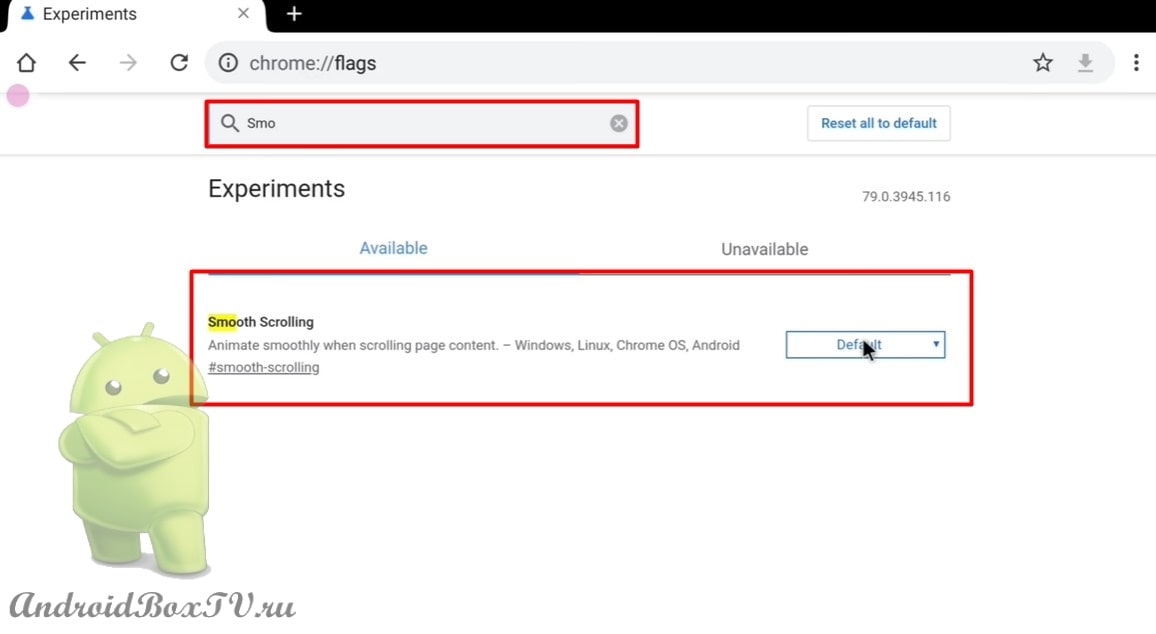
In the search box write "Smooth scrolling” :
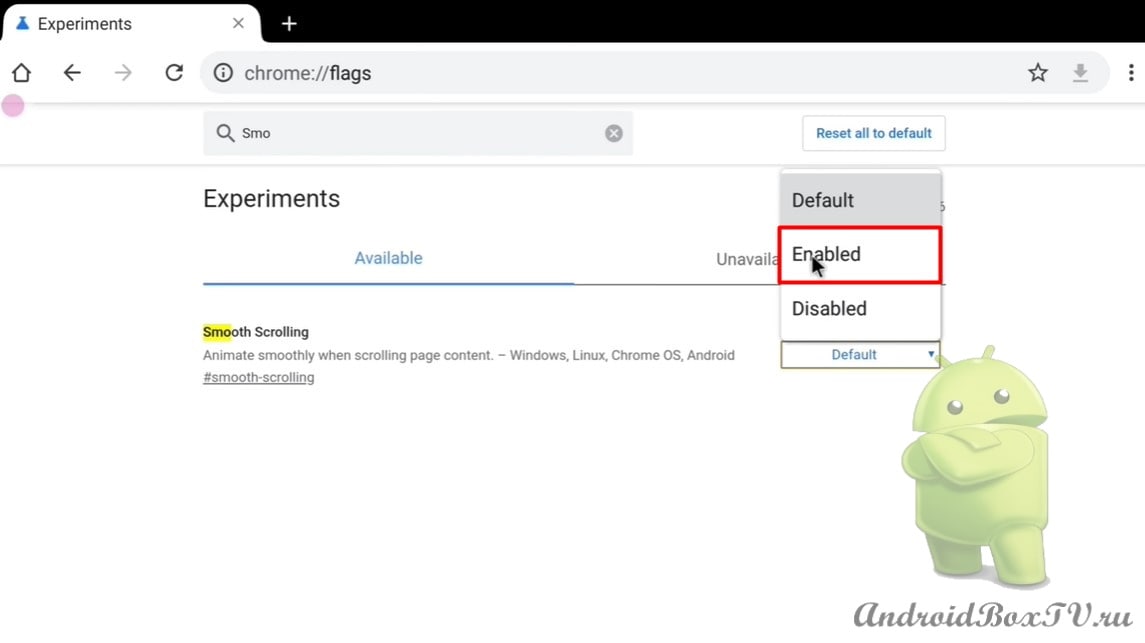
Open and click "Enabled":
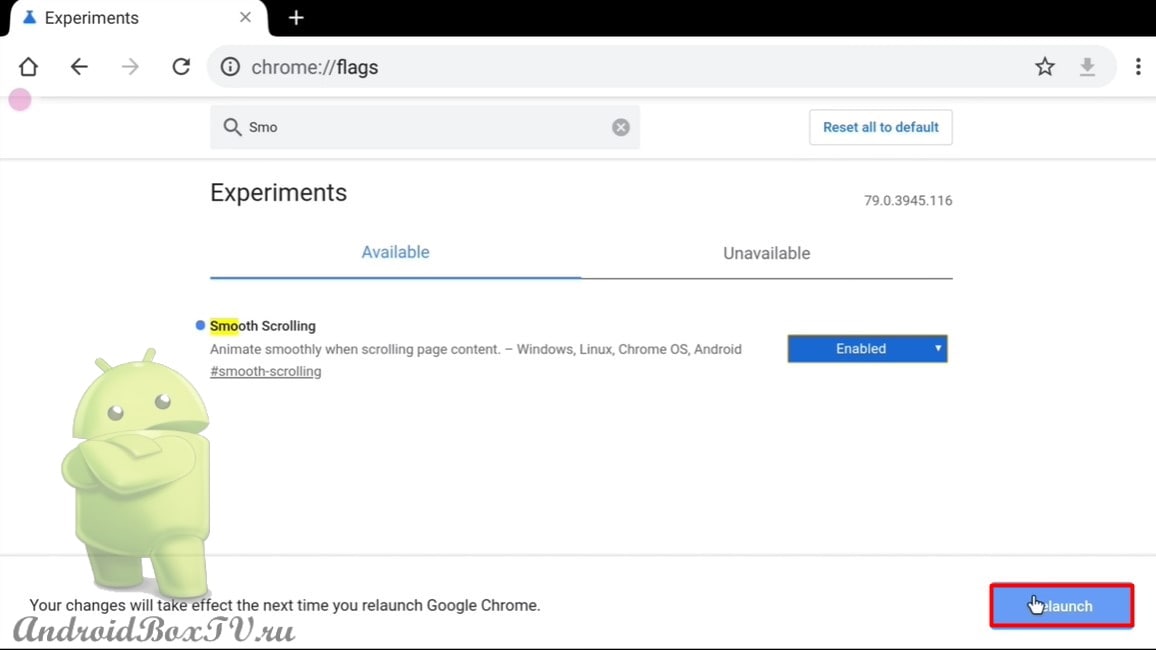
Next, you need to reload:
After the reboot, the smooth scrolling function turned on. If you need to turn it off, click “Disabled”, and if you turned on something unnecessary, you can reset it to factory settings:
Next, we try to scroll, we see smooth scrolling without jerks.
Did you like the article? Check out other articles from the "First Acquaintance" section here .
Today we will consider installing “Launcher Fire TV” on TV BOX Android 7.1 AOSP. This application resembles Android TV.
In the recommendation app only from Youtube, voice search works. On Android 8 plus, recommendations can be left off as they don't work.
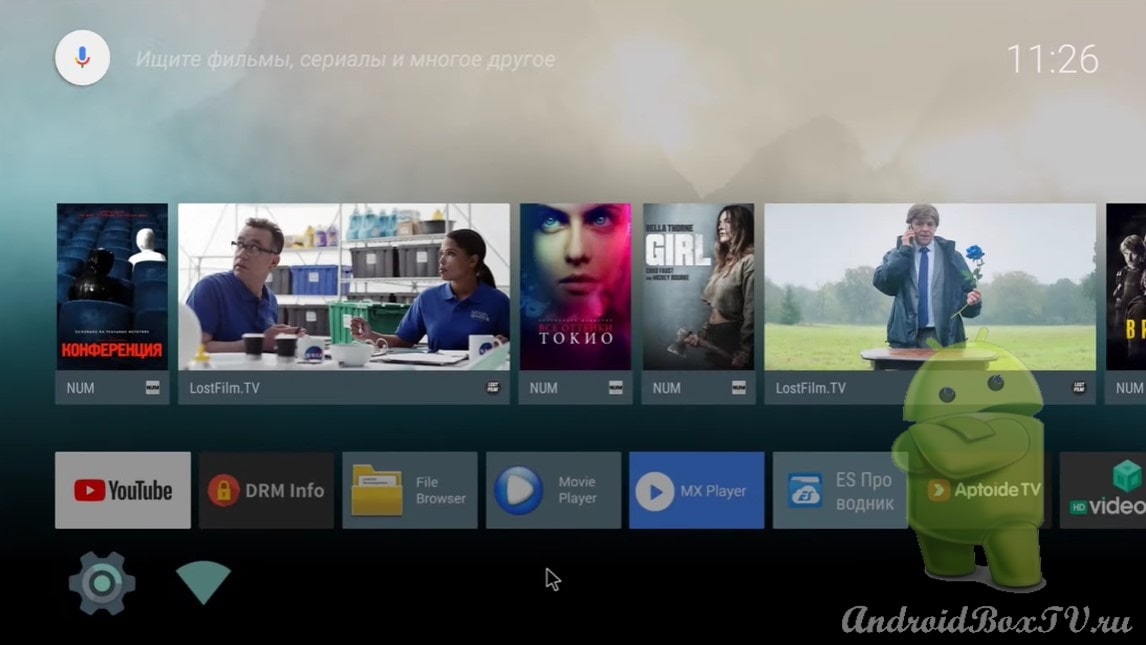
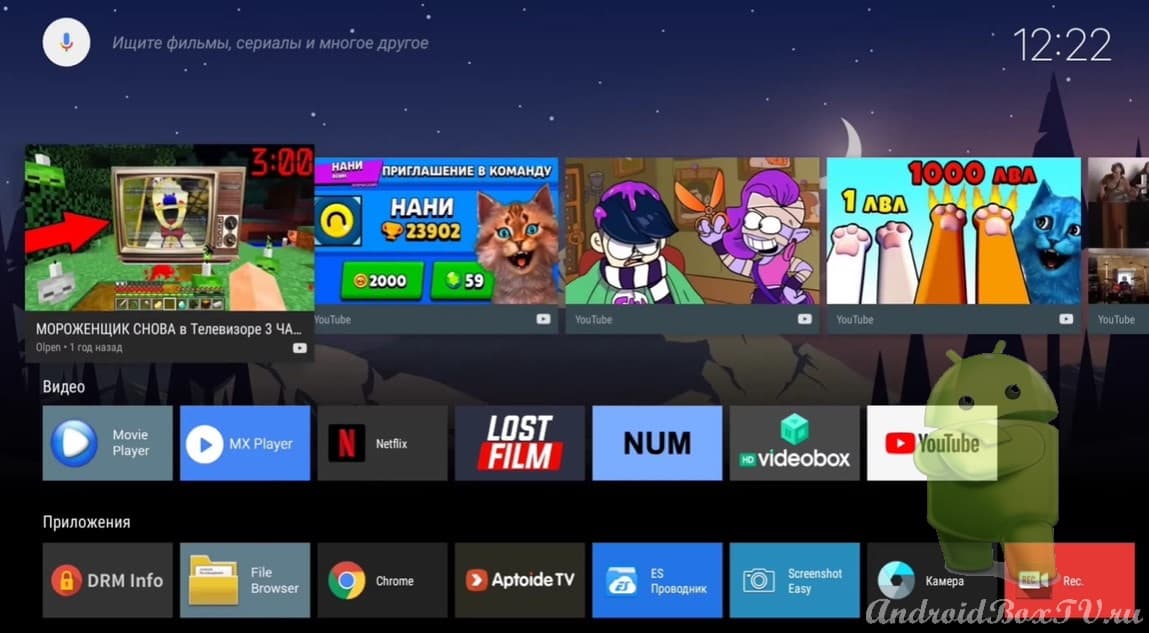
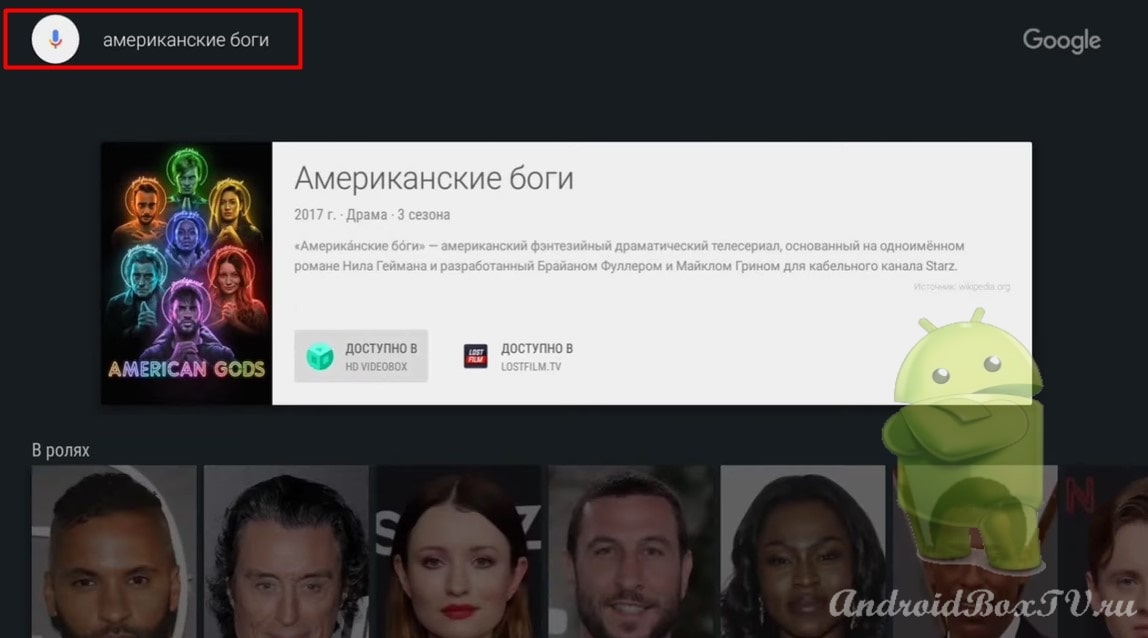
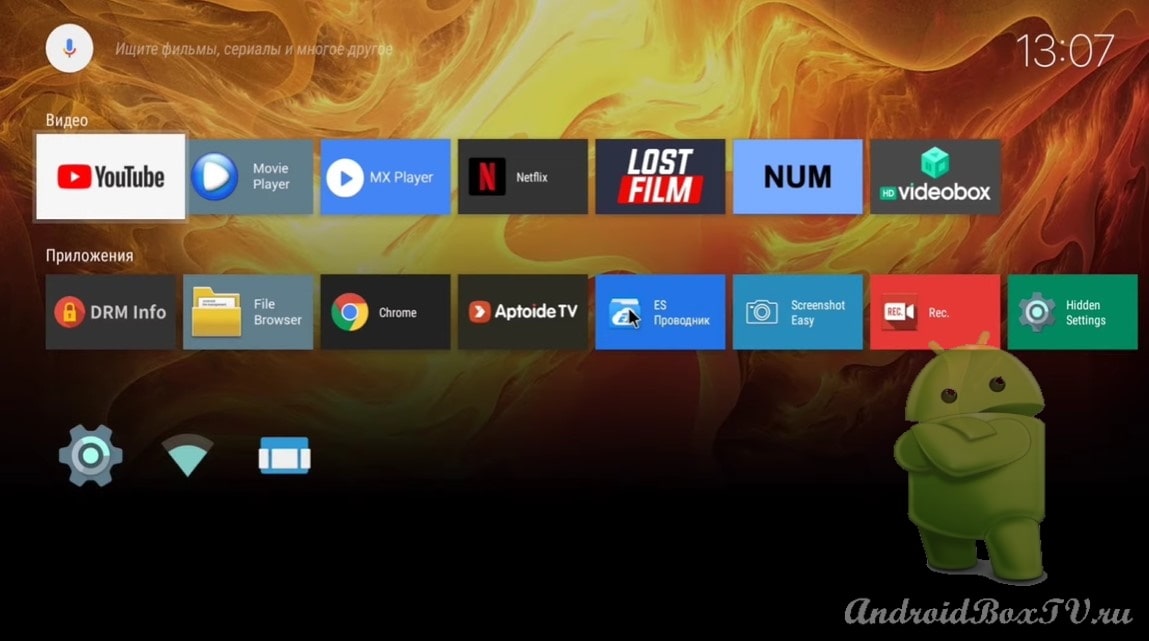
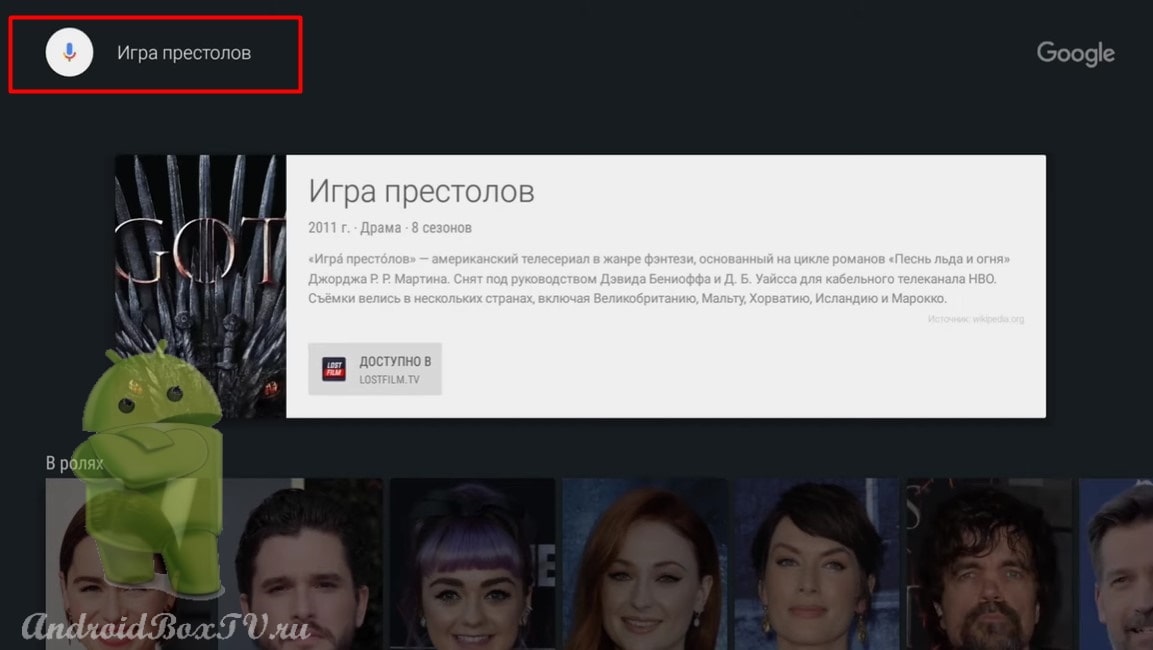
First, let's look at how everything looks in “Launcher Fire TV” :
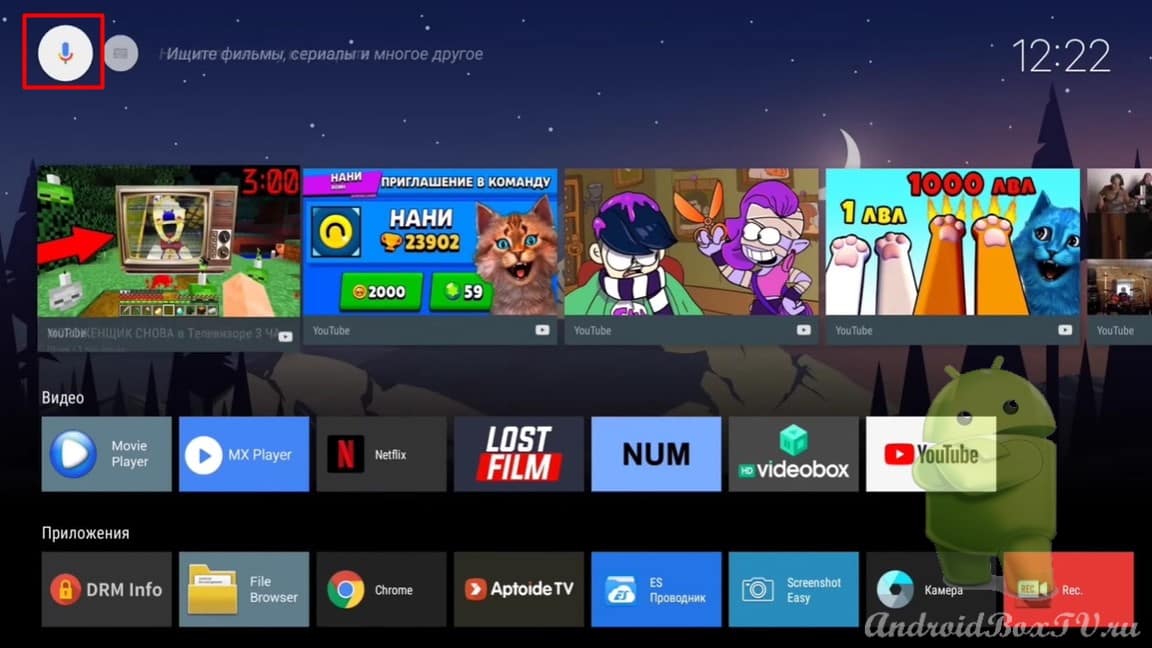
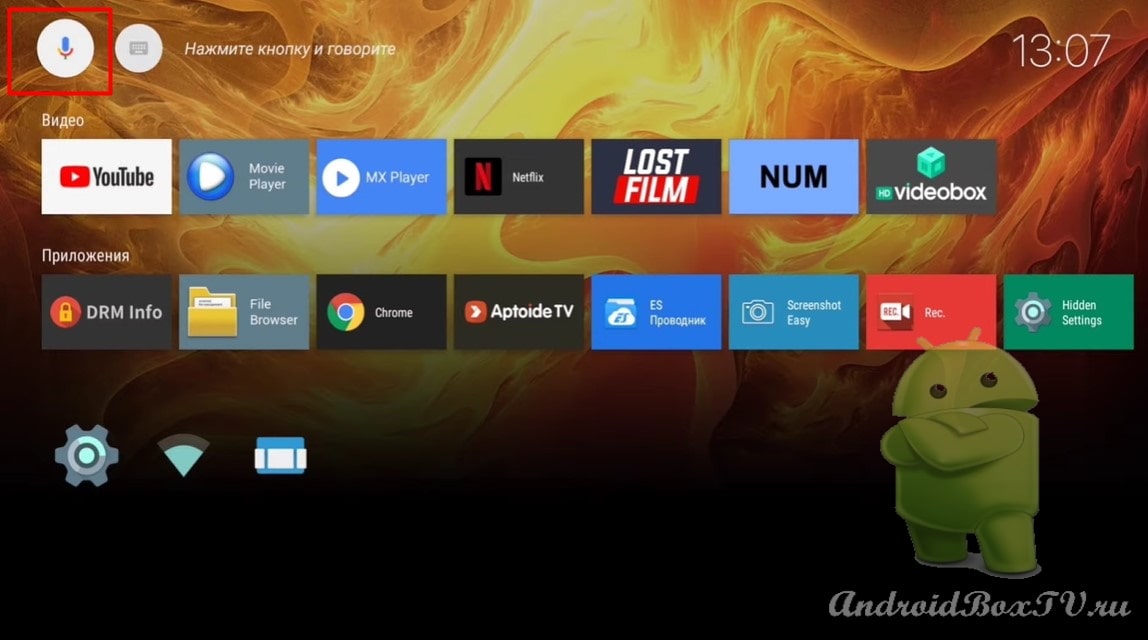
Let's check out the voice search. Click on the microphone and say the name of the movie:
Voice search works.
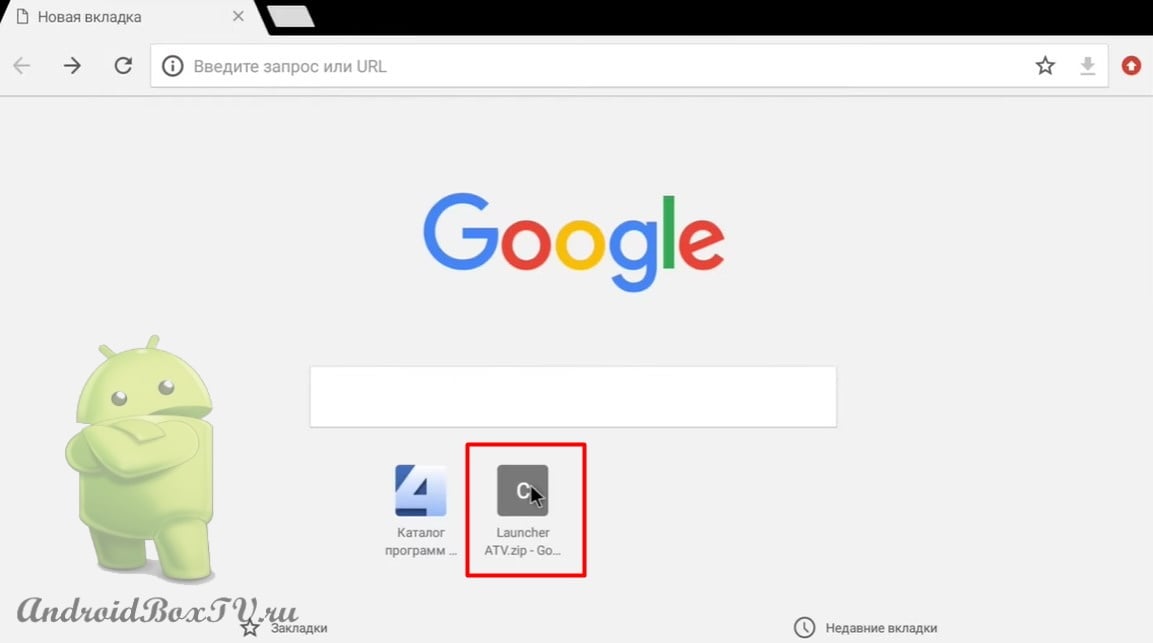
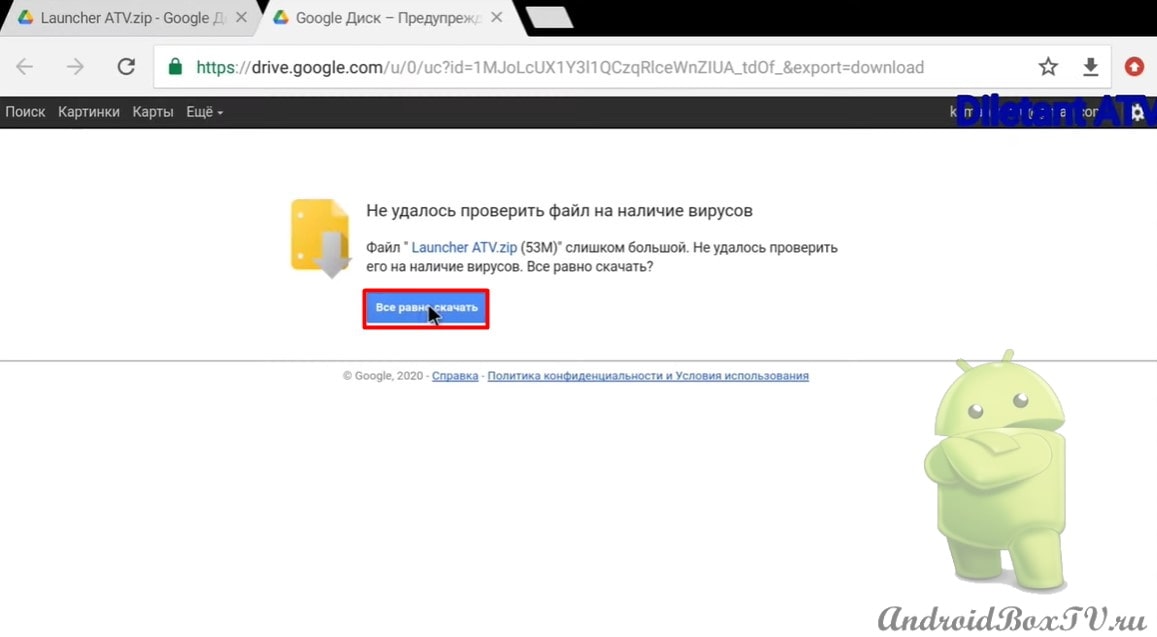
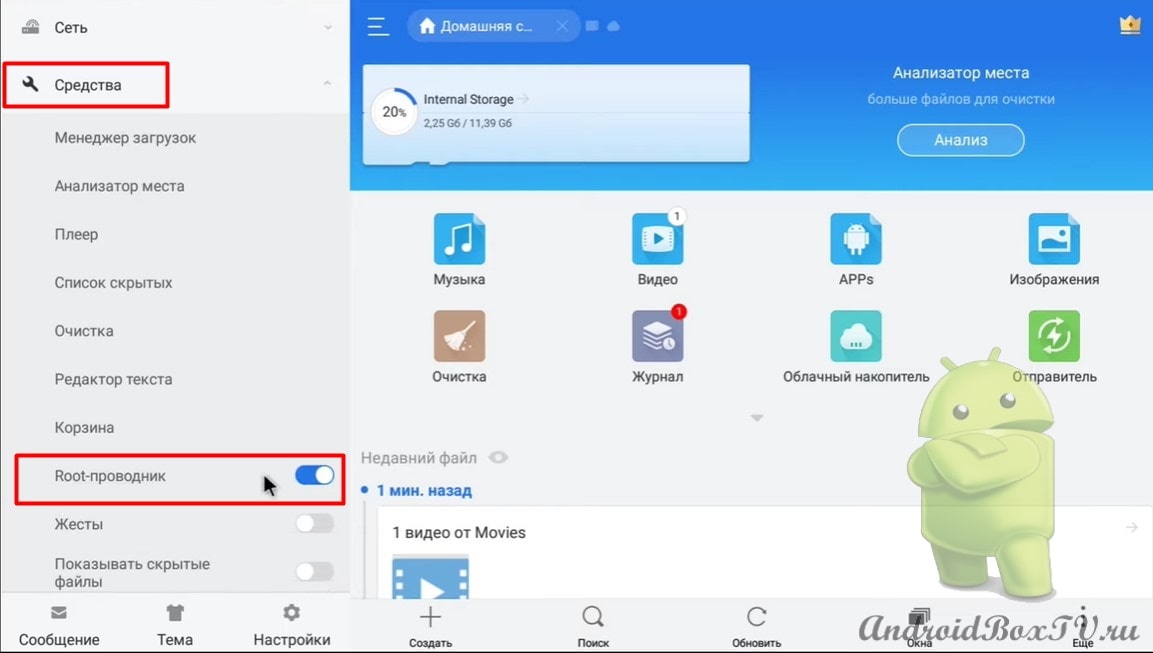
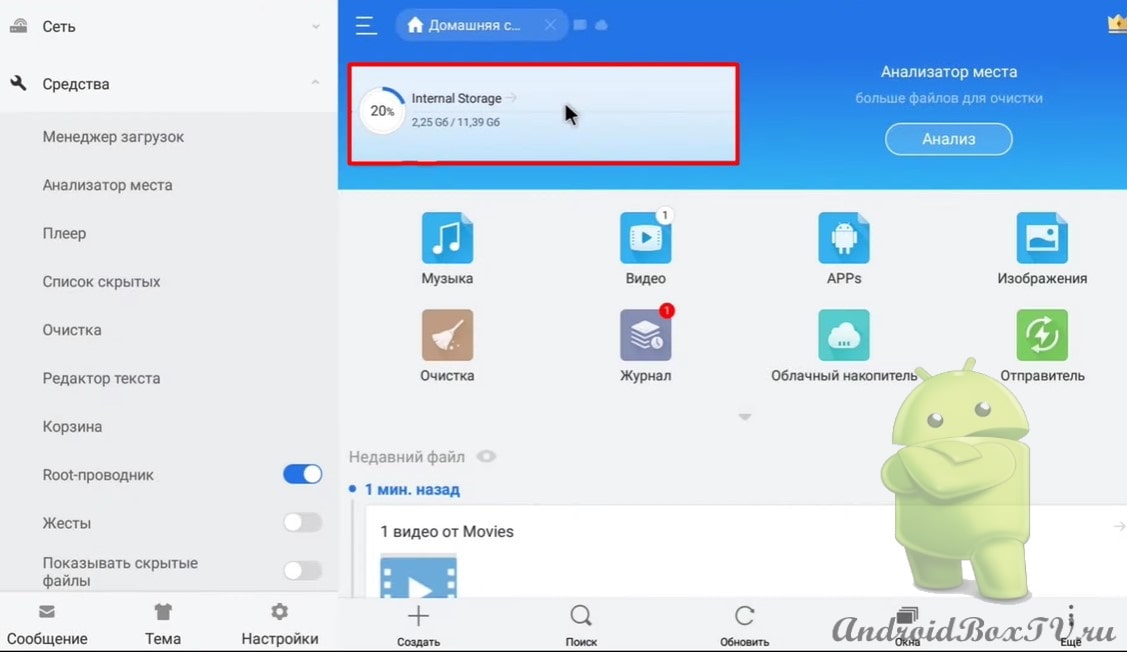
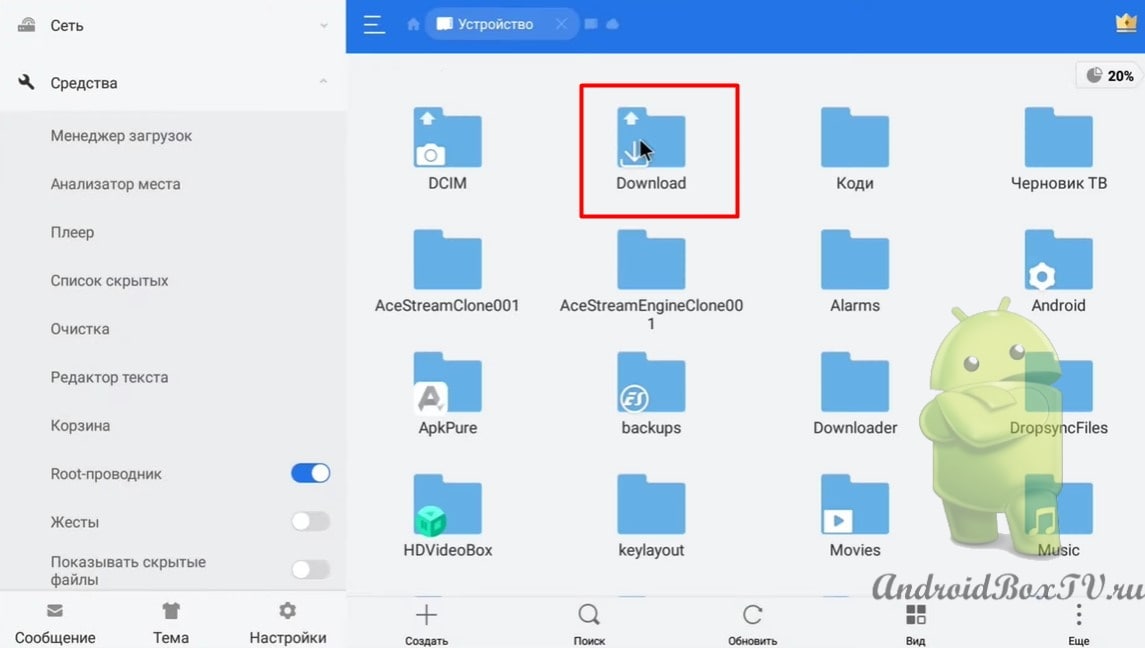
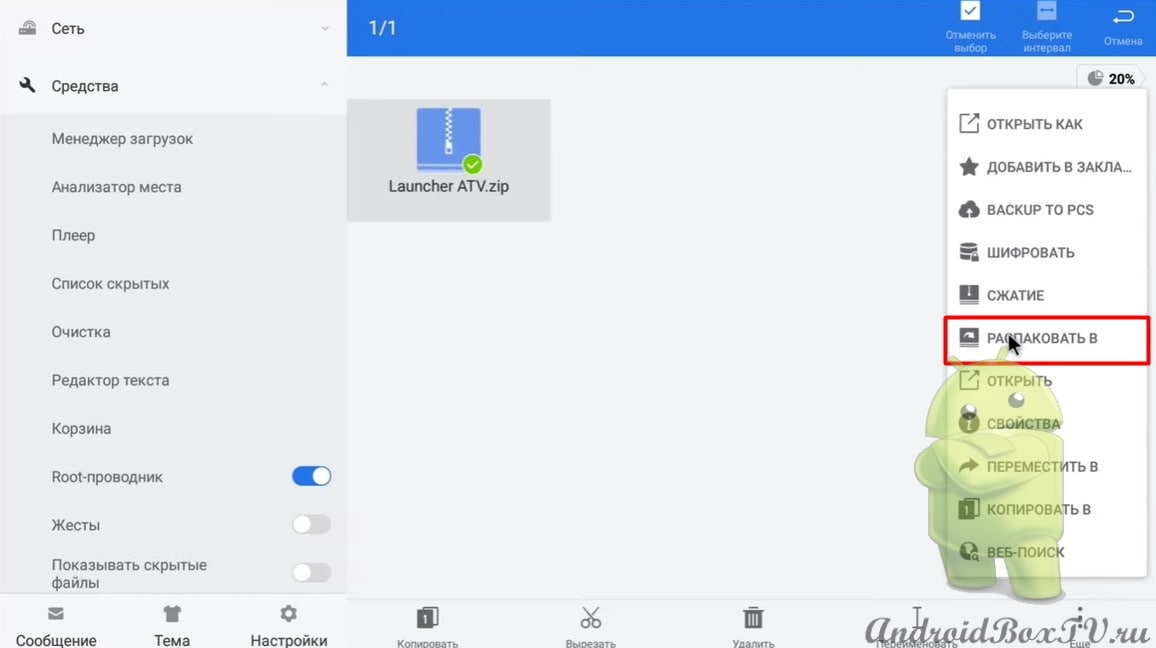
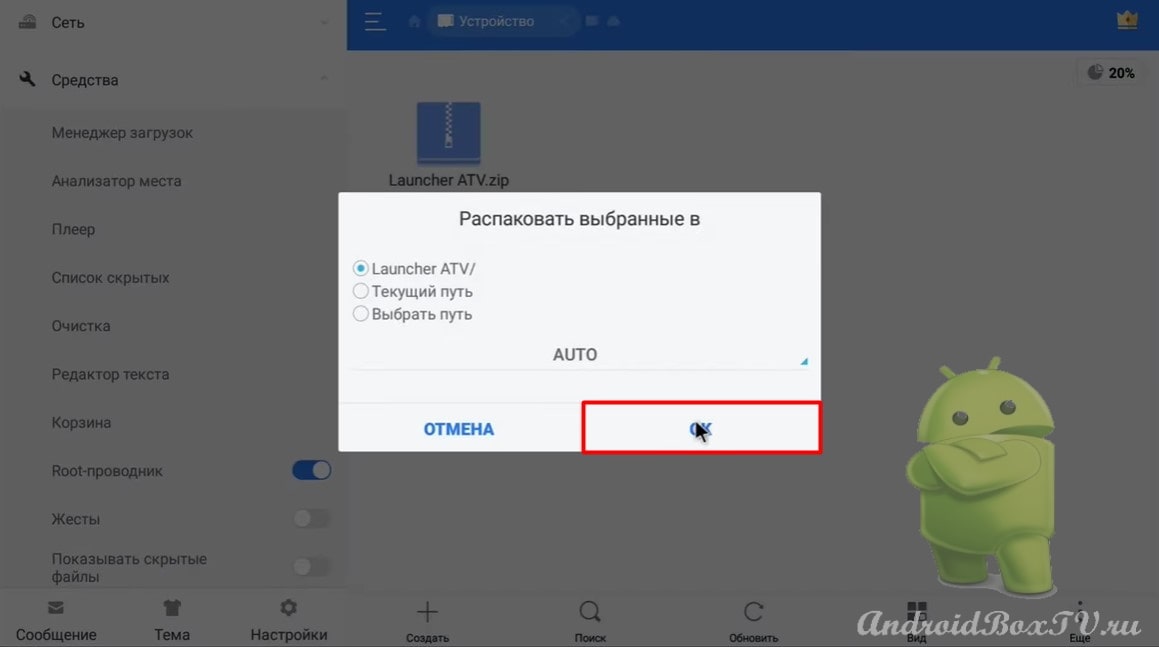
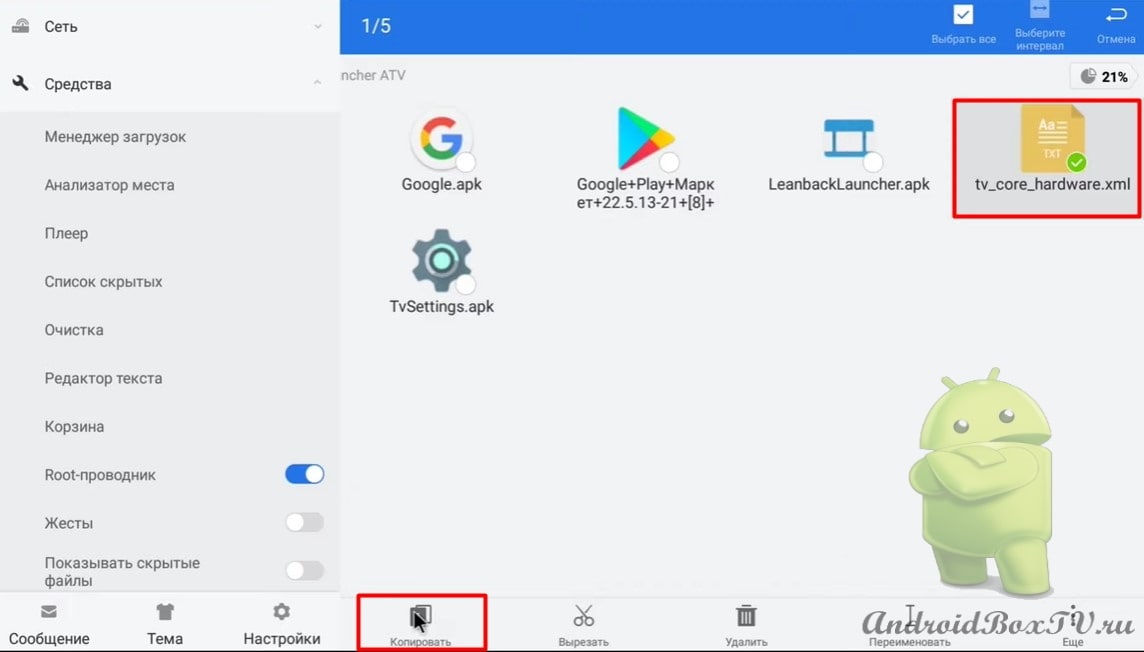
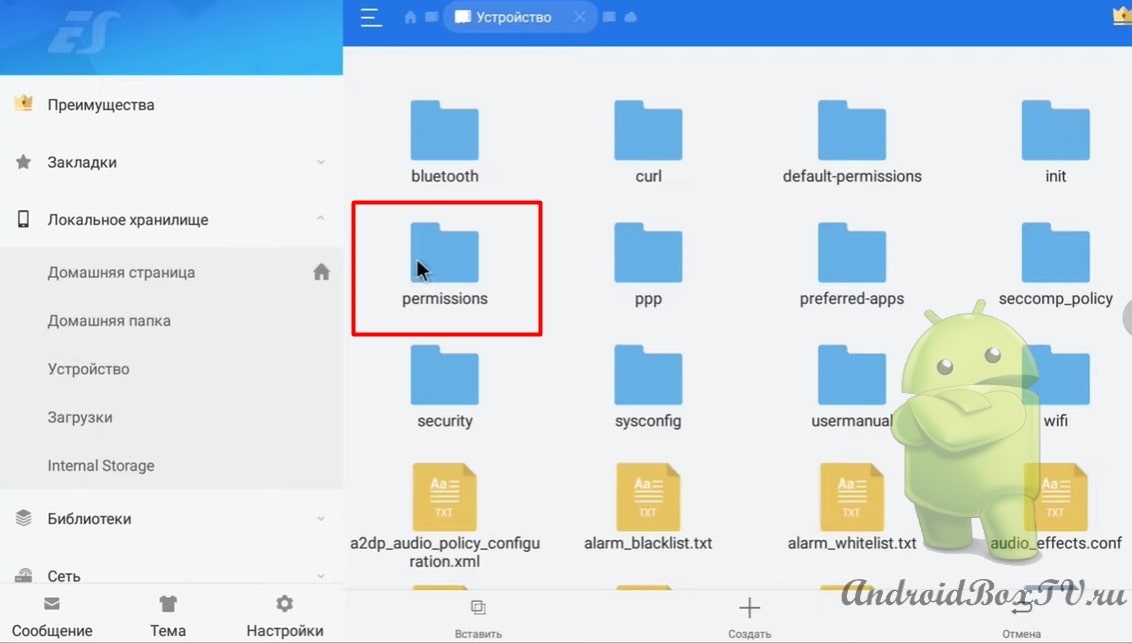
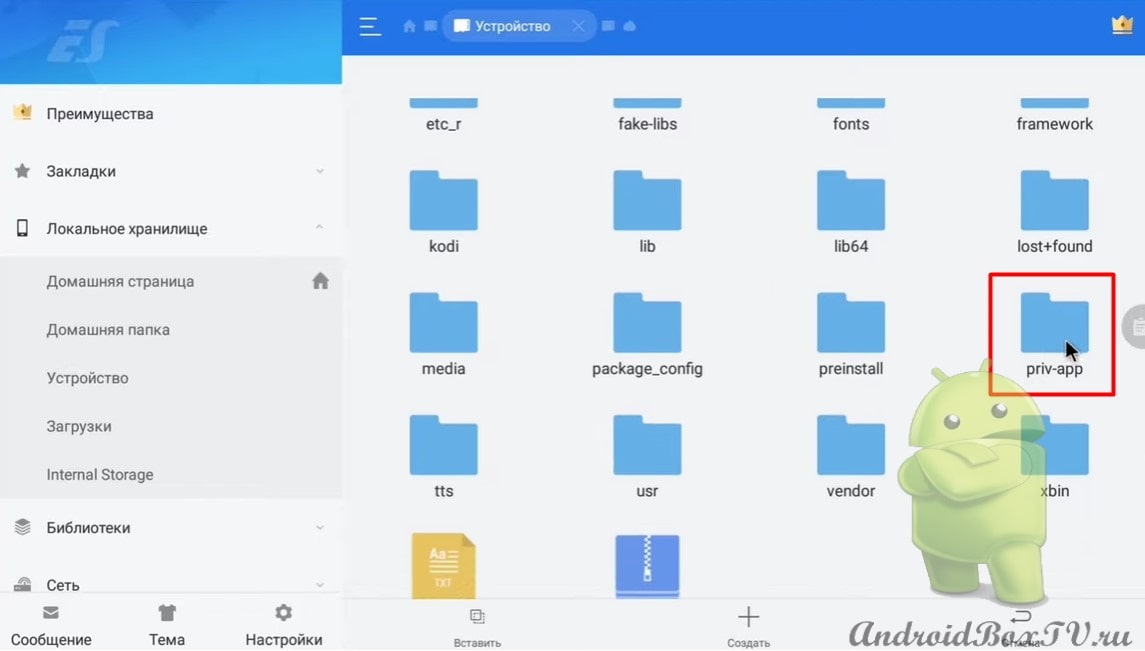
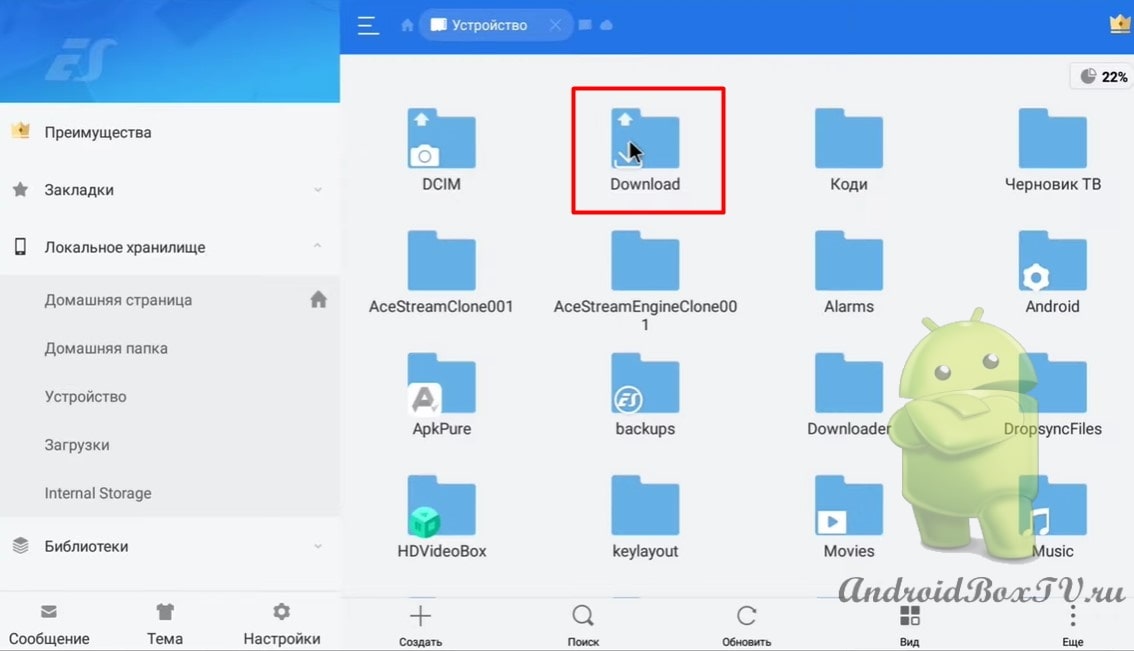
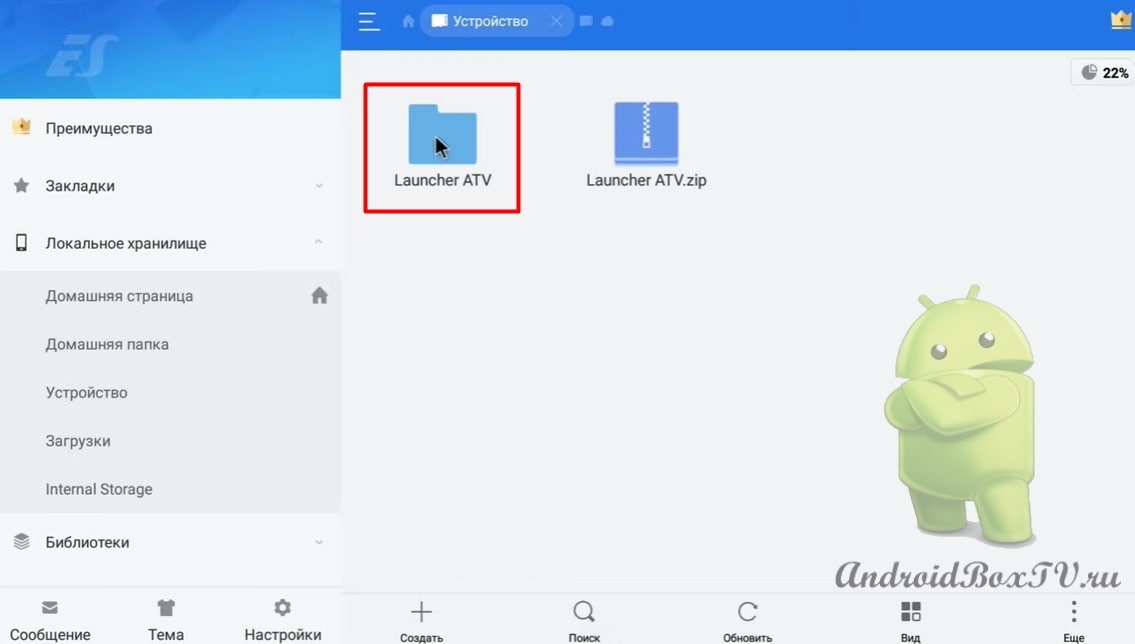
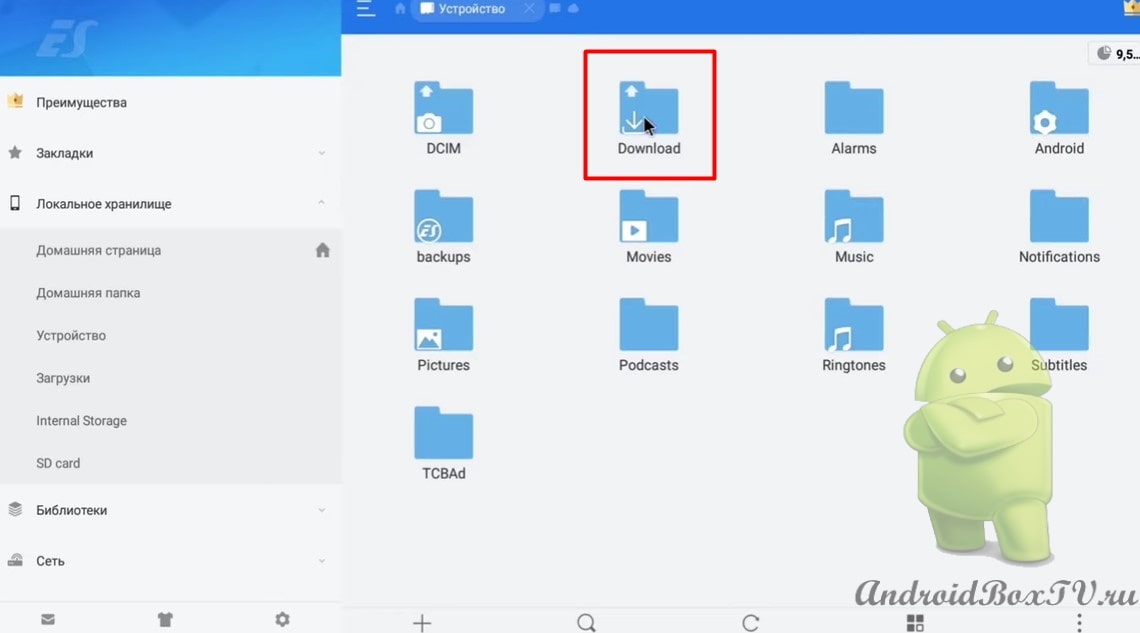
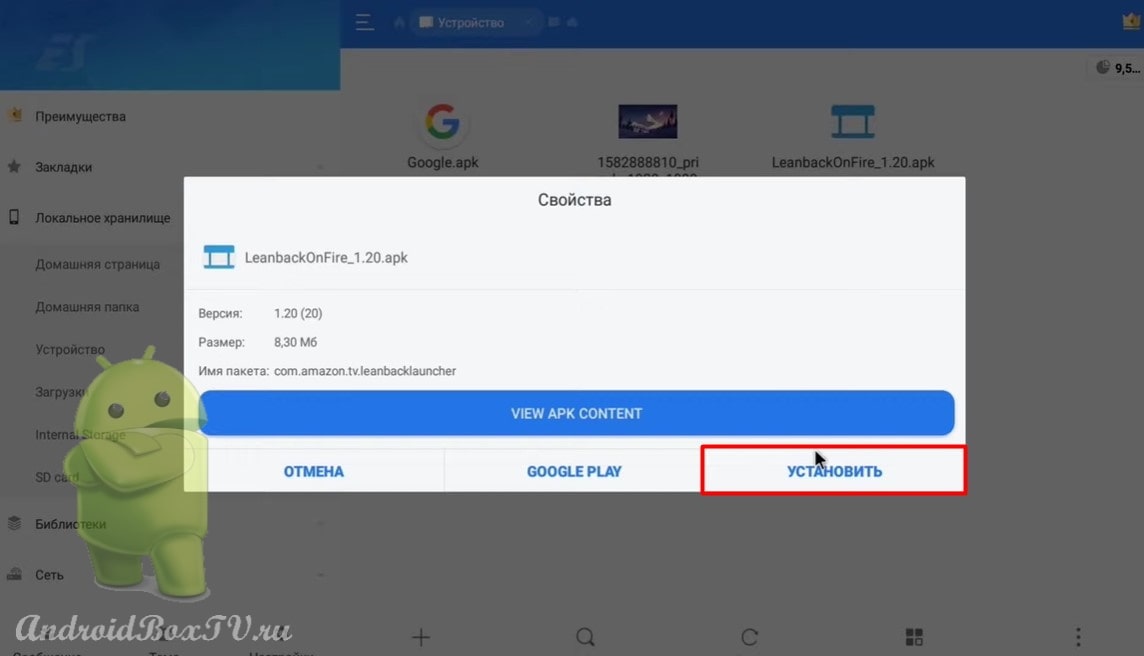
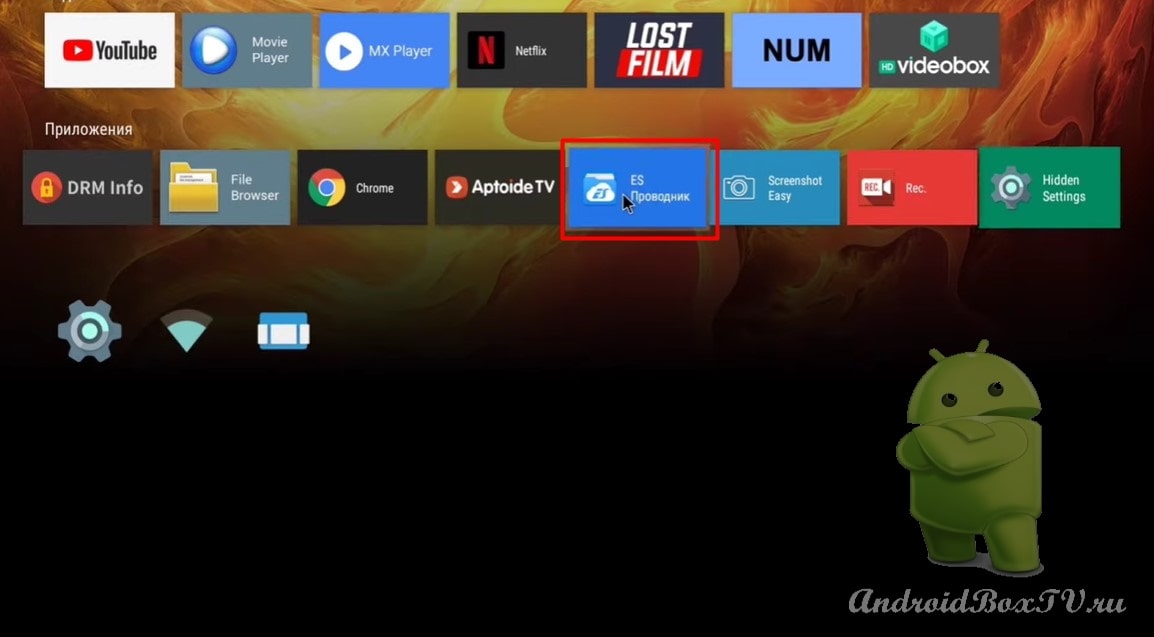
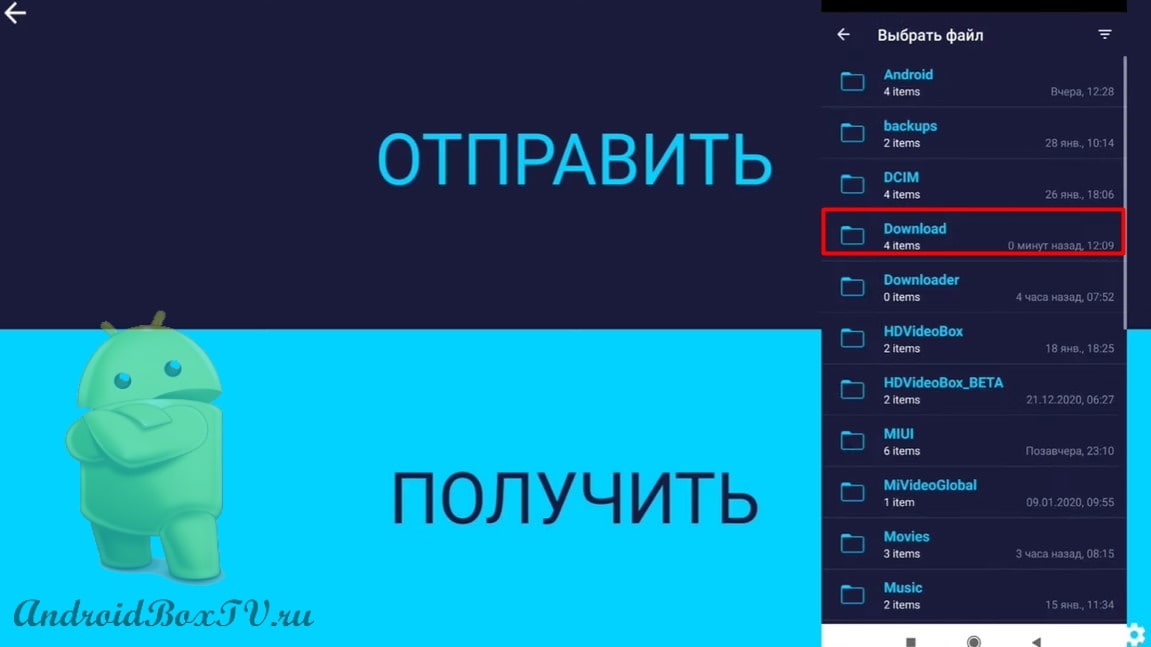
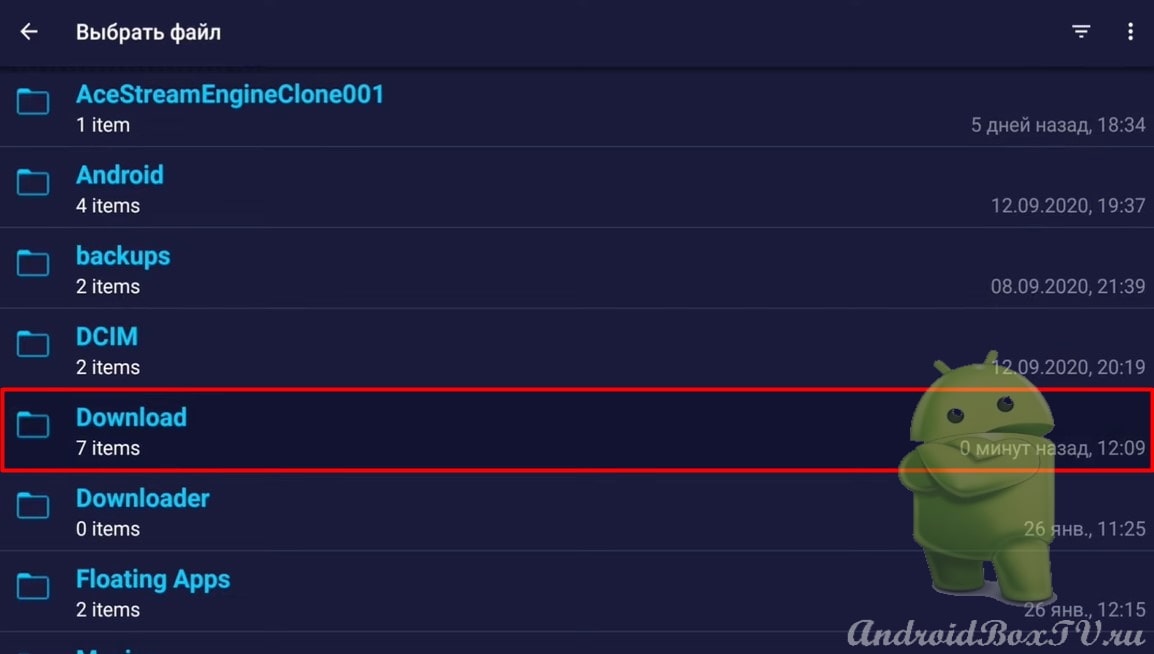
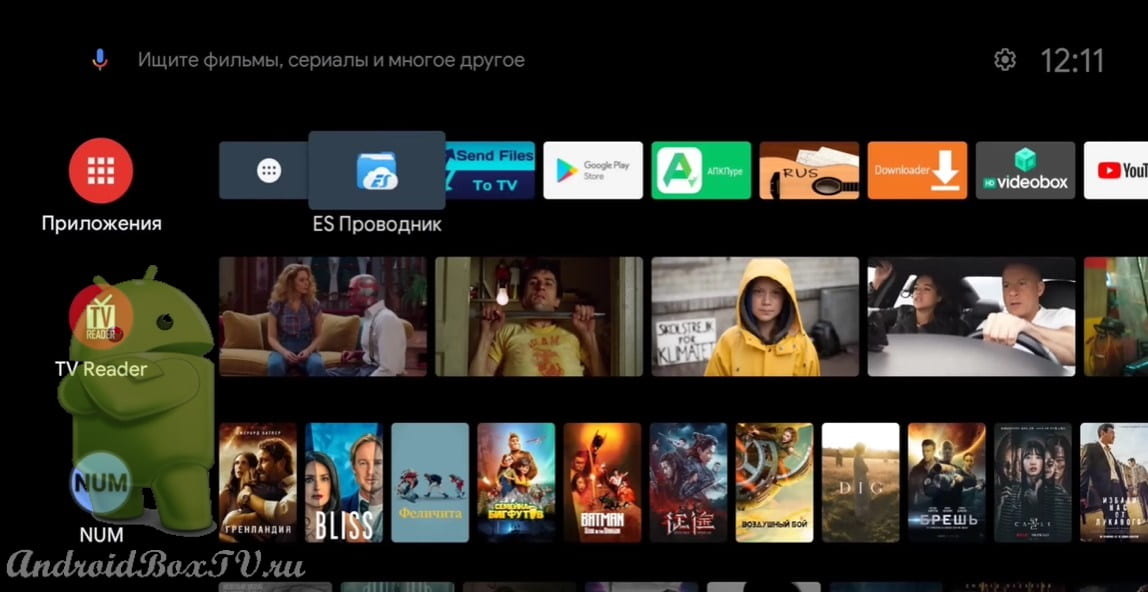
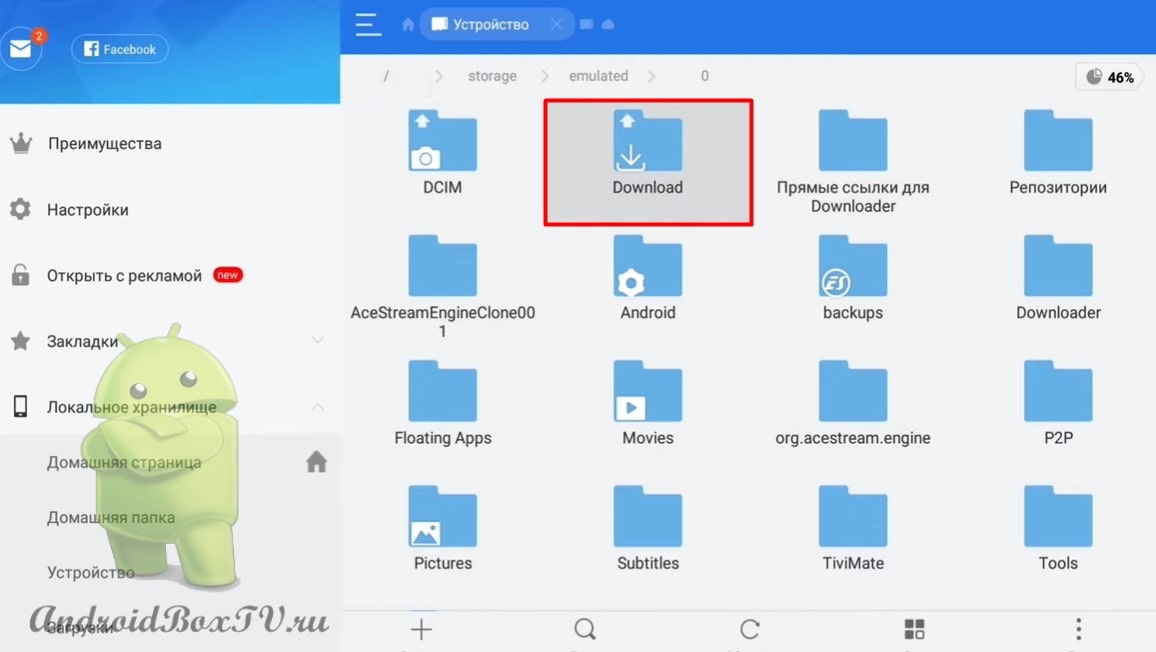
Now let's see how to do it. You need to download a couple of files from Google Drive. Go to ES Explorer and go to the download folder:
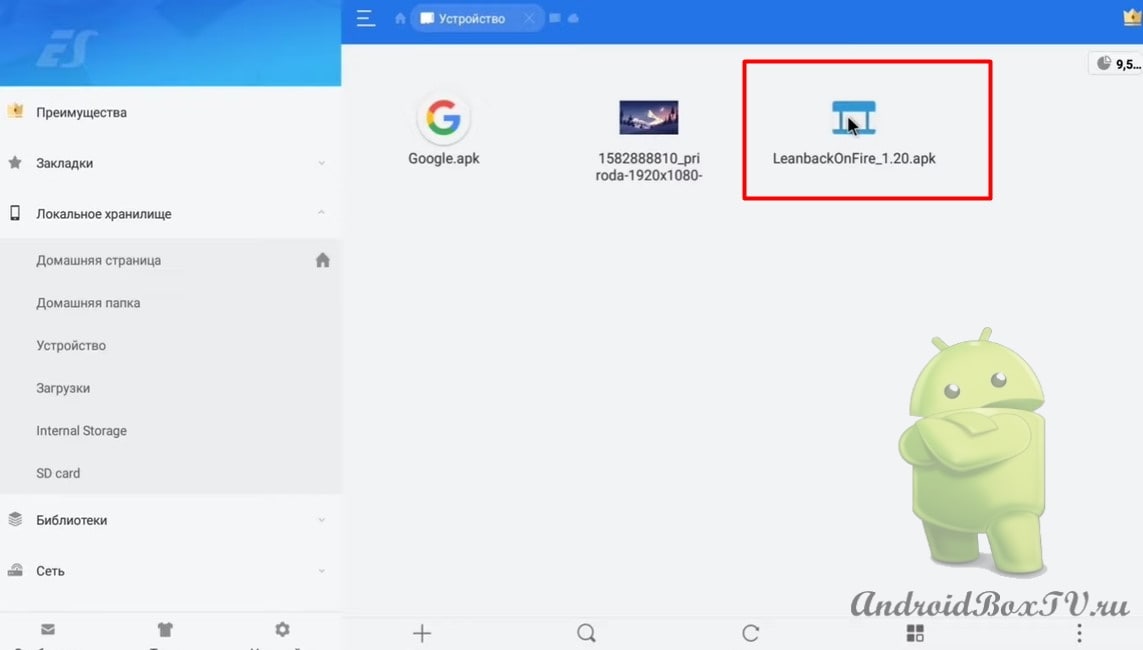
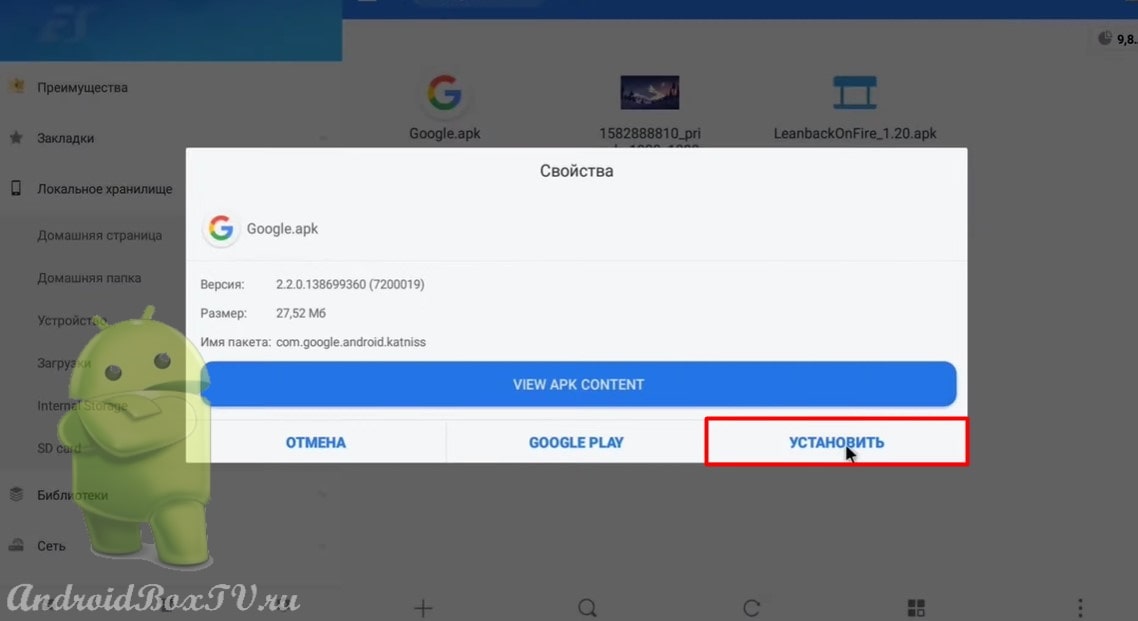
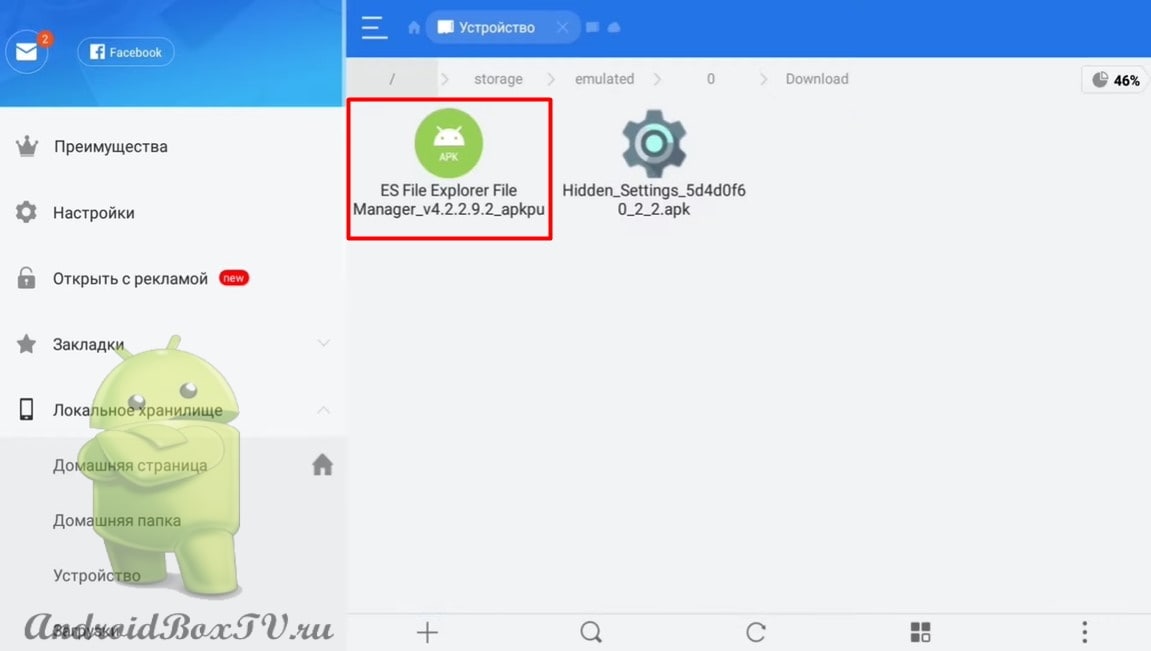
Click on “LeanbackOnFire” and click on “Install”:
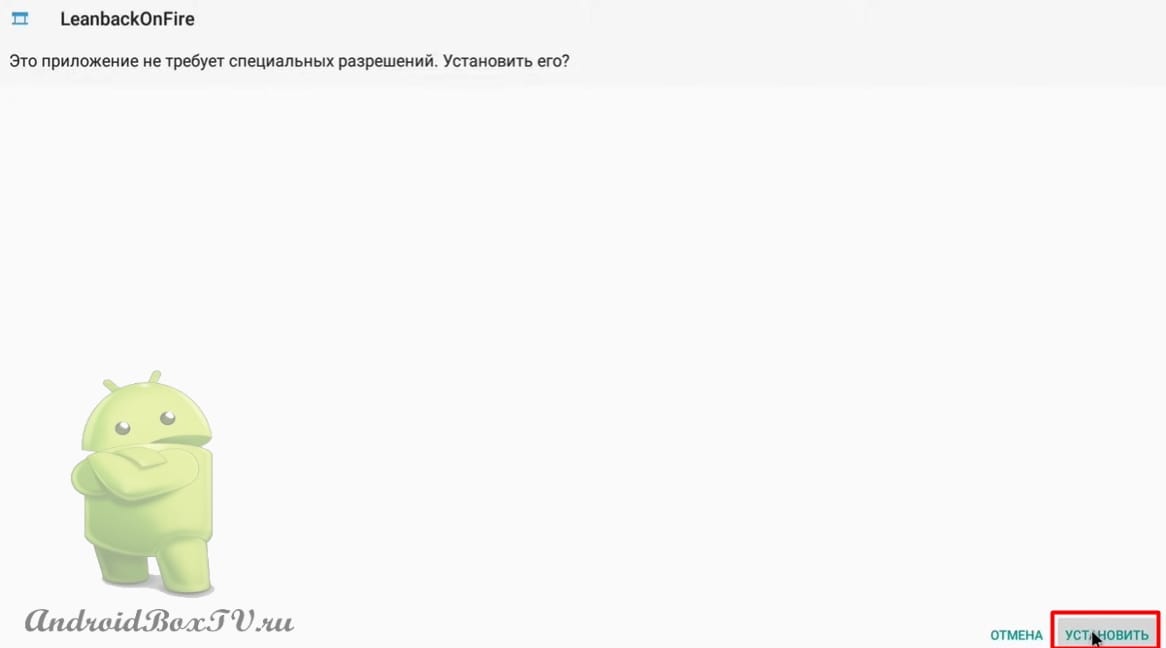
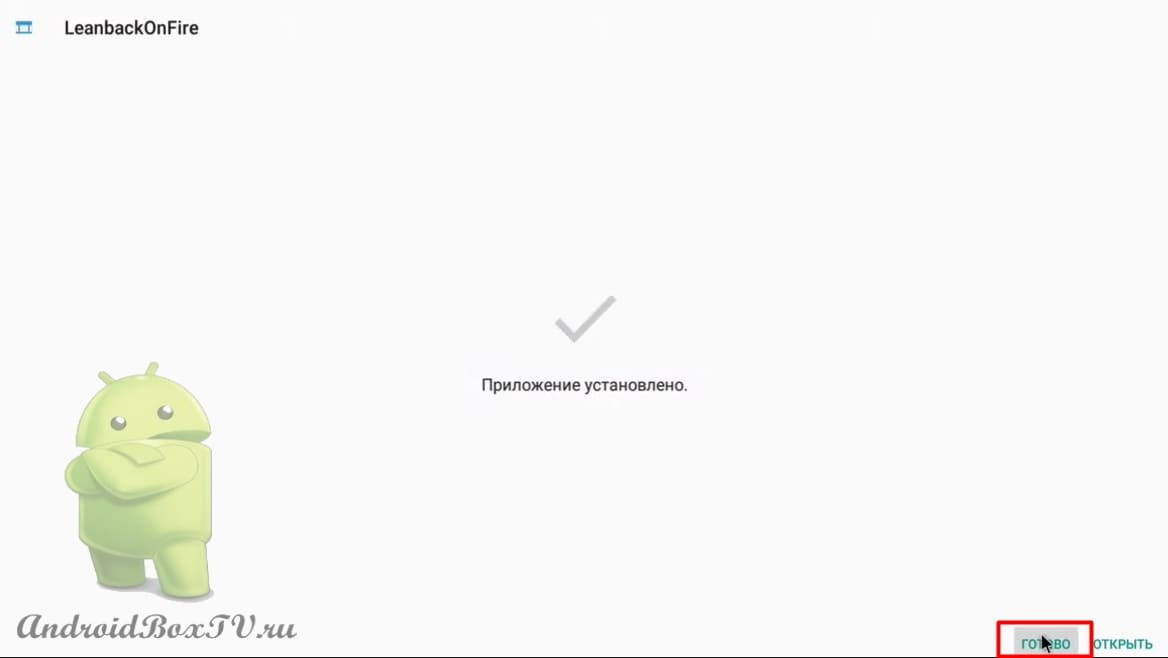
Next, allow the installation and click "Finish":
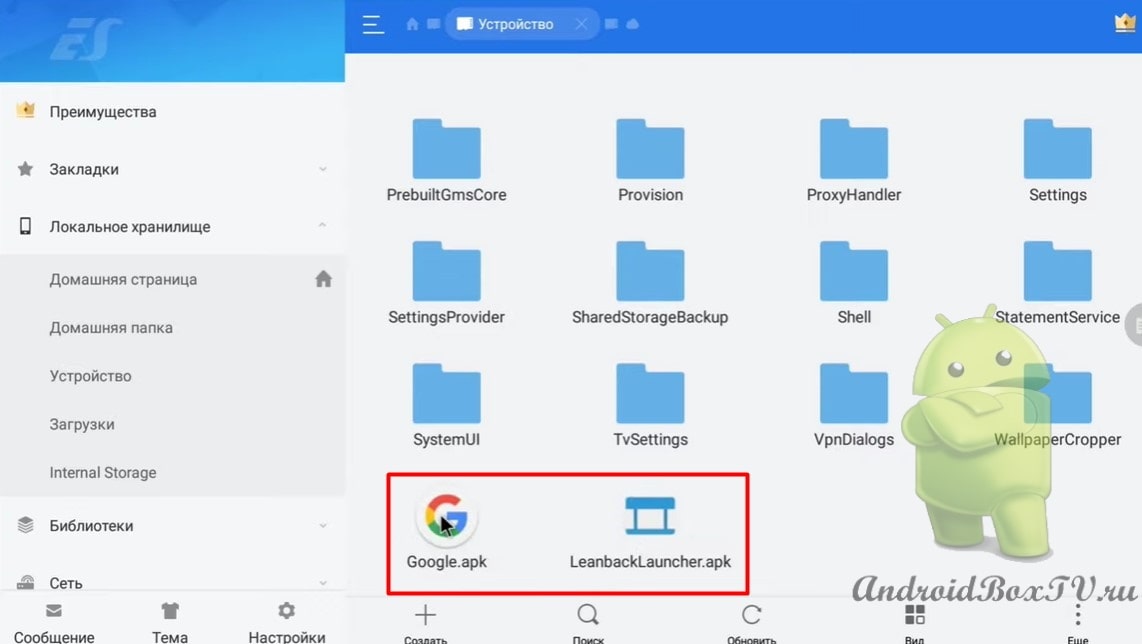
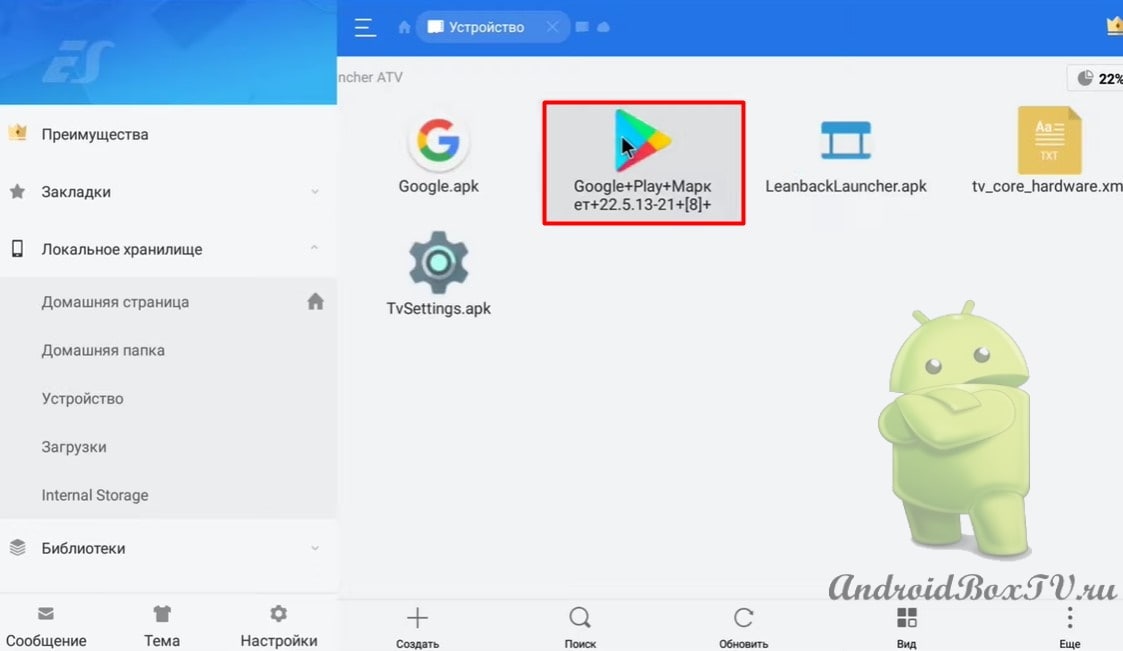
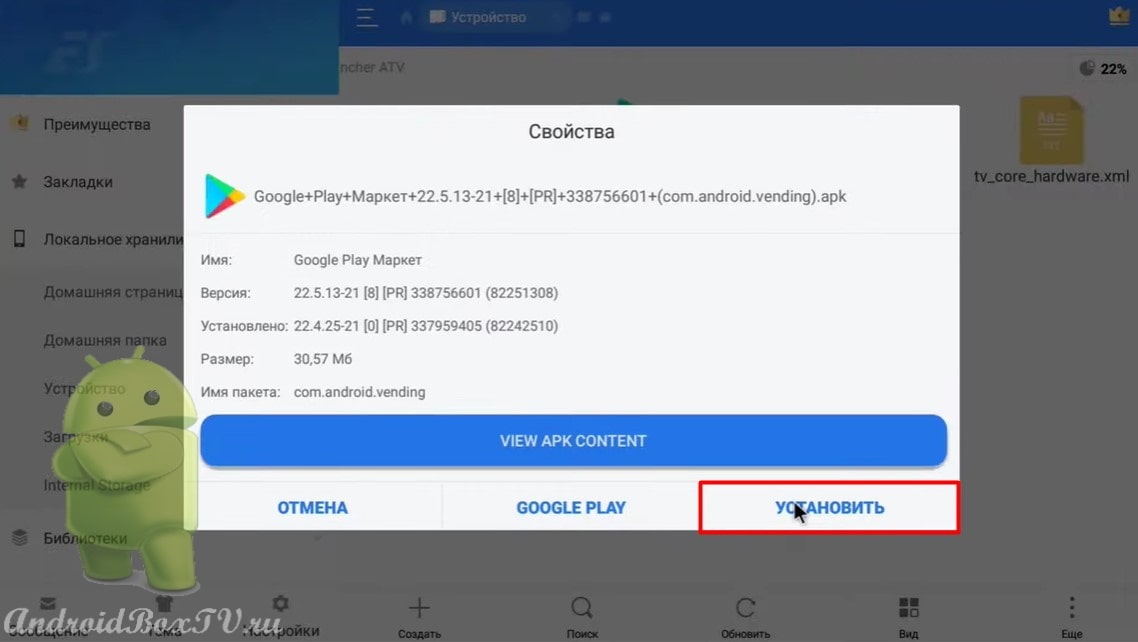
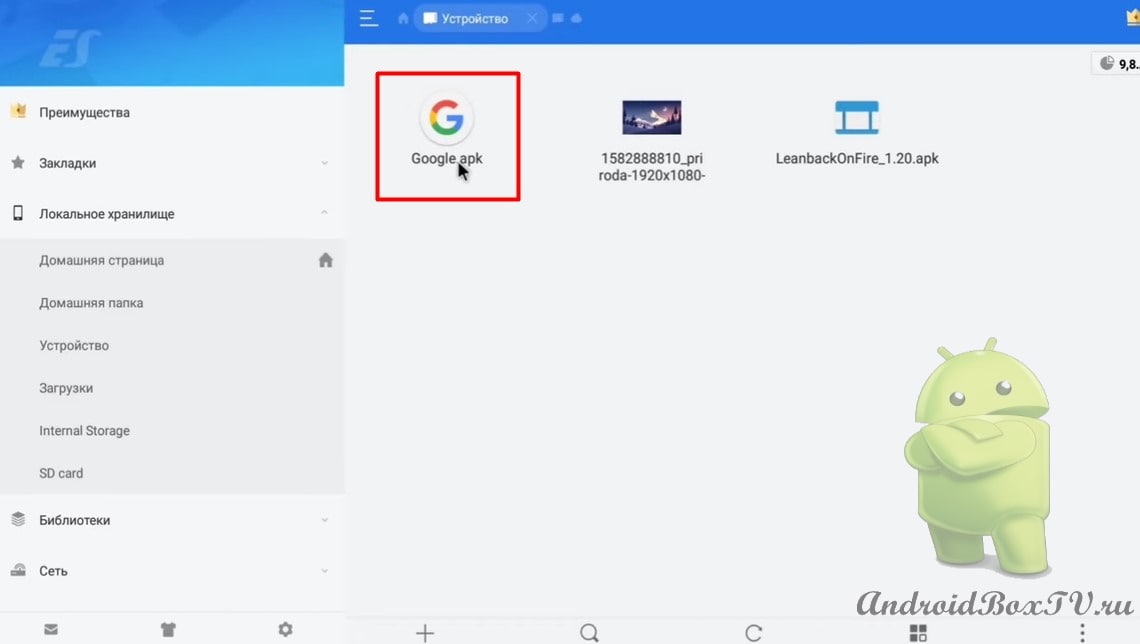
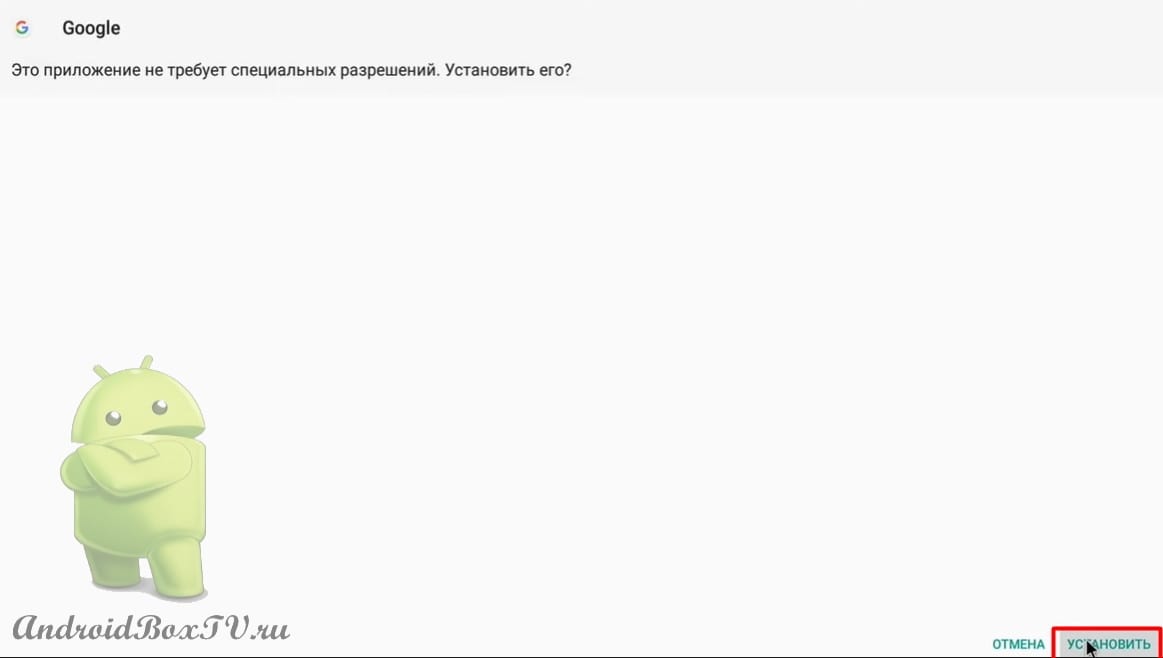
After installing Google for voice search. If you have a system Google, then try updating with this file:
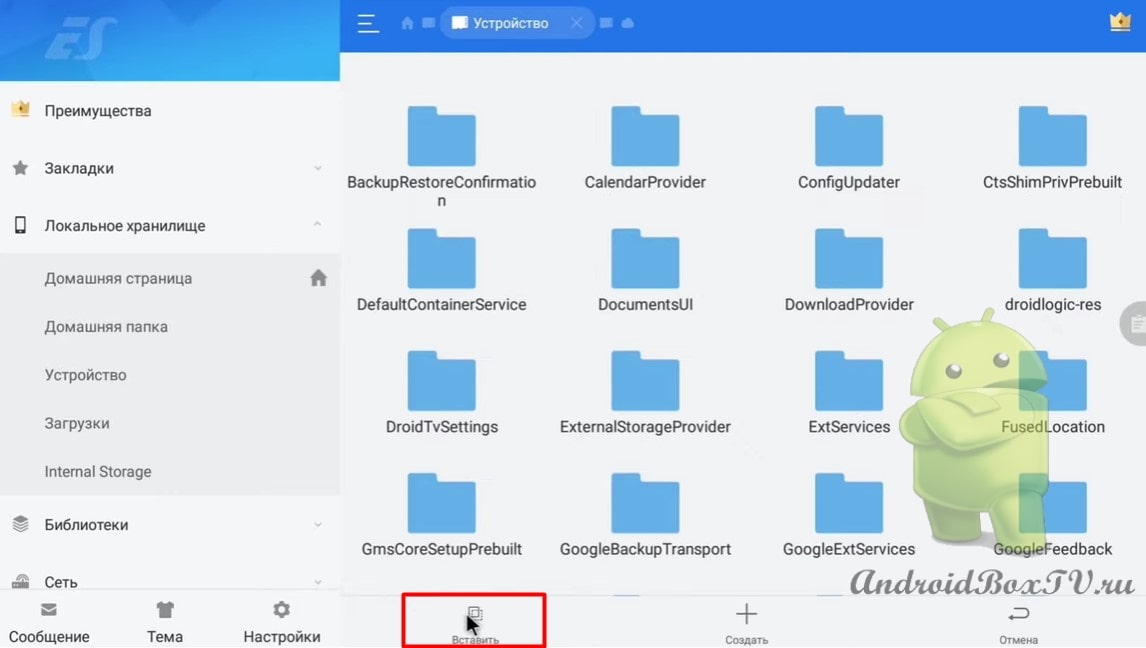
Click "Install" and allow the installation:
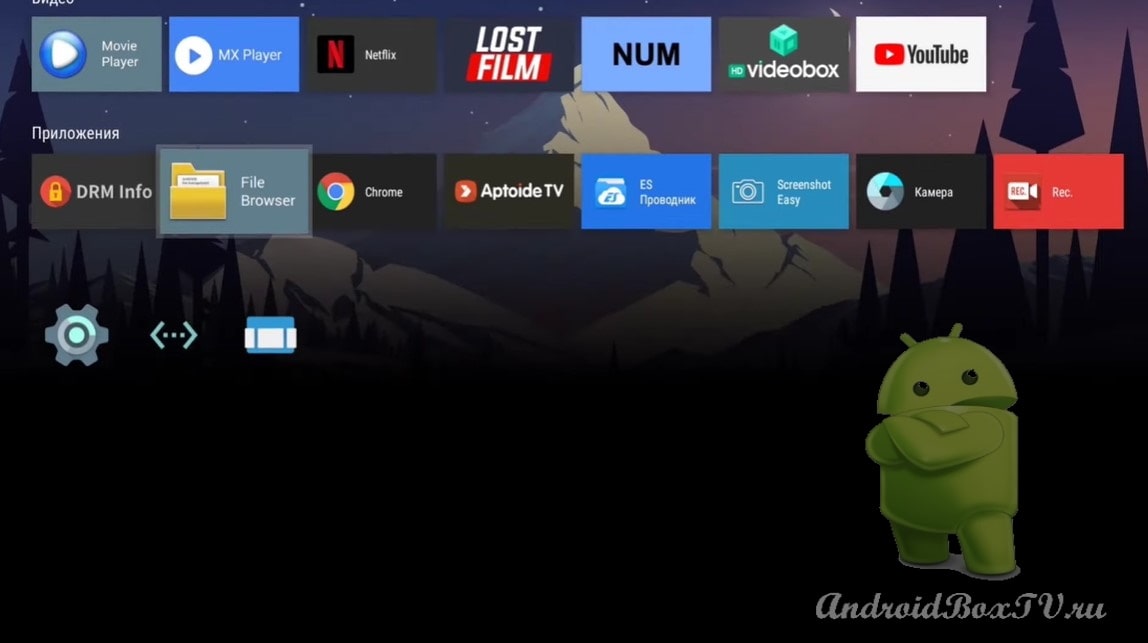
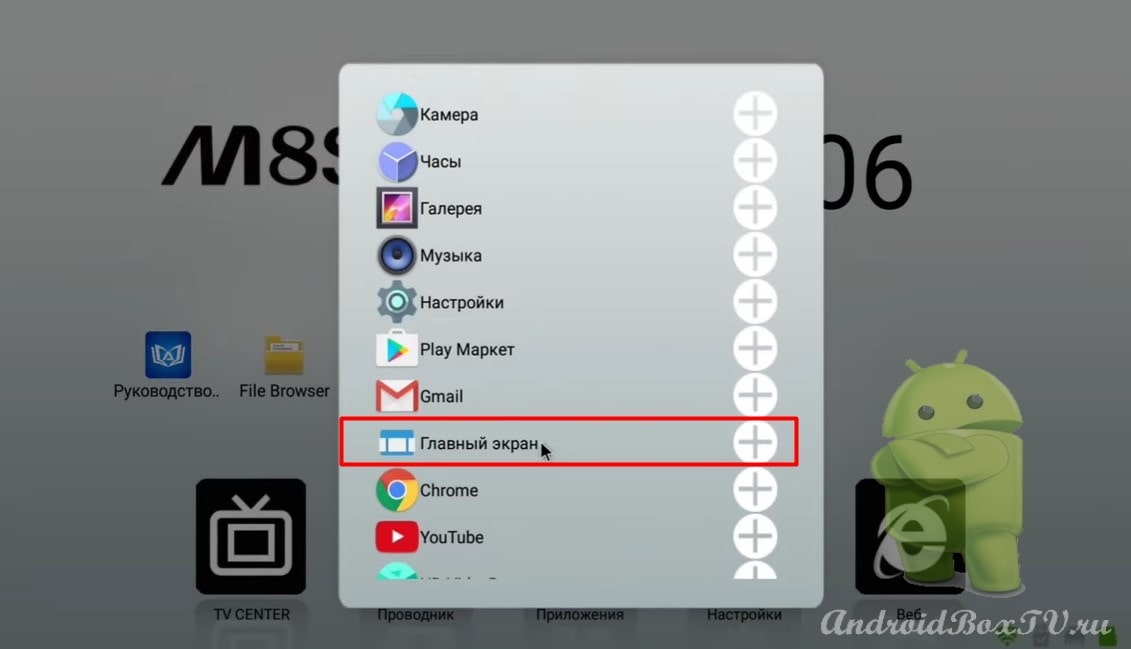
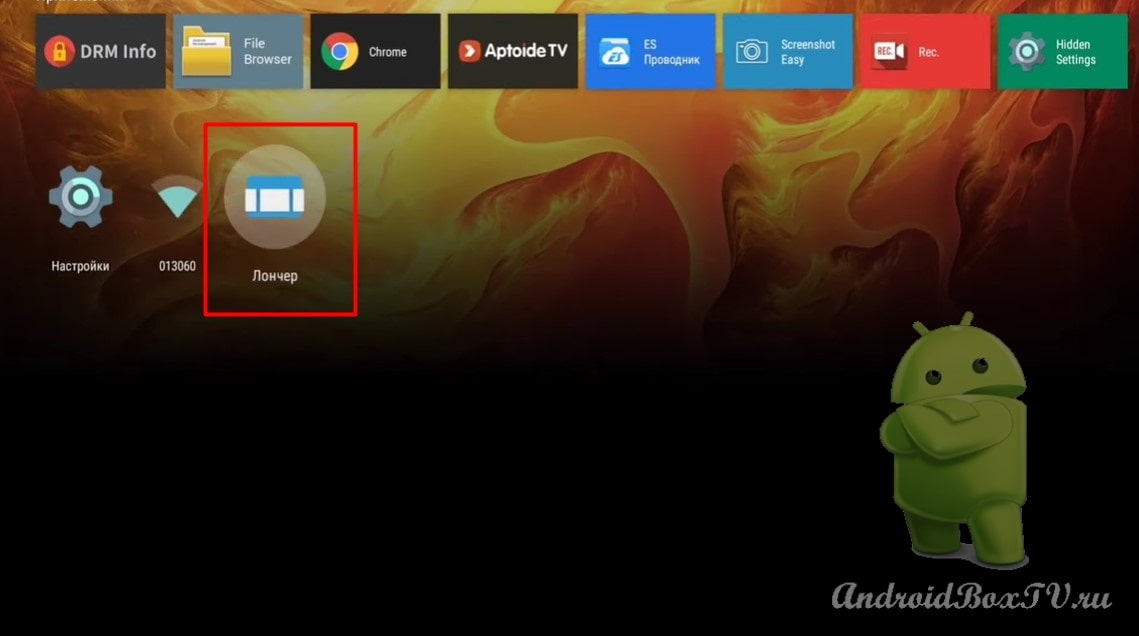
Back to the main screen and add the Launcher to the main screen:
We see that the Launcher has been added. We open it:
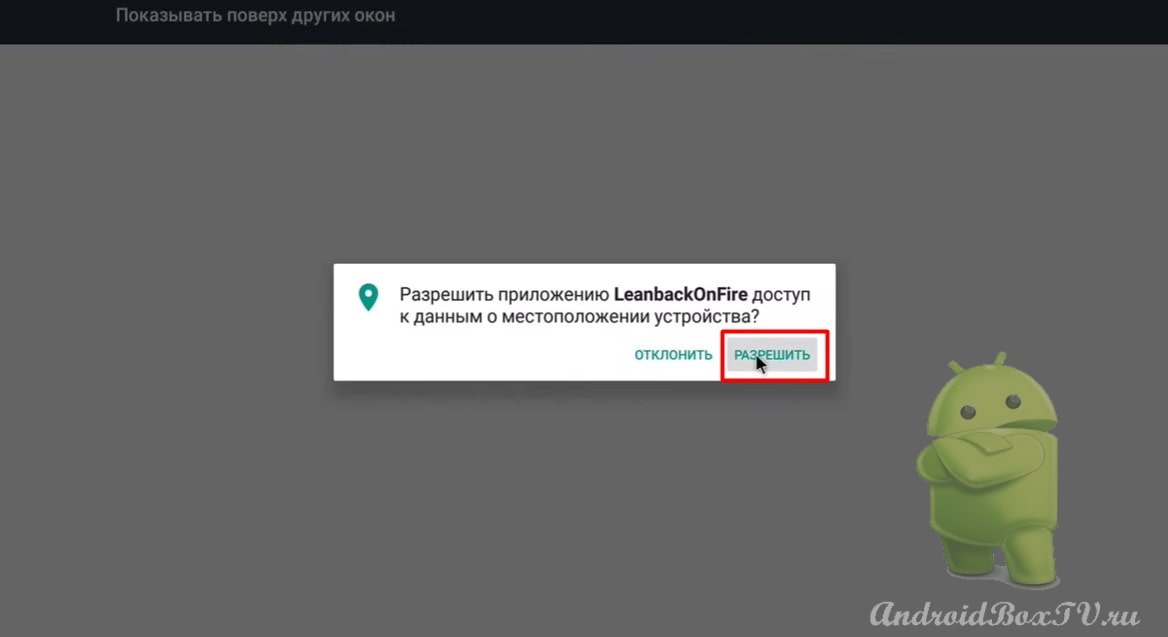
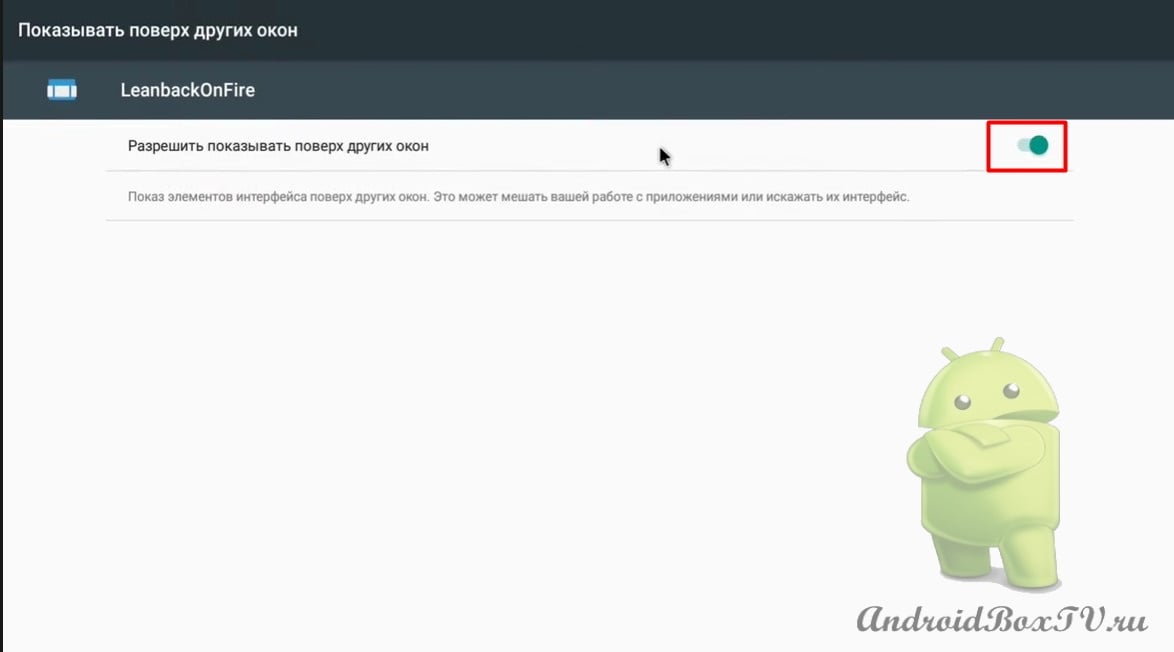
Click “Allow” and turn on “Allow to show on top of other windows”:
We return back. We see the original view:
Let's check out the voice search. Click on the microphone:
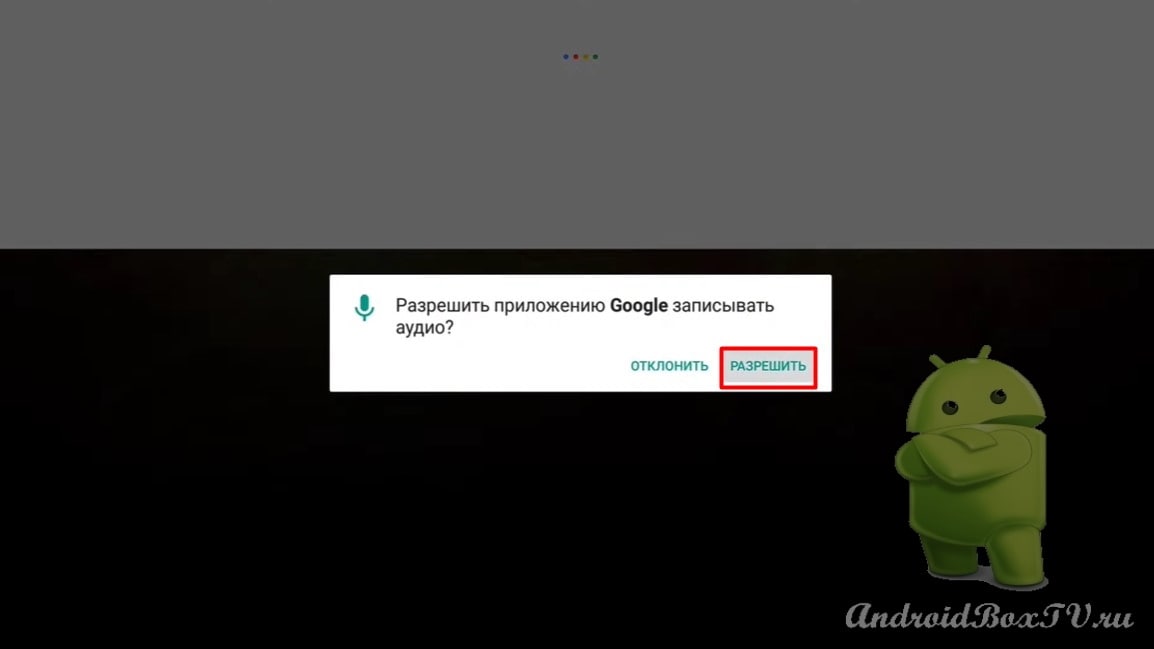
Click "Allow" and say the name of the movie:
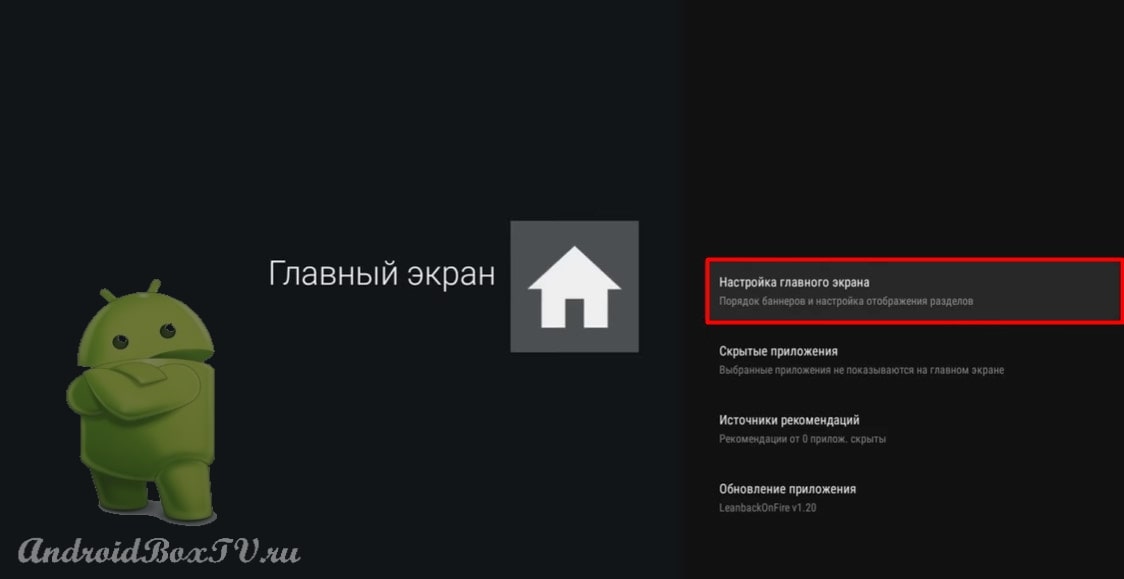
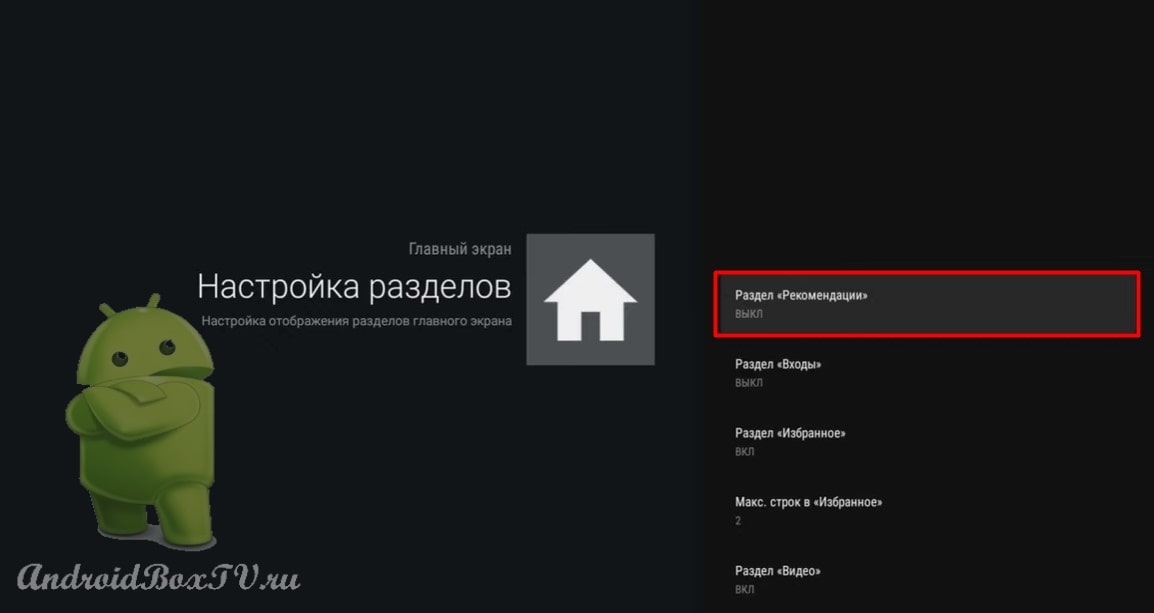
Next, go to the Launcher settings:
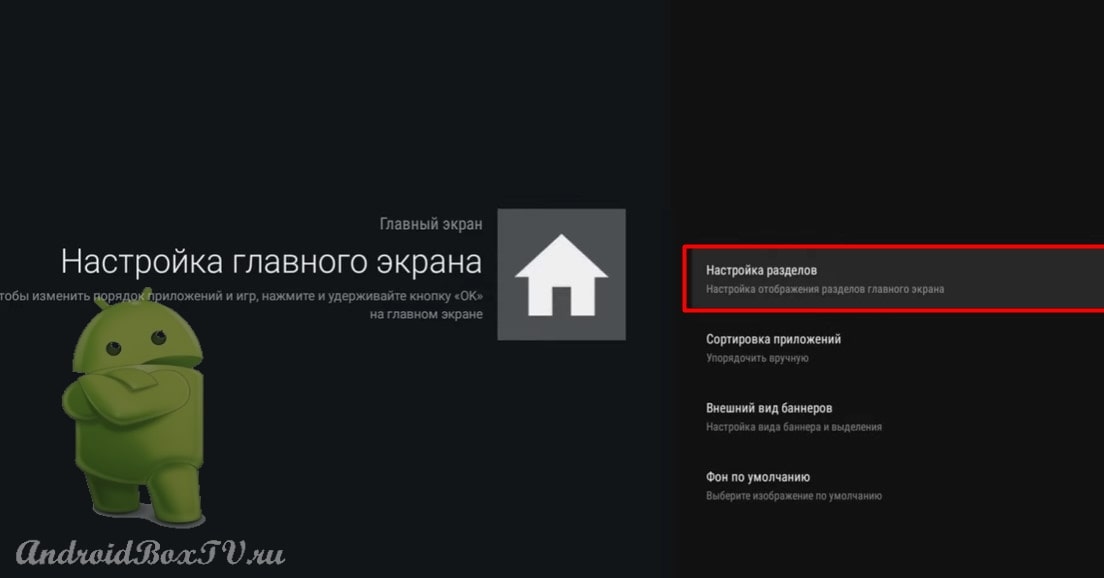
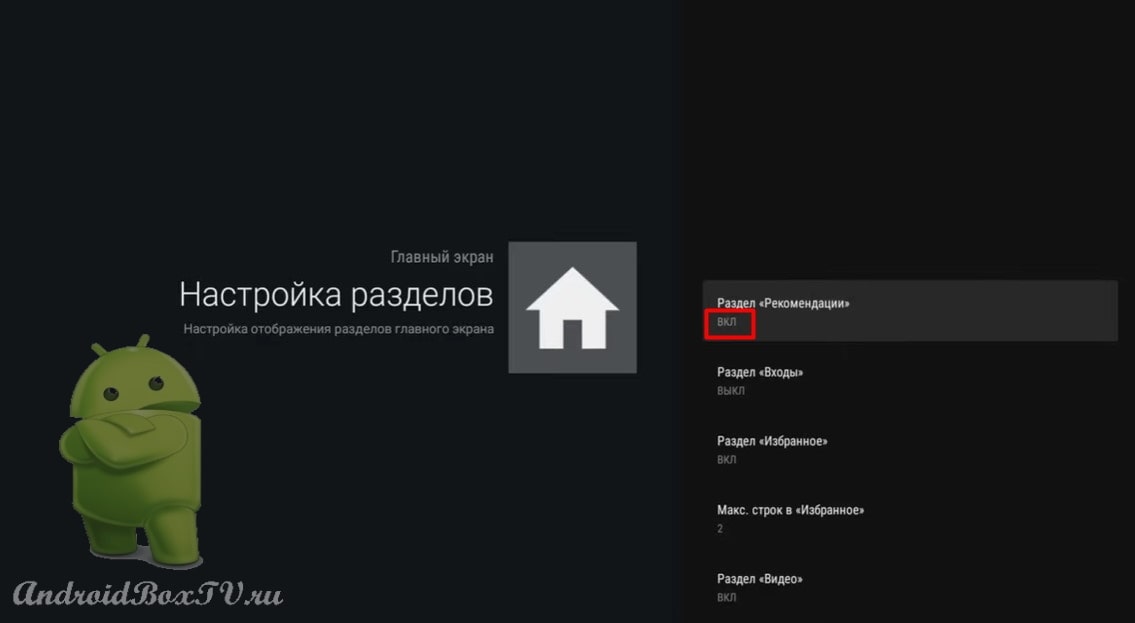
Select “Home screen settings” and “Section settings”:
Next, click on the “Recommendations Section”:
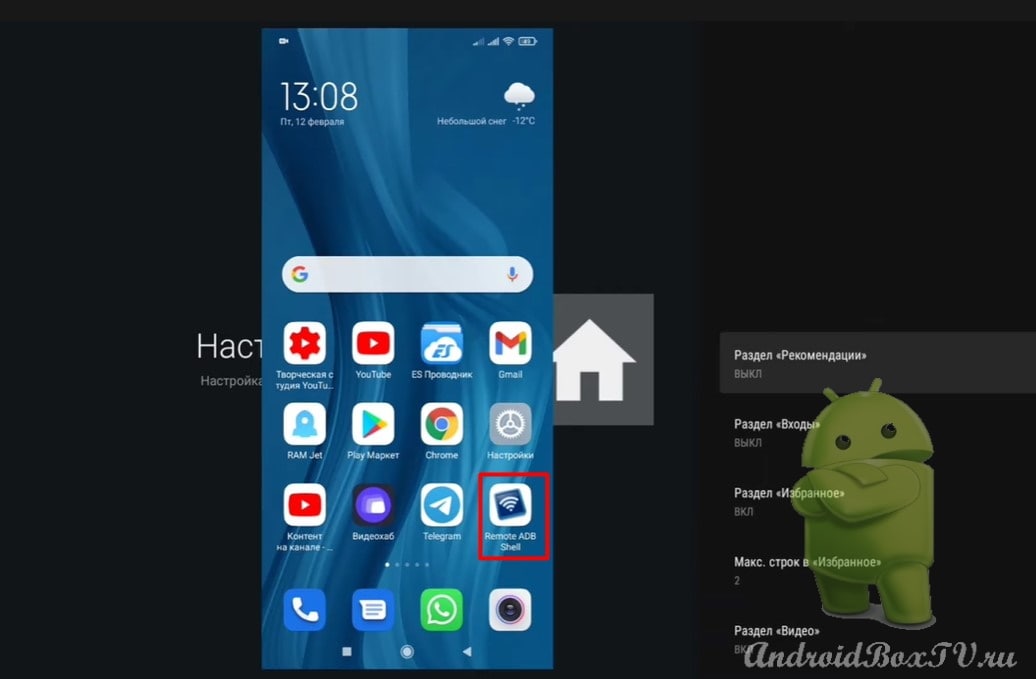
Now you need to submit the ADB Shell command from your smartphone. On the smartphone, open the “Remote ADB Shell” application:
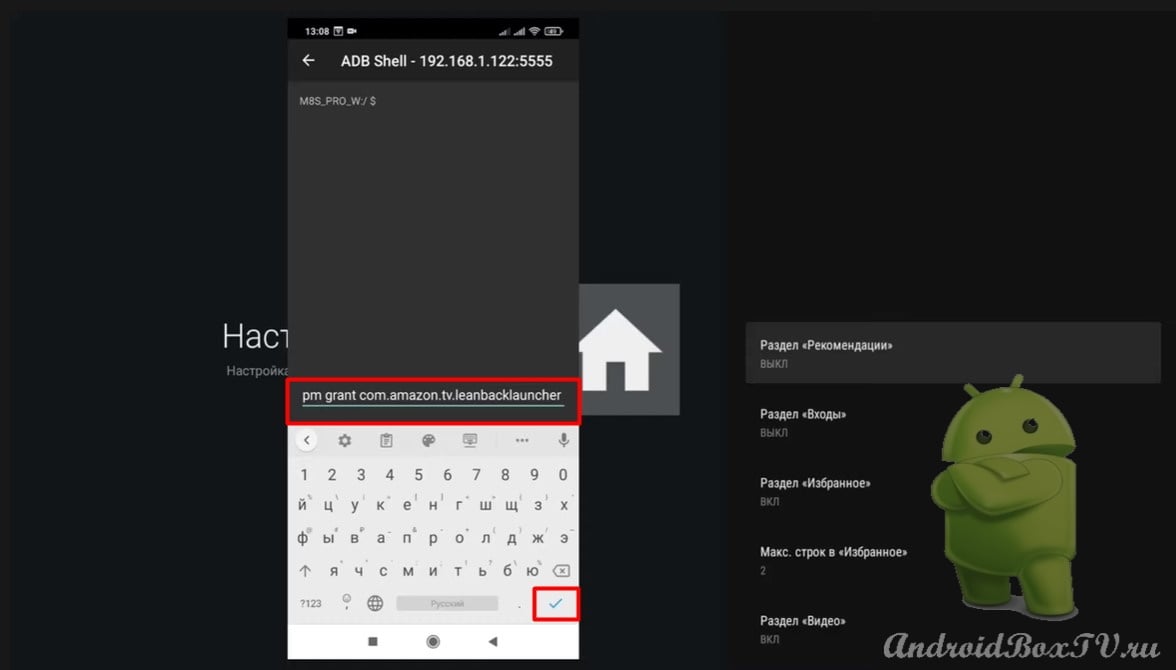
We connect and enter the command - pm grant com.amazon.tv.leanbacklauncher android.permission.WRITE_SECURE_SETTINGS :
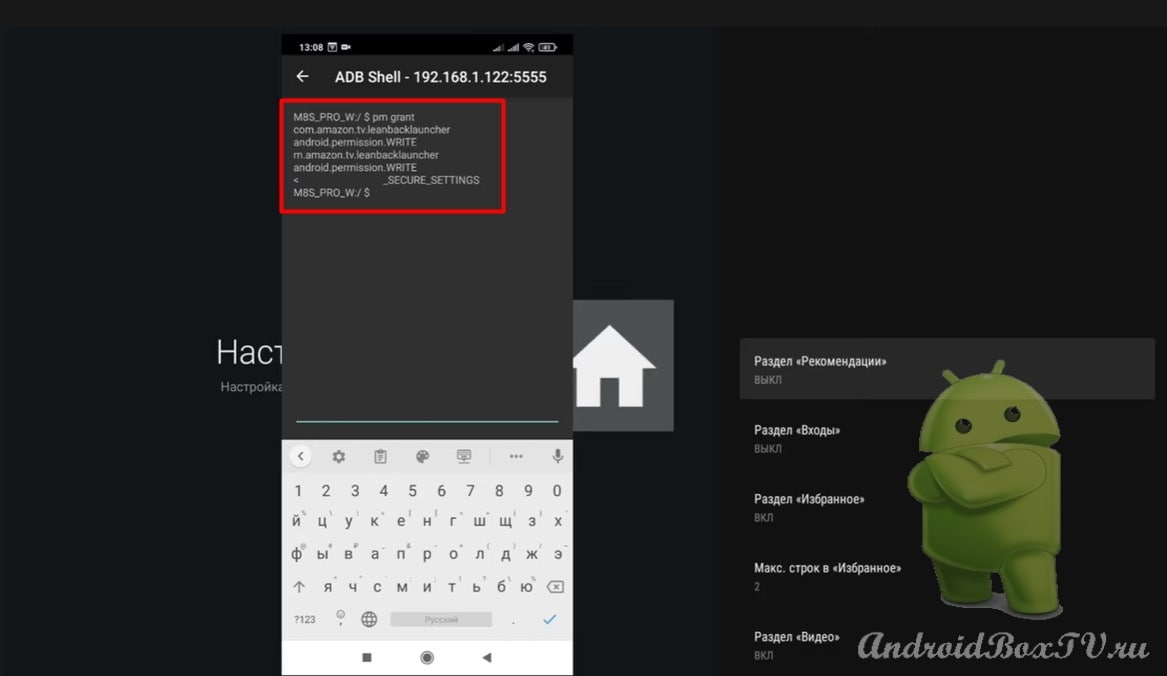
Click on the checkmark and see that everything went well:
We return to the device and turn on the recommendations:
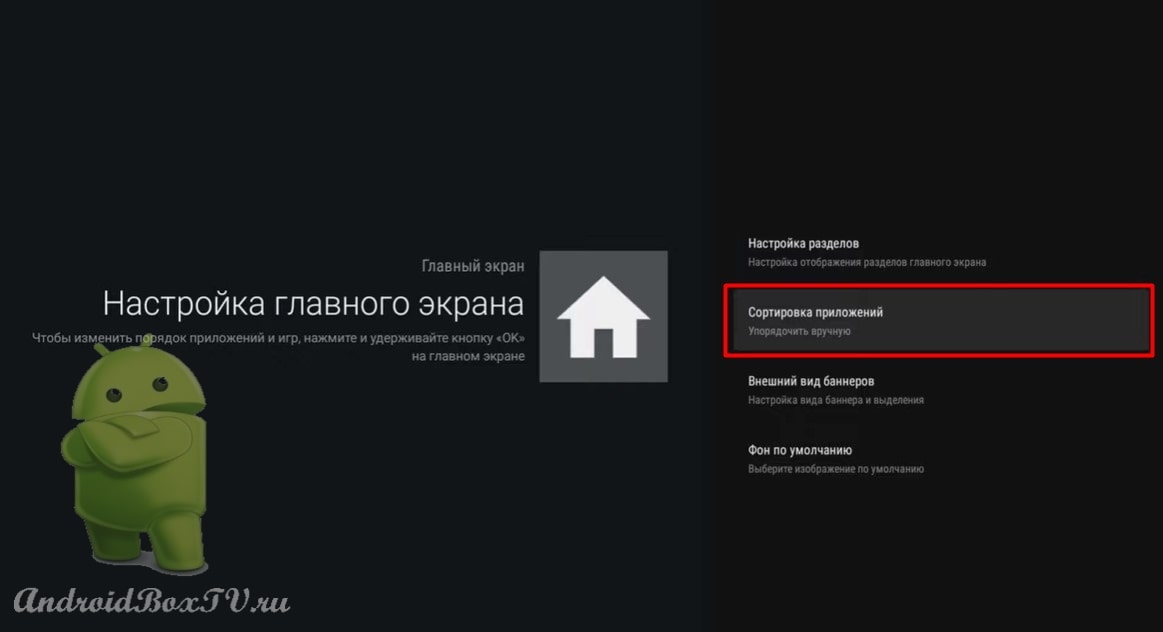
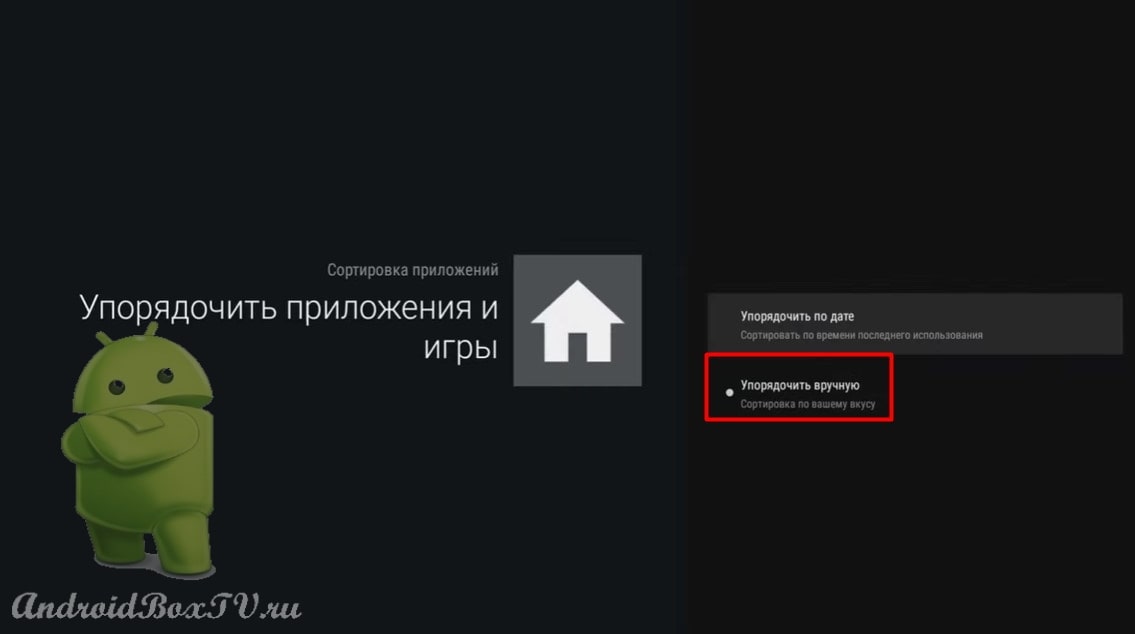
Next, consider “Sort Applications”:
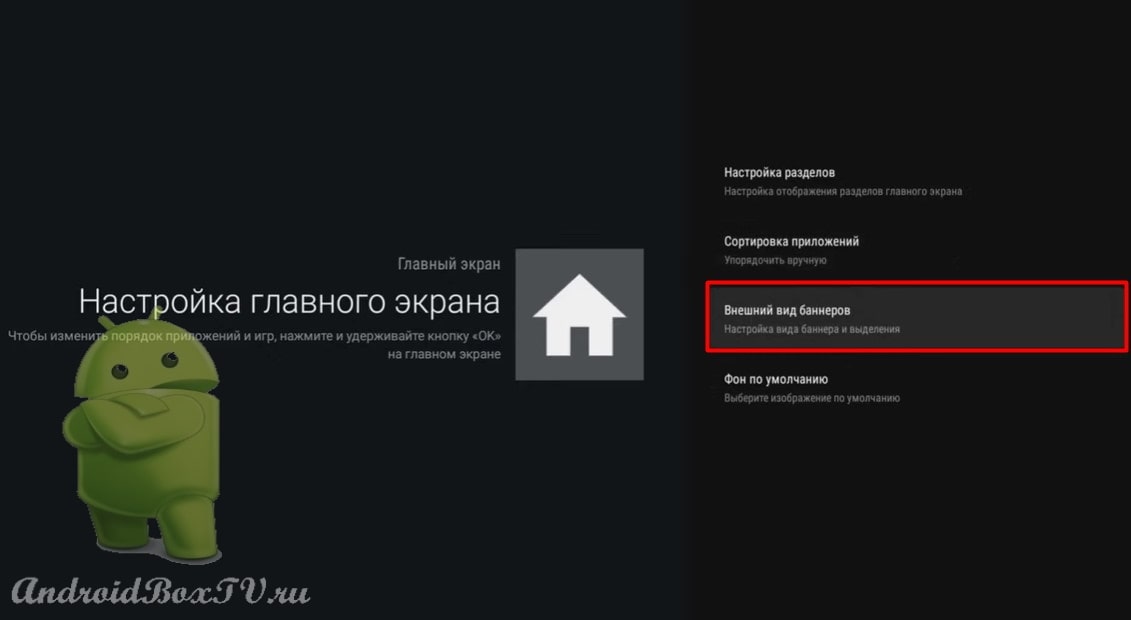
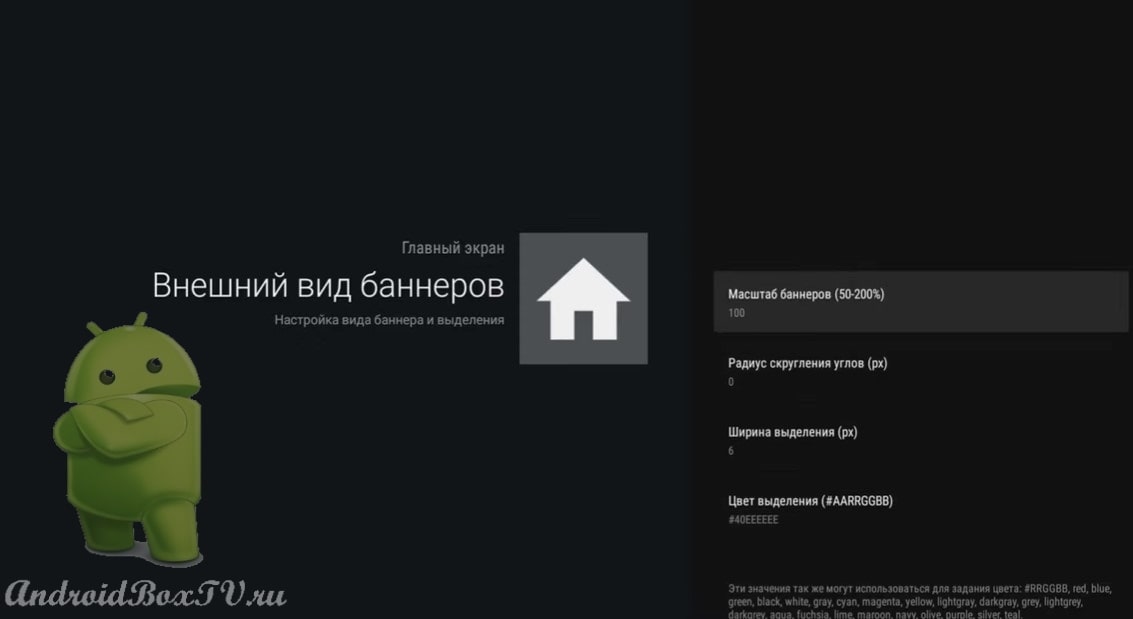
“Appearance of banners”:
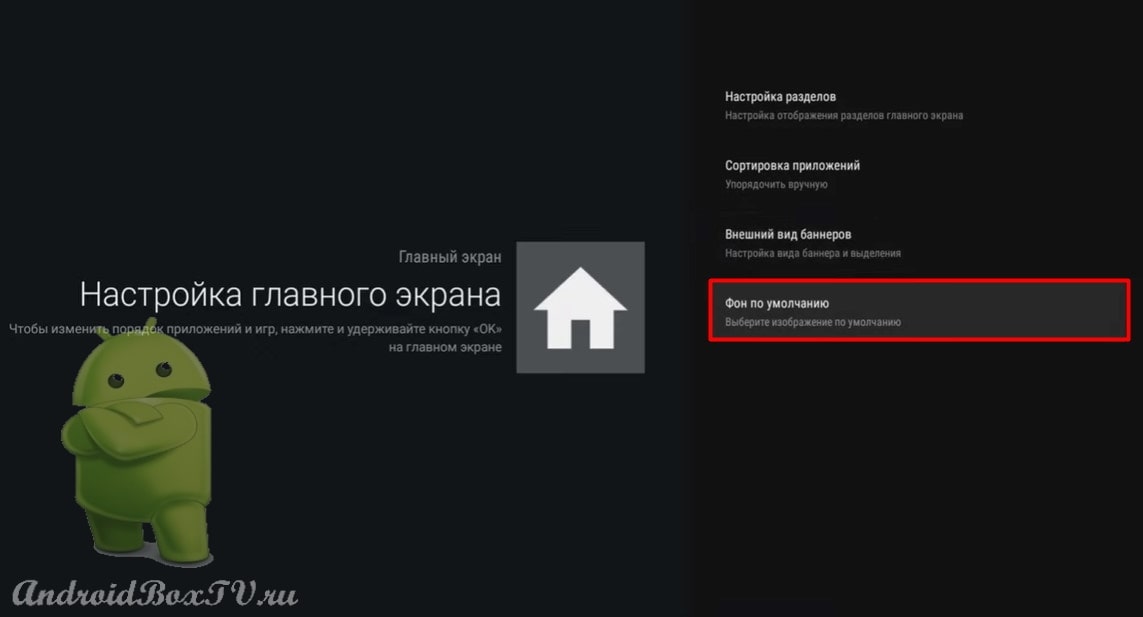
Default background section:
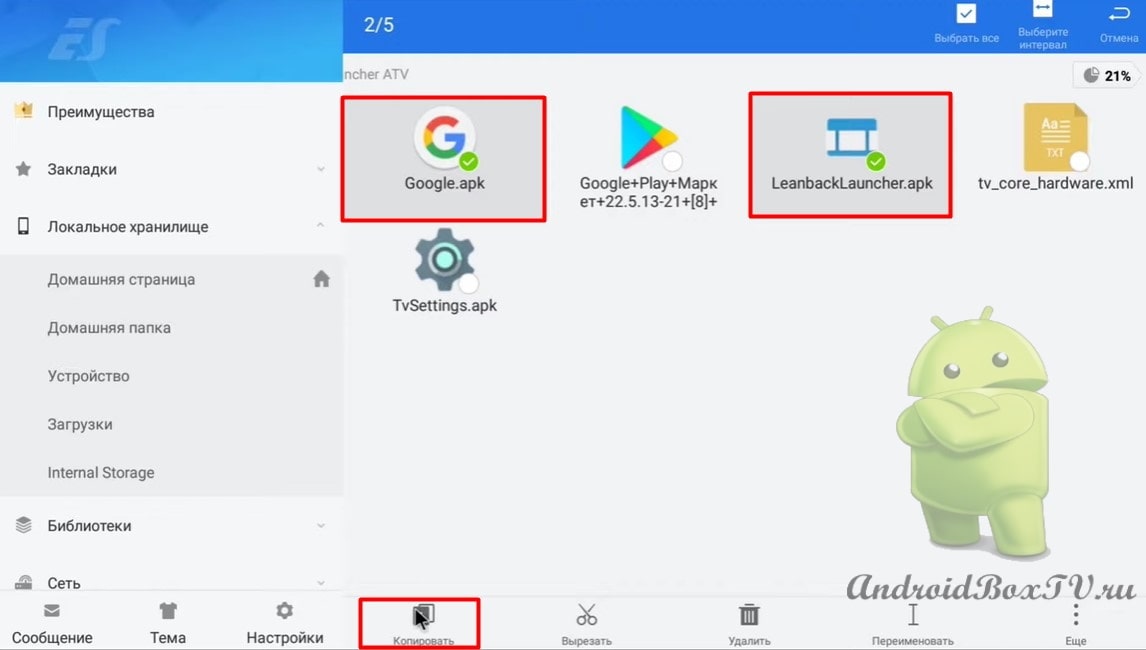
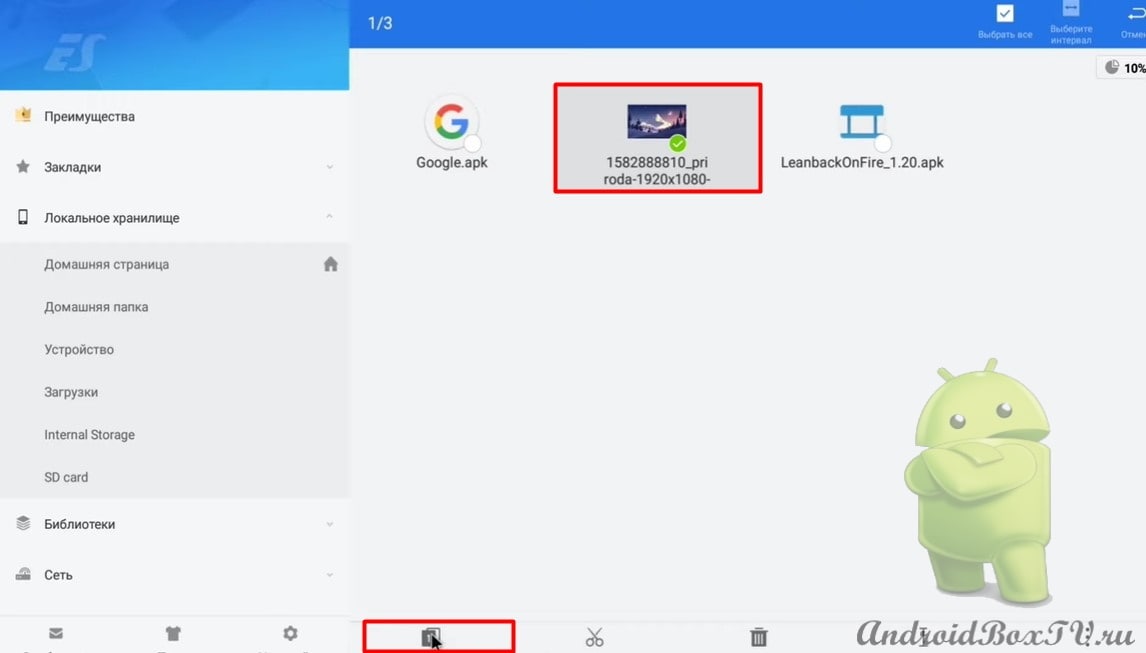
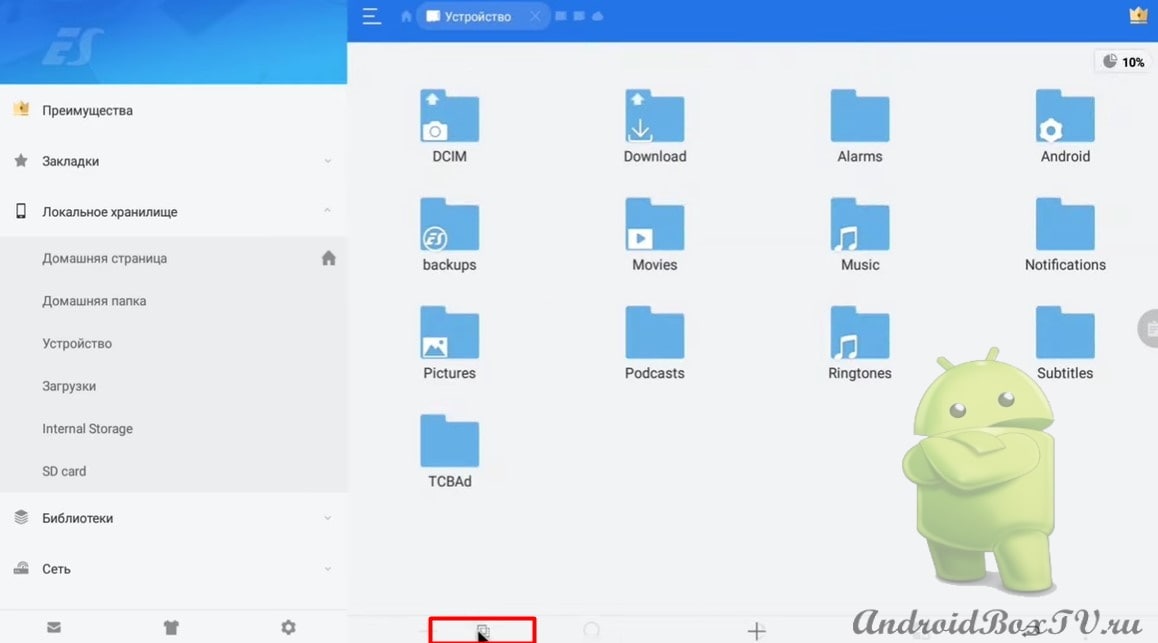
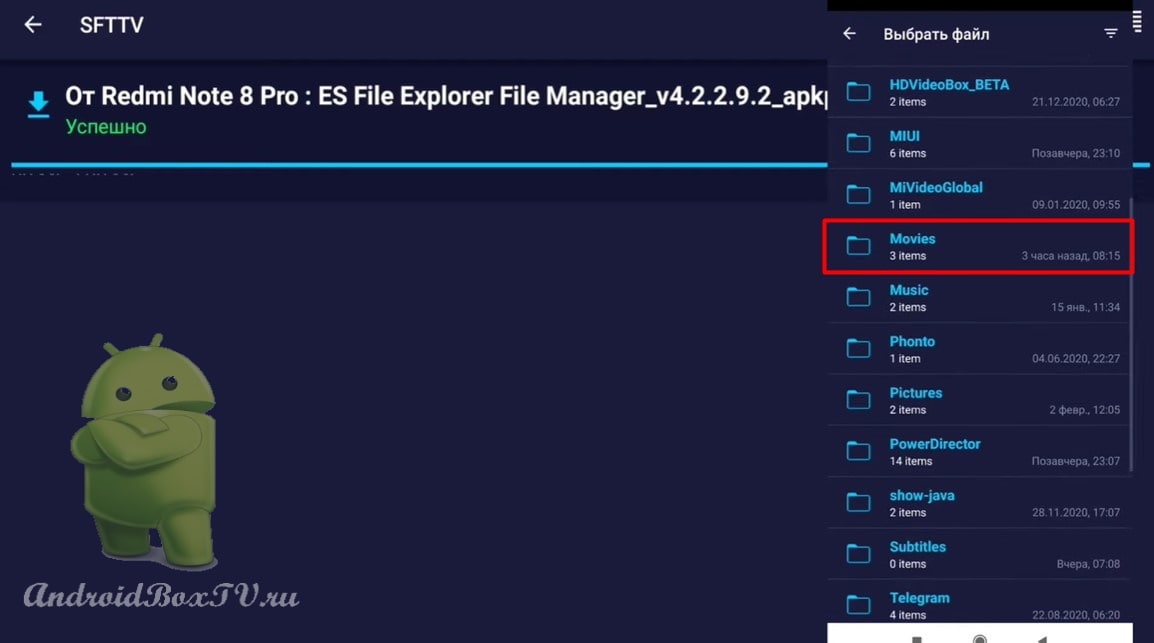
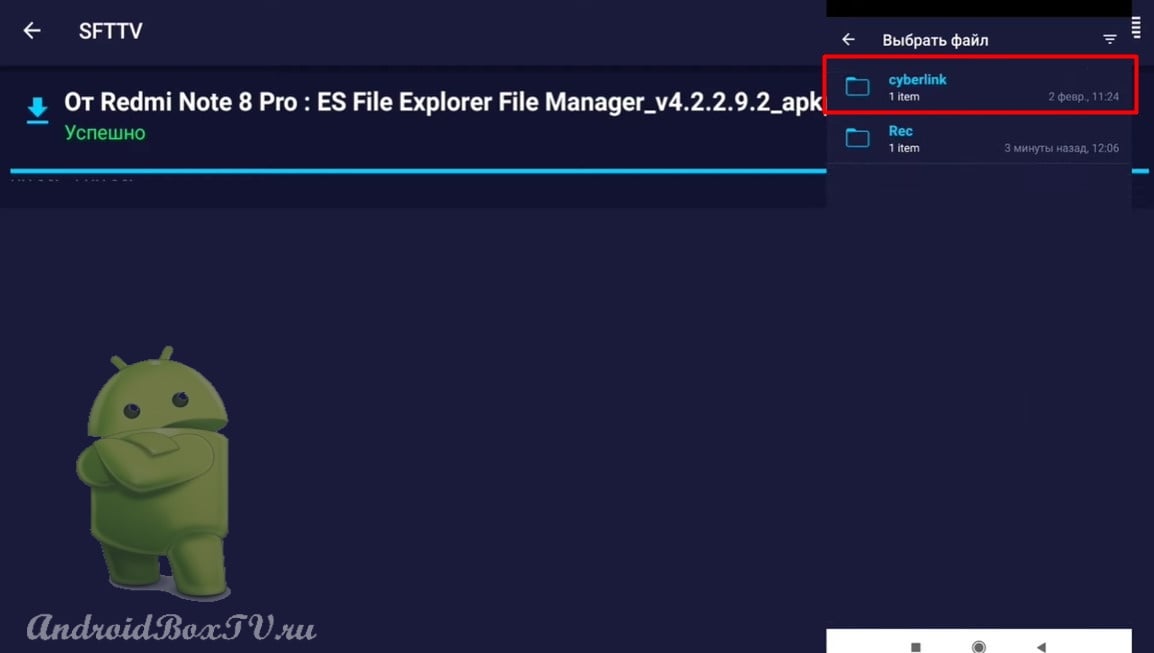
In order to change the background, you need to download a file to your device - wallpaper. We go to Explorer, in the download folder, select the photo and copy:
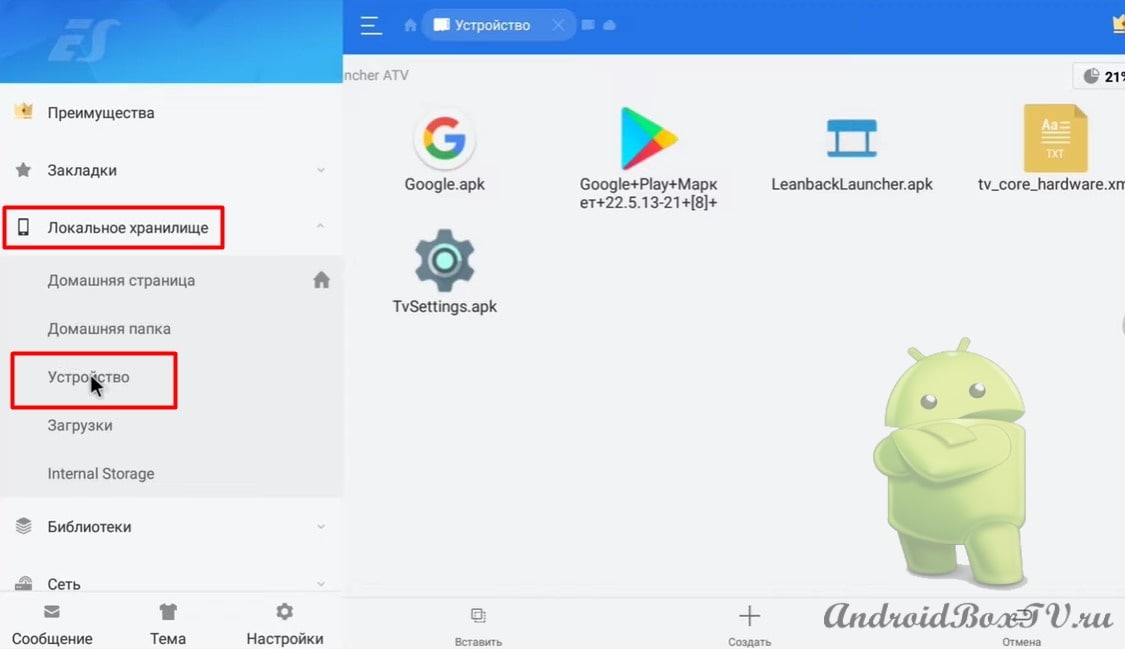
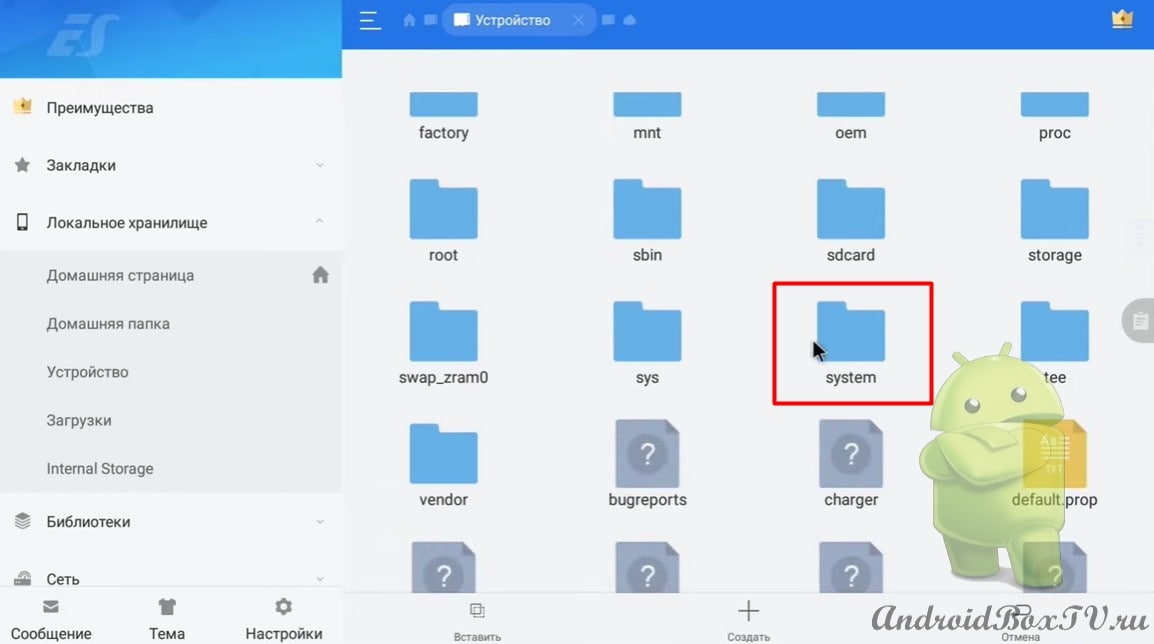
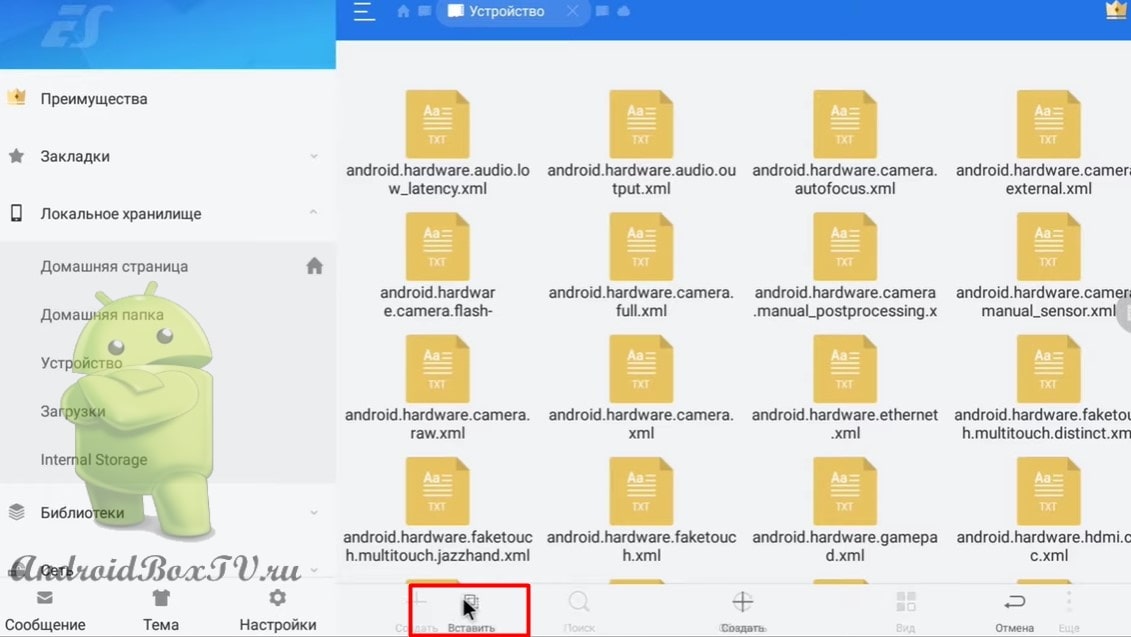
And paste in the "Device":
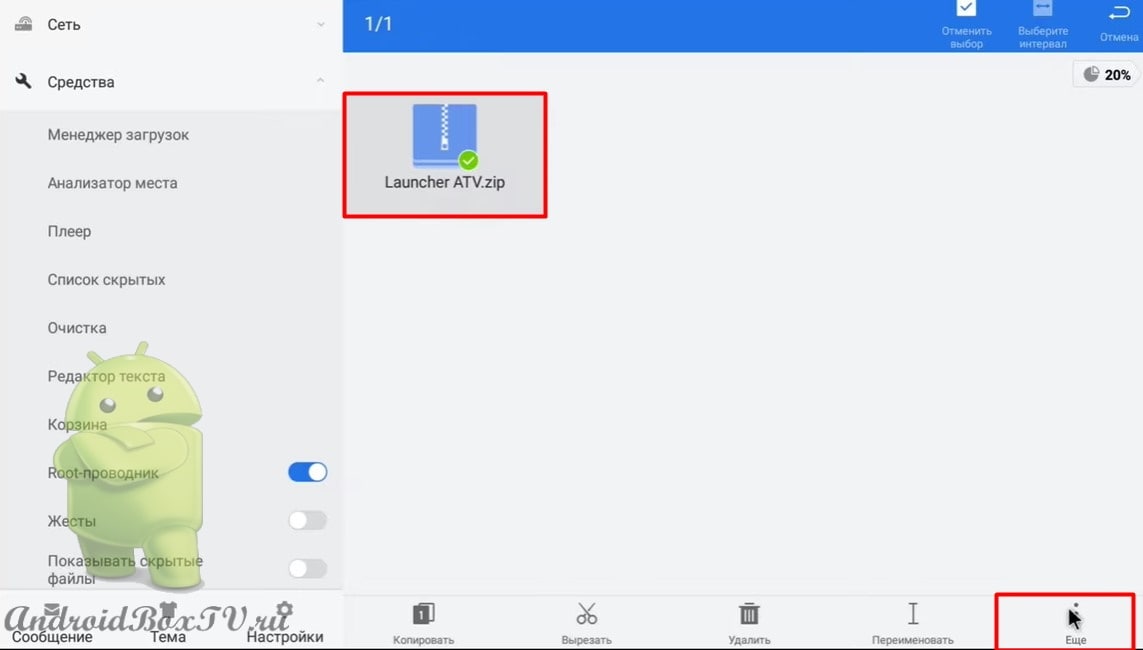
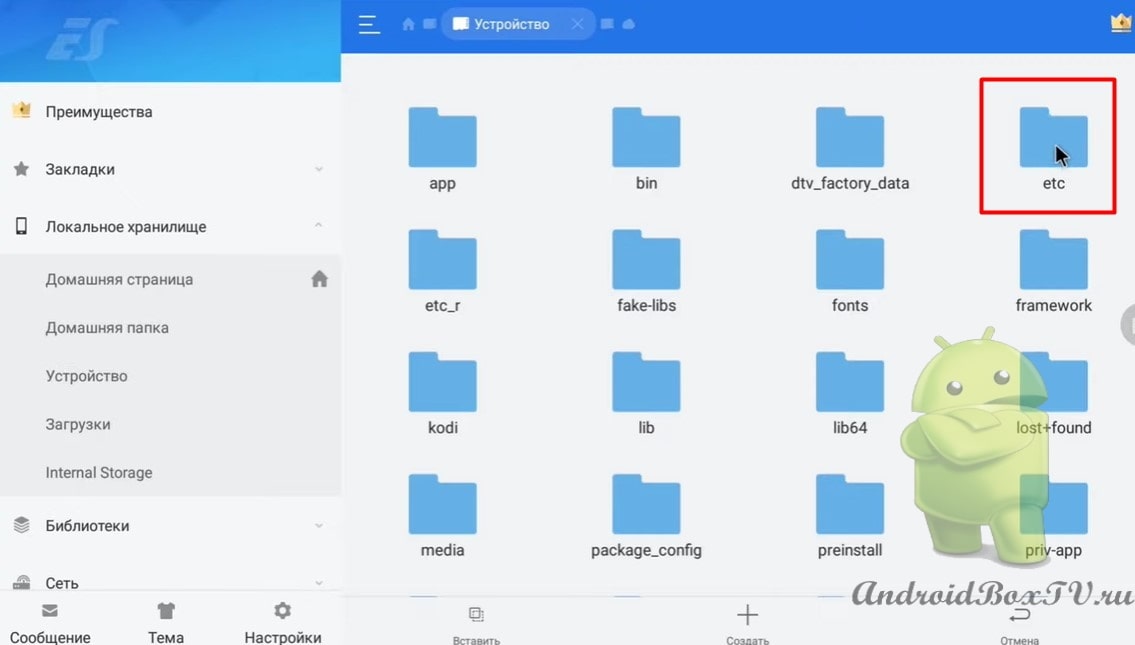
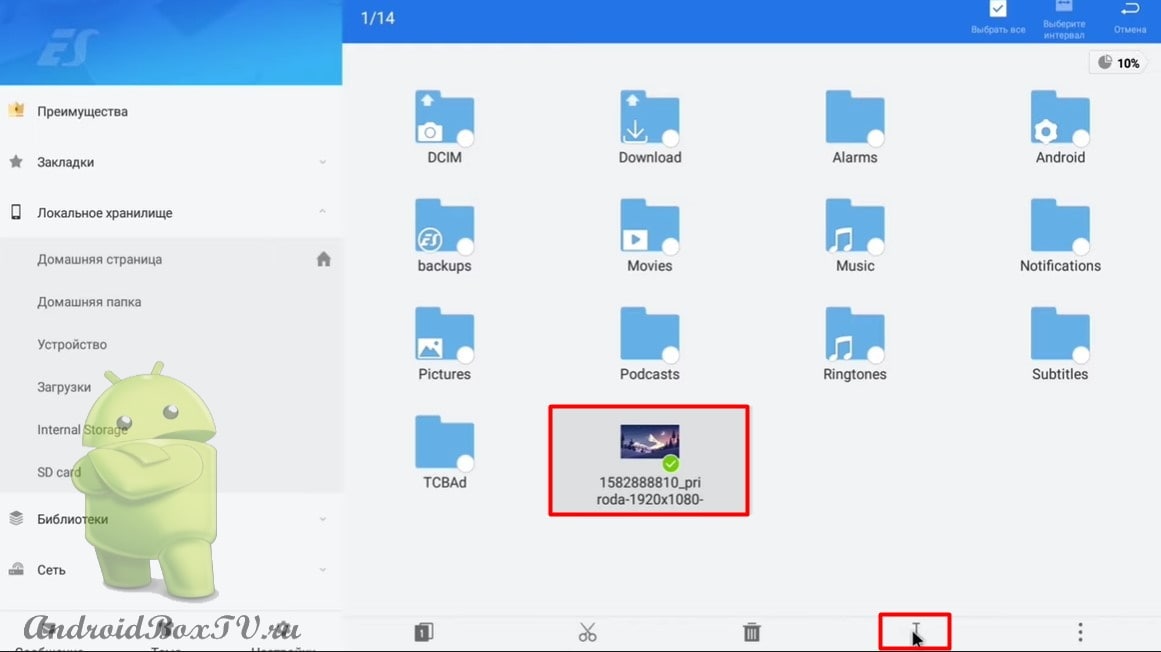
Next, you need to change the name. Select the photo and click on "Rename":
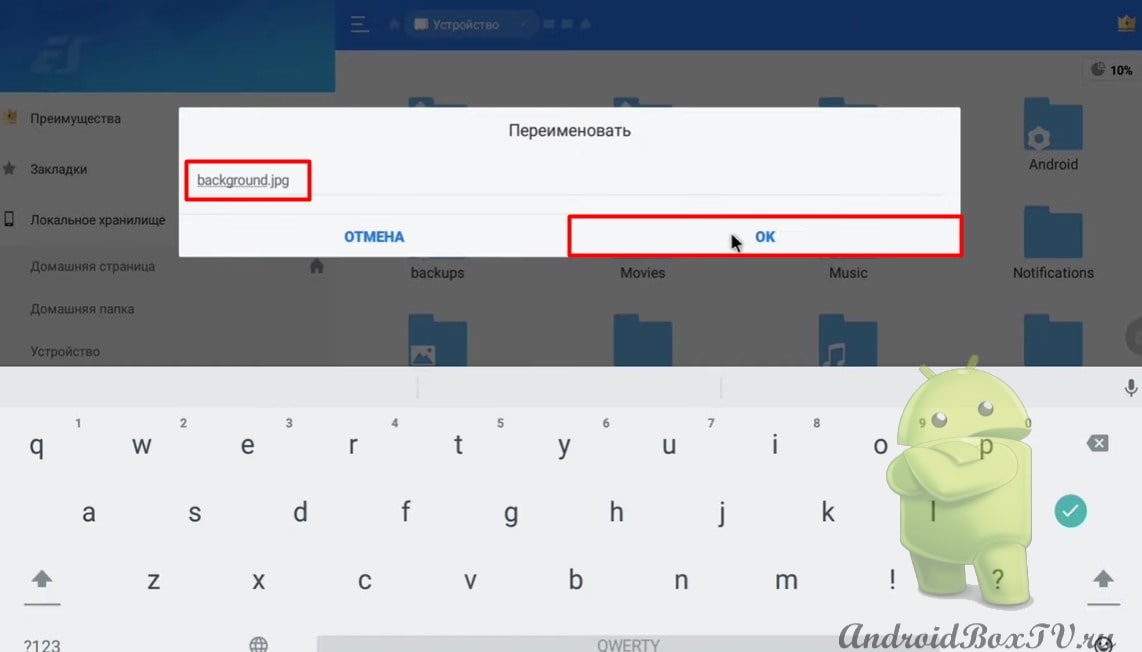
Delete the title and write background.jpg and click "OK":
Next, go to “Settings Launcher”:
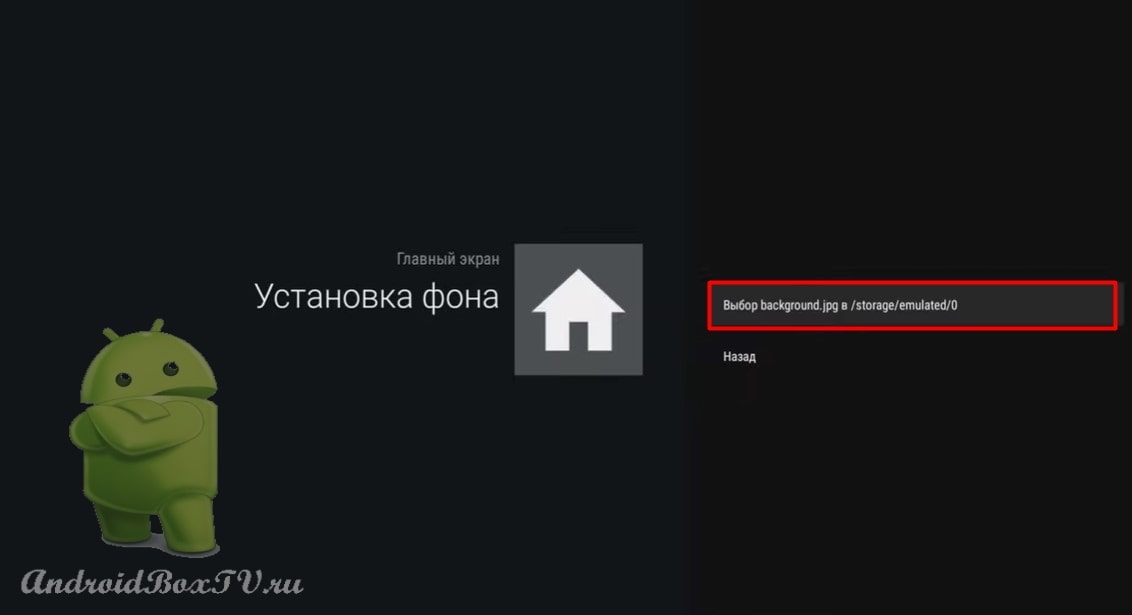
Go to “Home screen settings” and click on “Default background”:
Select "Set background" and click:
Everything, the background is set:
I got it on the third try, how about you?
Continuation of the article (second part) here Check out other articles from the category "Complex tasks" here .
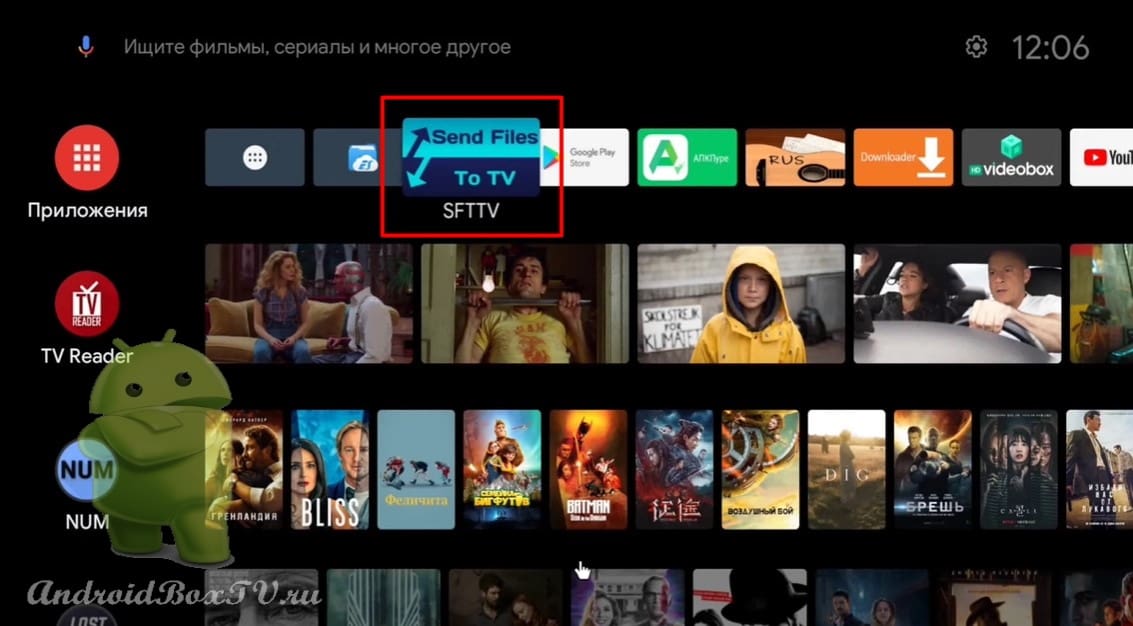
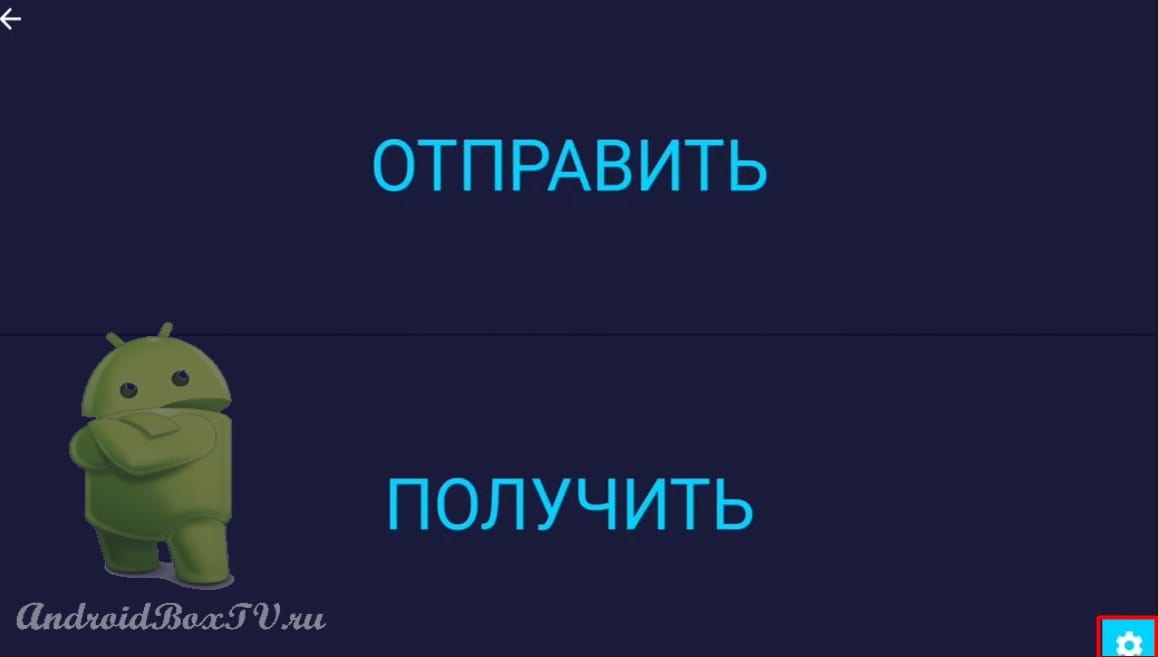
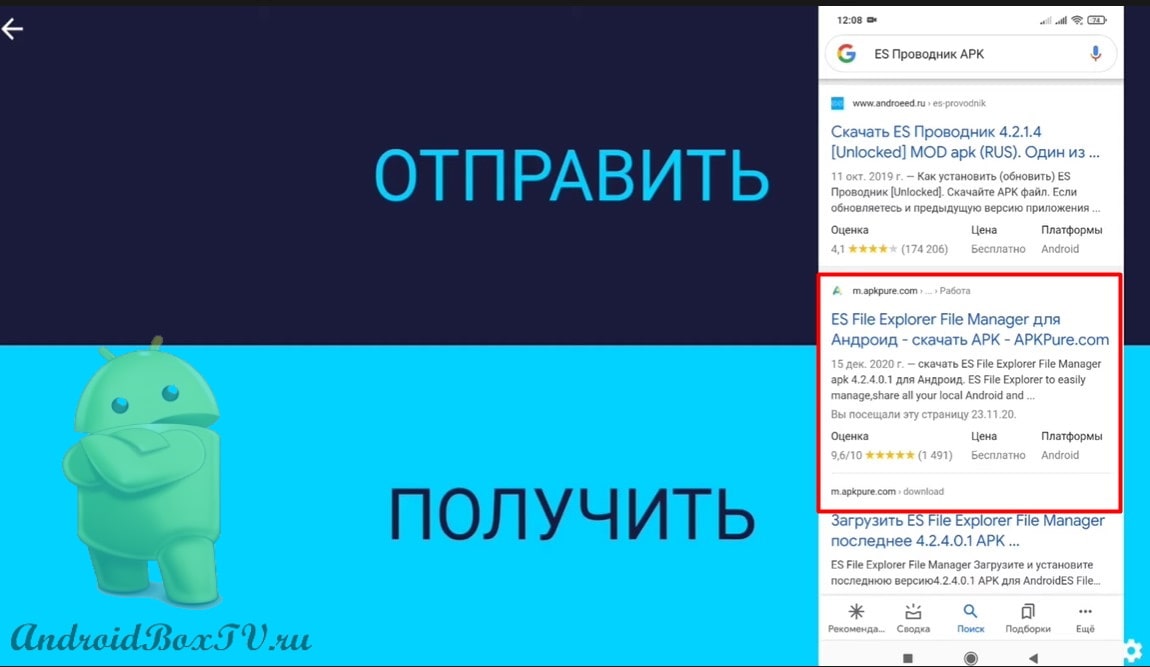
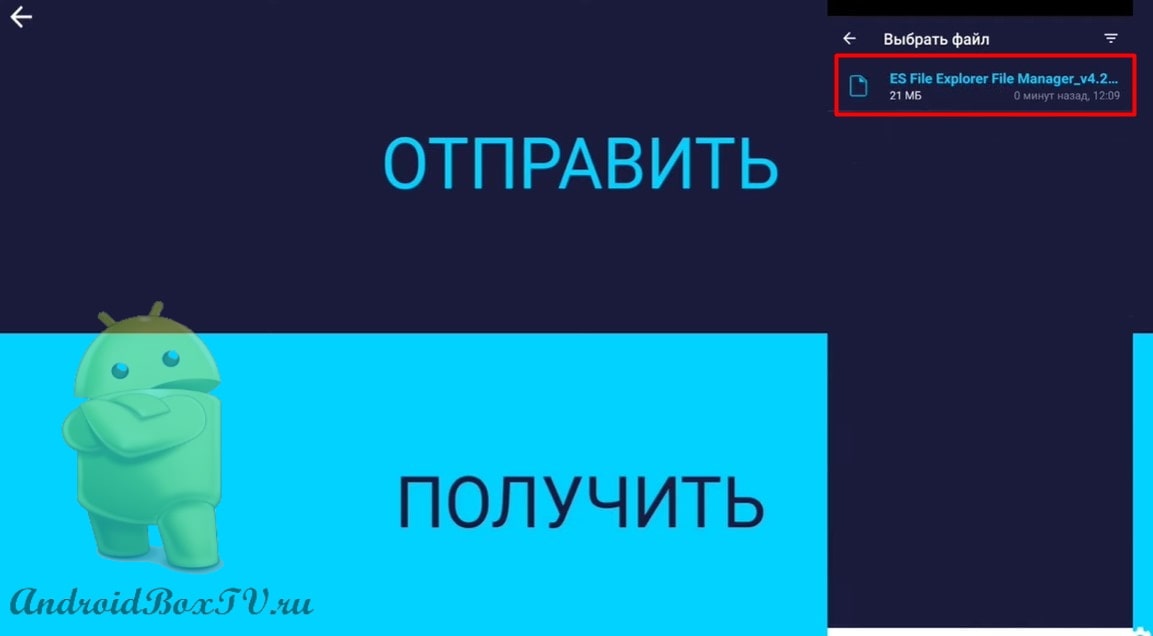
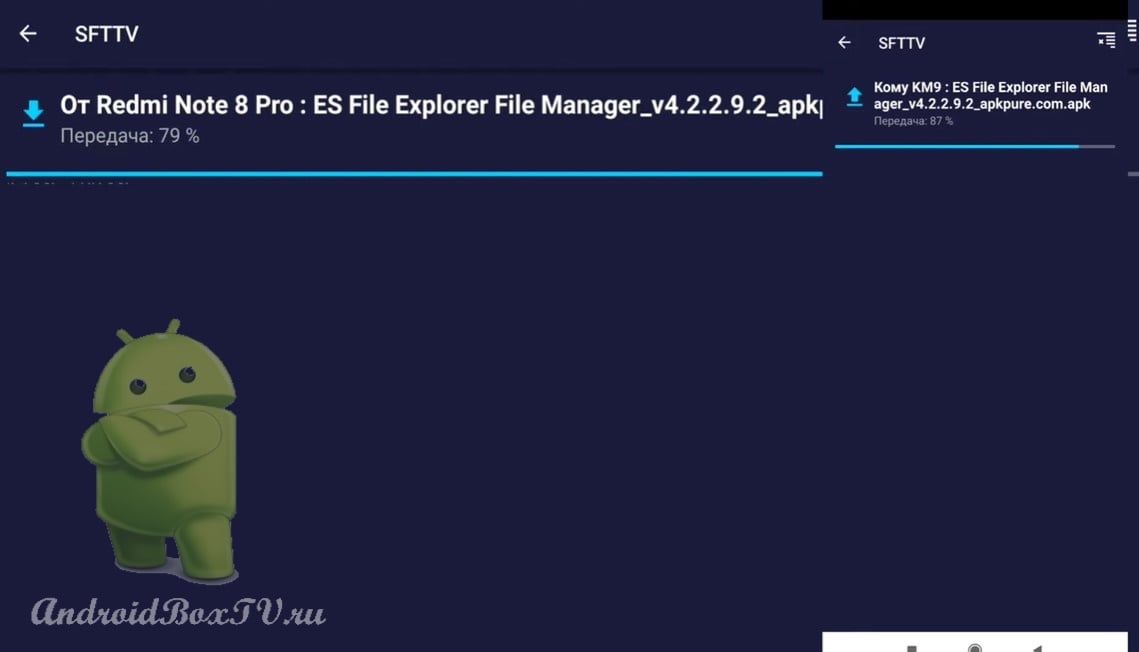
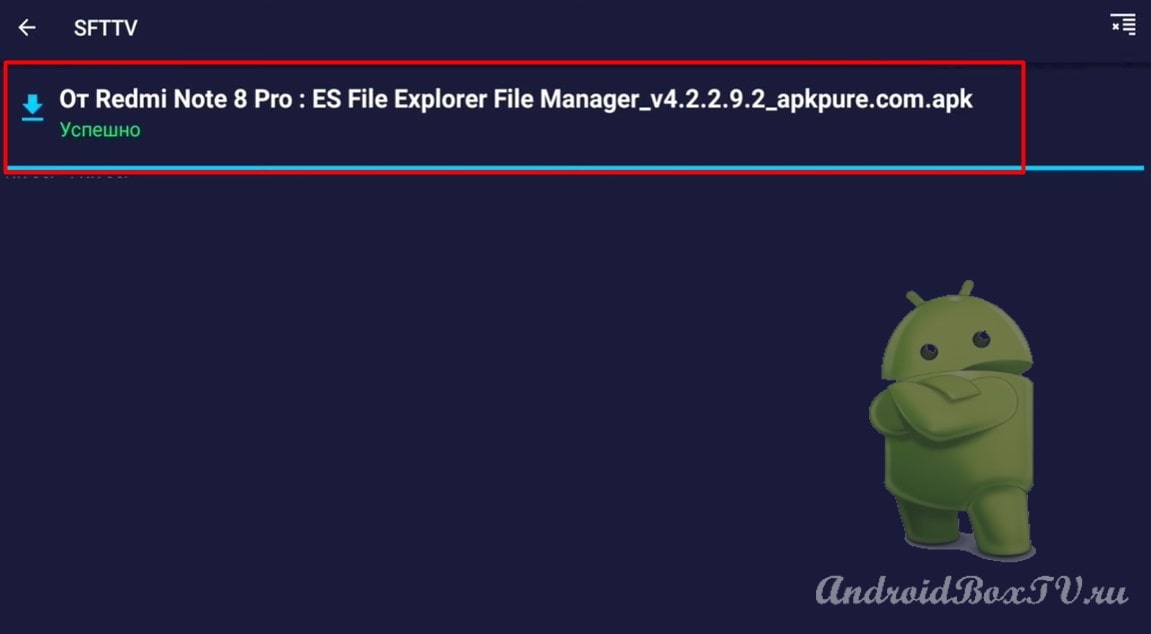
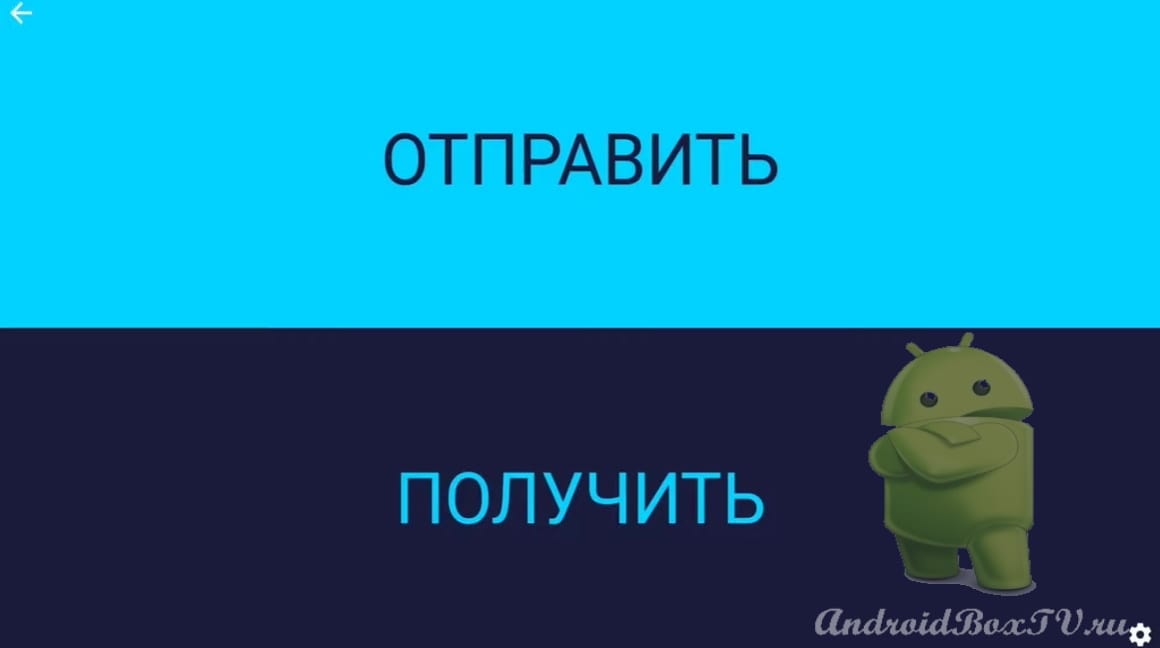
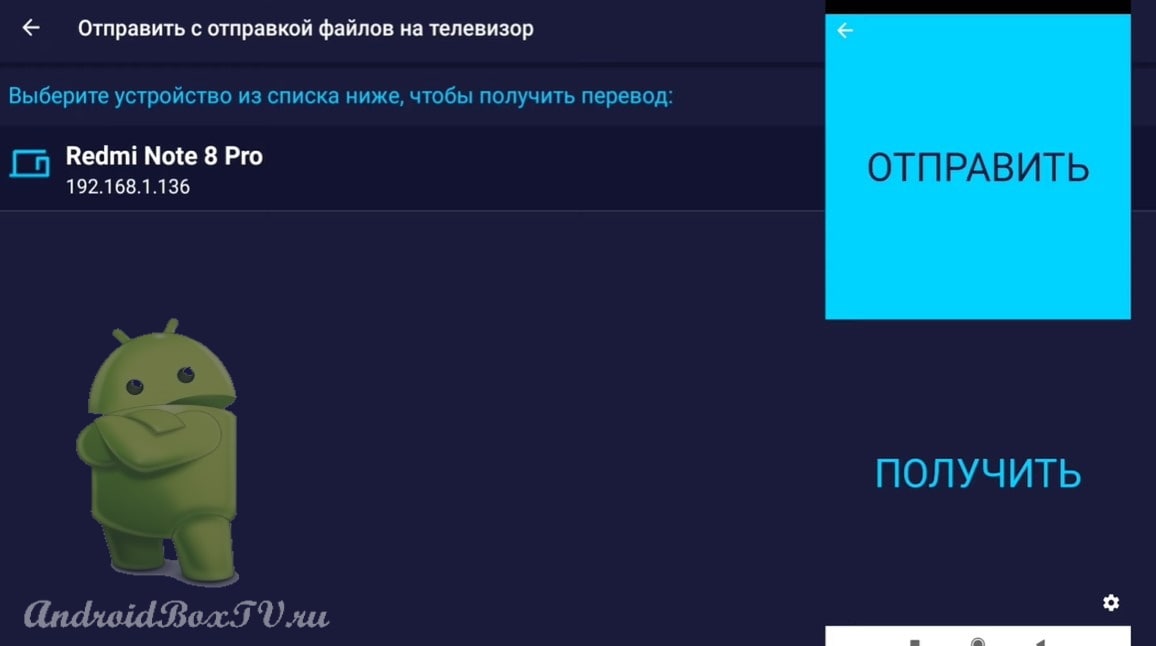
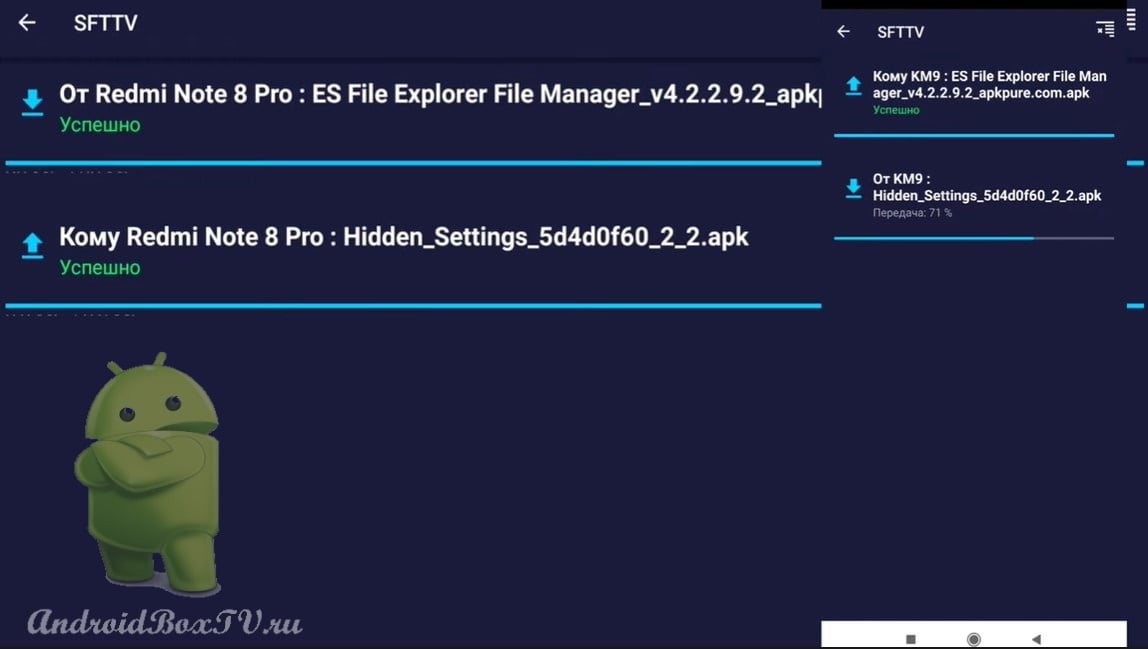
Today we will look at how to send or transfer files from an Android smartphone to Android TV devices using the “Send files to TV” program. The application can be installed from the Play Store, but the version will be in English.
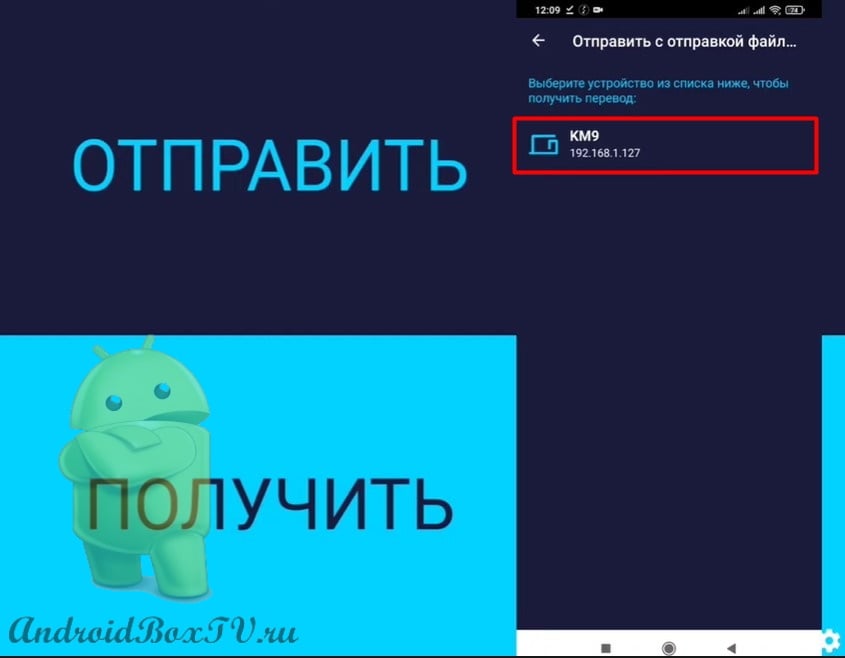
During all actions, both devices must be on the same Internet network , that is, the TV and smartphone must be connected to the same router.
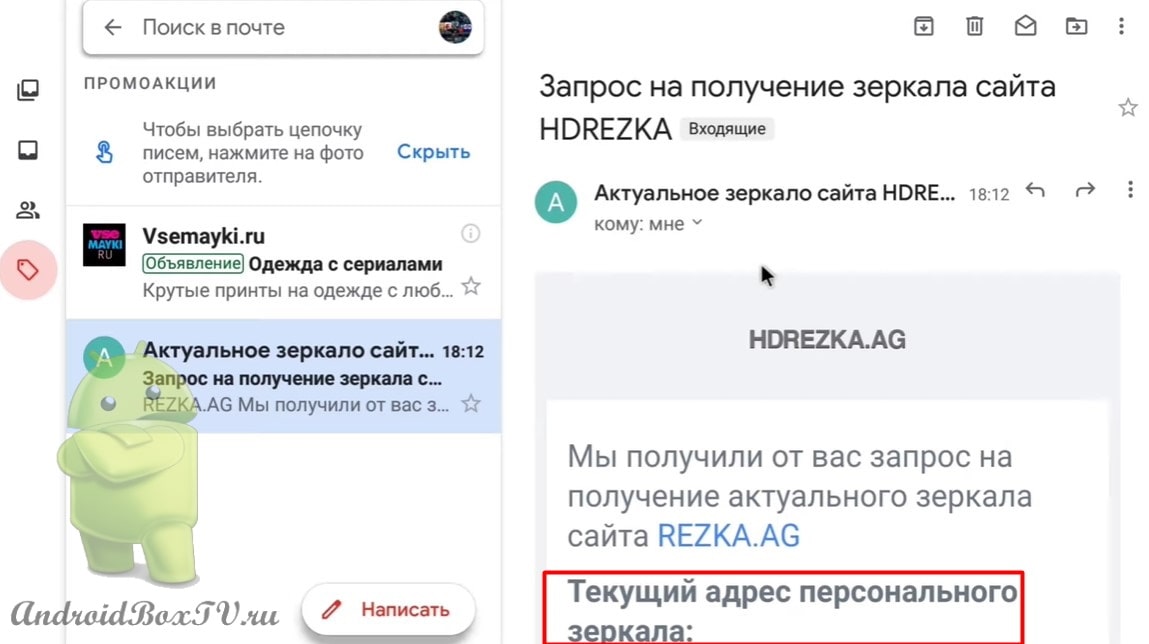
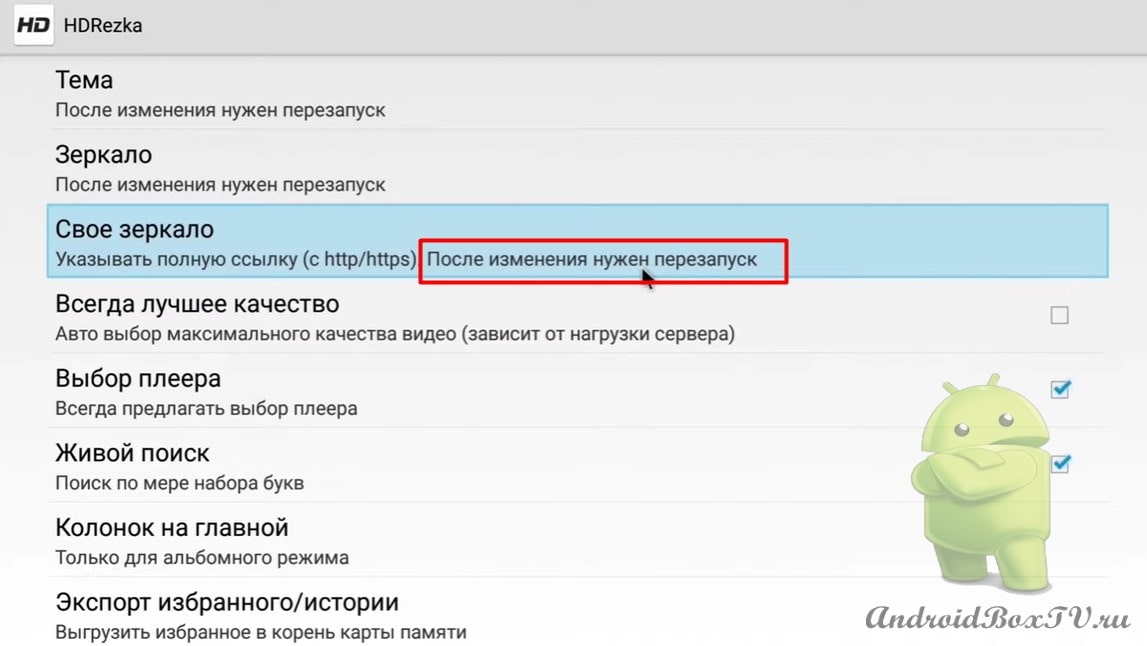
Today we will consider the program "HD Rezka". As you know, in Russia this application does not work without VPN or Proxy (see how to use VPN here ). Consider how to use "HD Rezka" without the use of additional programs.
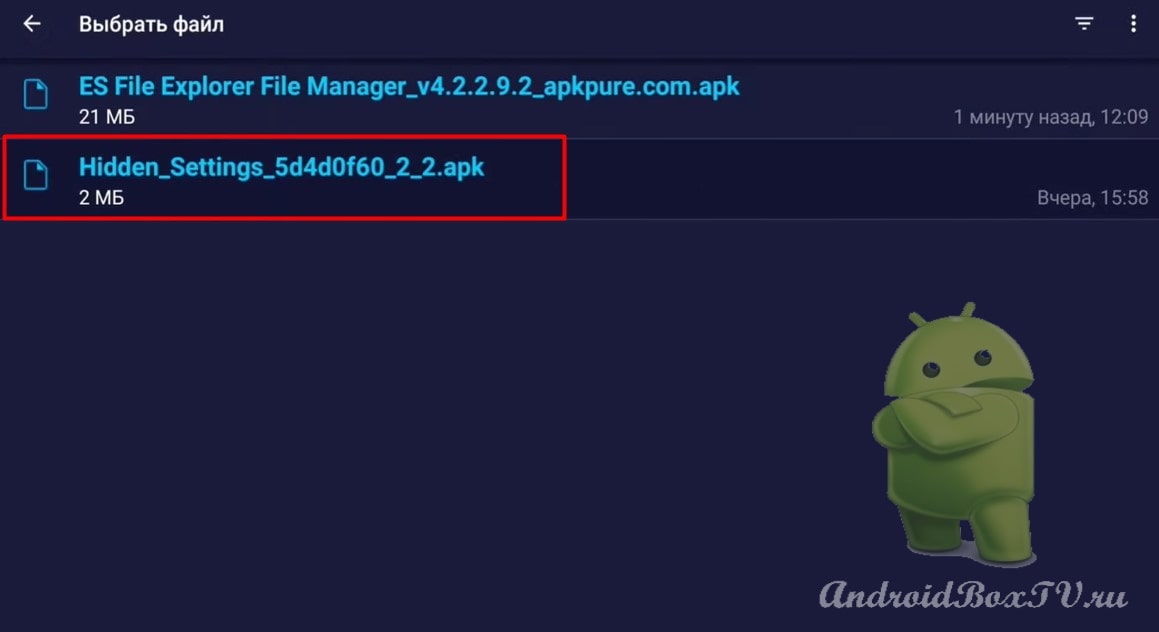
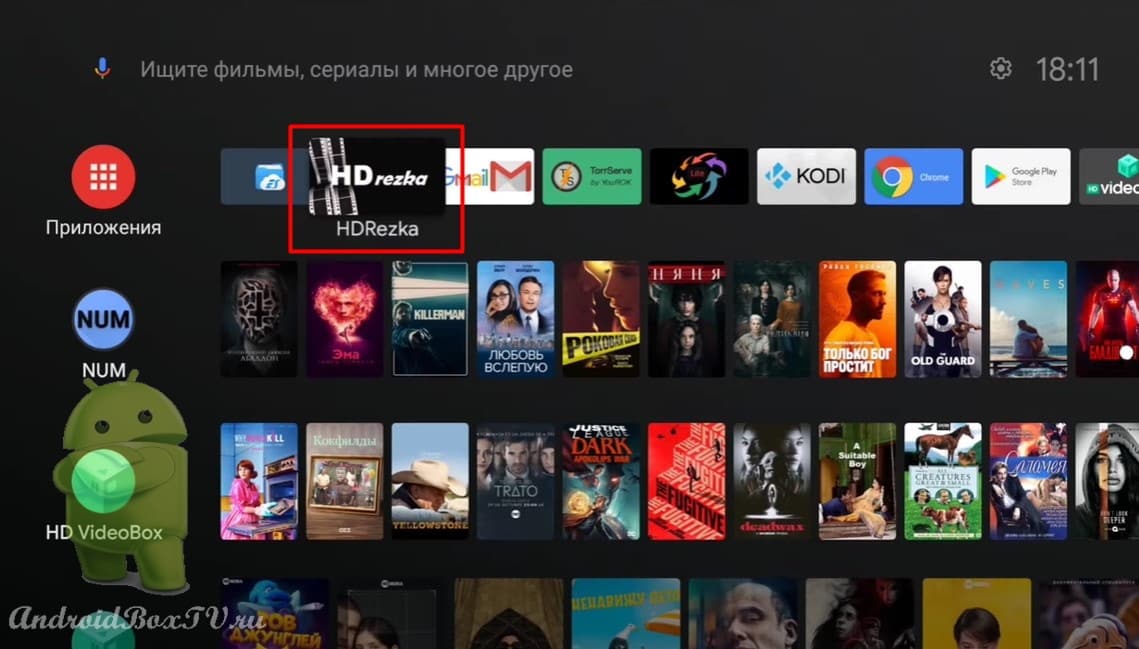
Install the application "HD Rezka". Link to the apk file from our telegram channel at the link https://t.me/AndroidBoxTv_ru/10 :
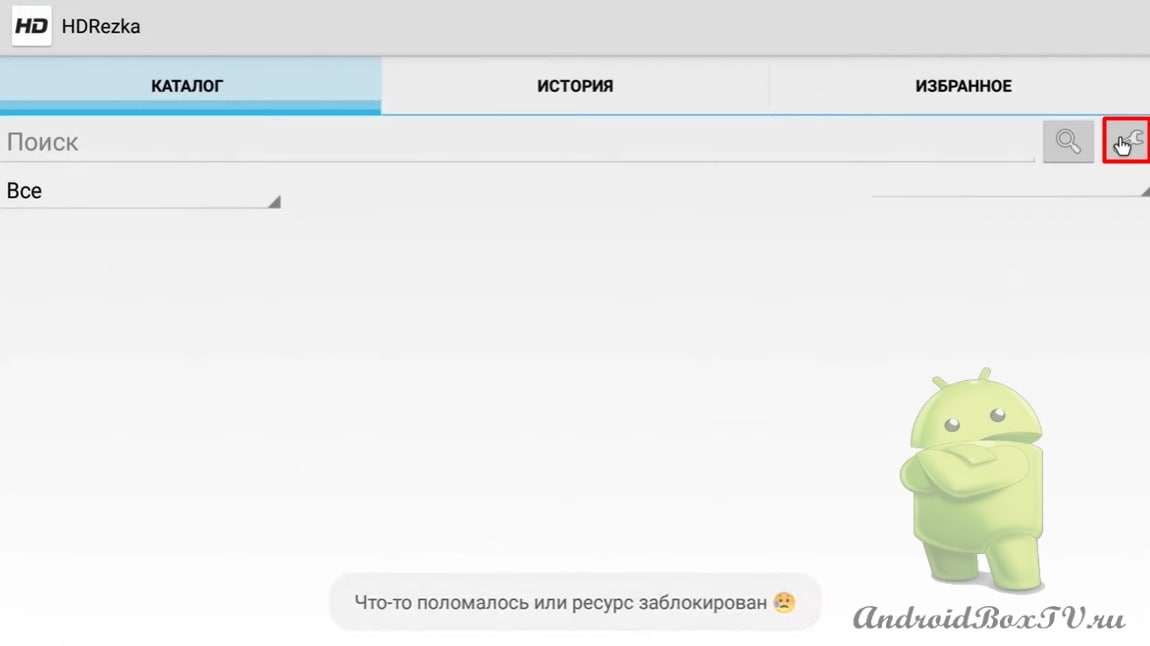
After installation, we open and see a pop-up window with the inscription “Something is broken or the resource is blocked”: