Since the data of the application for clearing the operative internal memory of the device is borrowed from Mi TV and this program is a system one, it will not be possible to install it on other devices. You can try to install on Mi TV STICK. If you succeed write in the comments.
To get started, install the “ Downloaderthe Play Store :
Next, open the application and enter the link in the text field - http://catcut.net/5dEP :
There is a connection and download, we are waiting for a couple of minutes.
The file has been downloaded, install it:
If you don't need the APK, you can remove it:
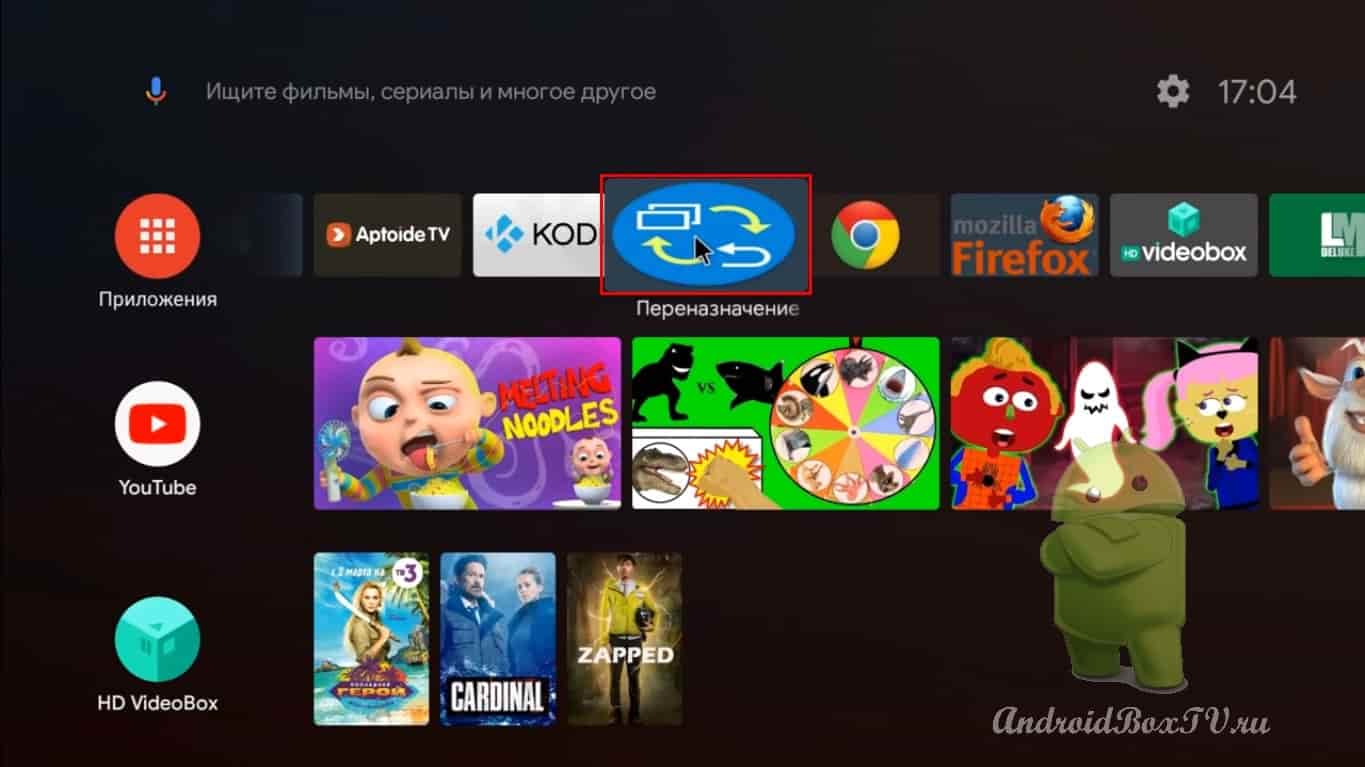
Next, add the application to the main screen (we discussed this in more detail here ):
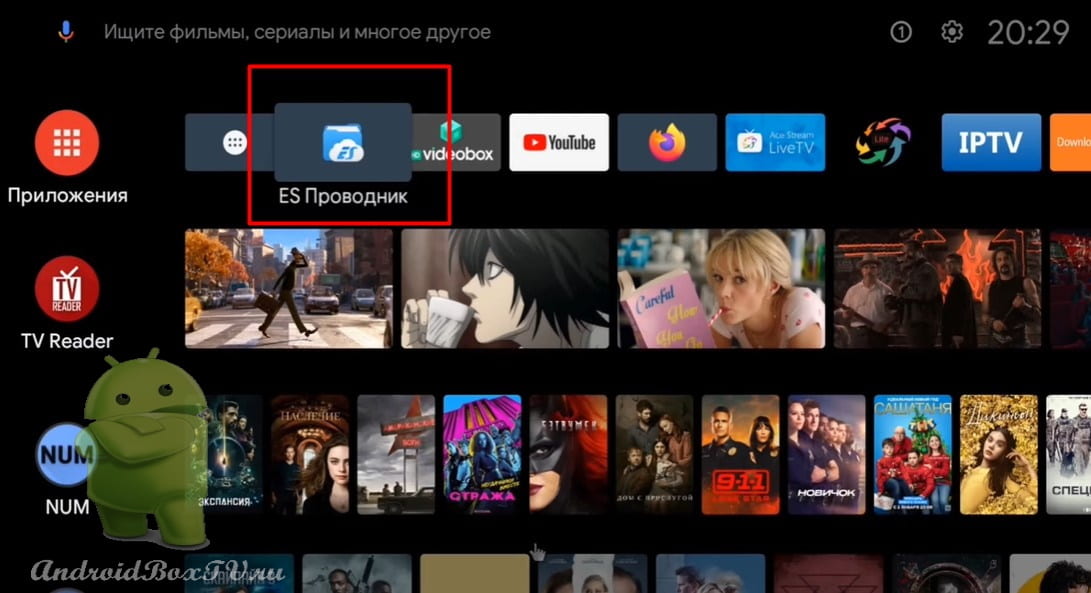
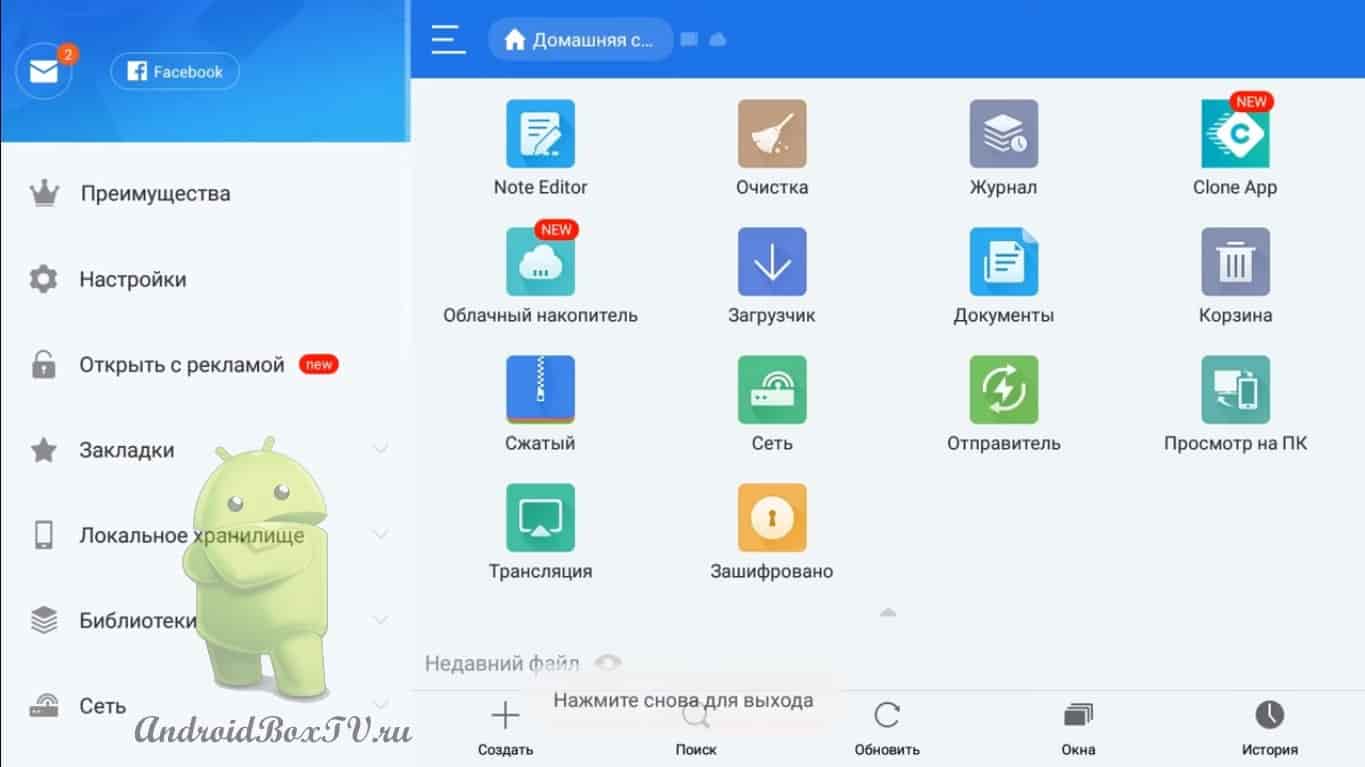
Open the TV manager app. Looks like that:
Optimization allows you to clear the RAM and main memory of the device. Click " Optimization ". Cleaning in progress:
Further section “Memory boost". Cleans up RAM by closing unnecessary processes.
Click on “ Memory boost ”:
Next " Clear " - clears the cache. Click " Clean ":
Go to "Delete apps". Select the application you don't want and delete it:
Further "Deep cleaning". We see three sections - “ Large files”, “Application Data" And "Complete cleaning”:
Click on "Large files". Scanning in progress. Next, select unnecessary files and delete:
In the “Application Data” section, you need to be more careful, because after cleaning, passwords and application settings will be deleted:
“ Full Wipe ” is practically a factory reset:
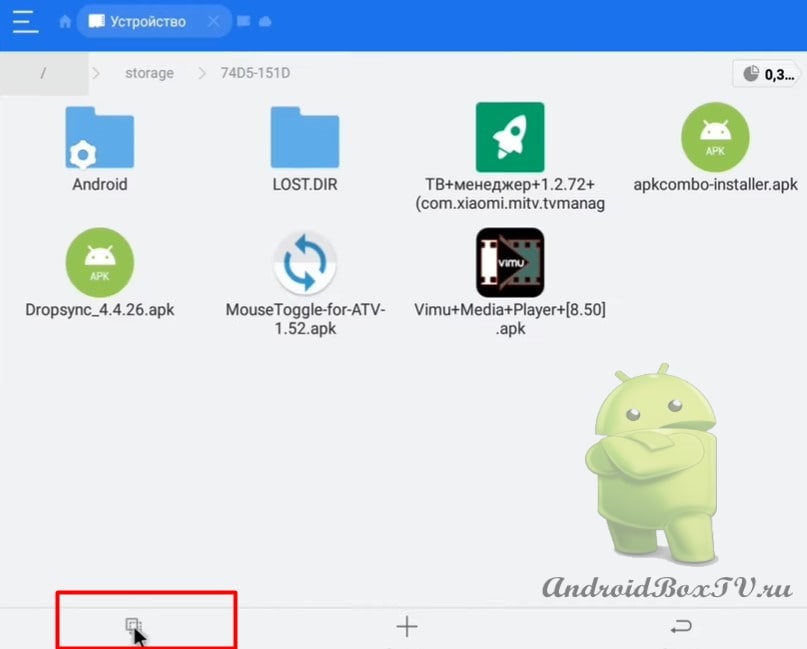
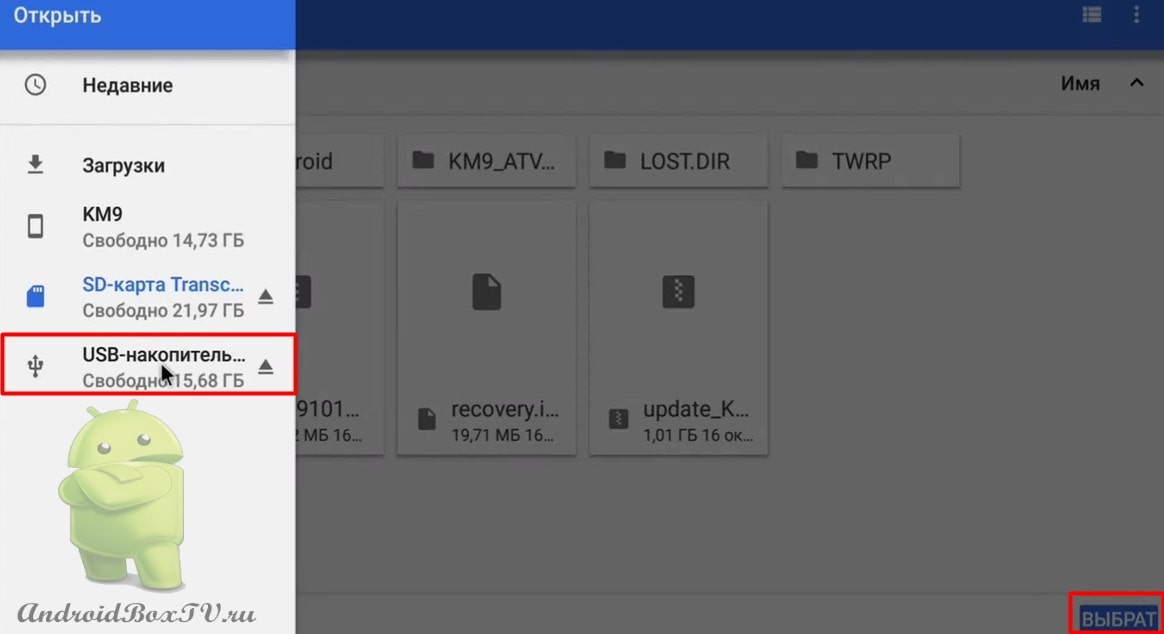
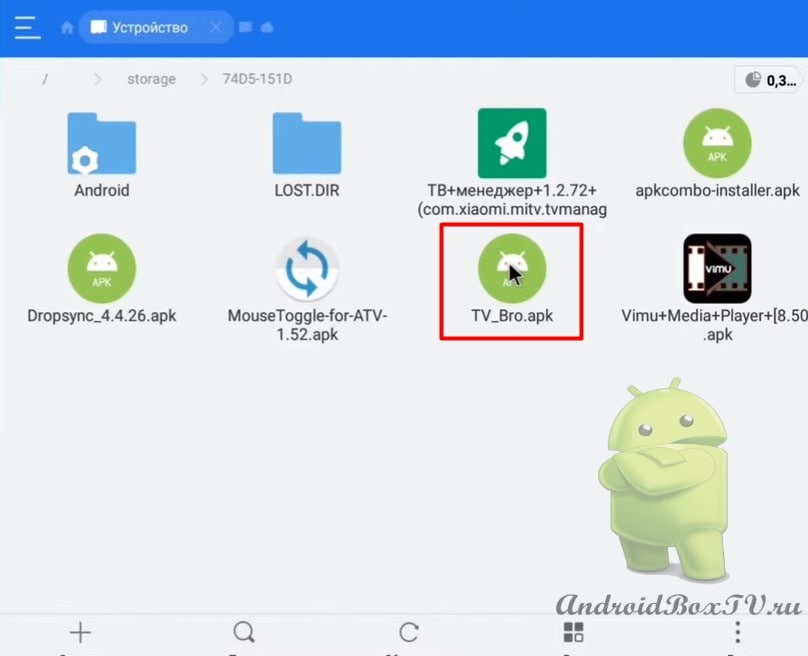
Further "Install via USB". You can install the application from a USB flash drive in any file manager:
“ Settings ” is an automatic cleaning. Turn on and you can select a garbage limit from 100 to 500 megabytes:
Next, consider how to unload an application from memory that is not unloaded using cleaning.
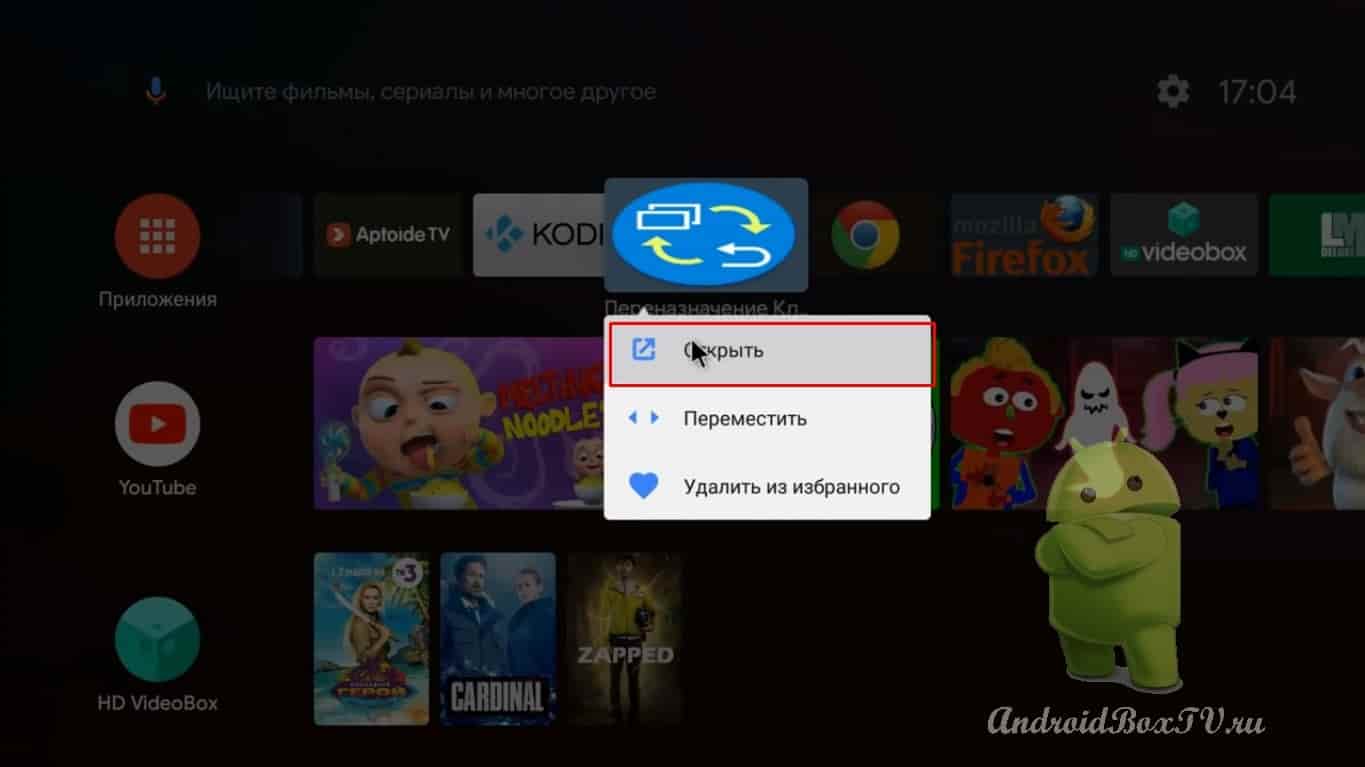
We select the application, hold and select “ About the application ”:
Choose "Stop” and press “OK”:
Since some applications may automatically, again, start.
Check out other articles from the "Difficult tasks" category here .
Consider the CetusPlay . It is installed on a smartphone running the Android operating system, and the server is installed on a phone or tablet. The main function of this program is a remote control for android TV in different versions:
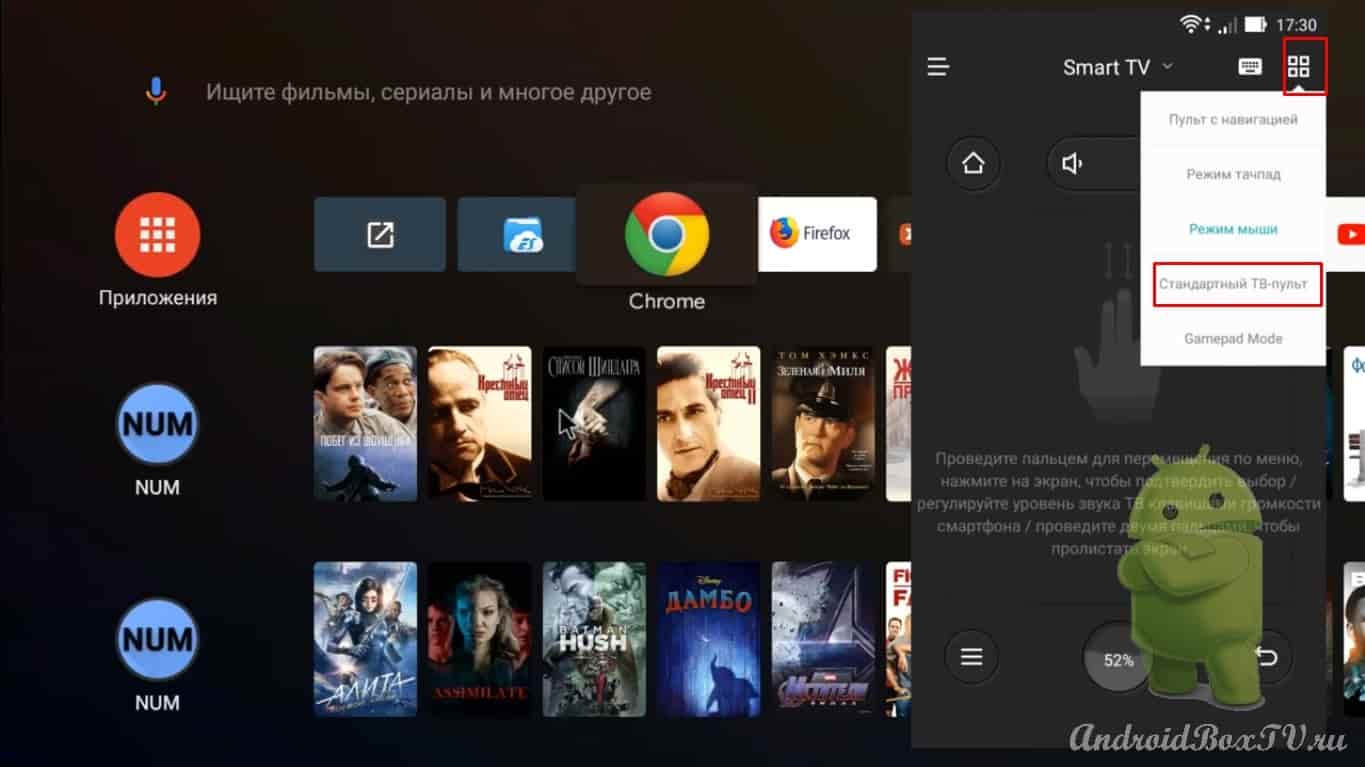
navigation console,
remote control with touchpad,
remote control with mouse function,
gamepad features.
Using the CetusPlay application, you can transfer videos, photos from your smartphone to the device, that is, play and transfer APK files, you can copy the link to the playlist on your smartphone and paste it into the IPTV viewing application on the device.
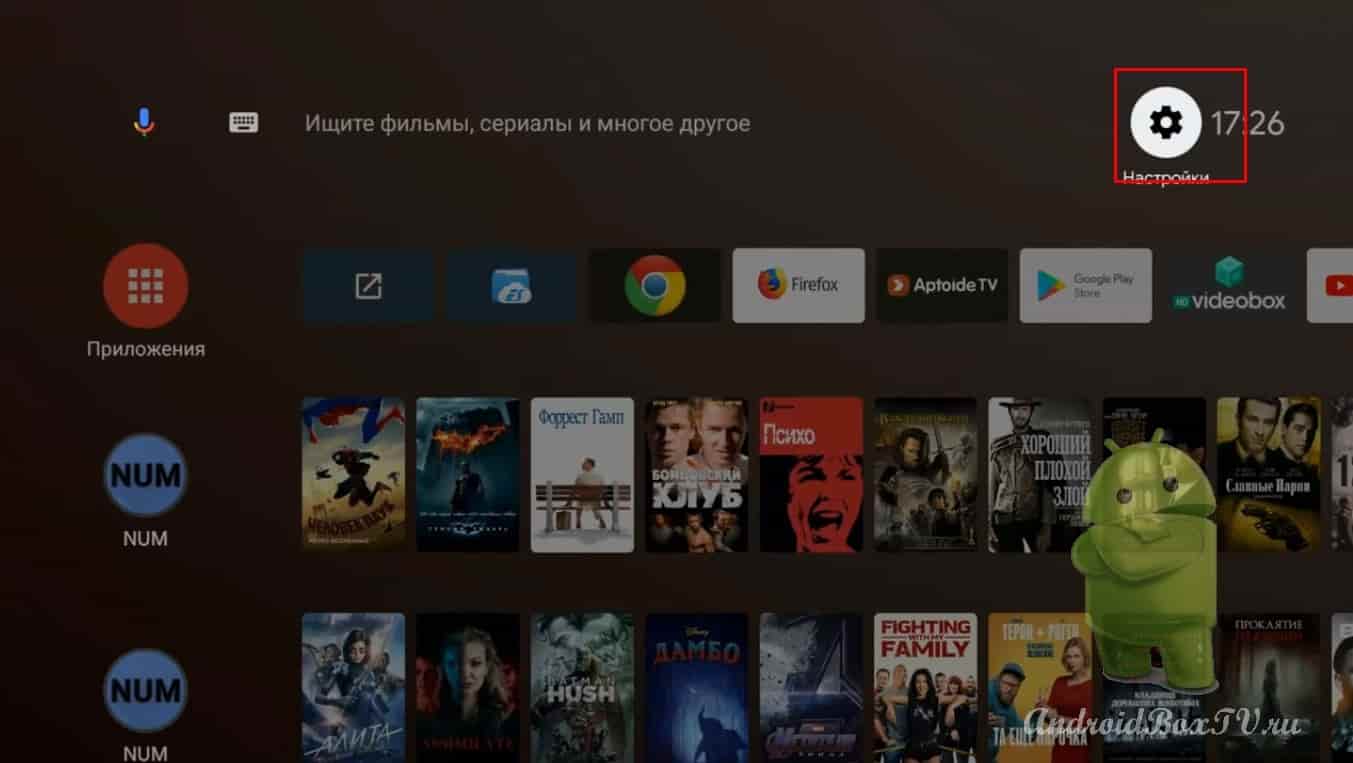
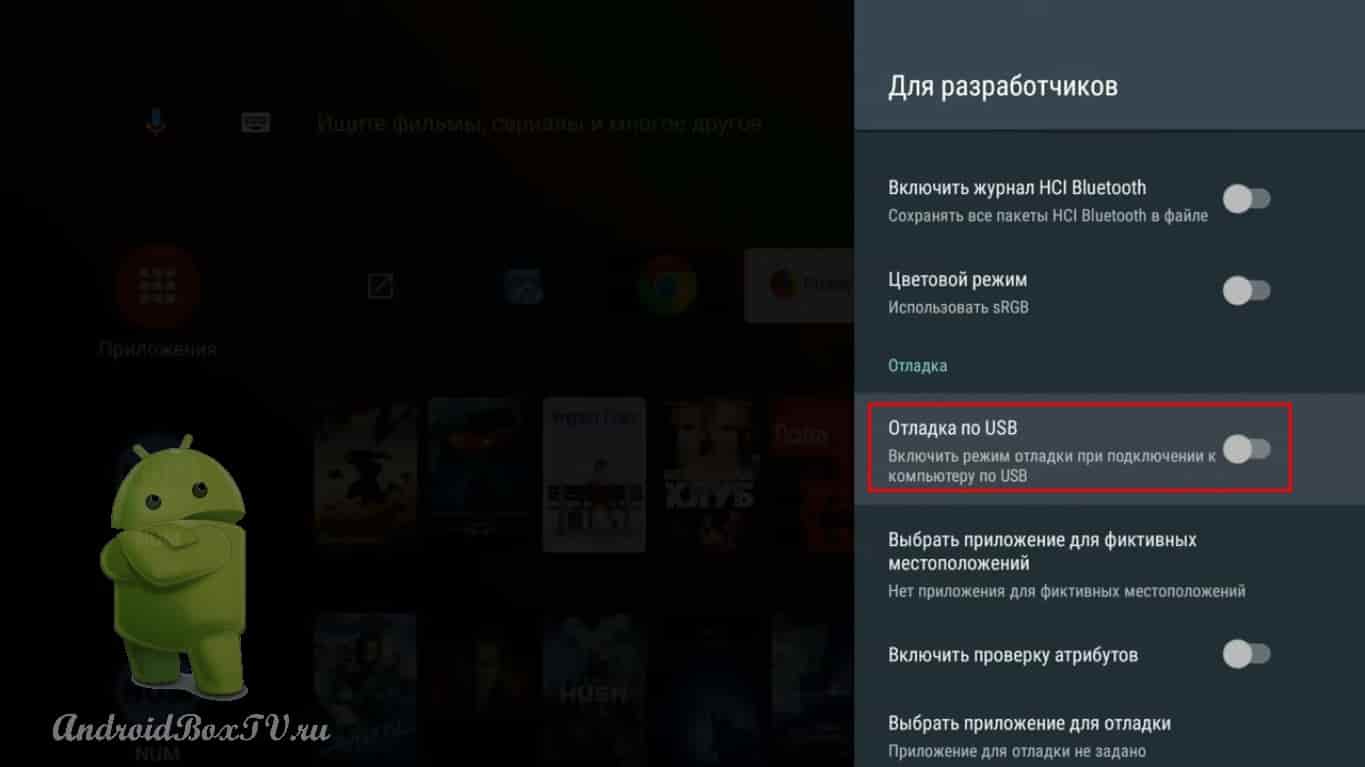
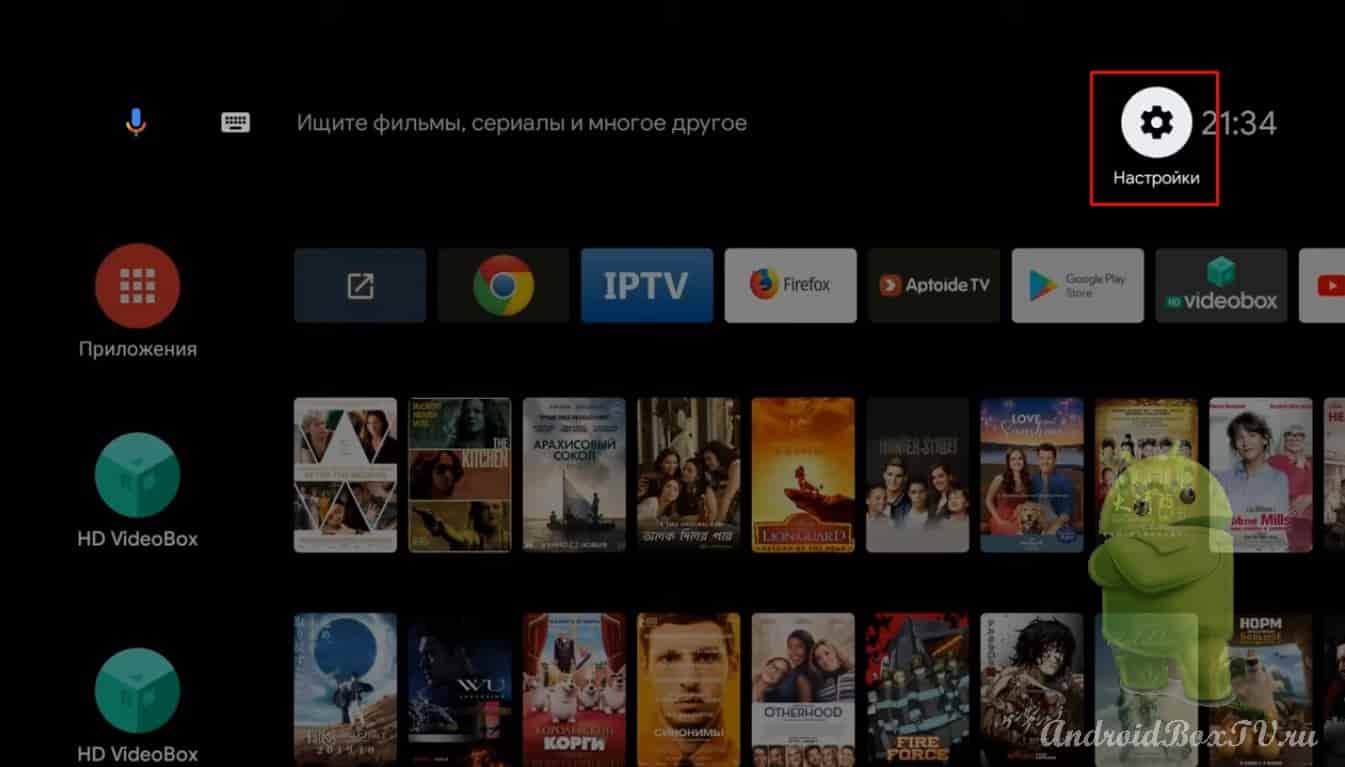
Turn on USB debugging. To do this, open the settings:
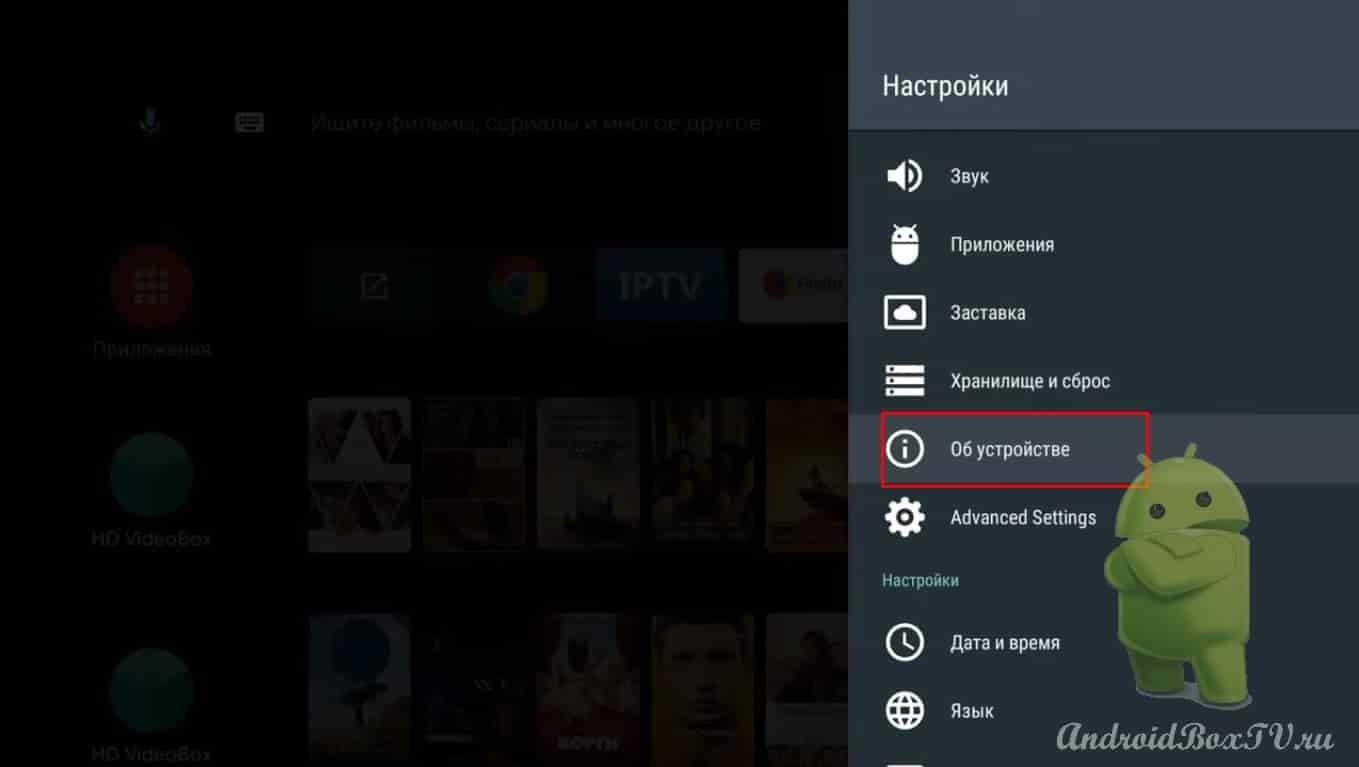
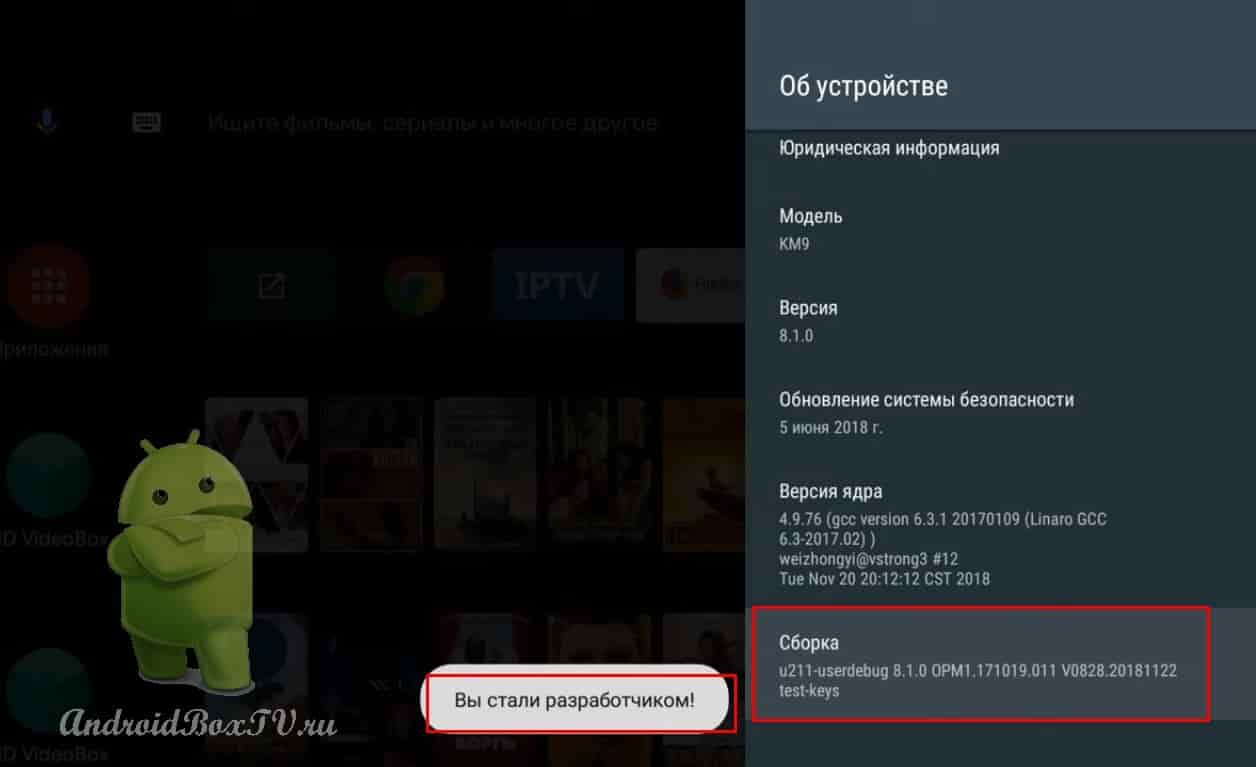
Item about the device. The very last item is the assembly, click until the inscription "you have become a developer" appears:
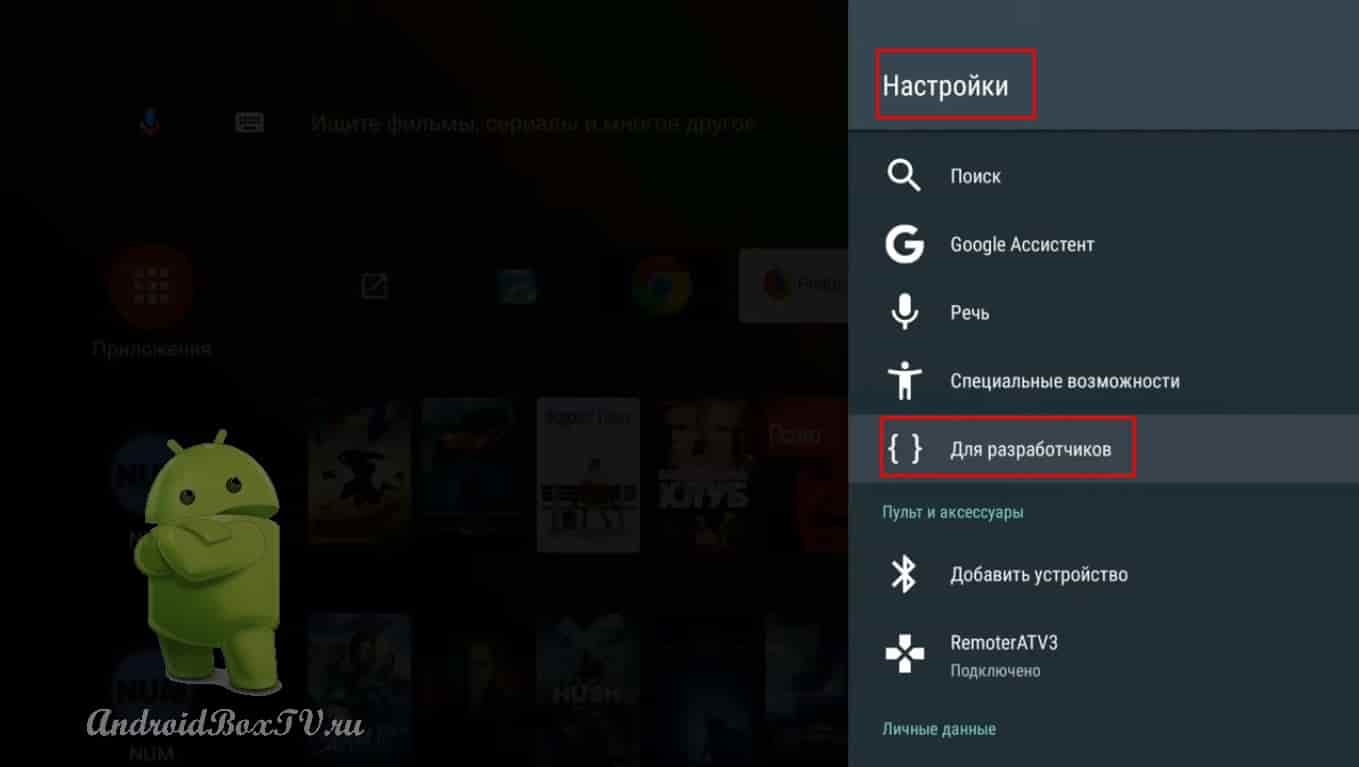
Now back and open the item "for developers"
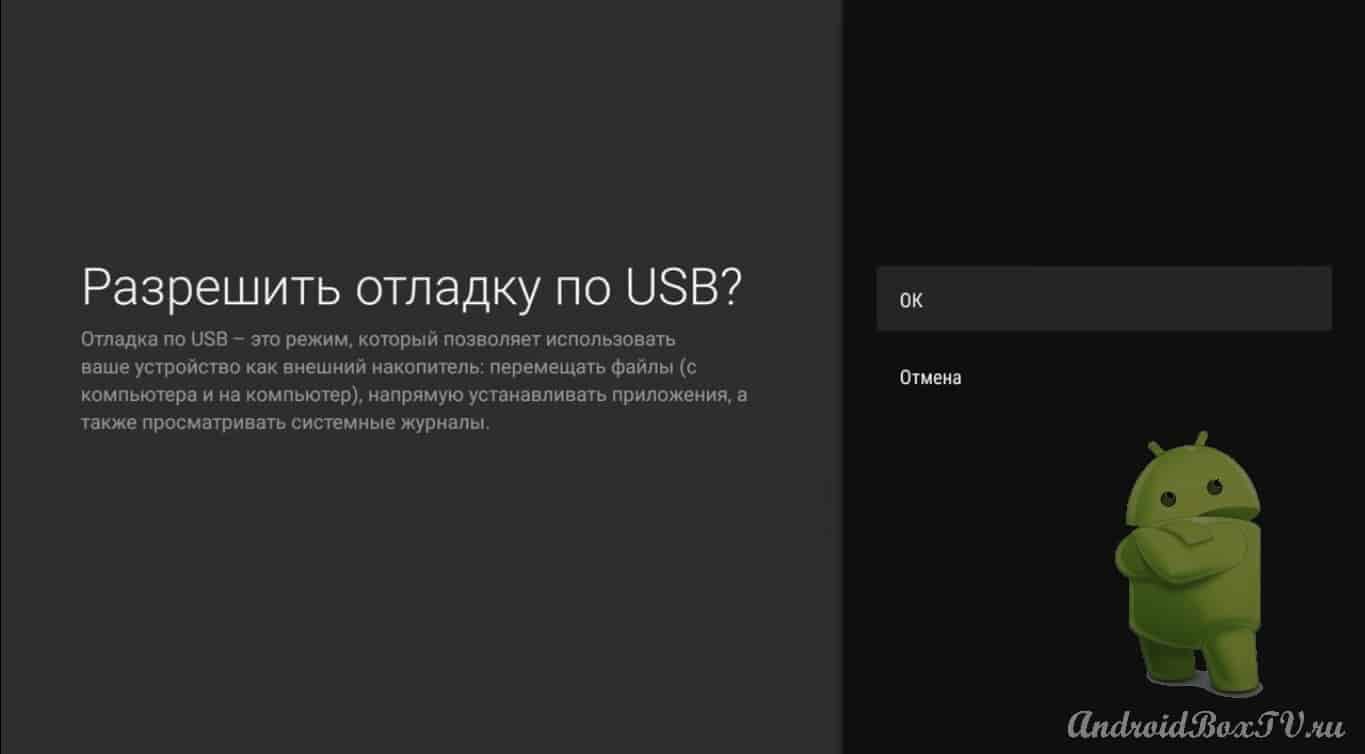
USB Debugging:
May be called IDB debug on some devices!
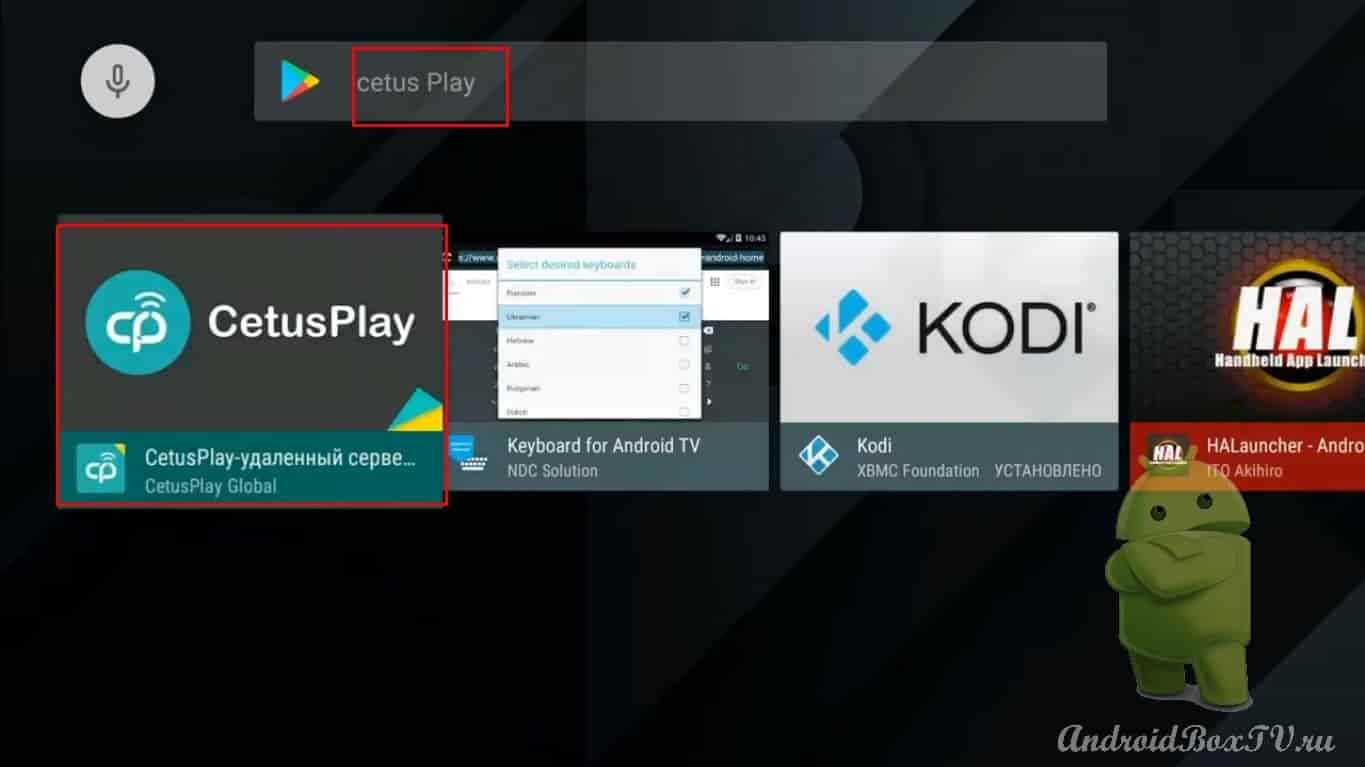
We leave from here and go to the Play Market , in the search we type CetusPlay:
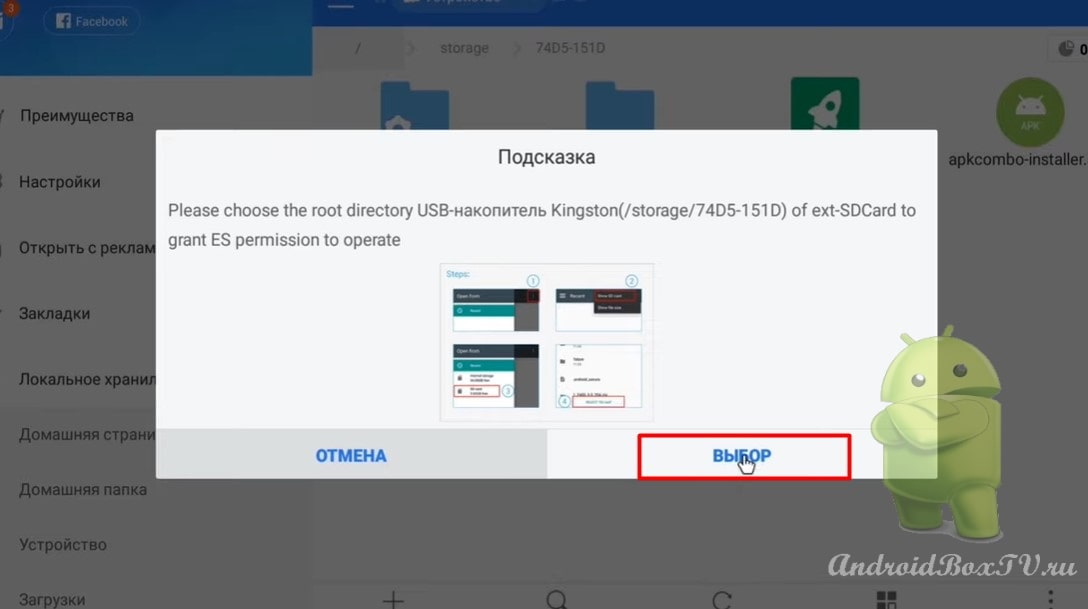
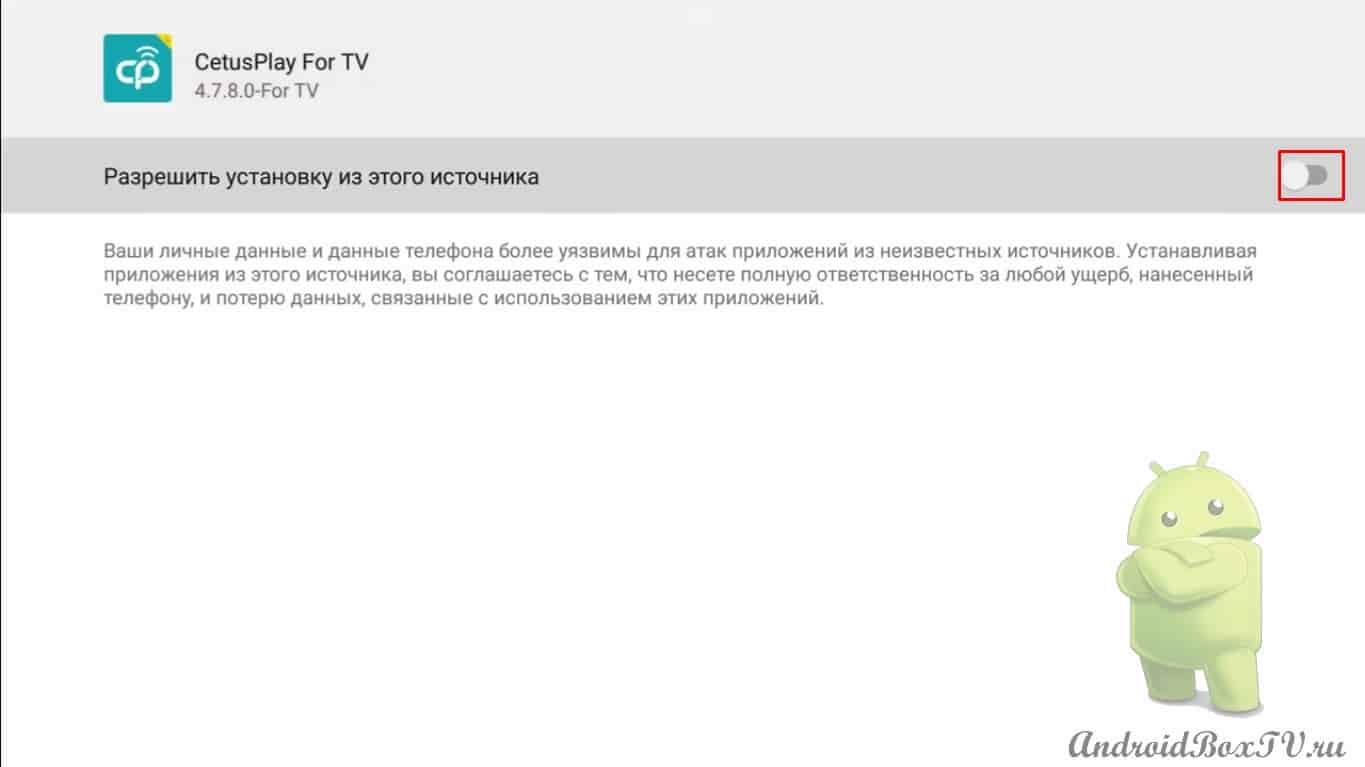
Install, open, give all permissions:
We take a smartphone.
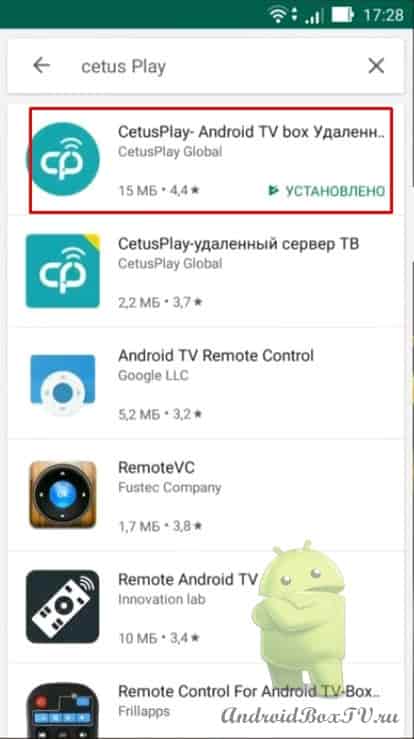
Link to APK file here . We go to the Play Market, in the search we type CetusPlay. Here is the application:
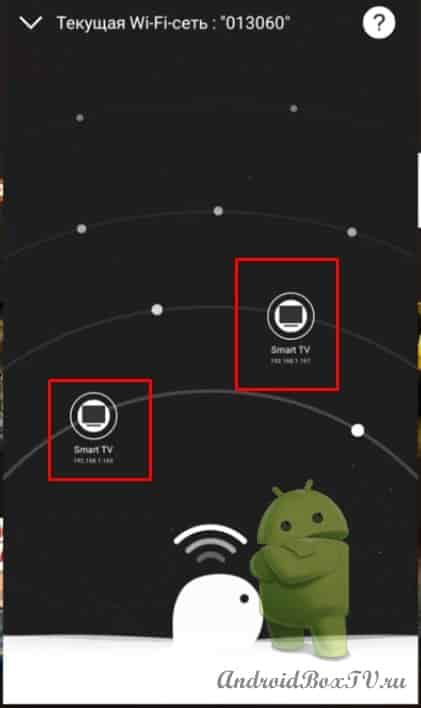
Install and open. Here is the TV and box:
Select the desired device, then. Click on the top left:
We will see the code on the TV, you need to enter it in your smartphone to connect (enter your code):
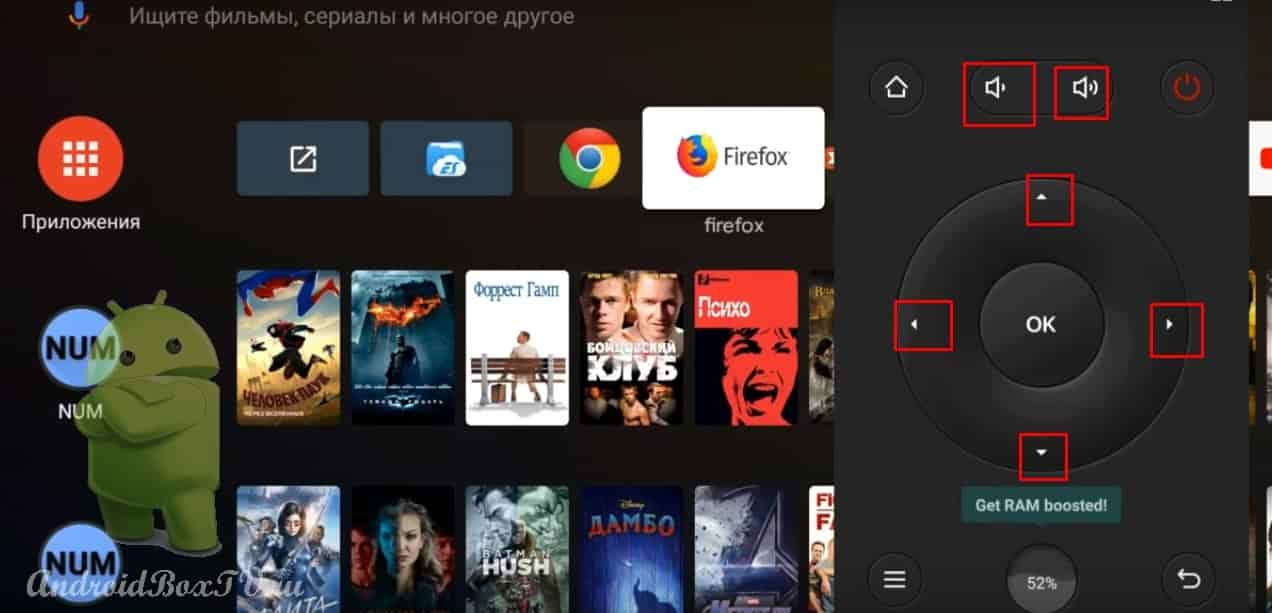
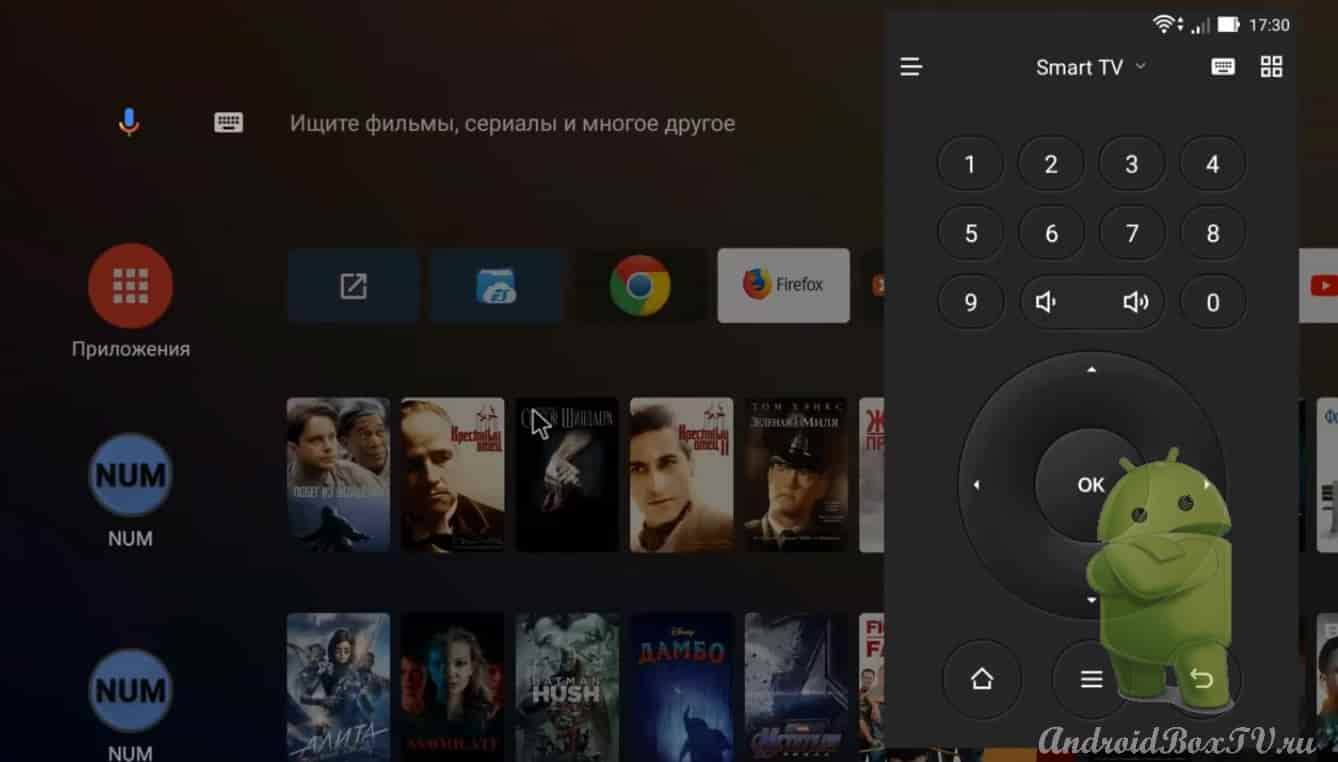
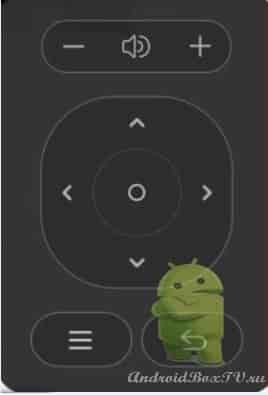
We try - the remote control works, the volume:
Let's try the touchpad remote control on our own, you'll figure it out, you just need to get used to it:
Let's see the remote control with digital buttons, everything works:
Gamepad mode is in development, try it yourself.
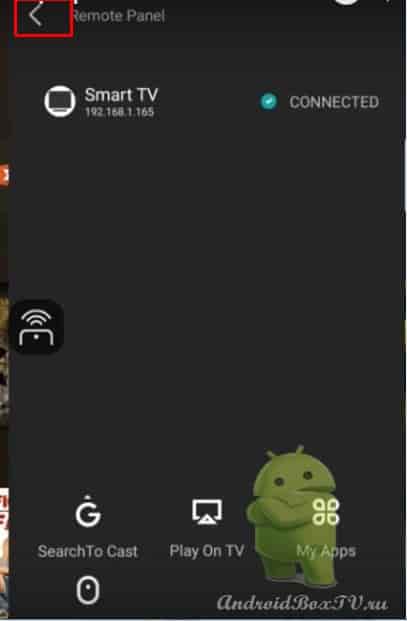
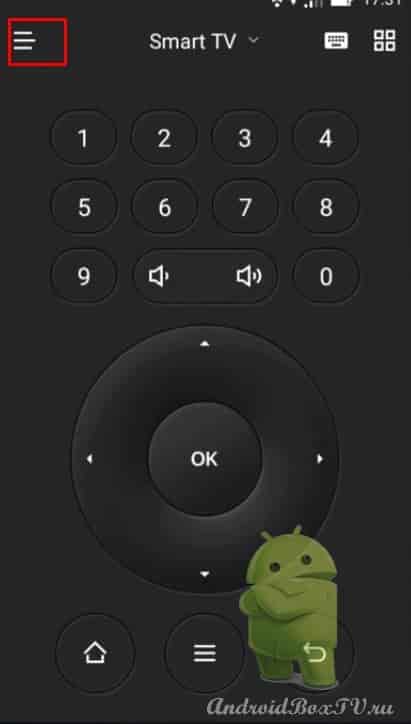
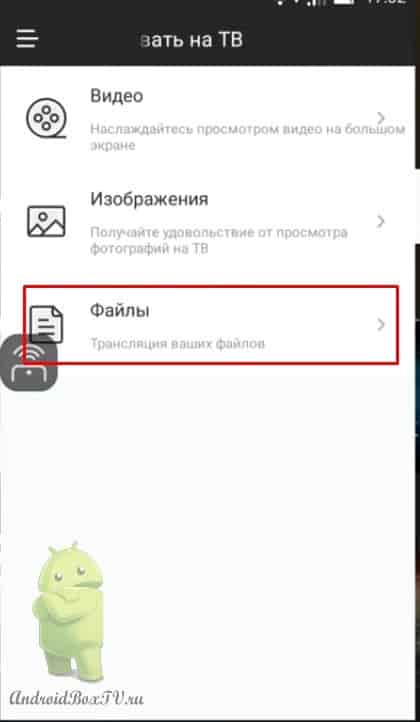
Click on the menu in the upper left corner:
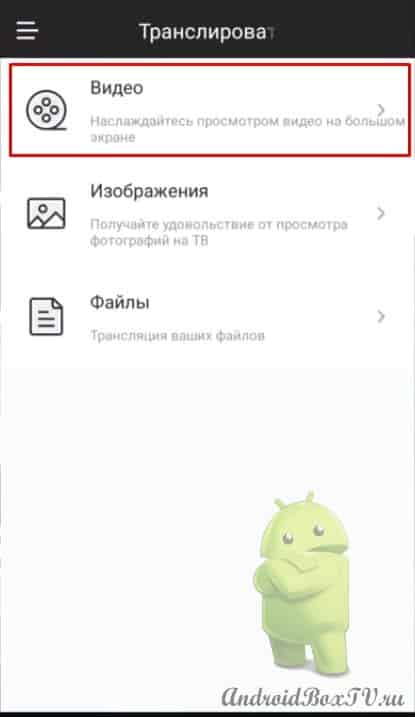
Broadcast on TV “Video”:
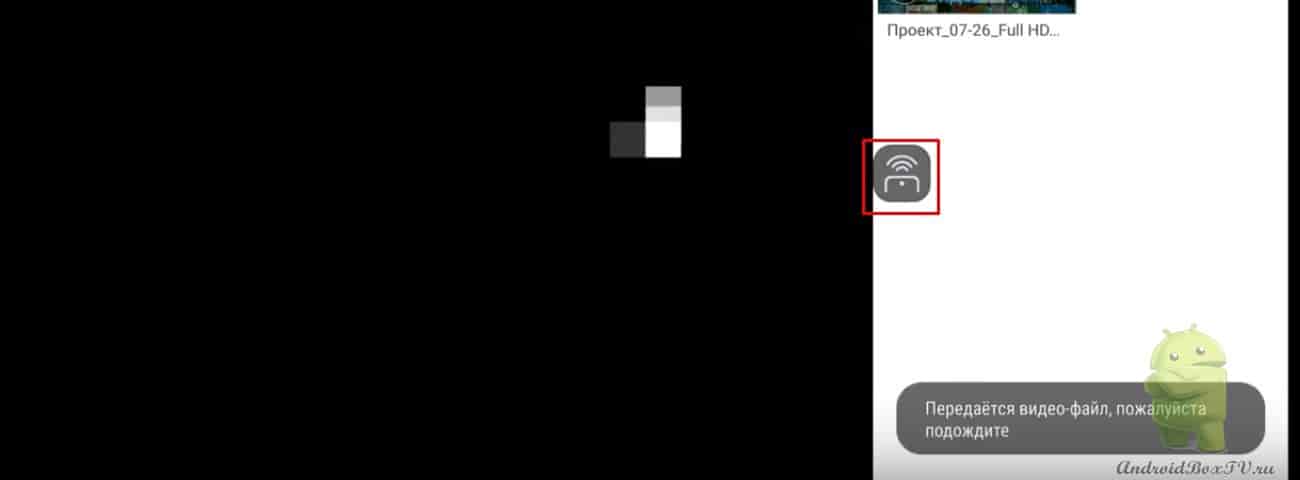
The video is loaded and we call this little console:
You can play back a photo by analogy from the same menu.
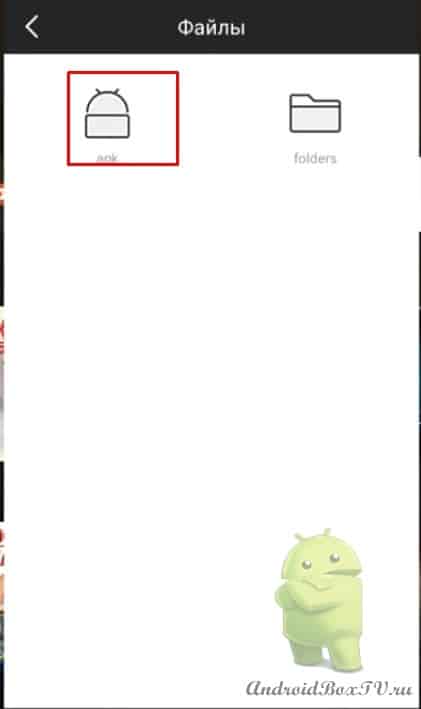
Now files. The files are not seen by the CetusPlay application, only the APK:
We enter the APK folder. Again they ask for the code:
You can install APK files remotely here, it's intuitive.
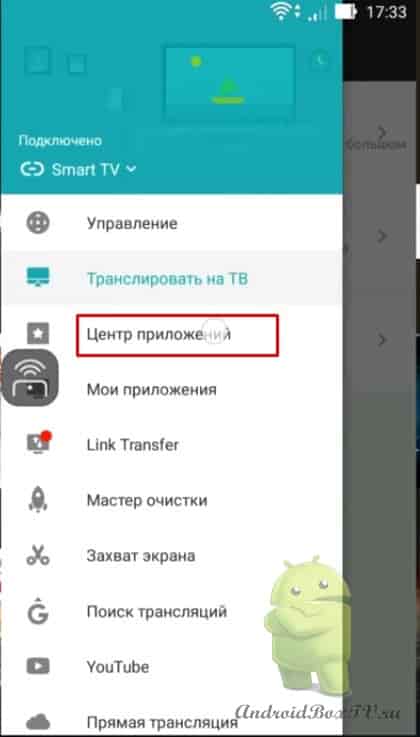
We return. In the menu you will also find the “application center”, this is like an application store, you can also install from here:
All other features are interesting too, you can do screen capture, there is a cleanup wizard, or even you can copy playlist links.
We already talked about how to add a search engine to ES Explorer here and how to transfer files here.
Now we will talk about installing applications and APK files of a smartphone or tablet on the Android operating system on an Android TV device.
That is, it will be possible to install an application on a smartphone from the Play Market or download an apk file and install it on Android TV devices remotely. Unfortunately, not all 100% applications are installed, some are not suitable due to different processor architectures and different versions of android.
Let's install ES Explorer on a smartphone, from a smartphone it will be installed on android tv devices, and then we'll see how to install applications and an apk file on an android TV from a smartphone, even if the installation is blocked by the developer.
This can be found on TVs, I will say again for those who are not aware that the android set-top box and android TV are different operating systems. simple android is found on TV boxes. TV box and game consoles with another play store, this play store contains only those applications that are adapted to the remote control.
So let's take a look at everything first. We need to enable USB debugging.
To do this, open the settings :
Item about device:
The very last item is the assembly, click until the inscription "you have become a developer" appears:
Now go back and open the "for developers" item:
USB Debugging:
May be called IDB debug on some devices!
Include:
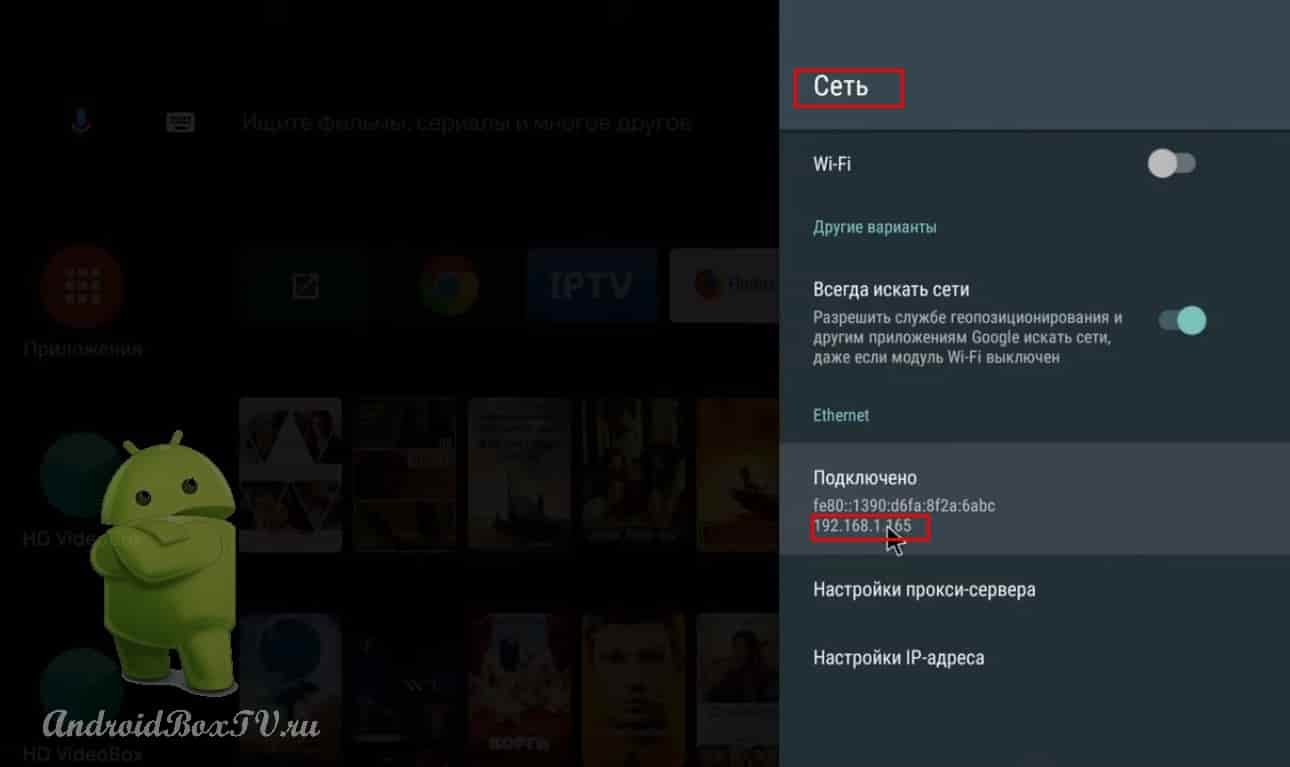
Now let's look at the IP address of the device. This will come in handy if the device is not detected during automatic scanning:
We write out!
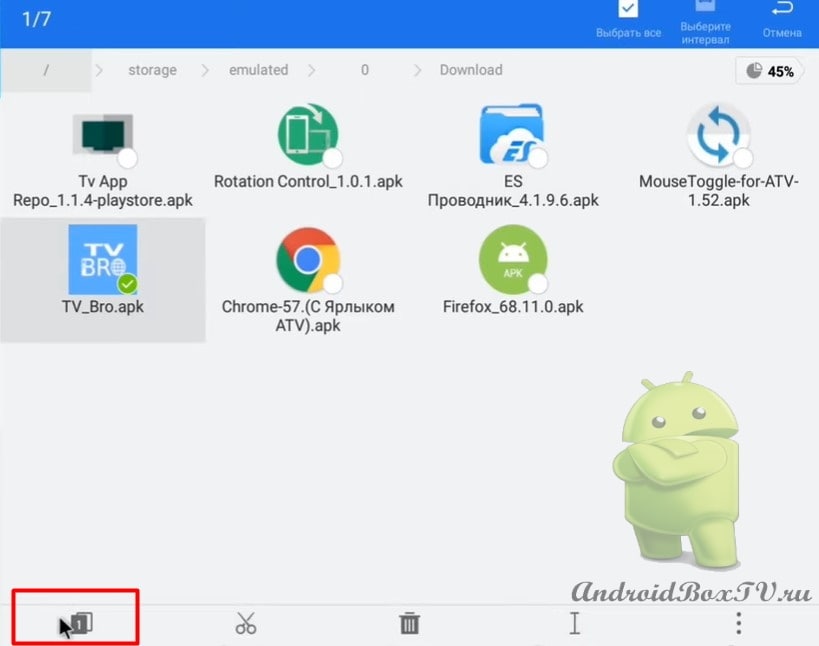
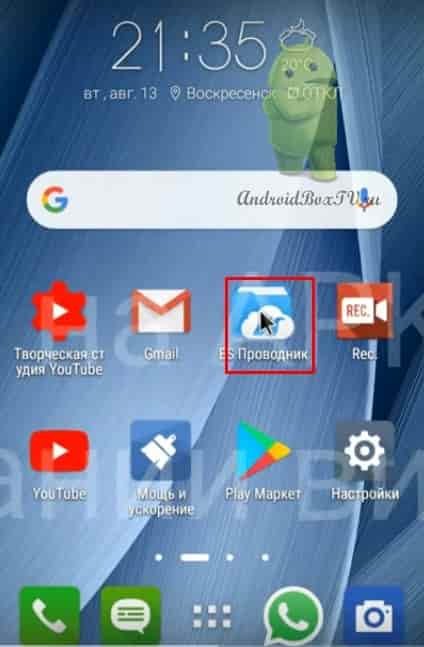
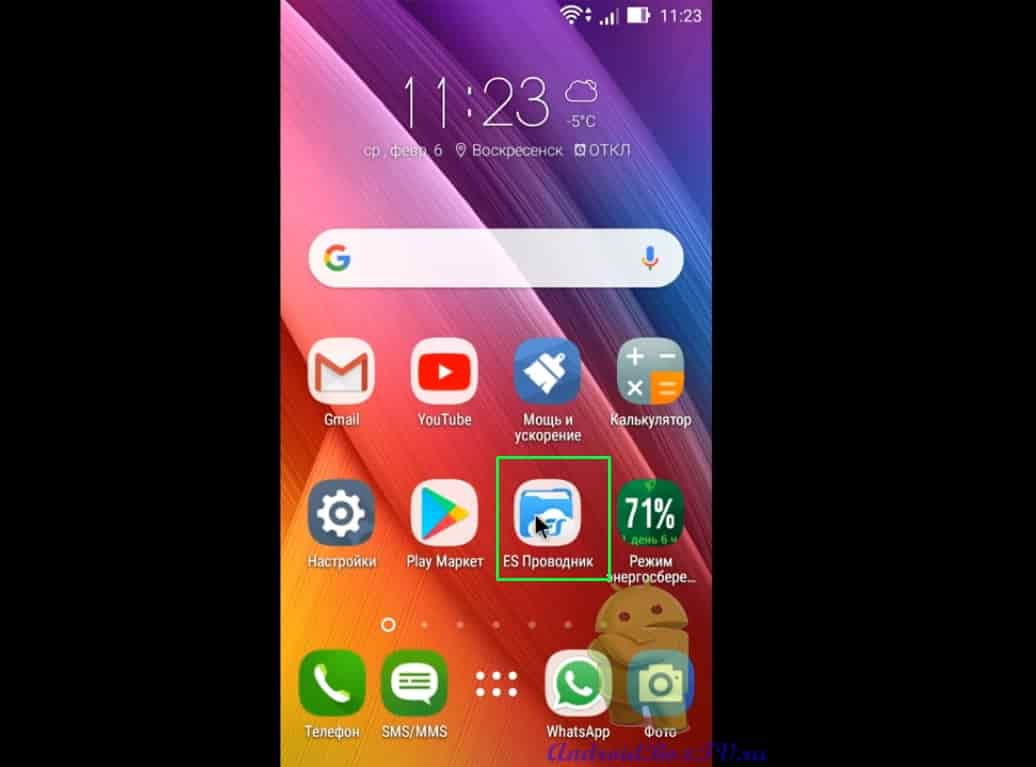
We take a smartphone and open ES File Explorer:
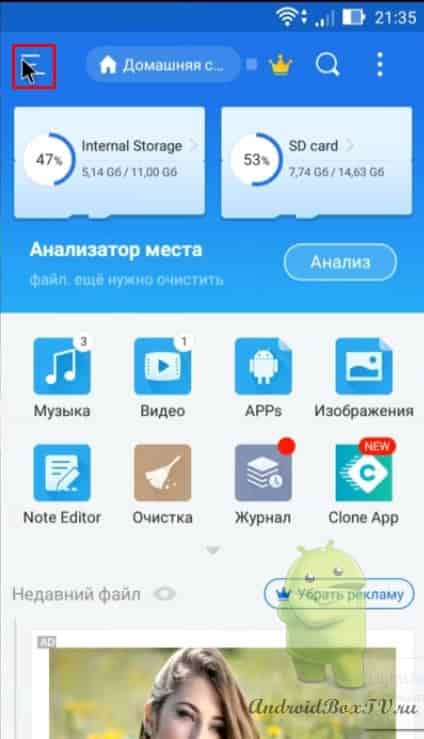
On the APK file for the phone here . Installed, open this menu here:
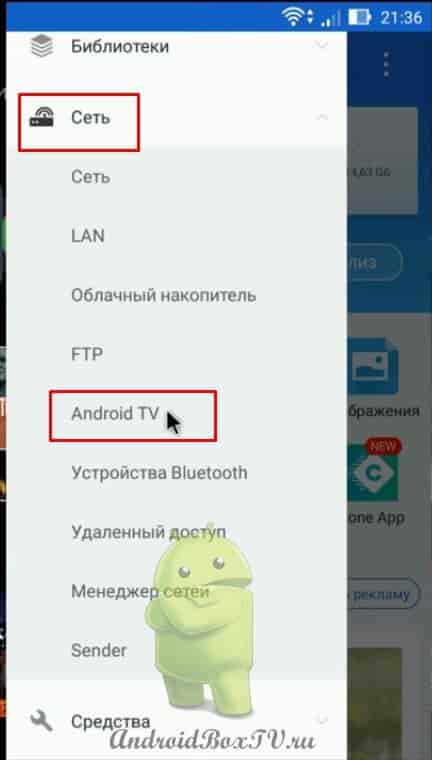
We need the "Network" item, then Android TV:
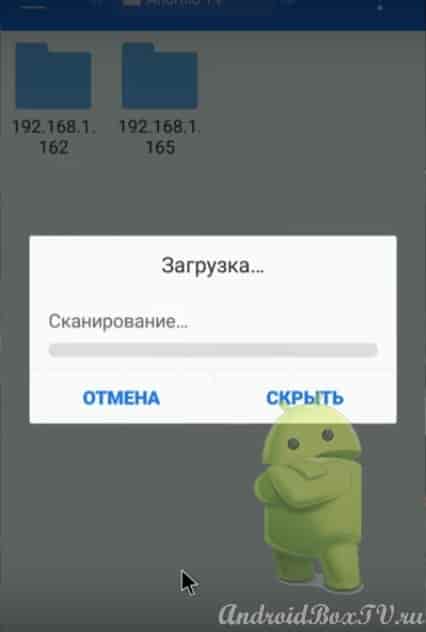
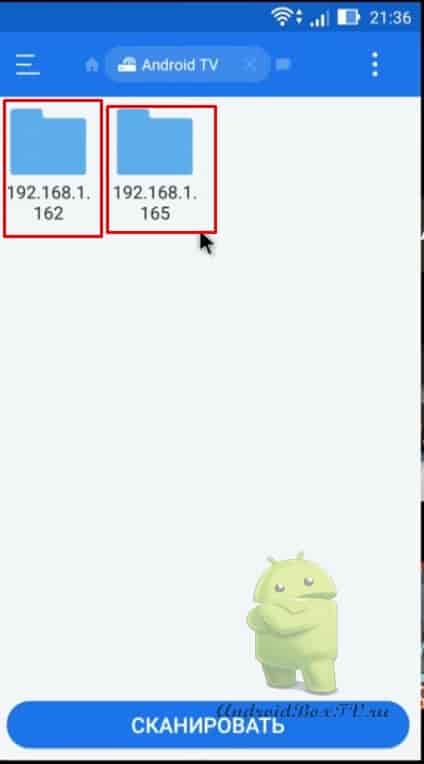
Click "Scan".
Devices must be on the same wifi network!
While scanning on an Android device (TV), a window may pop up. Allow USB debugging from this device. Will have to confirm. This is all done once, then it will not be necessary to do anything.
Here is the TV and the second TV BOX device:
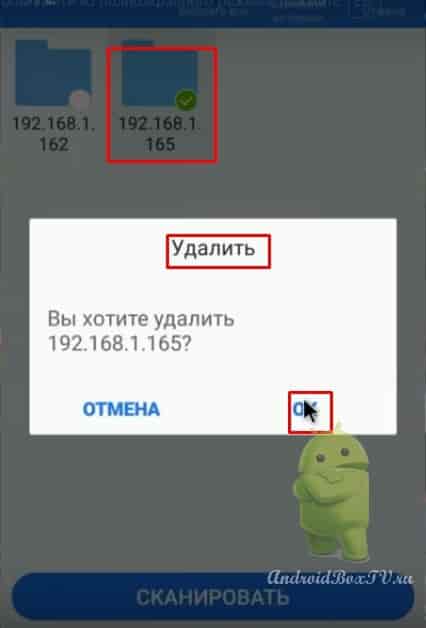
For those who haven't decided, let's delete it now:
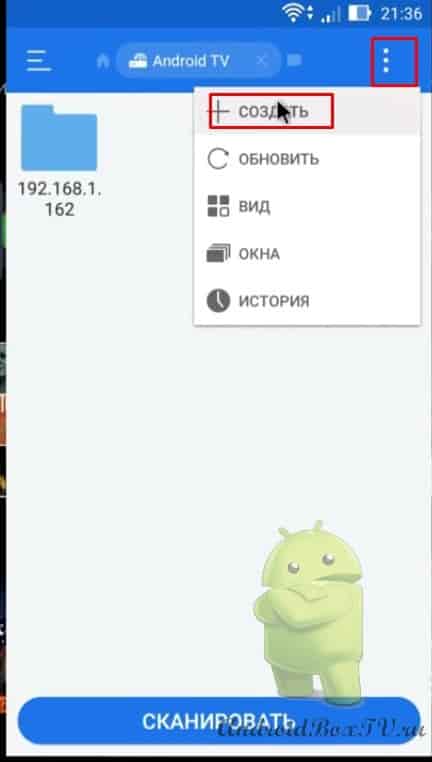
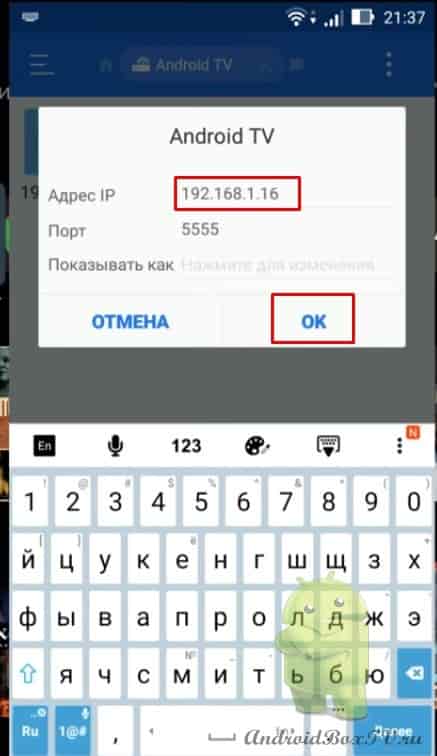
For what? Let's see how to enter the IP address manually. Create:
Enter the IP address that was written out on Android TV:
Enter your IP address, which was written out earlier in this article!
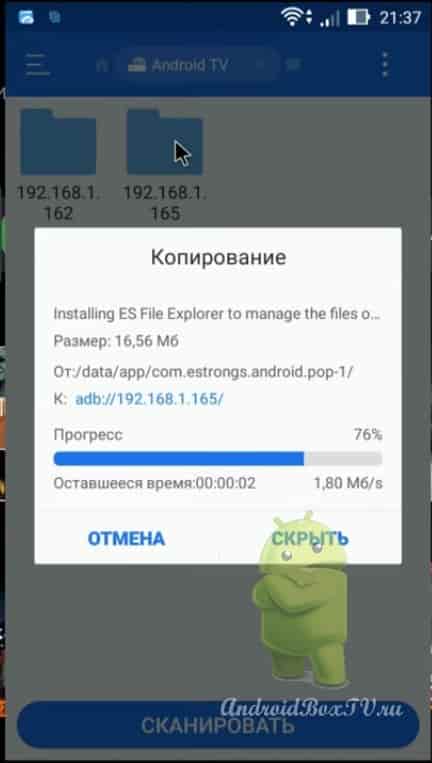
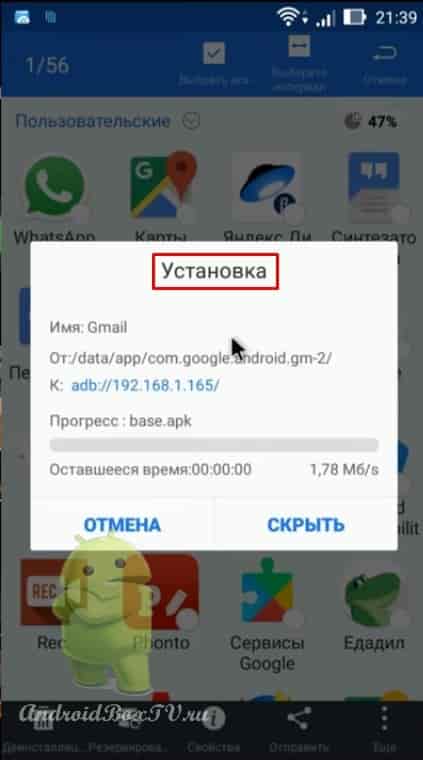
We open the device, now ES Explorer is being installed on Android TV:
Let's wait a bit. Installation completed.
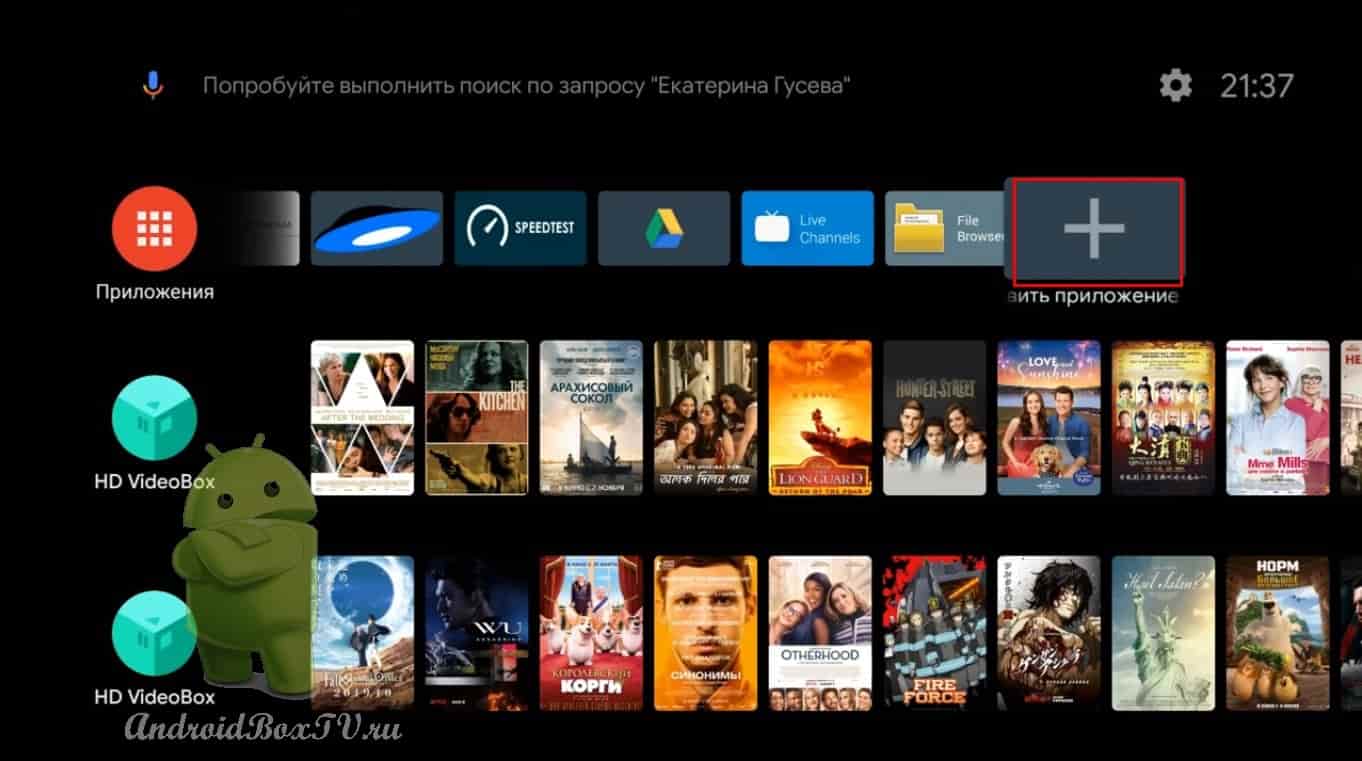
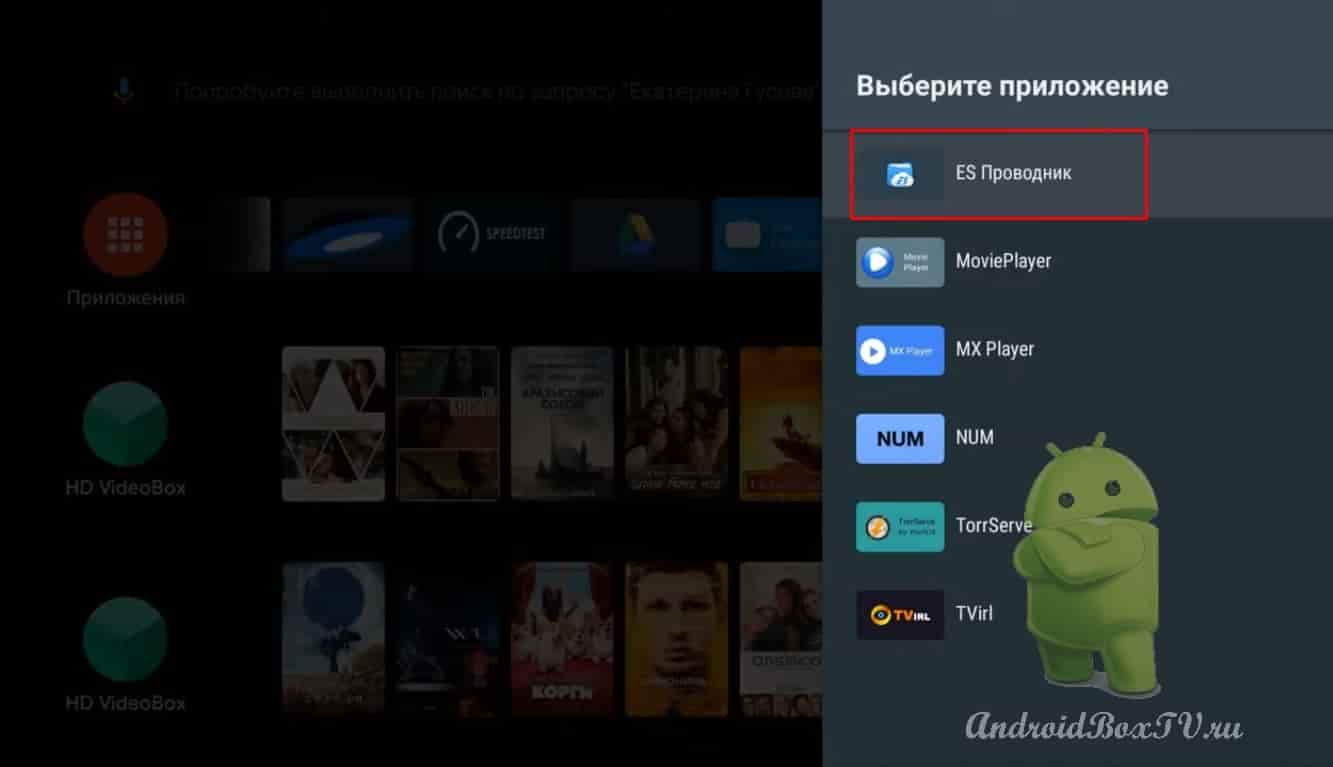
Now let's see if the ES Explorer is installed on the set-top box or not, let's get back to the TV box. Click on the "+" (described in detail here ):
Yes, everything is installed:
We open it, and allow everything that is asked, everything is in order, it works:
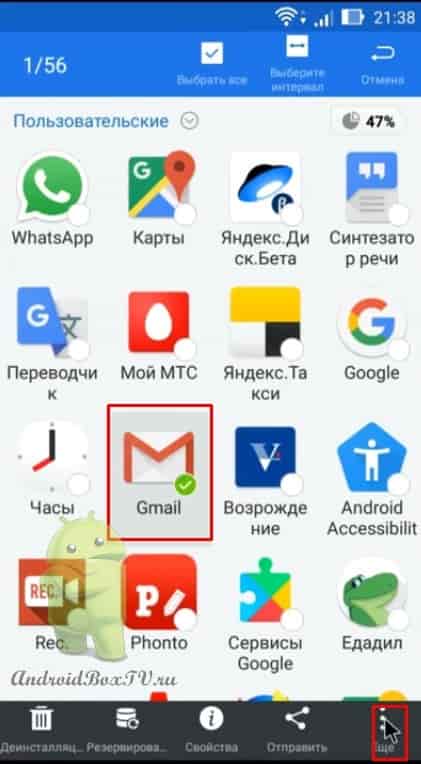
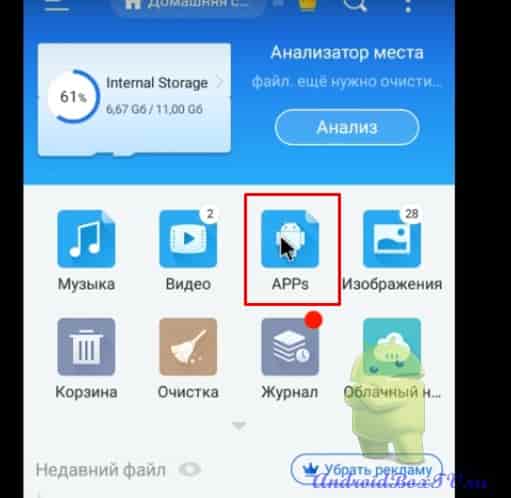
We return to the smartphone and open the application. We enter APPS and select the applications we need, click "More" and "Install to":
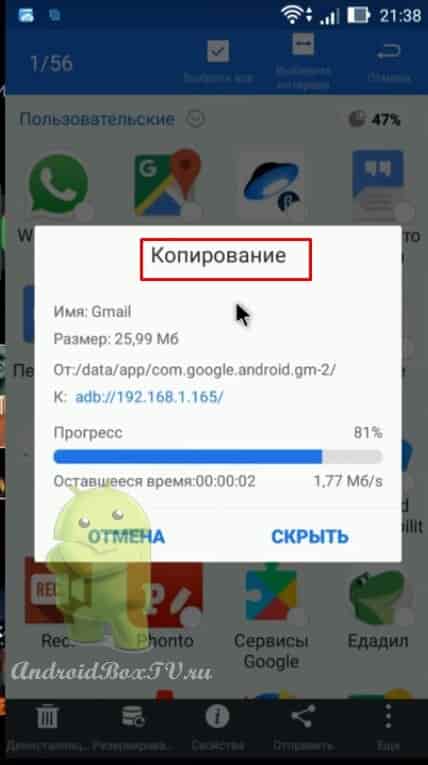
It is installed on the TV, we see how copying is going on:
And installation:
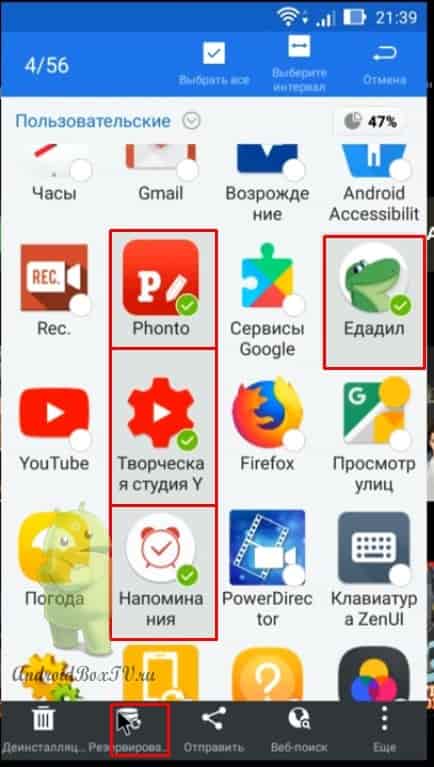
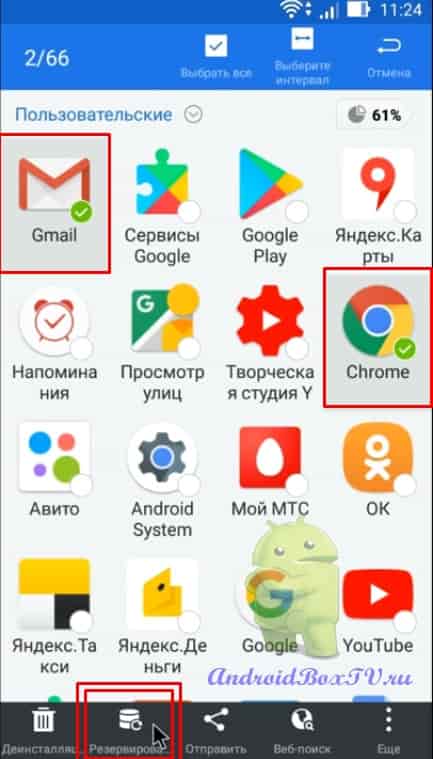
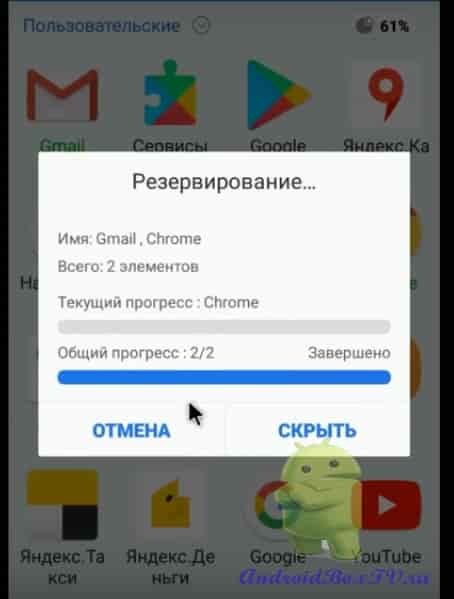
Now let's see how to create an APK file. We select the applications we need, click "Reserve":
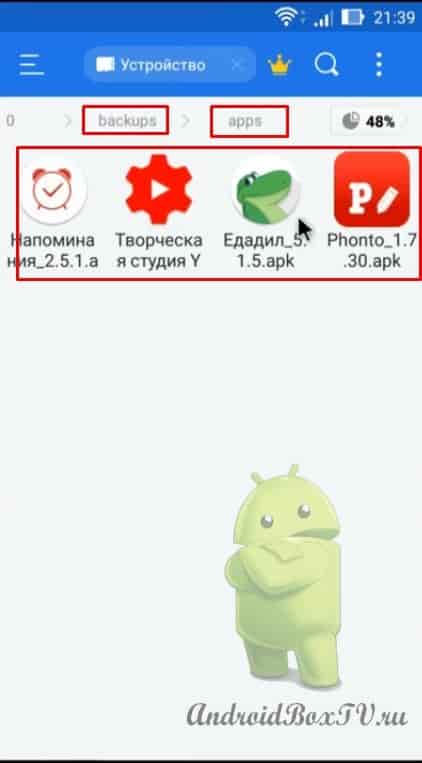
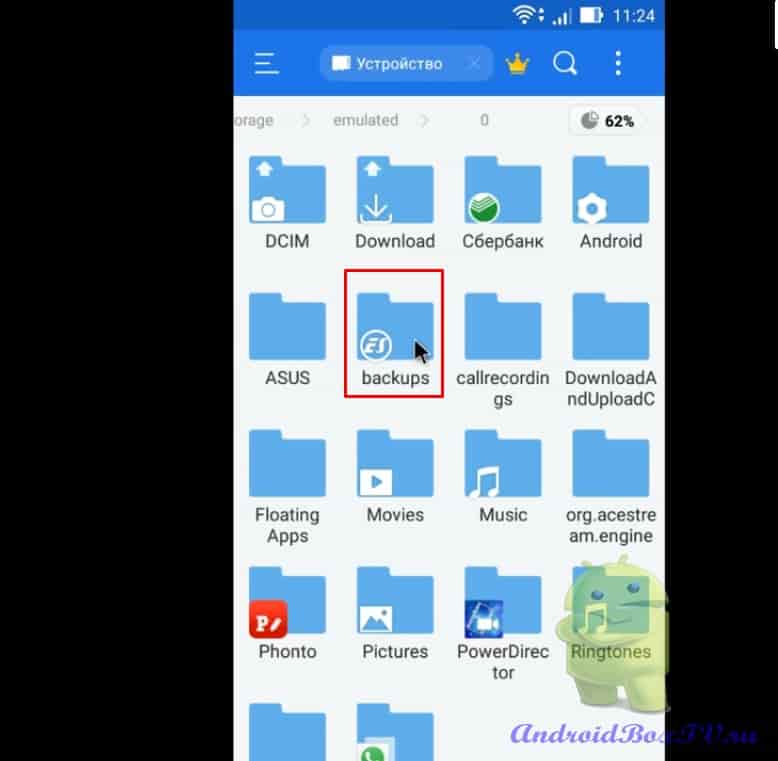
We are waiting for the end, now go to the main menu of Explorer, go to the backups folders, find the apps folder:
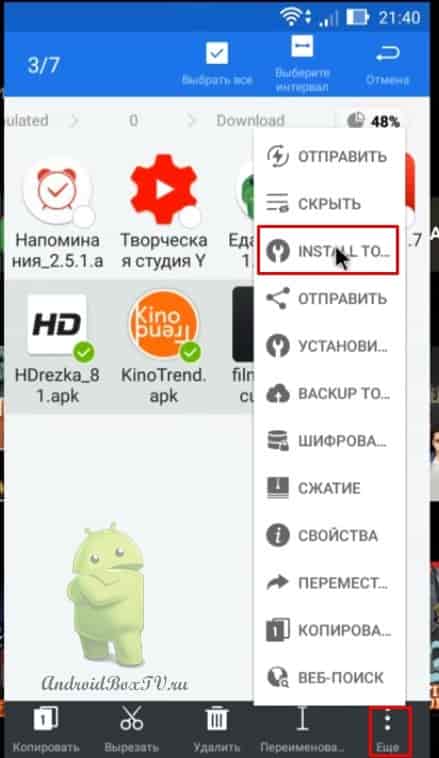
And in order to transfer and immediately install on the Android device, click the familiar “More” and find “Install to”:
Copying and installing, copying, installing.
Everything is installed, we check on our device, I'm sure you will find all the applications. I repeat, using the above, you can install applications blocked for the android device. Who will have questions, write.
How to transfer simple applications and files in ES Explorer was discussed here and how to transfer locked files here .
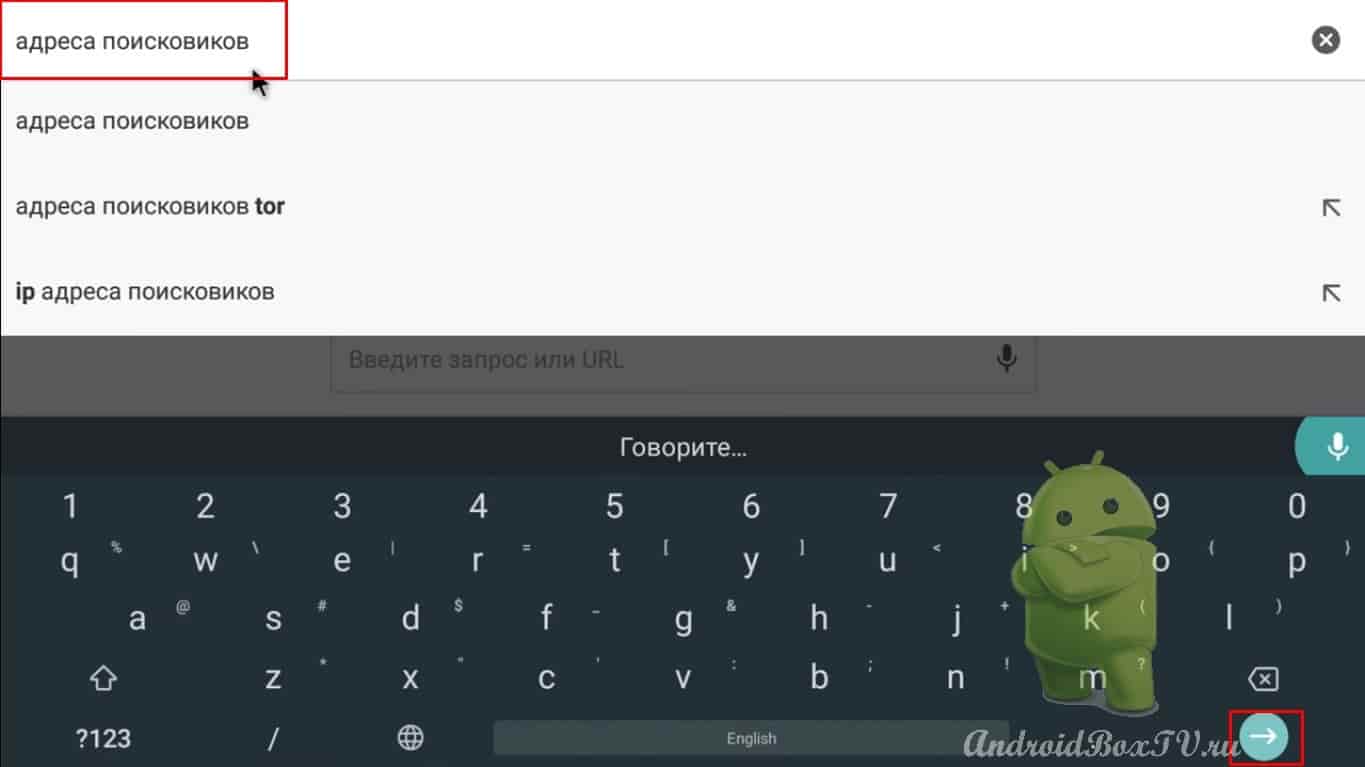
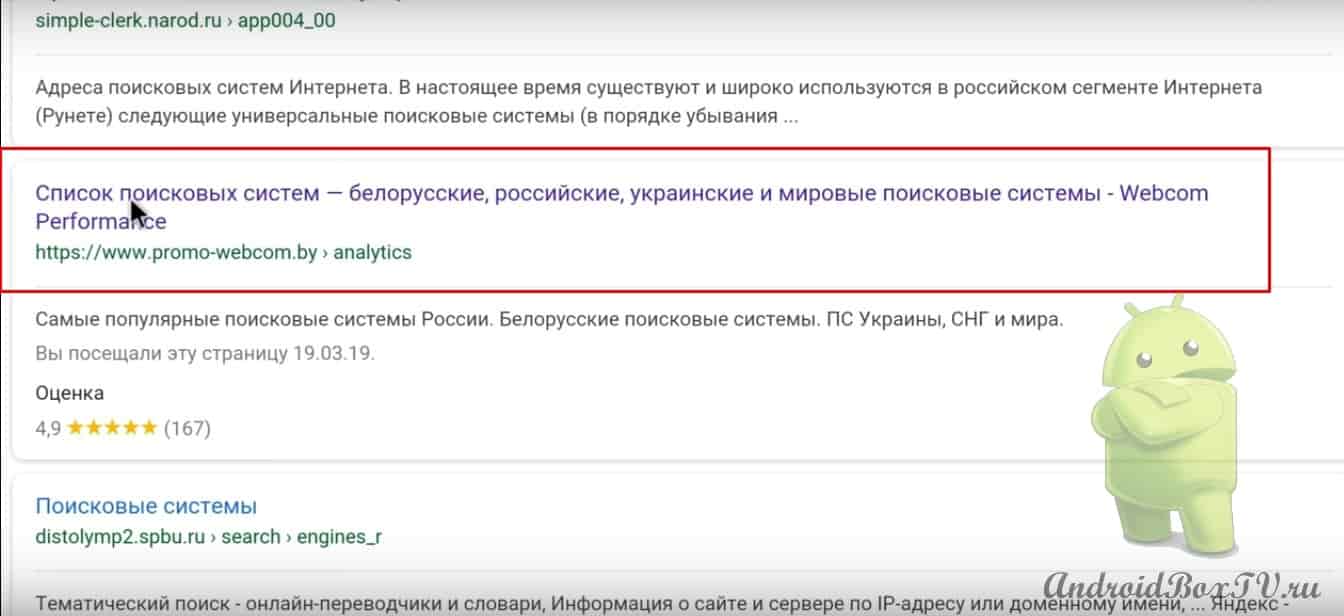
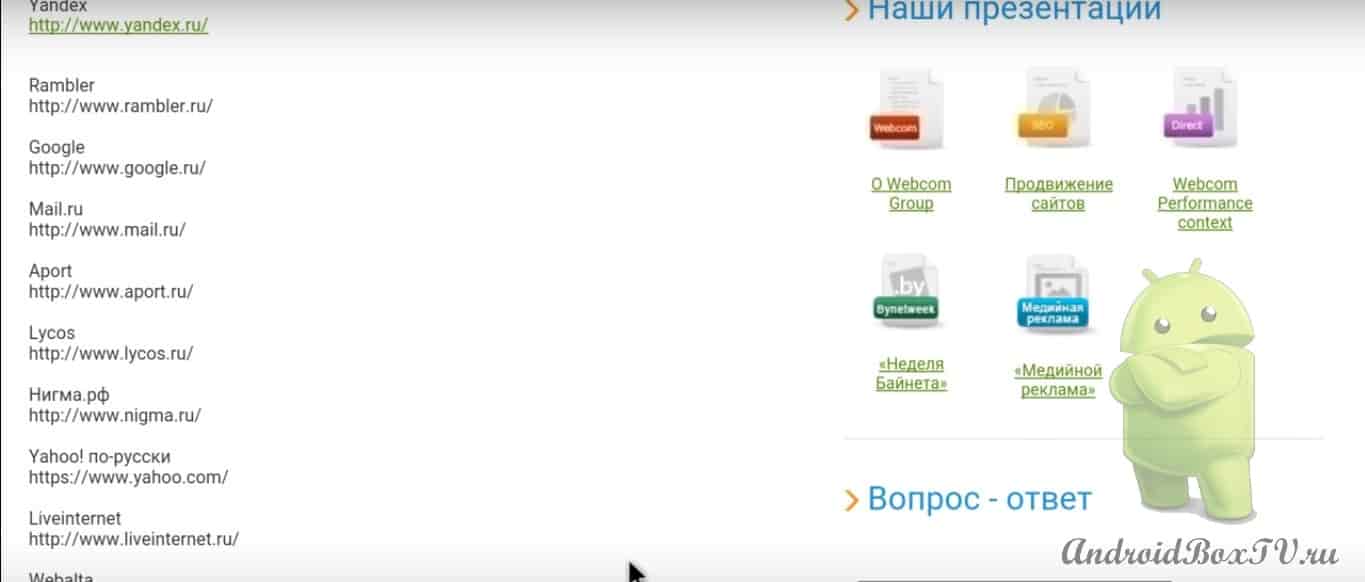
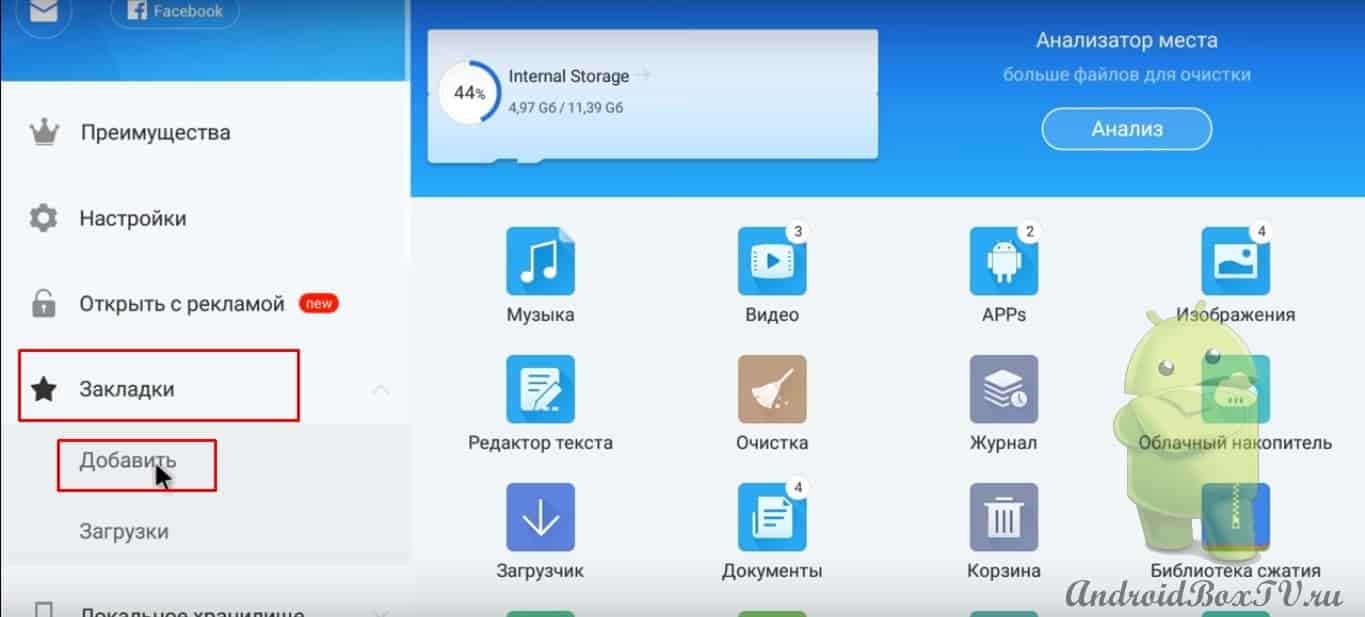
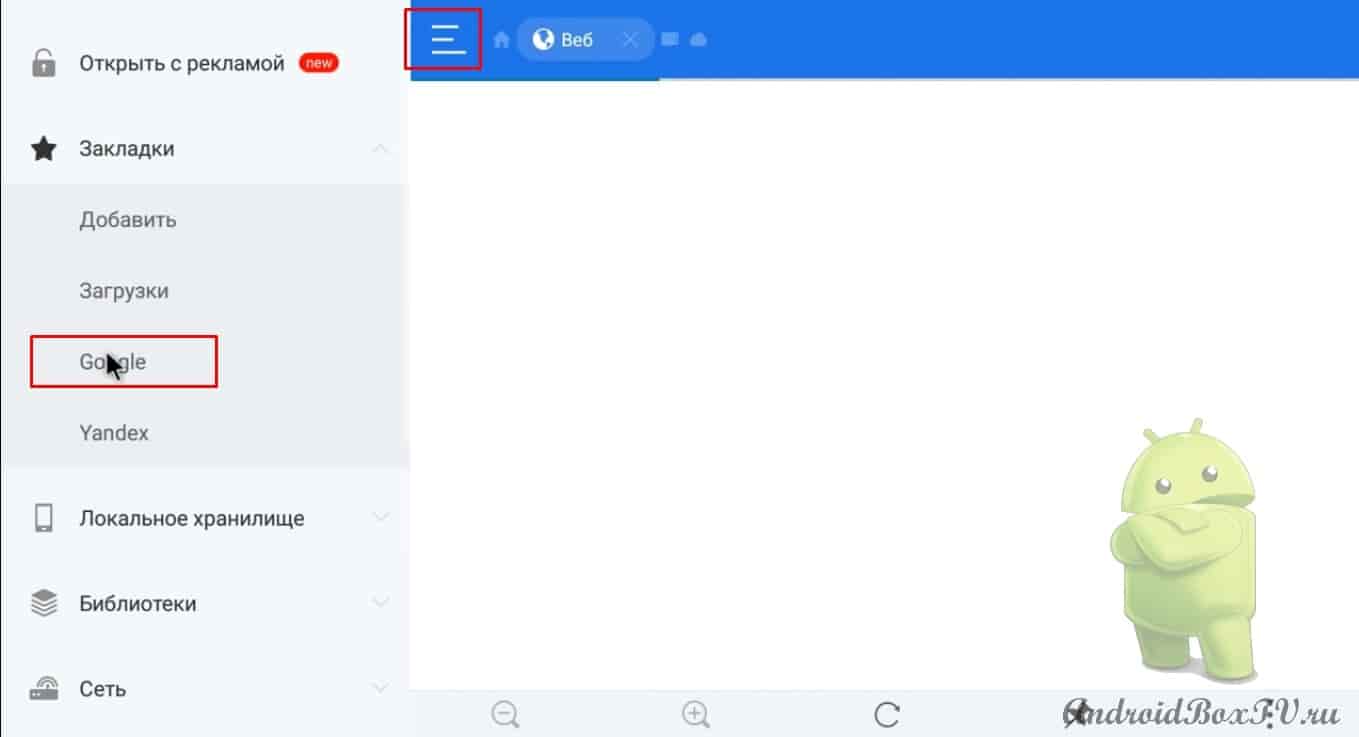
After the next update in the ES Explorer of the Android TV set-top box, the search engine item disappeared in the "Bookmarks" section. Previously, the default was Yahoo: you could change it to your taste. Now this is nothing. Let's see how to add a search engine to ES Explorer, and also see where to get search engine addresses.
Good day everyone, in this video we'll see how to add a notification bar to Android TV:
Everyone calls this Status Bar application differently - the top curtain. What it can be useful for, for example, while in the browser, you can open the clipboard or some other additional application.
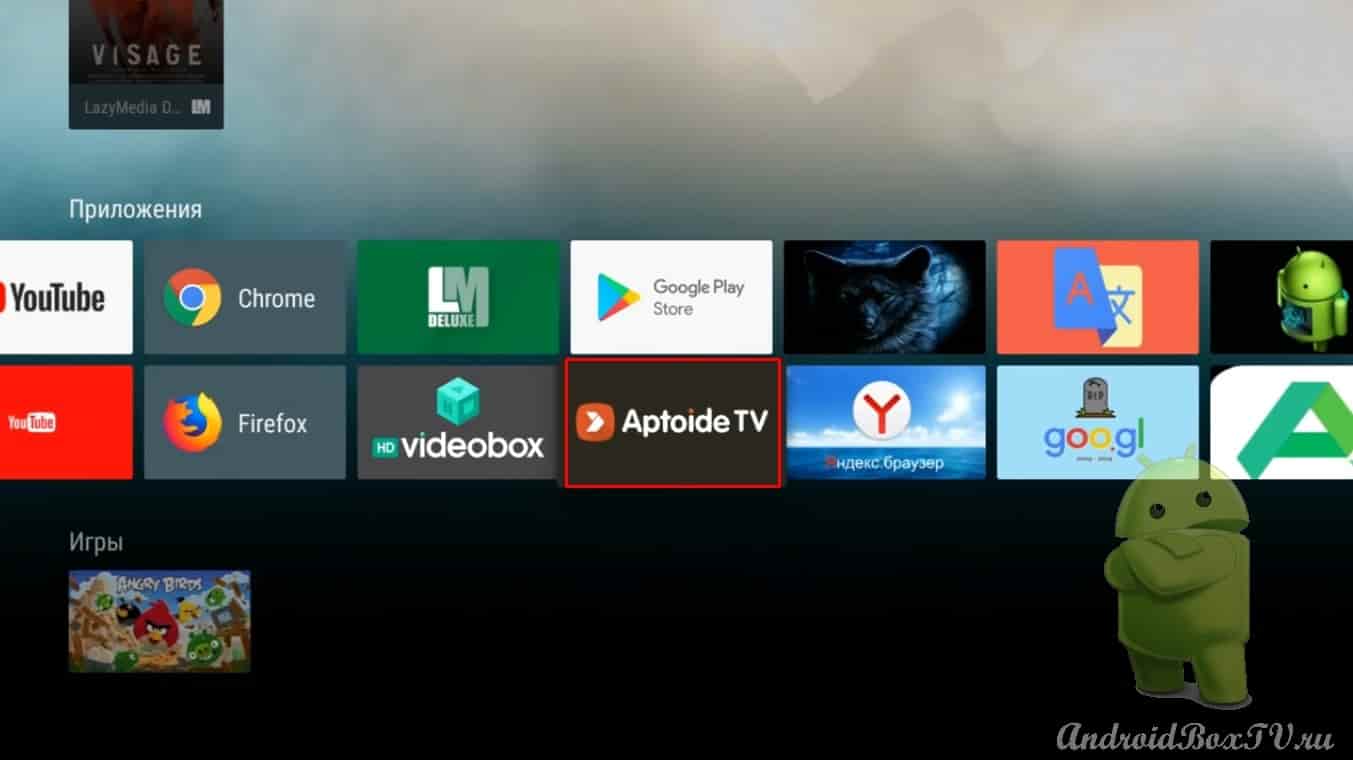
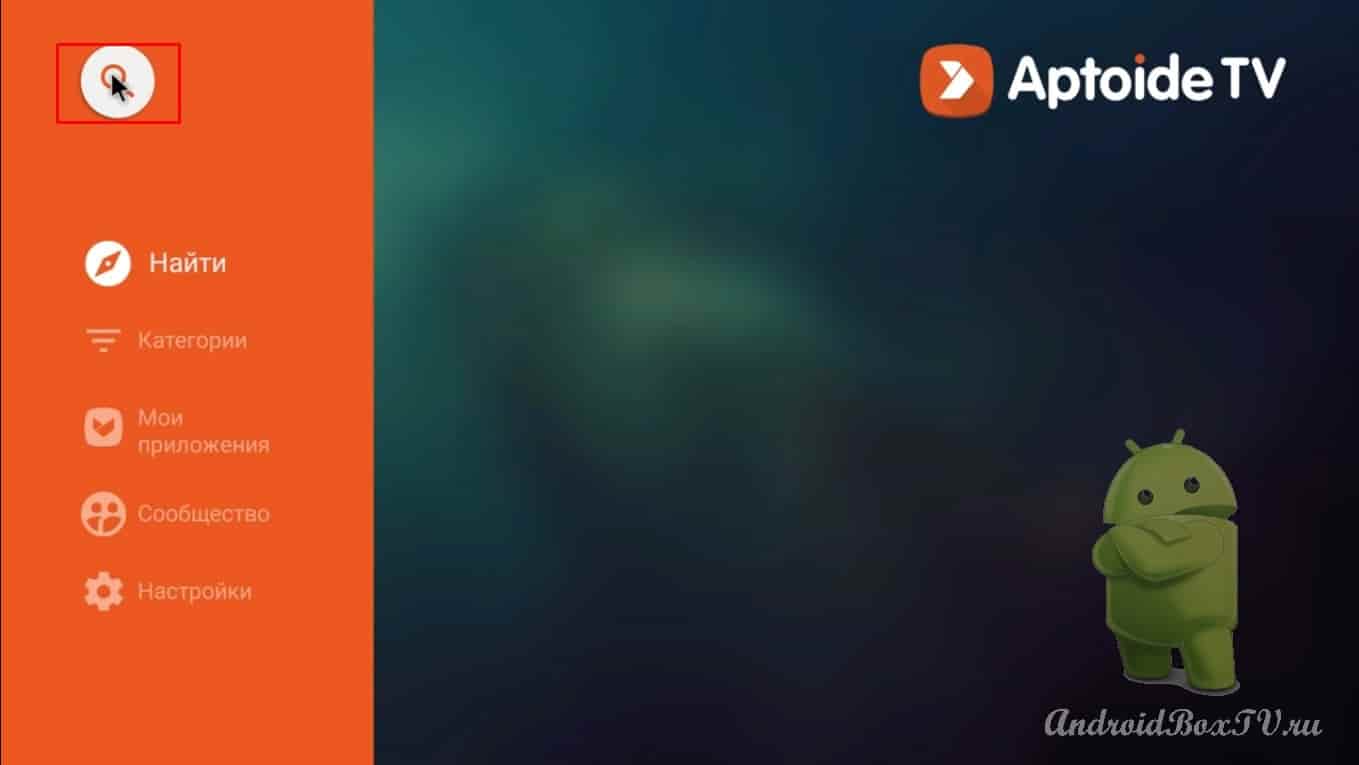
a mouse to control this application . Let's use the Aptoide TV app for shopping (the installation of which is described here ):
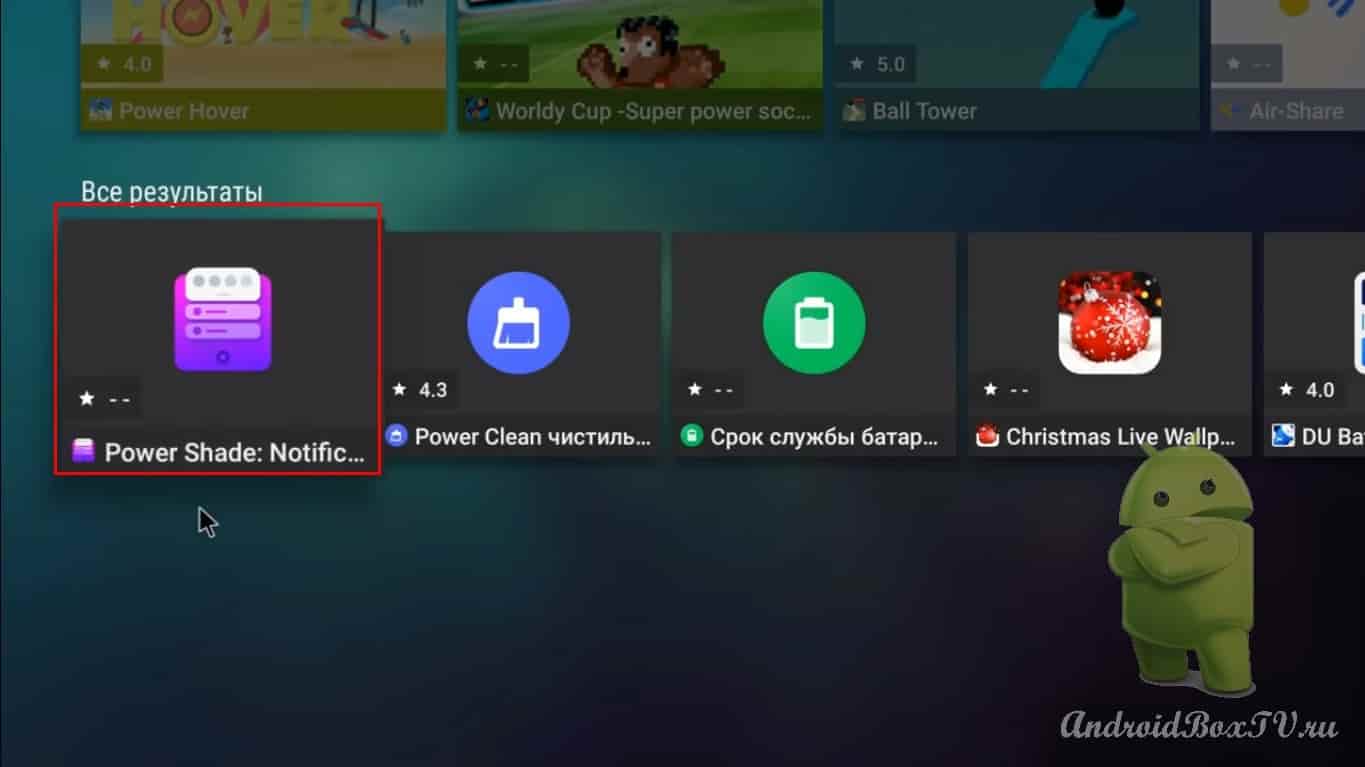
In the search you need to type "Power Shade" :
We press search . Here is the application:
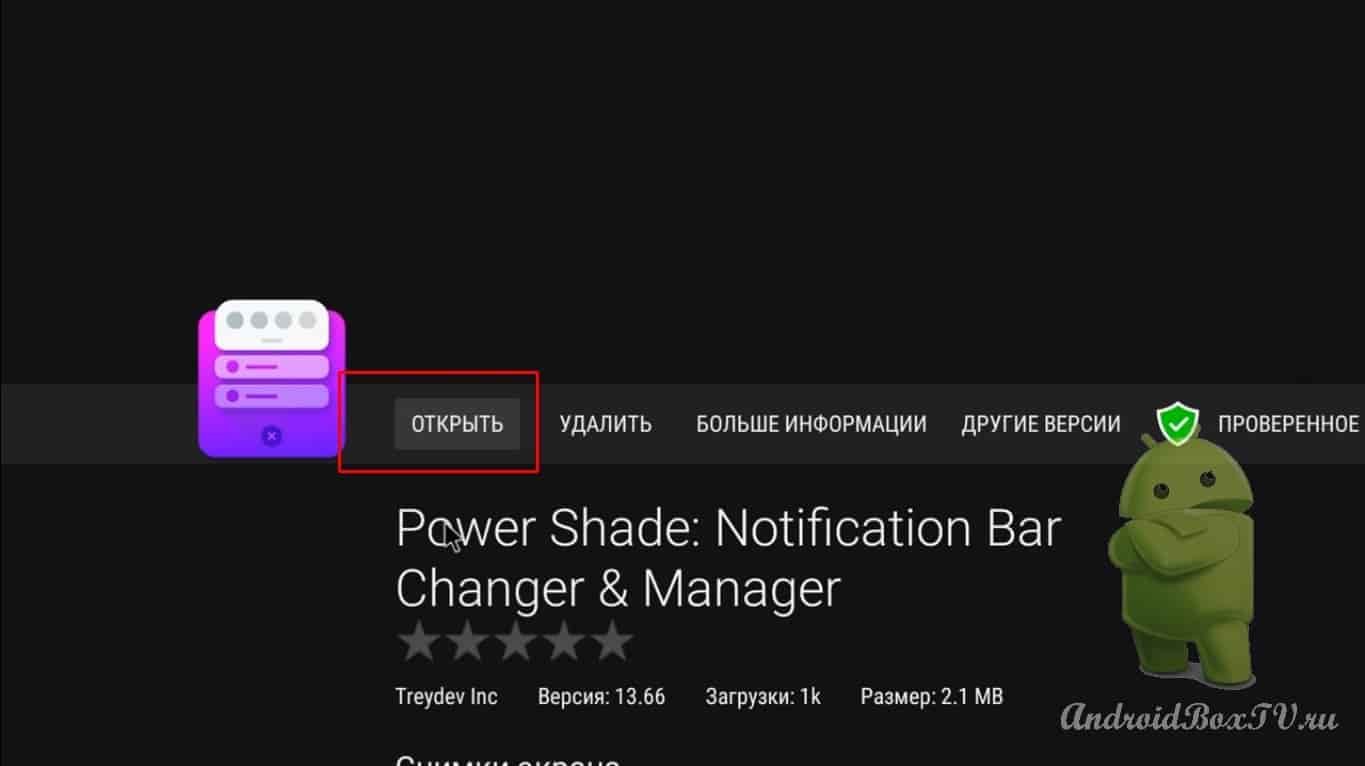
The version translated into Russian can be downloaded from the link . We open:
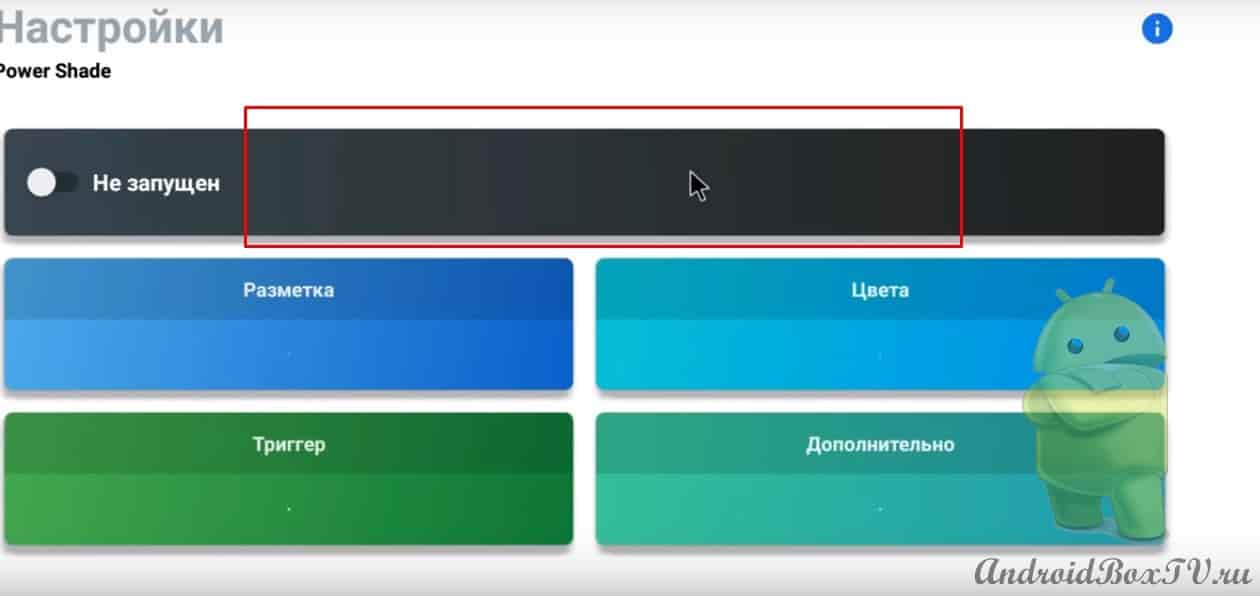
Enable slider:
Click on the black bar:
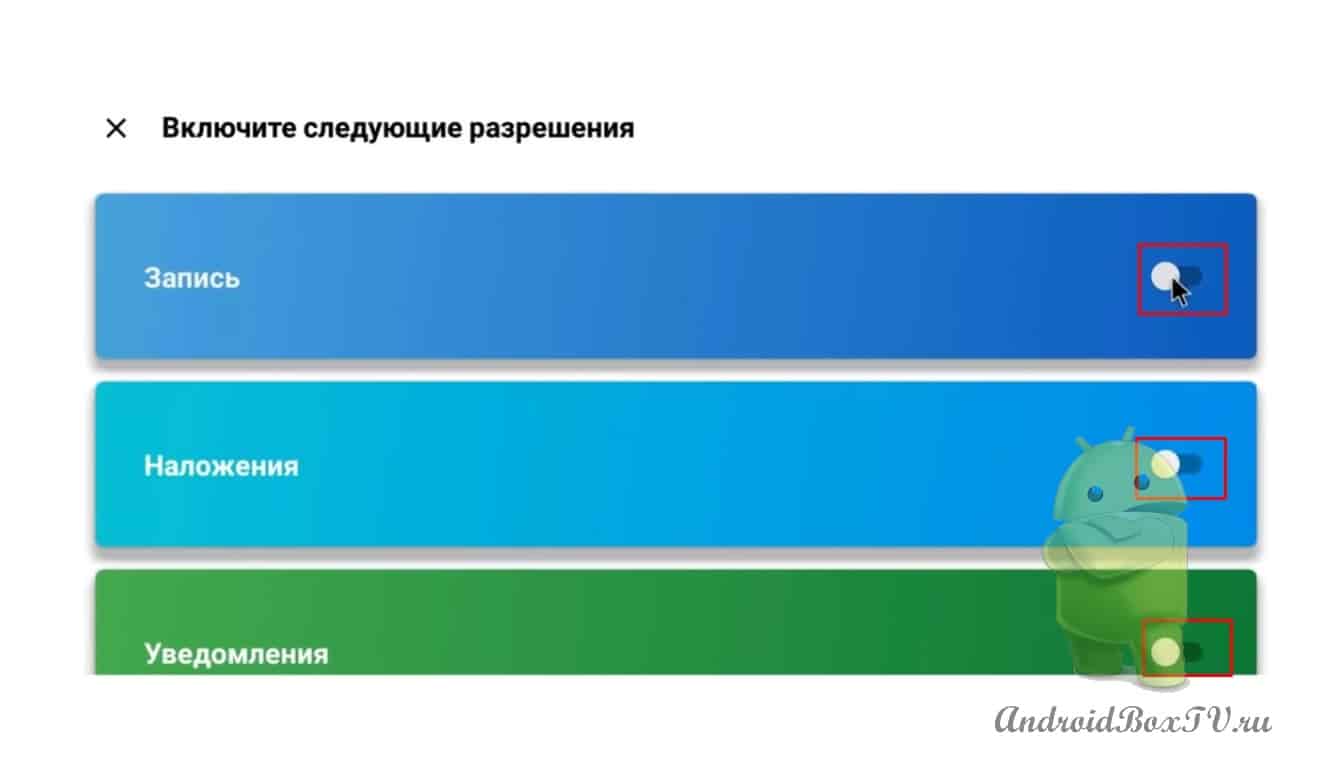
And we give permission to record, overlay windows, notifications:
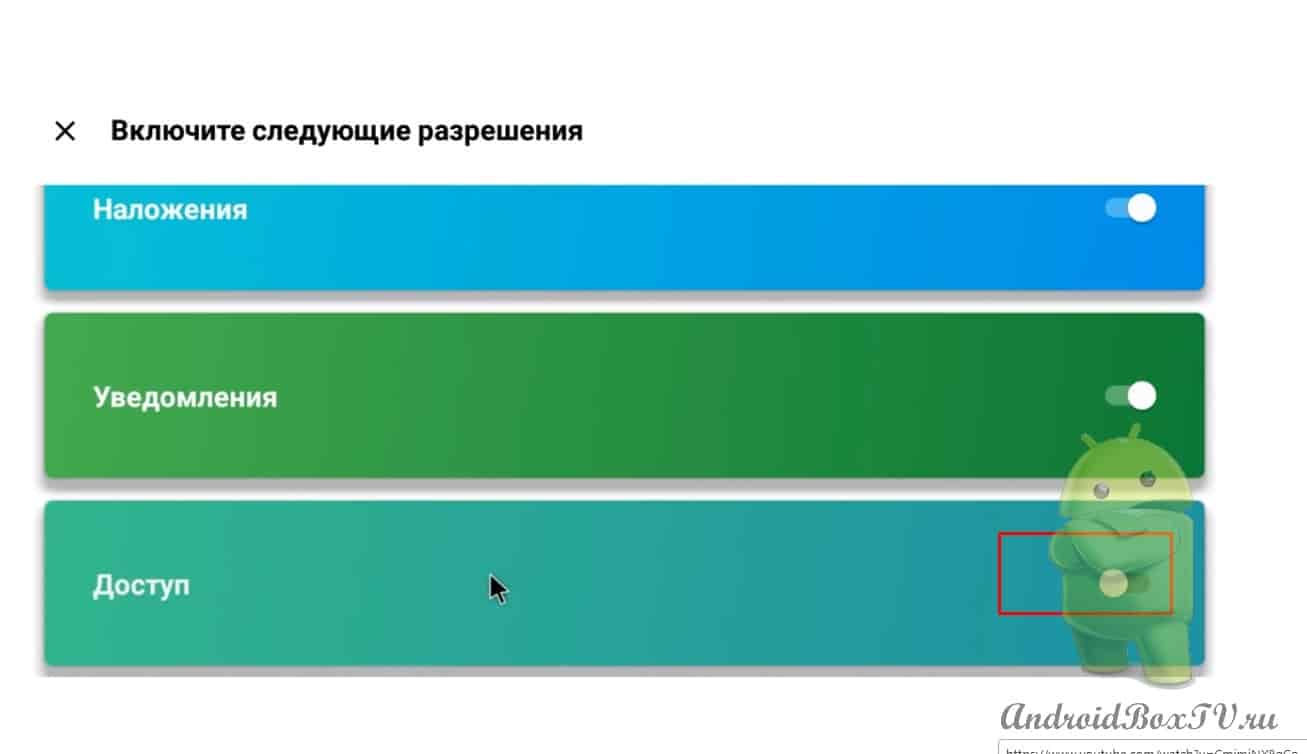
Access is also allowed as standard:
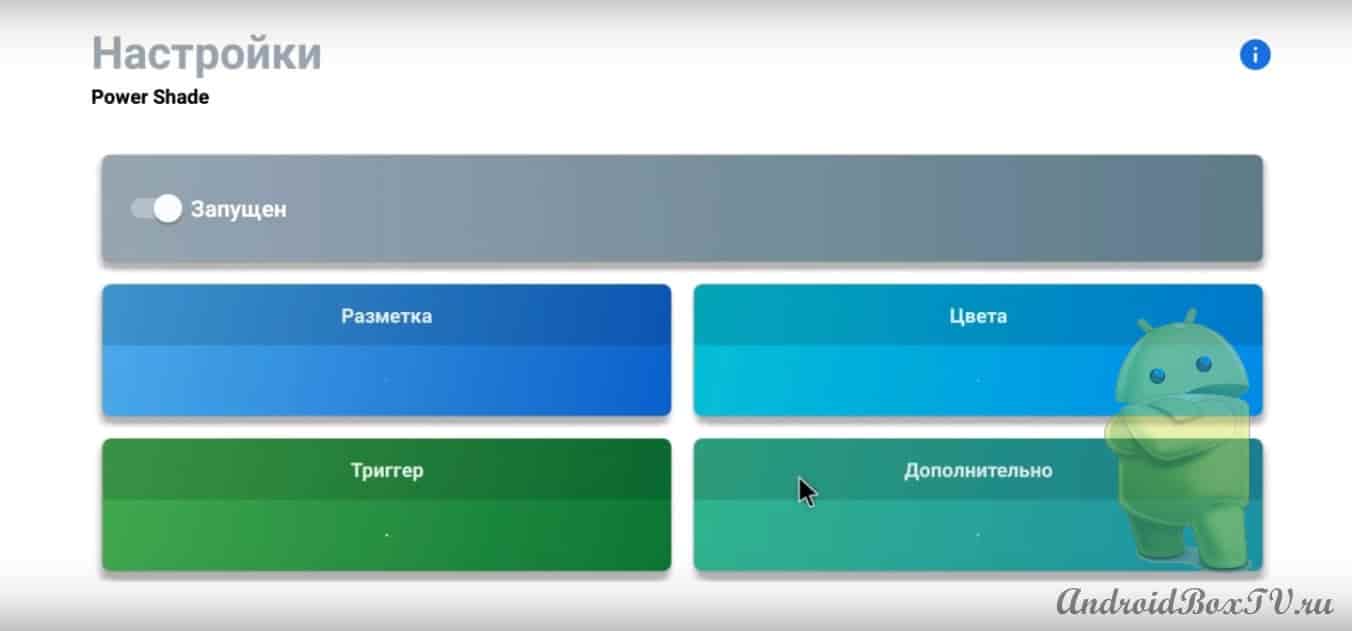
Let's see the settings. I didn't set anything here.
Maybe someone will tweak something for themselves here
Disable only vibration, it is not needed:
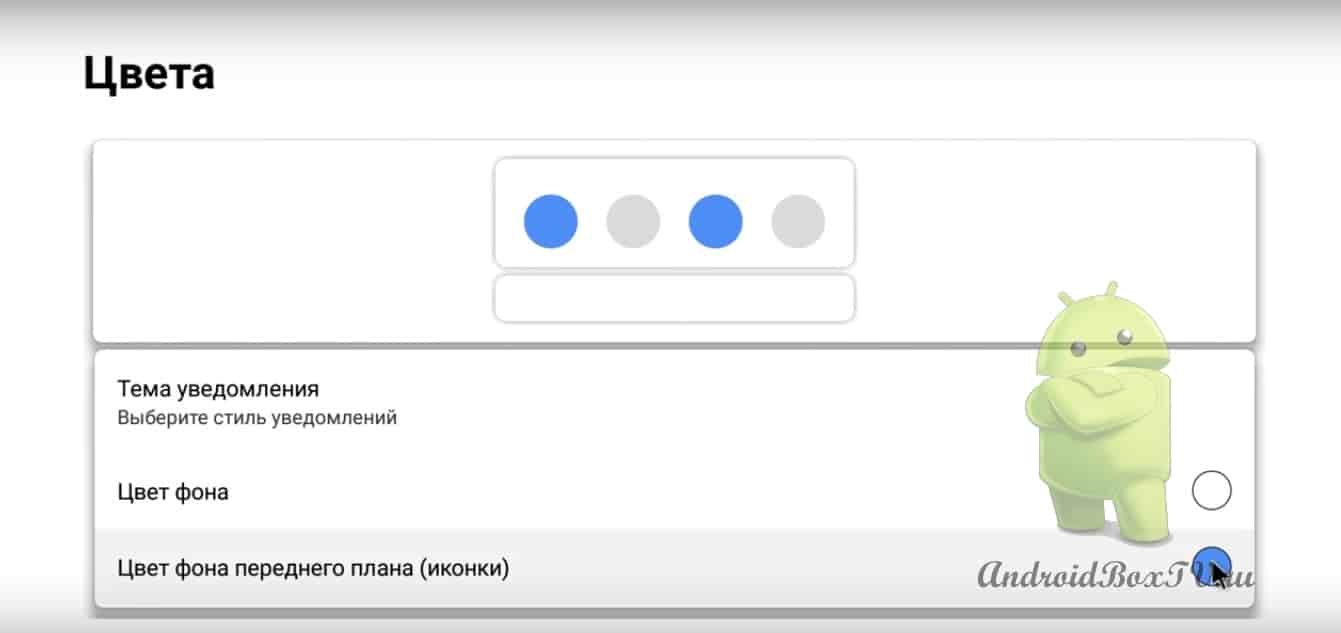
You can customize your color:
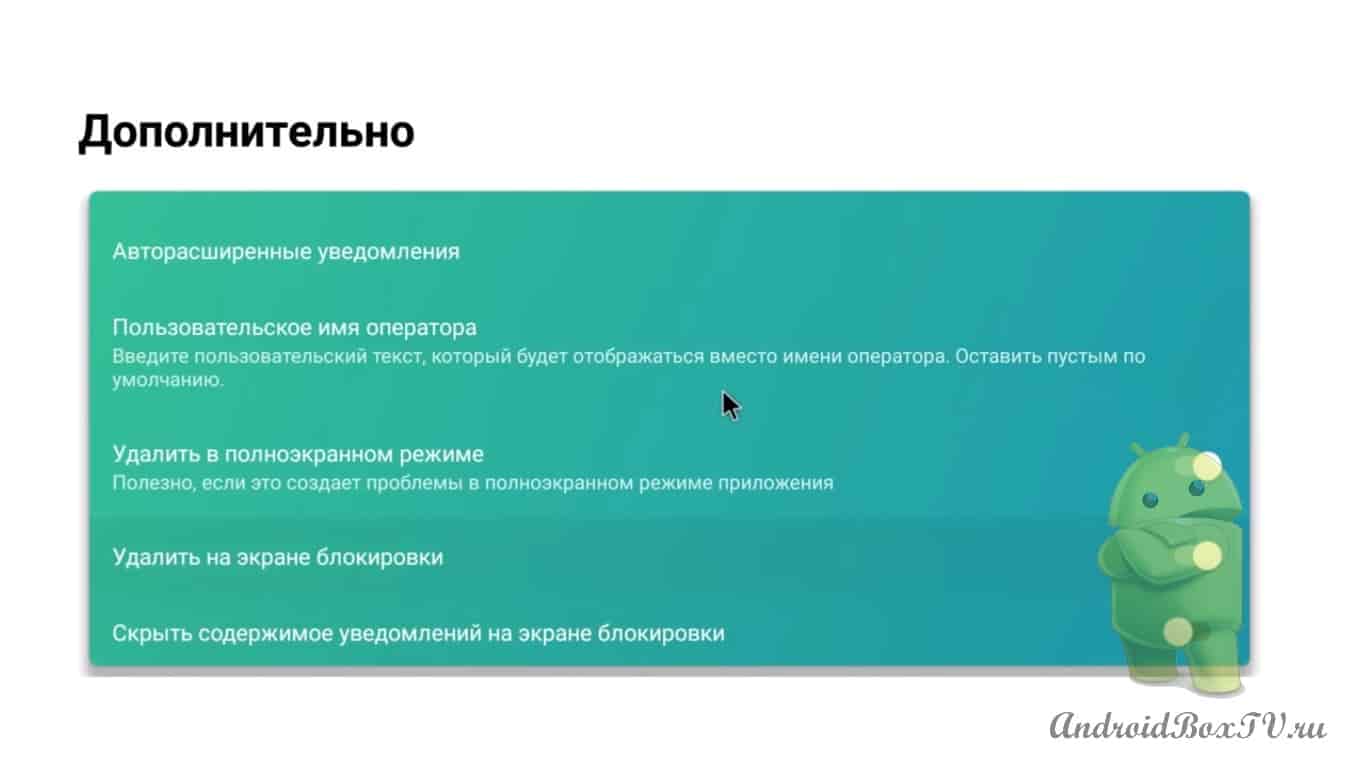
Well, additionally:
Also did not include anything here, everything is as it was.
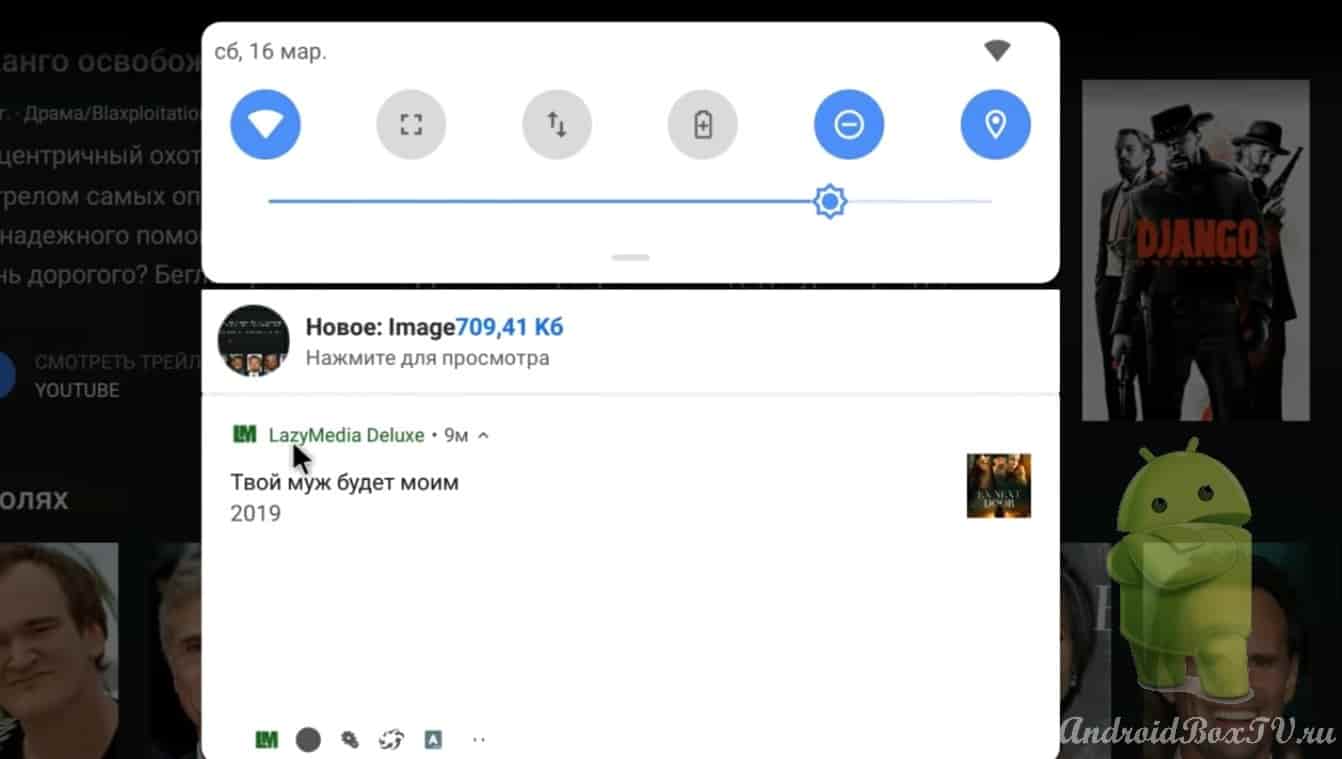
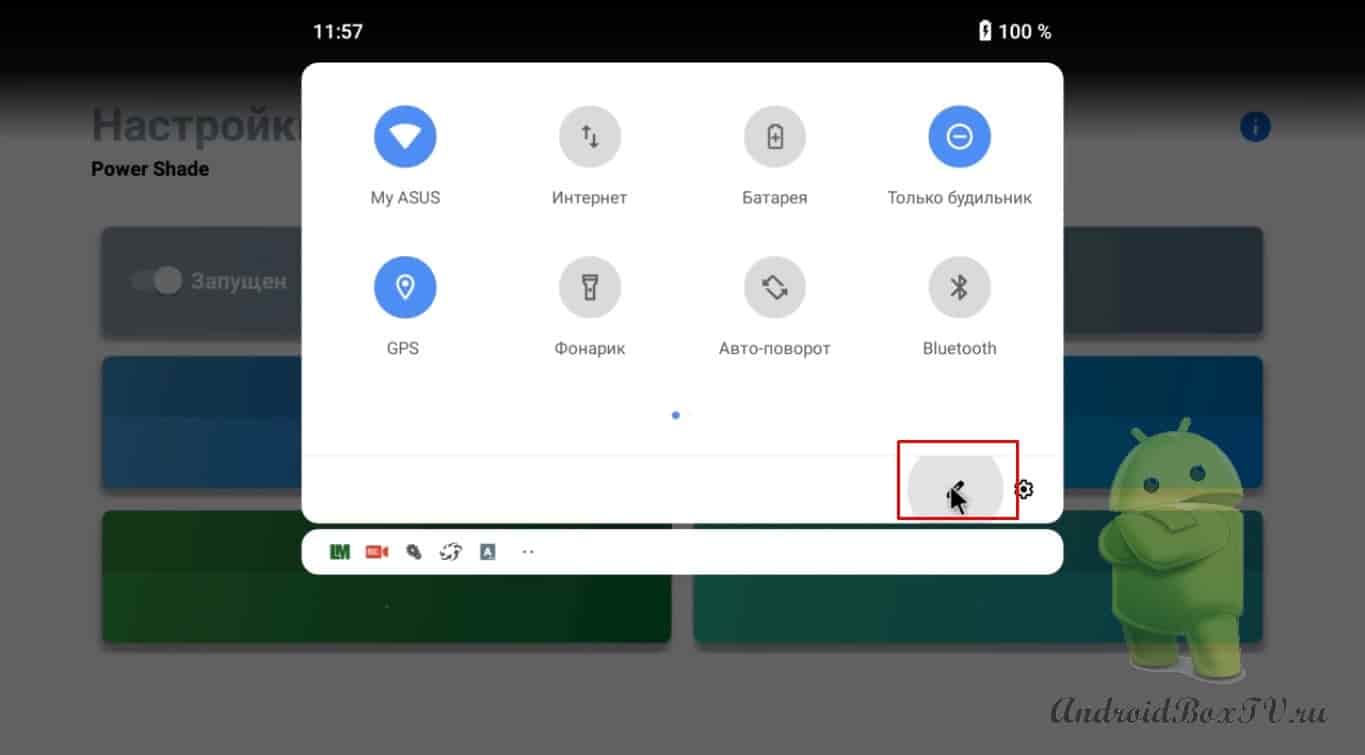
We try to call the curtain, nothing happens if you also need to restart the device. We turned off and turned on the Android TV set-top box from the outlet, now the curtain is pulled out as follows, double-click and lower it down for the second click. This is how it all looks:
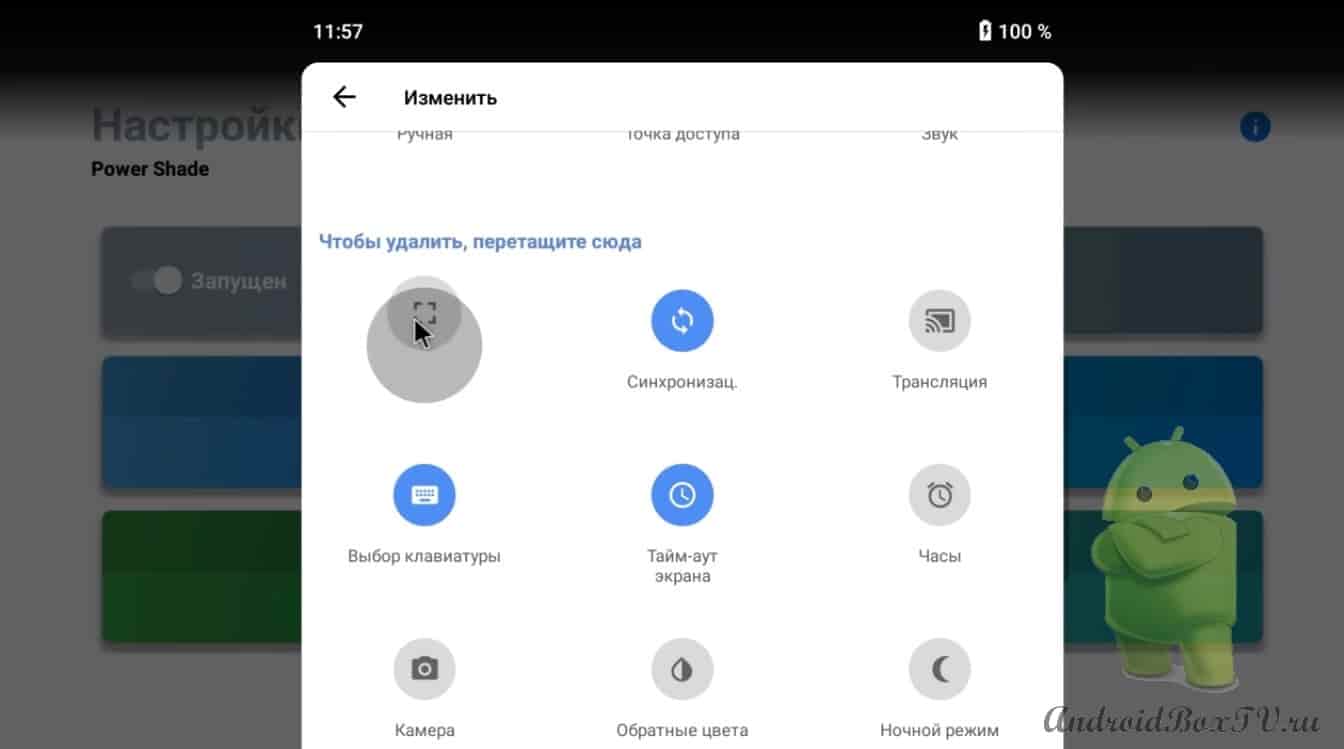
You can edit, drag something to the top:
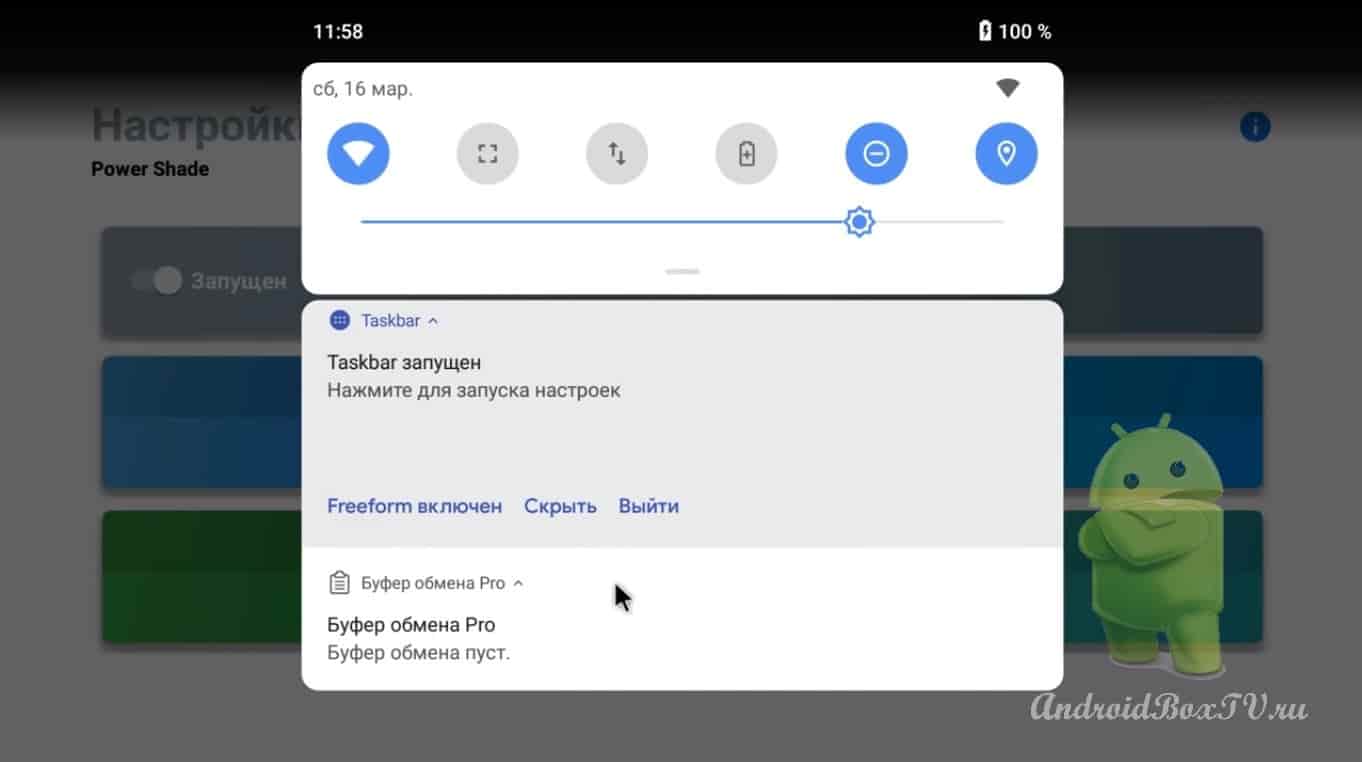
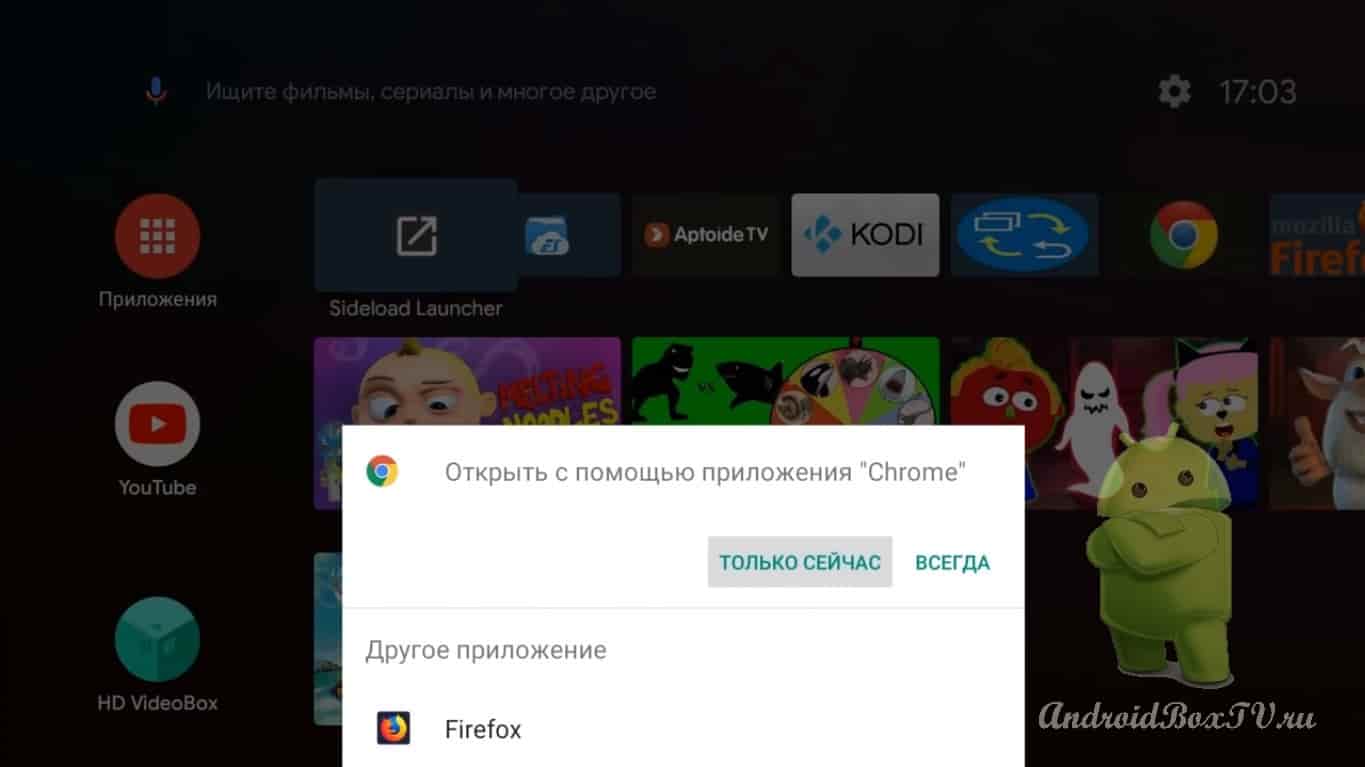
Let's take a screenshot, now it will be possible to take a screenshot of the screen, scroll through the notifications, the application running in the background. Let's open the clipboard.
Here, while everything is clear, let's go back to the main screen and exit. We pull it out again, try it, everything works.
Maybe someone will need this application for the Android set-top box, someone won’t, but that’s all for me today. Write.
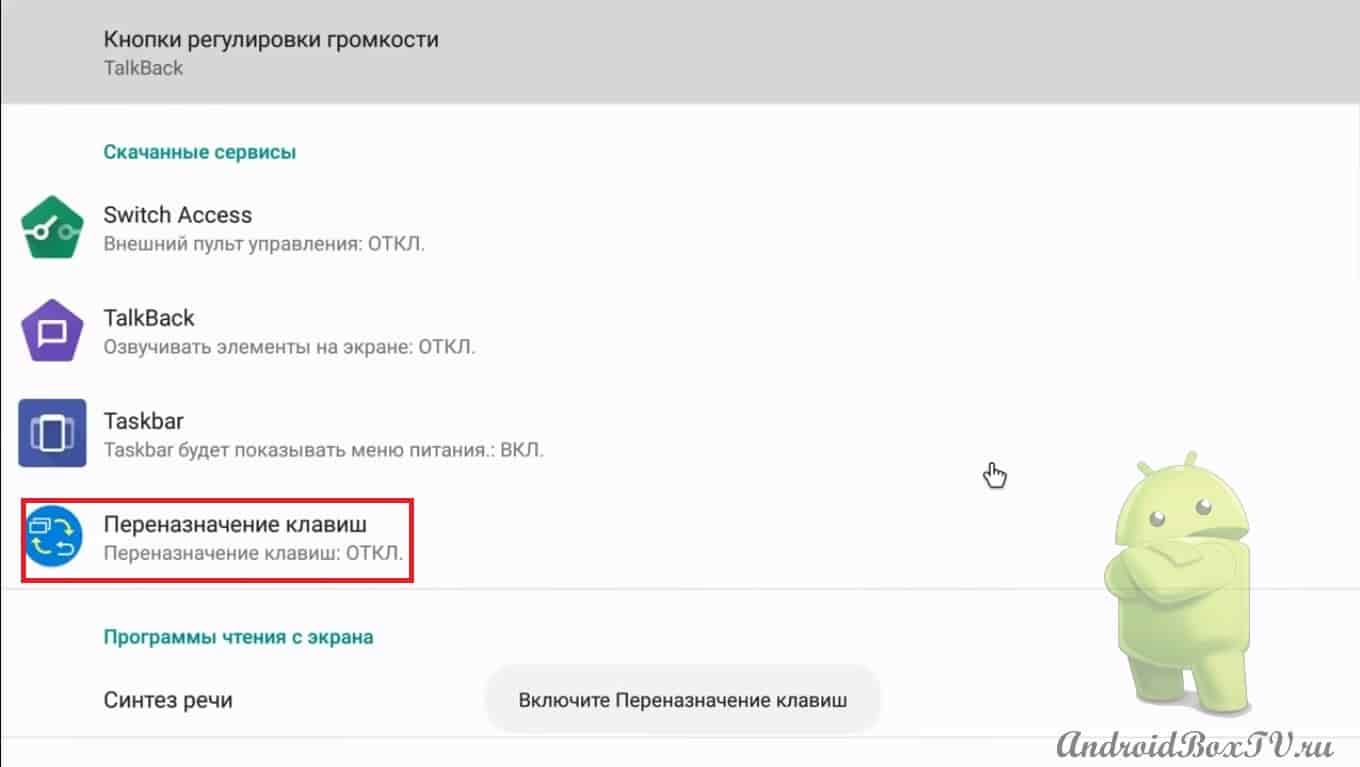
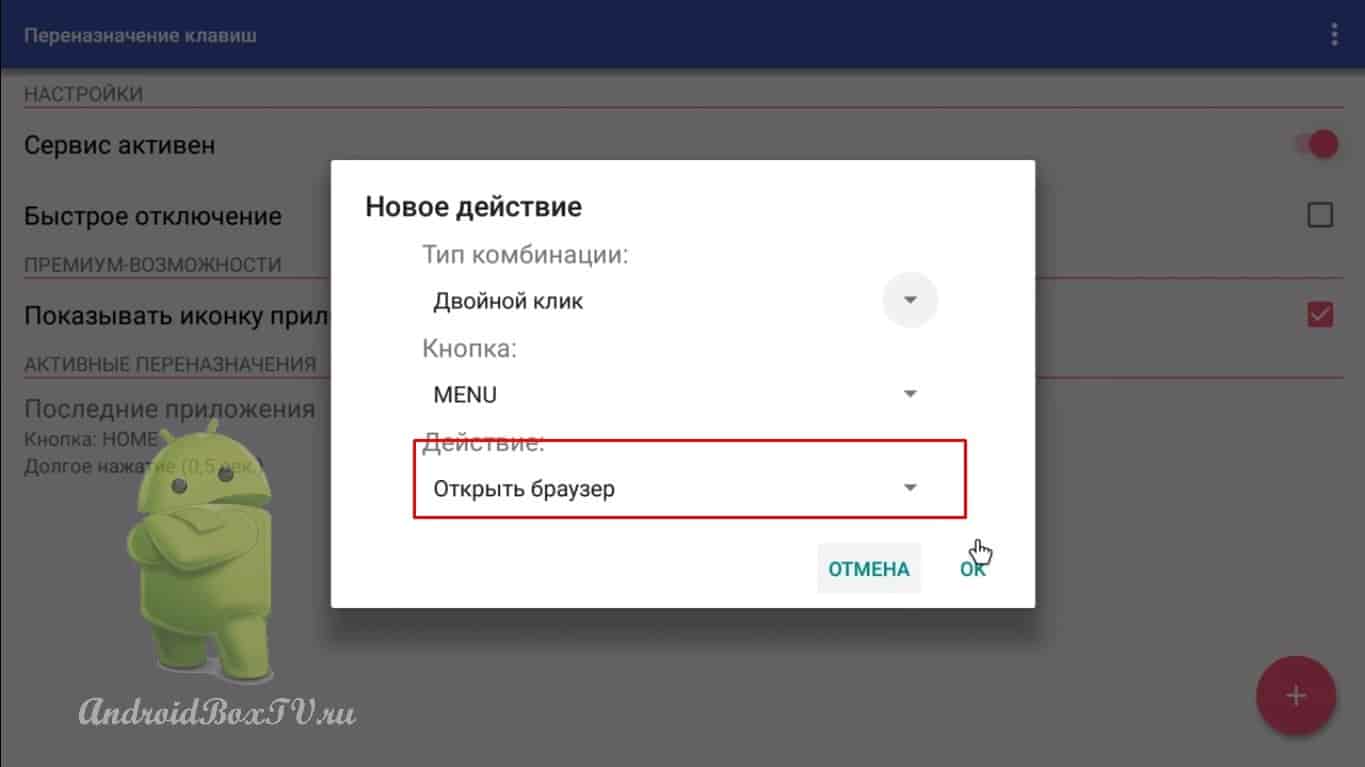
In this article, we will consider an application called "Key Remapping", but in our case, these are the buttons on the remote control.
Also, with this application, you can add additional actions to the remote control buttons - this is a long press and in the premium version, double-tap, triple-tap and simultaneous pressing of two buttons.
We launch the Aptoide TV application store (the installation of which is described here ):
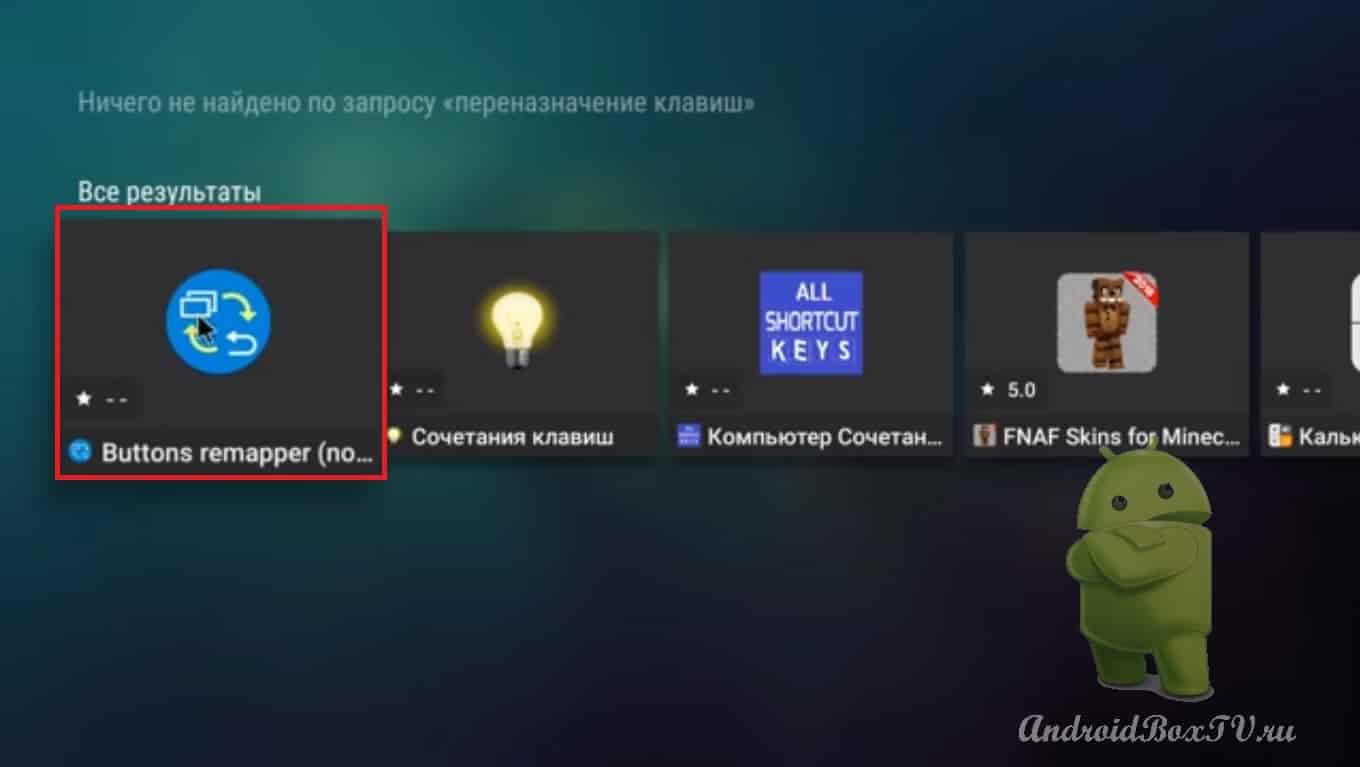
We type in the search "key remapping". Pressed "search".
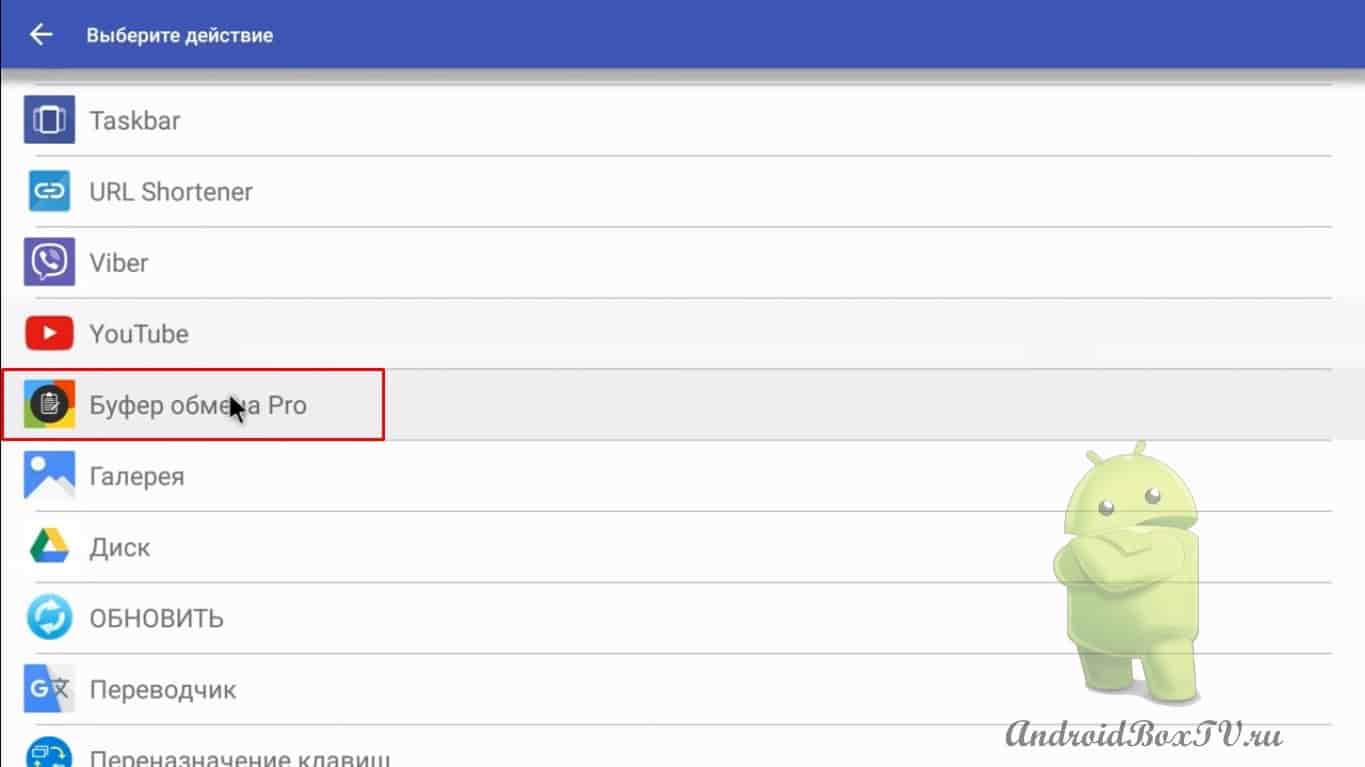
We need the Buttons remapper application:
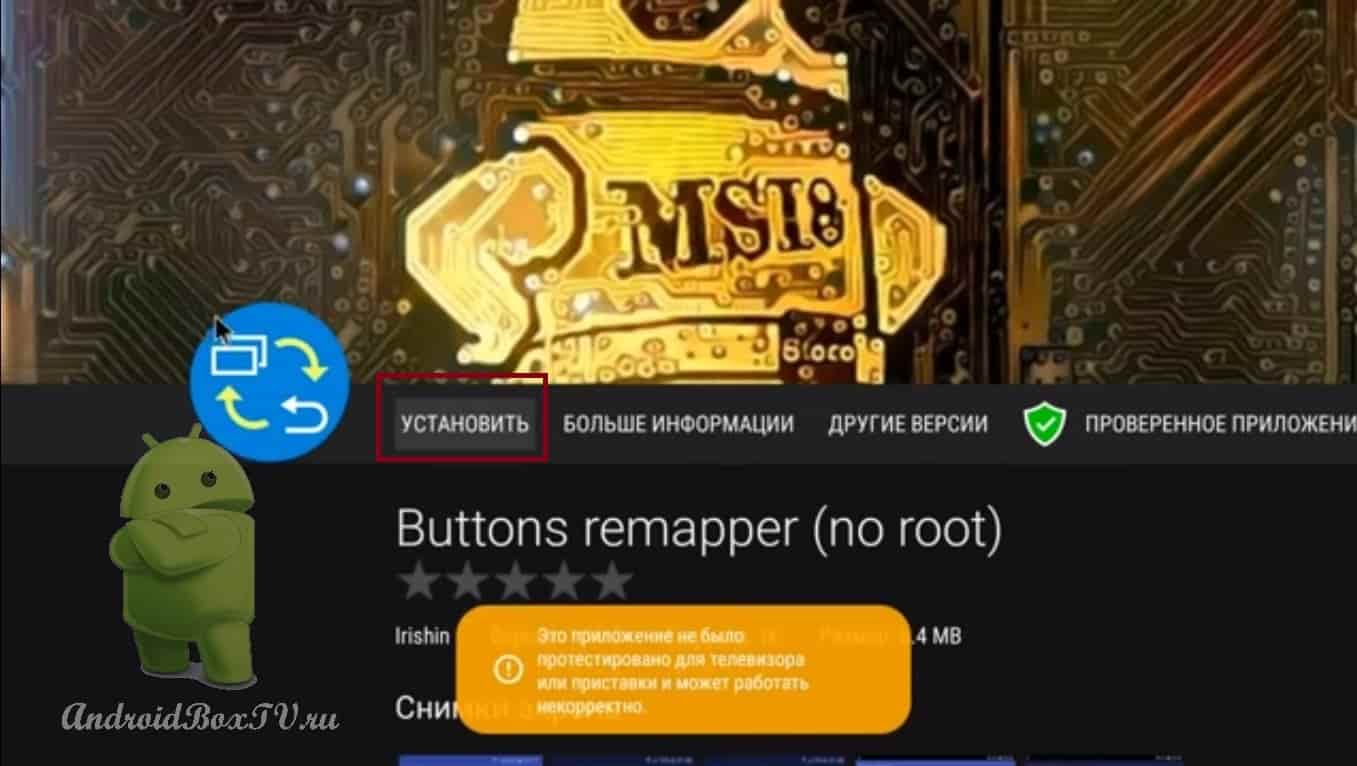
Install:
Also, the APK file can be downloaded from the link .
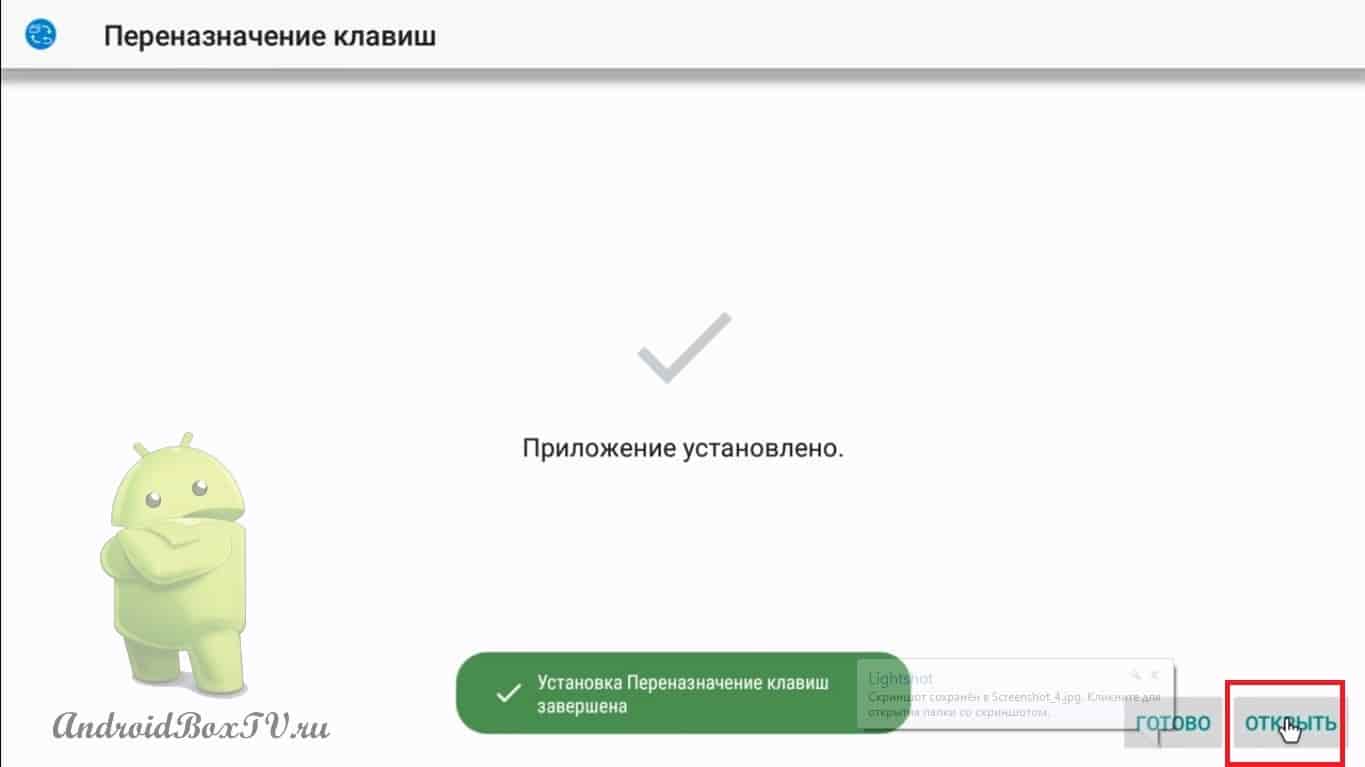
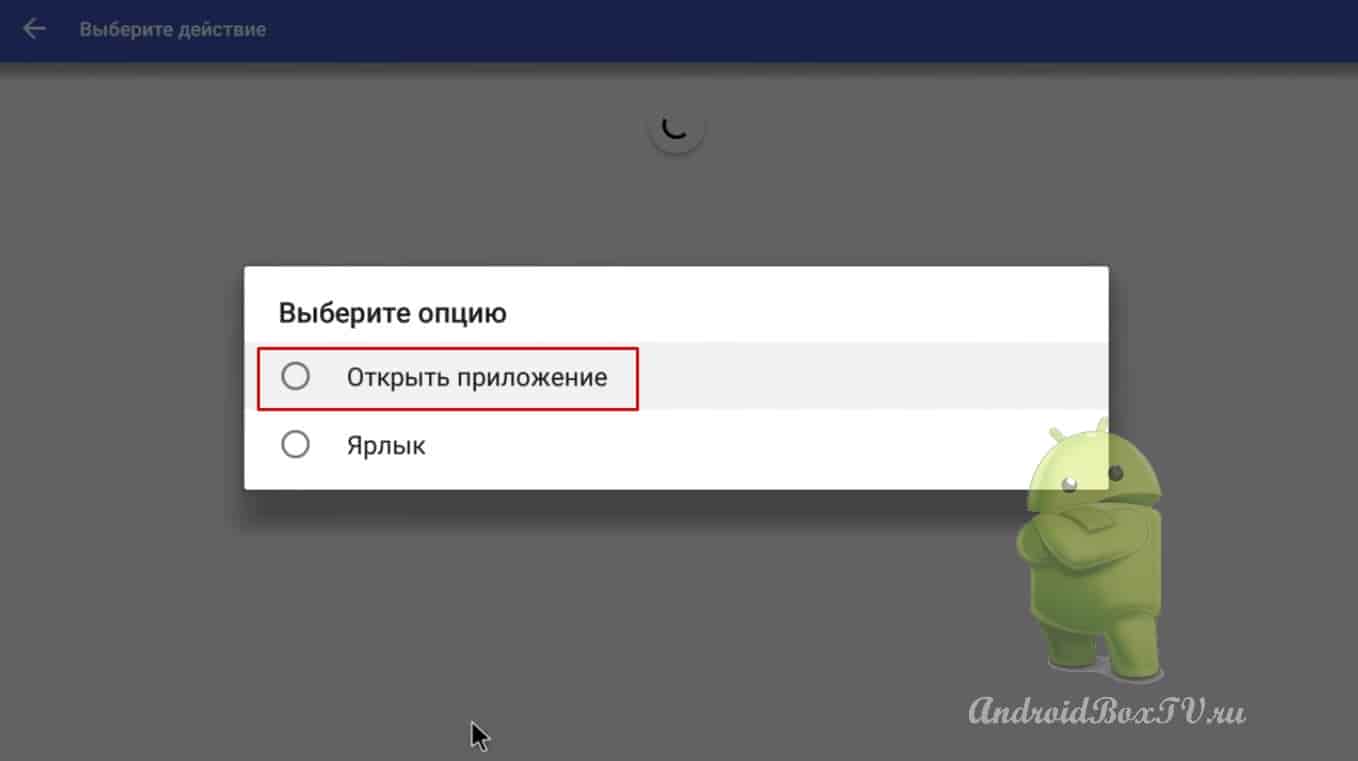
We open:
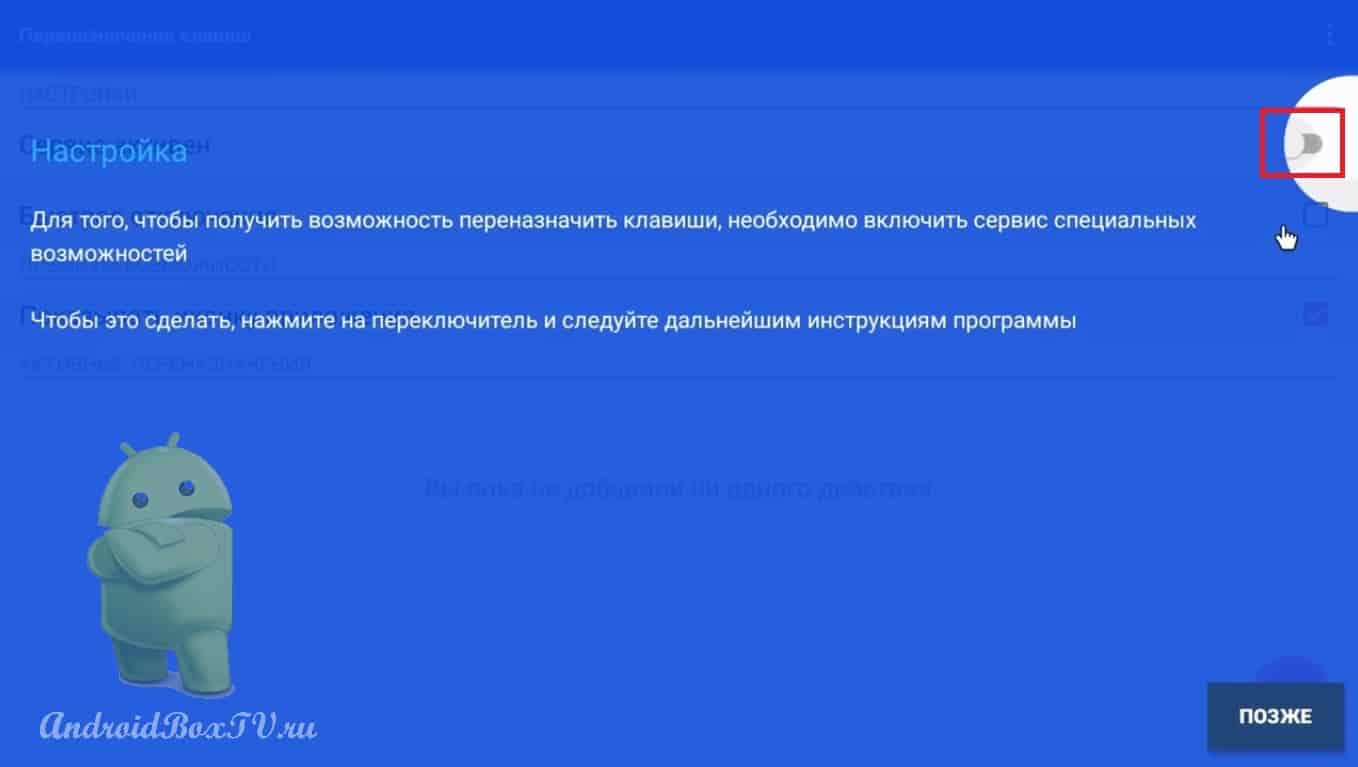
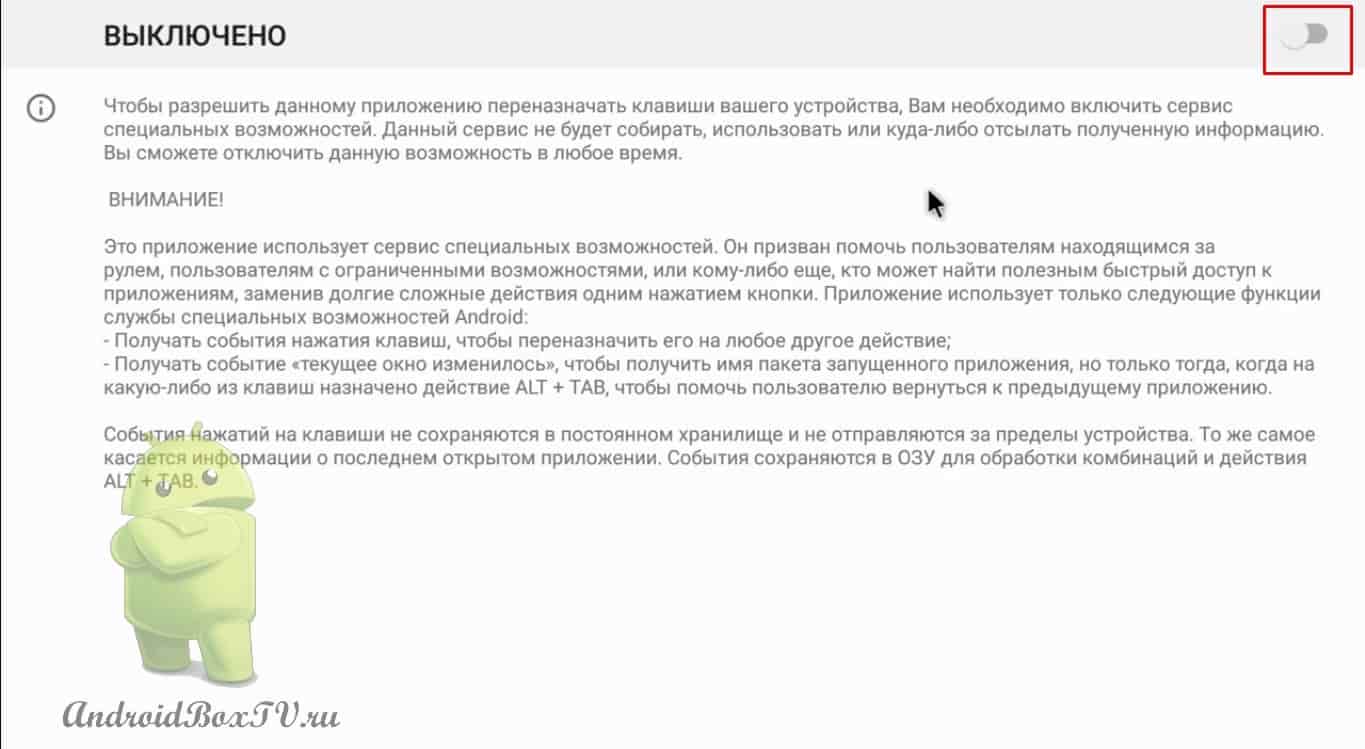
Enable slider:
Select "Key Remapping":
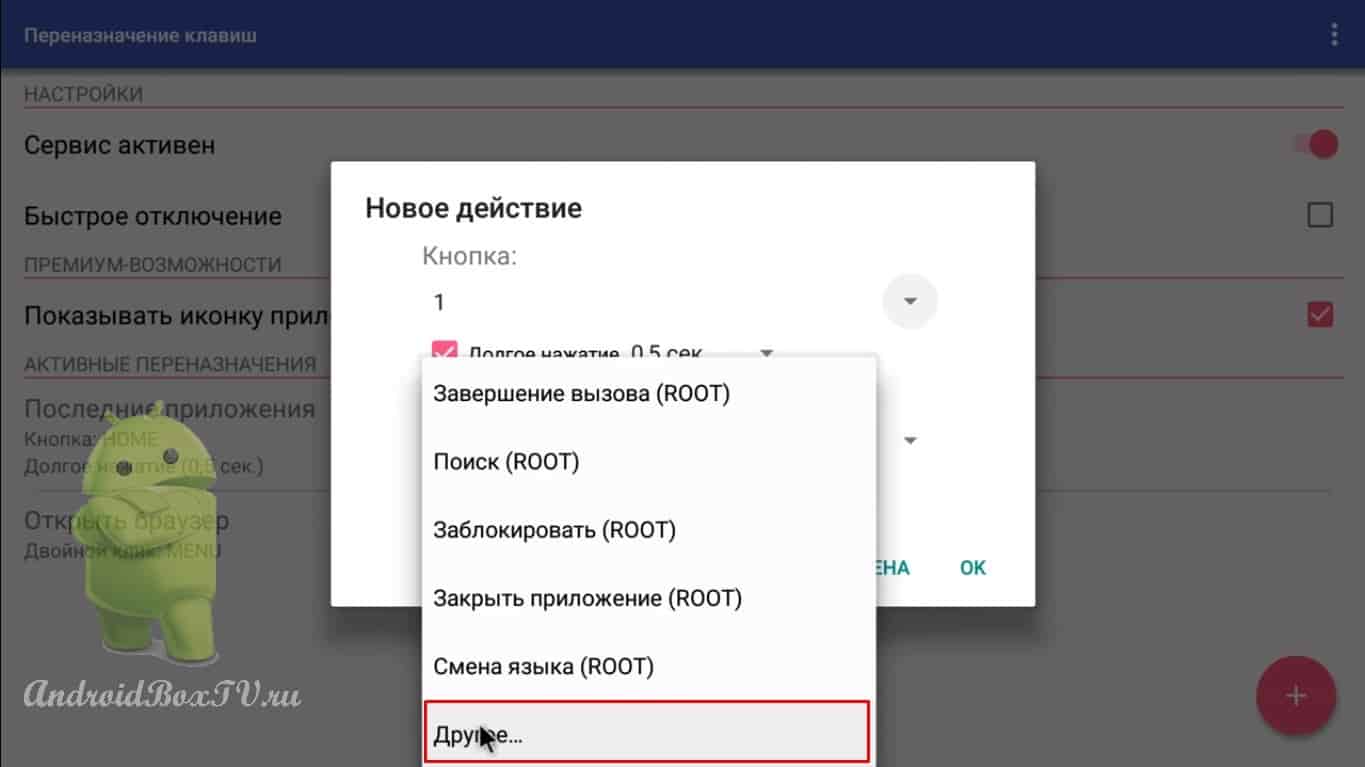
Special features include:
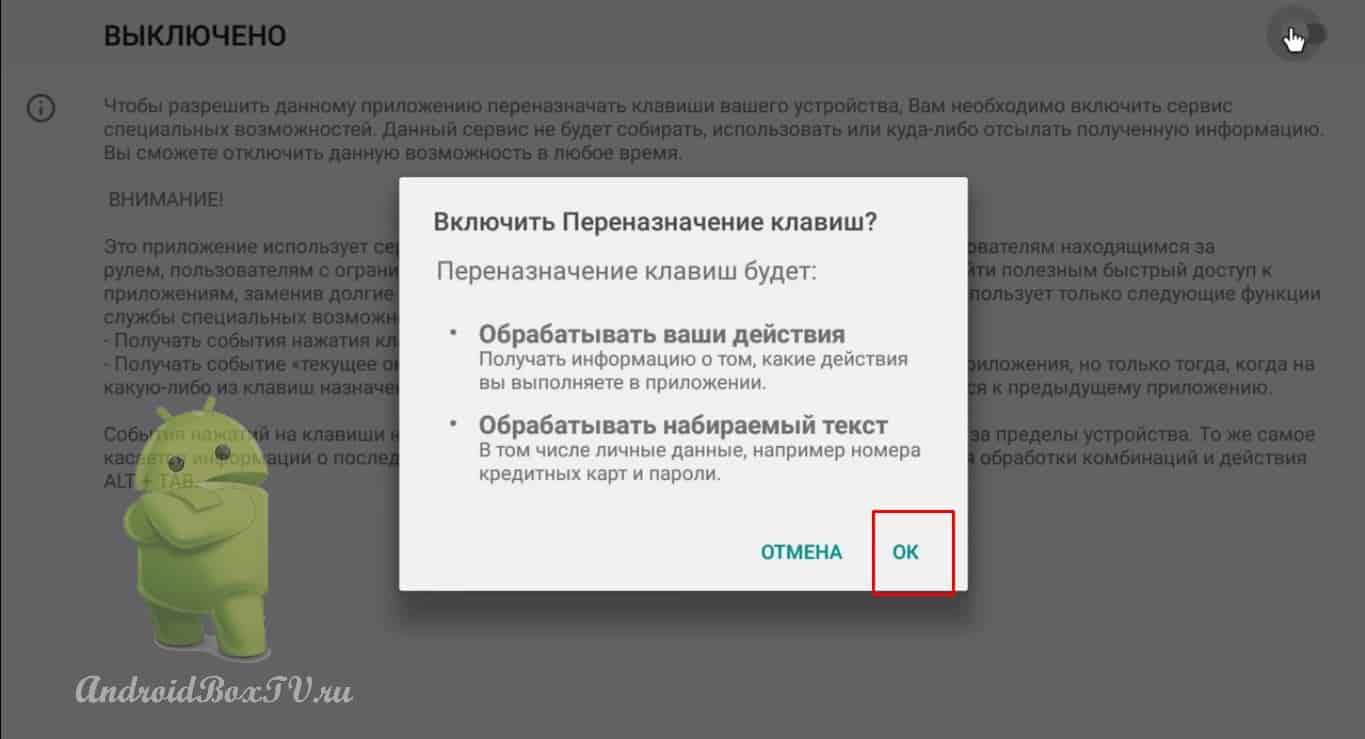
Click OK:
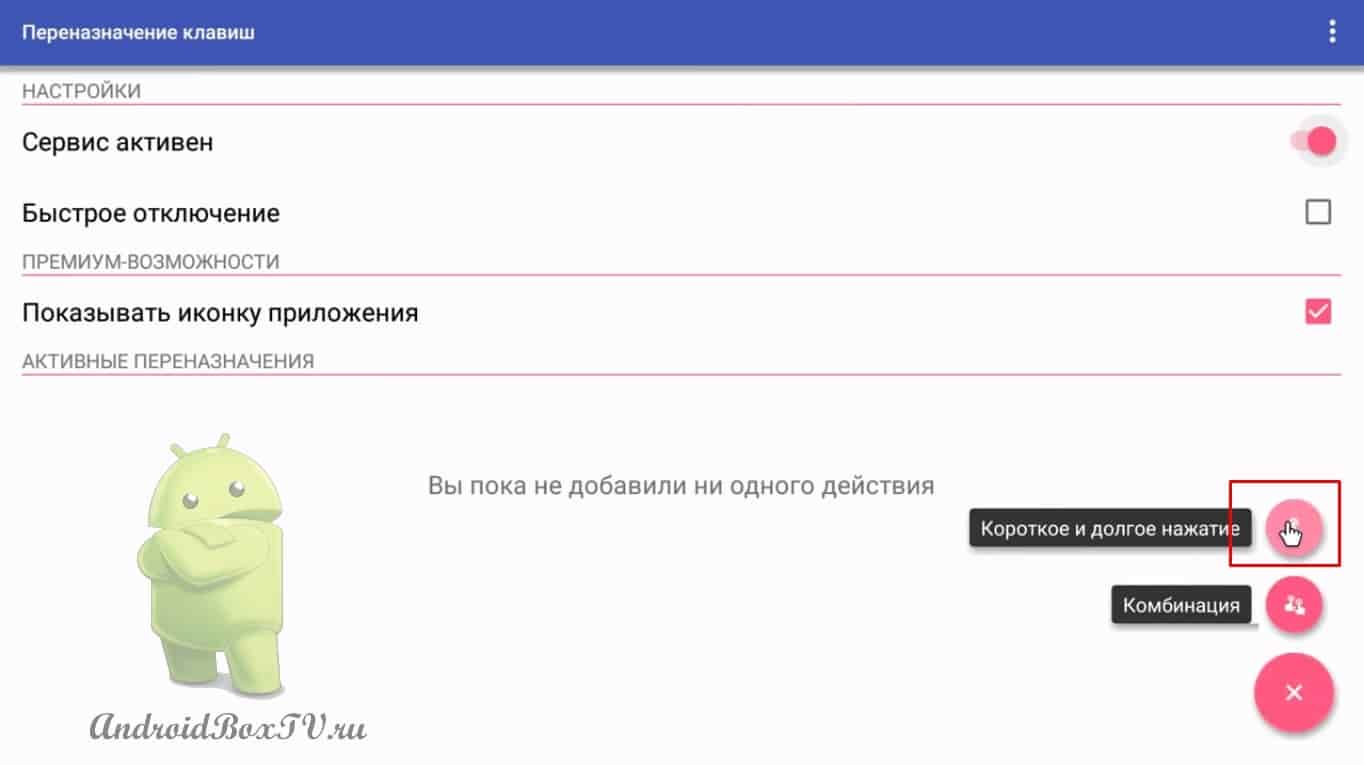
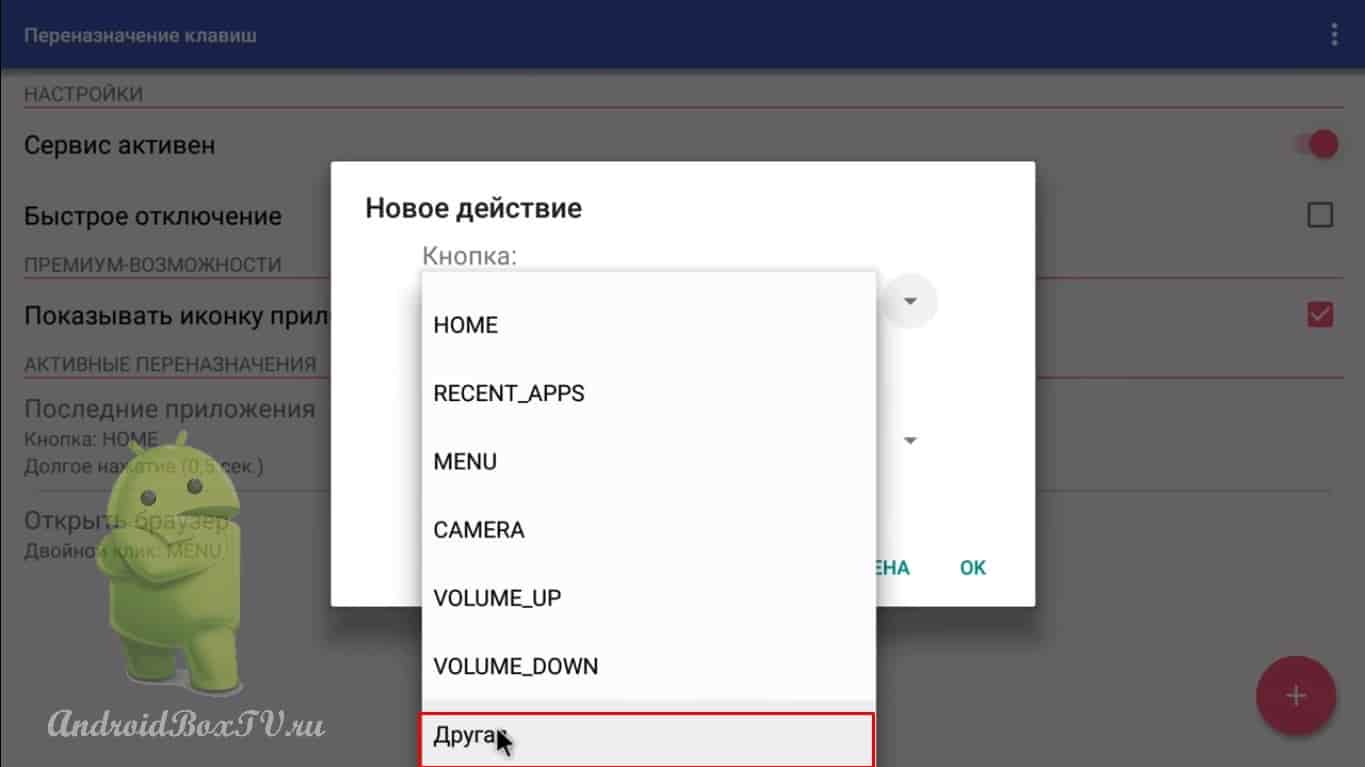
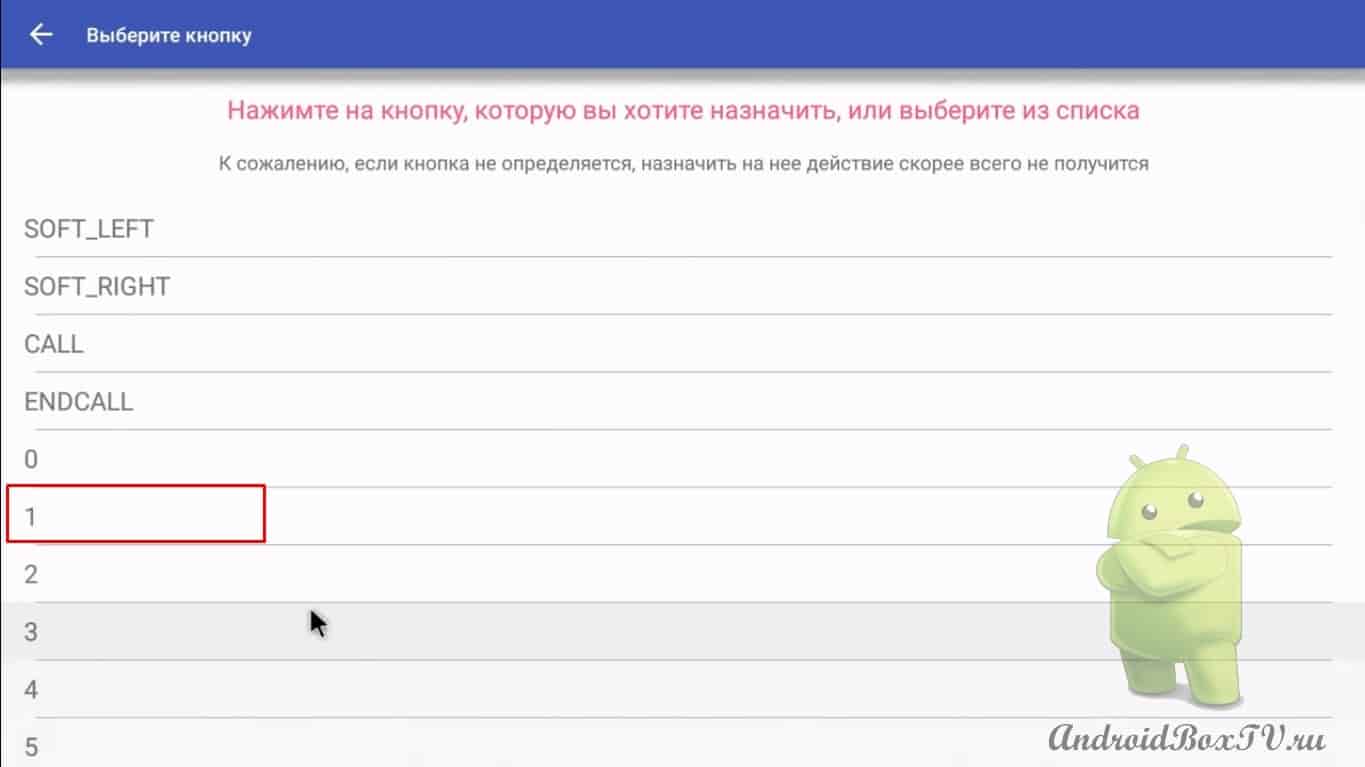
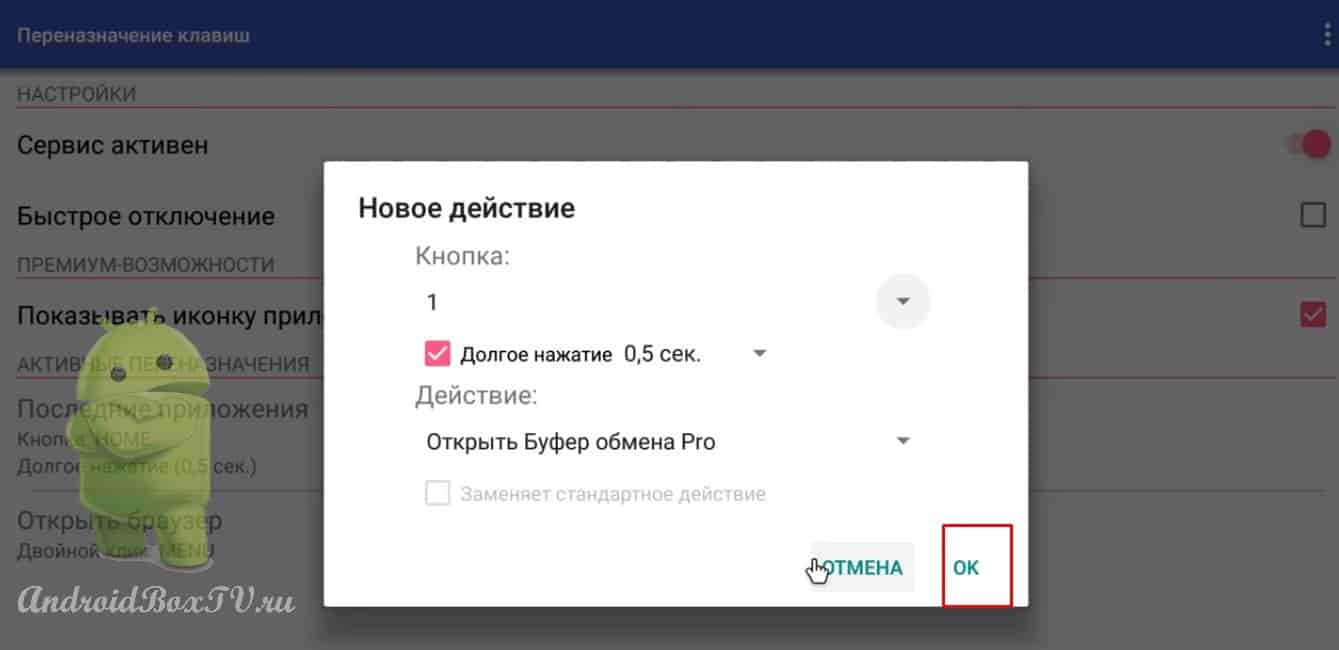
Here we click on the plus:
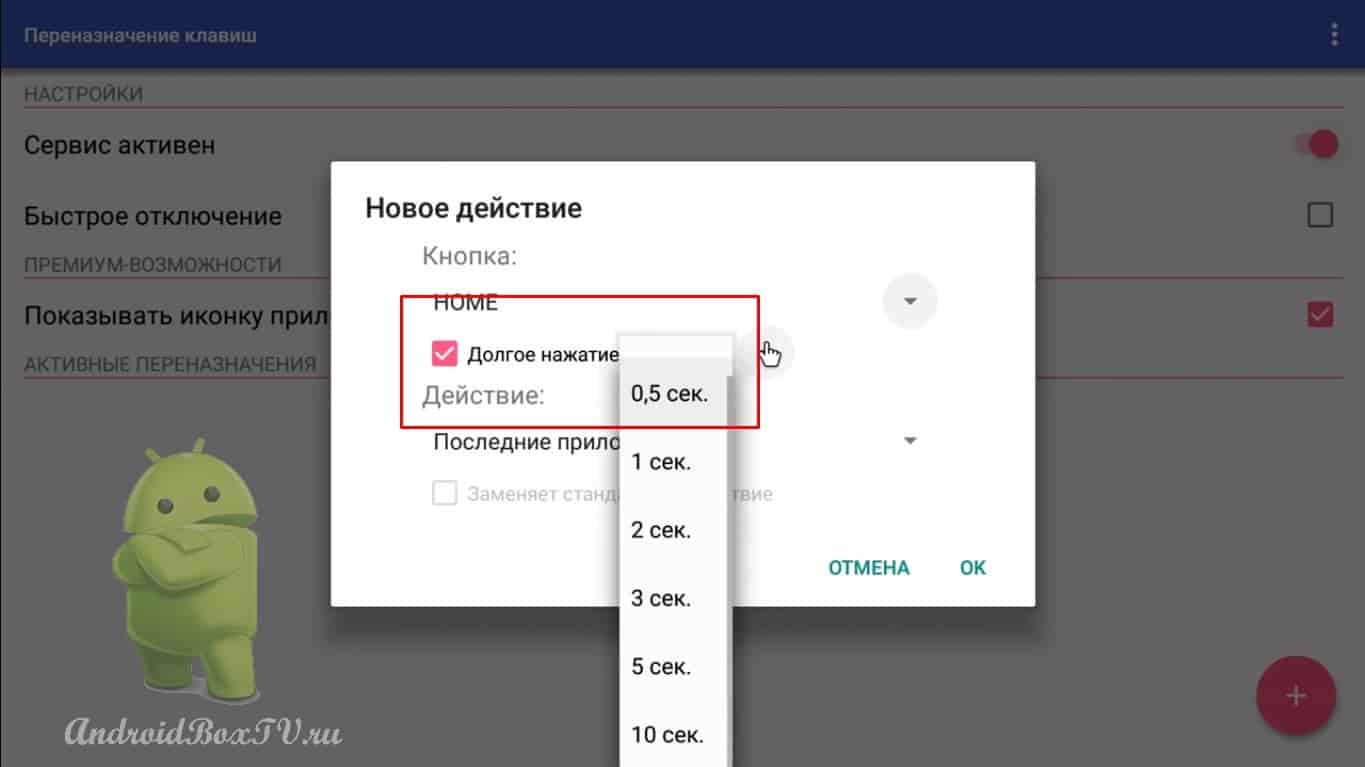
Let's add a short or long press for the key:
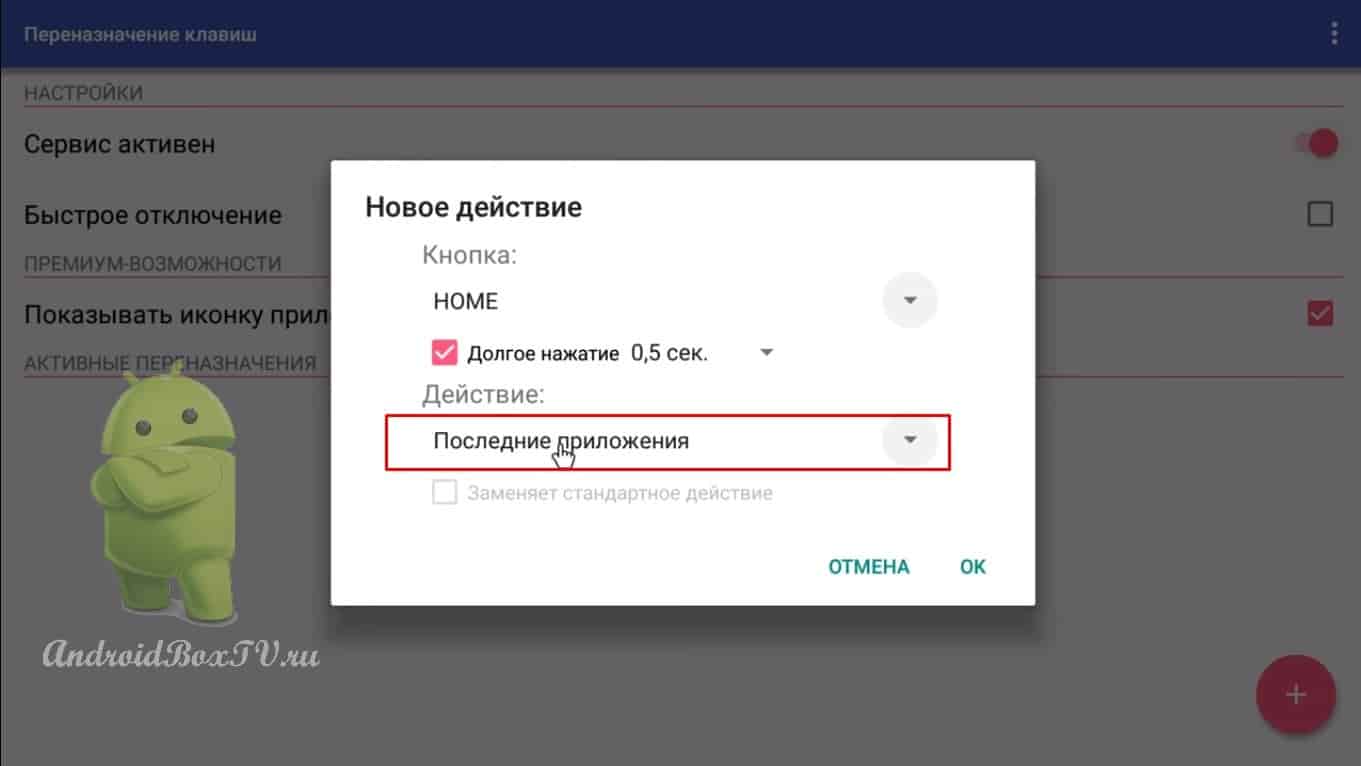
I will select the home button home:
With the back button, the device does not work correctly. The delay can be changed:
And I leave the “Last application”:
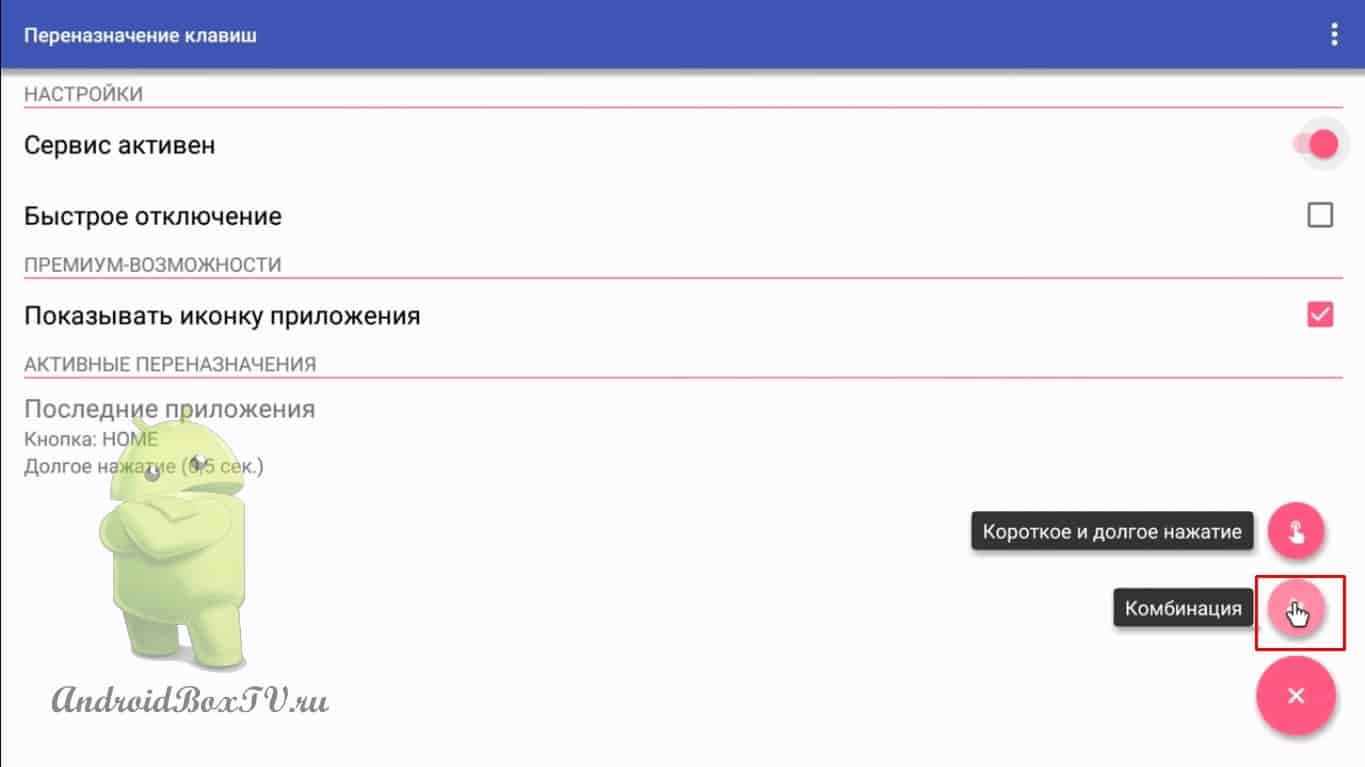
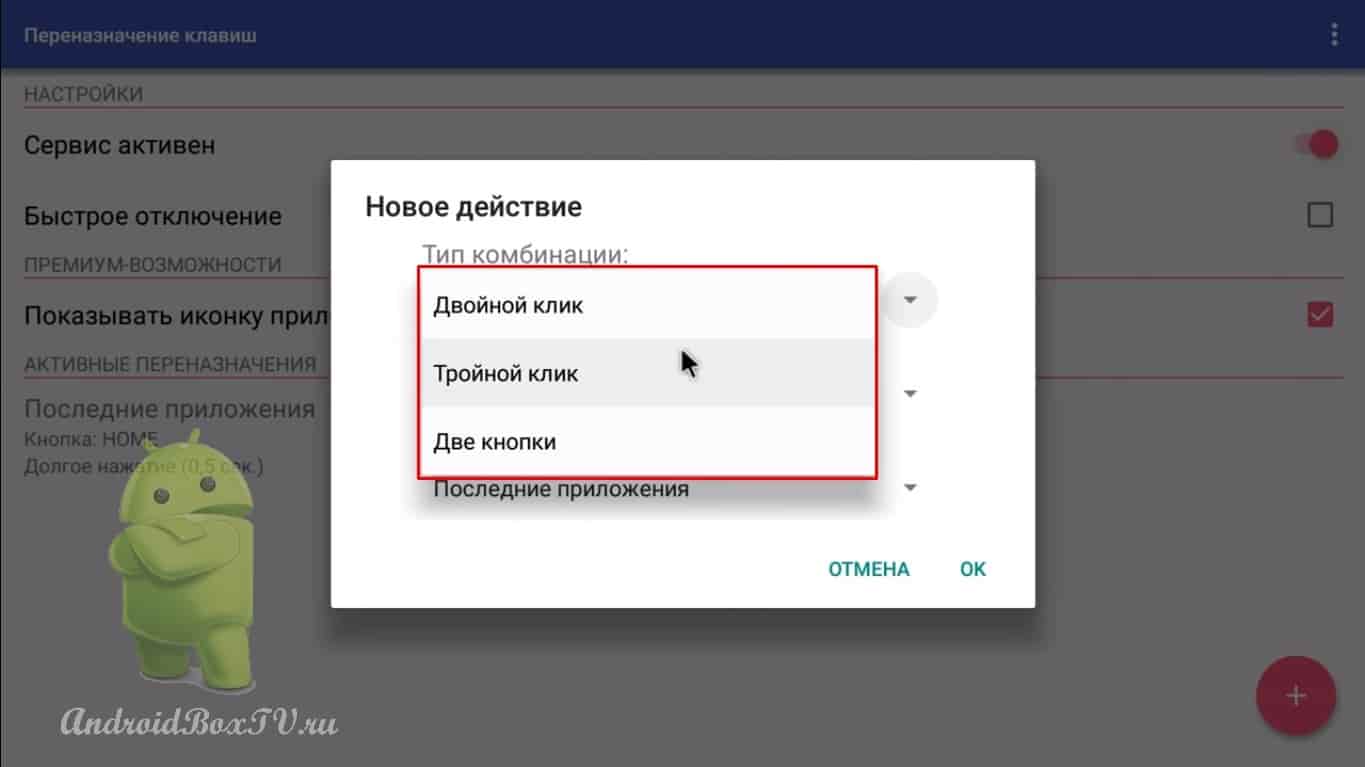
I click Ok. Let's add more functions for the buttons. Click on +. In the premium version, combinations are available:
This is a double click (Triple click), pressing two buttons at the same time:
If with some buttons assigned to additional actions, the device will not work correctly, try deleting or reassigning to other buttons, but that's all for me today.
Good day everyone! In this video, we'll see how to transfer files from a smartphone to a TV or TV box using ES Explorer.
We already talked about how to add a search engine to ES Explorer here and how to transfer forbidden files here .
Let's get started, we will need both devices to be on the same home Internet network, and ES File Explorer installed on both devices.
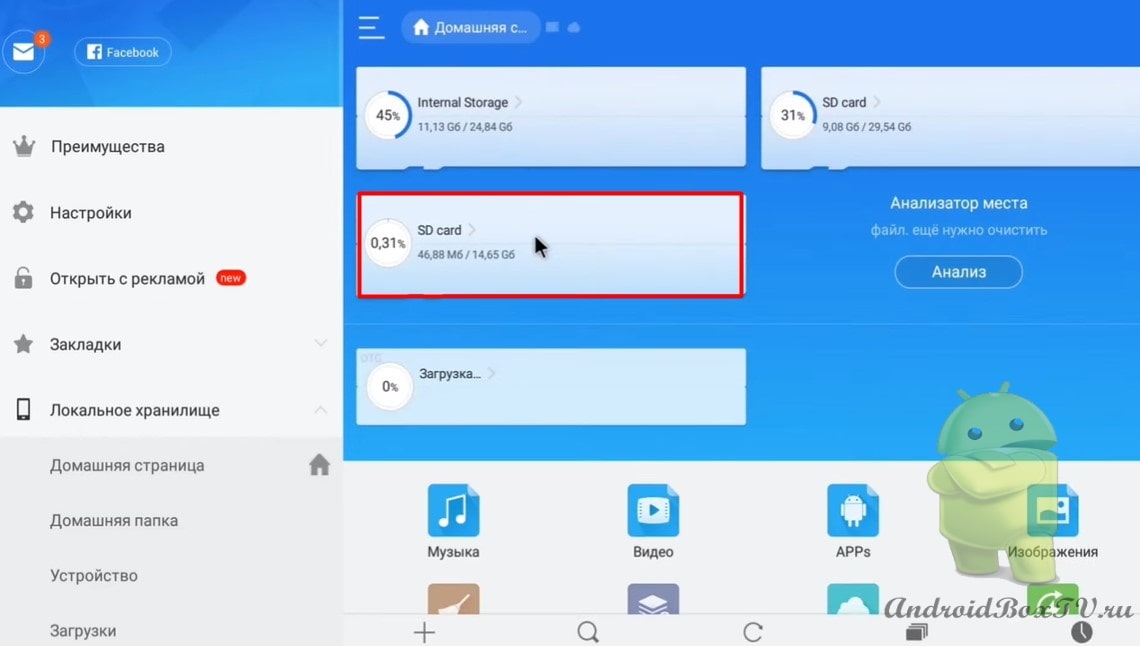
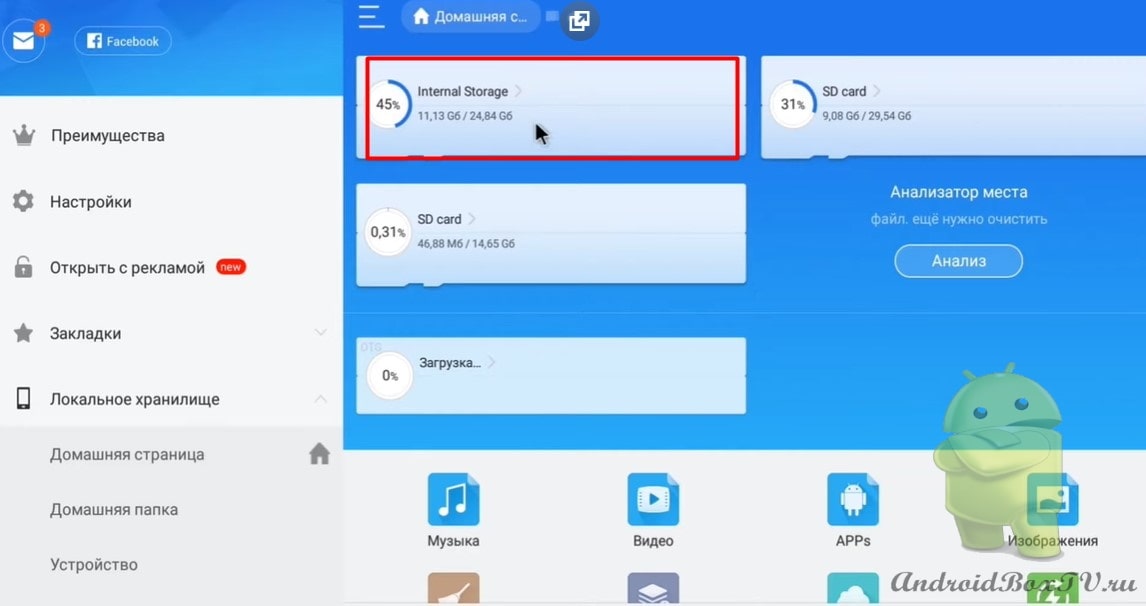
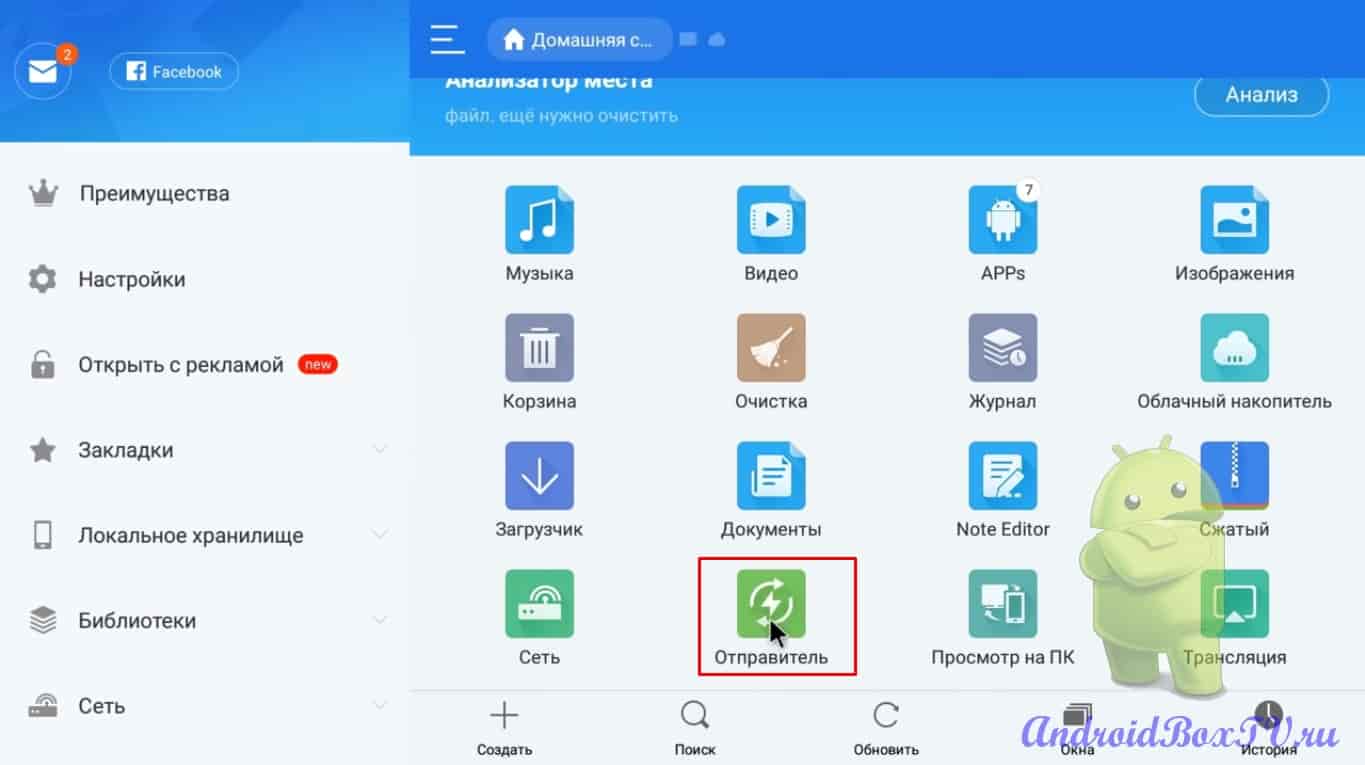
On the Android TV Box, open ES File Explorer:
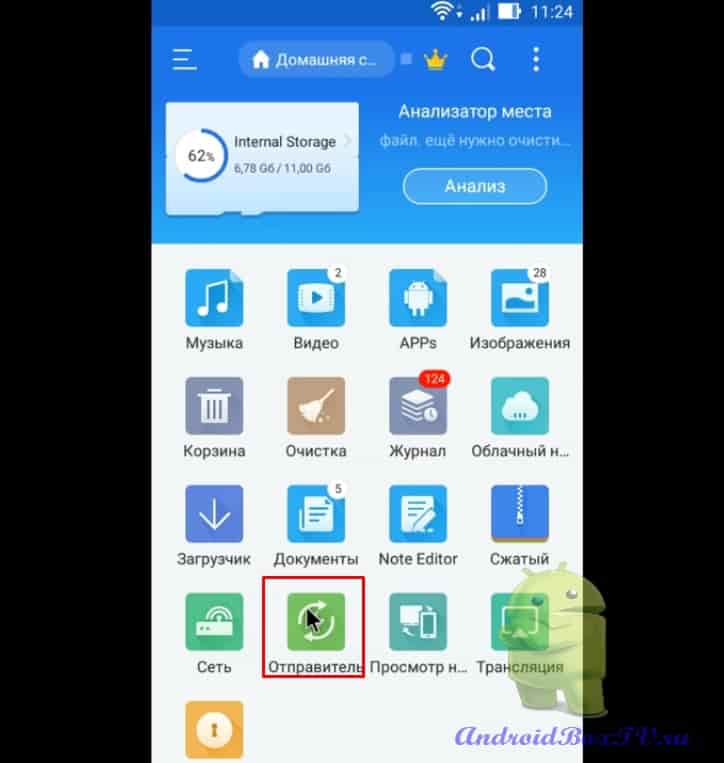
We need a "Sender" (sender):
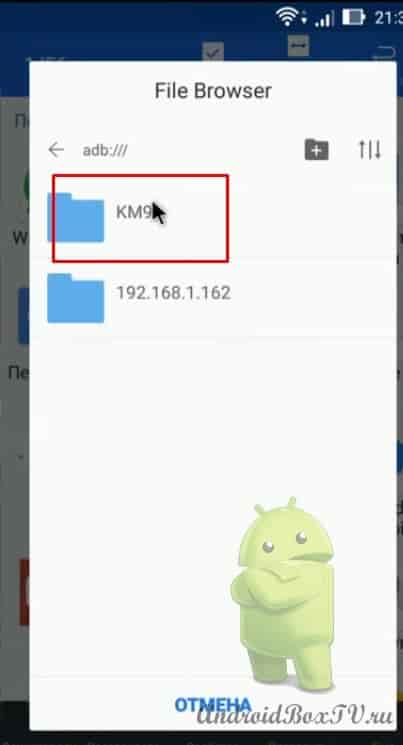
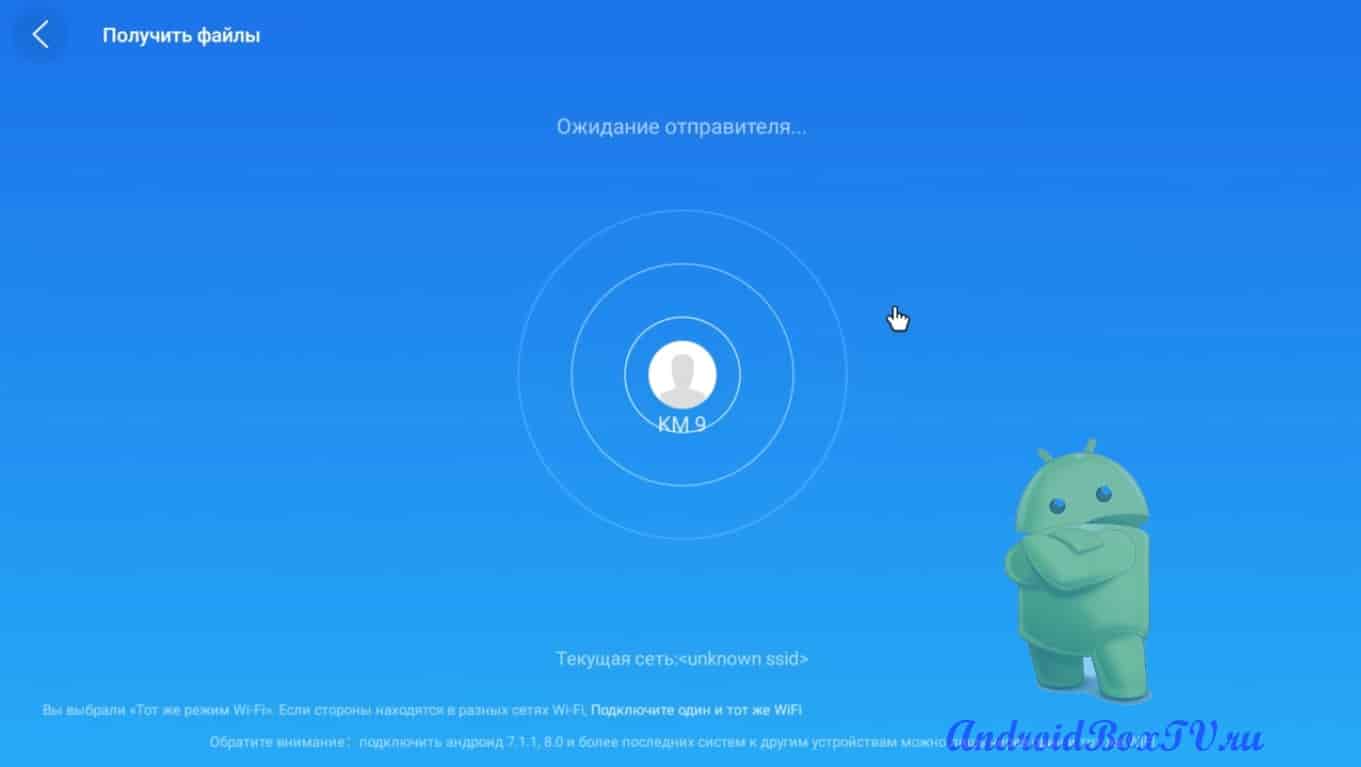
Open receive. On the console, I named the device “KM9”:
I have android 5.1 on the console, so the picture does not turn to the desired position. Who will have the same situation, you need to install the rotation control application ( link ). Open it once and everything will be fine.
With the Android prefix, that's all - go to the smartphone. We took a smartphone, open ES Explorer:
Let me remind you once again how to create an APK file from installed applications. Opening the application:
We select the necessary applications:
Enable reservation:
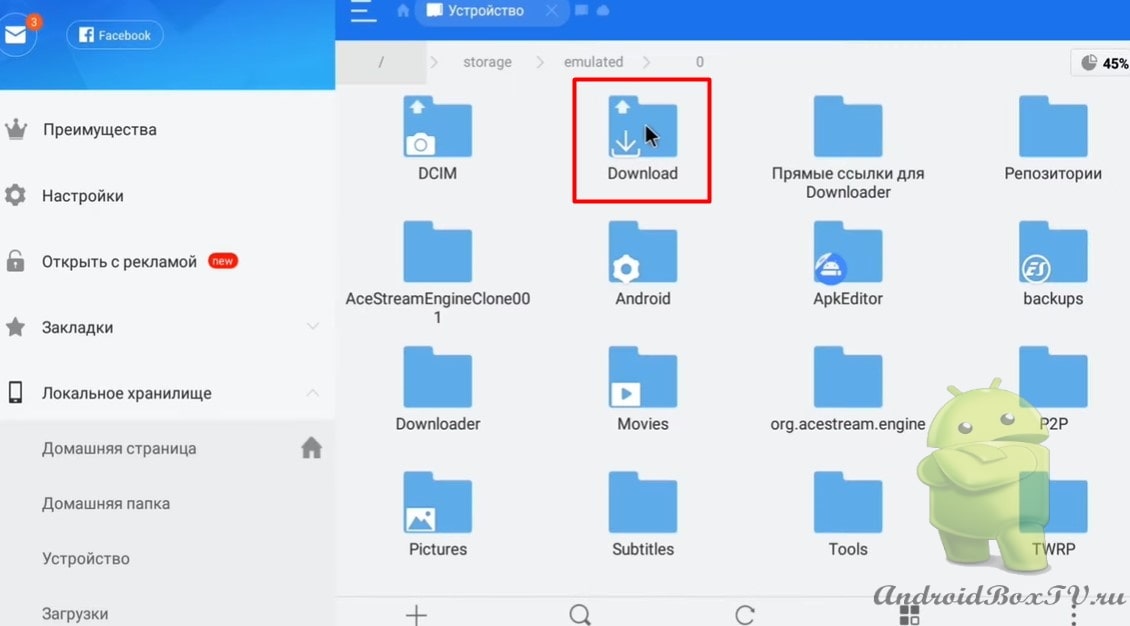
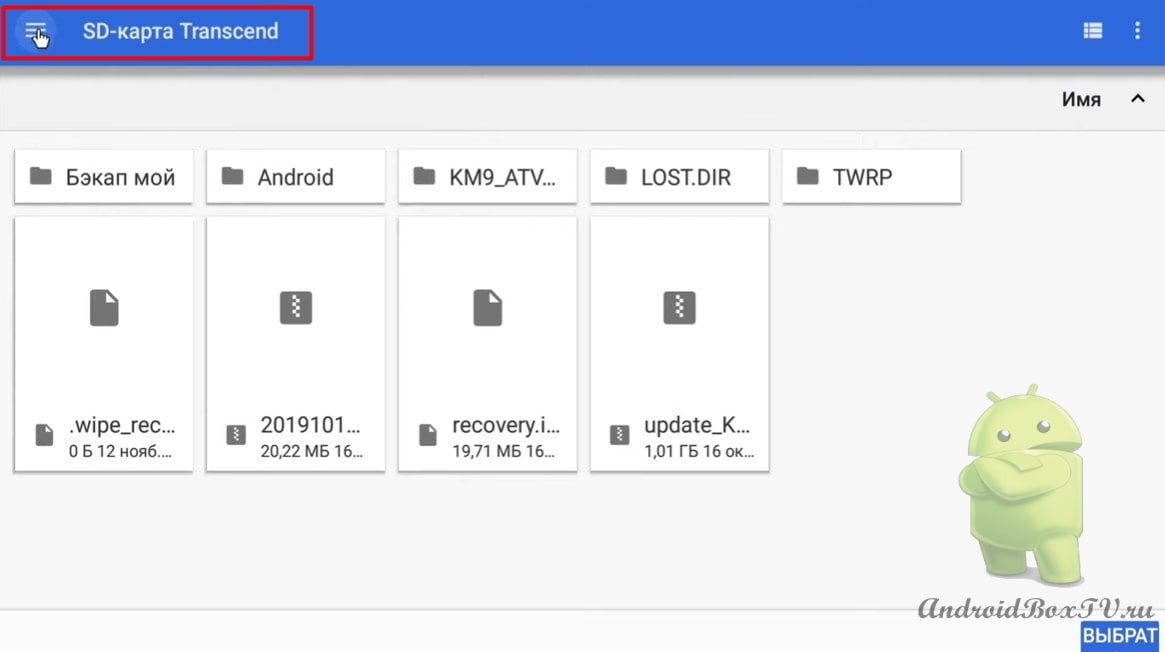
It's over. By default, the files will be in the “backup” :
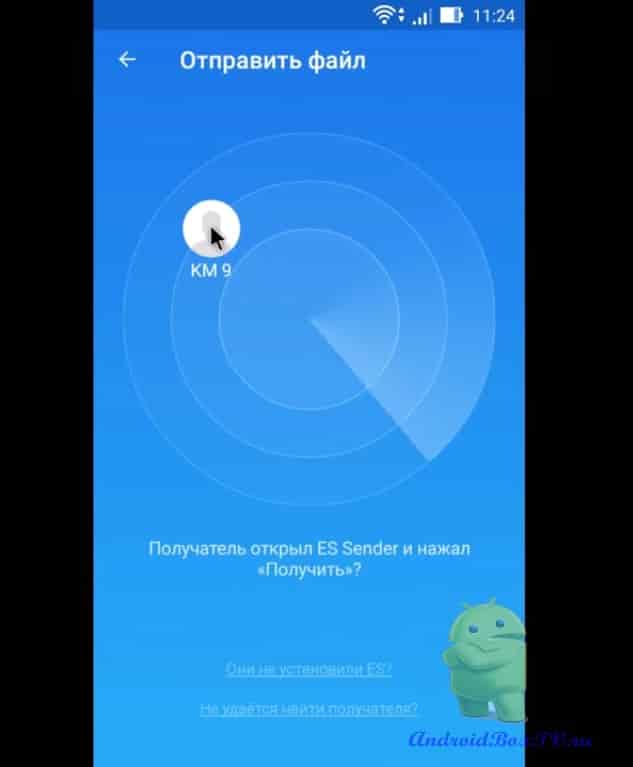
We press "back". Opening the sender:
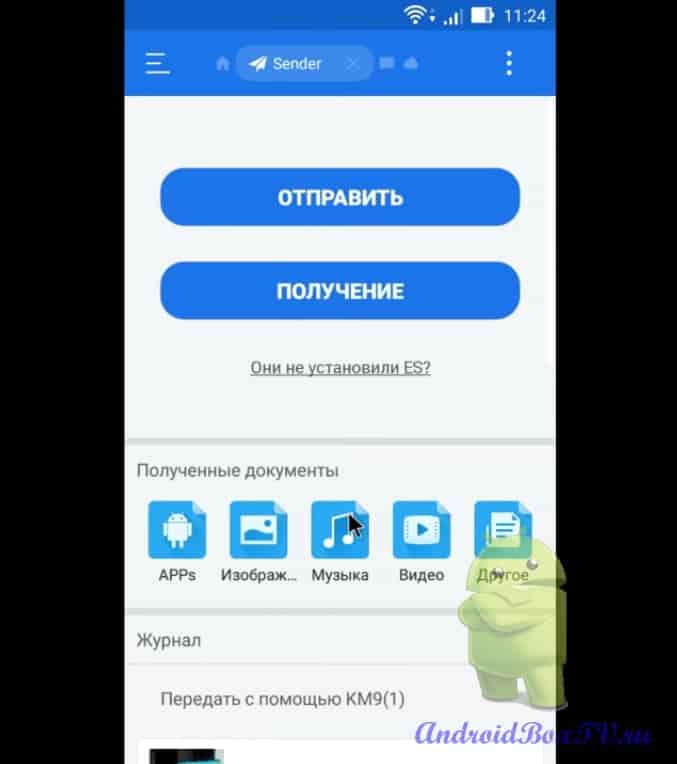
Click send:
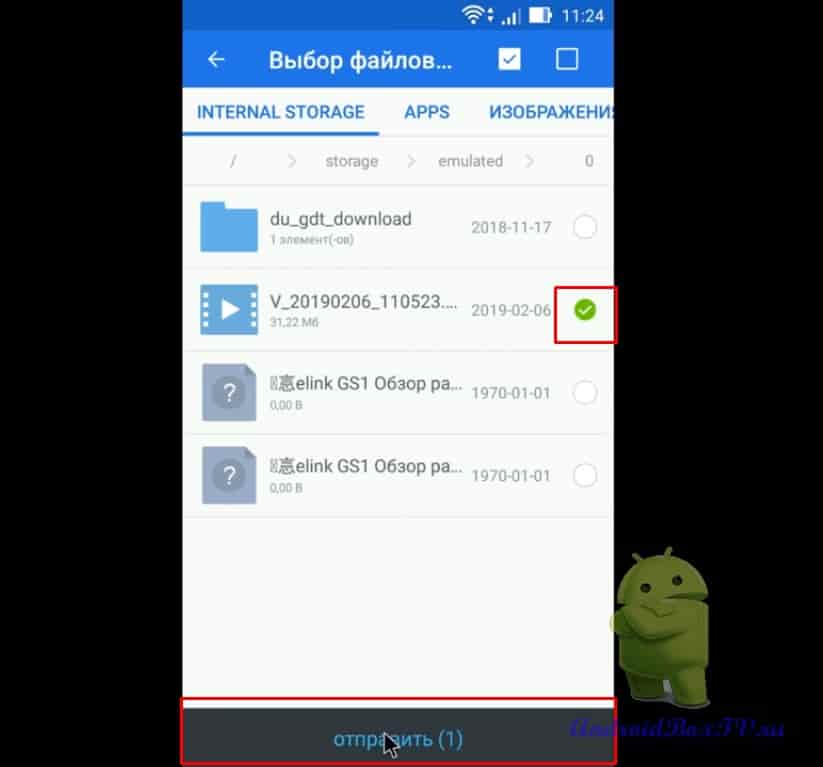
Let's send the video, for this we mark the “ checkboxes ” and click “ send ”:
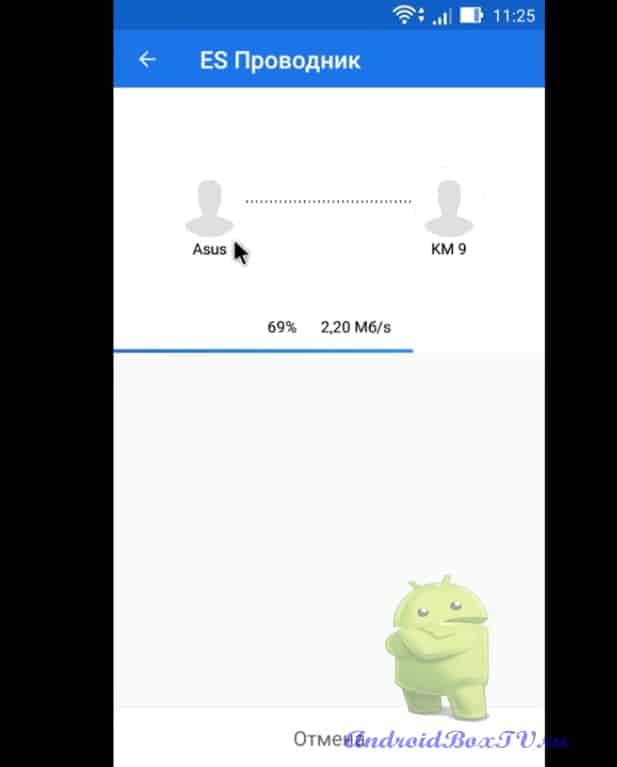
We press send. We click on the device, and the file is transferred:
Now you do not need to transfer to the cloud or copy to a USB flash drive. All files are in place:
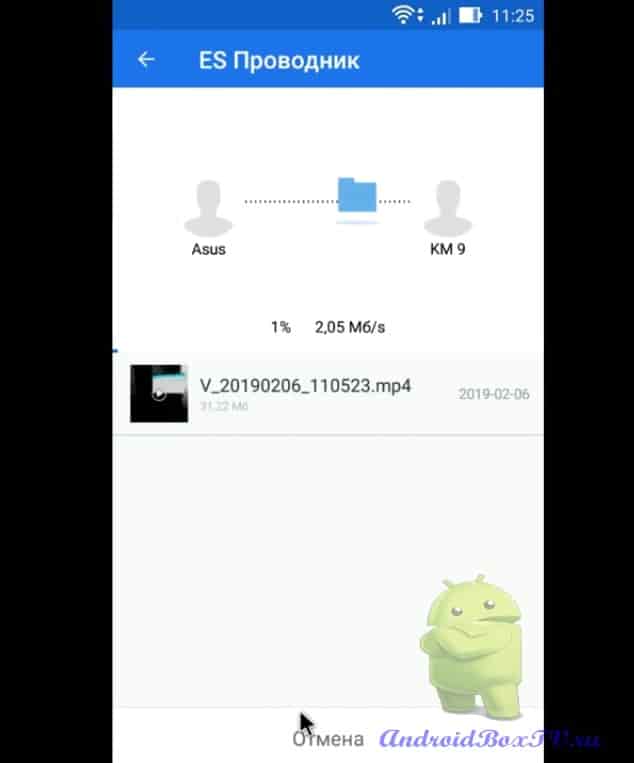
Let's send our APK files created earlier - highlight and hit submit. Files are being transferred.
For some reason not very fast. This is due to the fact that many devices are connected via WiFi (two phones, 2 TVs, an android prefix), so the speed is probably not very high. Let's wait a bit:
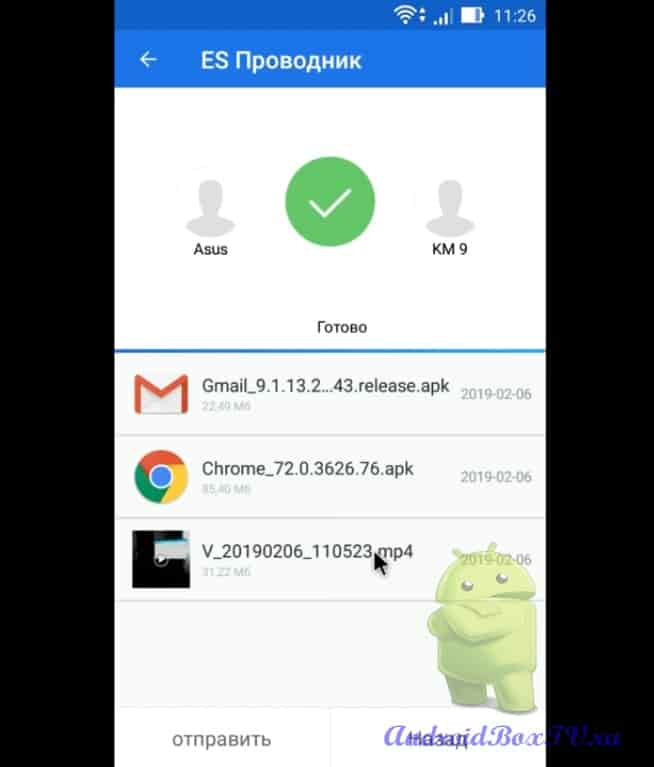
Everything is in place and we return to the TV. Back to TV box:
If suddenly it doesn’t work on some TVs, in particular Sony, go to the settings, find the item about the device and click on the assembly number seven times - the item for developers will appear in it, turn on USB debugging. This will help. I did not include anything here, everything is transmitted without it. The resulting files will be in this folder:
When advertising on your gadgets is already boring, and firewalls cannot cope with spam flying from all sites and applications, we recommend that you get rid of this by simply changing the router settings in your home.
How does this relate to the Android site? The article says about changing the DNS on the Android prefix to disable ads, but many do not succeed in this:
save button not working
someone else has problems
and someone can't find the DNS setting.
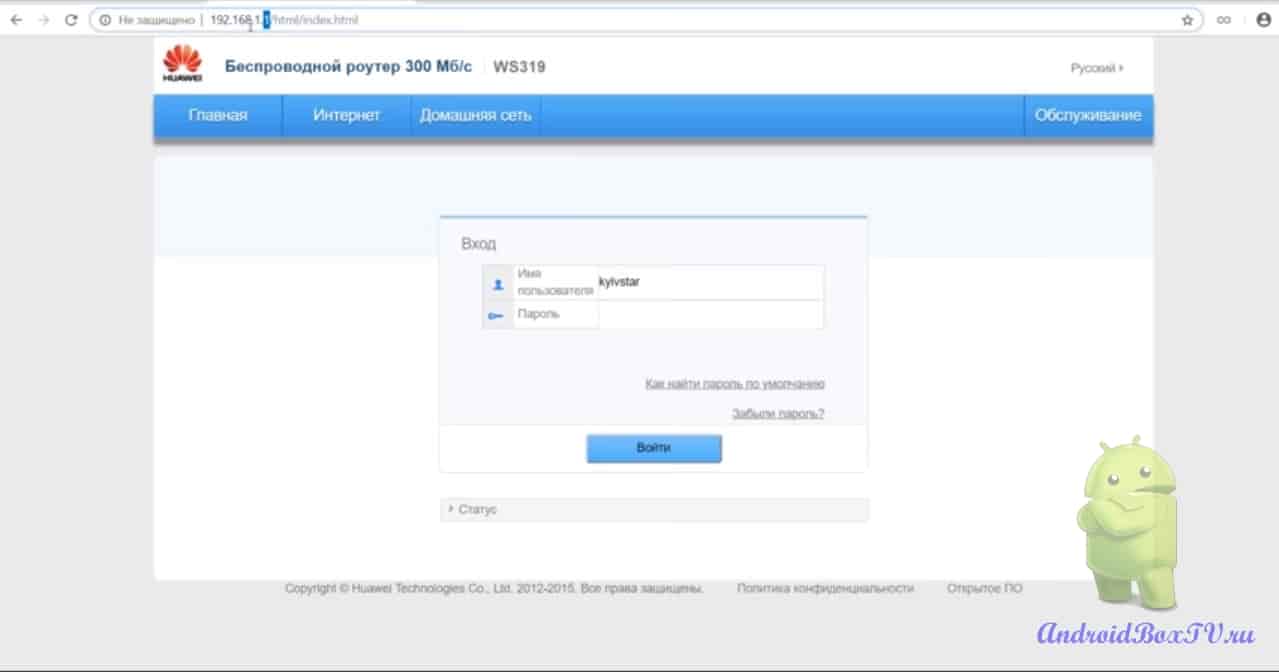
So we will solve this problem radically by disabling ads on all devices. To do this, open the browser and in the address bar enter the numbers 192.168.1 ( link ) or the numbers 192.168.1.1 ( link ), sometimes it turns out to 192.168.0.1 ( link ):
On the screen you will see the input:
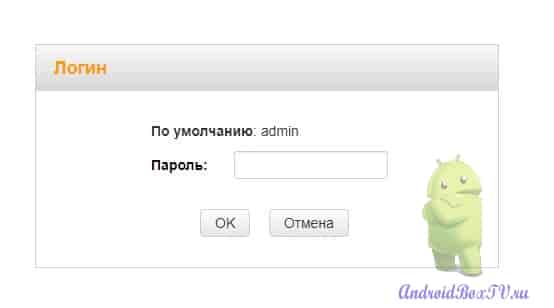
You will see the login and password in the contract with the Internet provider. If you connected the router and bought it yourself, then look for a hint either in the instructions for the router, or you will see this:
In this case, enter the word admin as the password.
This password has nothing to do with the WiFi settings password, it is the password for entering the router settings, in which you can change everything, including passwords and the WiFi name.
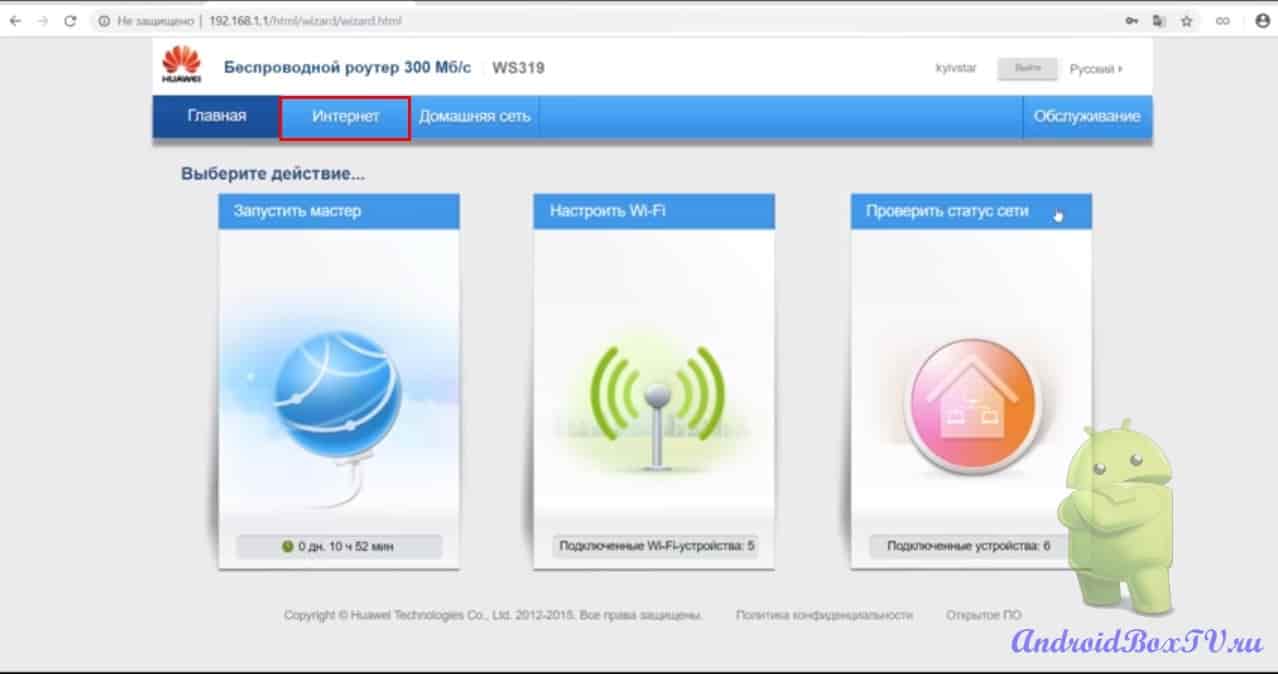
We observe such a page with settings. You will probably see something different, but the essence remains the same. Search for and click the "Internet" tab:
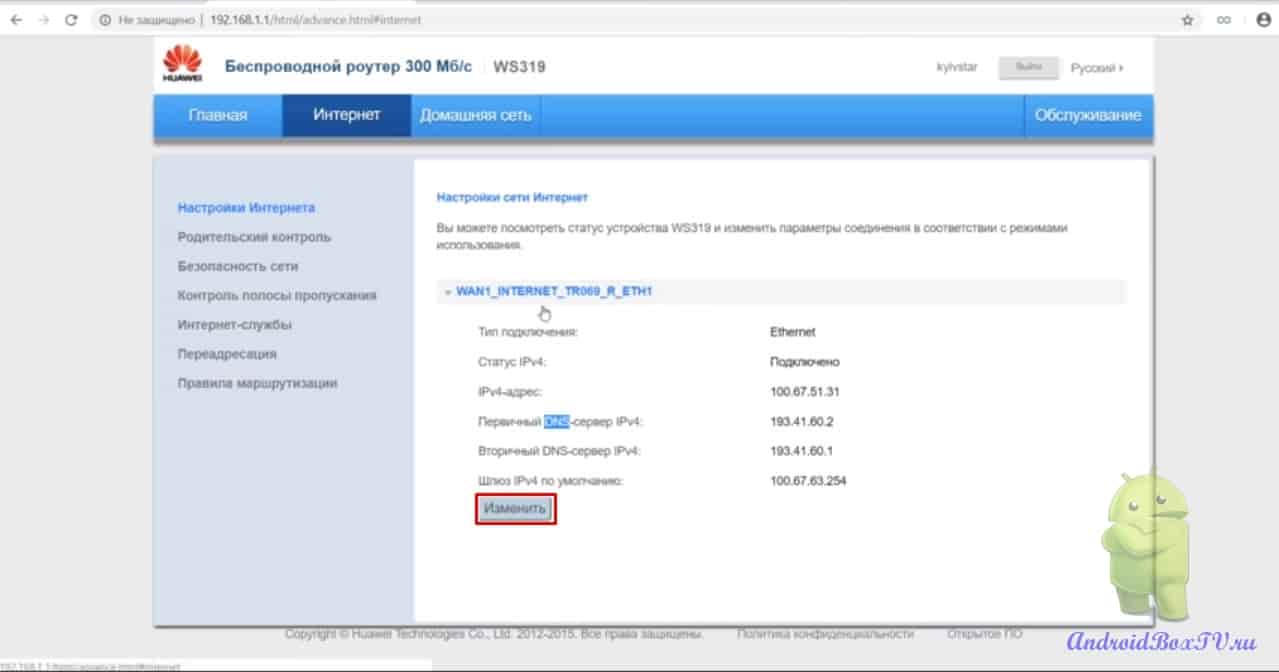
We are looking for DNS words that can occur anywhere:
Click "Change"
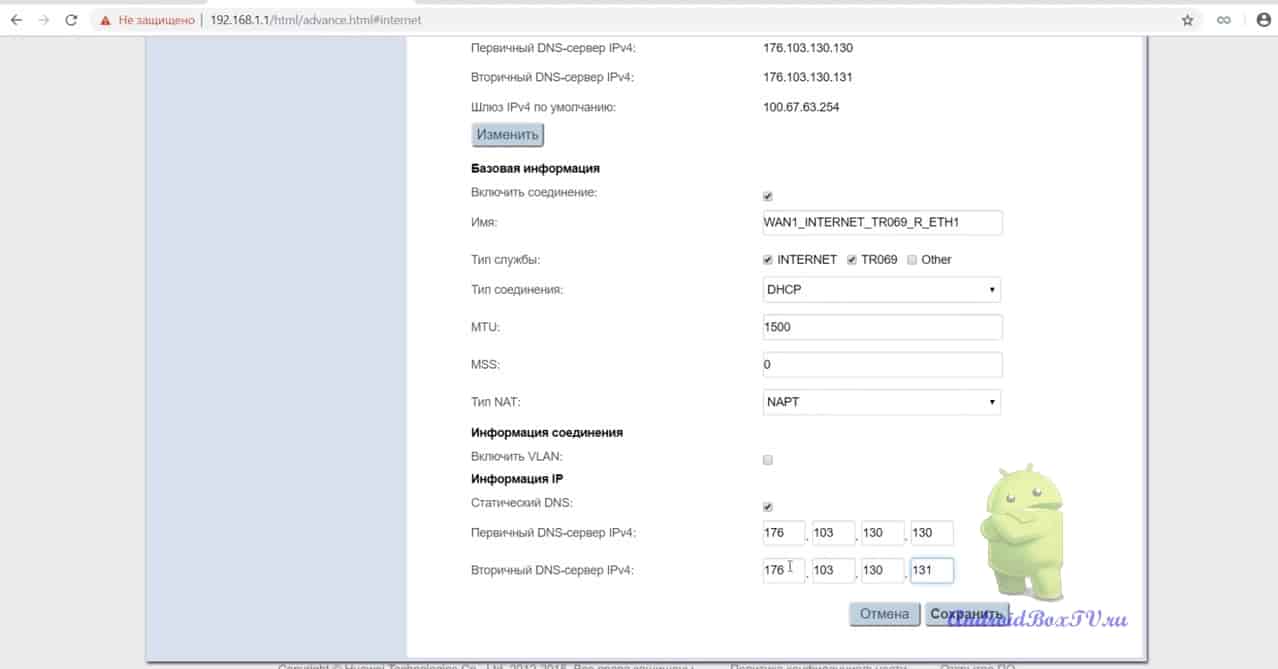
IP information. Check the "static DNS" box:
Now we enter:
176.103.130.130 - if one window is entered in the first one;
176.103.130.131 - if there is a second window:
Click save. We reboot the router by turning off and on the power from the network.