Today we will review the program, more precisely, those functions that may be useful to you. This application is used to reassign functions and add new actions to the remote control . The program is called “Button Mapper”, you can install it from the Play Store .
Now let's look at how to add additional actions to buttons and how to use the “Remote ADB Shell” application from a smartphone to issue a command in order to access additional functions.
First, install the “Button Mapper” application from the Play Store and open:
Go to “Device Settings” and click “OK”:
In the settings, click on "Accessibility" and select "Button Mapper":
Next, enable "Special Features":
Go to the "Troubleshooting" section:
Turn on “Alternate Input Method” and “Alternative Button Control”:
Then go to the "Advanced settings" section:
It is recommended to increase the delay time of holding the button.
Set 600ms:
Also, you can make a “Backup” of the application settings. That is, when you set up the application and then reinstalled it, you can restore the settings so that you do not have to set it up again every time.
Click on "Backup":
Click "Allow":
Then select “Backup settings” and click “Save”:
Open "Restore setting" and we can restore. Click “Backup” and select the file created by the application and click “Restore”:
Next, we go to the application. Select "Home button":
Turn on "Settings":
Set up "Clamping". In the "Actions" section, select "Recent Apps":
After we hold and open the last application, which can be closed here:
Let's take a look at other features in this section.
We select “Power off dialog”, hold the “Home” button and a dialog box appears in which you can turn off or restart the device:
The “Assistant” function is a voice dialing, voice search:
Next, go to the “Applications” section, in which you can select the application that will be launched by this button when held.:
We hold the button and see that the application has opened:
Next, the “Shortcuts” section is intended for mobile devices:
In the “System” section, you can assign a choice of keyboards:
To do this, you need to send a command from your smartphone. Open developer options:
Enable "USB Debugging":
Next, take a smartphone, go to the “Remote ADB Shell” application:
Connecting:
We write the command (pm grant flar2.homebutton android.permission.WRITE_SECURE_SETTINGS) and click on the checkmark:
The command was successful and the smartphone is no longer needed.
Go ahead and select “Change keyboard”:
Next, hold the button and a dialog box appears in which you can switch the keyboard without going into the device settings:
Section “Media”:
Section “Advance”. Let's select the button on the remote control manually:
Go to "Add Buttons":
Click “Add buttons” and click, for example, on the button “Menu”:
Open "MENU". Turn on “Settings” and select “Clamping”:
Here you can set the “Shell” command:
We write “reboot” (rebooting the device does not work on all devices, in particular on Mi Box):
Now, when you hold down the “Menu” button, the device will reboot.
Next, set up “Single clicks”:
Here you can add a link to the site, register the site address:
Open “Custom keycode( ver 2)”. And click on the link:
This can be useful if a button on the remote control is broken and you need to find out the button code or assign a new action. There are many digital codes for TVs and gamepads:
For example, let's take the volume up key number 24. Open “Custom keycode( ver 2)”, enter “24” and press “OK”:
Press the “Menu” button and see that the volume is turned up:
After completing all the steps, go to “Settings”:
We select “For developers” and disable “USB debugging”, because on some devices, when it is enabled and USB ports do not work correctly:
Usefulness of the article? Rate it in the comments!
Check out other articles from the rubric “Working Moments” Here.
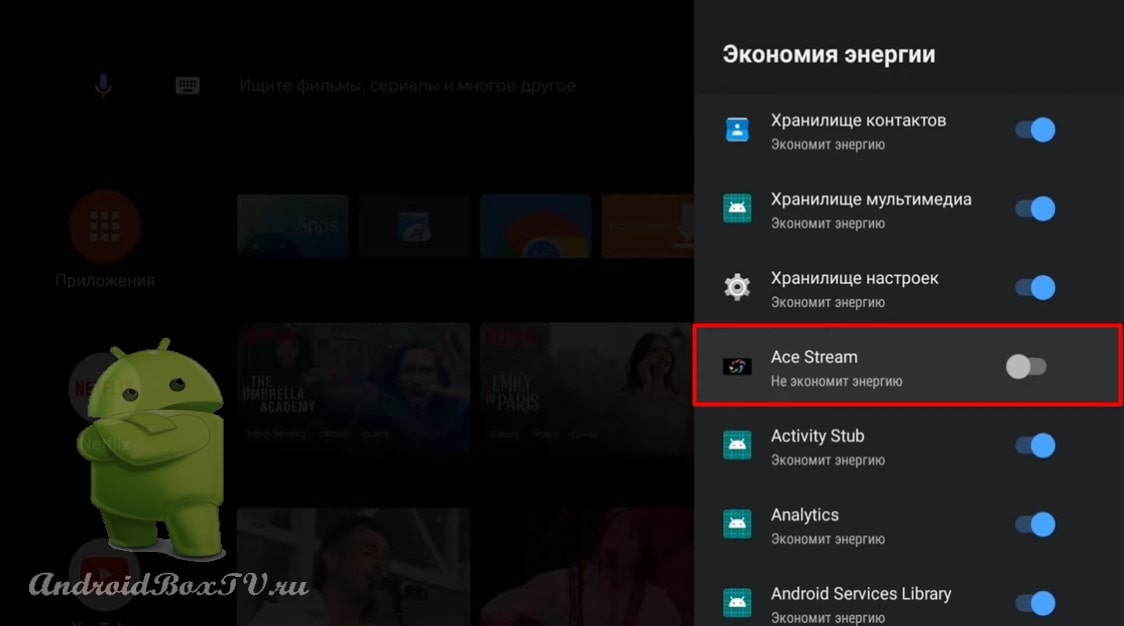
Today we will consider ways to solve the problem when the system unloads applications from memory that need to work in the background. Ace Stream application as an example , when playing TV channels using P2P technology.
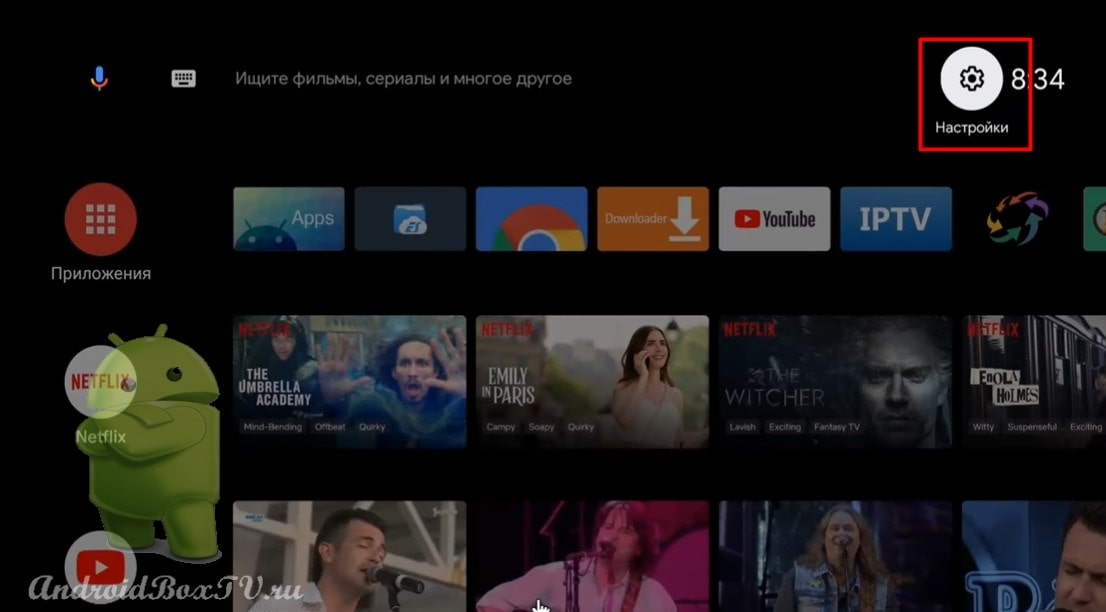
To solve this problem, let's try to disable the power saving required for running applications in the background. Let's see how to do it on Android TV 9+.
Go to device settings:
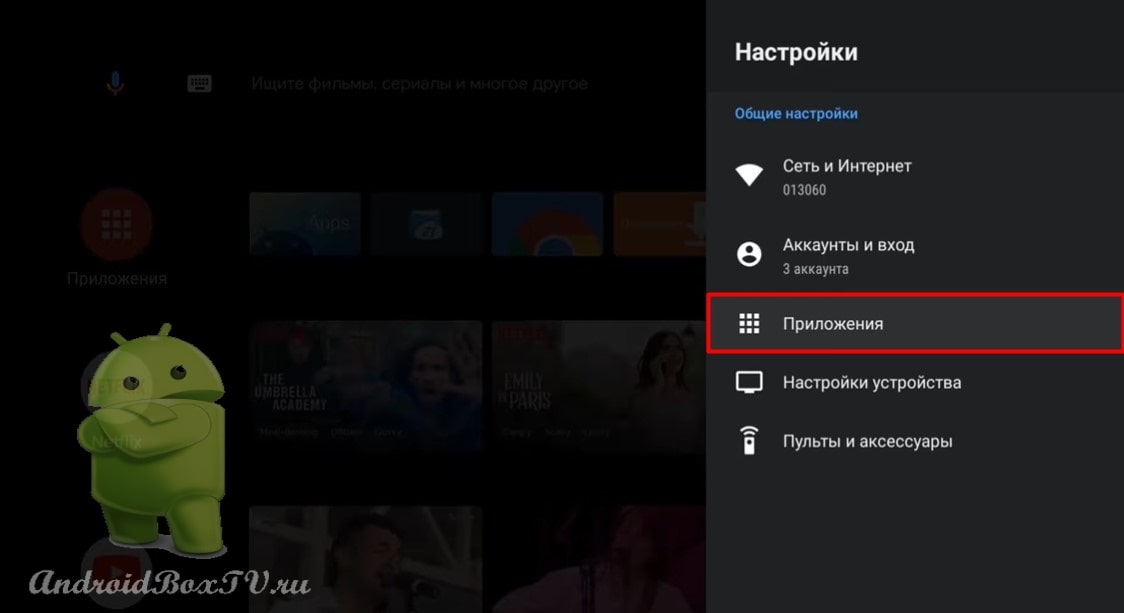
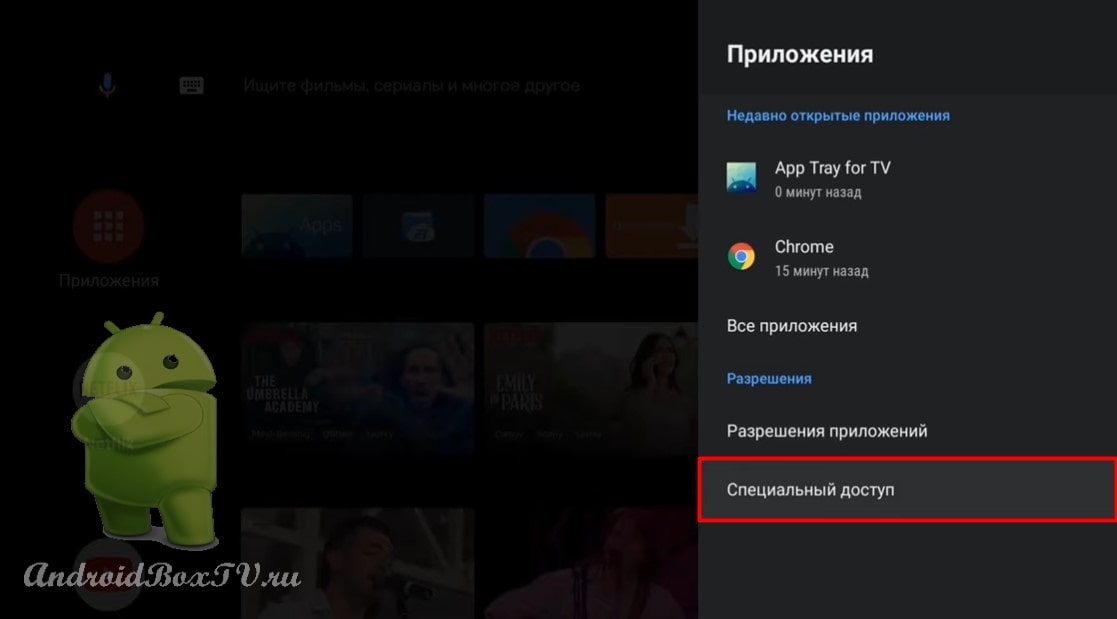
Next, click on “Applications" And "Special access”:
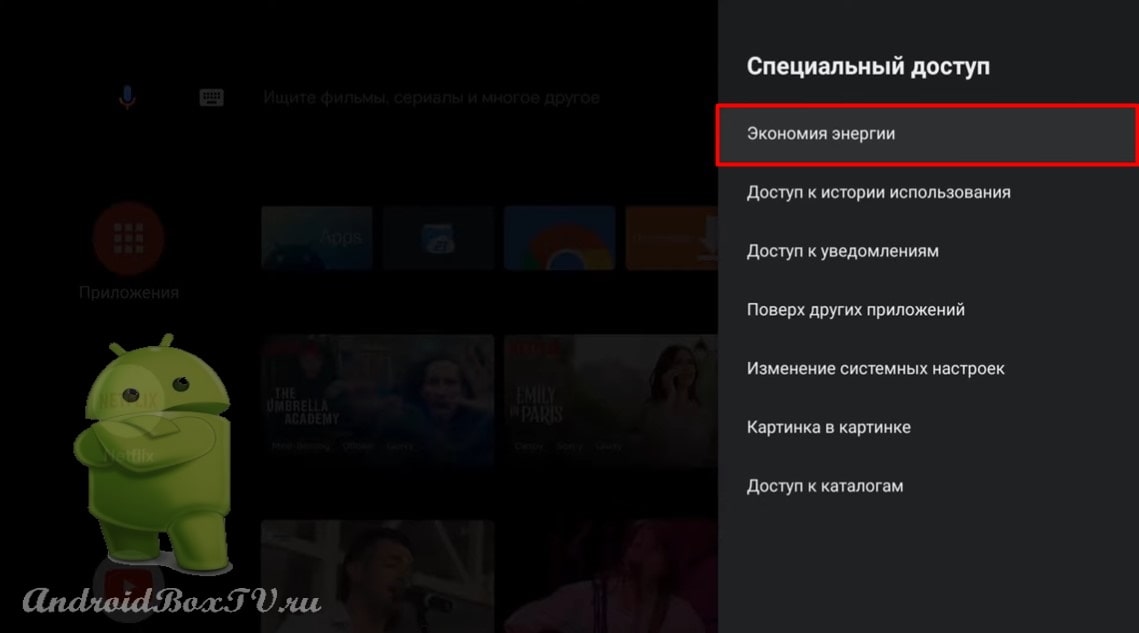
Choose "Energy savingand” and turn off savings on those applications that are necessary to work in the background:
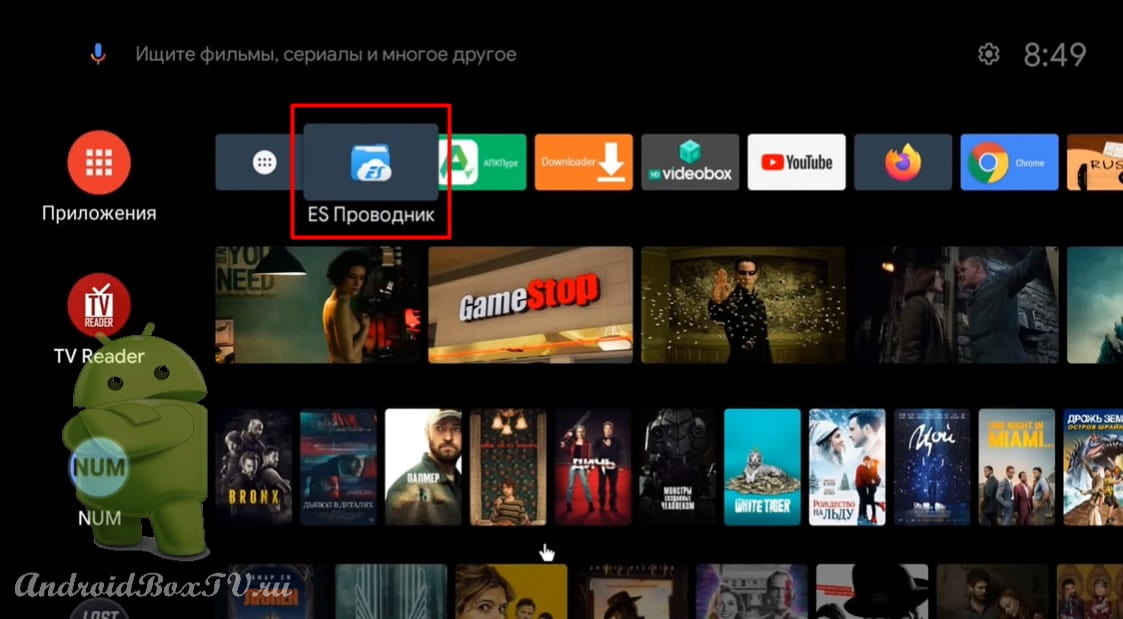
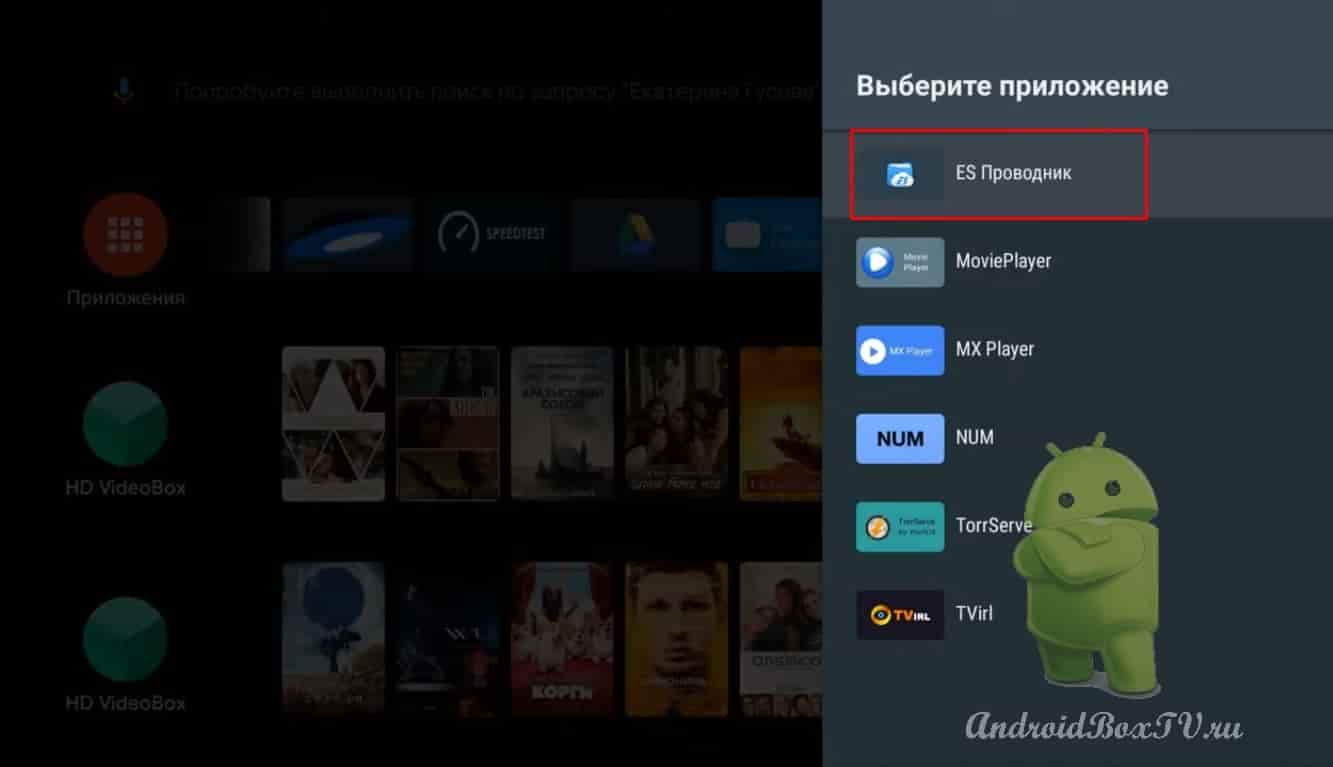
On Android, earlier versionsand, it can be done in the following way. For example, using ES Explorer.
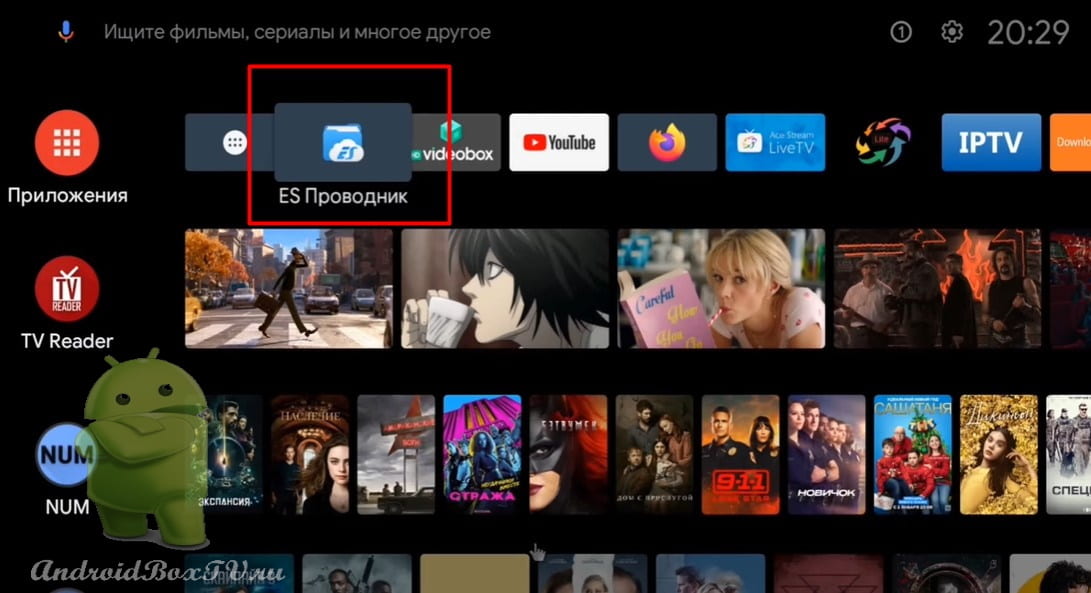
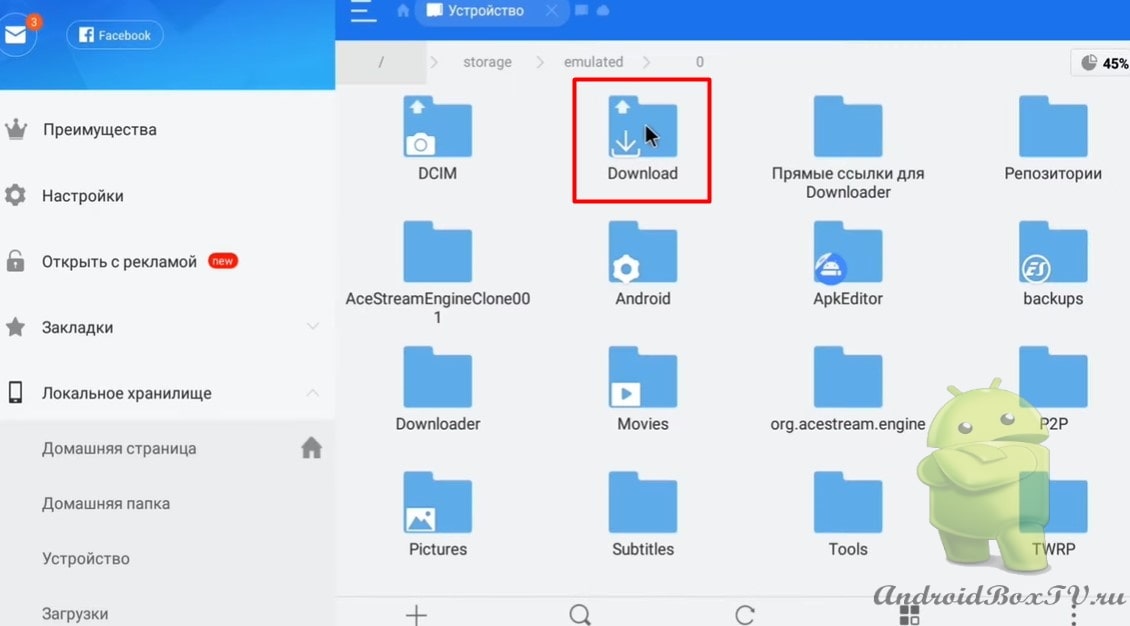
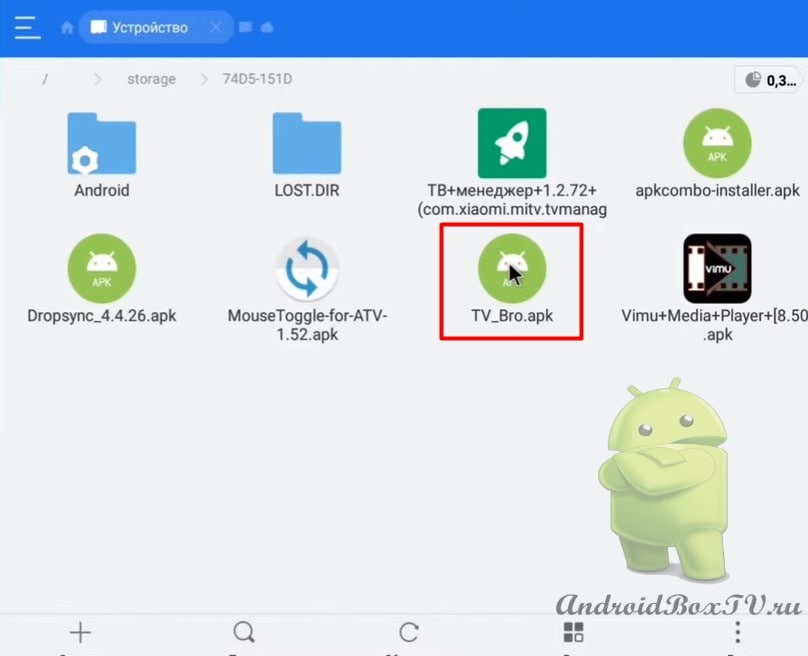
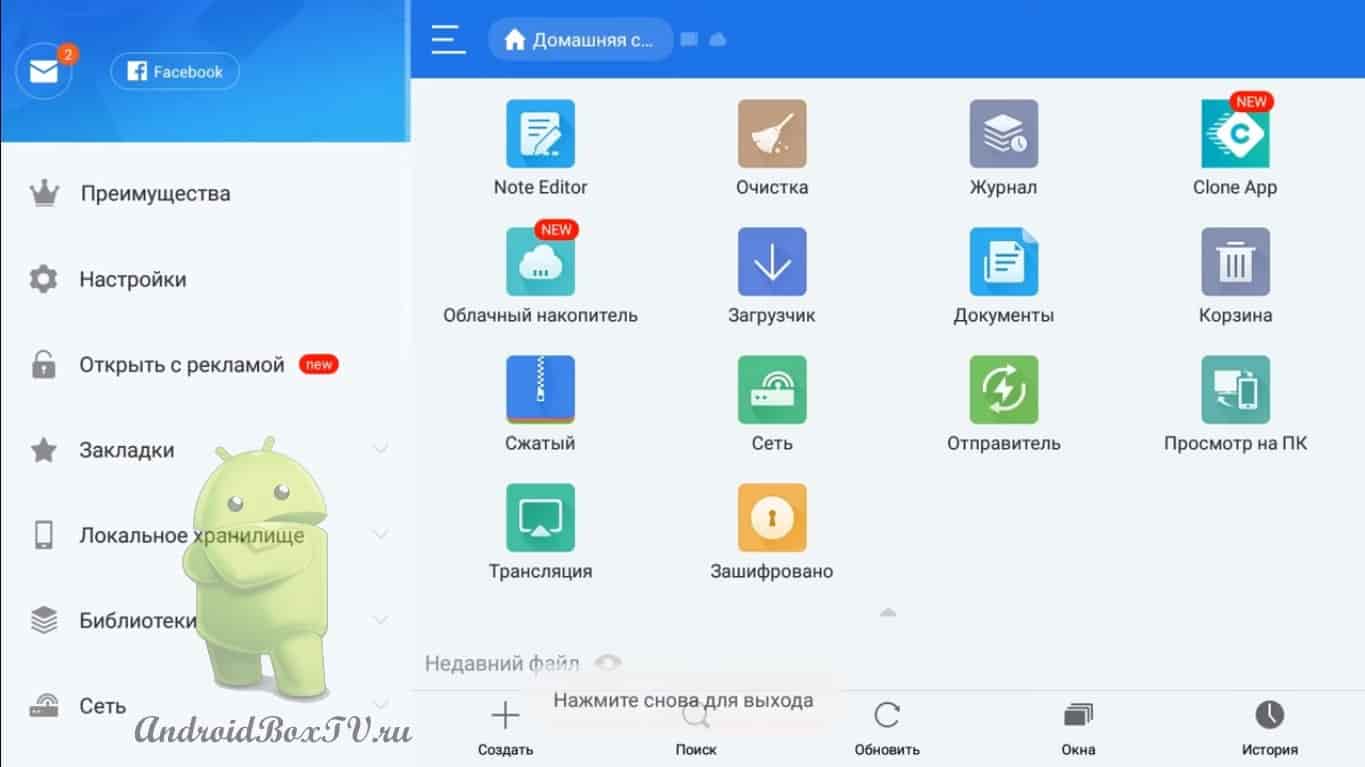
Open ES File Explorer:
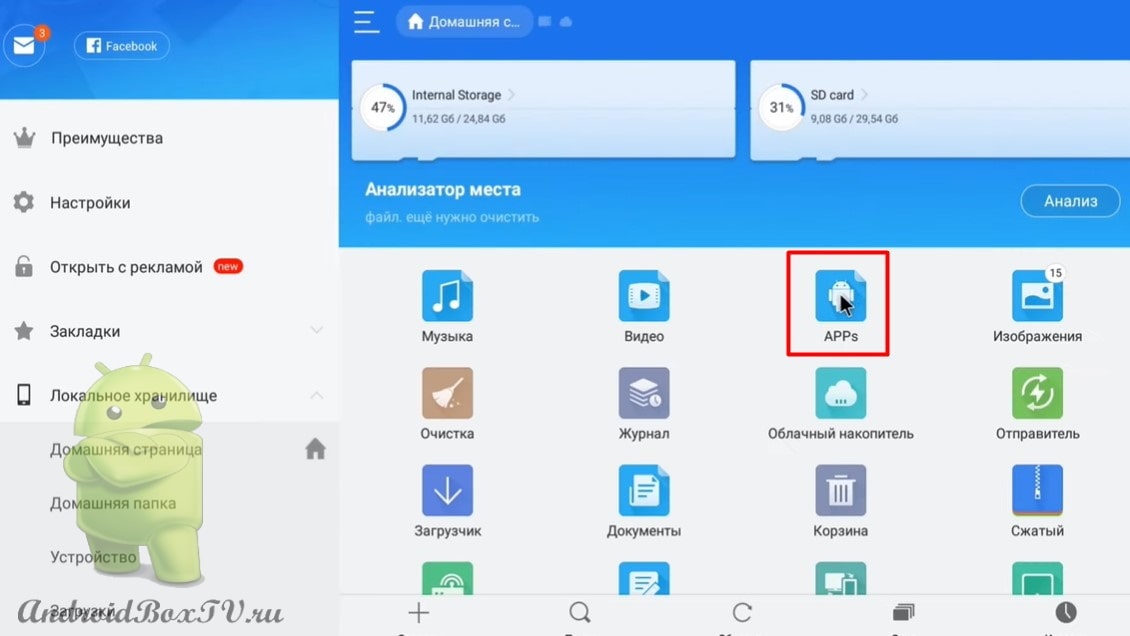
Opening the application:
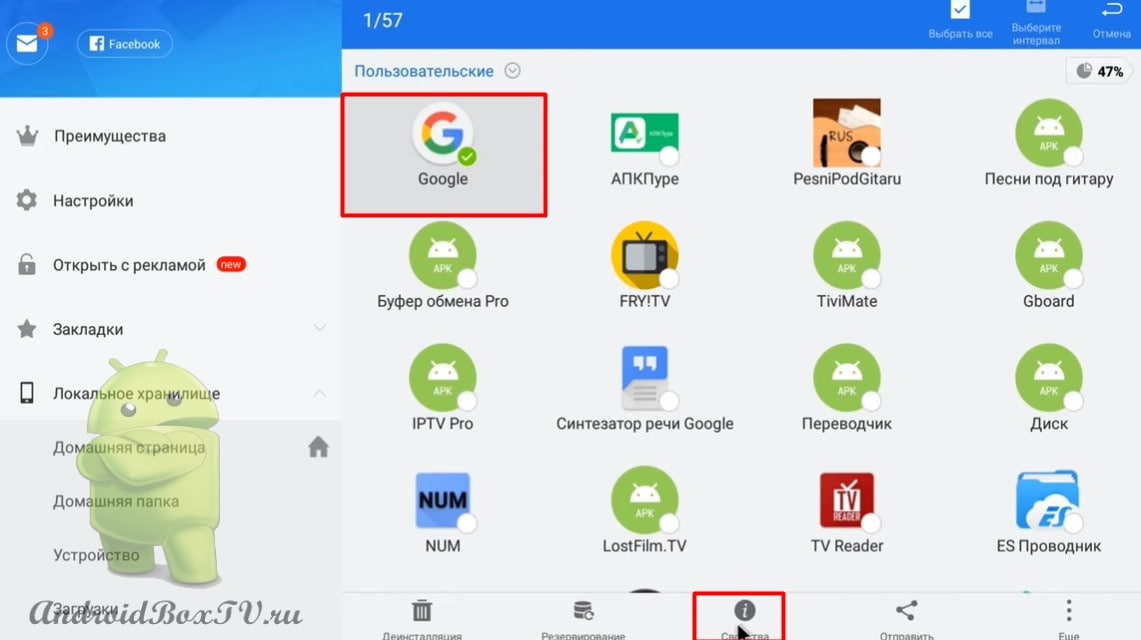
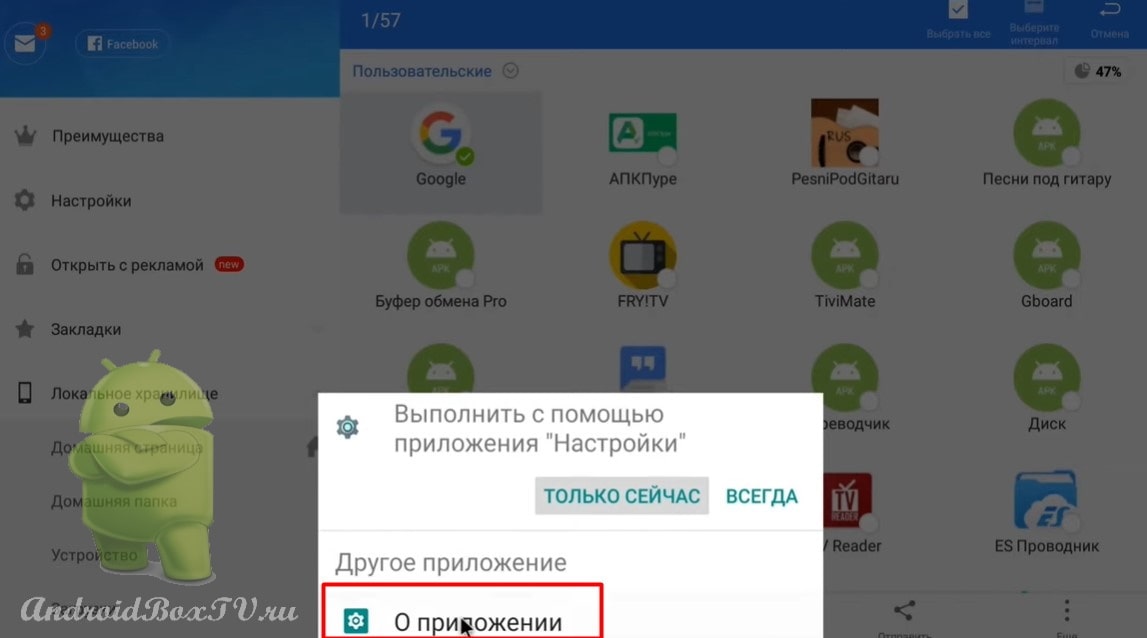
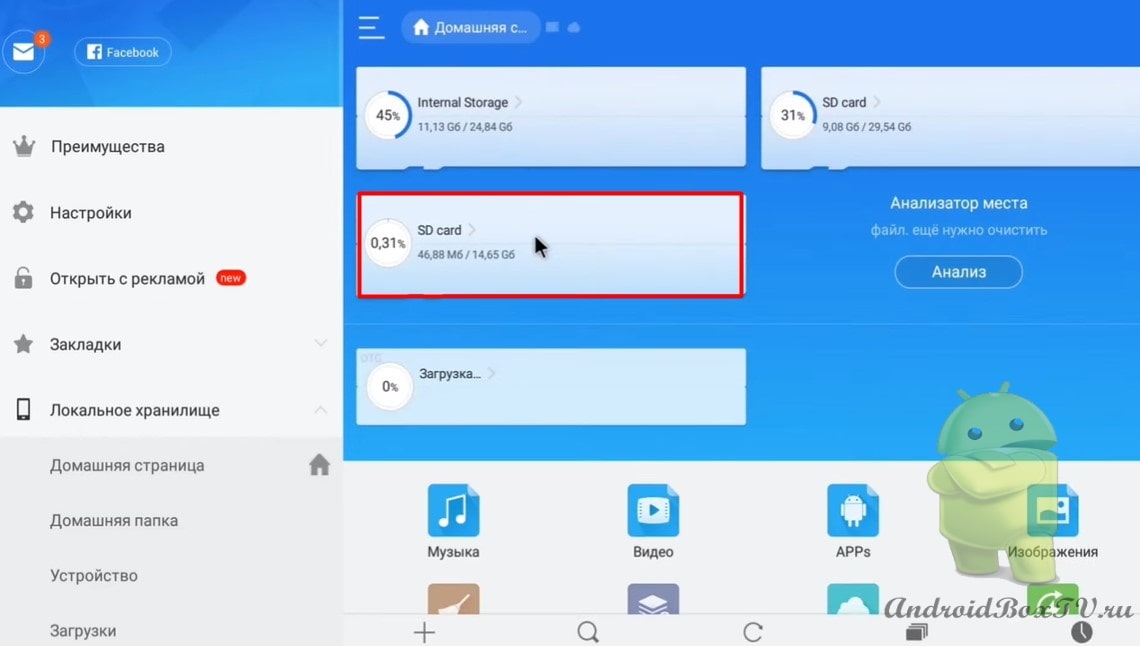
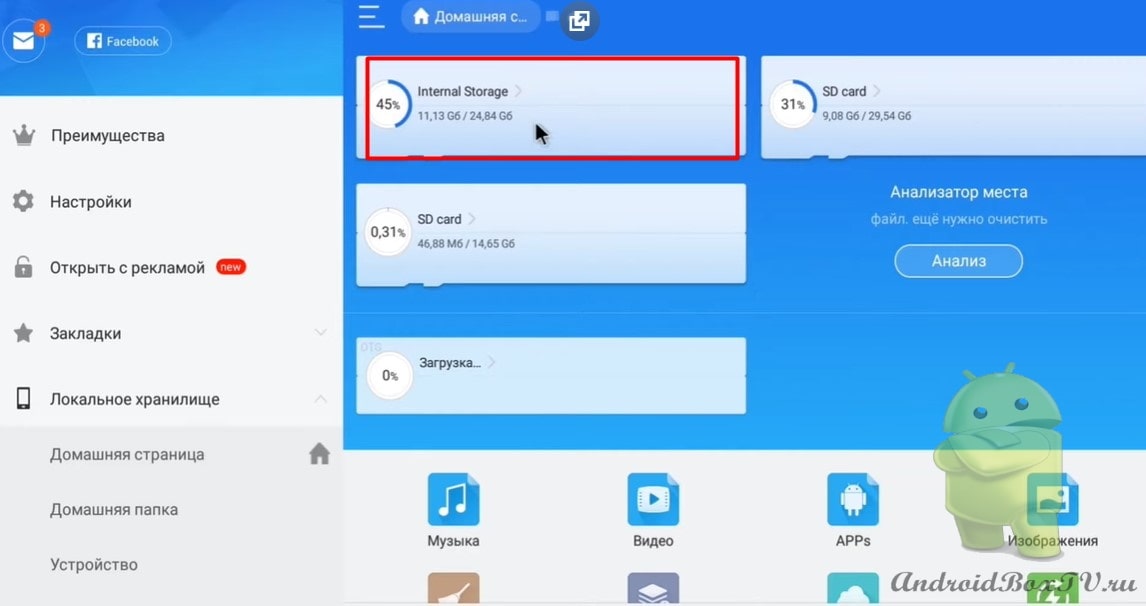
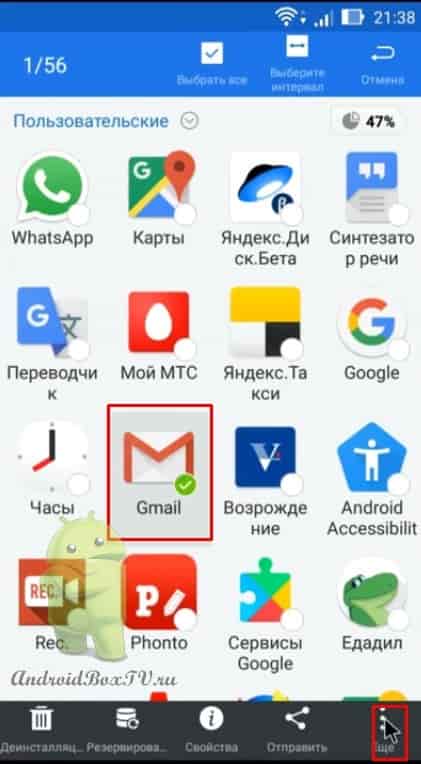
Highlight any application and click " Properties ". We choose to execute using “ About the application ”:
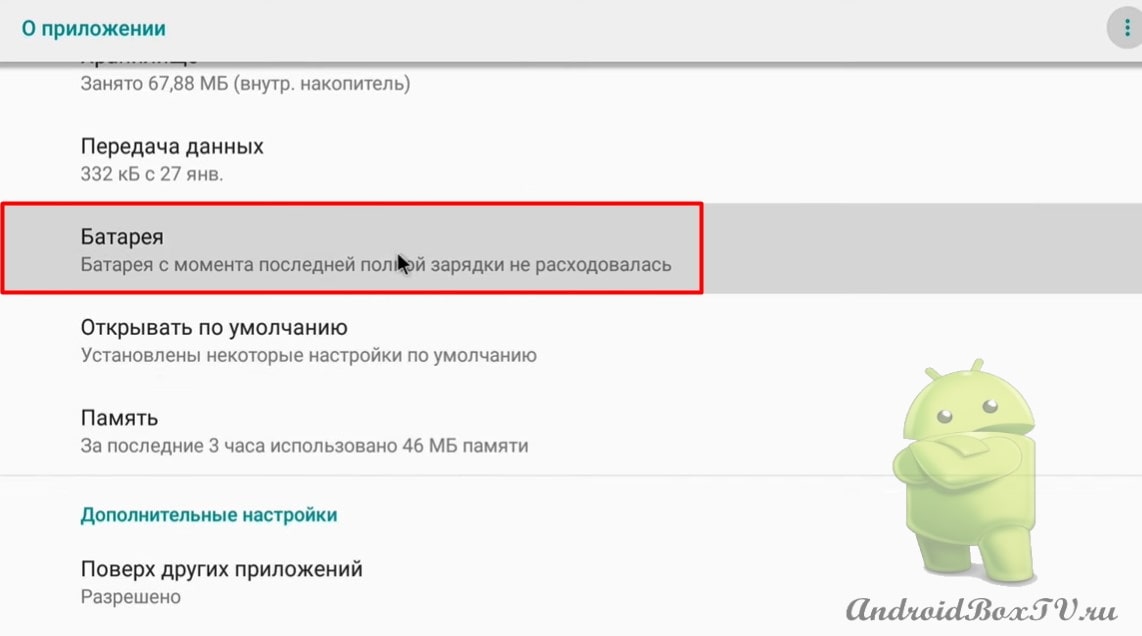
Open the "Battery” :
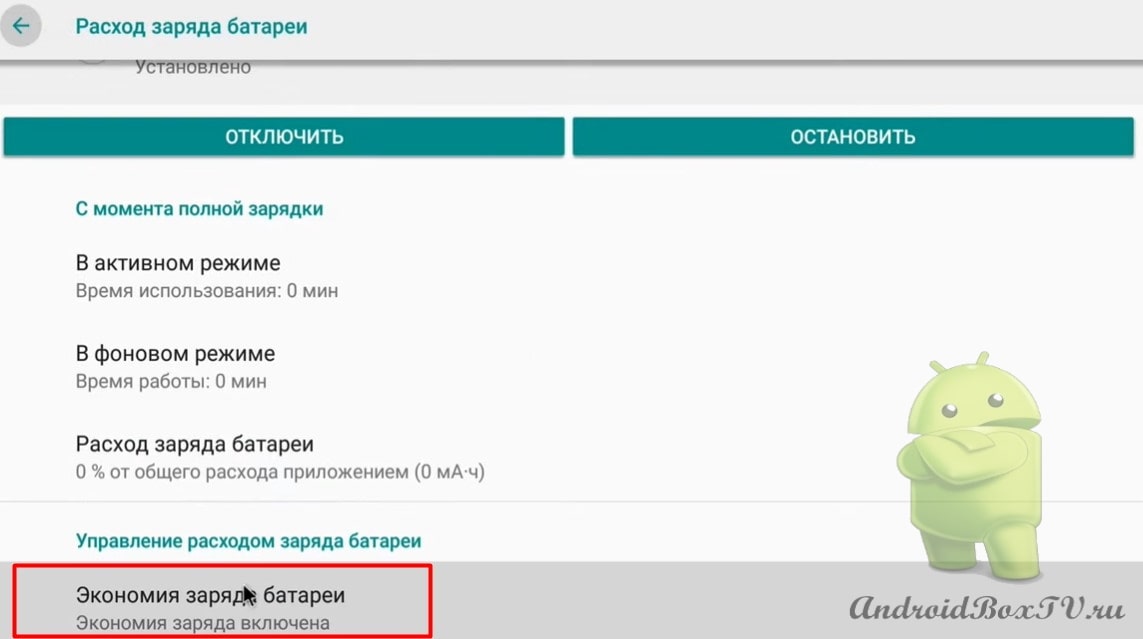
Select “Battery saver ”:
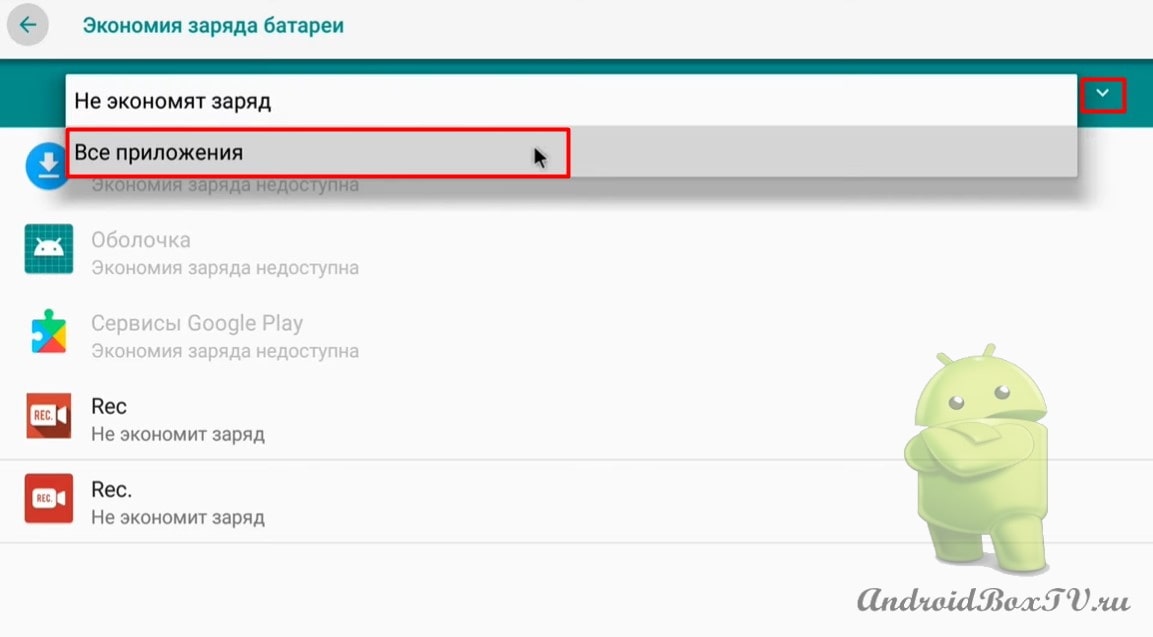
Click on the checkmark and select " All applications ":
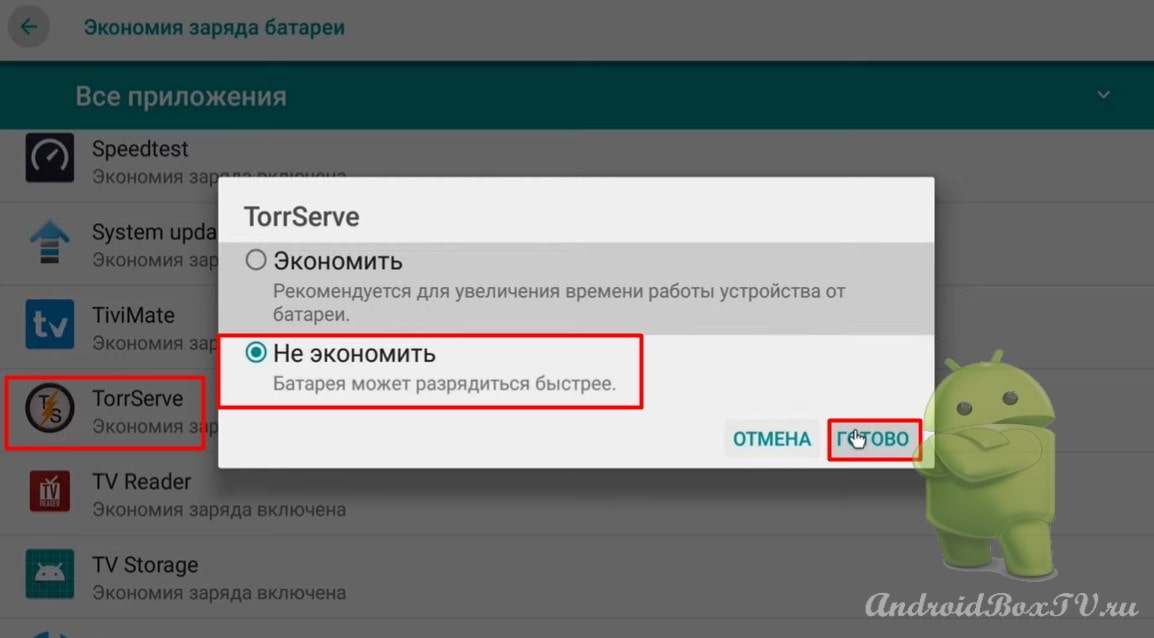
Next, select the applications on which you want to disable battery saving. Click " Do not save " and " Done ":
If this method does not fit, consider another one. From the app store APKPure"install the application"Hidden settings”.
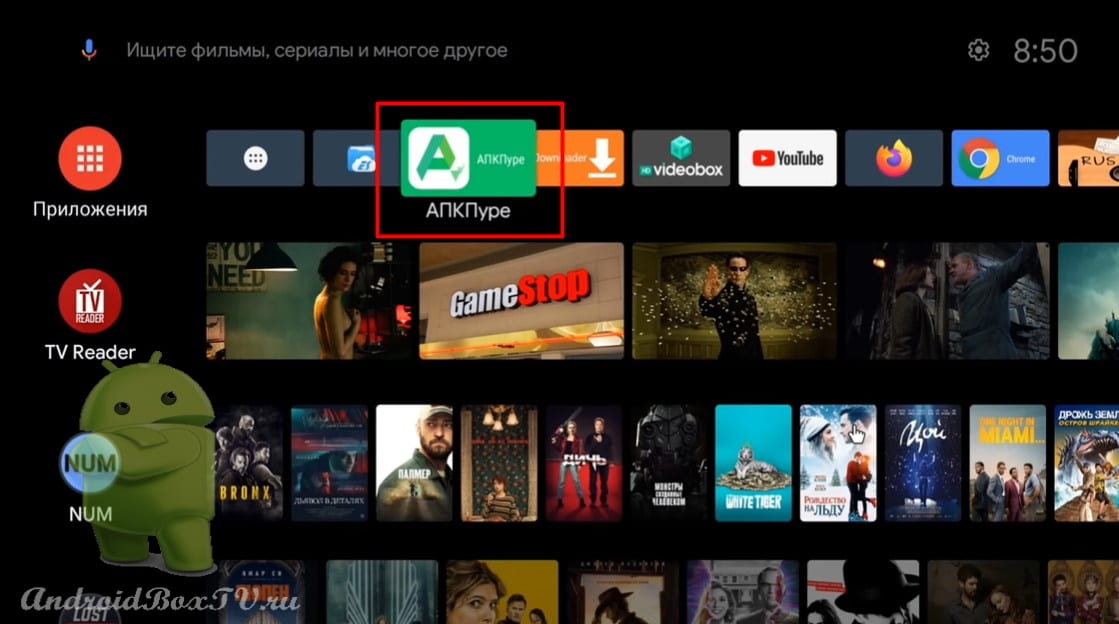
We go to " APKpur ":
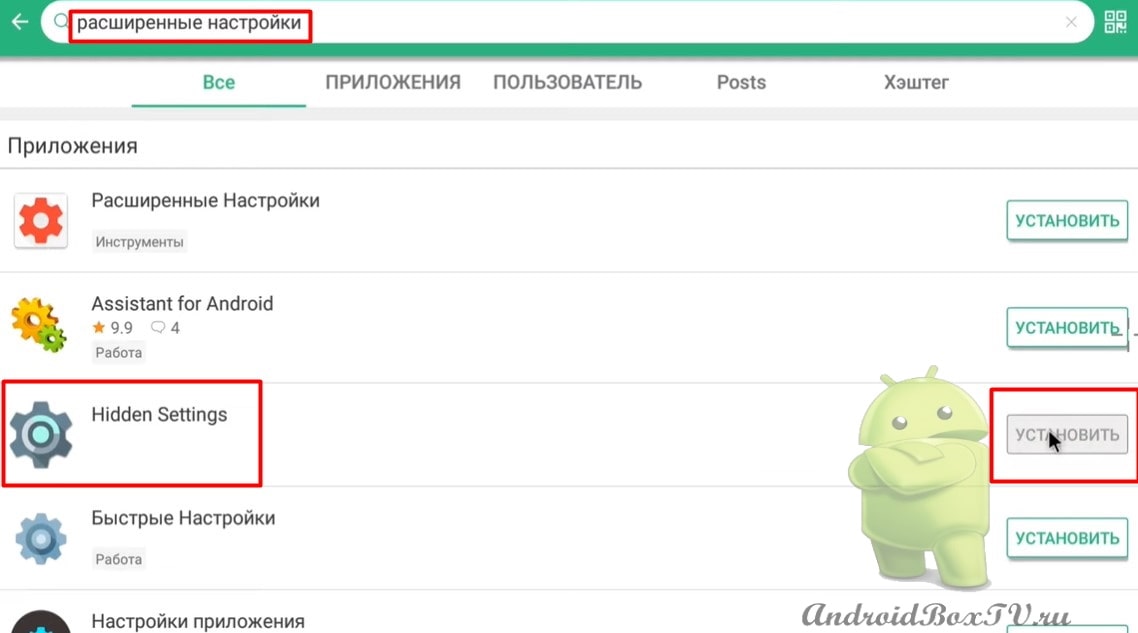
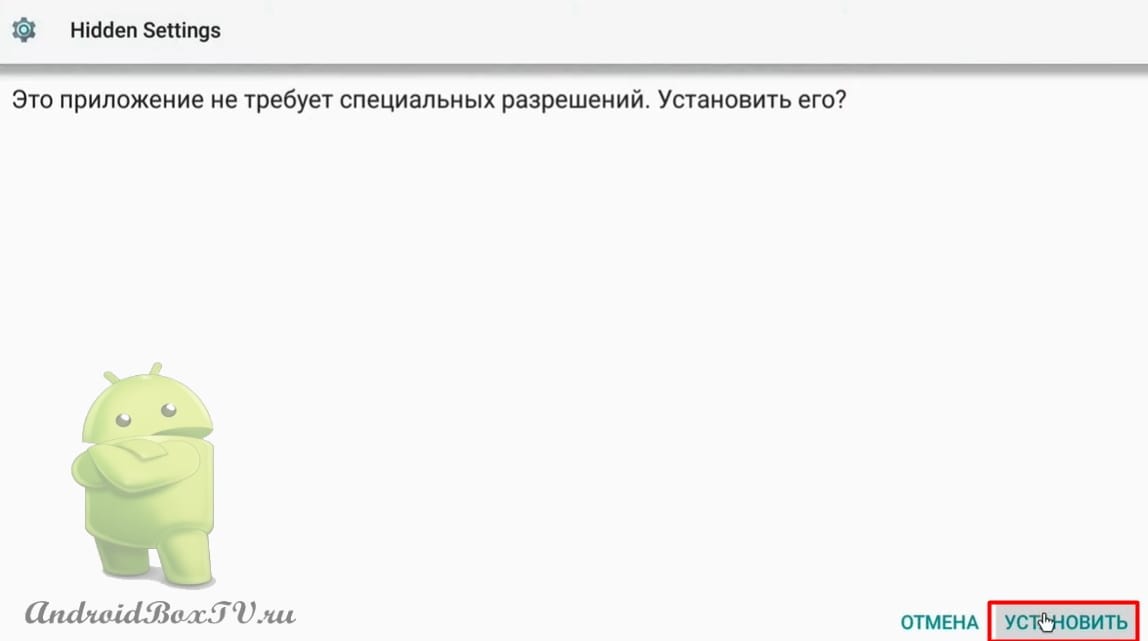
In the search we write "Hidden settings”( Advanced settings) and click “Install”:
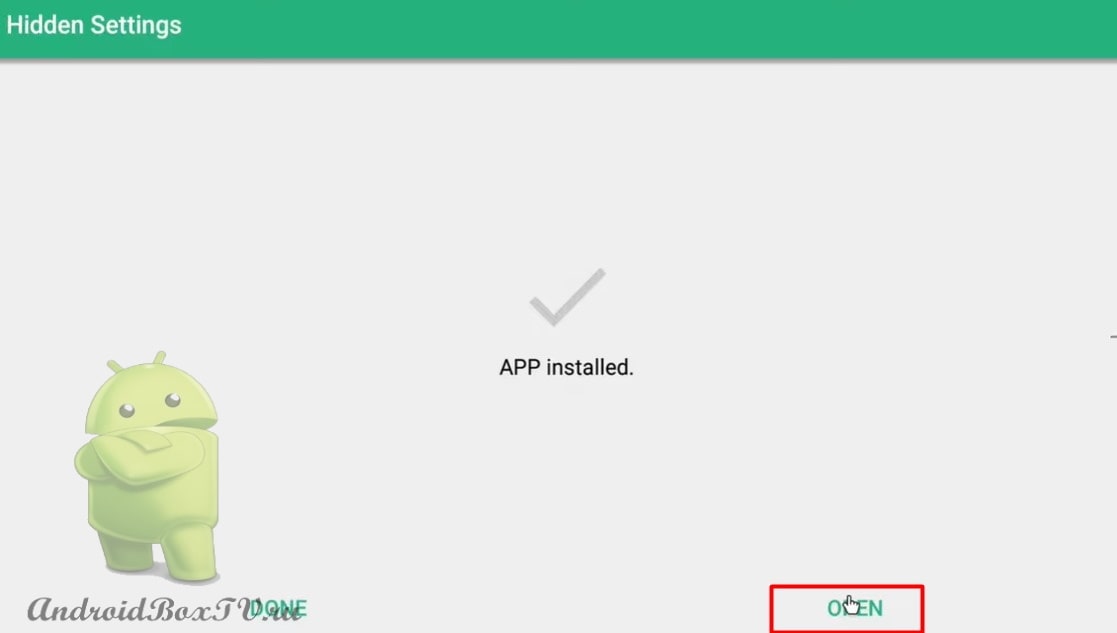
After installation press "Open”:
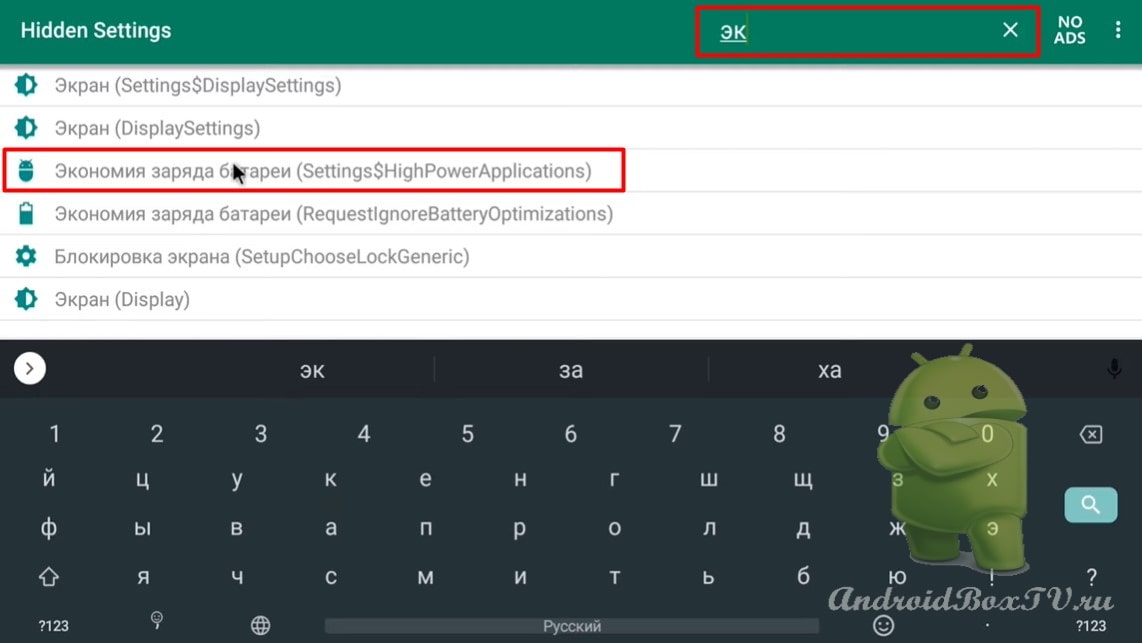
In the search we write "Battery saving” and open:
Click on the checkmark and select "All applications”:
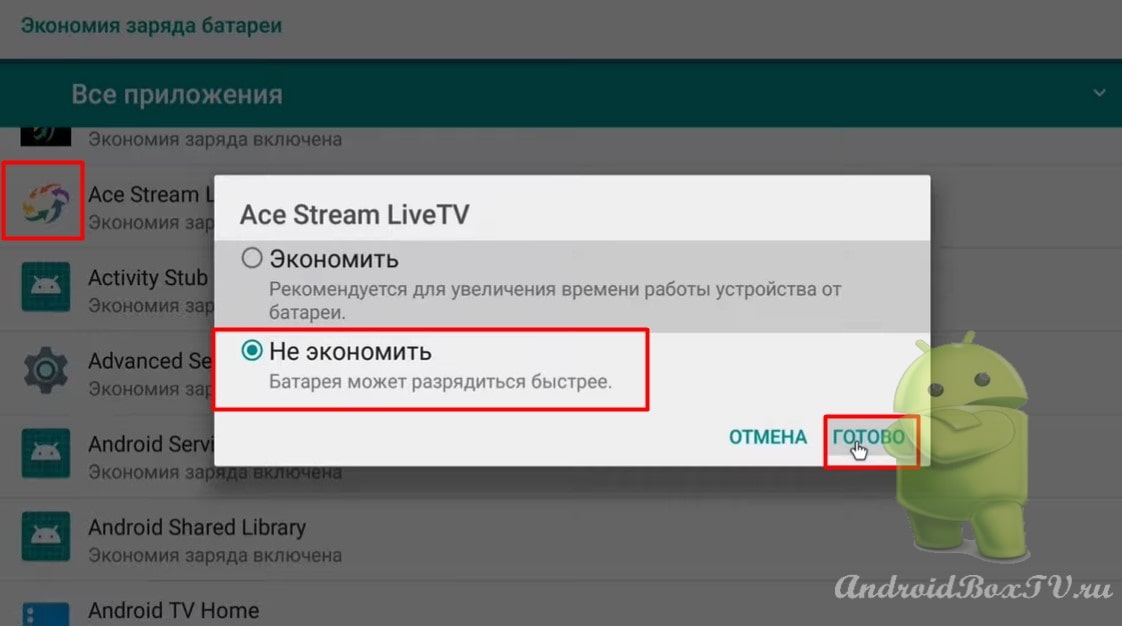
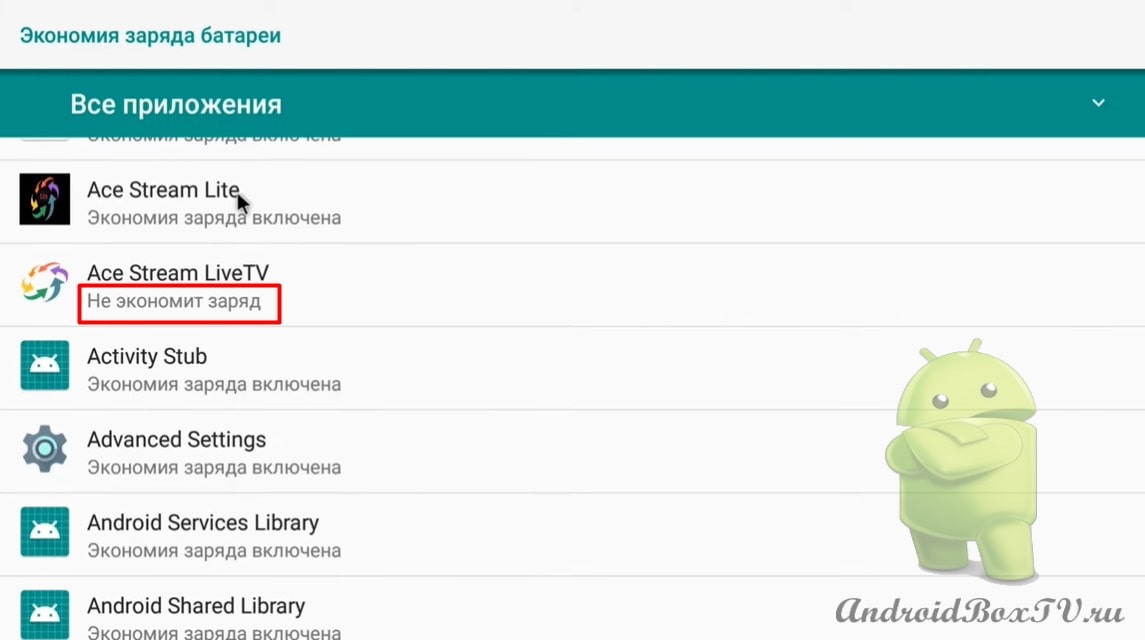
Select the application " Ace Stream ". Click " Do not save " and " Done ":
Please write about the effectiveness of these methods in the comments. Check out other articles from the "Difficult tasks" category here .
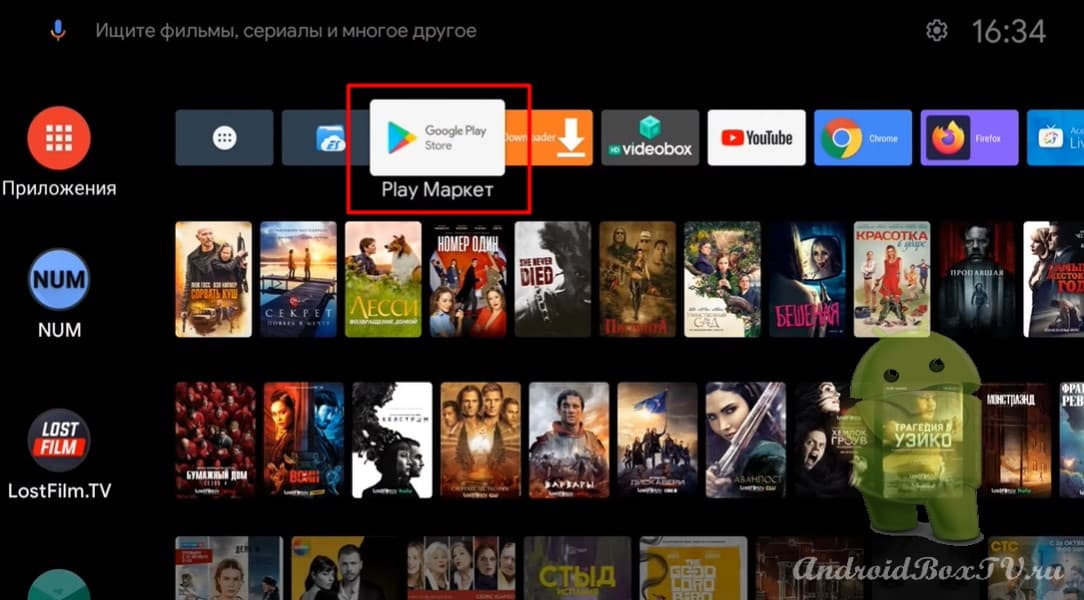
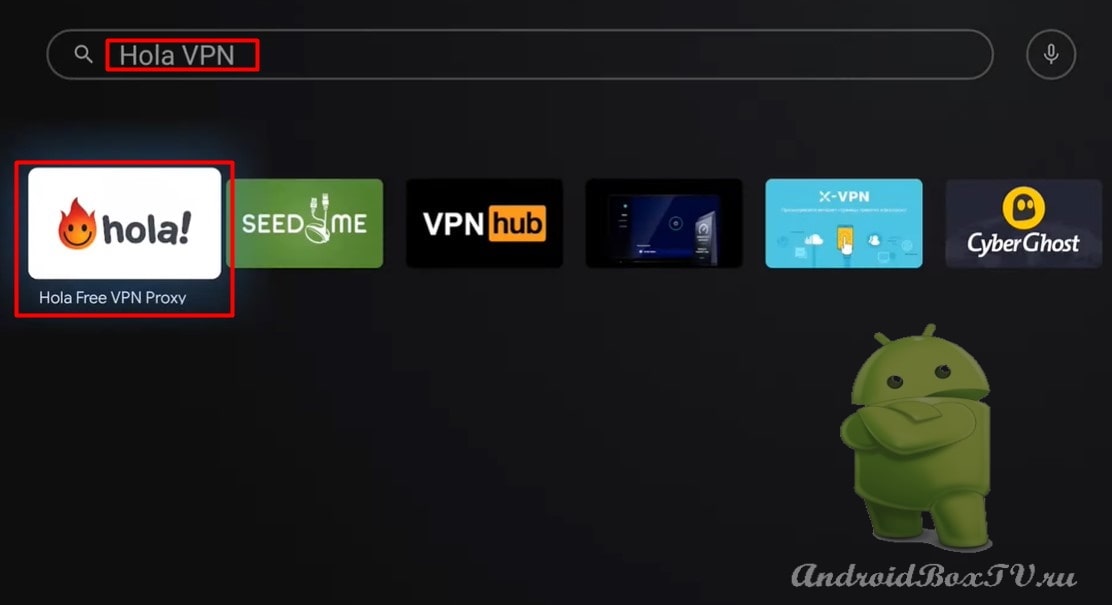
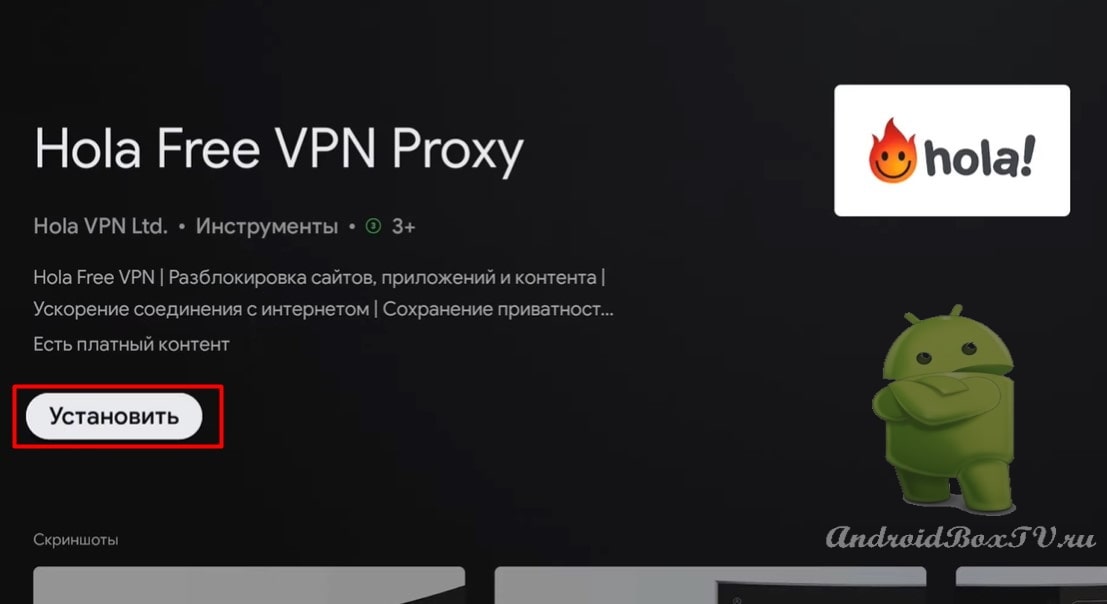
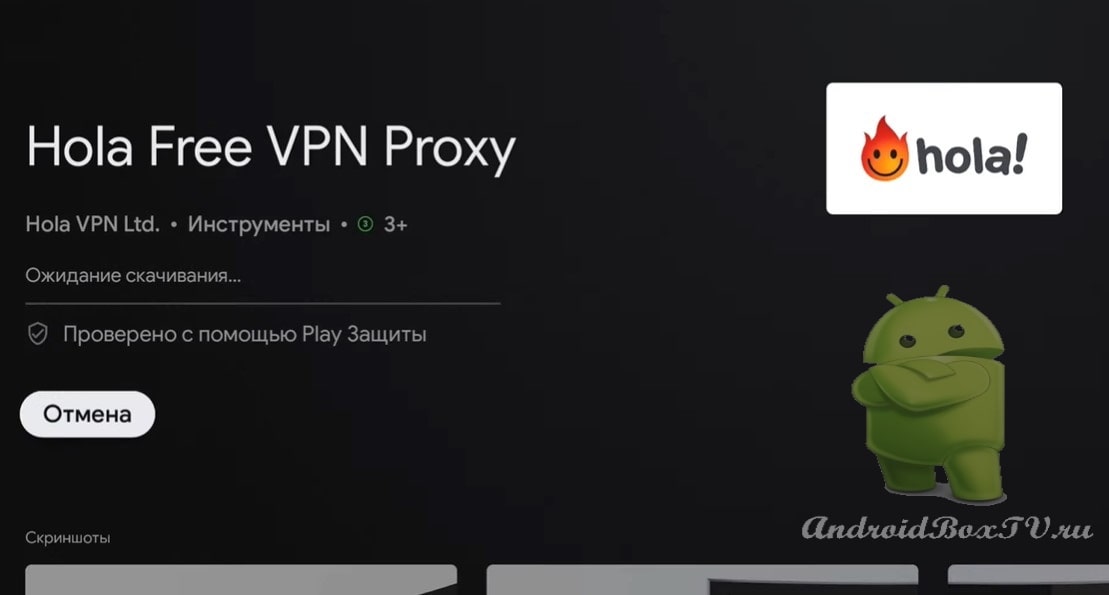
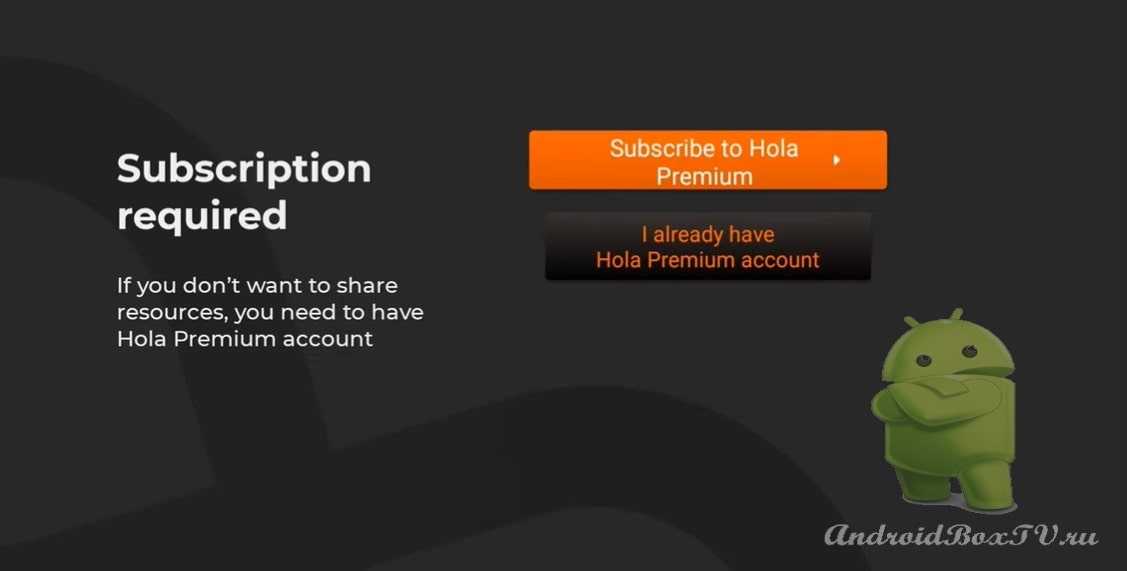
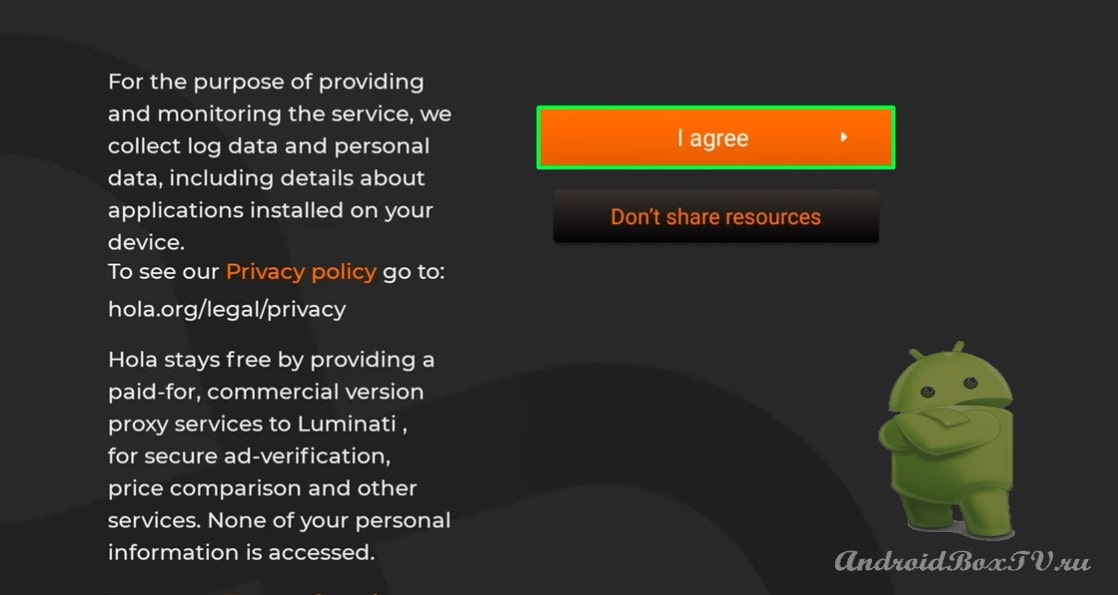
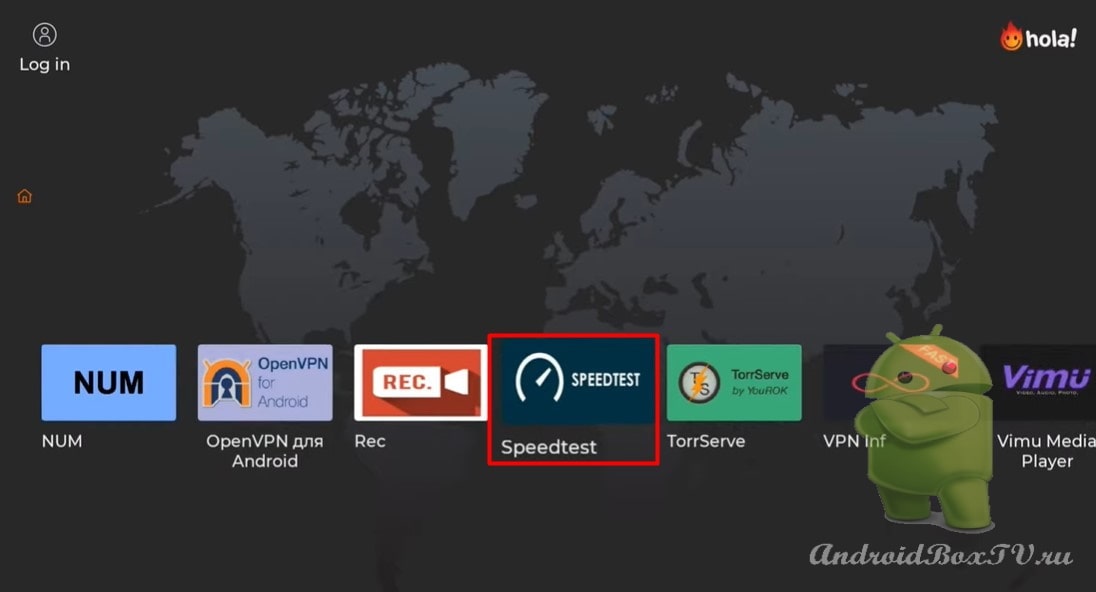
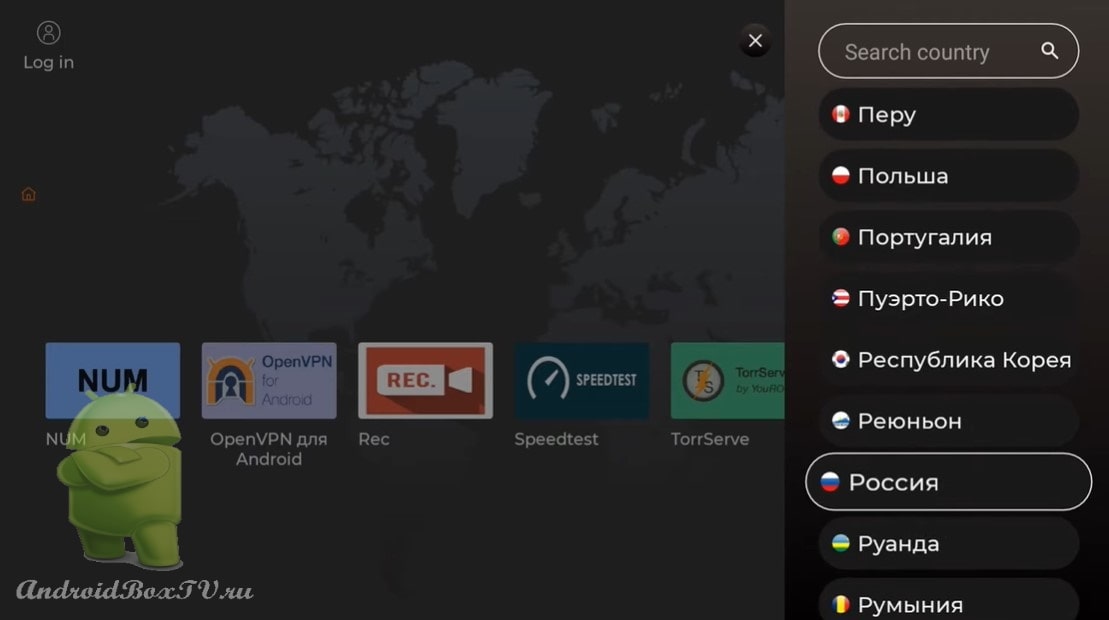
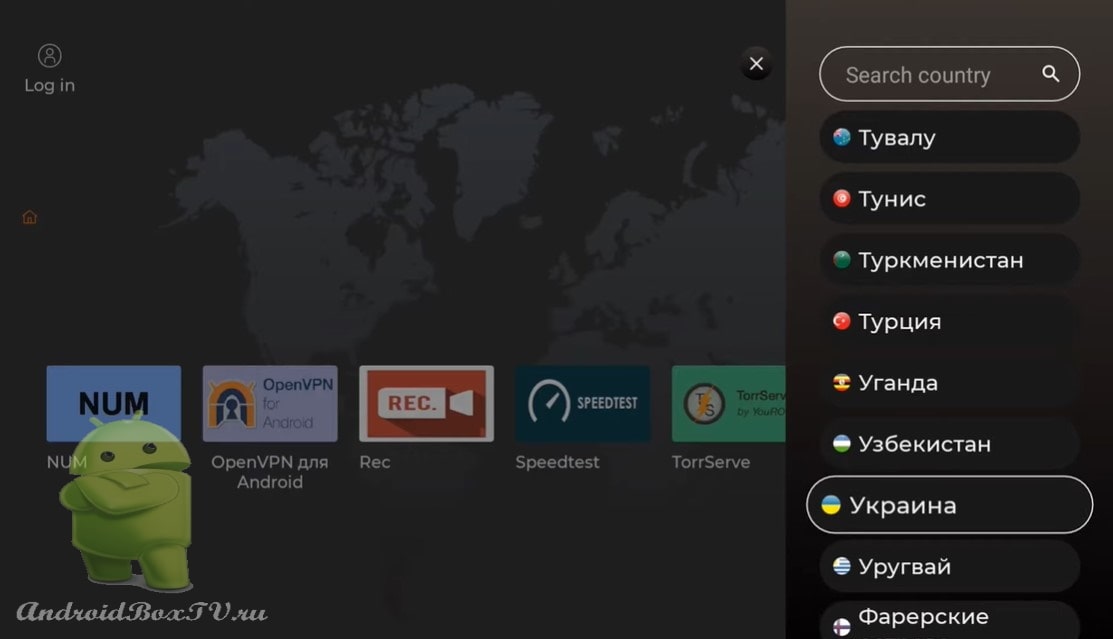
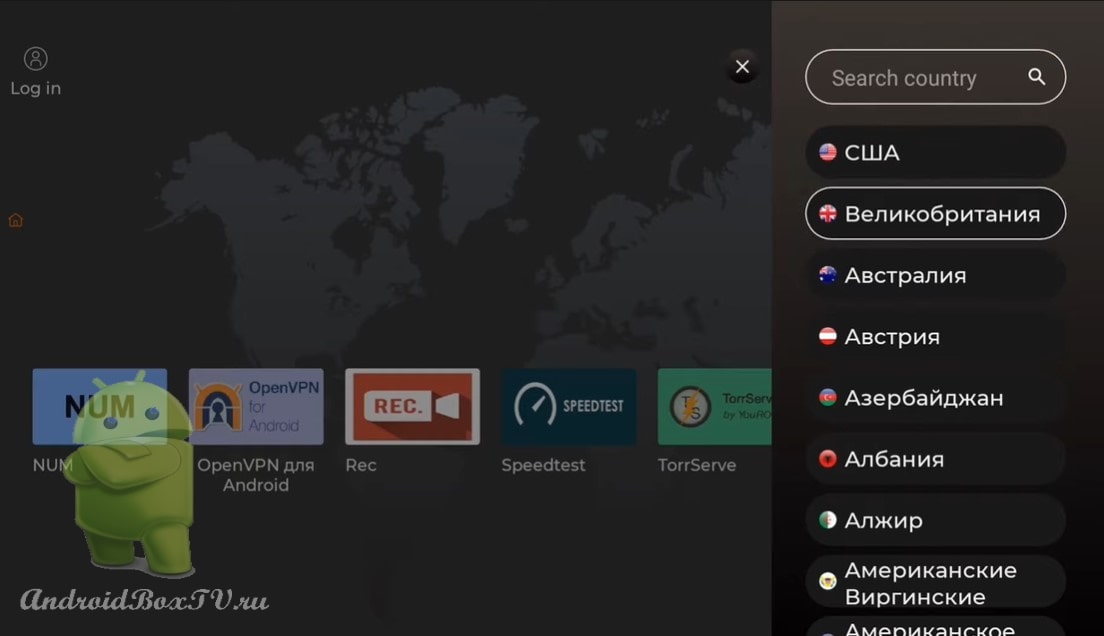
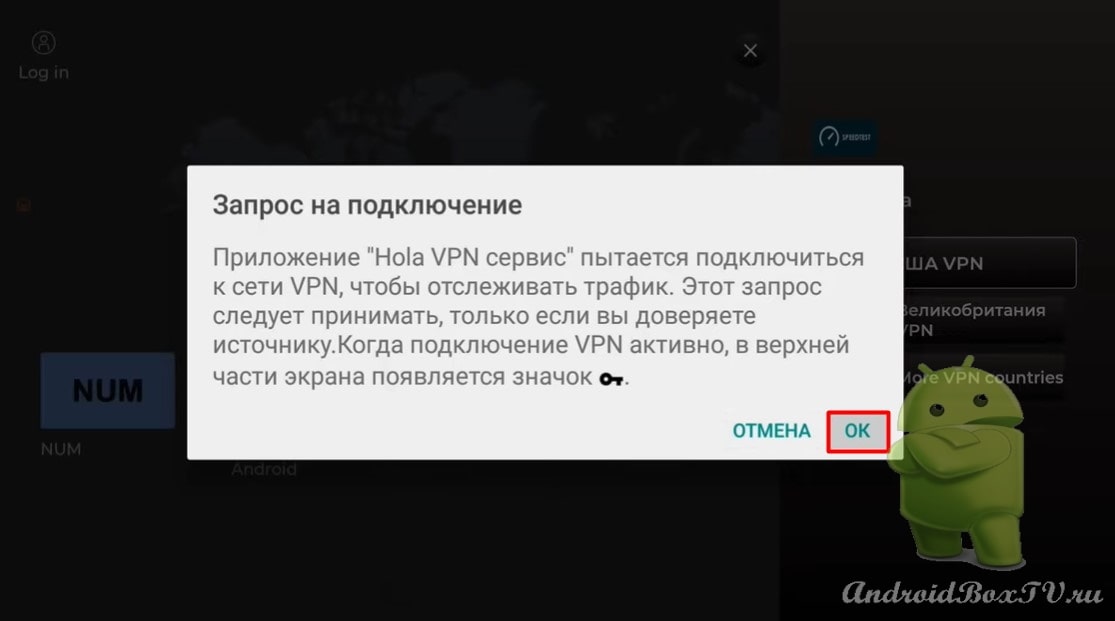
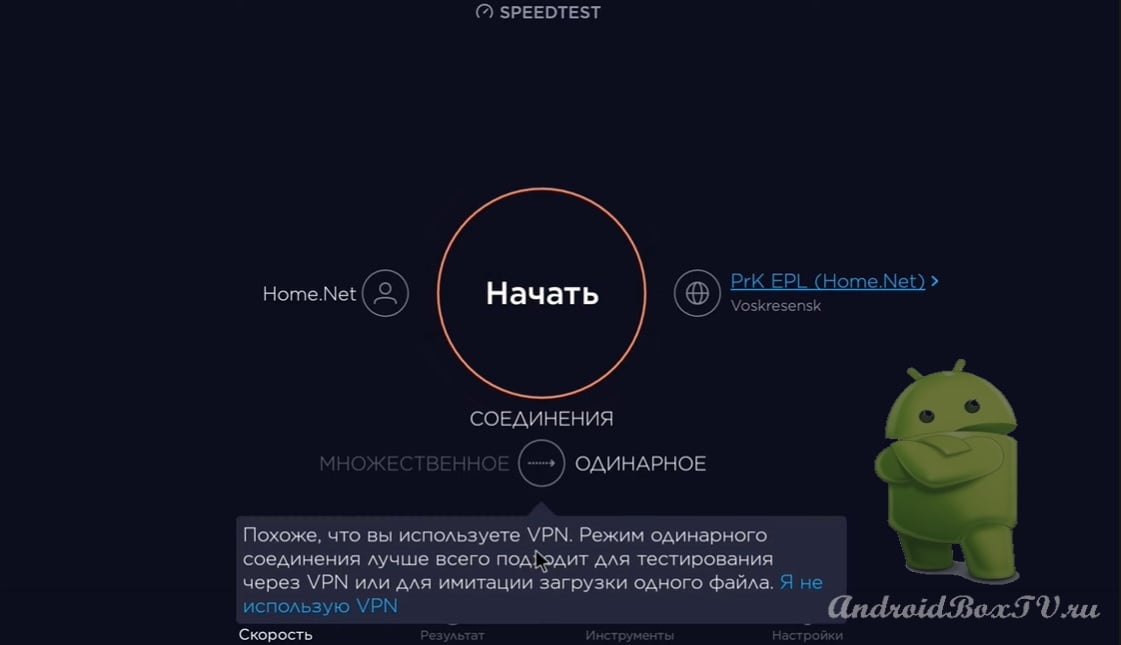
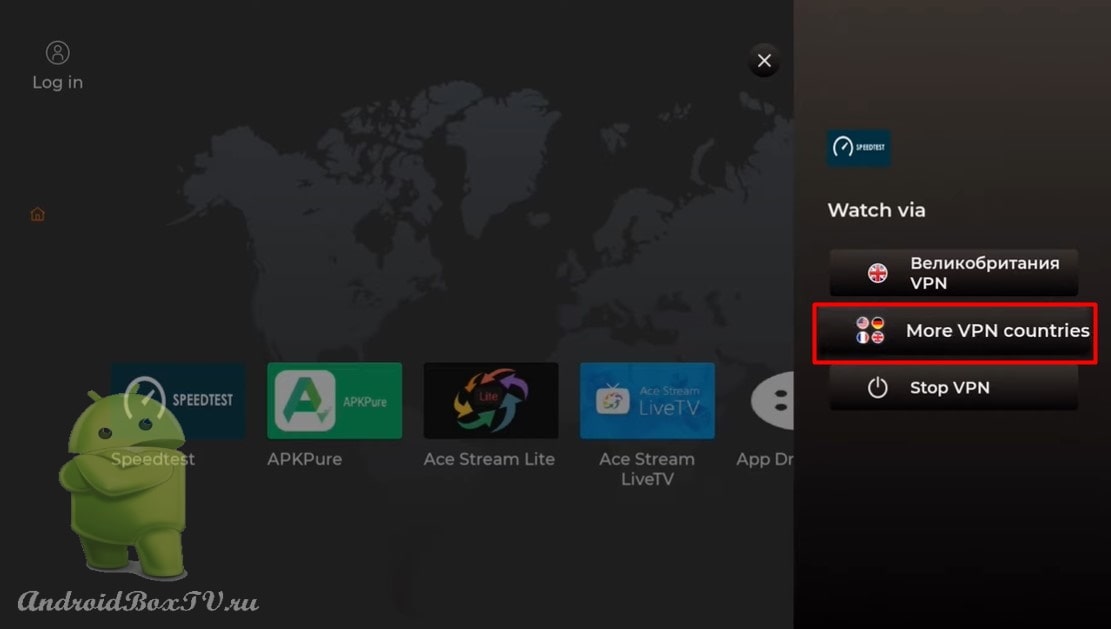
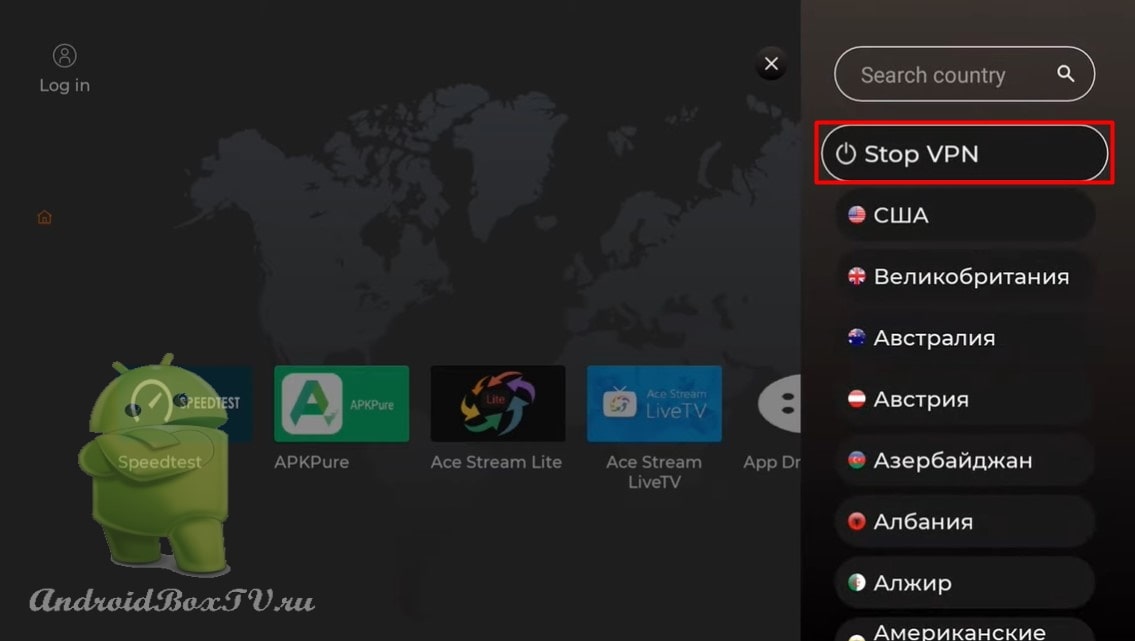
Today we will look at the Hola VPN program. With this program, you can access Internet resources blocked in your country.
Hola VPN works using P2P technology. Let's take a look at Android TV versions of the app. The program does not require any additional settings. Link to Premium version APK - http://catcut.net/pVkP . ; Google Drive: http://catcut.net/xBXO .
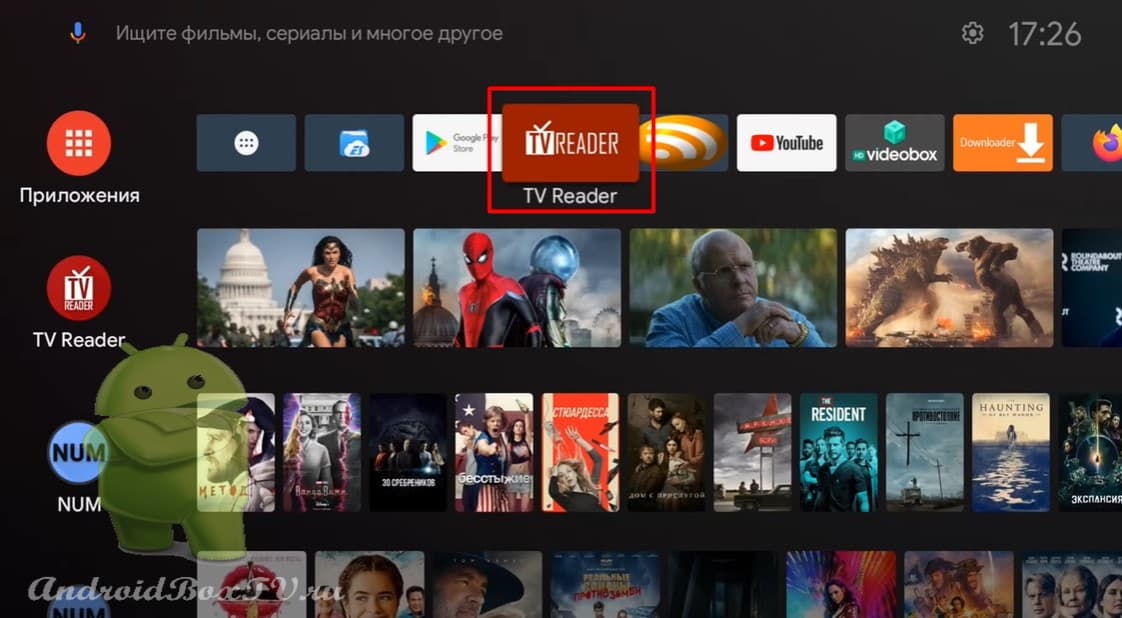
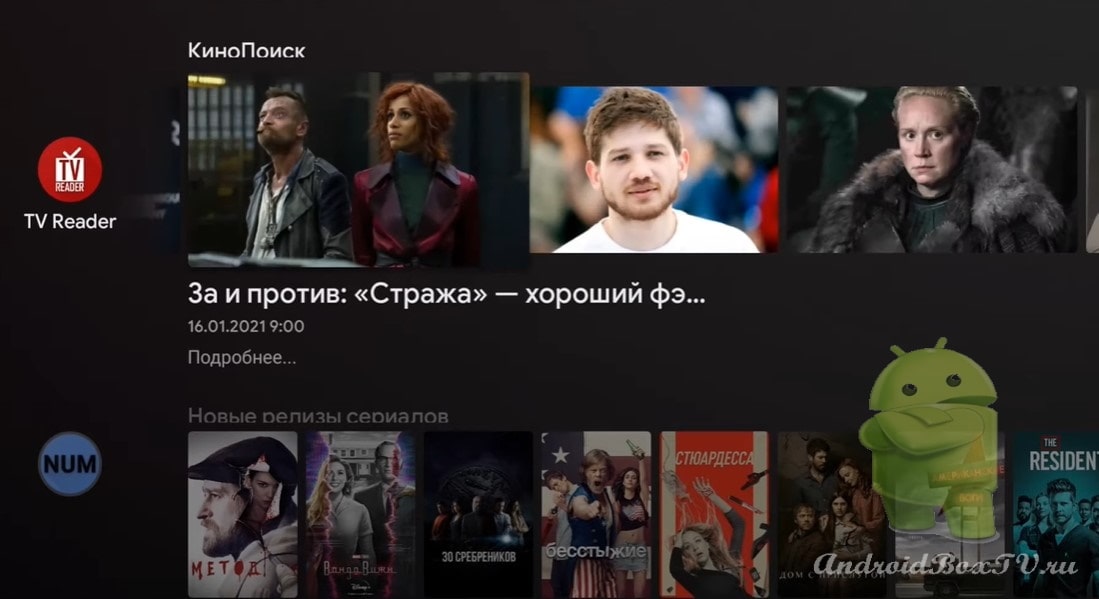
Today we will consider the application “TV Reader”. This program is designed to read news in RSS format. You can add a link to the news feed from the site of interest to it, provided that this function is implemented on the site itself.
Now let's look at how to add links to news feeds of sites, KinoPoisk, HD Media Player, Google in the application. We will also see where you can find links to feeds from other sites. If you know how to make it easier, write in the comments.
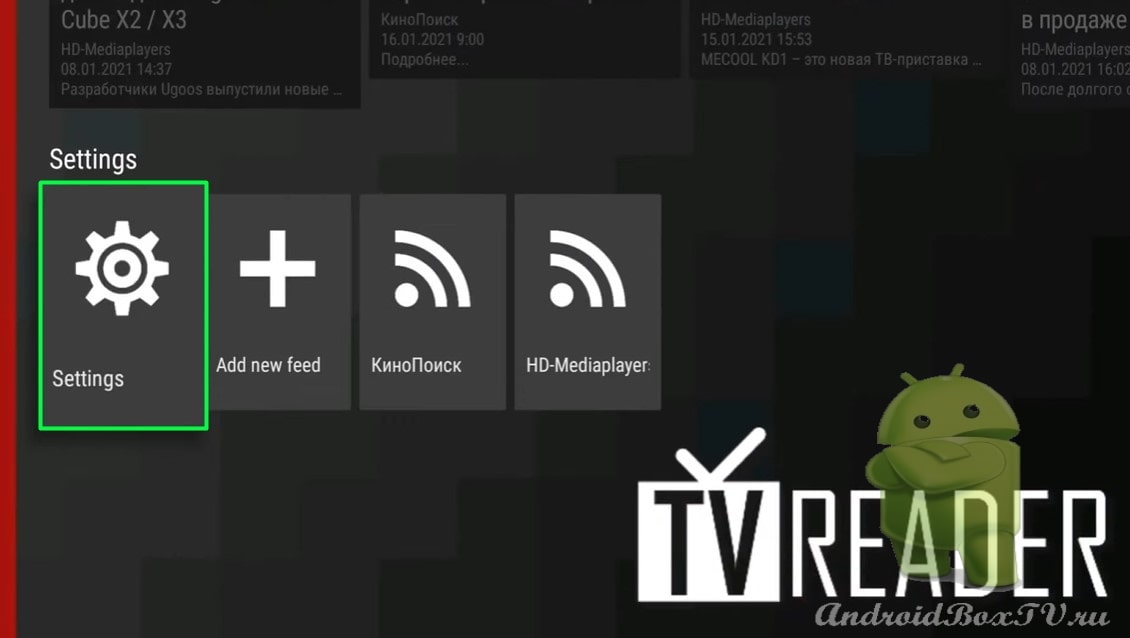
The TV Reader app can be installed from the Play Store . The paid version costs around three dollars, and the free version has a limitation - a channel that you created yourself cannot be added to the main screen. You can add a channel from KinoPoisk:
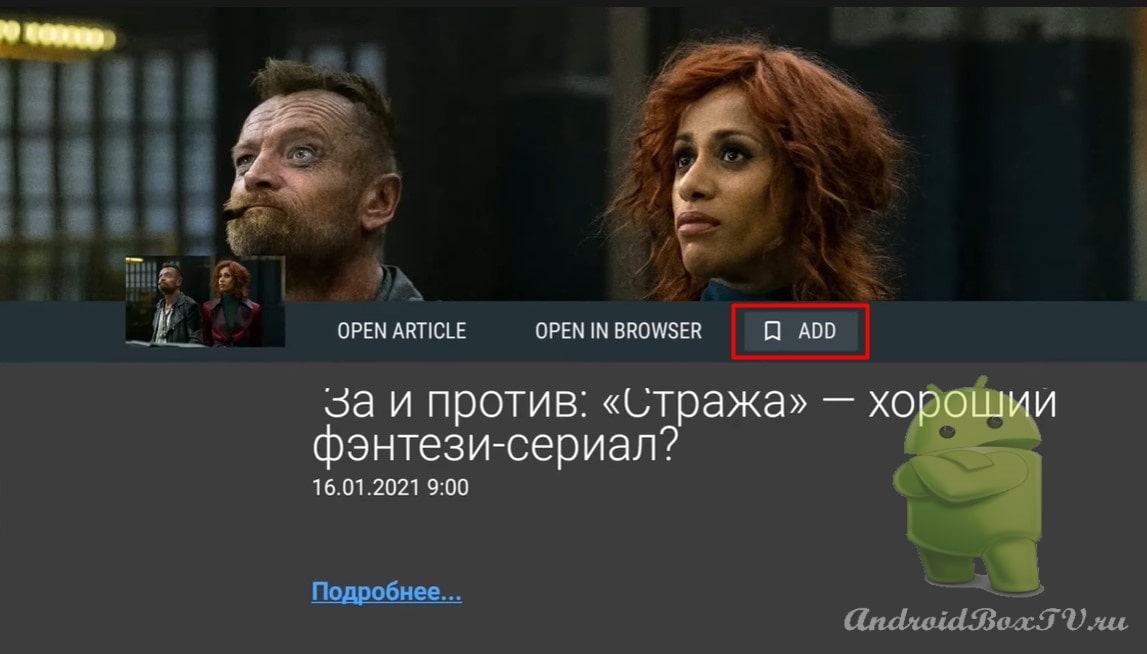
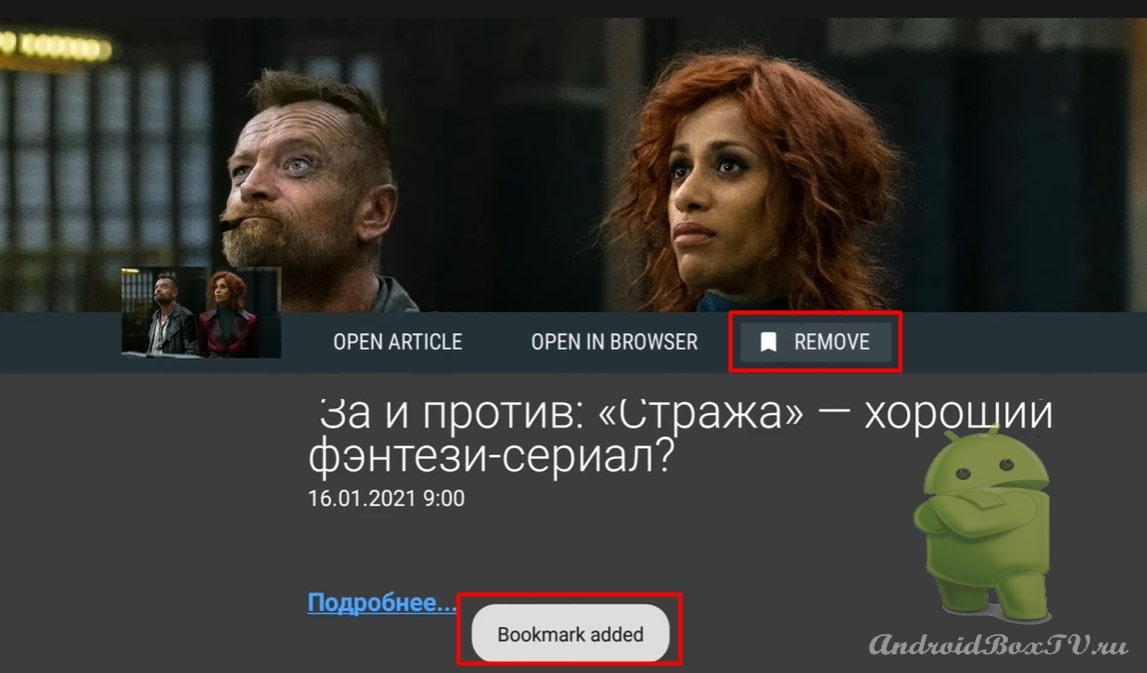
Open the required section. We can bookmark:
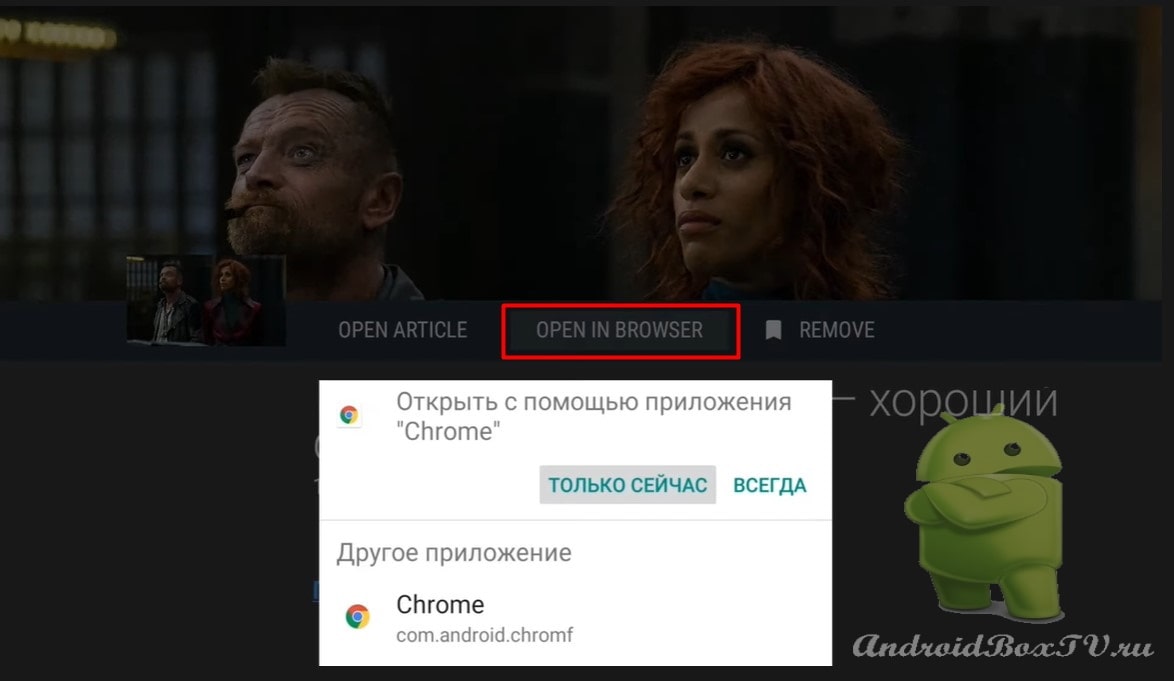
Also, you can openExternal browser”:
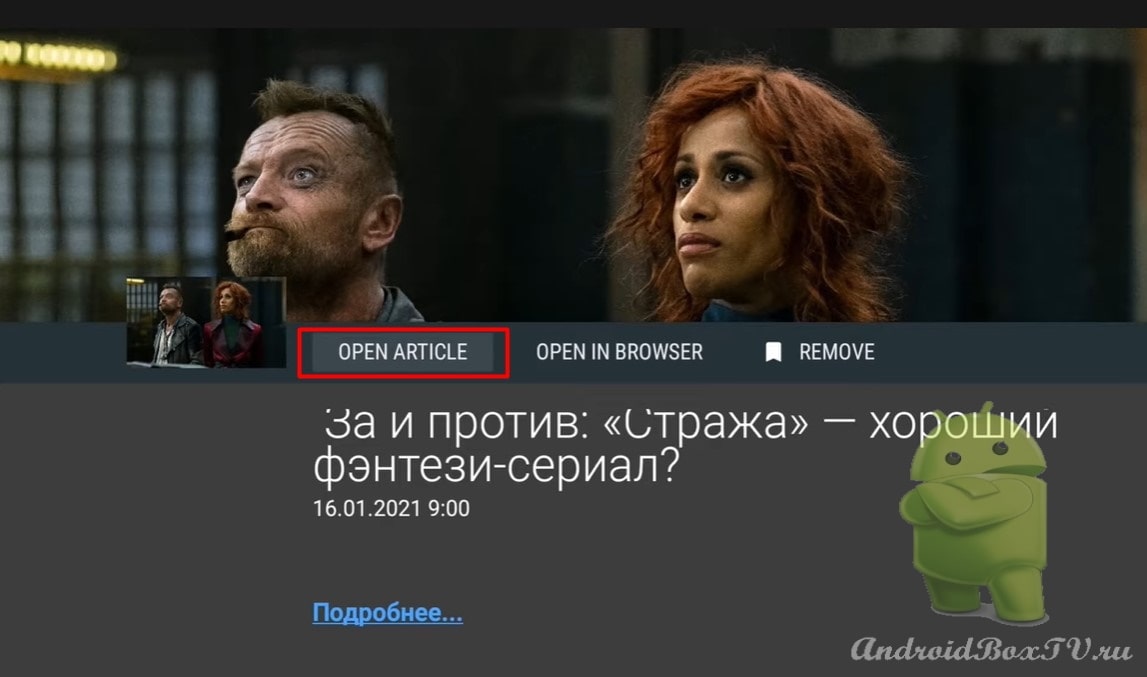
Or open "Built-in browser”:
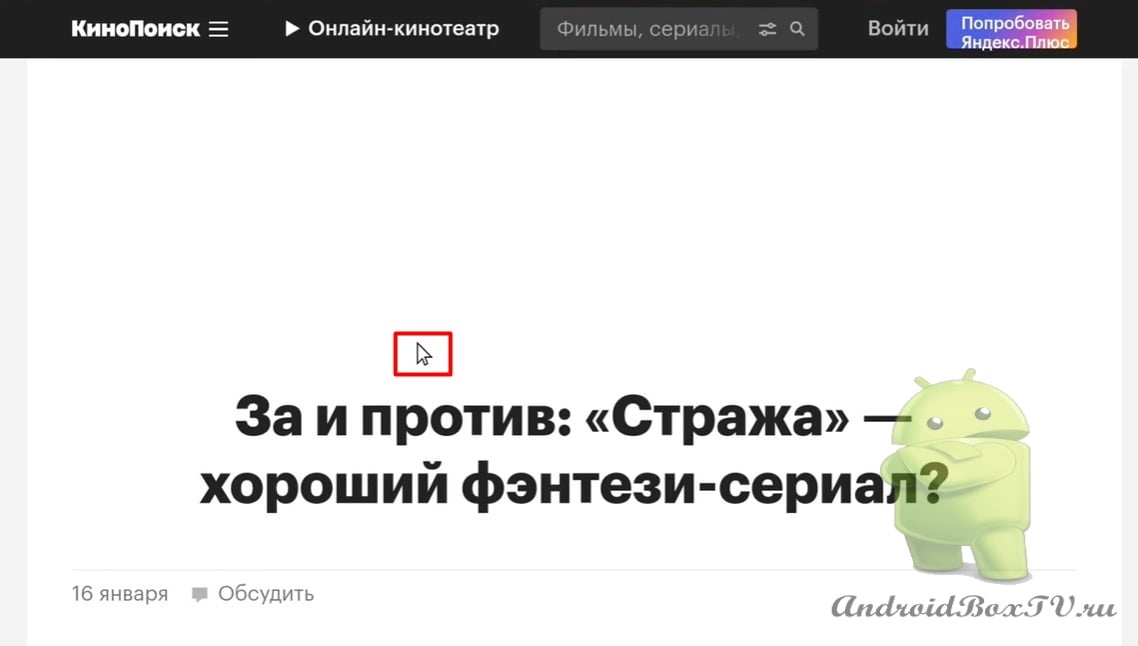
Let's open "Built-in browser". We see that there is a mouse pointer, remote control:
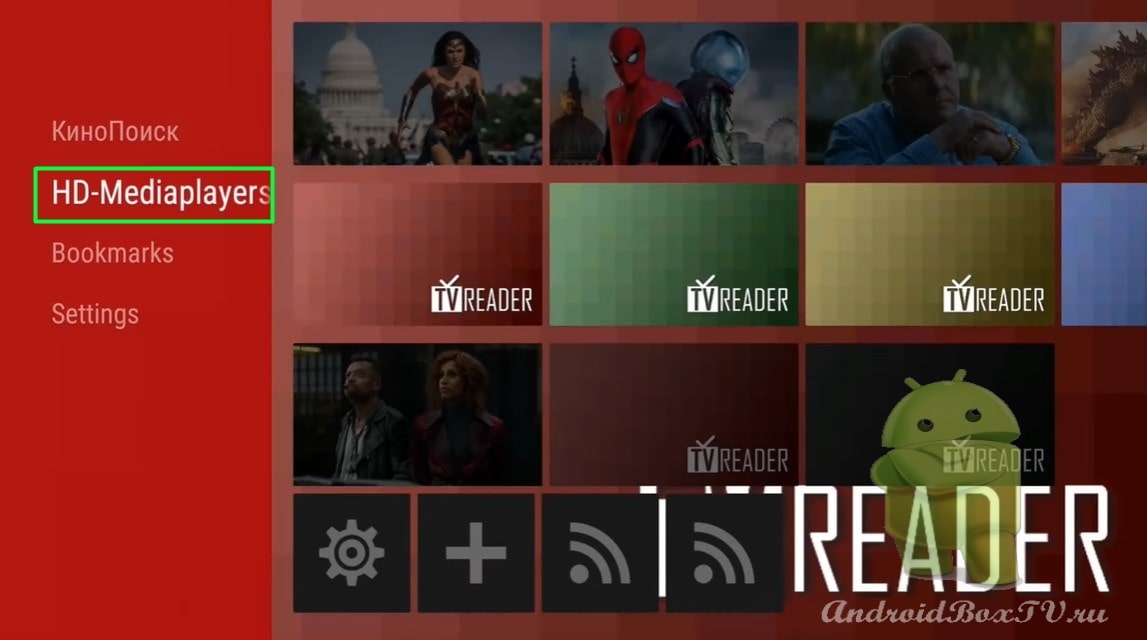
Exit to the main menu and see the channel “hd-mediaplayers“:
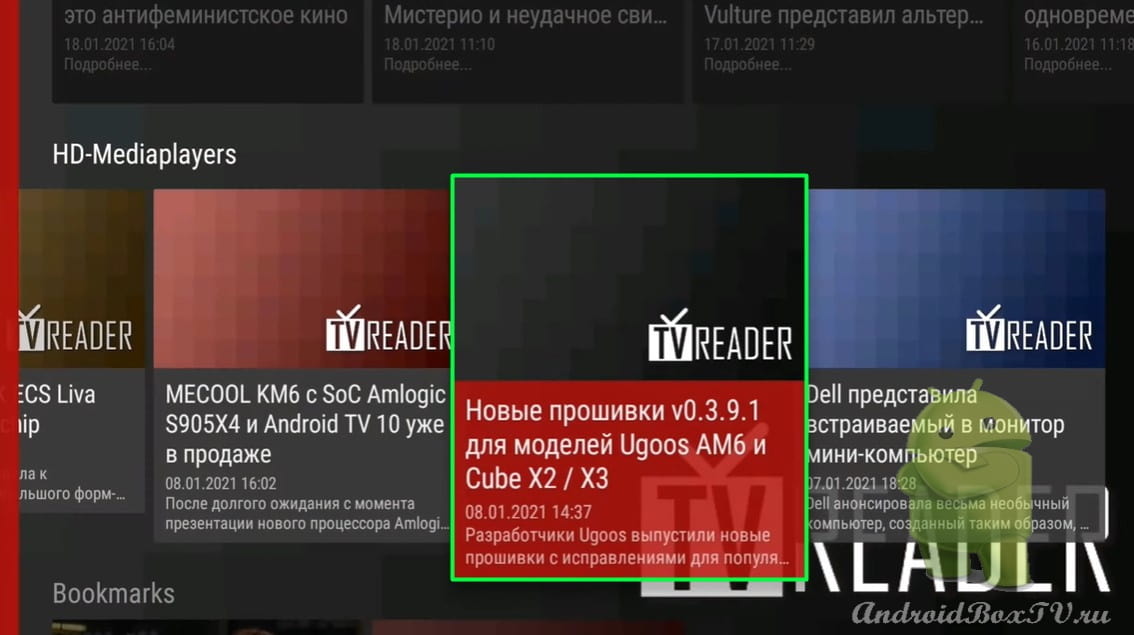
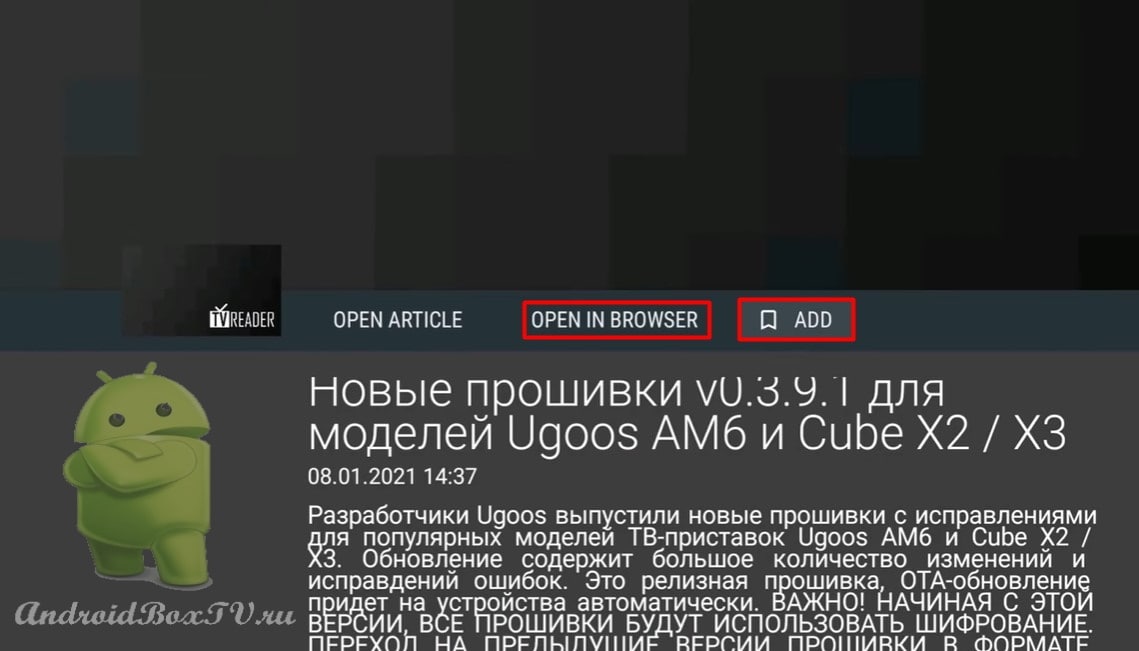
We see all the news about TV-boxes, firmware and others. We open:
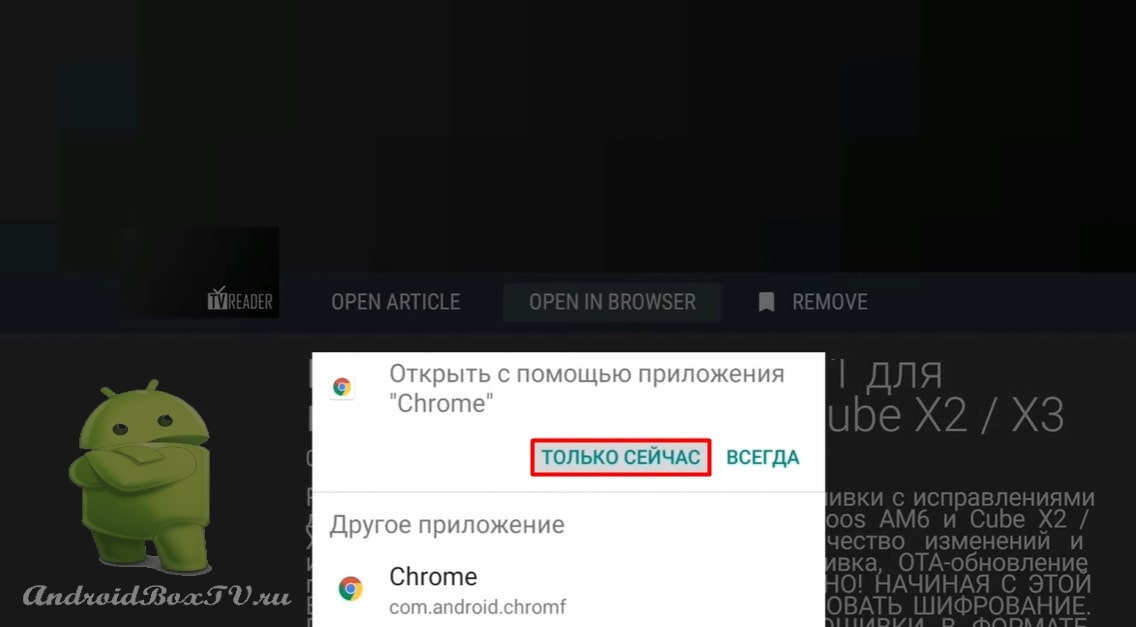
You can bookmark it, open it with “External Browser ” - Google Chrome:
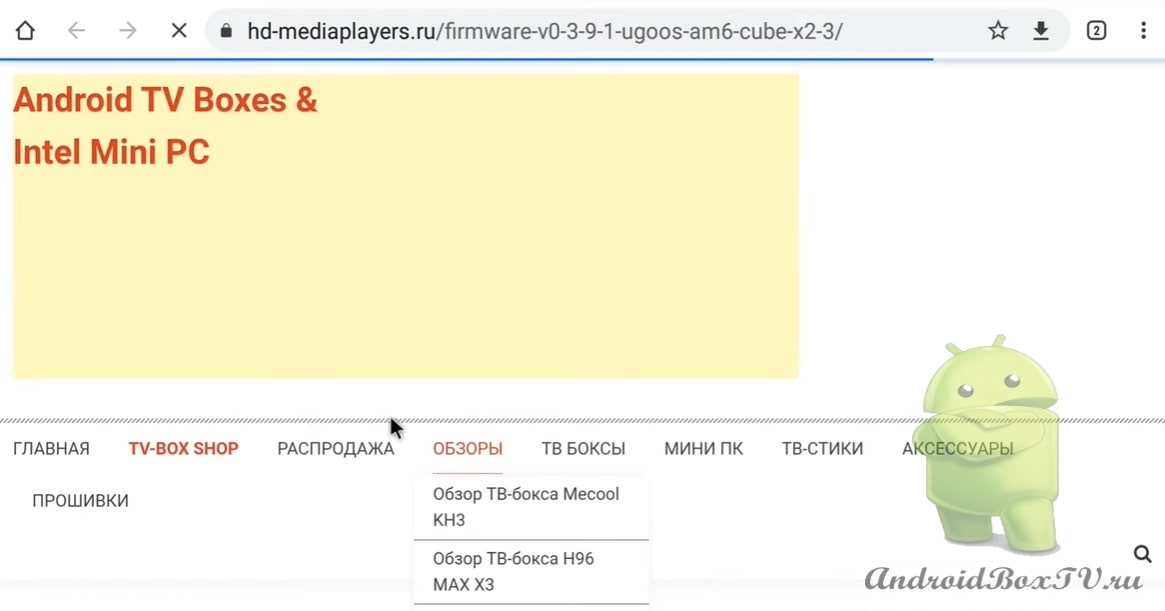
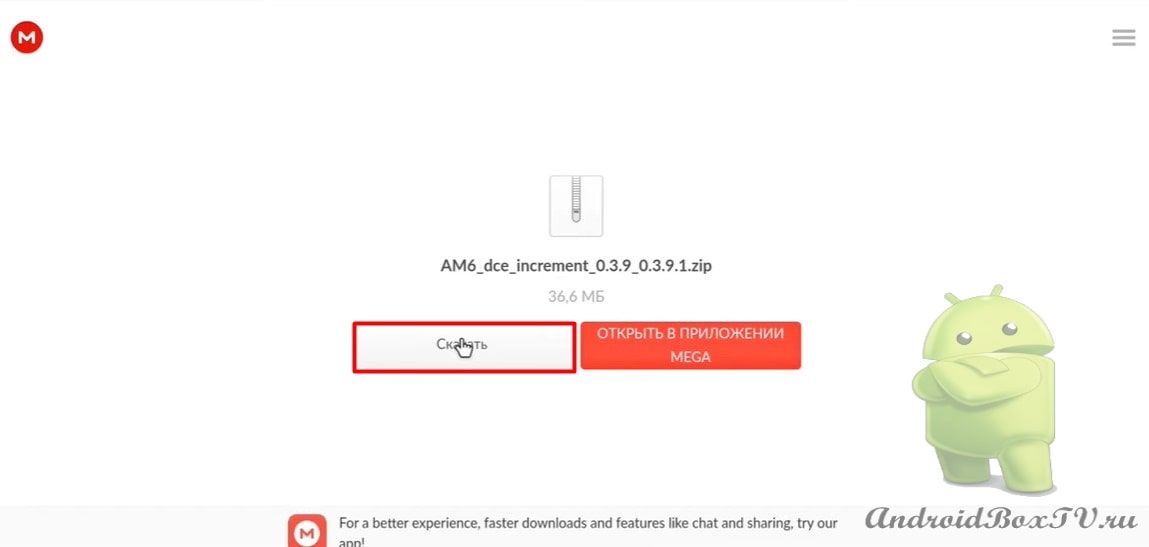
Opened. If you wish, you can download what interests you:
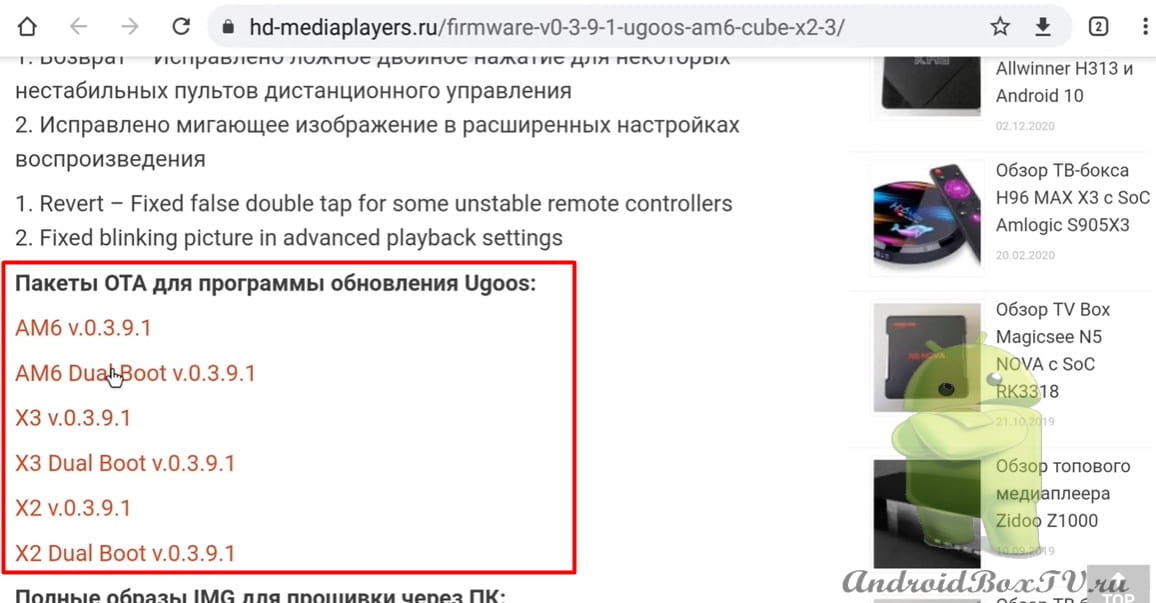
Select the desired package, click. We see it is loading:
Next, click " Download ":
Unfortunately, the built-in browser does not support downloading. Most likely, this is a condition of Google Play.
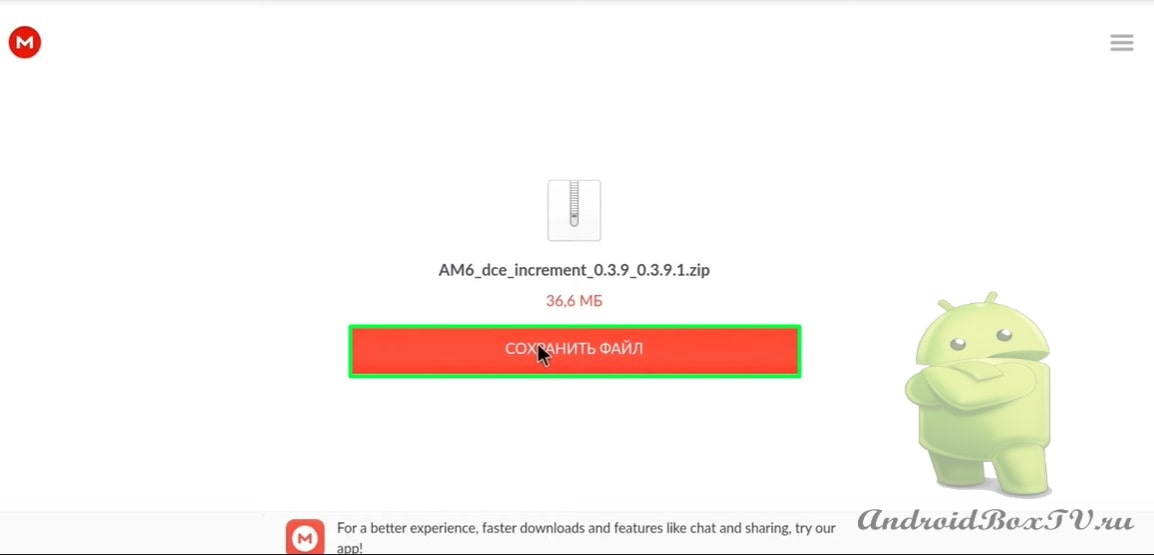
After downloading, click " Save file ":
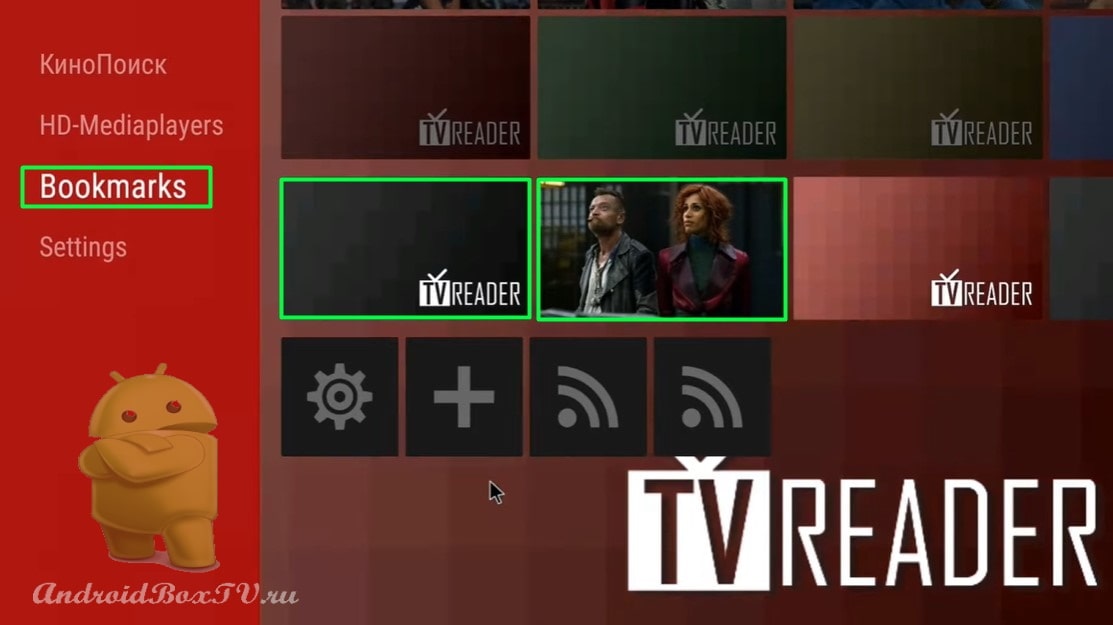
Next, return to the main menu and go to “ Bookmarks ”.
We see that two bookmarks have been added:
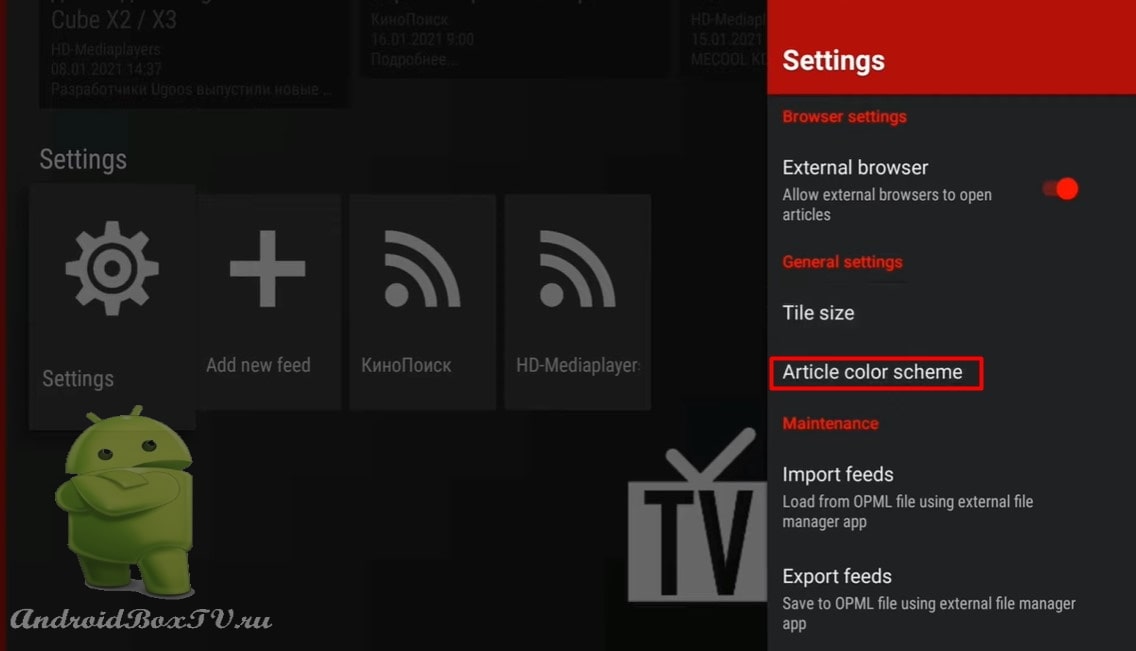
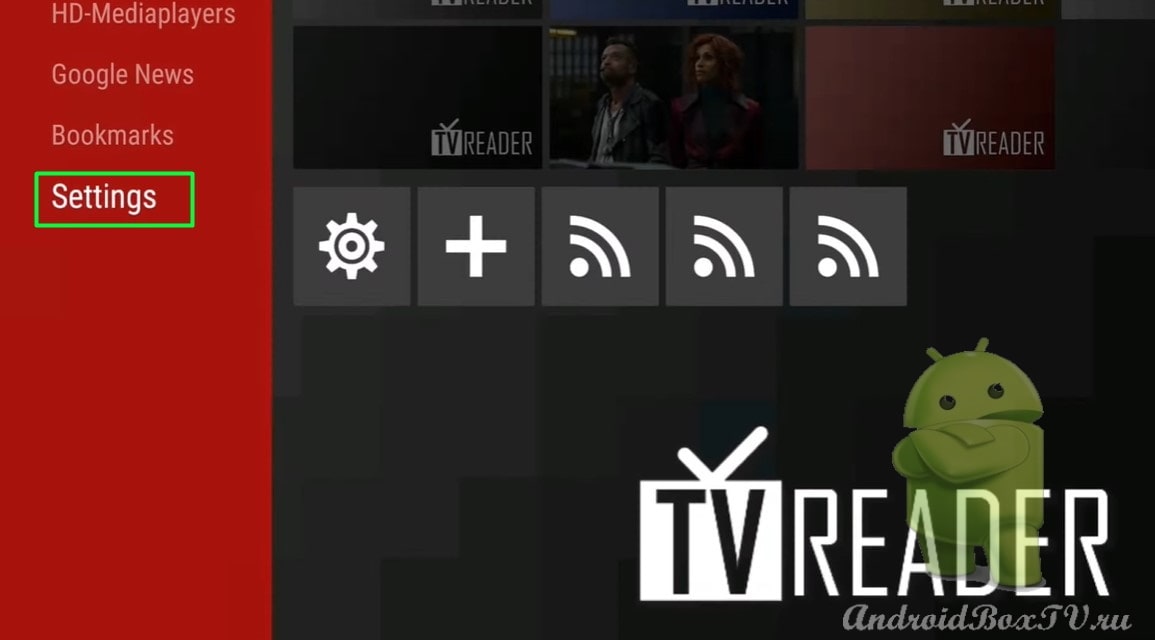
Go to " Settings ":
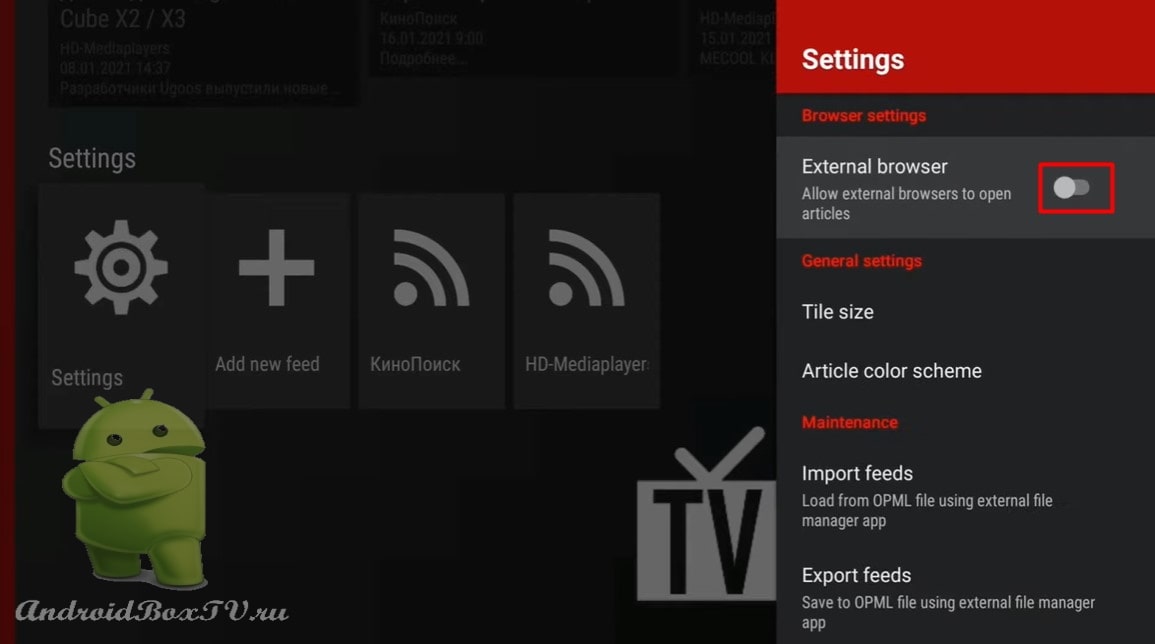
In the setting, you can disable/enable “ External Browser ”:
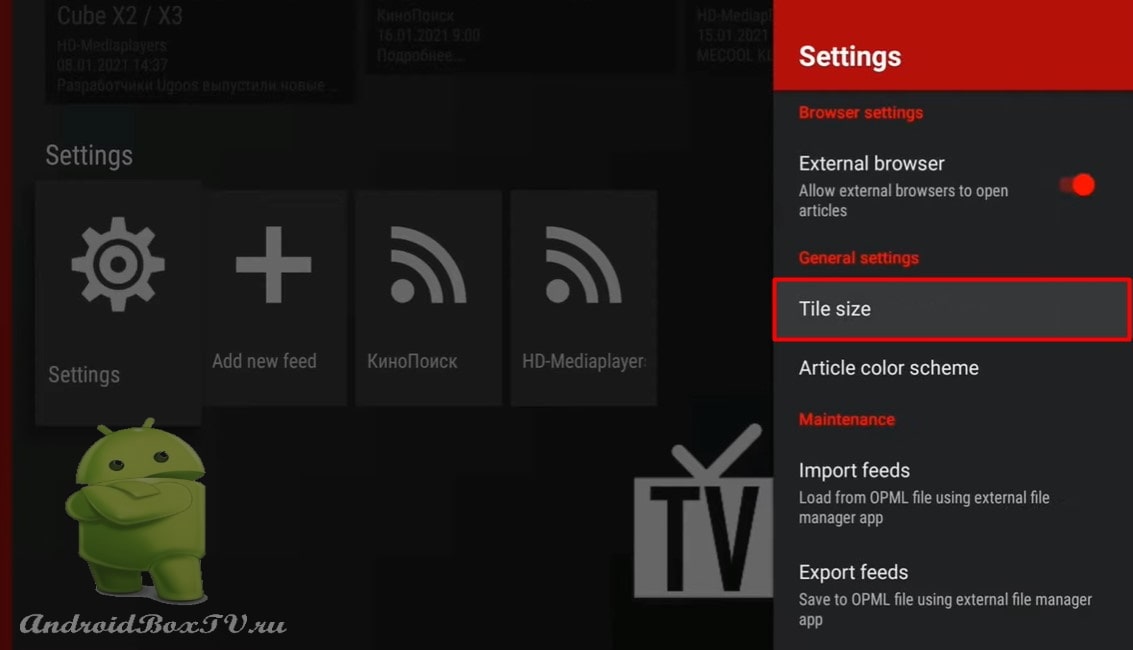
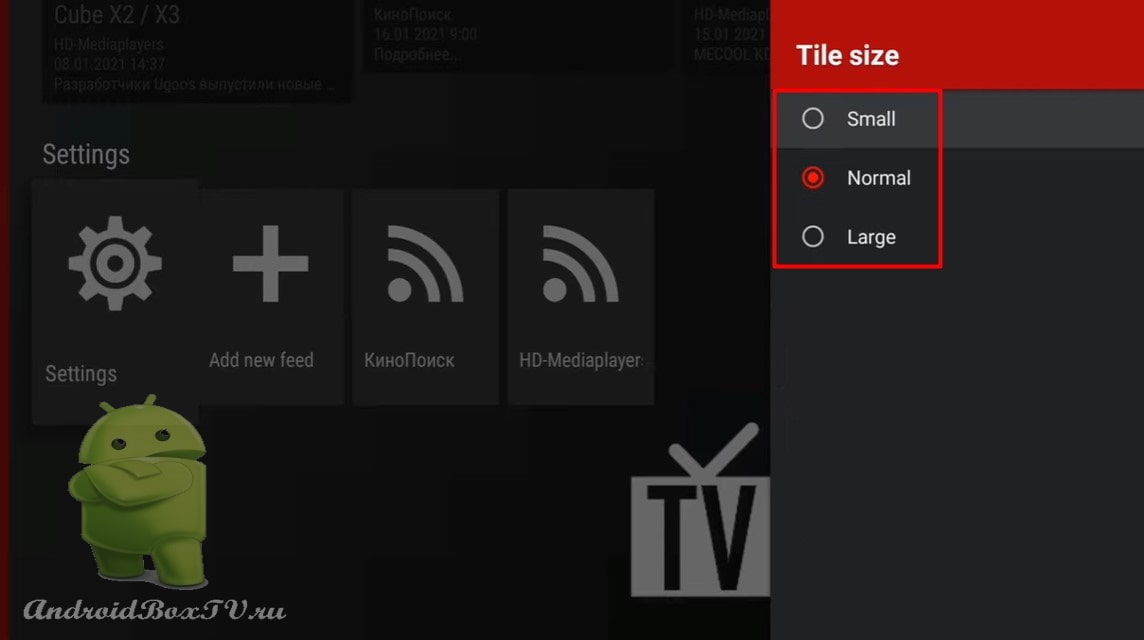
Also, you can increase or decrease the size:
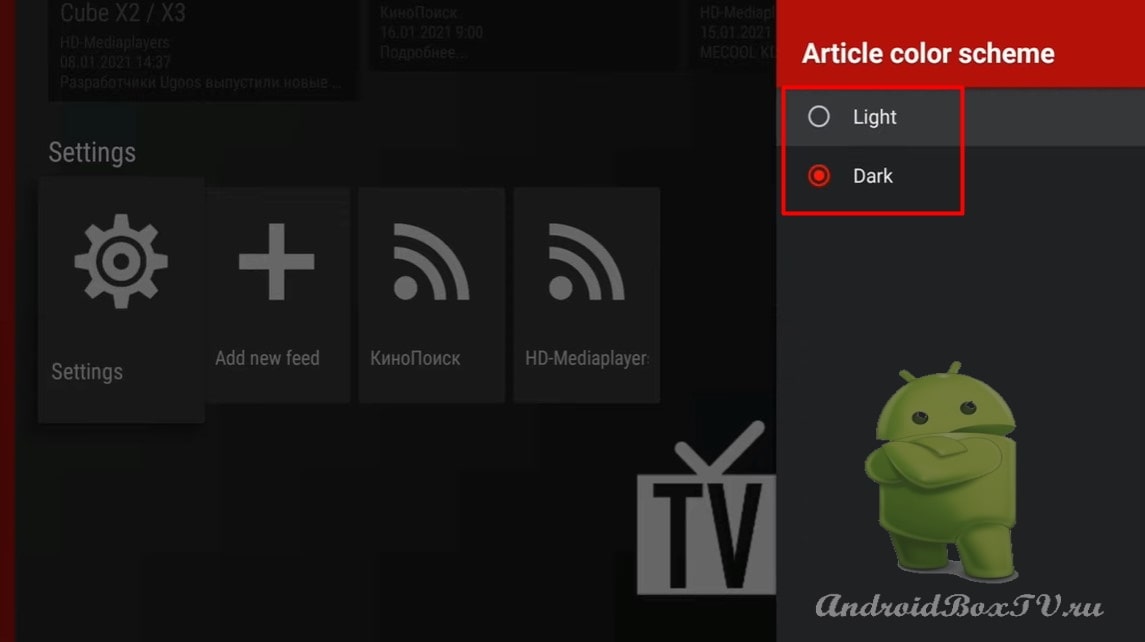
You can set the color scheme:
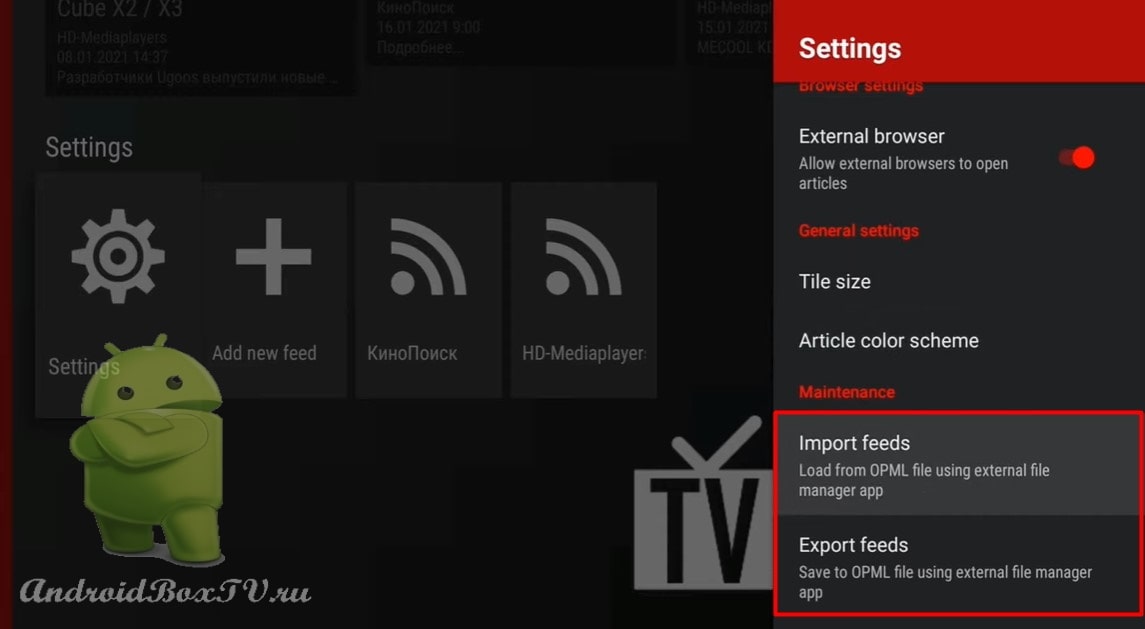
Import / export is connected like this:
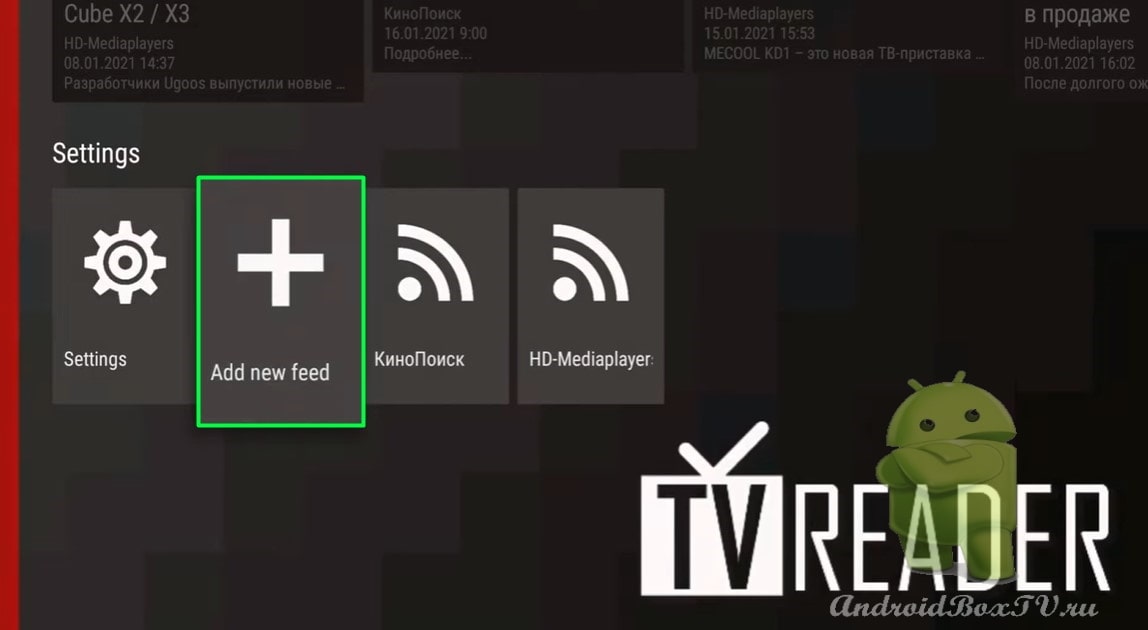
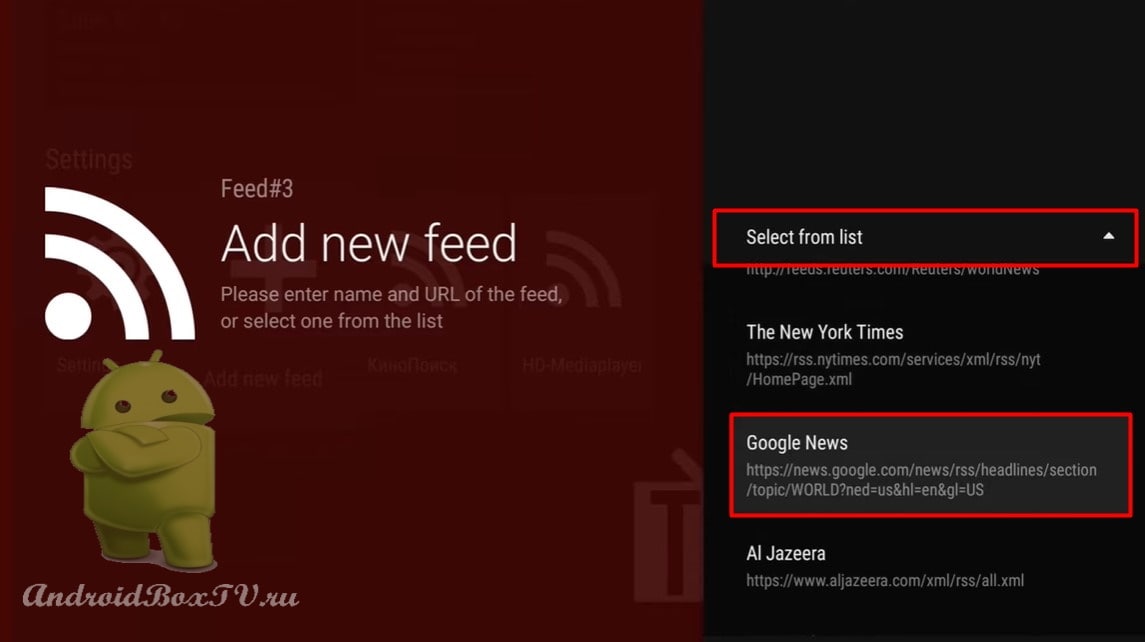
Next, click on “+” and there are already links here, but all to English-language sites.
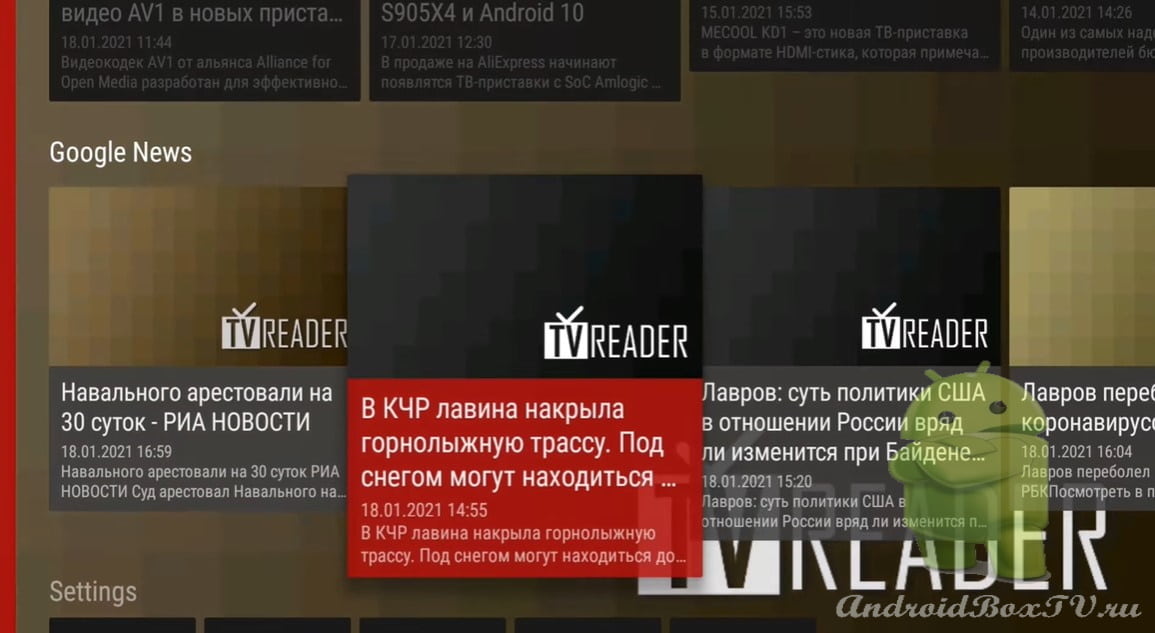
Add " Google News" :
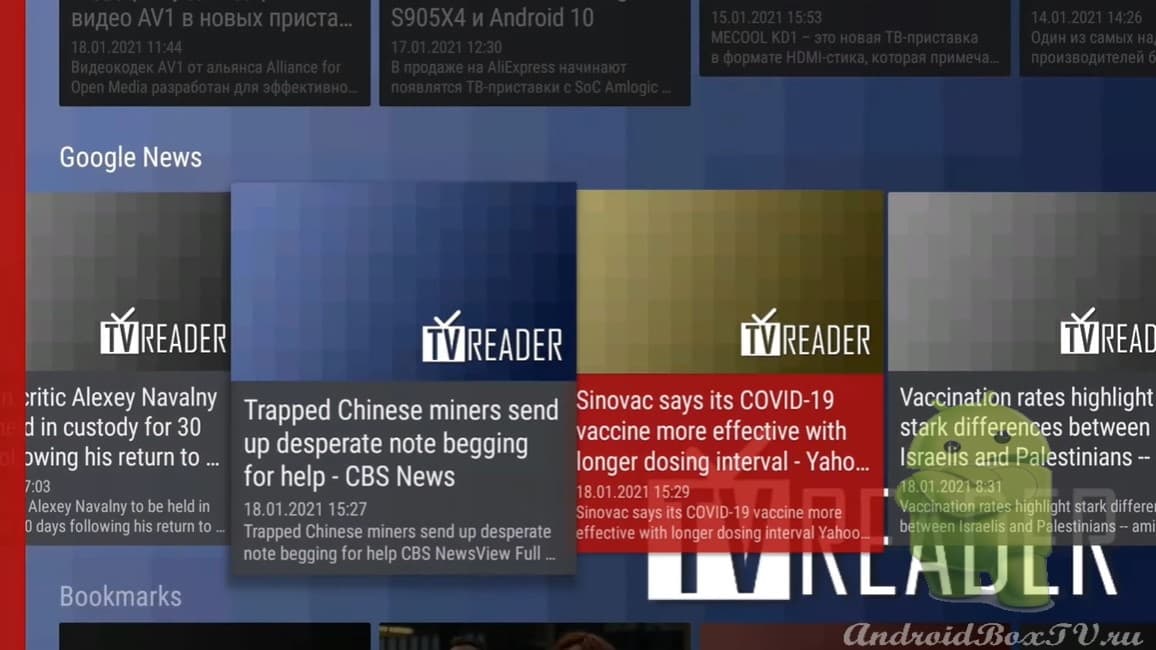
We see that Google News has been added to the sections, but all the news is in English:
Go to "Settings“:
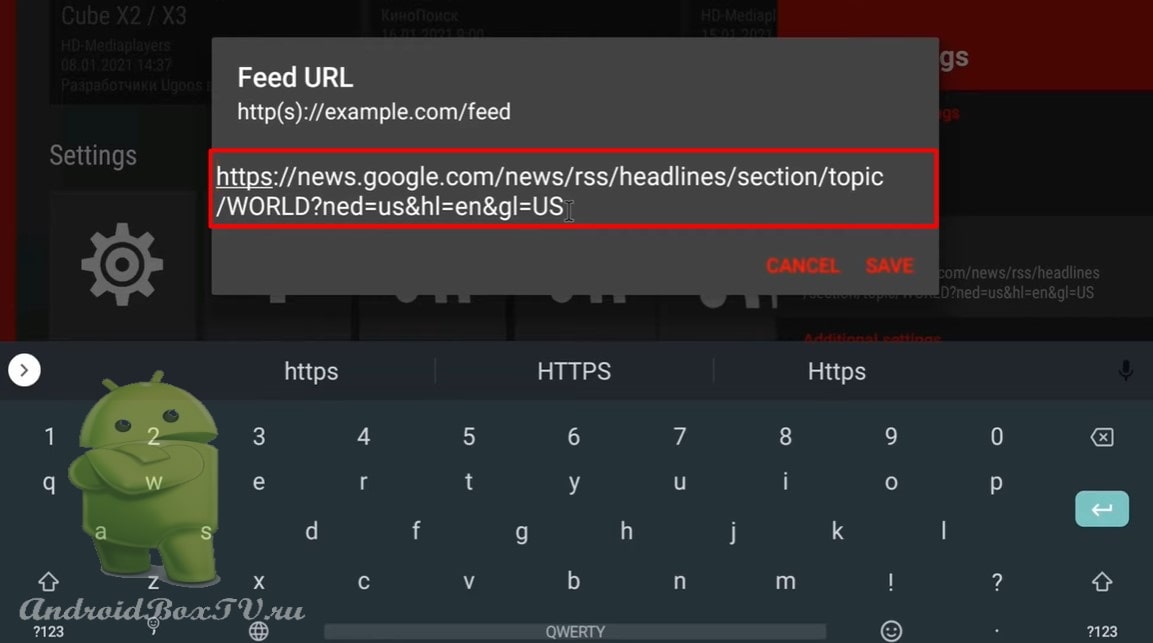
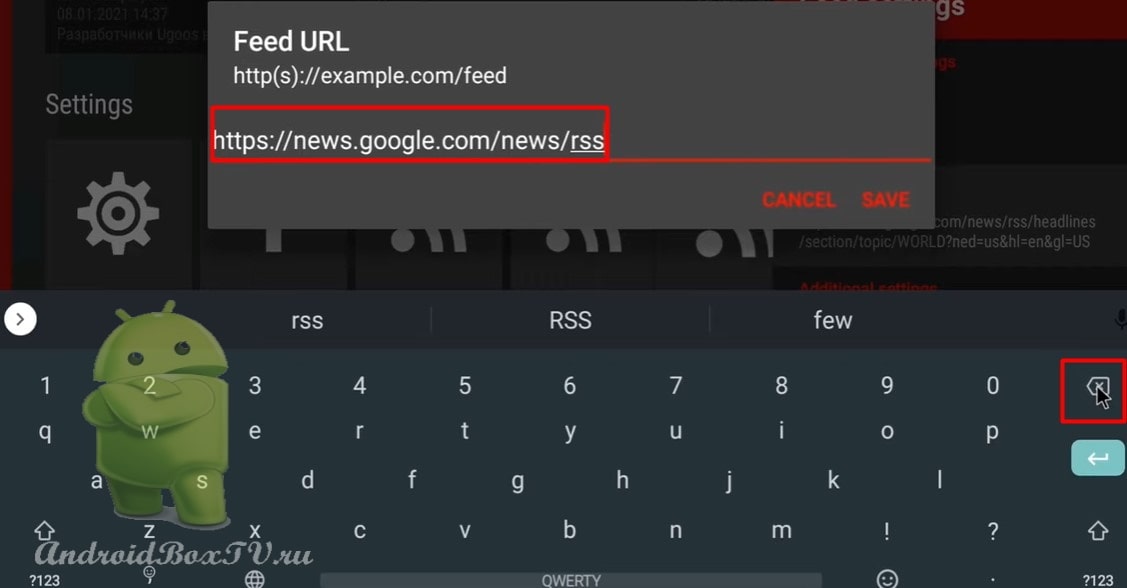
Open Google News and click on the link:
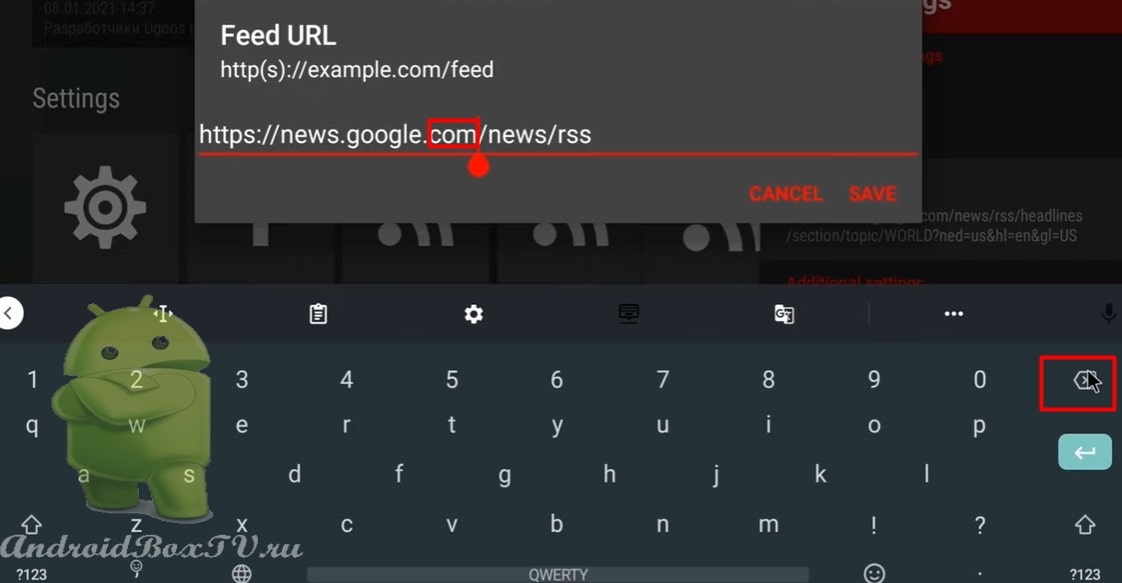
We remove the excess, everything after RSS in the file path:
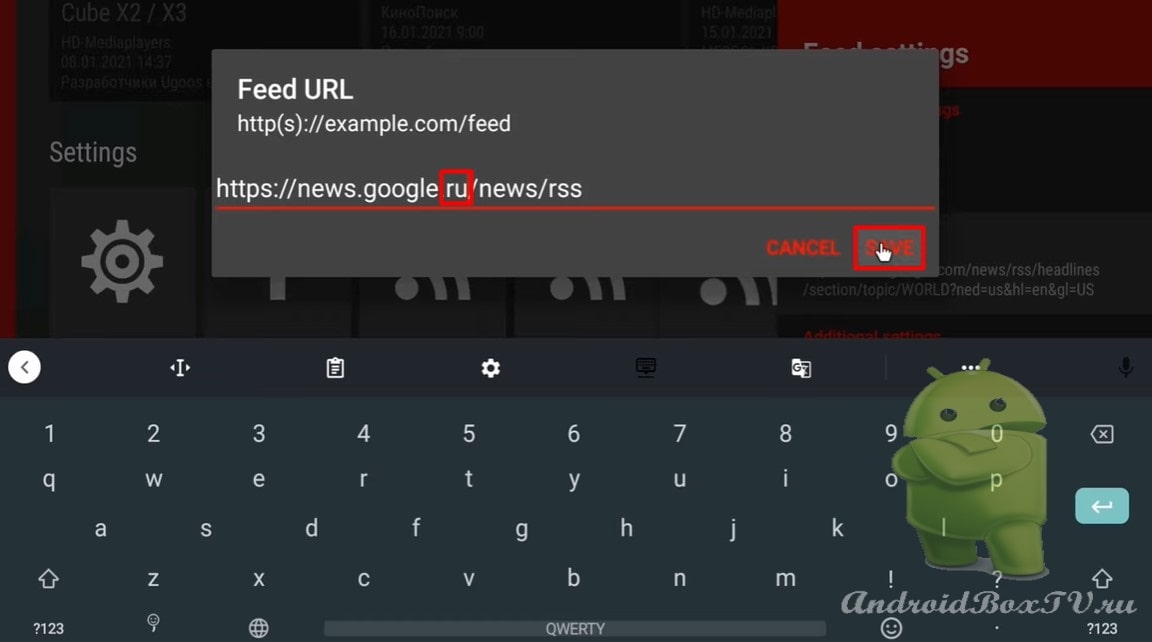
We remove "com” and in its place we enter the letter designation of our country (after the dot):
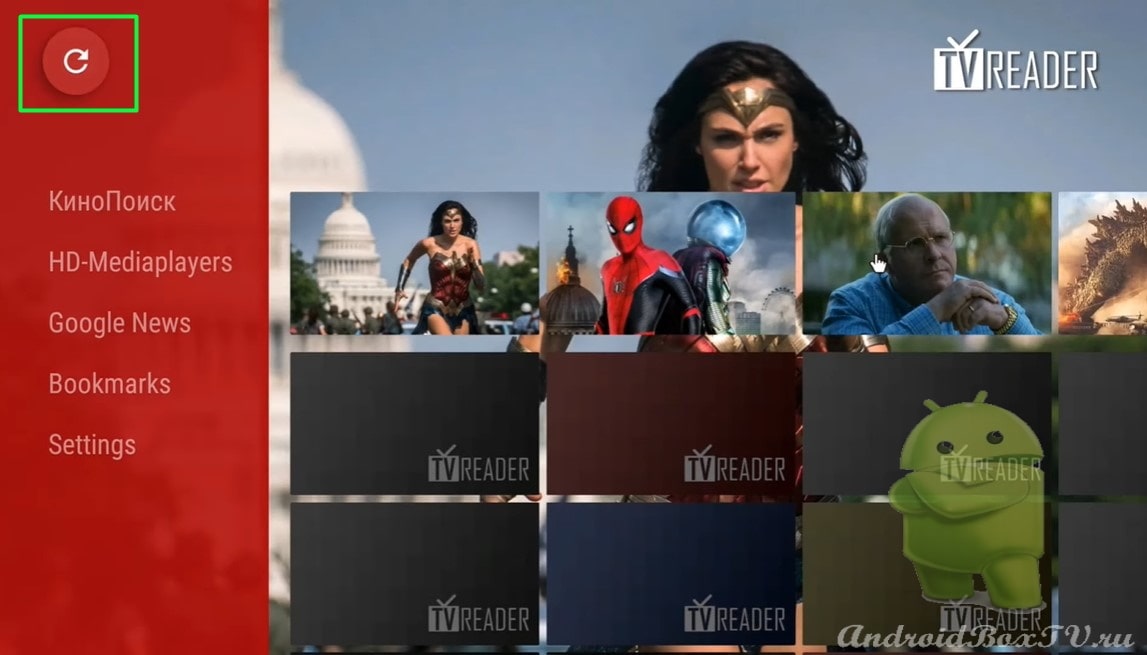
Exit to the main menu, update:
We go to Google News. We see that all the news is now shown for Russia:
Next, consider where else you can get links?
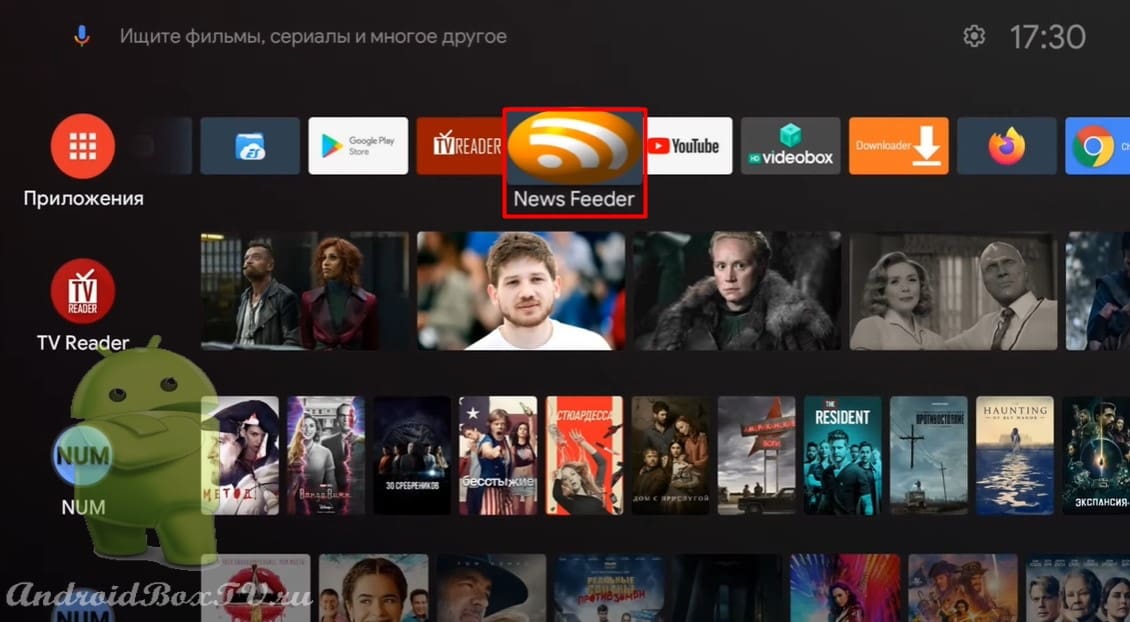
Install the application " News Feed " through the Play Market . This application is designed for a smartphone, you can install, if desired, on Android TV.
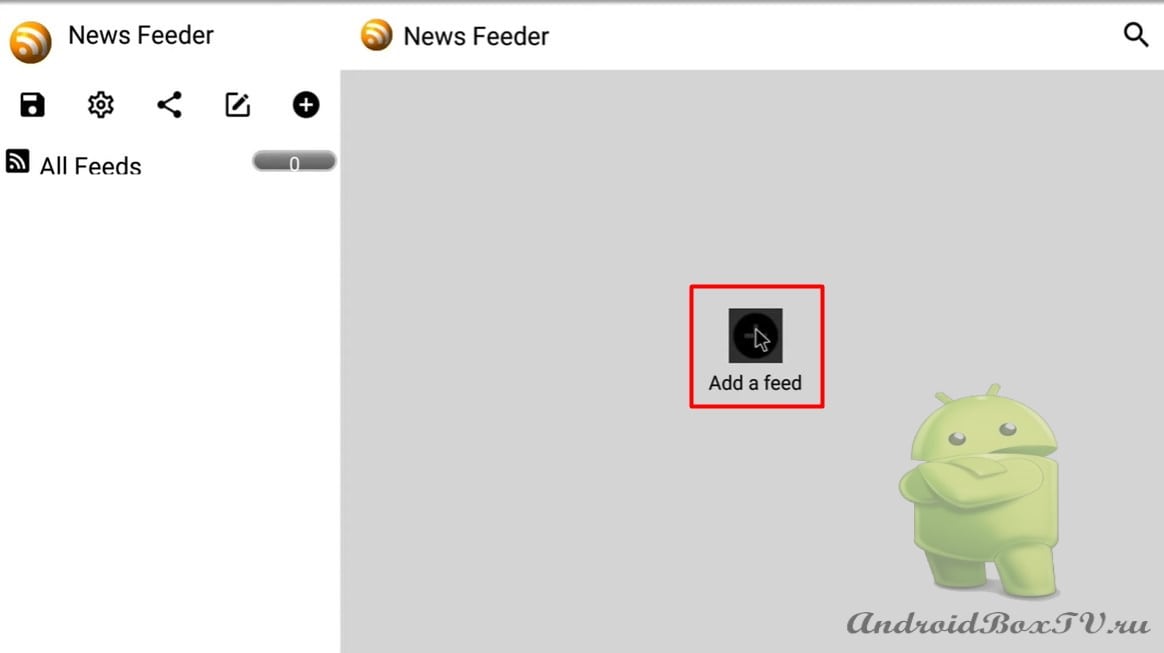
Opening the application:
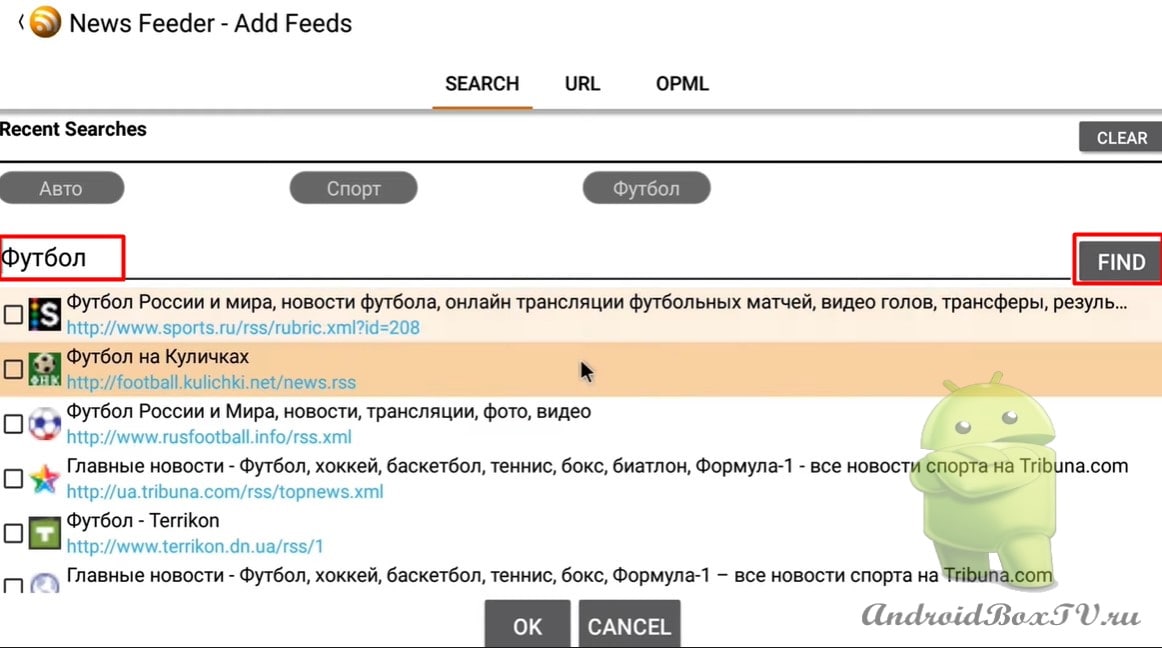
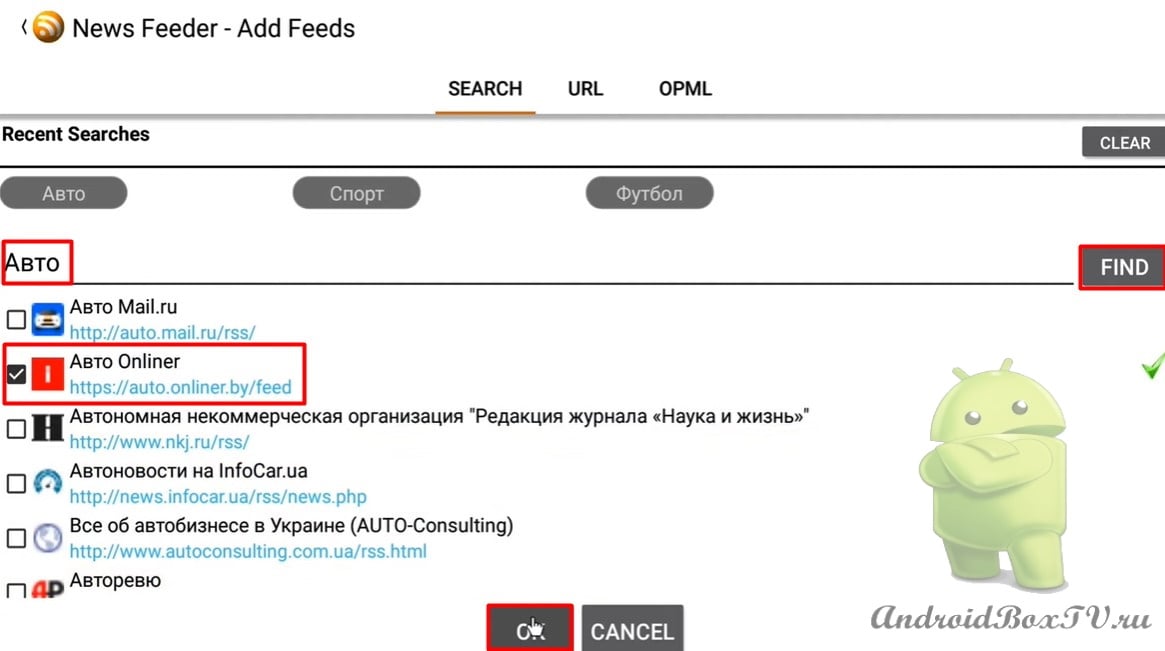
Click on “+” and write the topic of interest to us, for example, football, click “Search” Find:
Found! Next, let's try to search about cars, enter “ Auto” . Press " Search”, select (a green check mark should appear, which means that this link is working) and click “OK”:
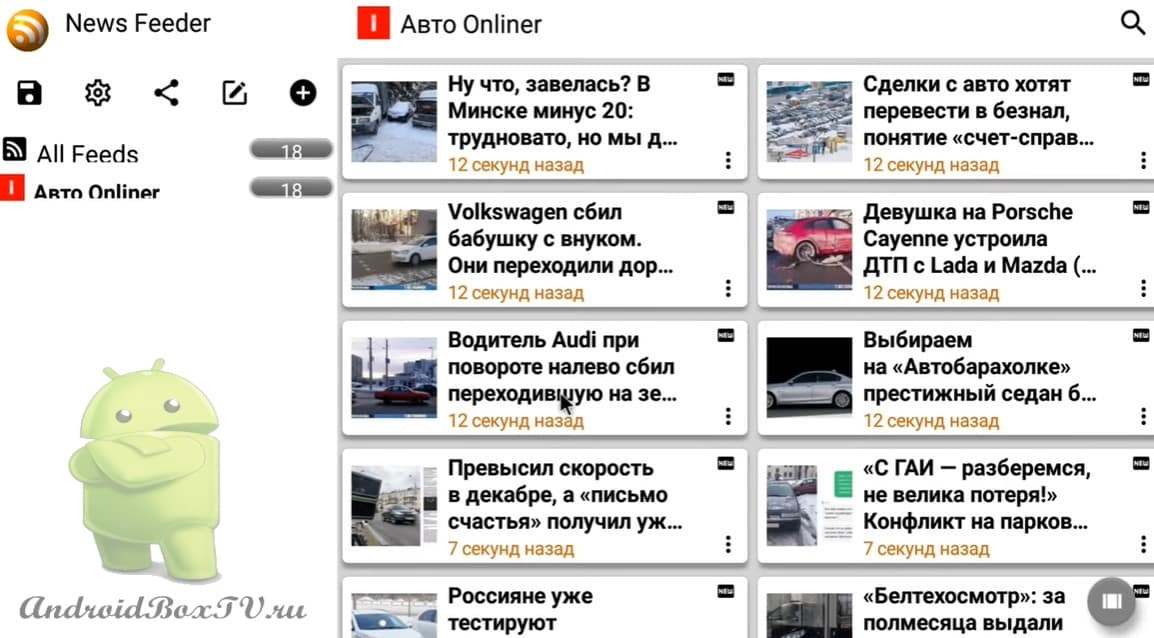
After we see that a news feed from the site has been added:
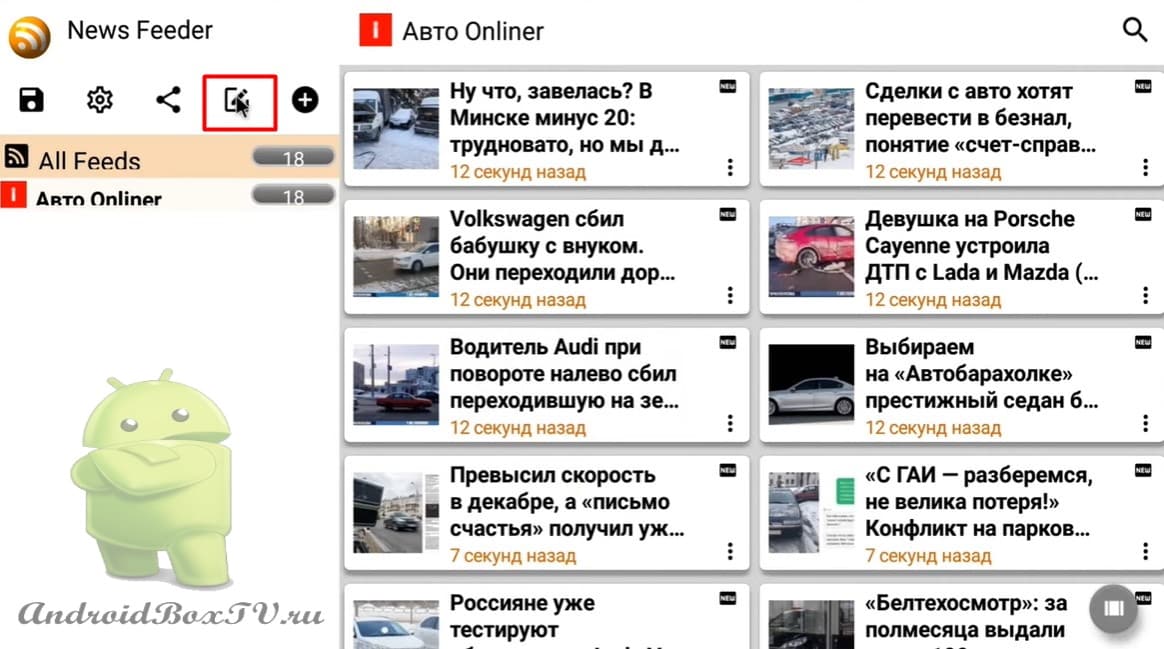
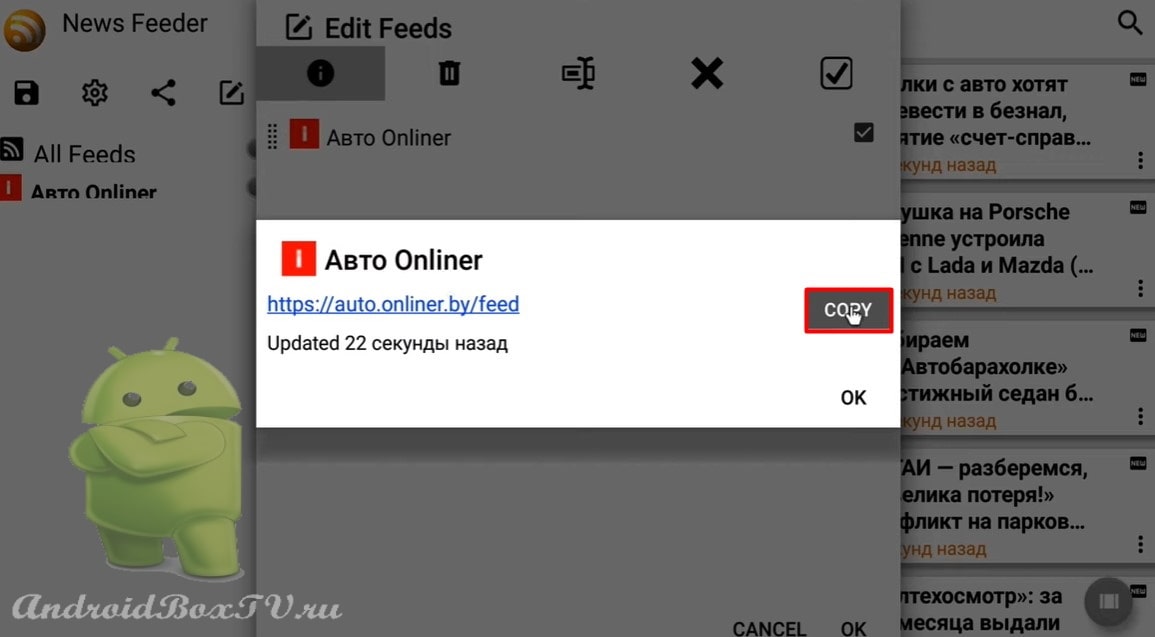
Click on "Pencil“:
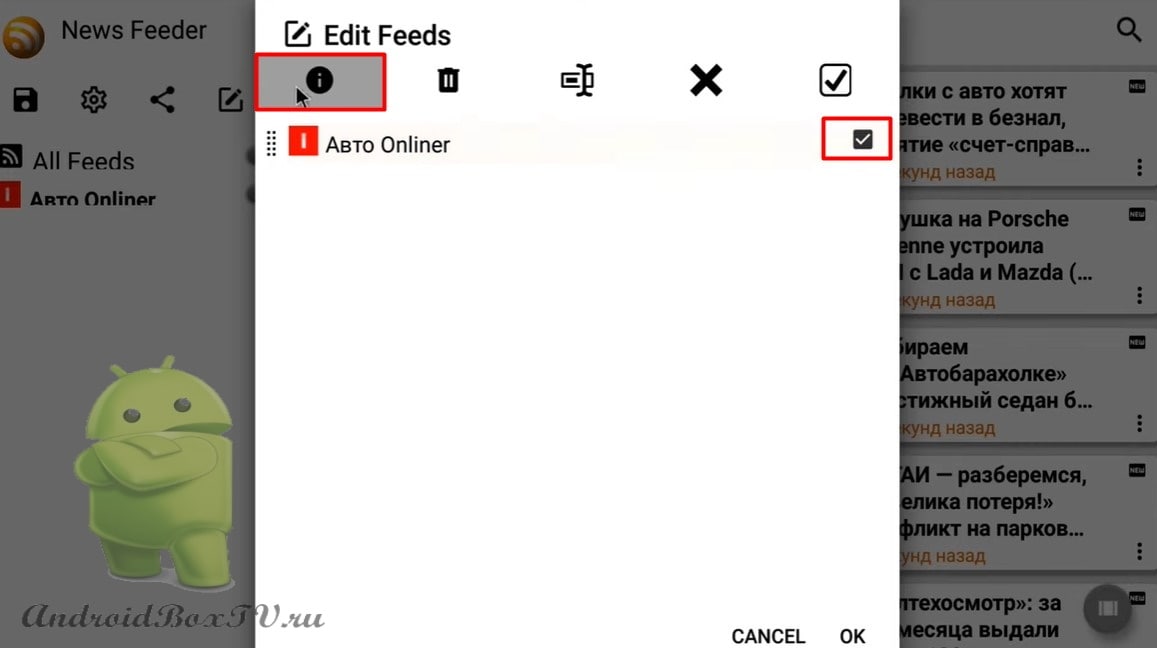
Check the box and click oni” :
Copy link:
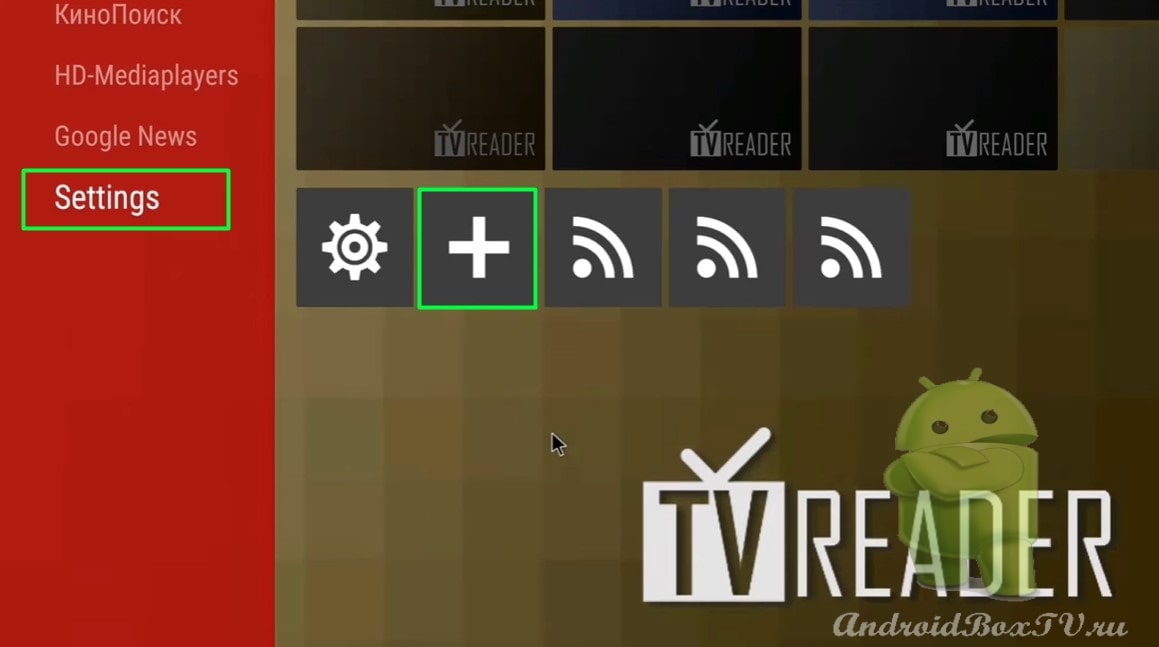
Next, go to the main menu of the TV-Reader Smart Box and go to the settings, click on “+“:
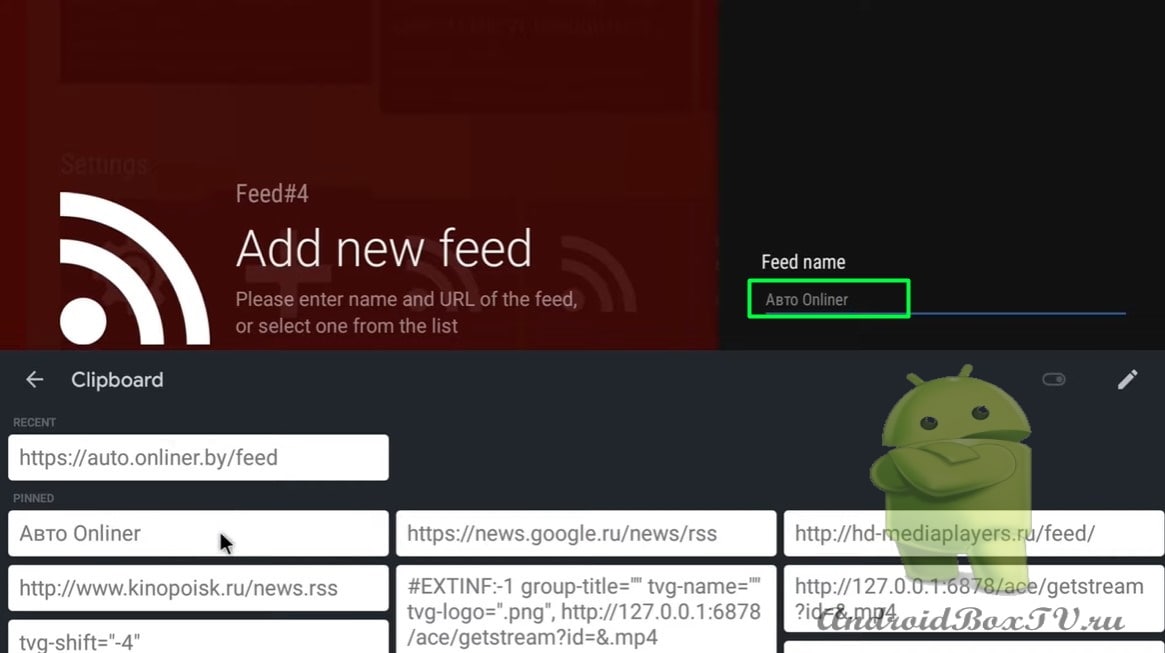
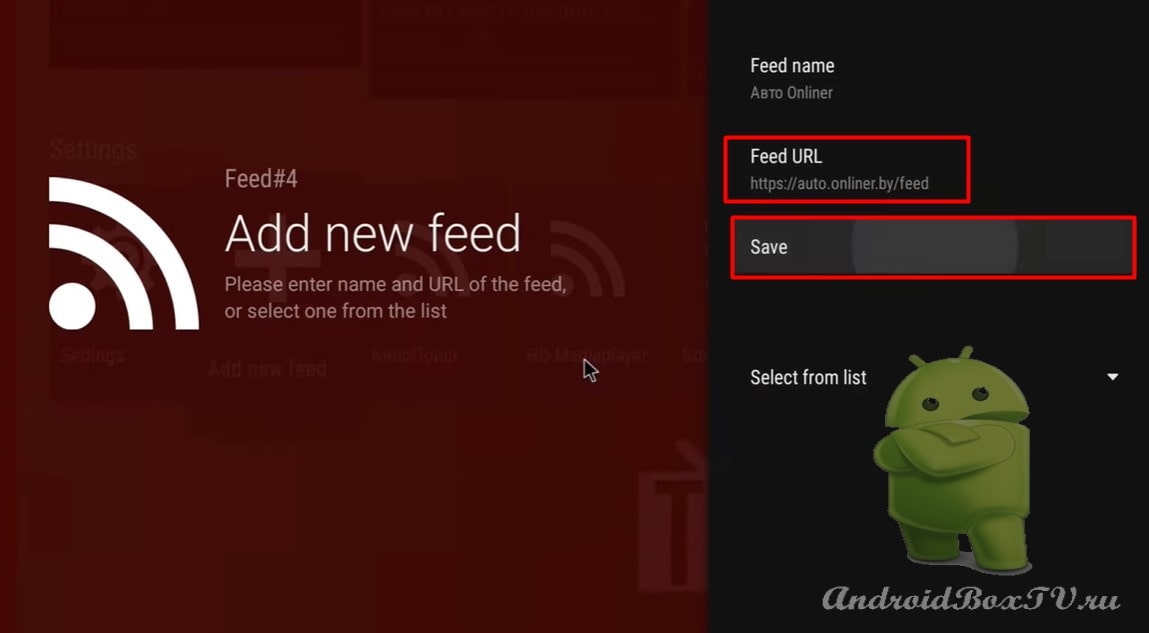
Write the name of the site Auto Onlineror come up with your own:
Paste the link and click onSave”:
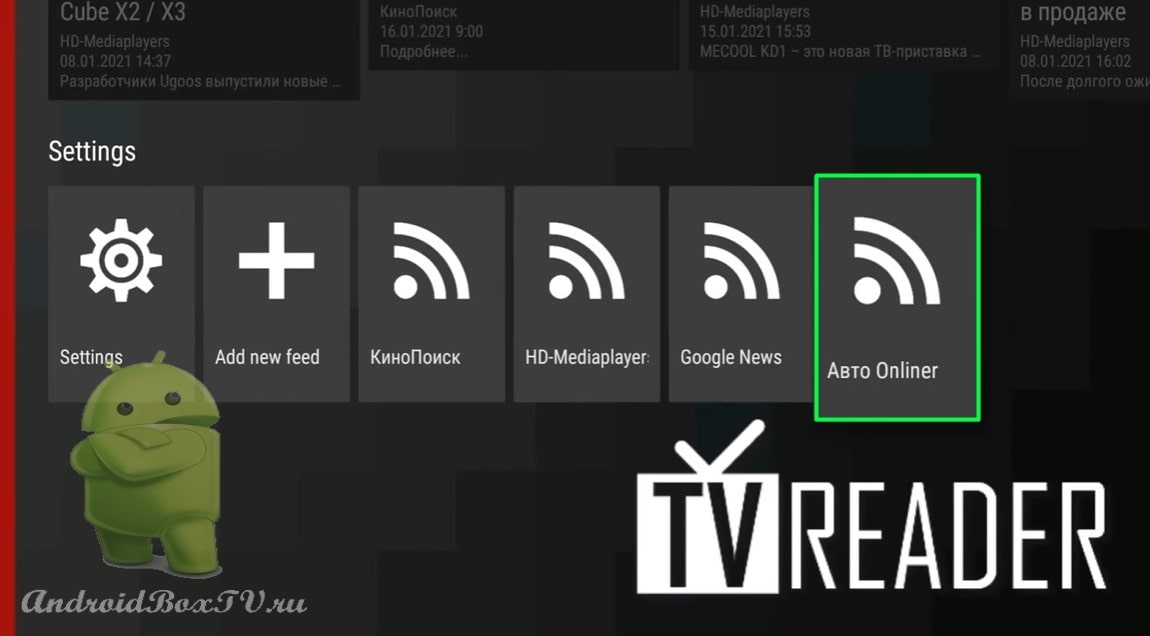
We see that the channel has been added - everything worked out!
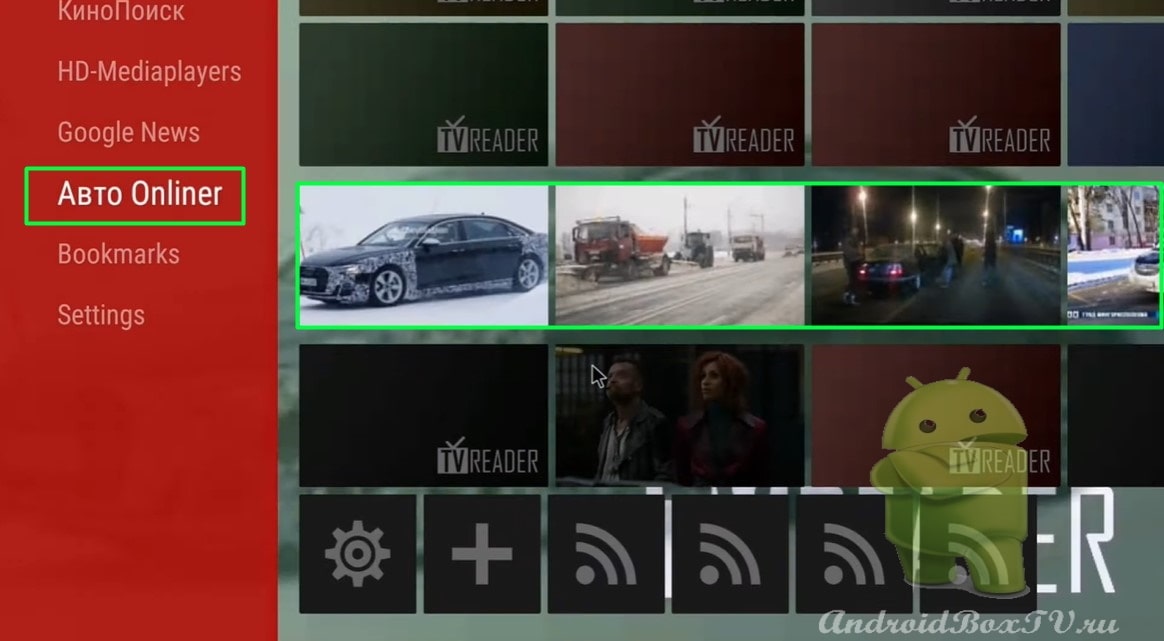
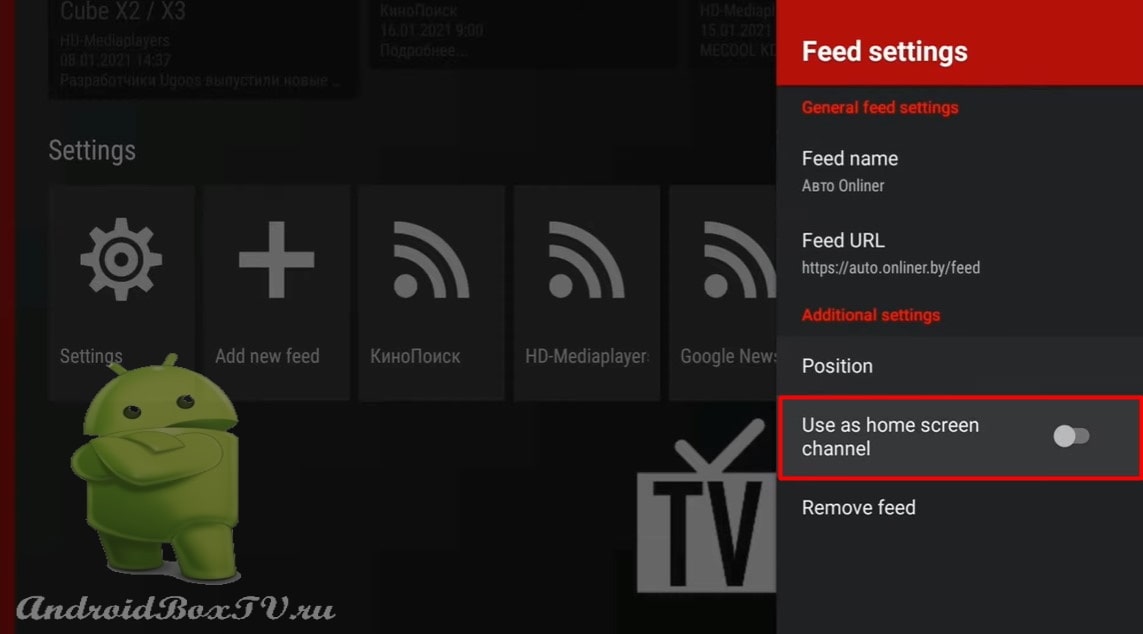
Opening "Settings” and click on “Auto Onliner” or that. how we named this channel:
In the settings you can add to the main screen:
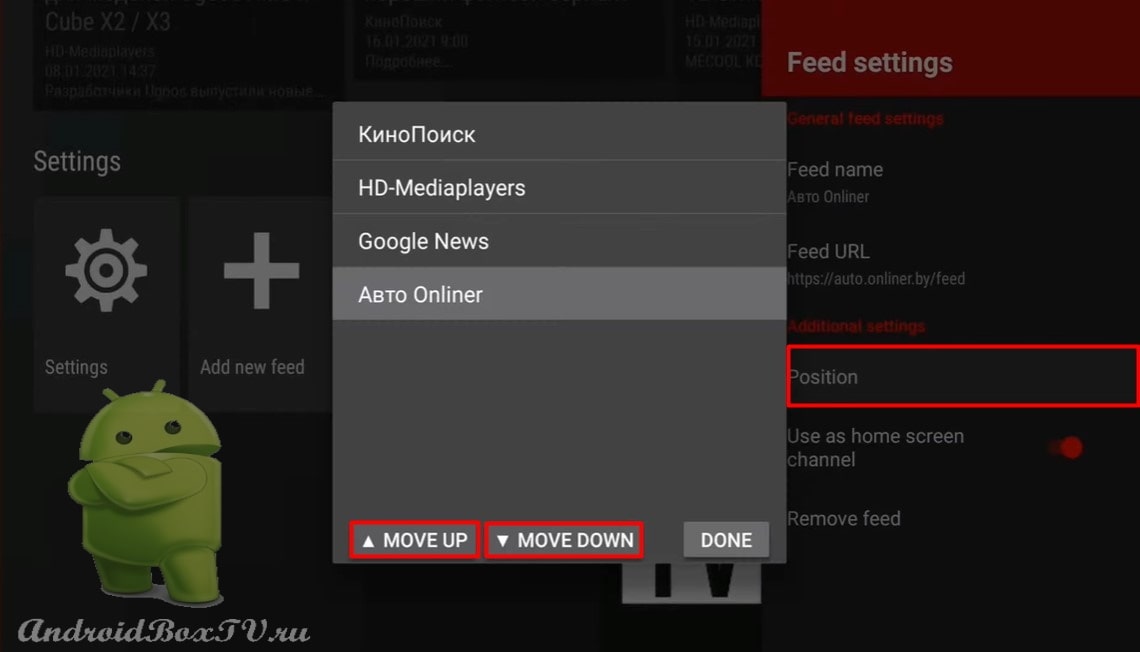
Also, you can lift it up, see the arrows?
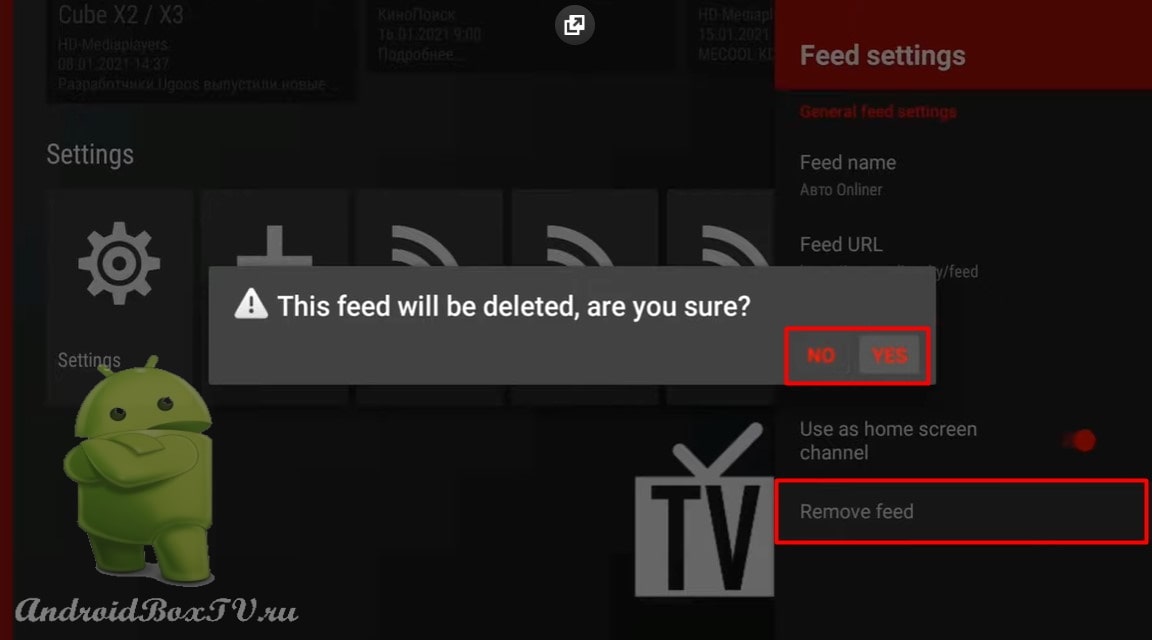
Or delete, standardly asks yes / no:
All! You can read the news! Check out other articles from the "Working Moments" section here .
Since the data of the application for clearing the operative internal memory of the device is borrowed from Mi TV and this program is a system one, it will not be possible to install it on other devices. You can try to install on Mi TV STICK. If you succeed write in the comments.
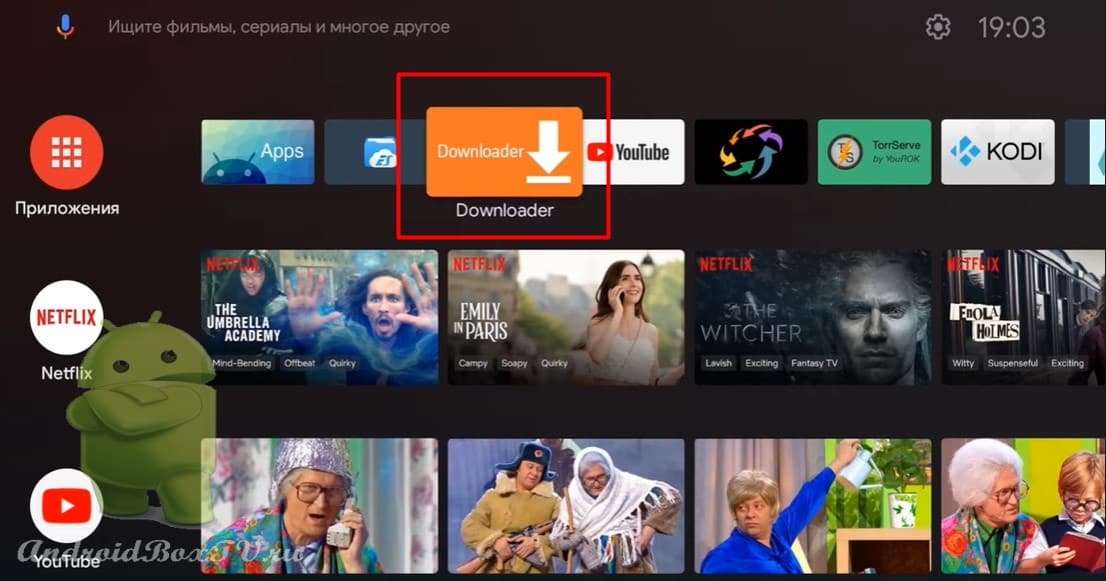
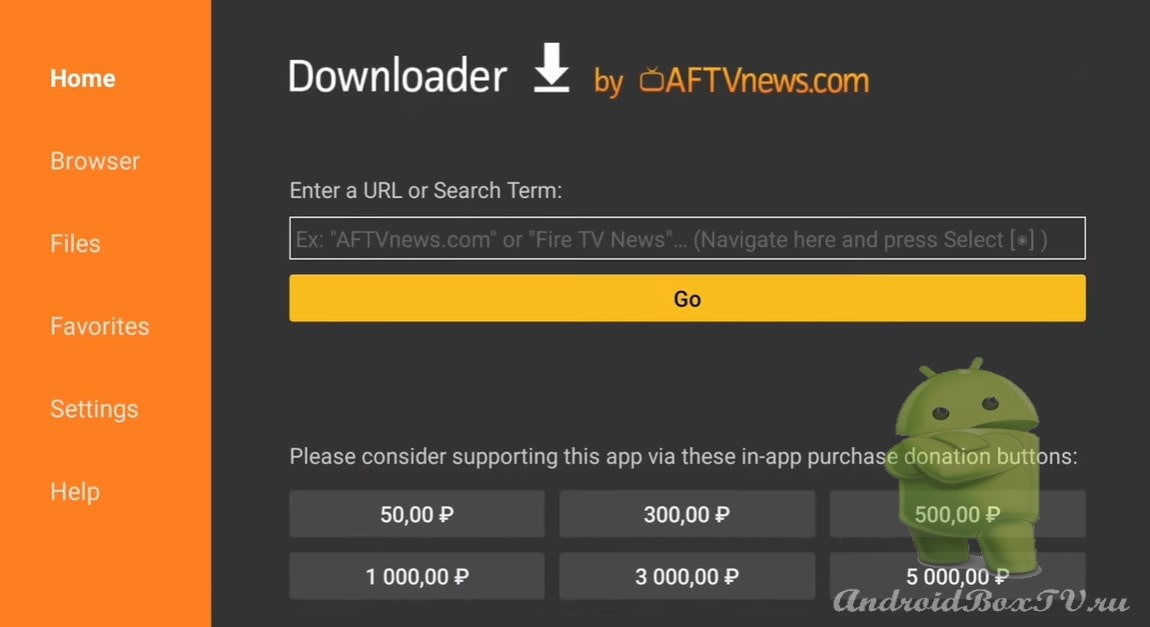
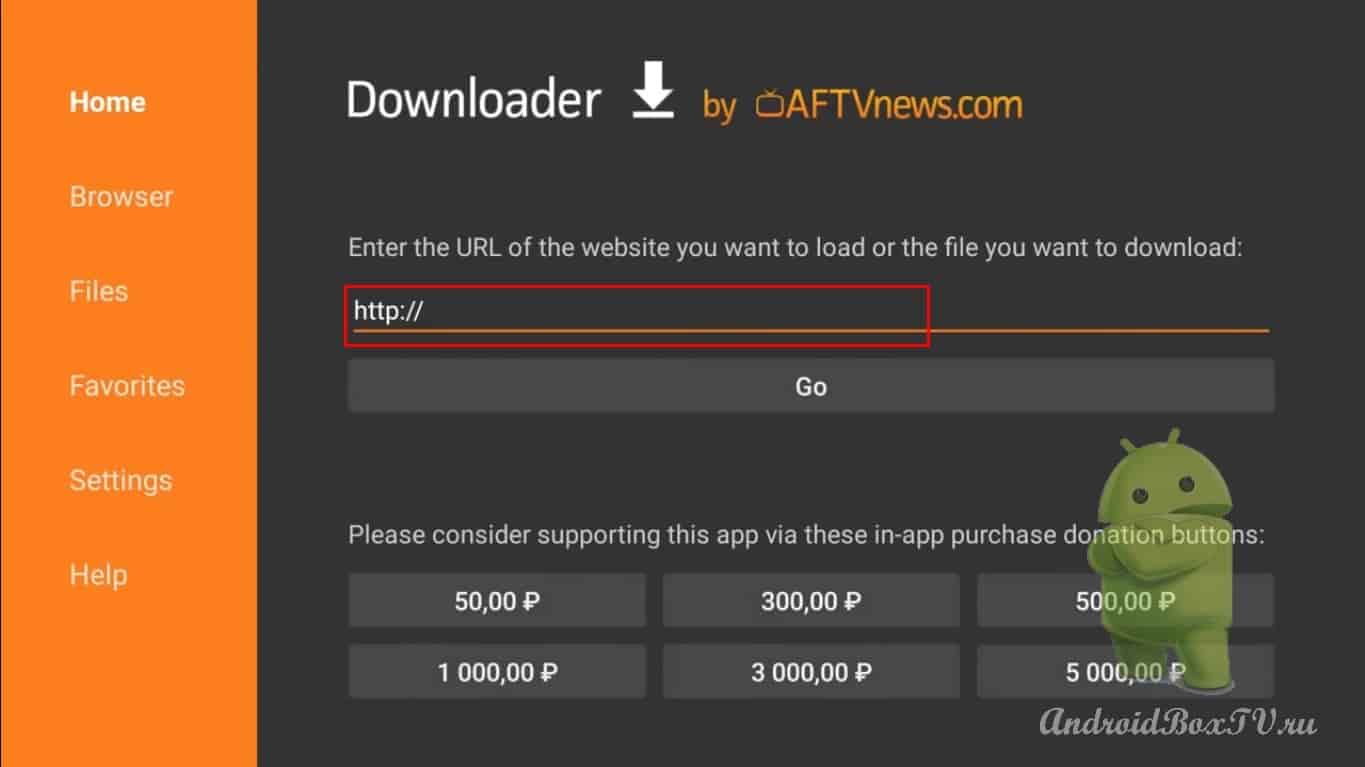
To get started, install the “ Downloaderthe Play Store :
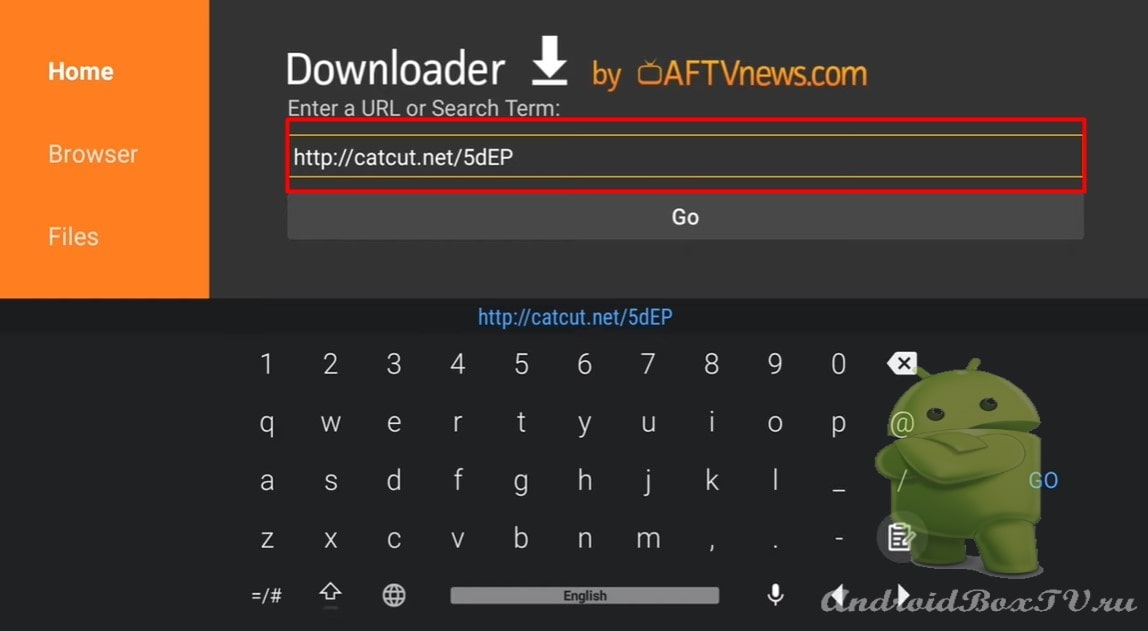
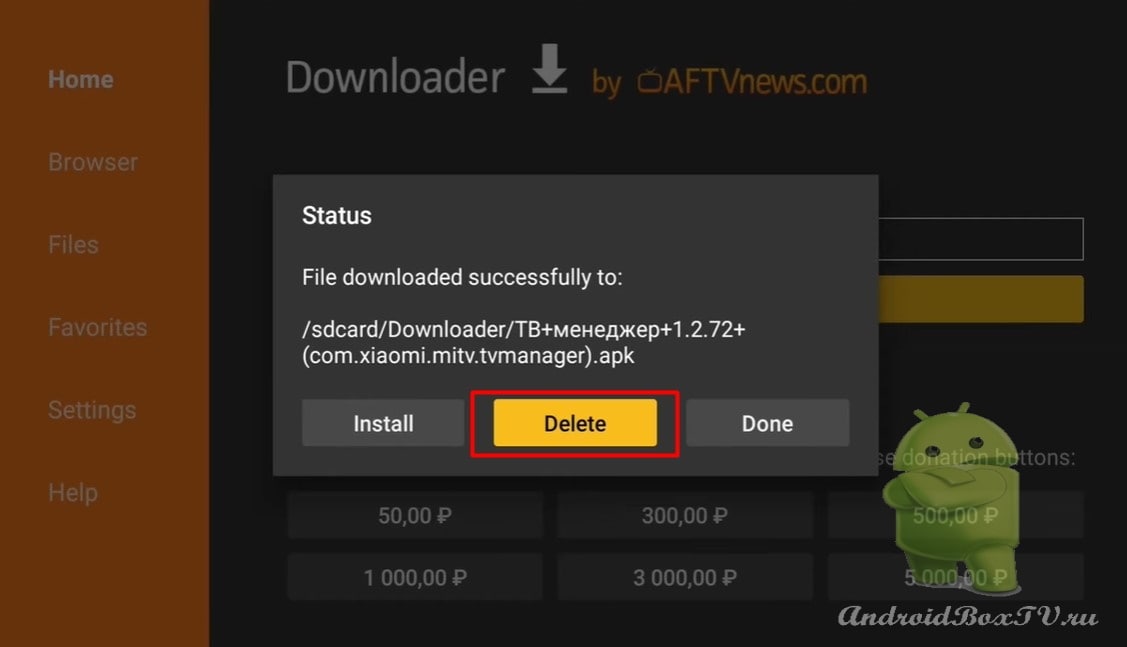
Next, open the application and enter the link in the text field - http://catcut.net/5dEP :
There is a connection and download, we are waiting for a couple of minutes.
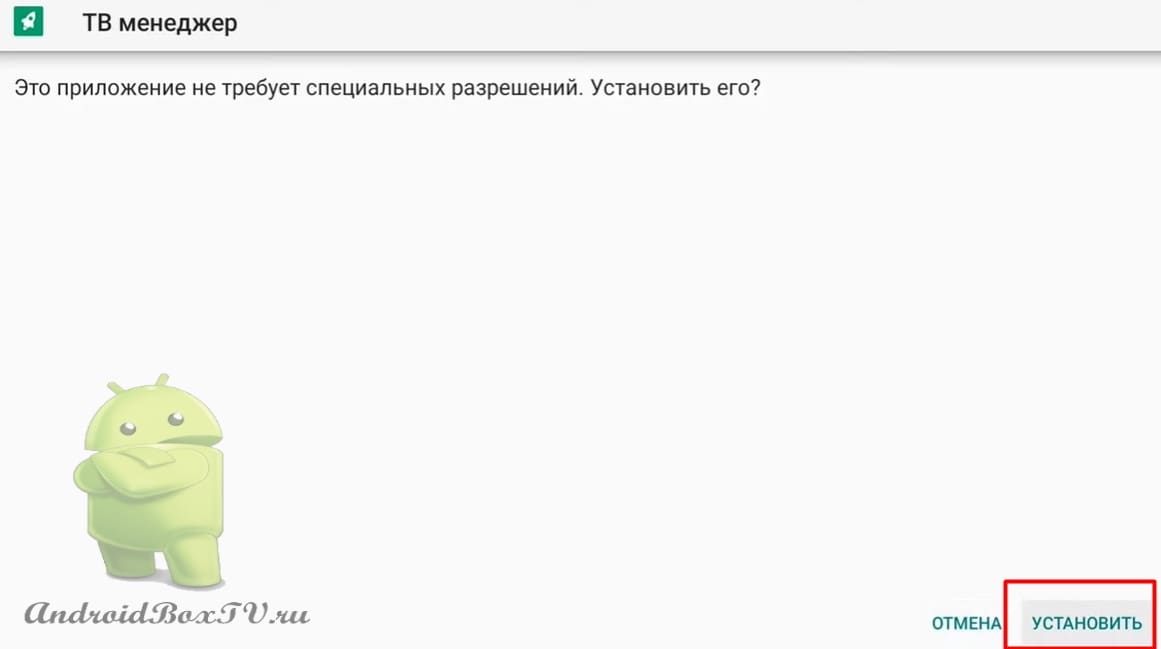
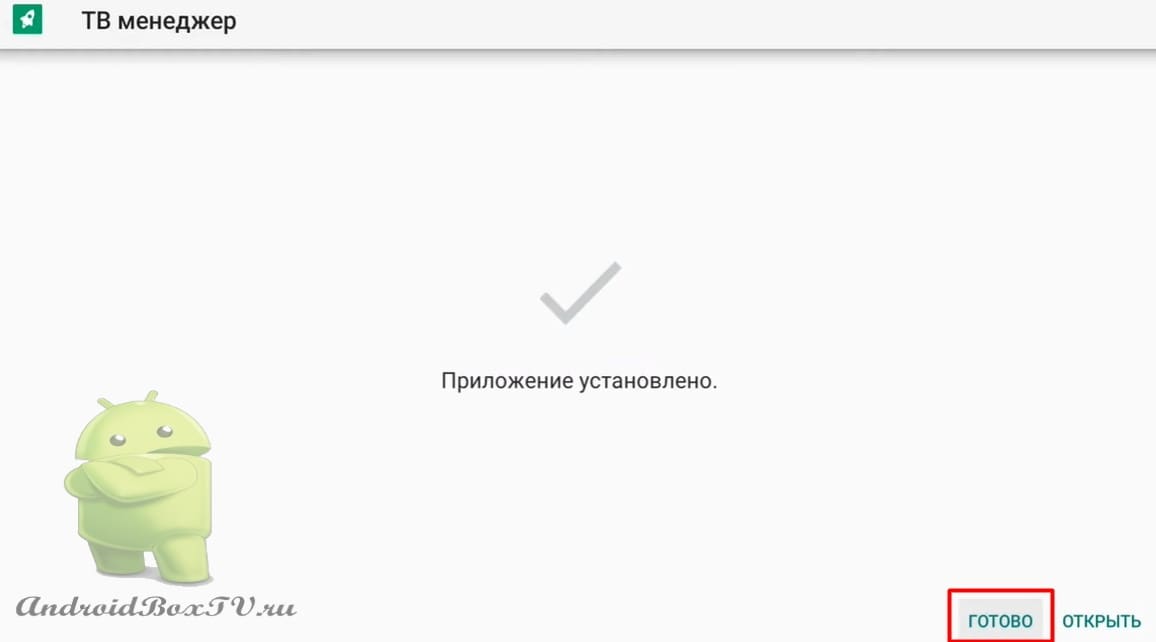
The file has been downloaded, install it:
If you don't need the APK, you can remove it:
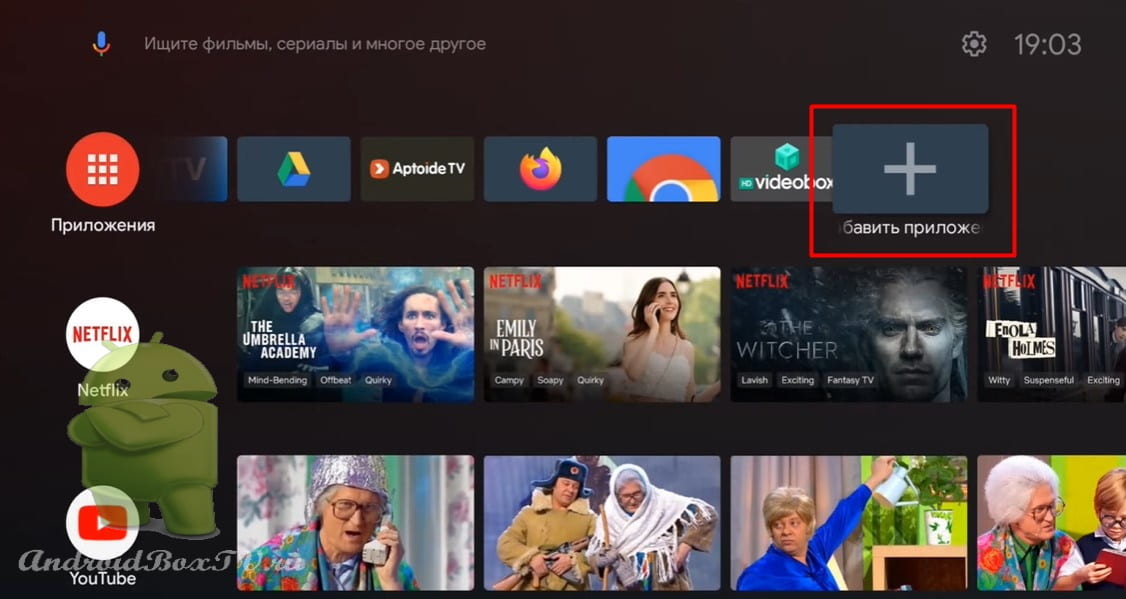
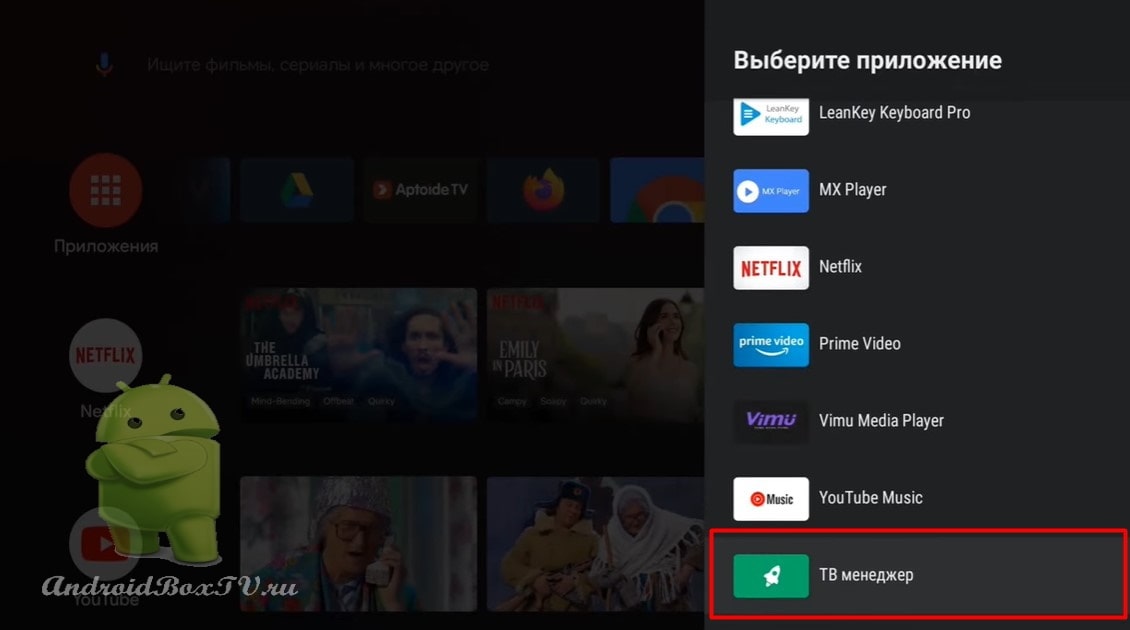
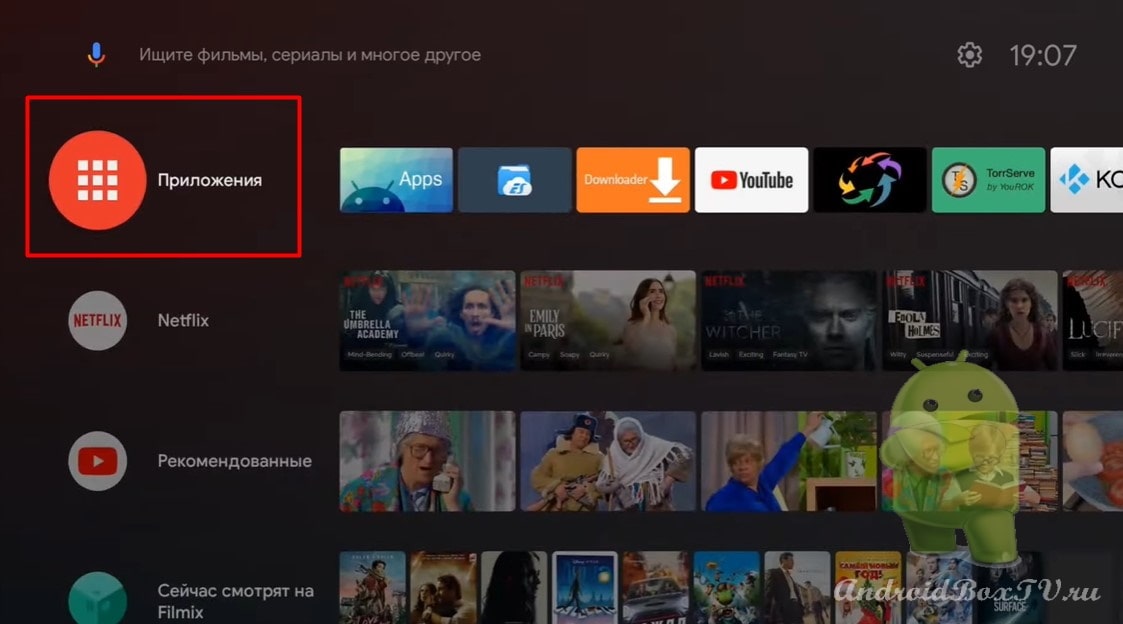
Next, add the application to the main screen (we discussed this in more detail here ):
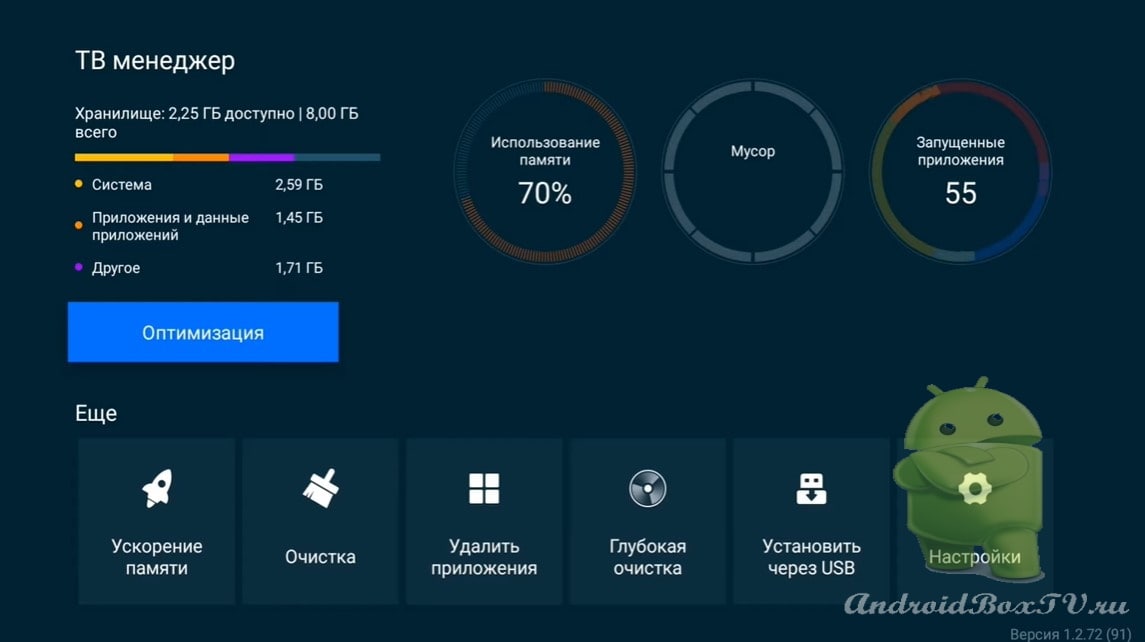
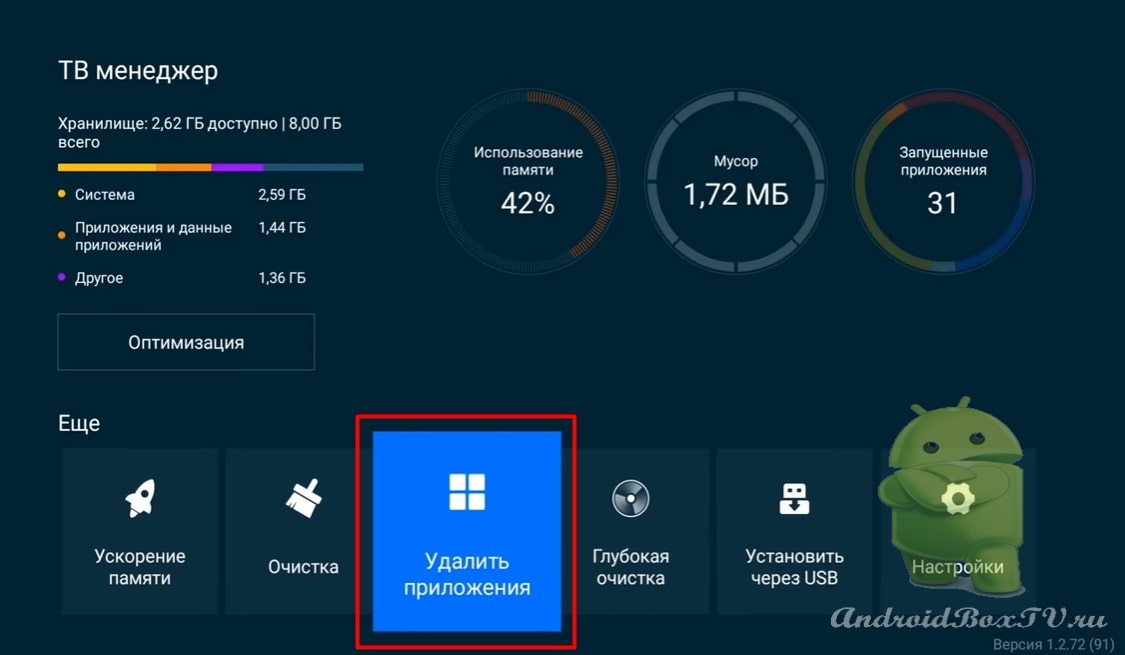
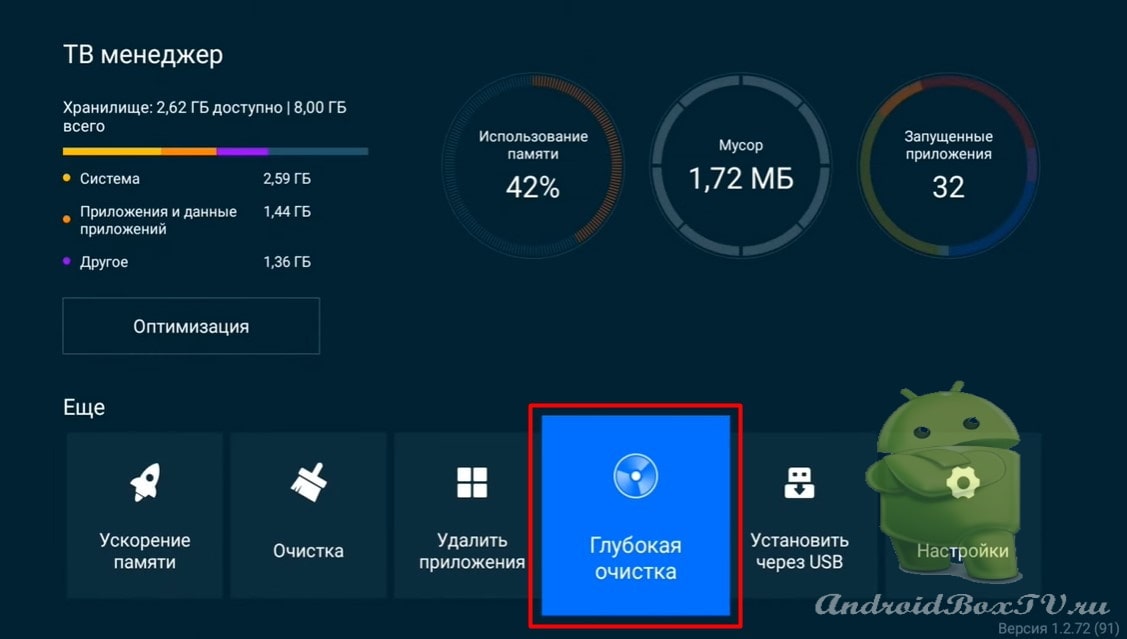
Open the TV manager app. Looks like that:
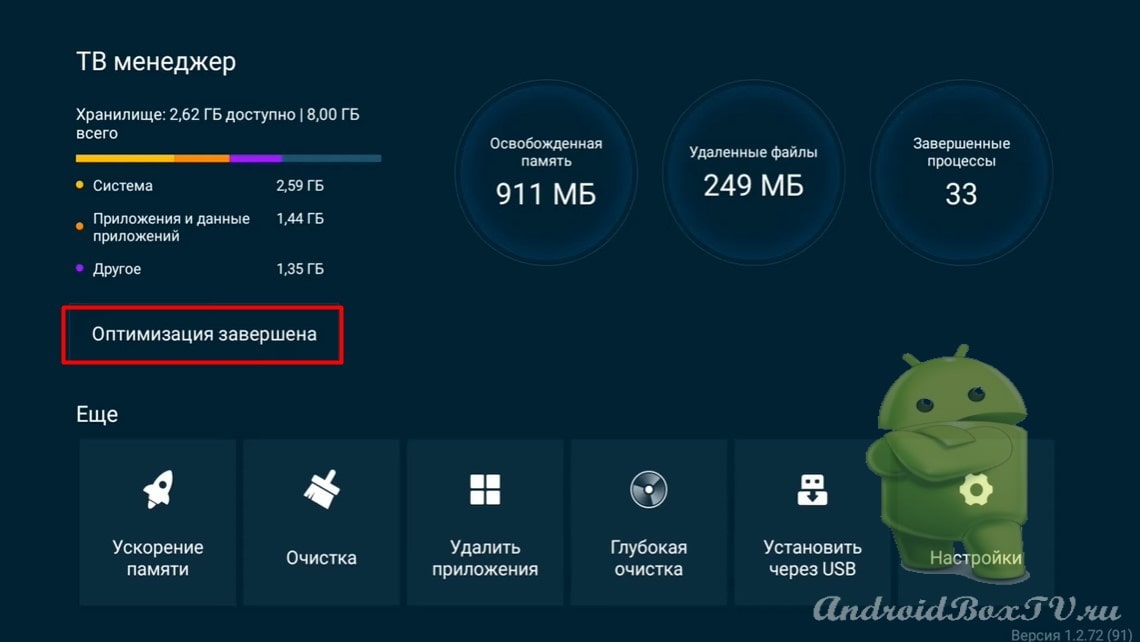
Optimization allows you to clear the RAM and main memory of the device. Click " Optimization ". Cleaning in progress:
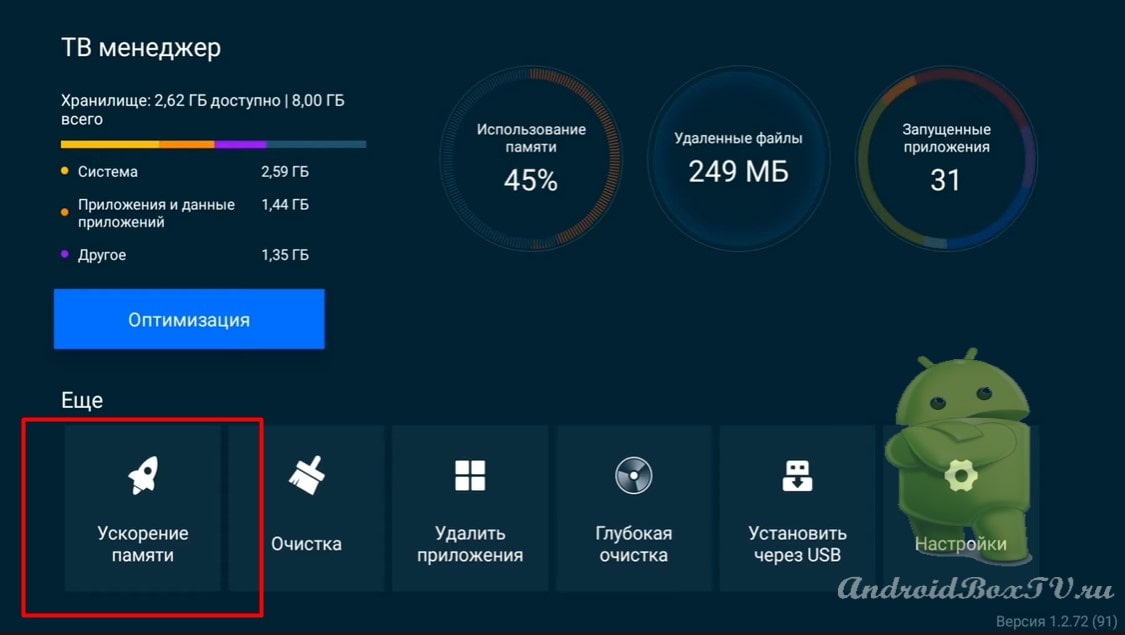
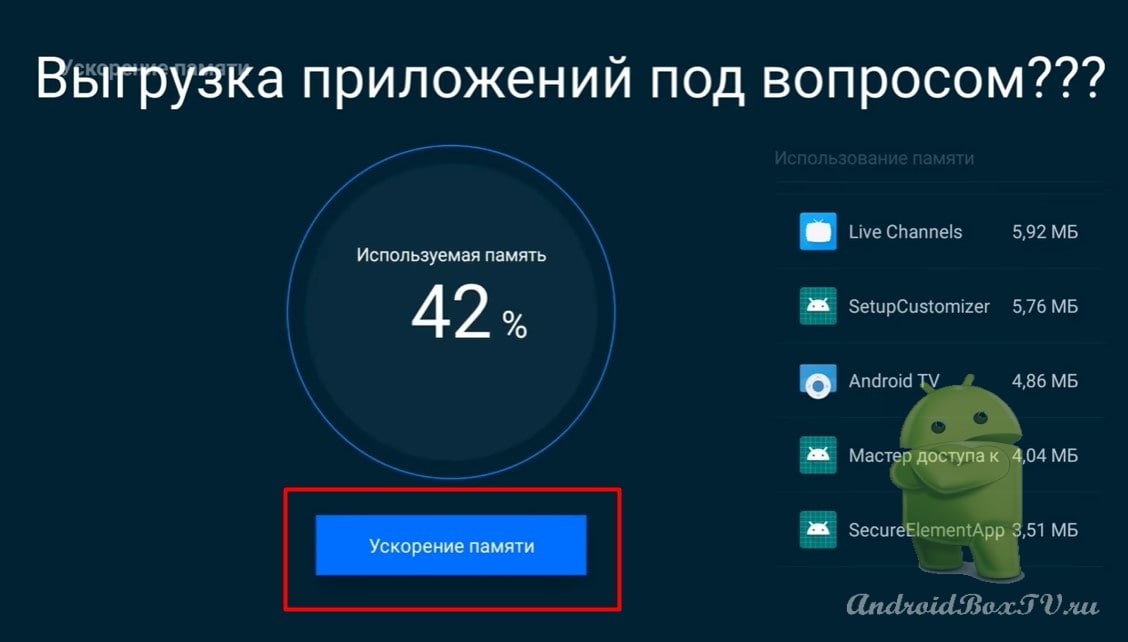
Further section “Memory boost". Cleans up RAM by closing unnecessary processes.
Click on “ Memory boost ”:
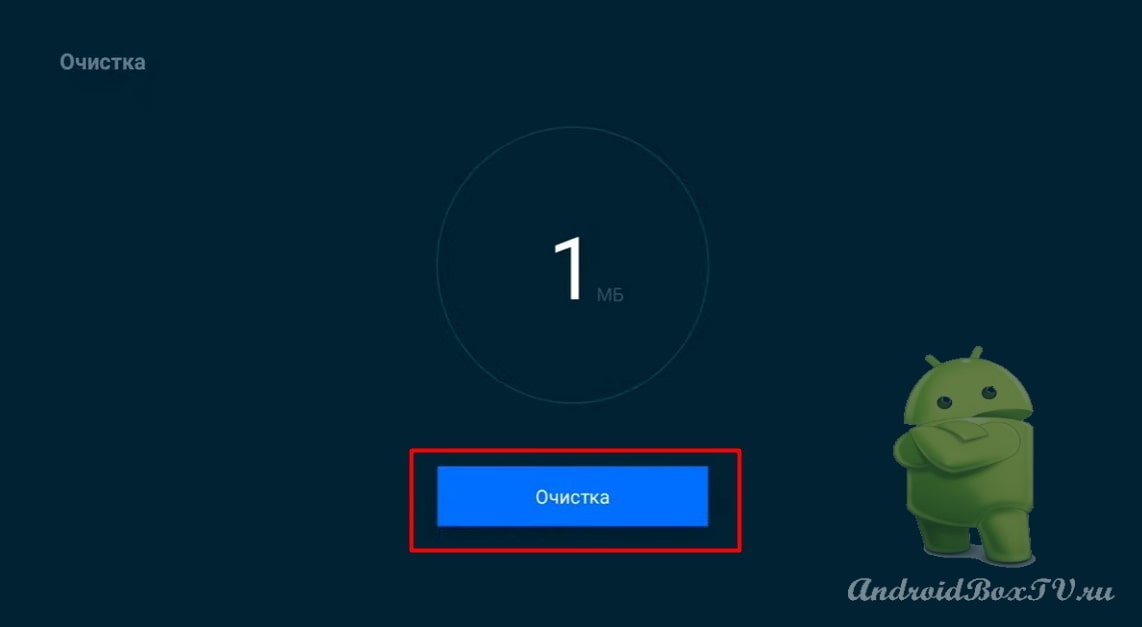
Next " Clear " - clears the cache. Click " Clean ":
Go to "Delete apps". Select the application you don't want and delete it:
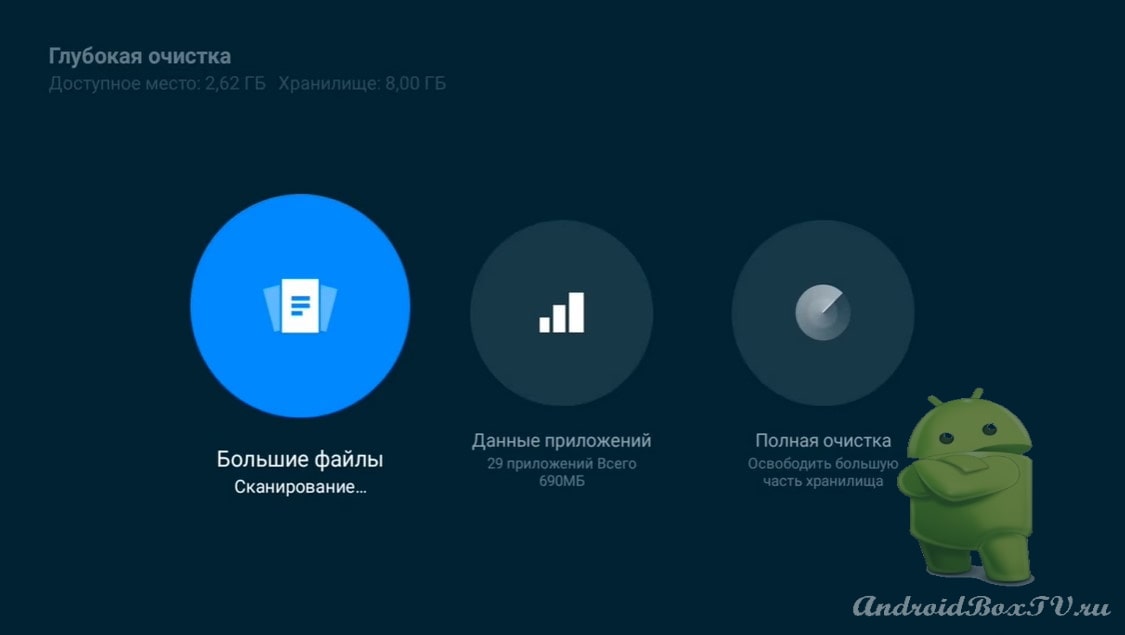
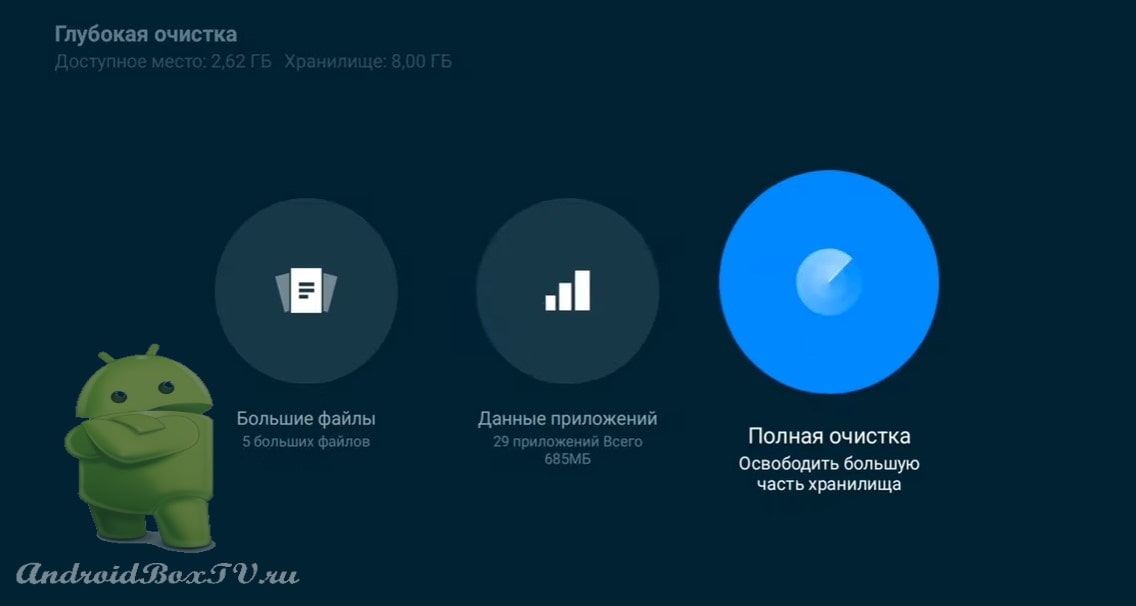
Further "Deep cleaning". We see three sections - “ Large files”, “Application Data" And "Complete cleaning”:
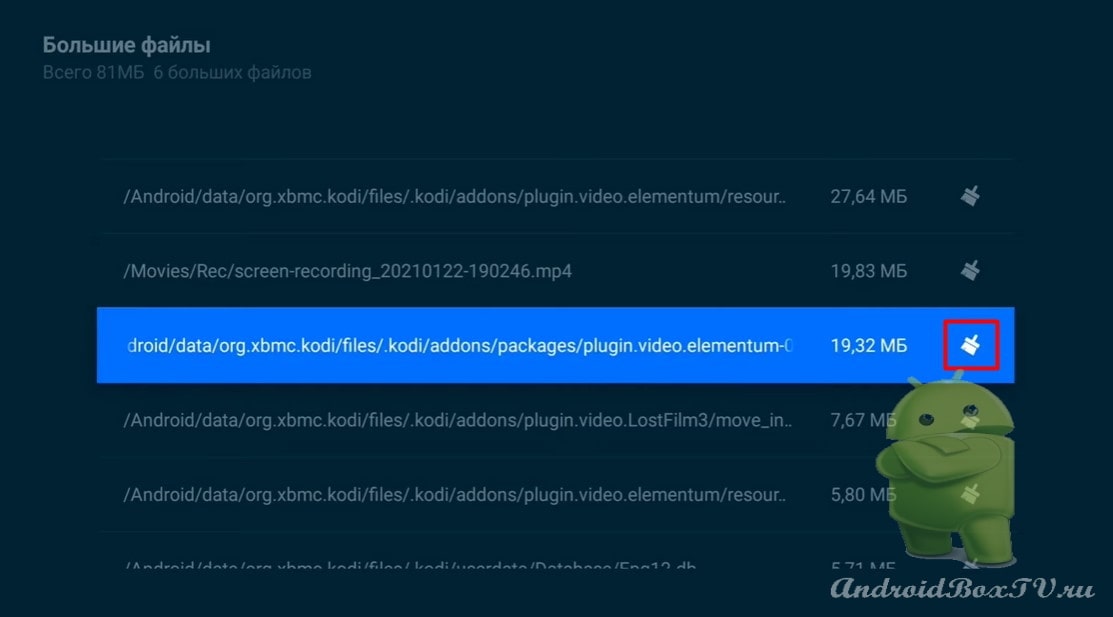
Click on "Large files". Scanning in progress. Next, select unnecessary files and delete:
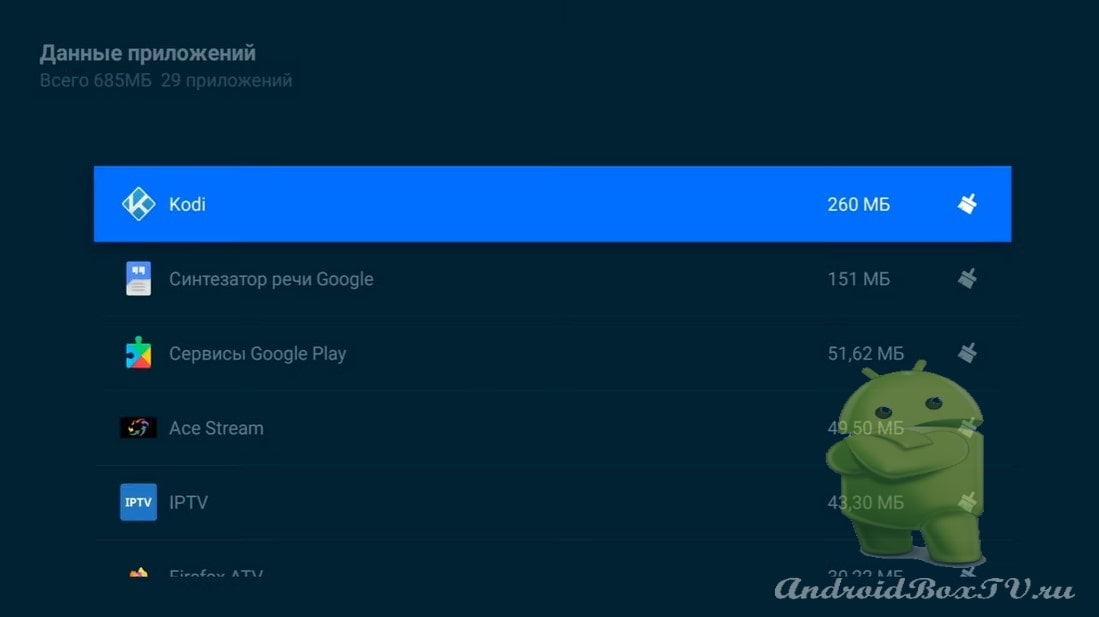
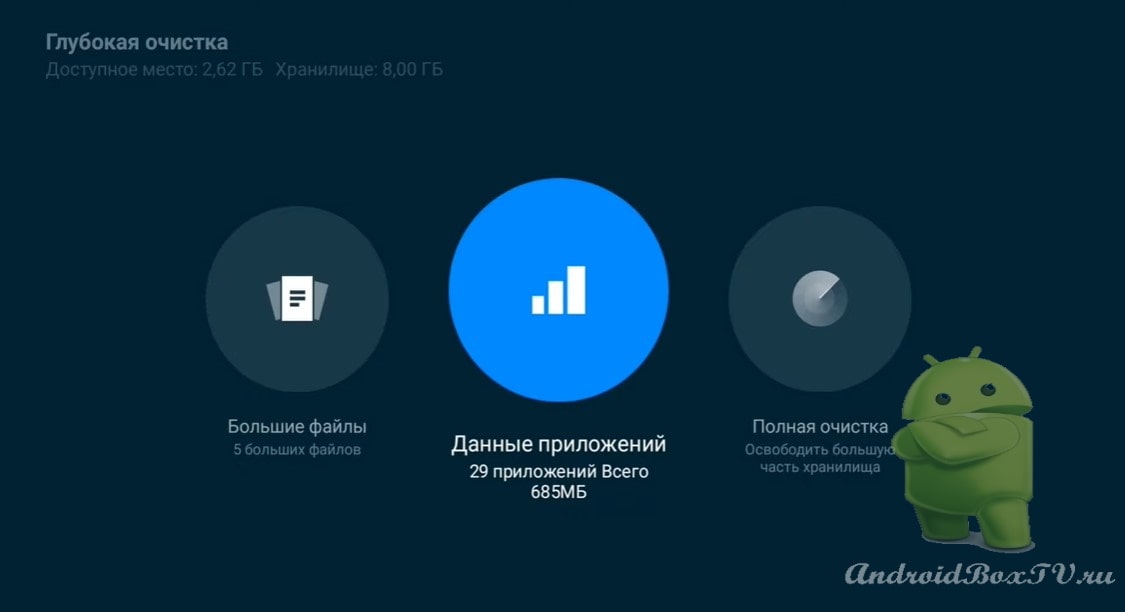
In the “Application Data” section, you need to be more careful, because after cleaning, passwords and application settings will be deleted:
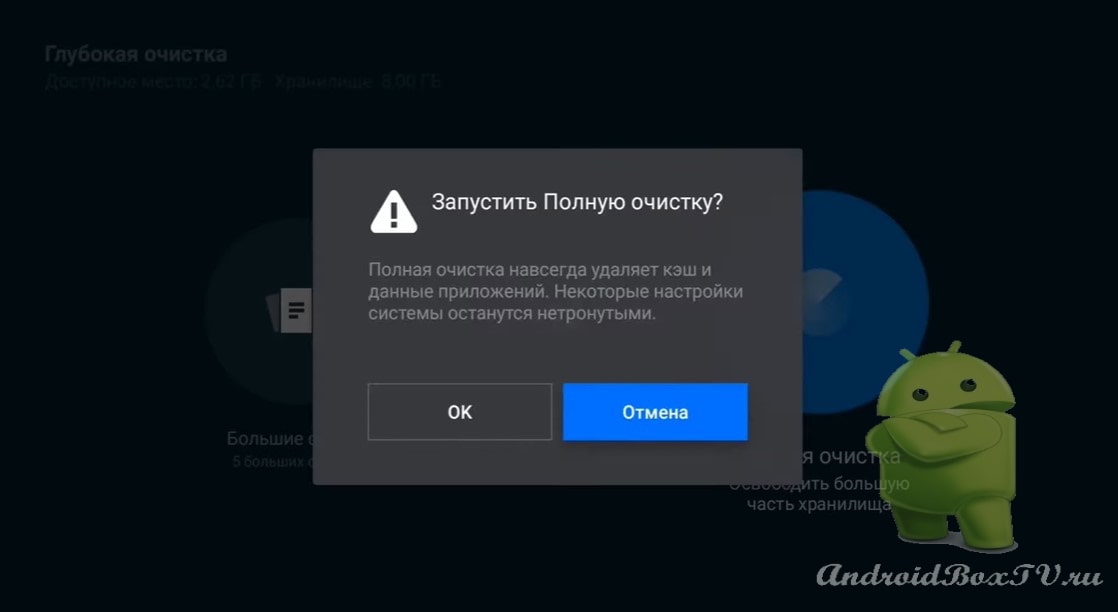
“ Full Wipe ” is practically a factory reset:
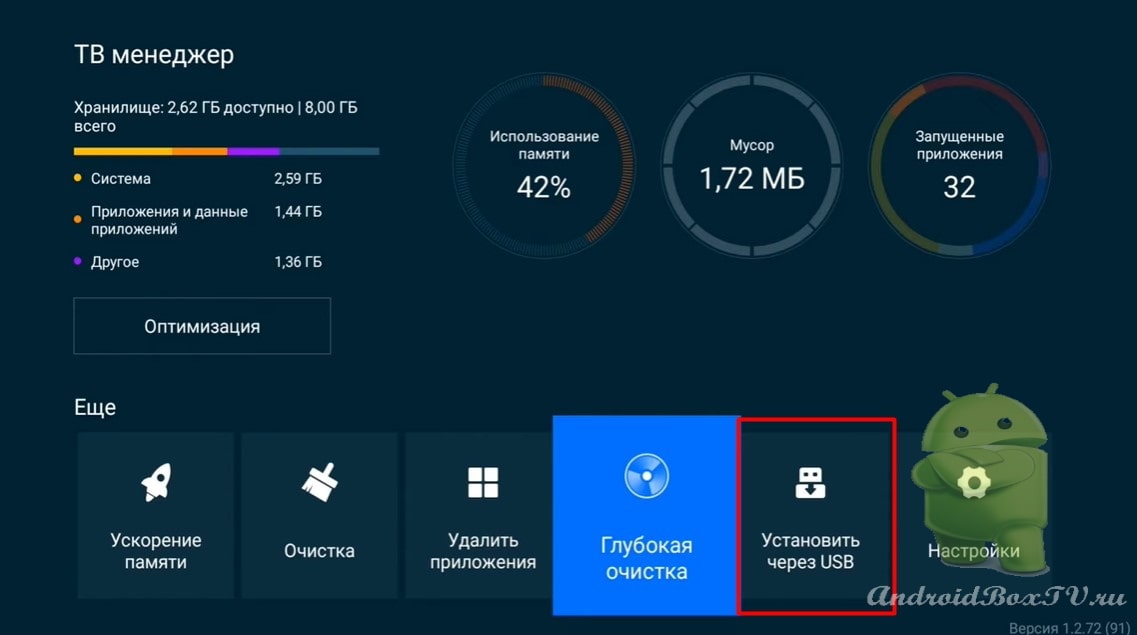
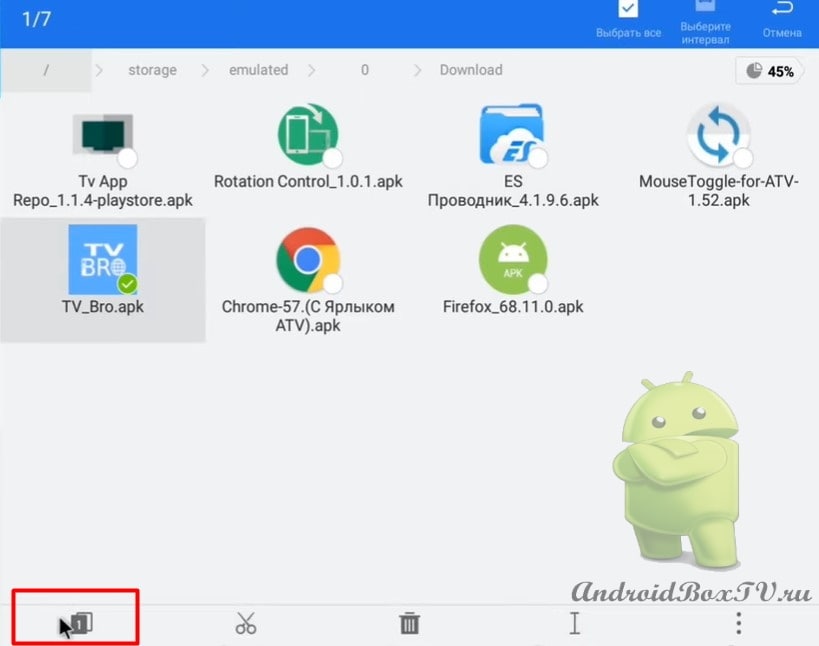
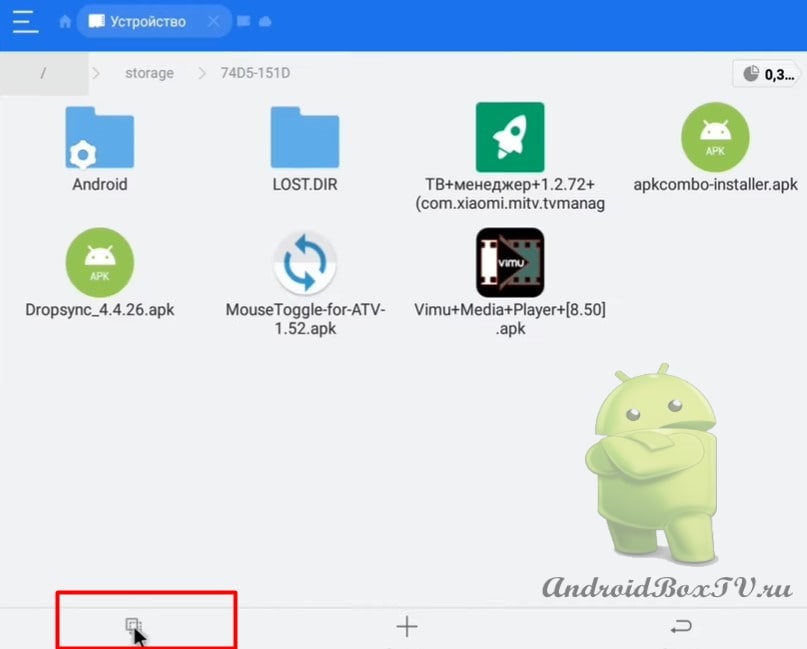
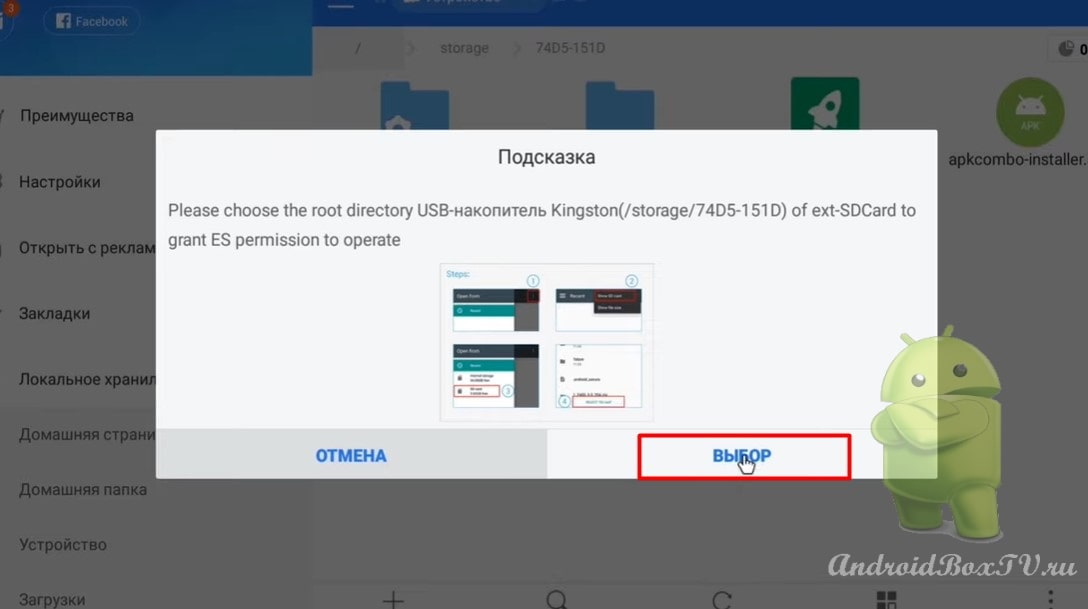
Further "Install via USB". You can install the application from a USB flash drive in any file manager:
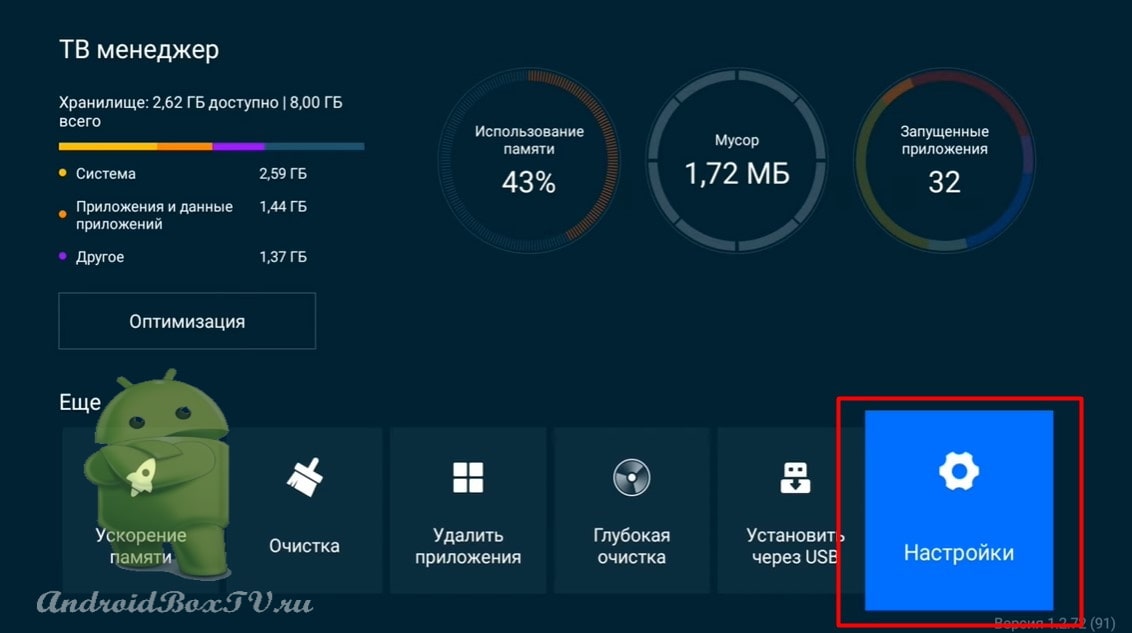
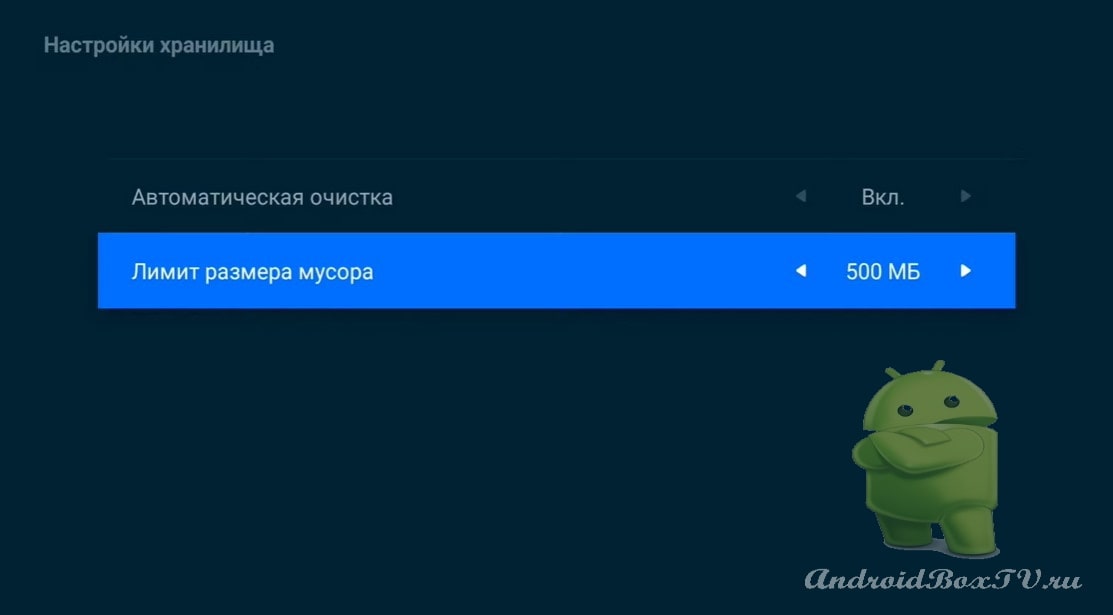
“ Settings ” is an automatic cleaning. Turn on and you can select a garbage limit from 100 to 500 megabytes:
Next, consider how to unload an application from memory that is not unloaded using cleaning.
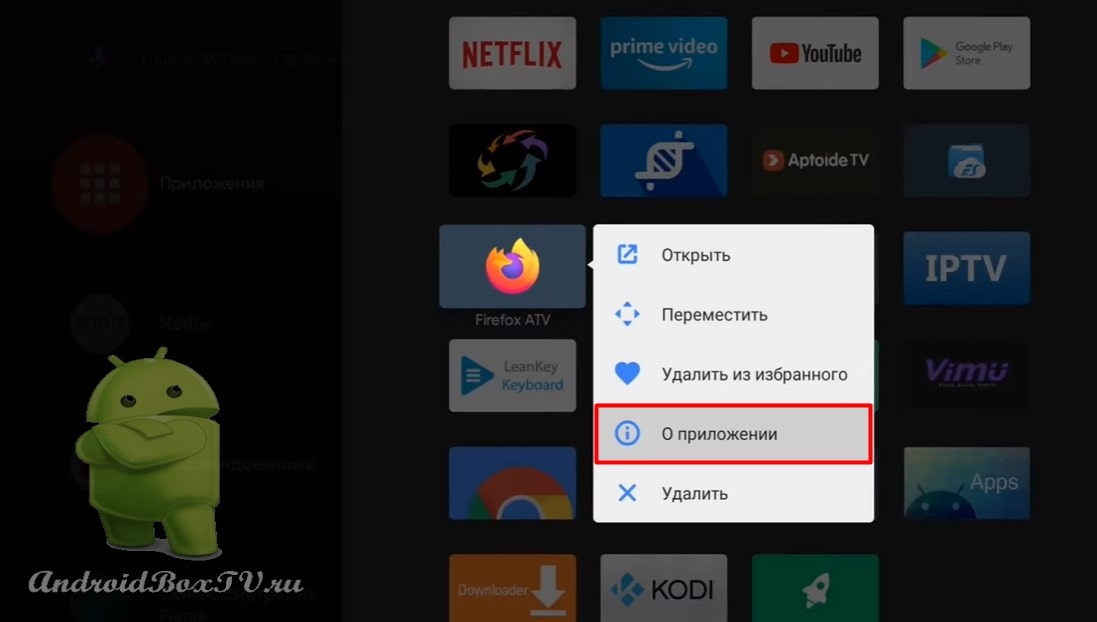
We select the application, hold and select “ About the application ”:
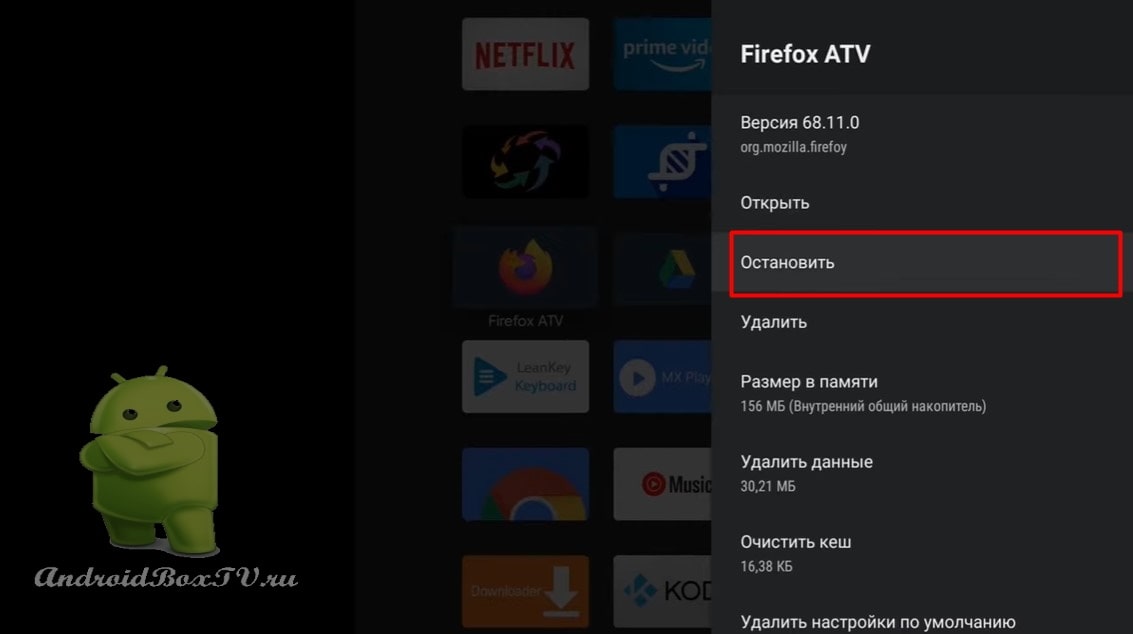
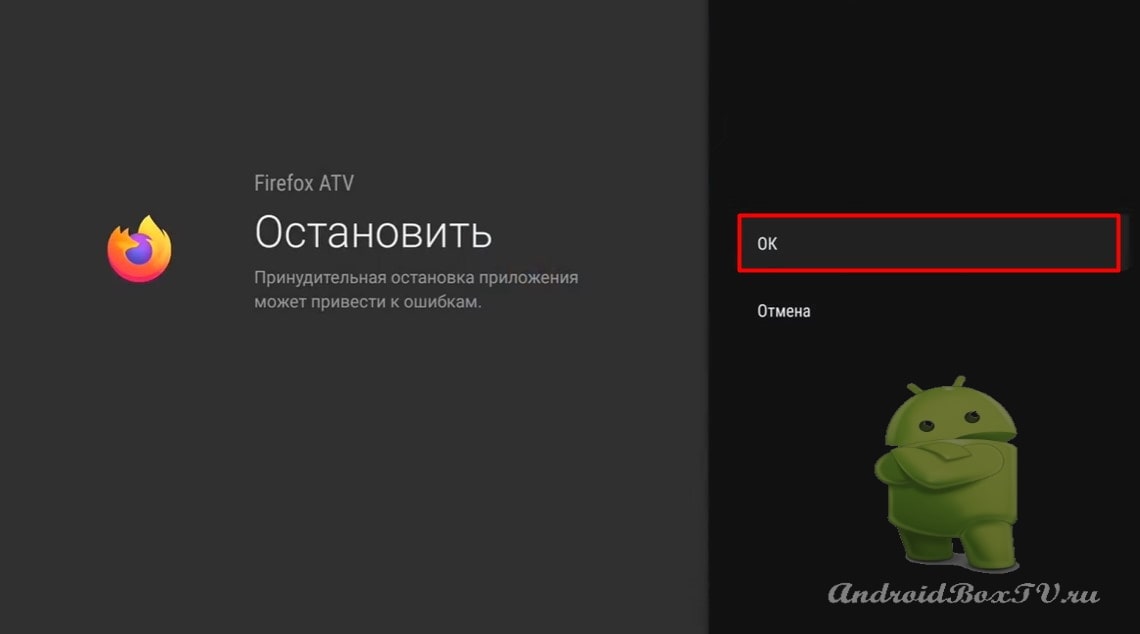
Choose "Stop” and press “OK”:
Since some applications may automatically, again, start.
Check out other articles from the "Difficult tasks" category here .
An article for newcomers who first purchased devices on the Android TV operating system opened the Play Market and did not find the applications they needed there.
Let's figure out how to install an alternative Play Market - the Aptoide TV application store.
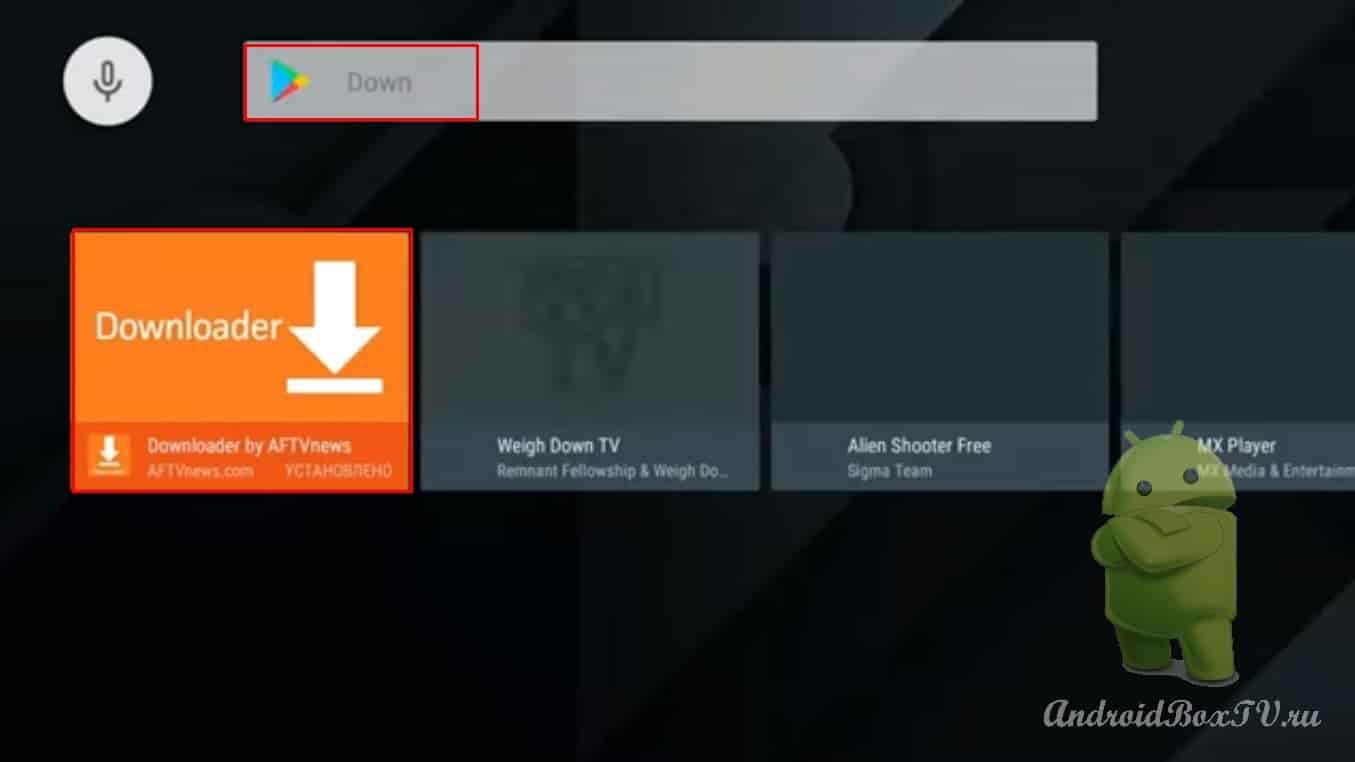
Let's go to Google Play and install the application d ownloader - in the search we write "down":
If you write the whole "downloader" - the application is not displayed in the search results. Install, open, allow what they ask and enter this link apkins.aptoide.com/AptoideTV-5.0.2.apk (do not erase anything):
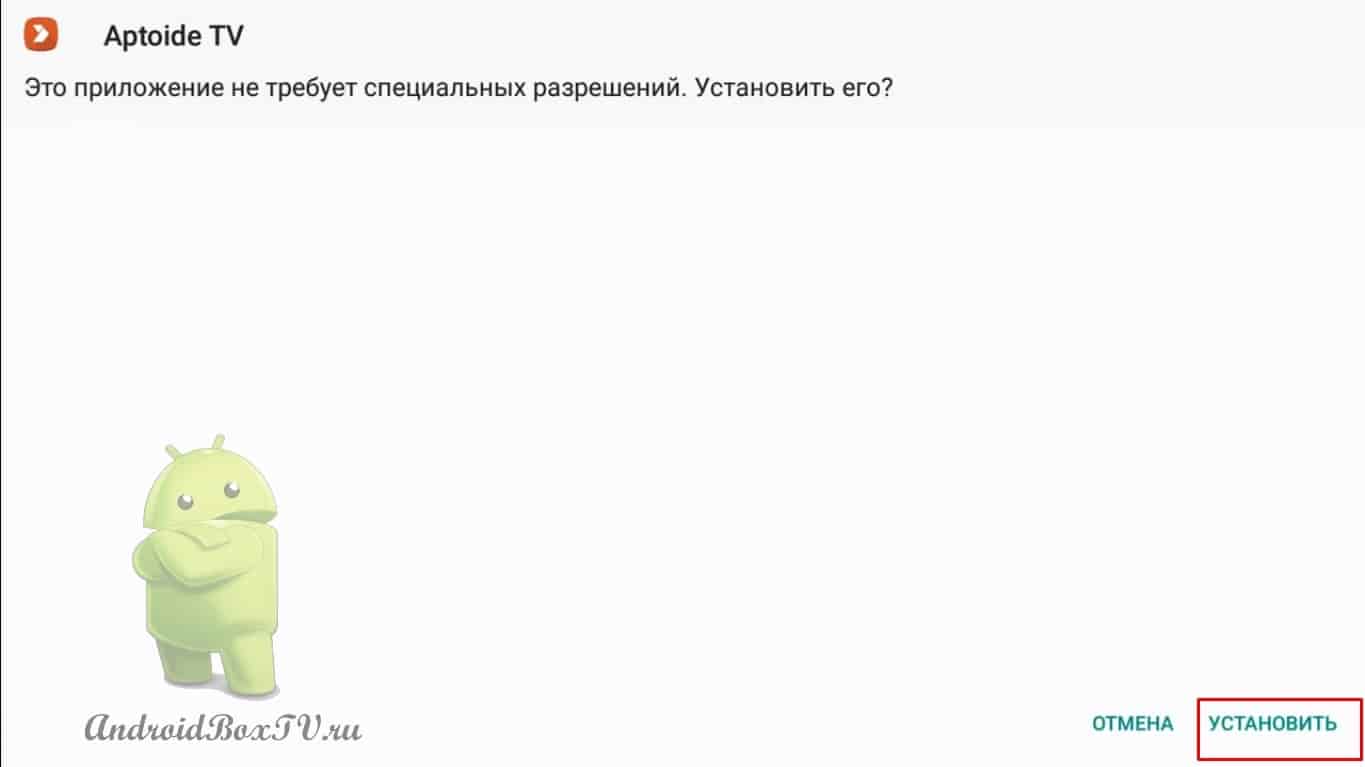
Click "Go" and the download started. Then click "install":
We open, we allow everything that is asked.
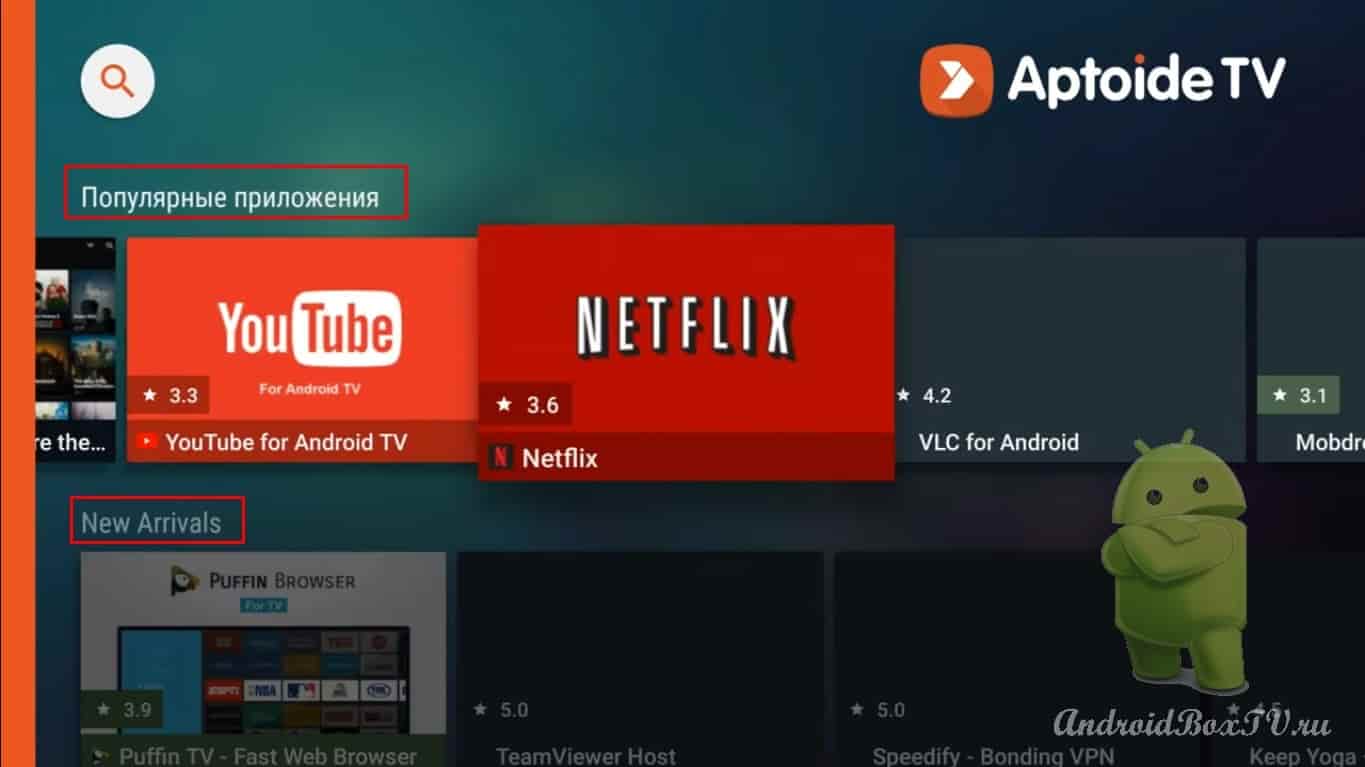
Everything can be enjoyed:
first line - popular applications,
the second is updated (New Arrivals) applications:
You can search by category.
It is possible to install previous versions of programs:
It happens that the application has been updated and does not work, you can uninstall and install the previous version.
Experiment with installing different programs yourself. And write down what happened. Check out other articles from the "First Acquaintance" section here .
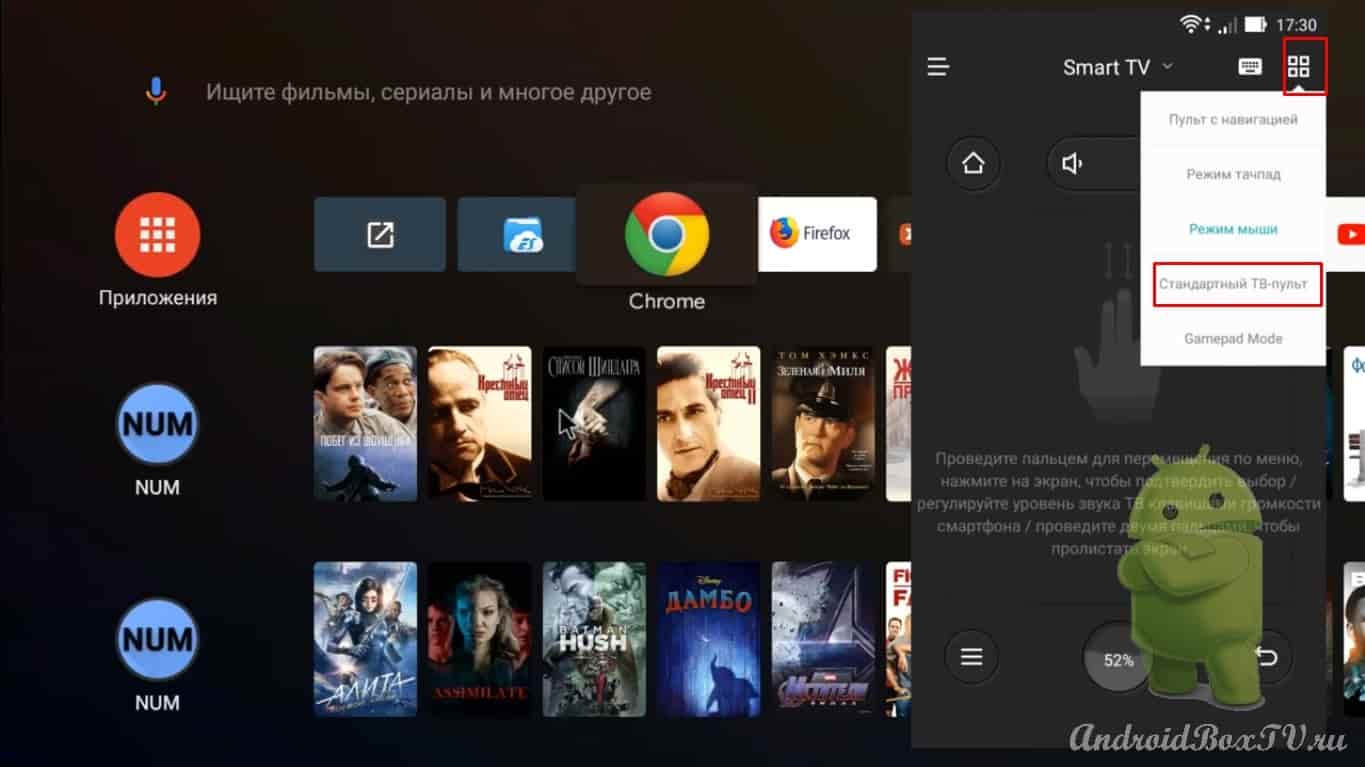
Consider the CetusPlay . It is installed on a smartphone running the Android operating system, and the server is installed on a phone or tablet. The main function of this program is a remote control for android TV in different versions:
navigation console,
remote control with touchpad,
remote control with mouse function,
gamepad features.
Using the CetusPlay application, you can transfer videos, photos from your smartphone to the device, that is, play and transfer APK files, you can copy the link to the playlist on your smartphone and paste it into the IPTV viewing application on the device.
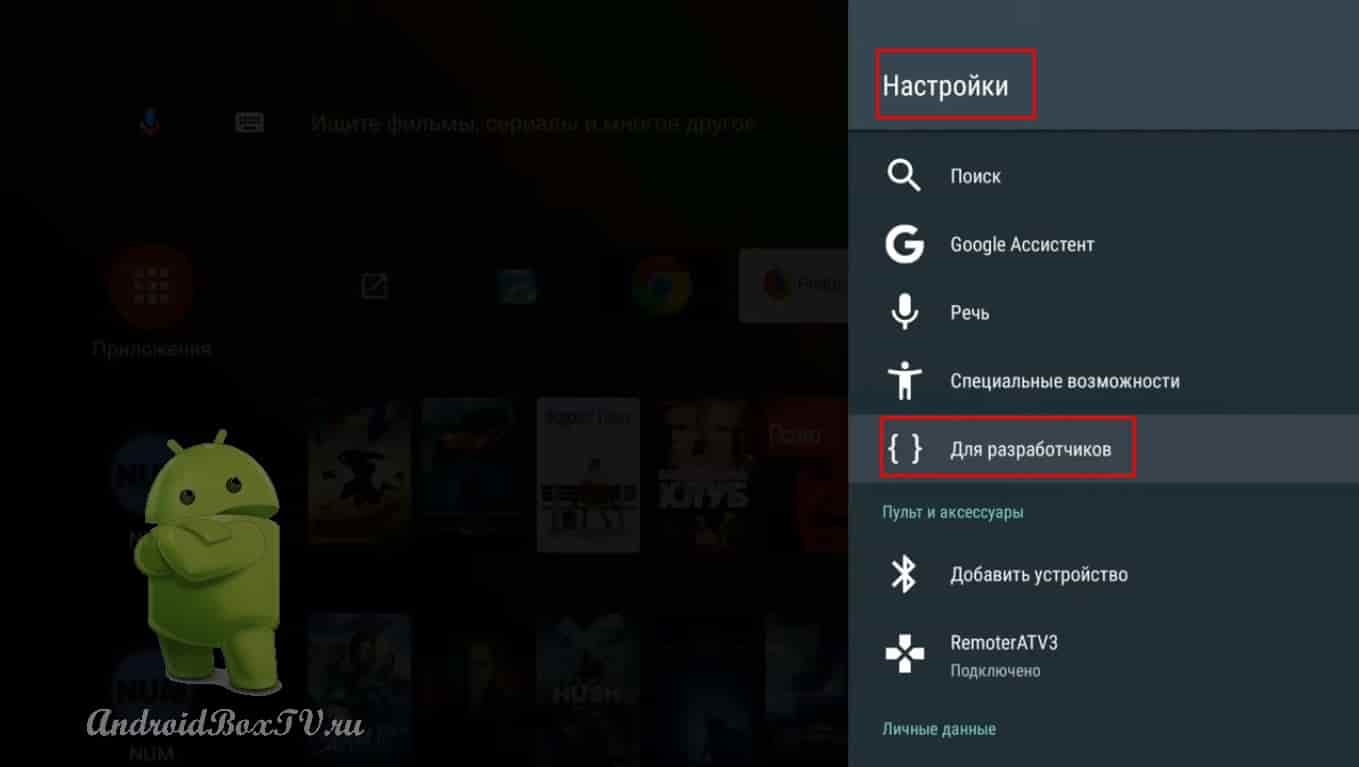
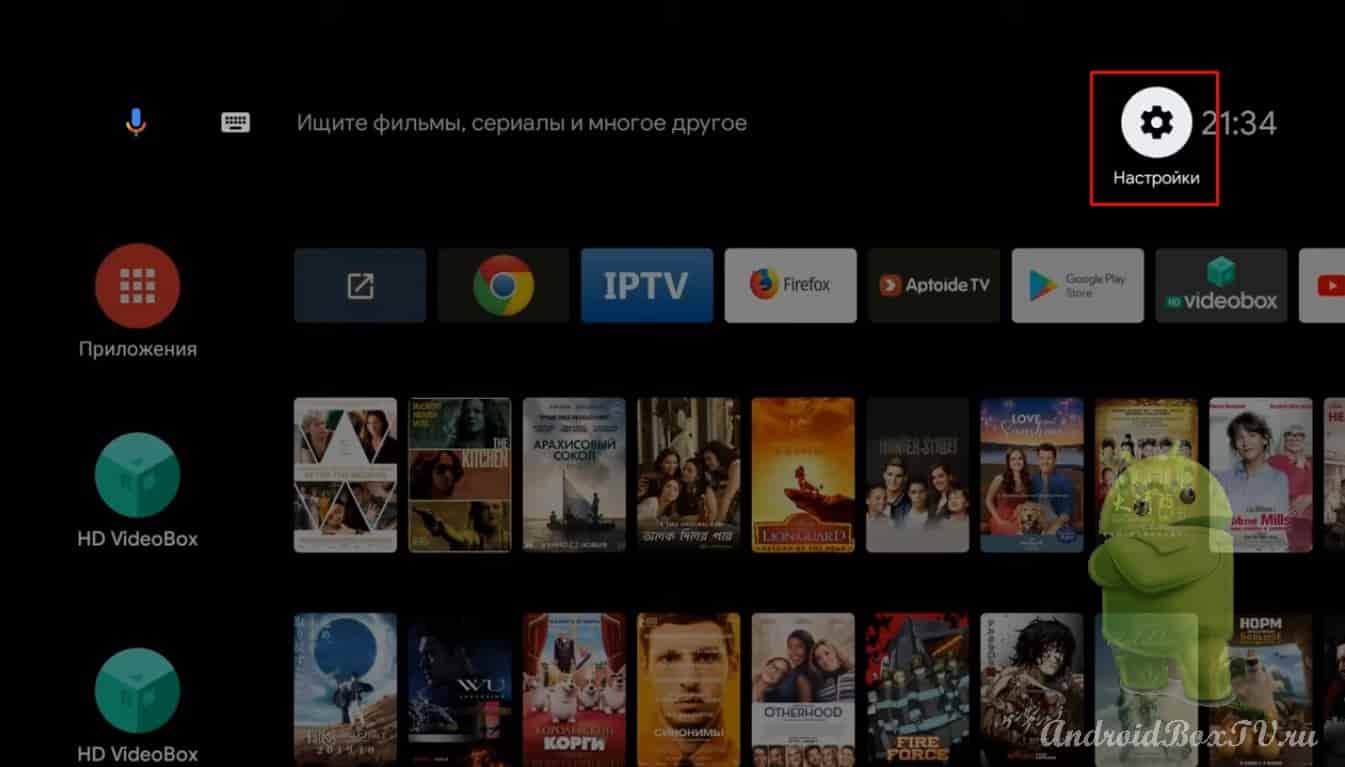
Turn on USB debugging. To do this, open the settings:
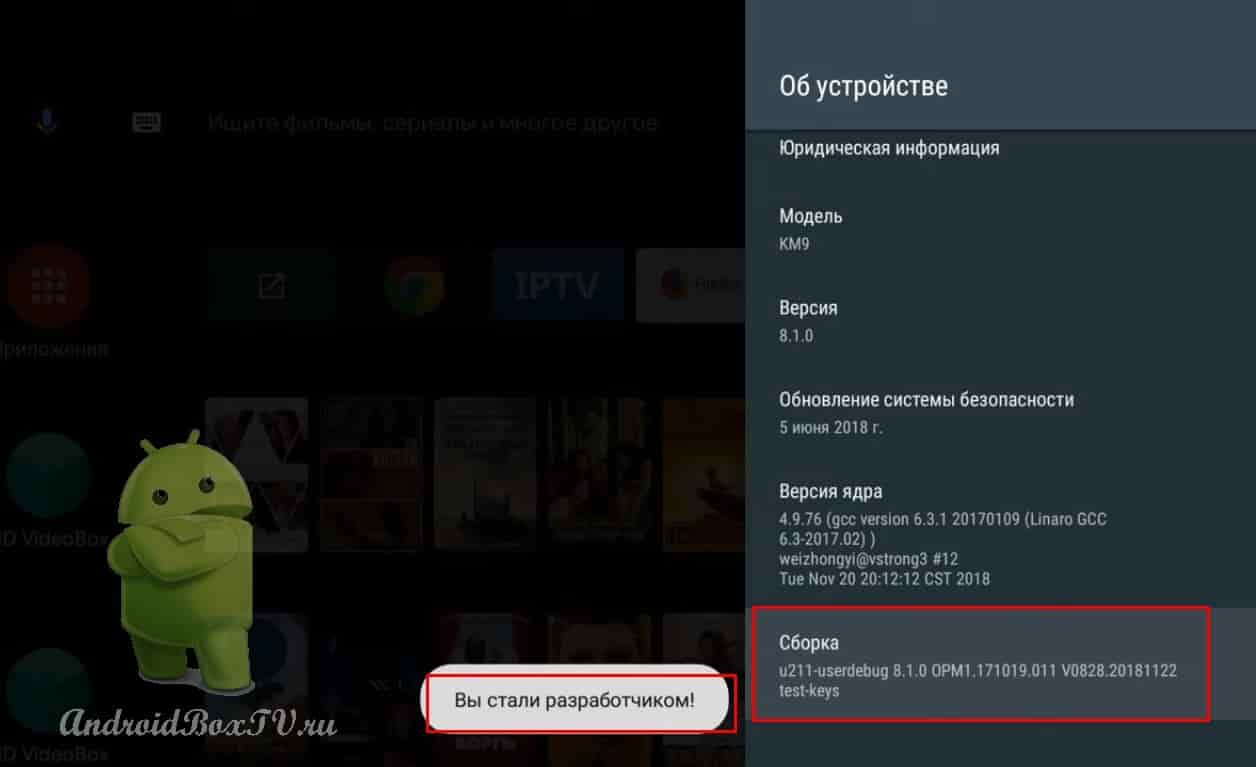
Item about the device. The very last item is the assembly, click until the inscription "you have become a developer" appears:
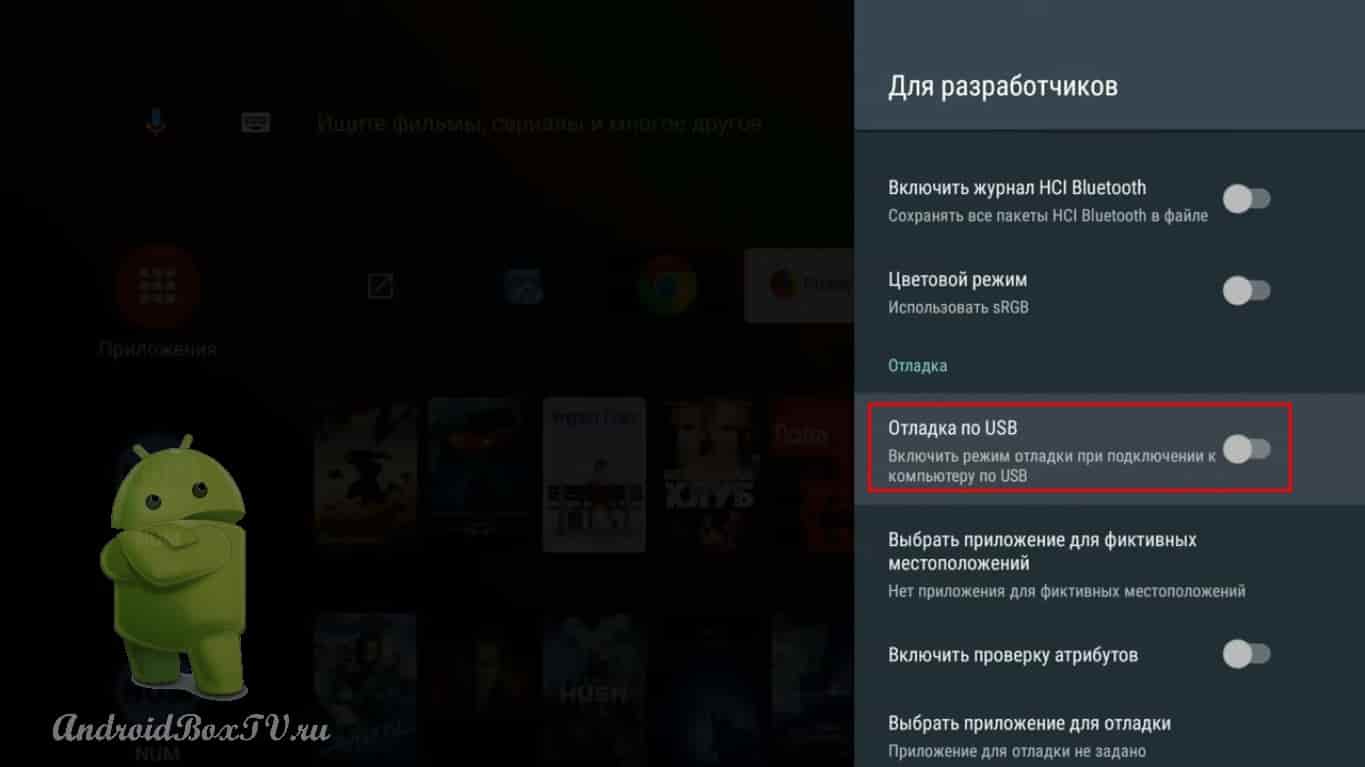
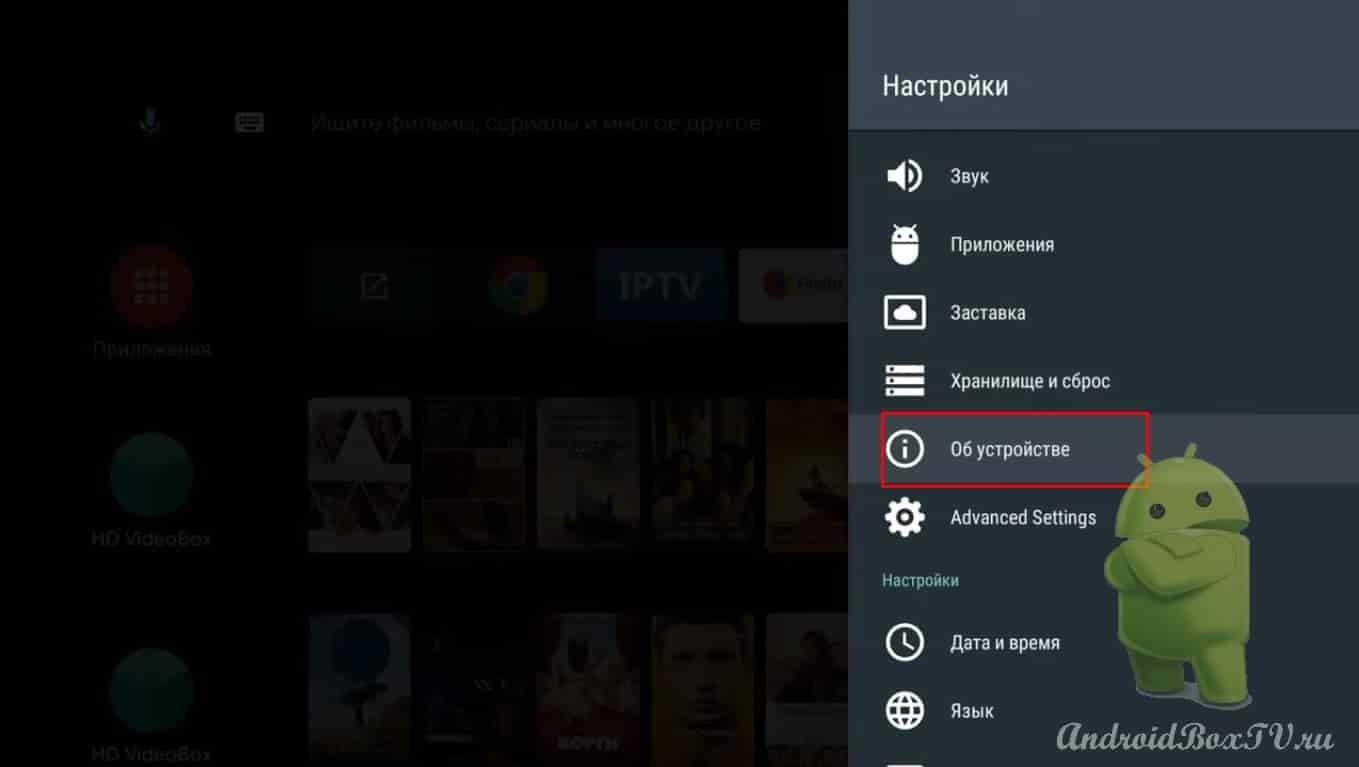
Now back and open the item "for developers"
USB Debugging:
May be called IDB debug on some devices!
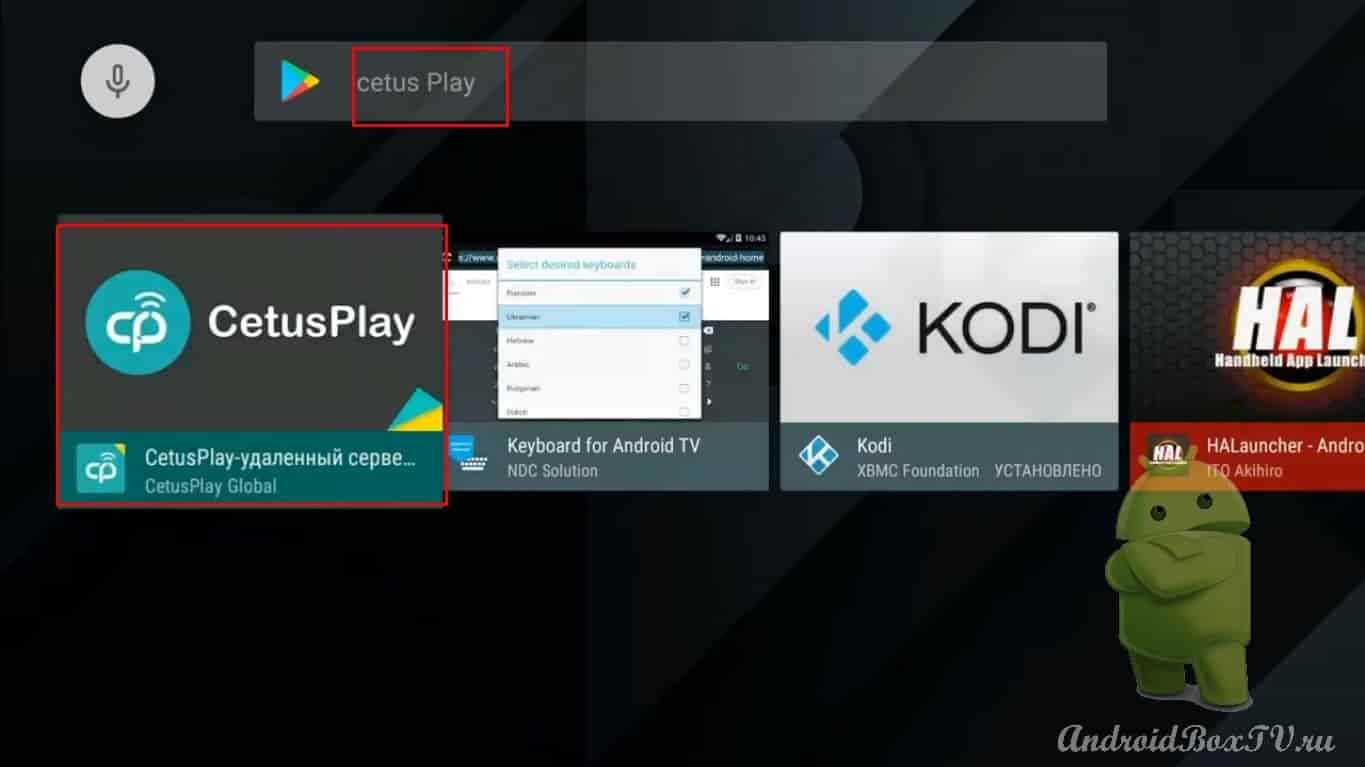
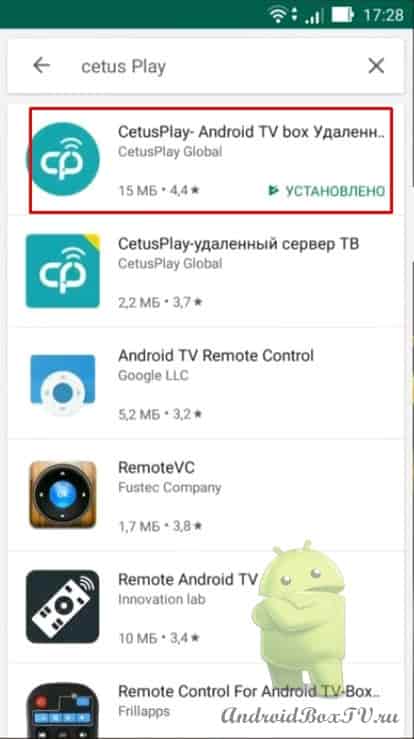
We leave from here and go to the Play Market , in the search we type CetusPlay:
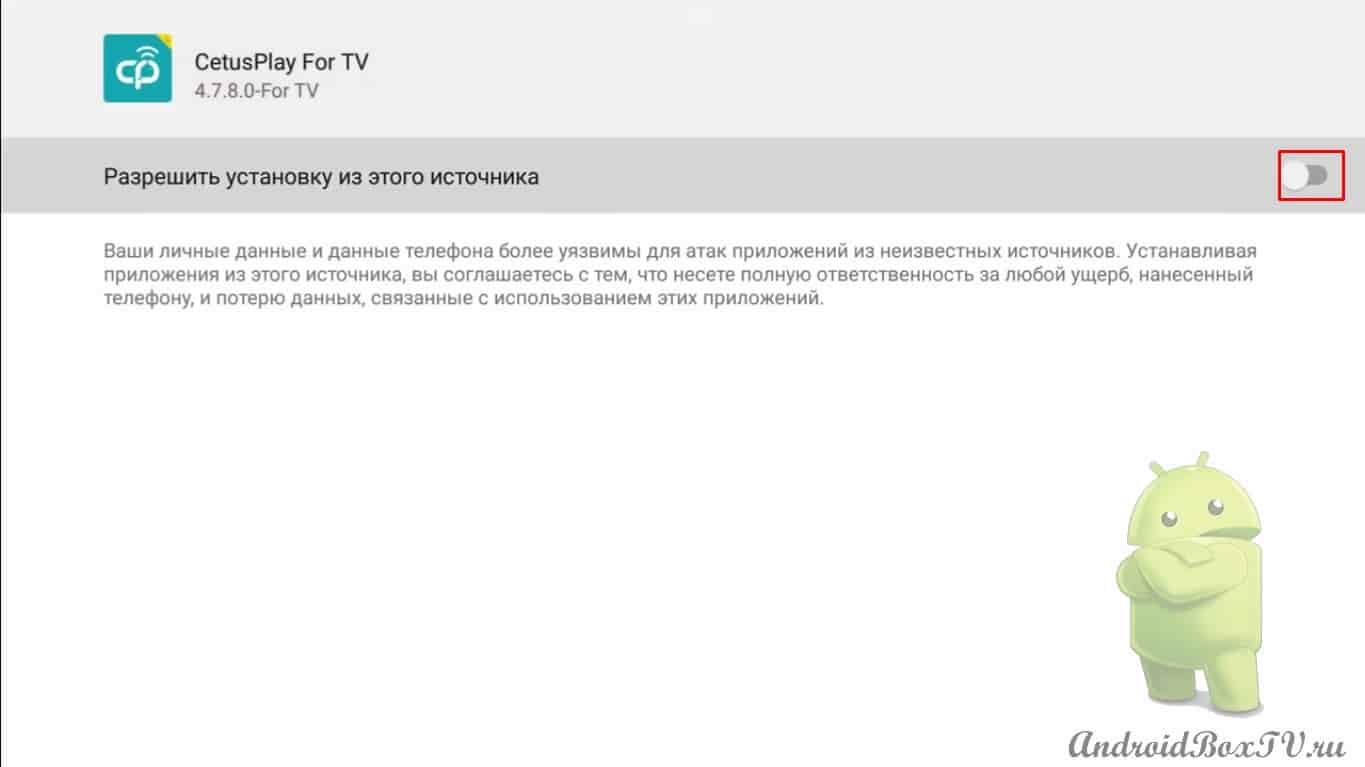
Install, open, give all permissions:
We take a smartphone.
Link to APK file here . We go to the Play Market, in the search we type CetusPlay. Here is the application:
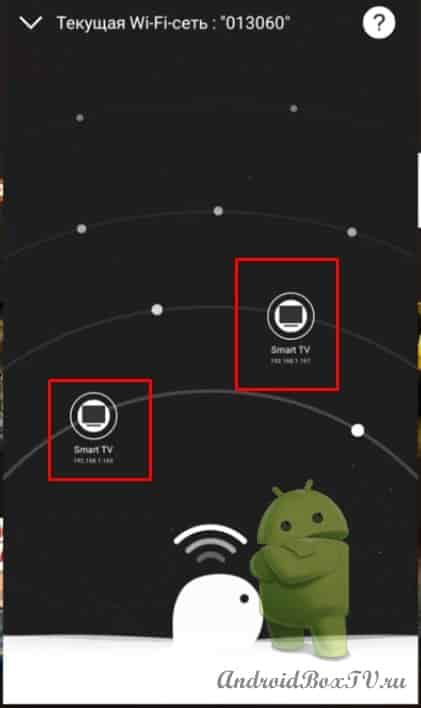
Install and open. Here is the TV and box:
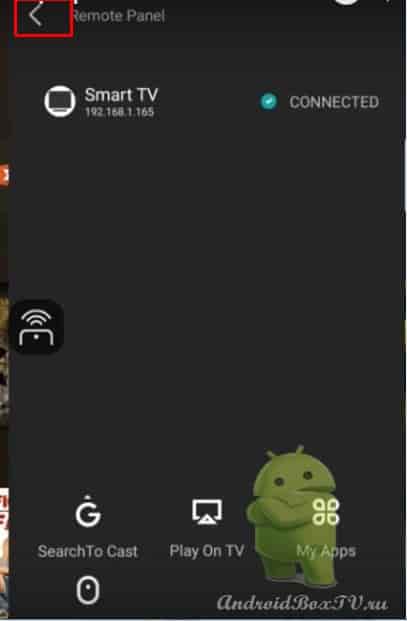
Select the desired device, then. Click on the top left:
We will see the code on the TV, you need to enter it in your smartphone to connect (enter your code):
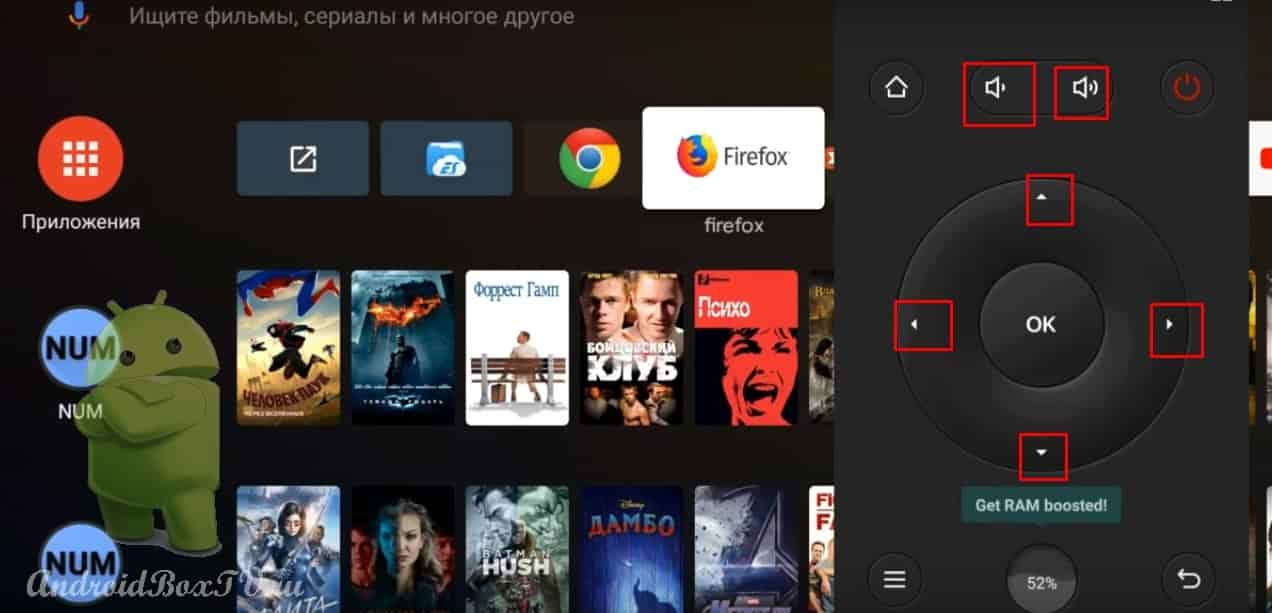
We try - the remote control works, the volume:
Let's try the touchpad remote control on our own, you'll figure it out, you just need to get used to it:
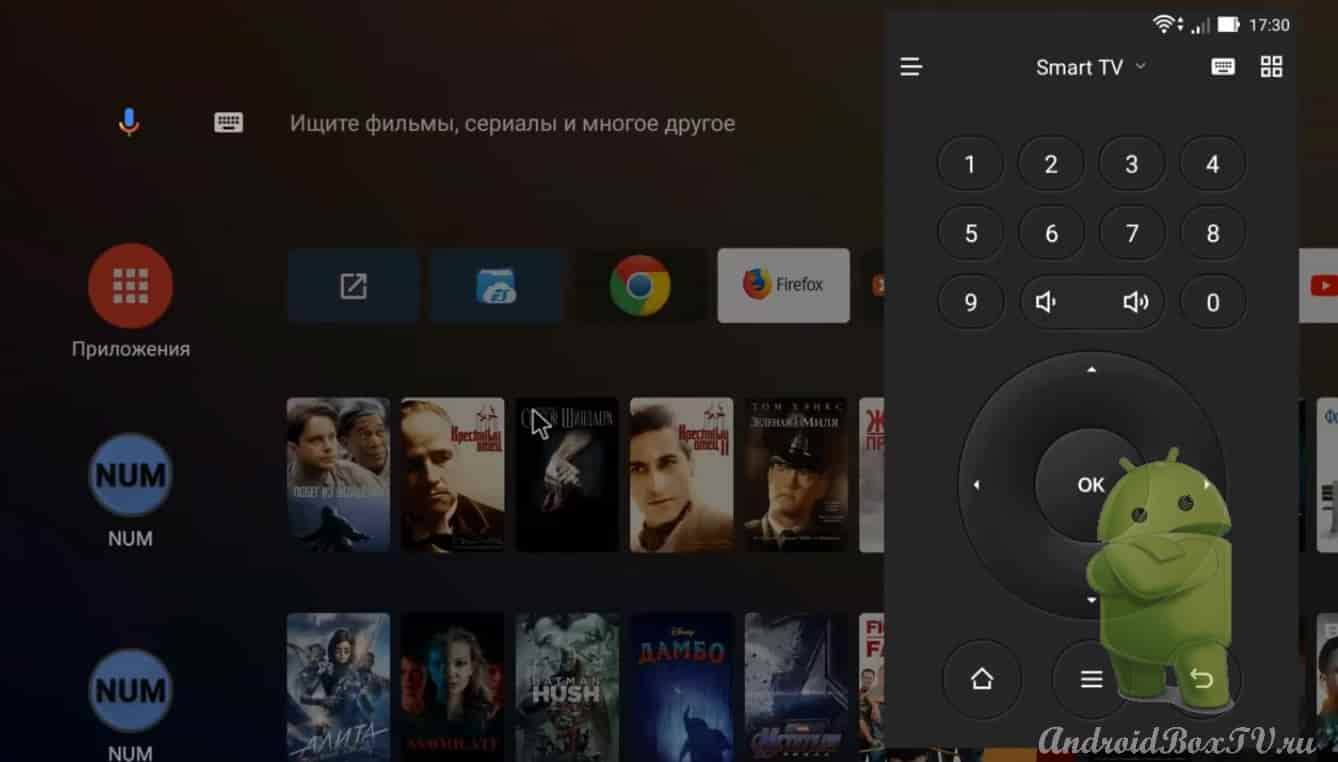
Let's see the remote control with digital buttons, everything works:
Gamepad mode is in development, try it yourself.
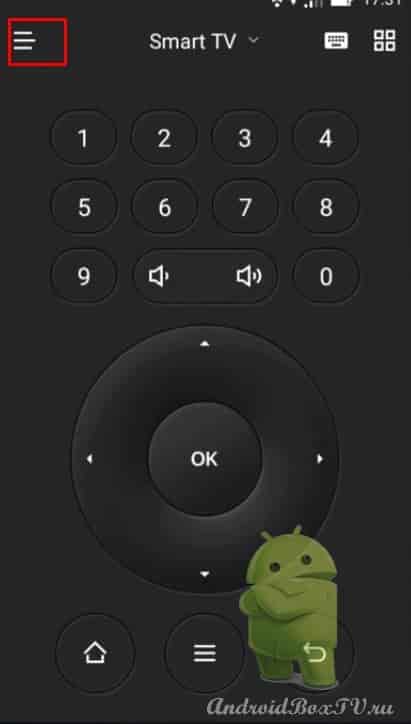
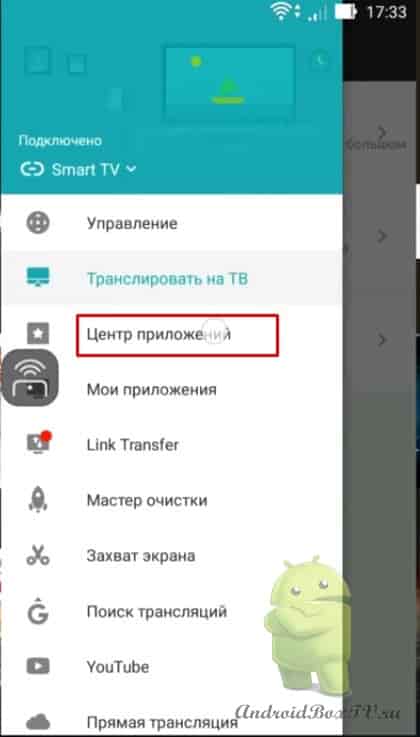
Click on the menu in the upper left corner:
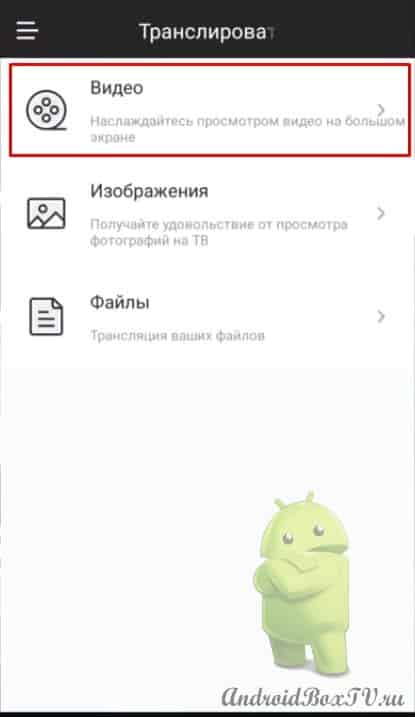
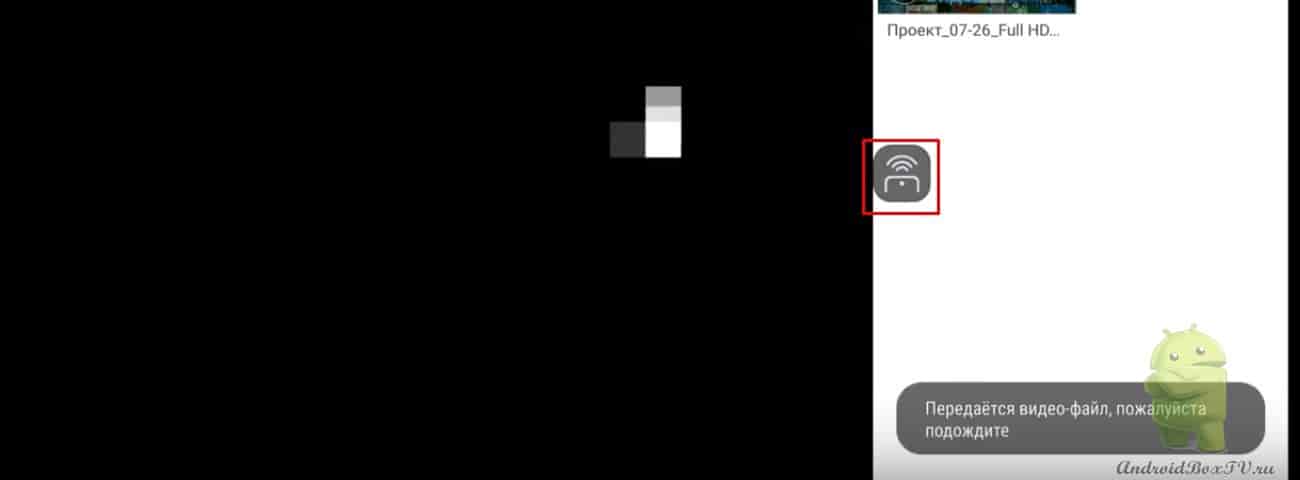
Broadcast on TV “Video”:
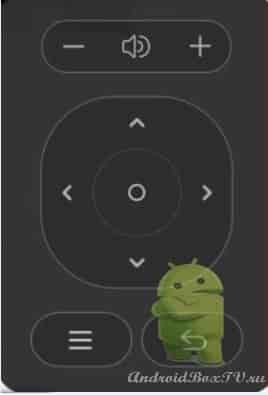
The video is loaded and we call this little console:
You can play back a photo by analogy from the same menu.
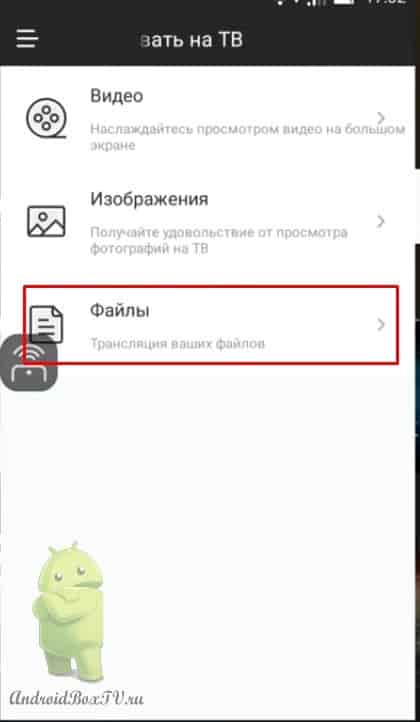
Now files. The files are not seen by the CetusPlay application, only the APK:
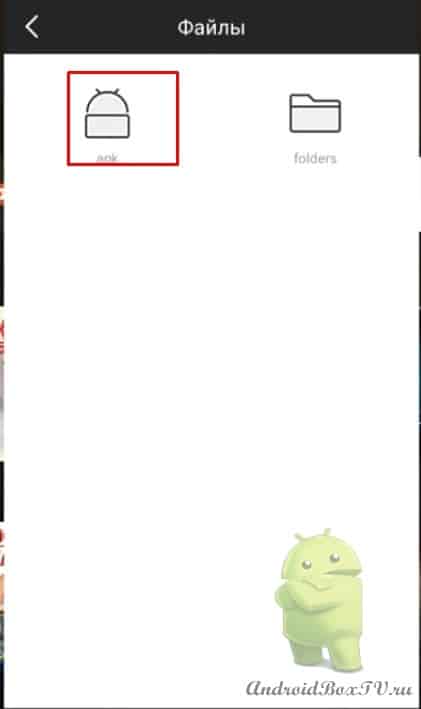
We enter the APK folder. Again they ask for the code:
You can install APK files remotely here, it's intuitive.
We return. In the menu you will also find the “application center”, this is like an application store, you can also install from here:
All other features are interesting too, you can do screen capture, there is a cleanup wizard, or even you can copy playlist links.
We already talked about how to add a search engine to ES Explorer here and how to transfer files here.
Now we will talk about installing applications and APK files of a smartphone or tablet on the Android operating system on an Android TV device.
That is, it will be possible to install an application on a smartphone from the Play Market or download an apk file and install it on Android TV devices remotely. Unfortunately, not all 100% applications are installed, some are not suitable due to different processor architectures and different versions of android.
Let's install ES Explorer on a smartphone, from a smartphone it will be installed on android tv devices, and then we'll see how to install applications and an apk file on an android TV from a smartphone, even if the installation is blocked by the developer.
This can be found on TVs, I will say again for those who are not aware that the android set-top box and android TV are different operating systems. simple android is found on TV boxes. TV box and game consoles with another play store, this play store contains only those applications that are adapted to the remote control.
So let's take a look at everything first. We need to enable USB debugging.
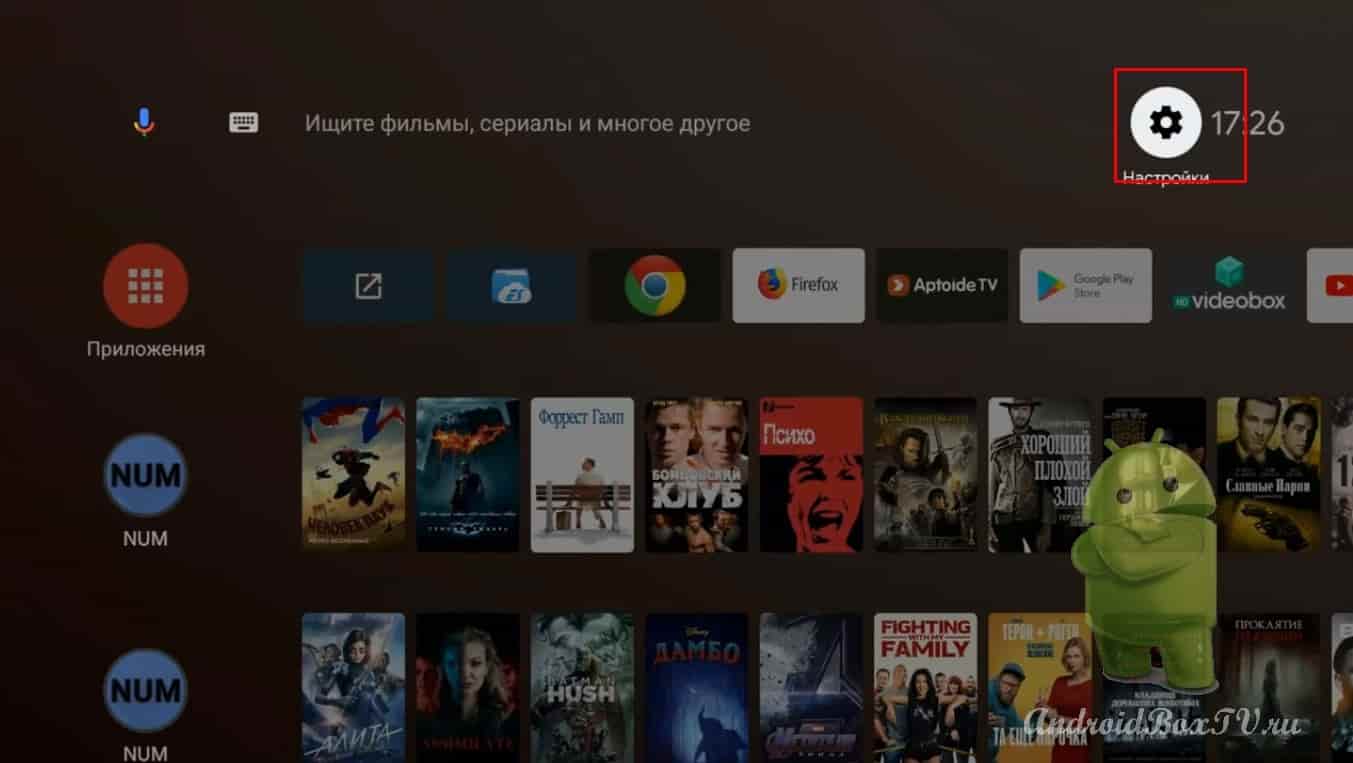
To do this, open the settings :
Item about device:
The very last item is the assembly, click until the inscription "you have become a developer" appears:
Now go back and open the "for developers" item:
USB Debugging:
May be called IDB debug on some devices!
Include:
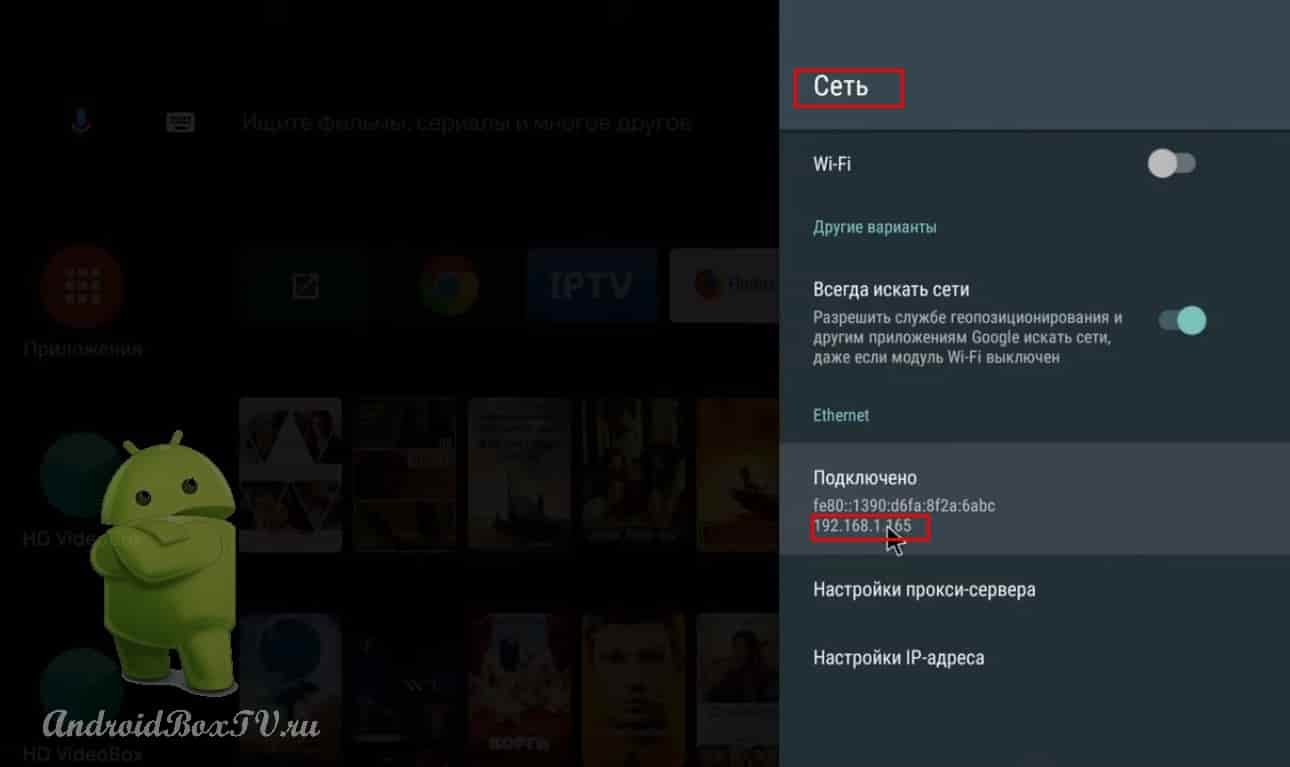
Now let's look at the IP address of the device. This will come in handy if the device is not detected during automatic scanning:
We write out!
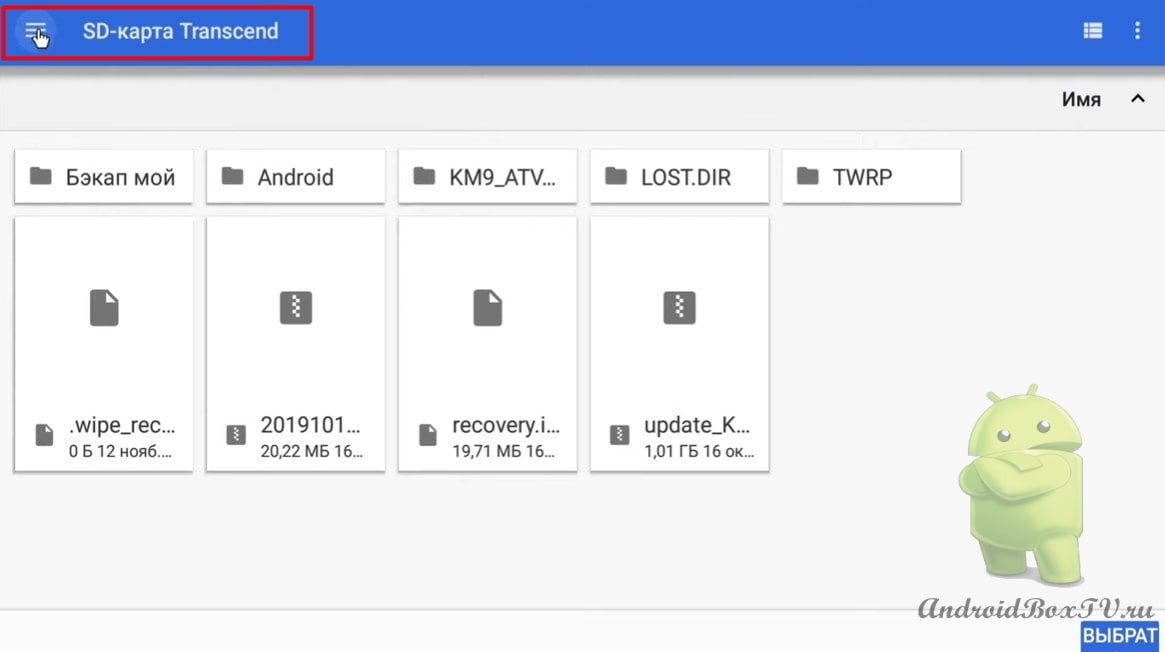
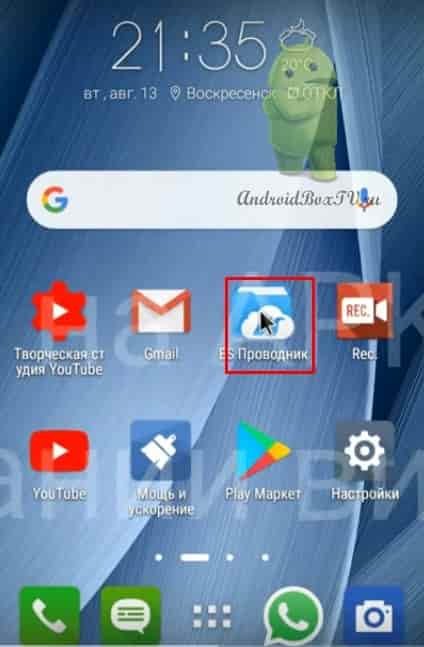
We take a smartphone and open ES File Explorer:
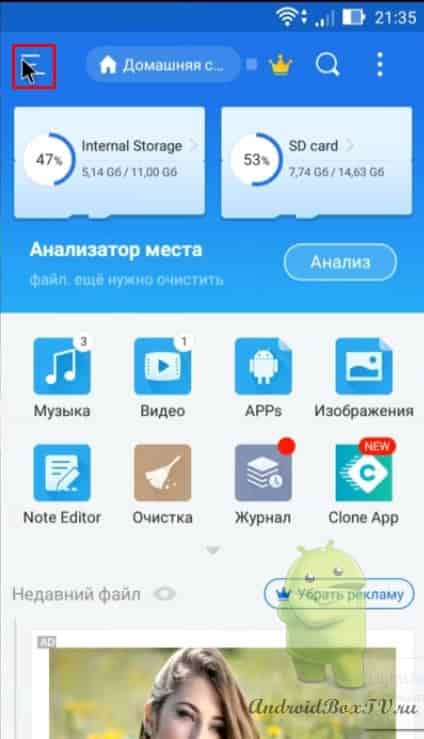
On the APK file for the phone here . Installed, open this menu here:
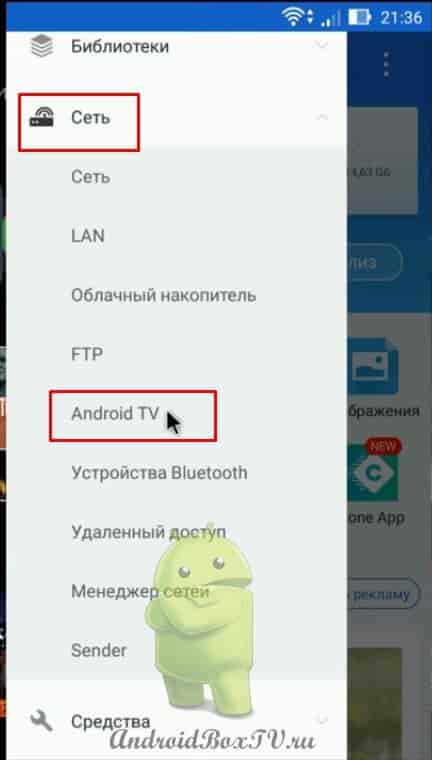
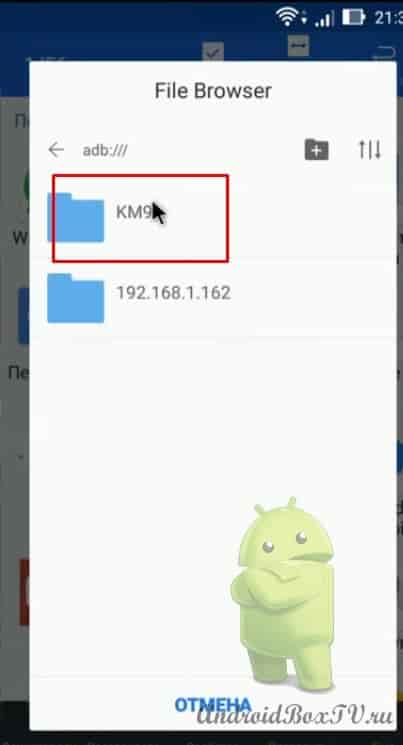
We need the "Network" item, then Android TV:
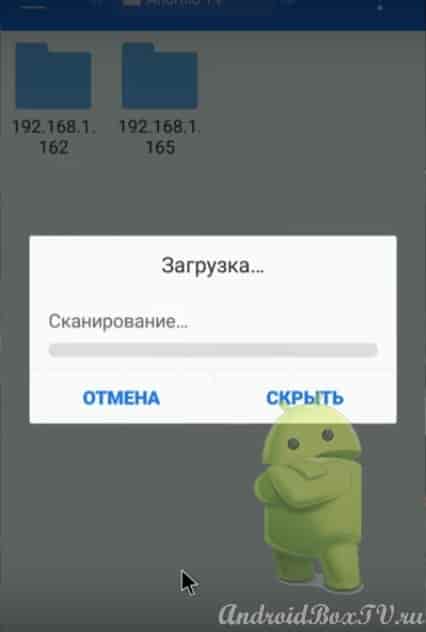
Click "Scan".
Devices must be on the same wifi network!
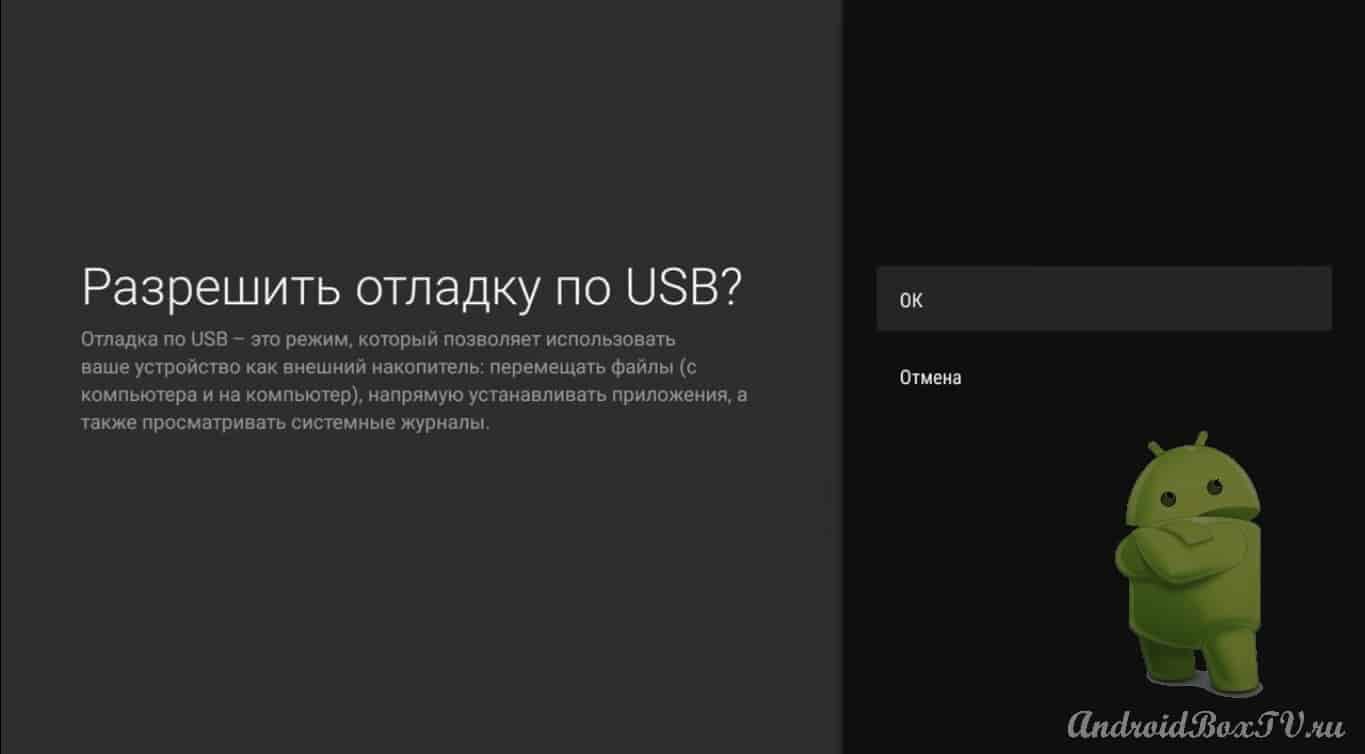
While scanning on an Android device (TV), a window may pop up. Allow USB debugging from this device. Will have to confirm. This is all done once, then it will not be necessary to do anything.
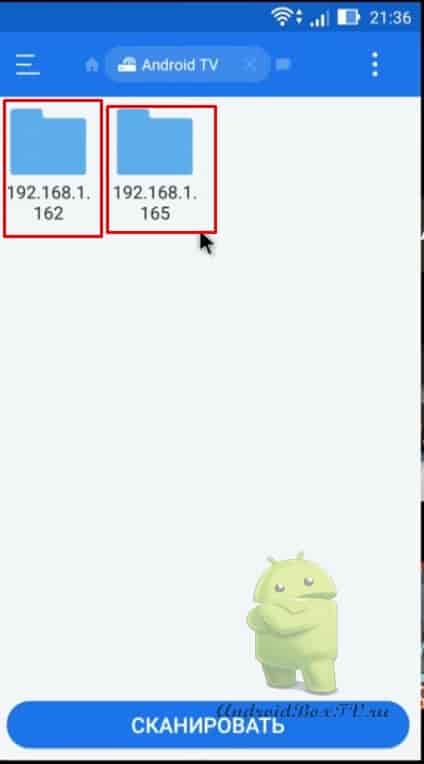
Here is the TV and the second TV BOX device:
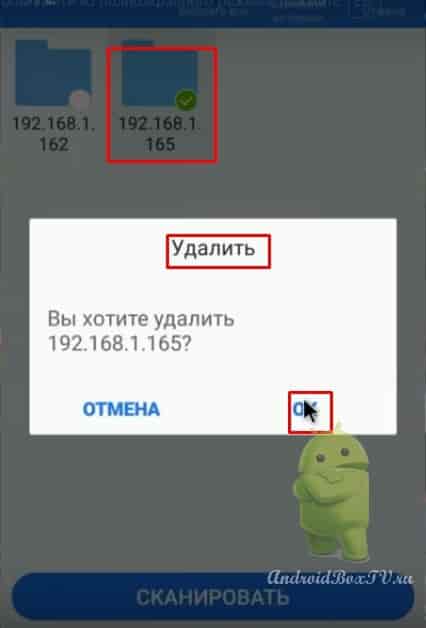
For those who haven't decided, let's delete it now:
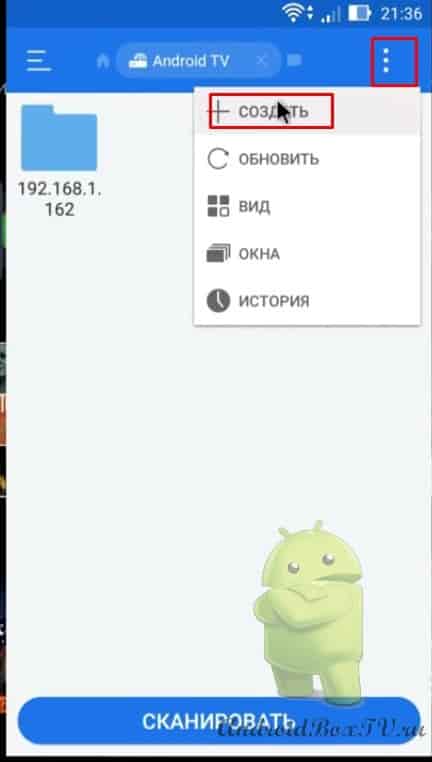
For what? Let's see how to enter the IP address manually. Create:
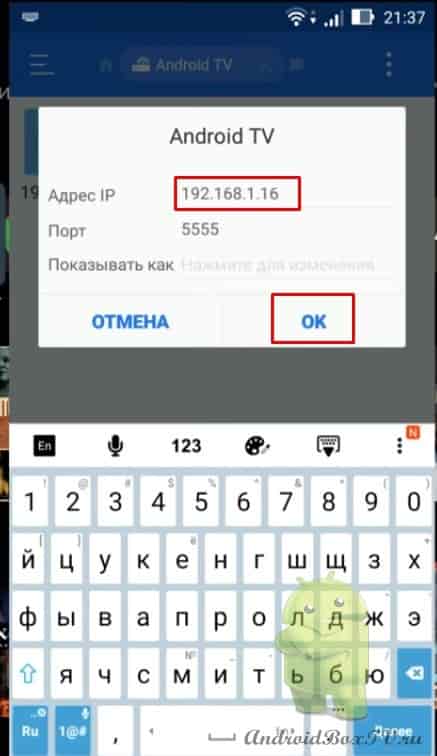
Enter the IP address that was written out on Android TV:
Enter your IP address, which was written out earlier in this article!
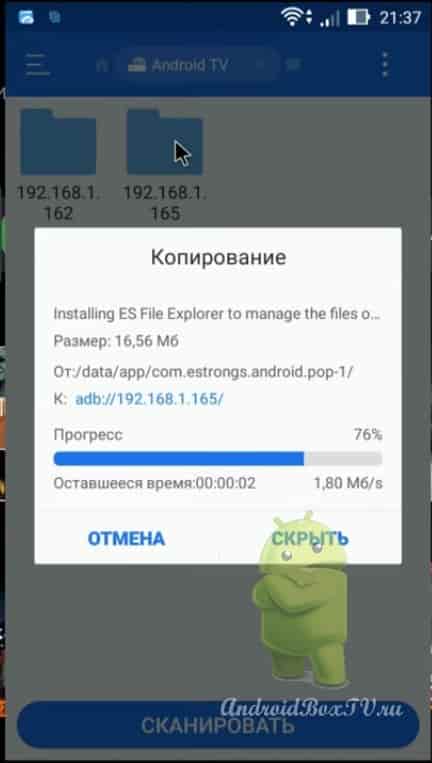
We open the device, now ES Explorer is being installed on Android TV:
Let's wait a bit. Installation completed.
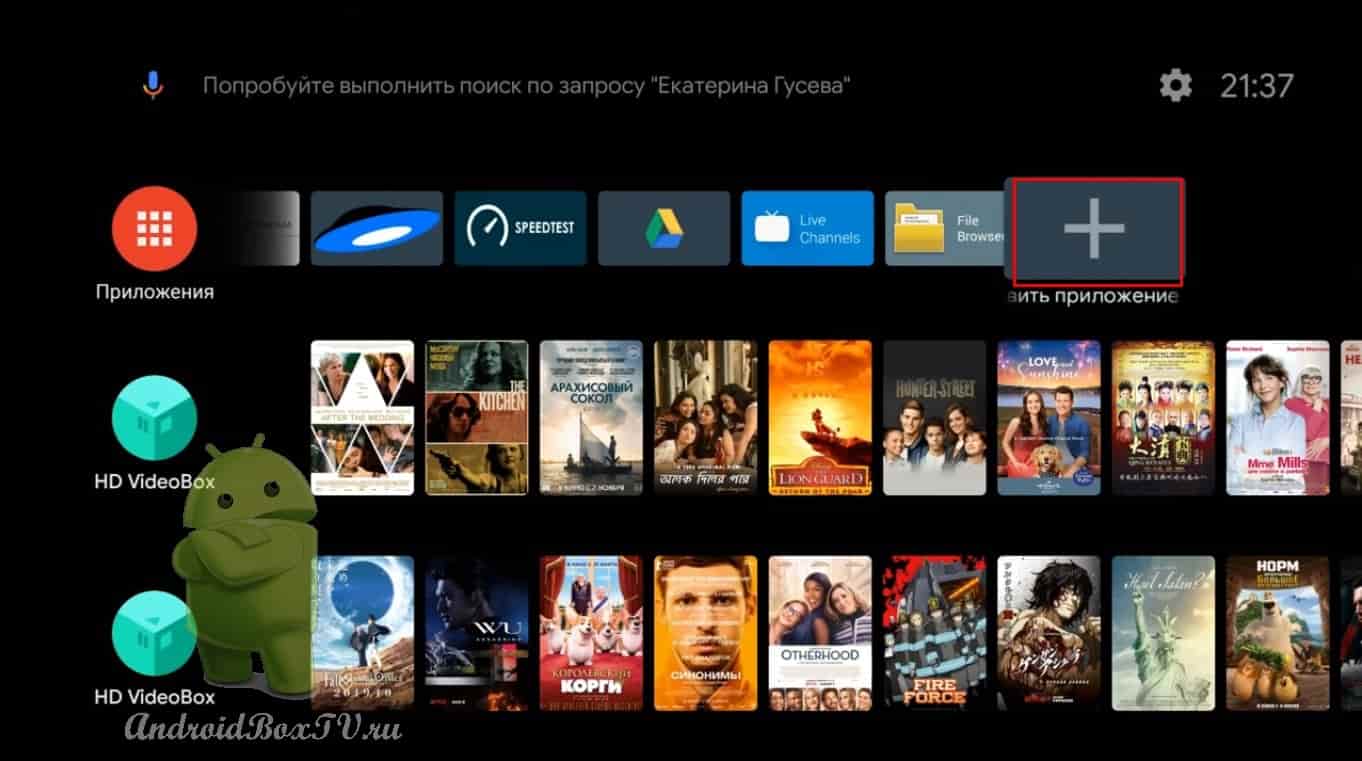
Now let's see if the ES Explorer is installed on the set-top box or not, let's get back to the TV box. Click on the "+" (described in detail here ):
Yes, everything is installed:
We open it, and allow everything that is asked, everything is in order, it works:
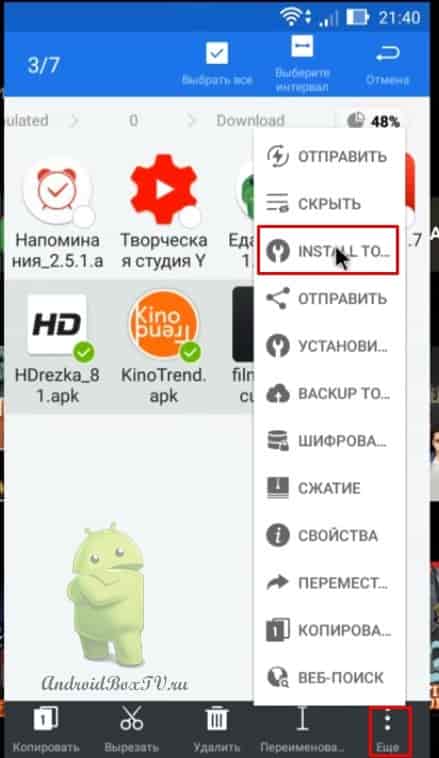
We return to the smartphone and open the application. We enter APPS and select the applications we need, click "More" and "Install to":
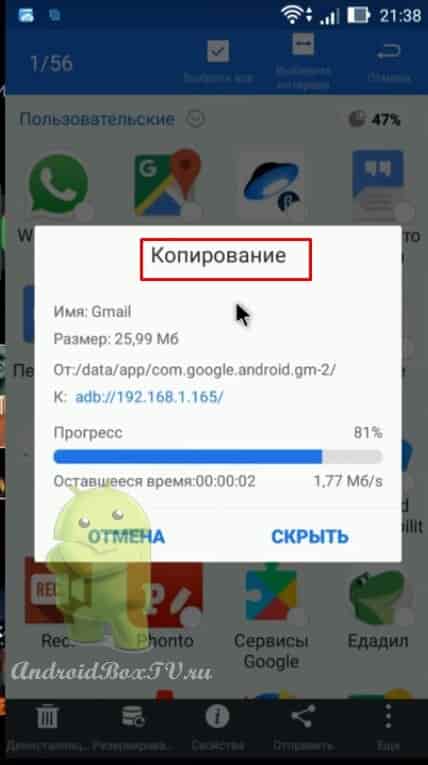
It is installed on the TV, we see how copying is going on:
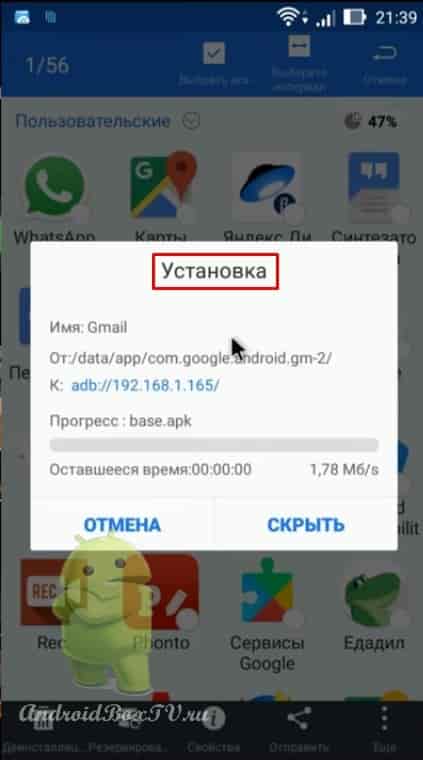
And installation:
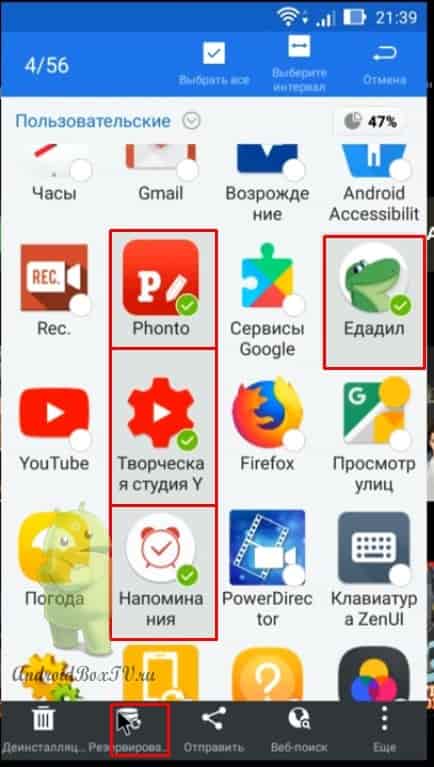
Now let's see how to create an APK file. We select the applications we need, click "Reserve":
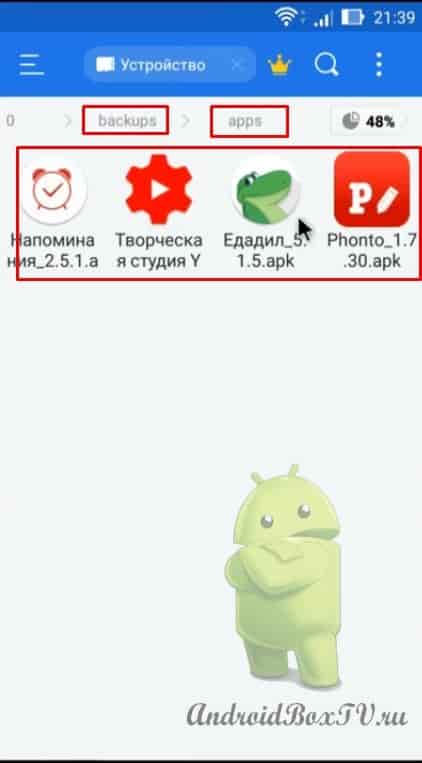
We are waiting for the end, now go to the main menu of Explorer, go to the backups folders, find the apps folder:
And in order to transfer and immediately install on the Android device, click the familiar “More” and find “Install to”:
Copying and installing, copying, installing.
Everything is installed, we check on our device, I'm sure you will find all the applications. I repeat, using the above, you can install applications blocked for the android device. Who will have questions, write.
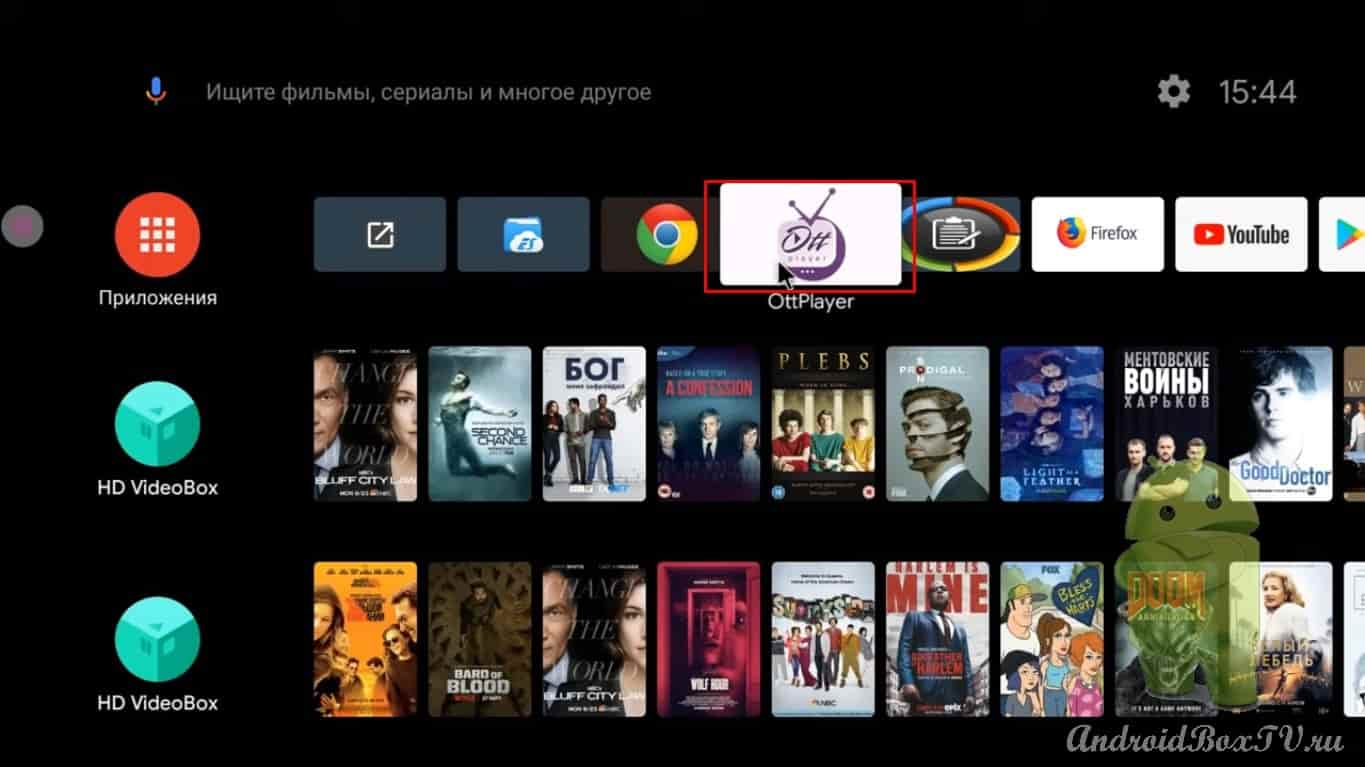
I reinstalled OttPlayer IPTV and saw the application really adapted to the remote control, unlike the previous version, it is much more convenient to navigate, but immediately ran into an authorization problem - I could not enter the application in any way.
Let's figure out how to solve this problem for anyone who has it, and also go to the site of the same name and see how to register, add a playlist and add groups to it, and add a channel to groups
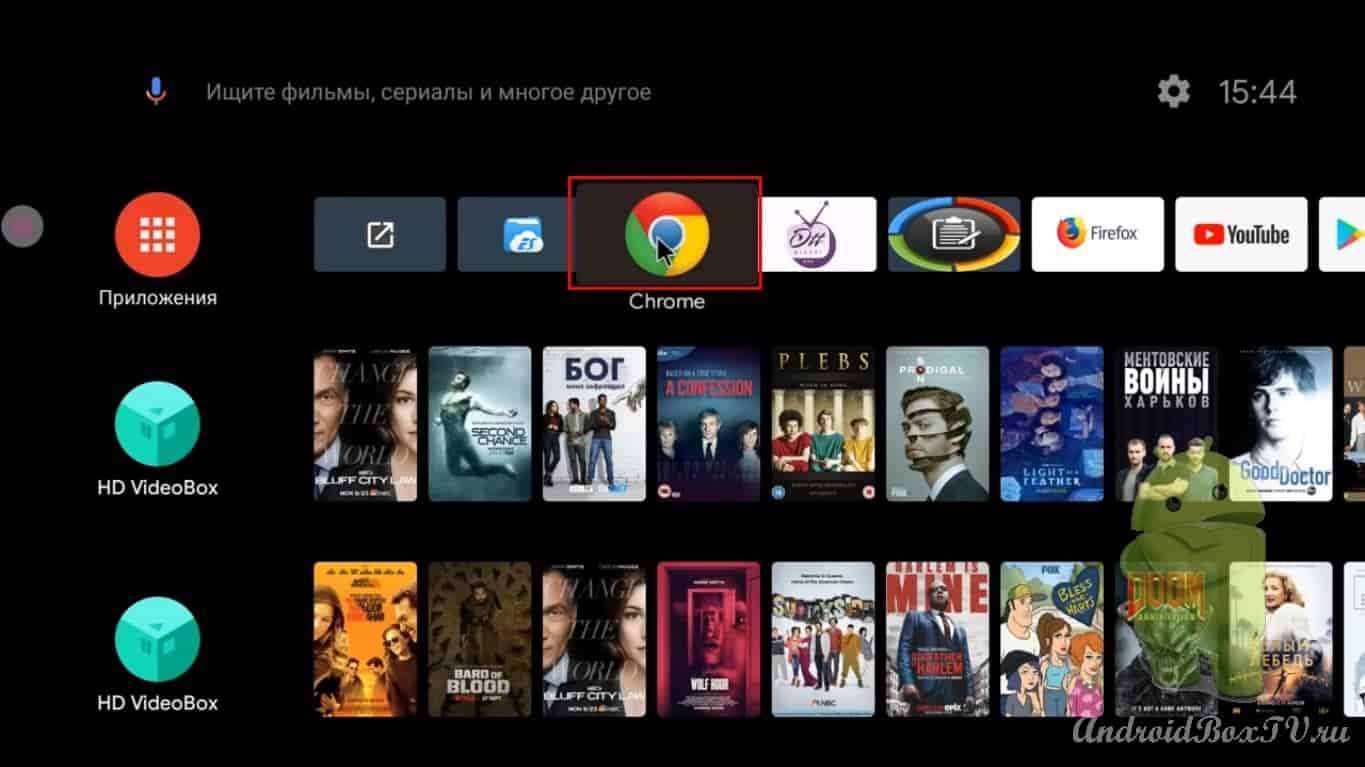
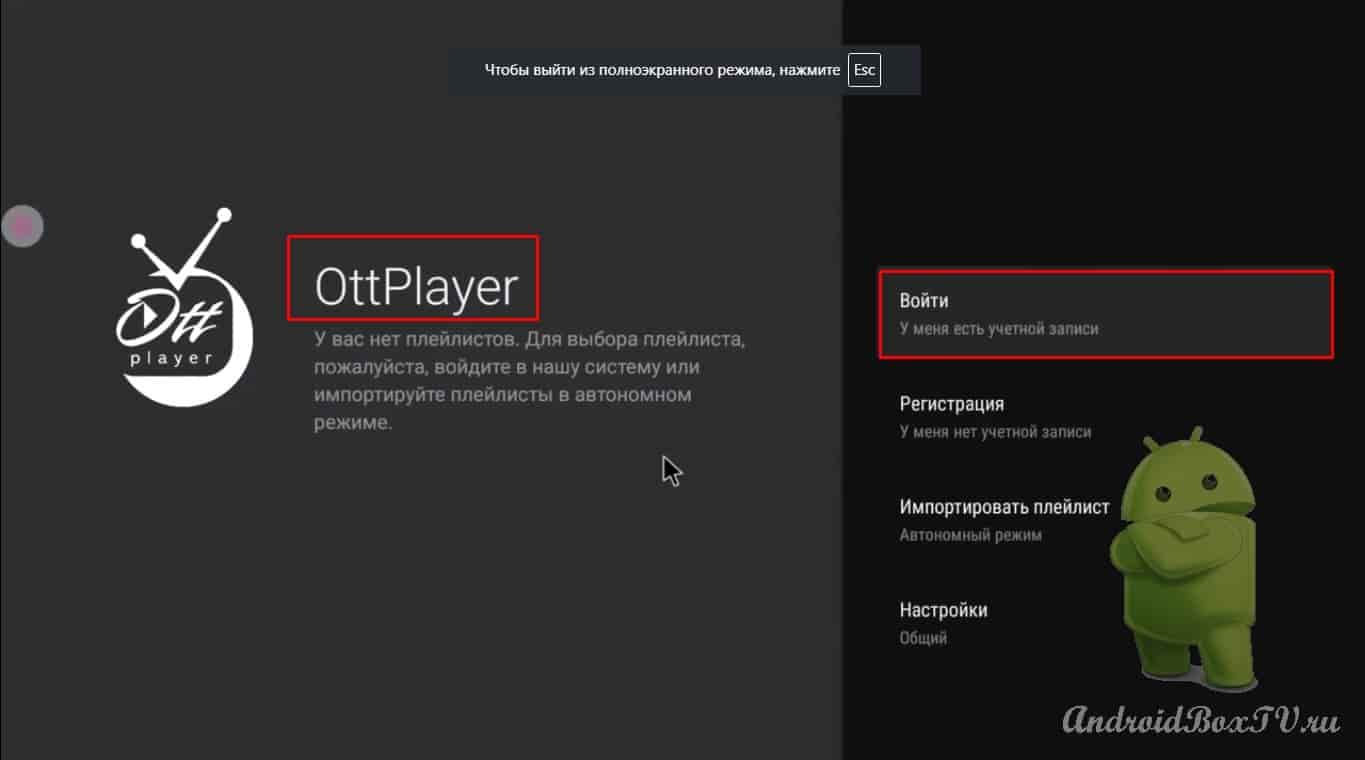
Here is the player, which is freely available in the Play Store :
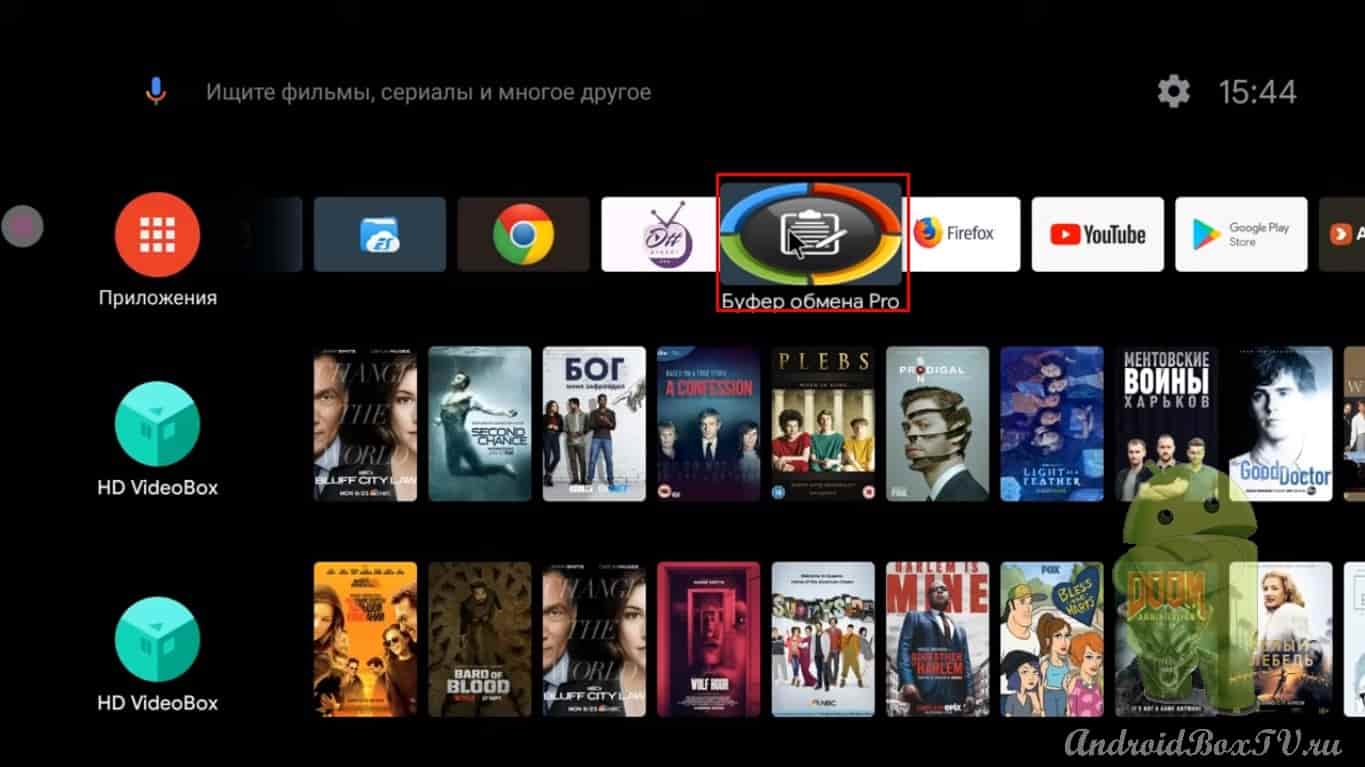
We go. We install. I will also use the Clipboard PRO so as not to type links manually:
Using the Google Chrome app:
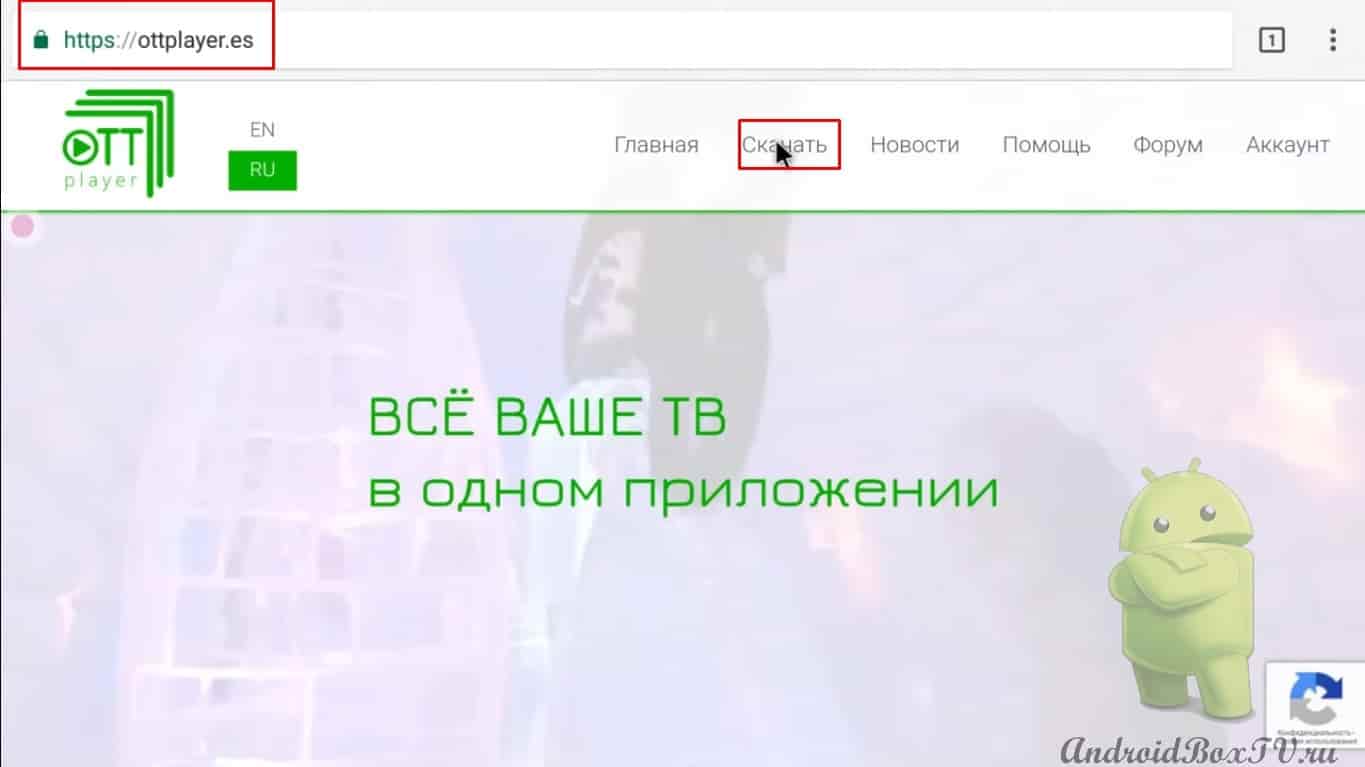
Also, all this can be done on a computer, tablet, smartphone, where it is more convenient for anyone. We go to the site . Let's go to the download this item for different operating systems:
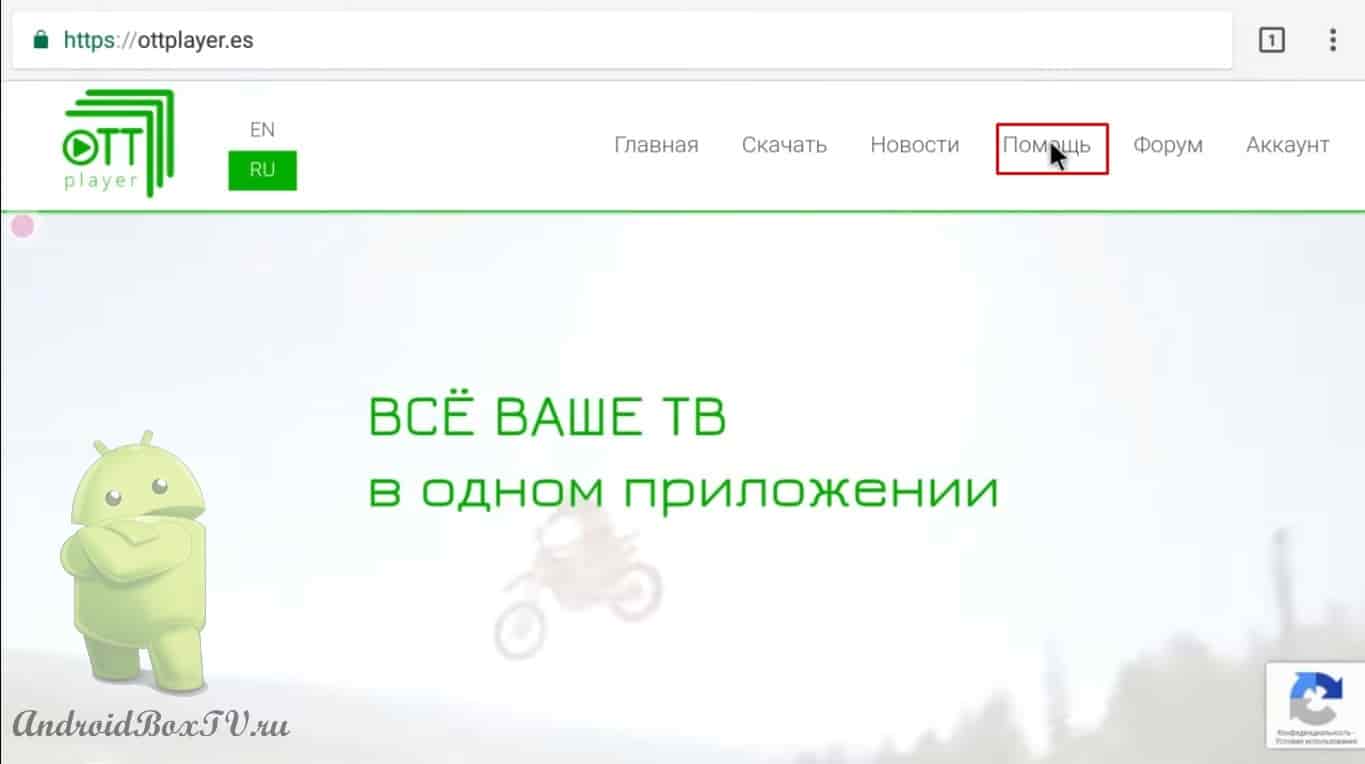
Help if someone does not understand something, you can read everything:
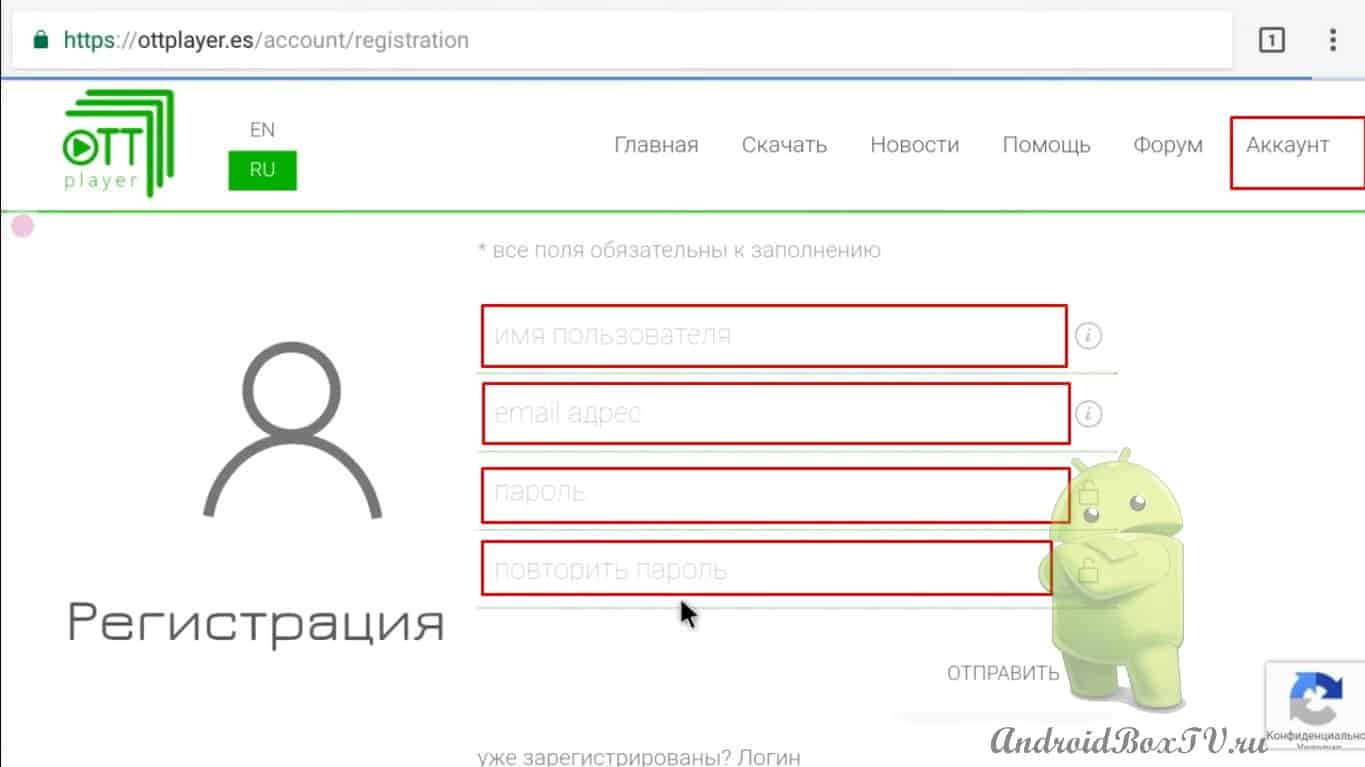
Go to registration, enter: name; · mail; · password; password again and click send:
A letter will come in the mail. Follow the link and all registration is completed. It is not necessary to add a phone number. We go into the device, exit here with the home , we will not close anything.
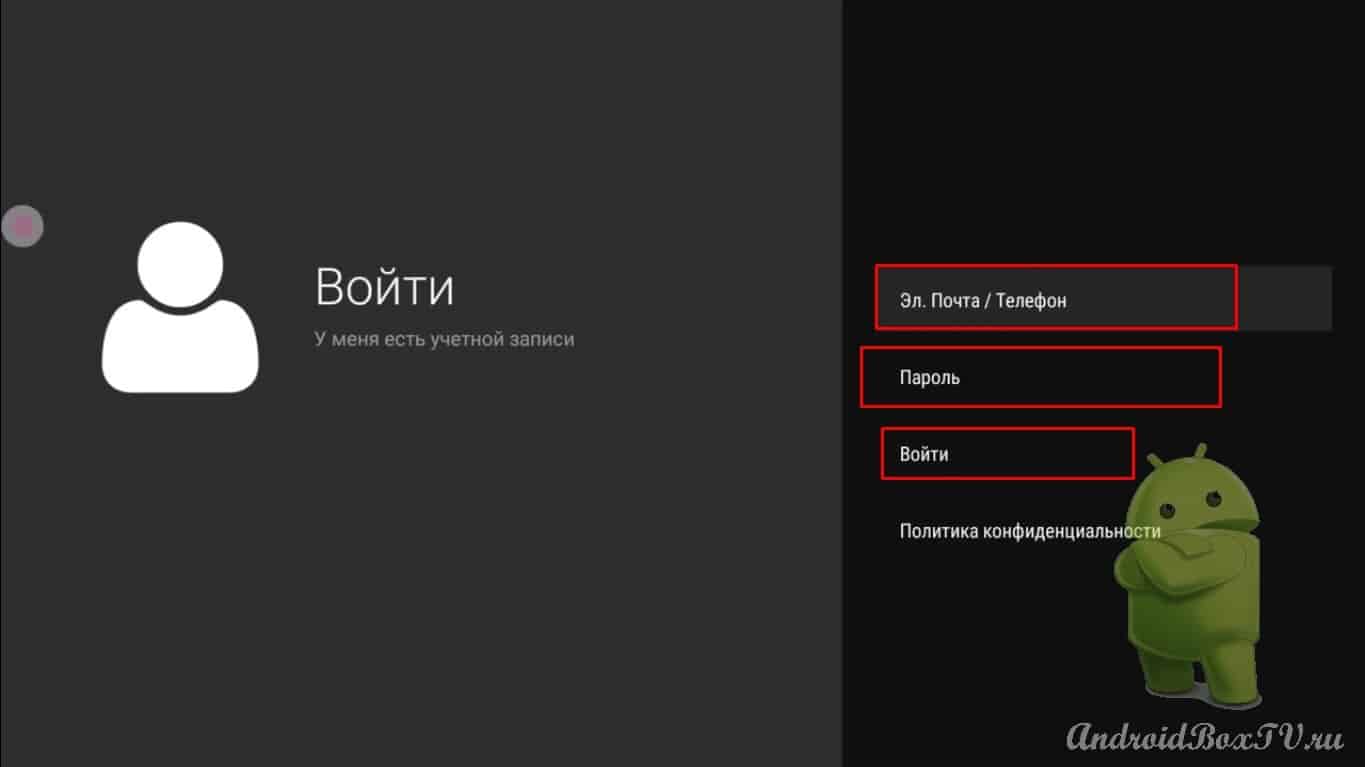
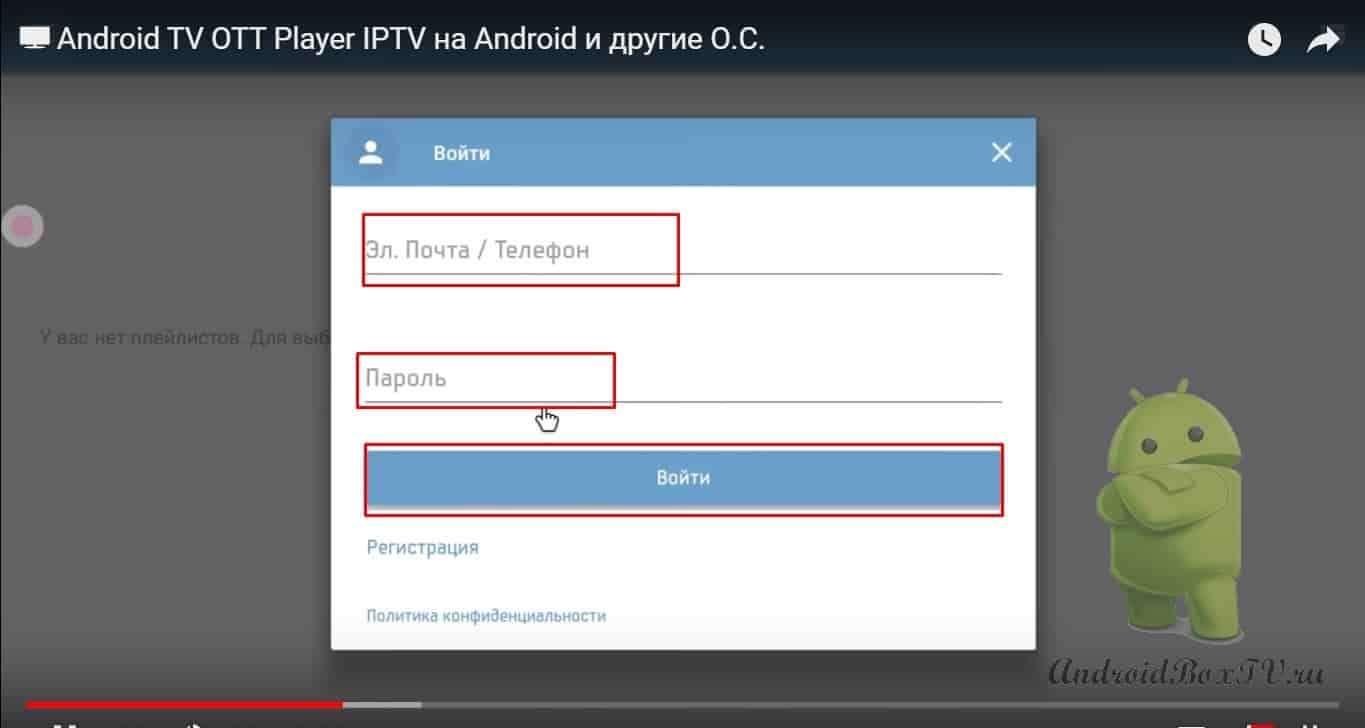
Open the OttPlayer app and try to login:
Here we enter all the data of the site mail password (which we came up with above during registration):
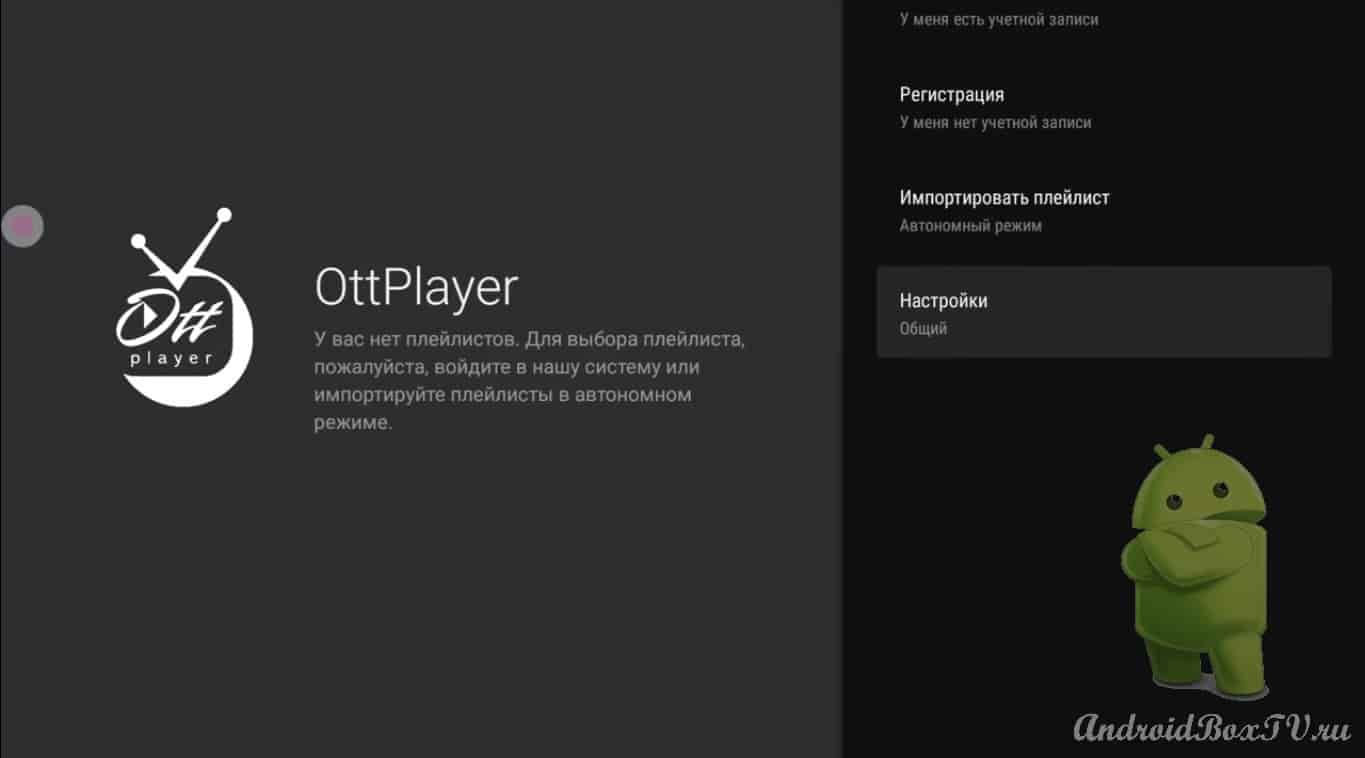
If it doesn't work here, how do I go back. Settings:
And exit the mode:
Now click on the avatar:
Add email and password:
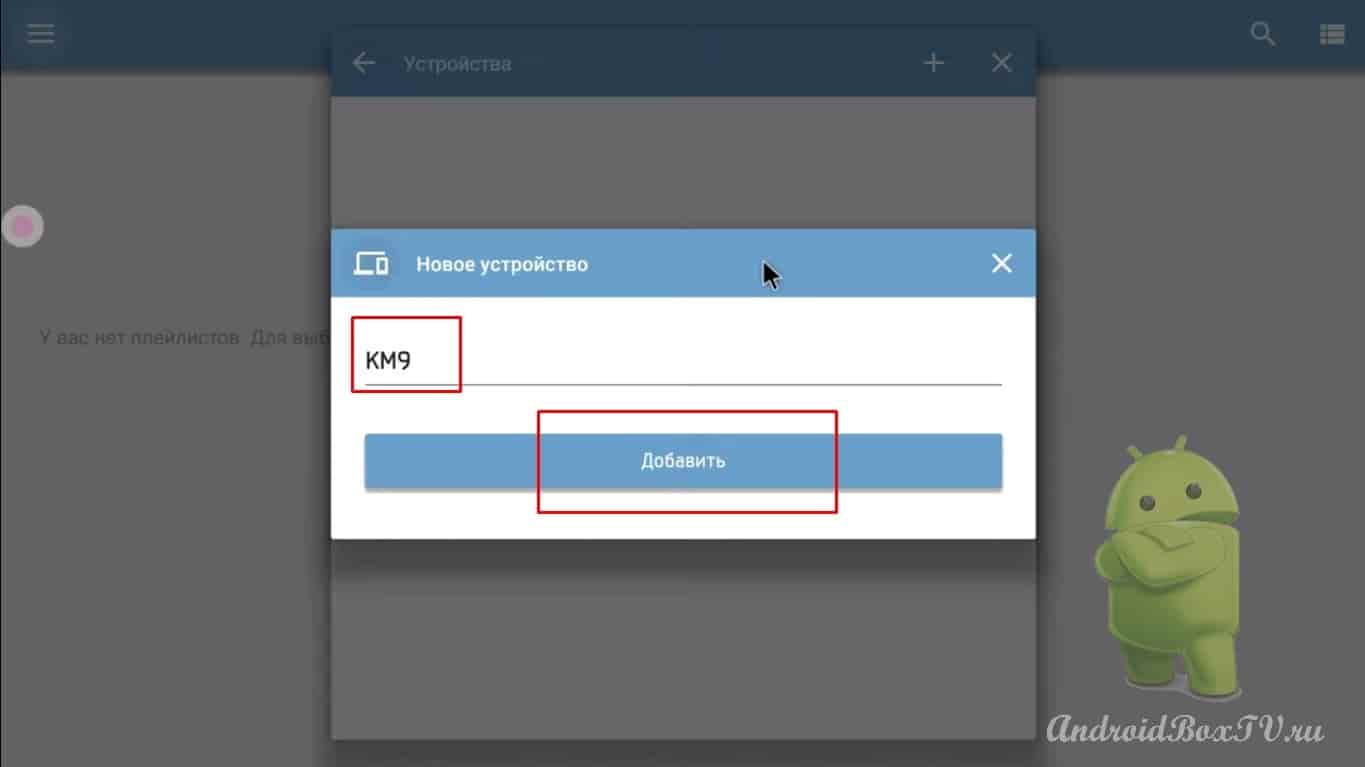
Click on plus:
And add the device:
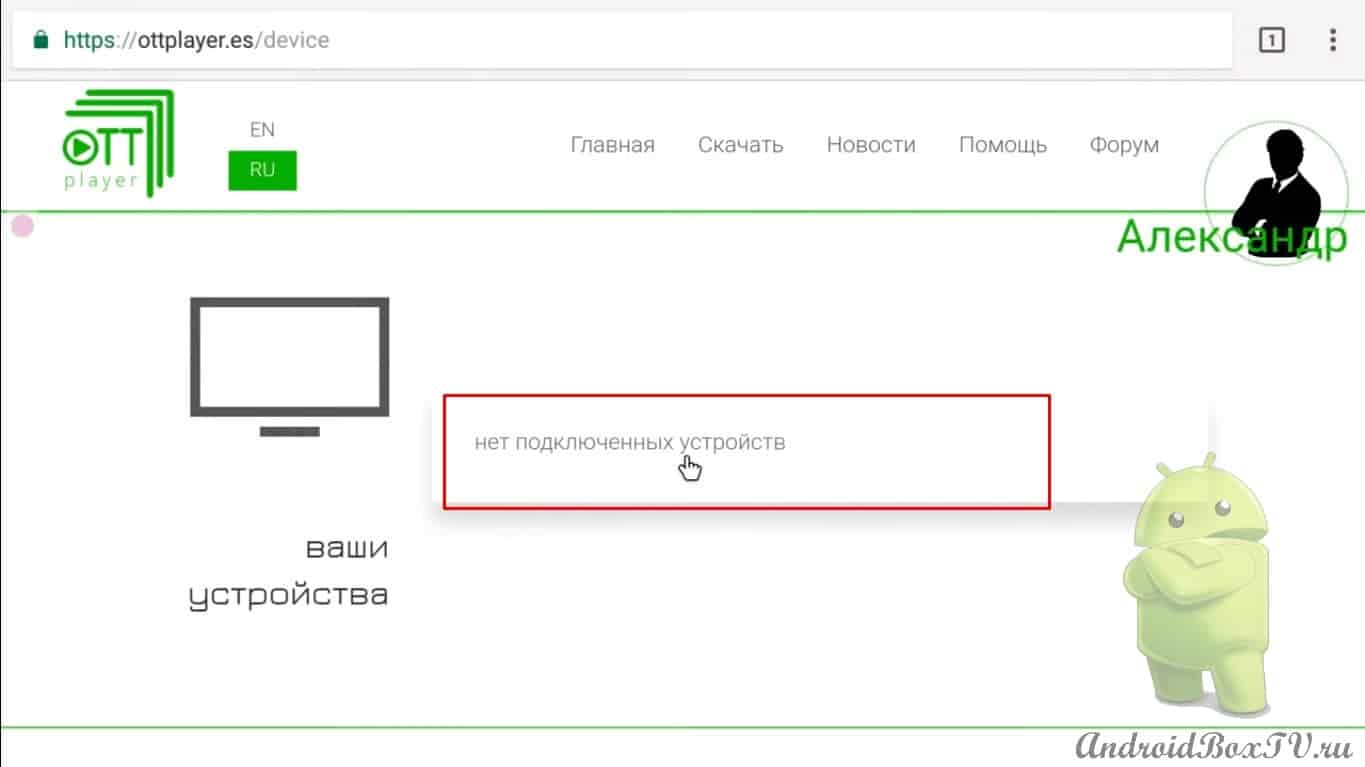
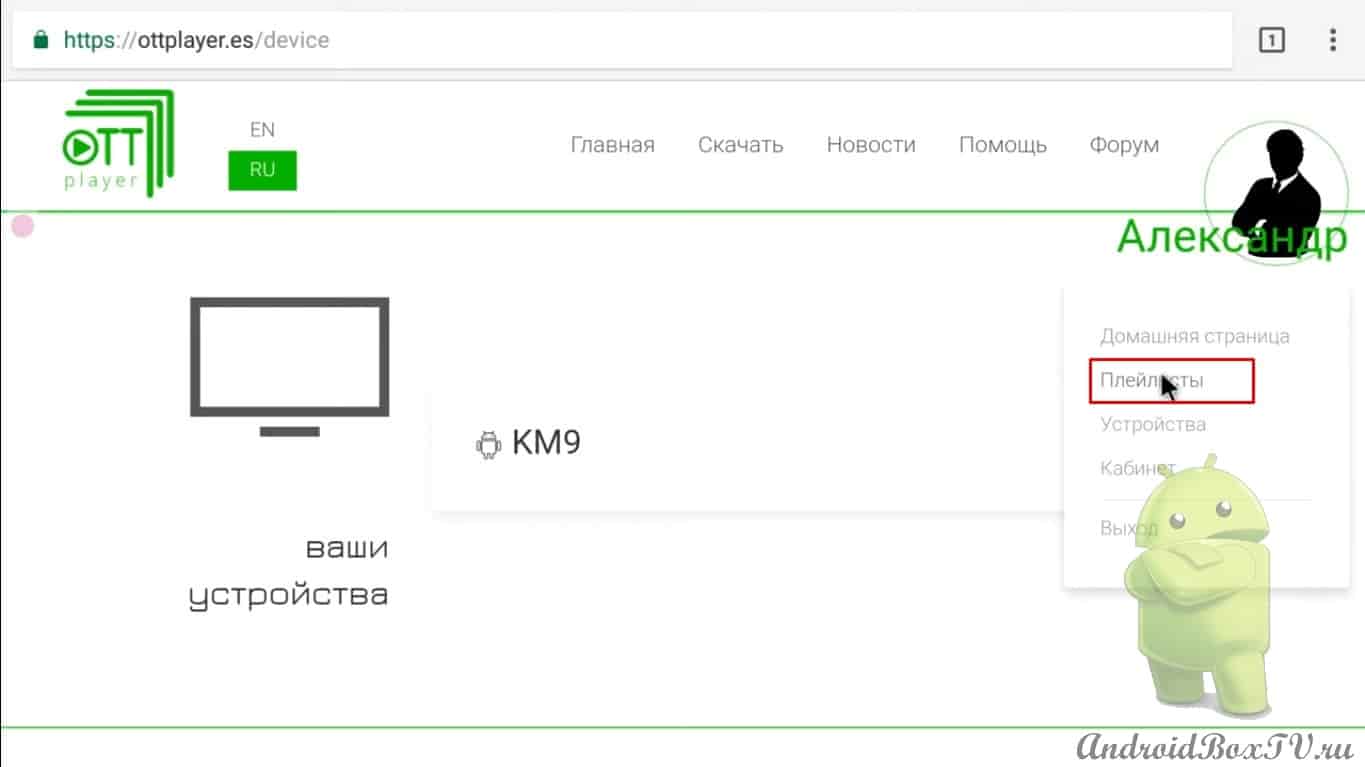
We also exit here with the "Home" , return to the site. No connected devices:
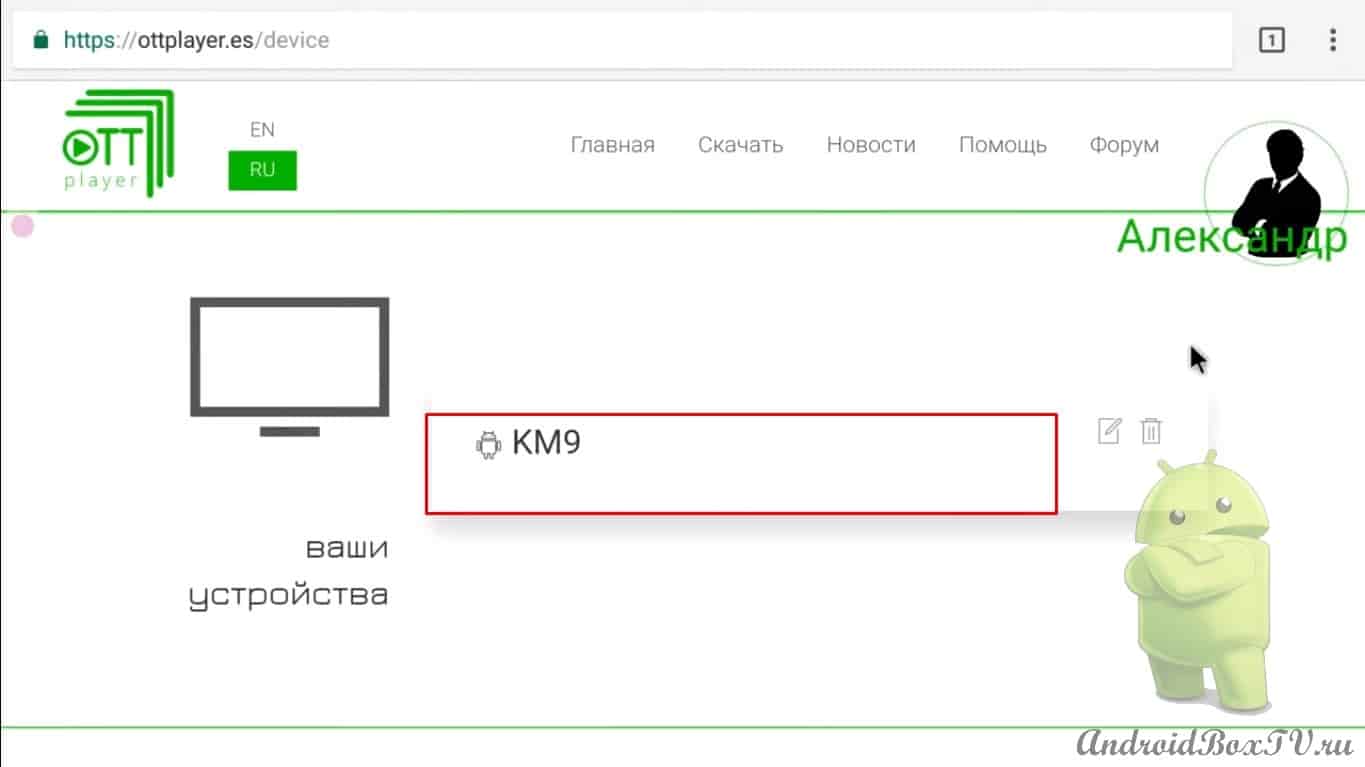
Refresh the page:
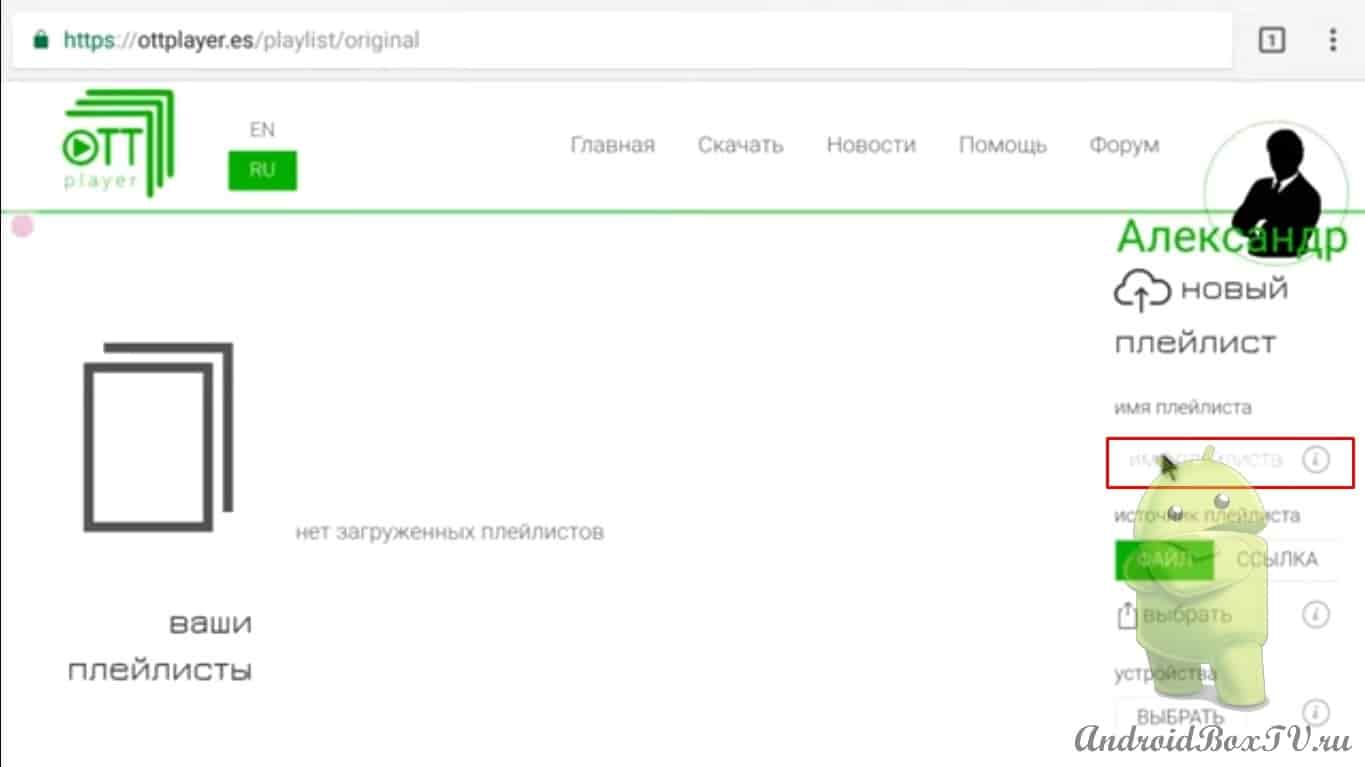
Connected KM9, go to playlists:
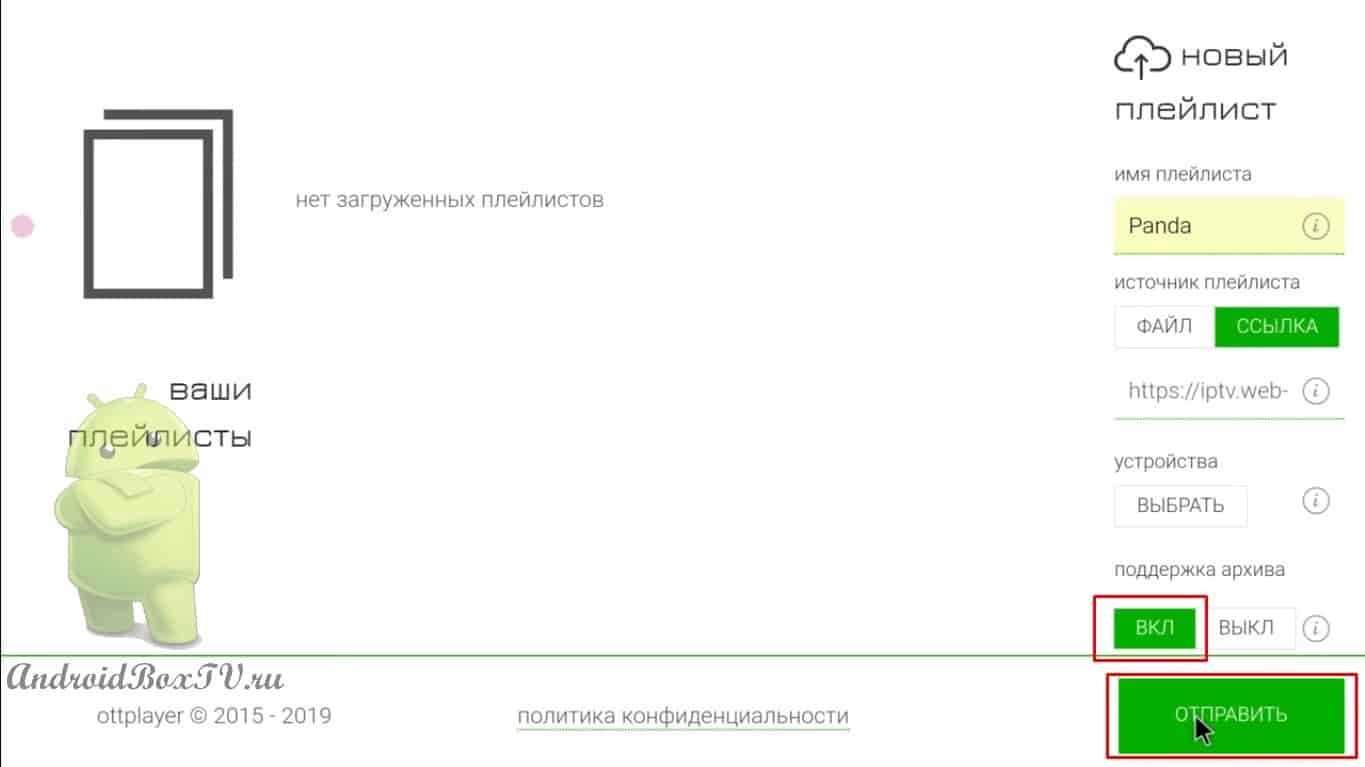
And write the title:
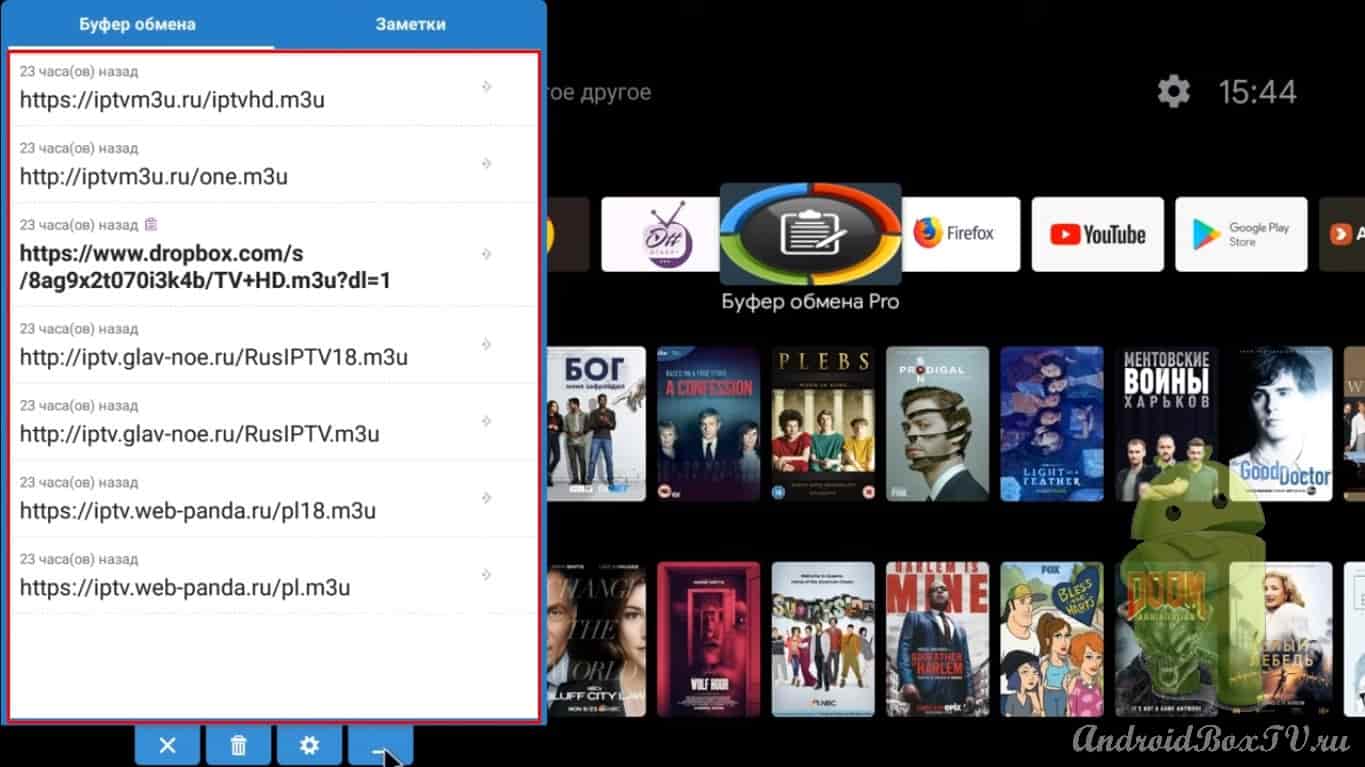
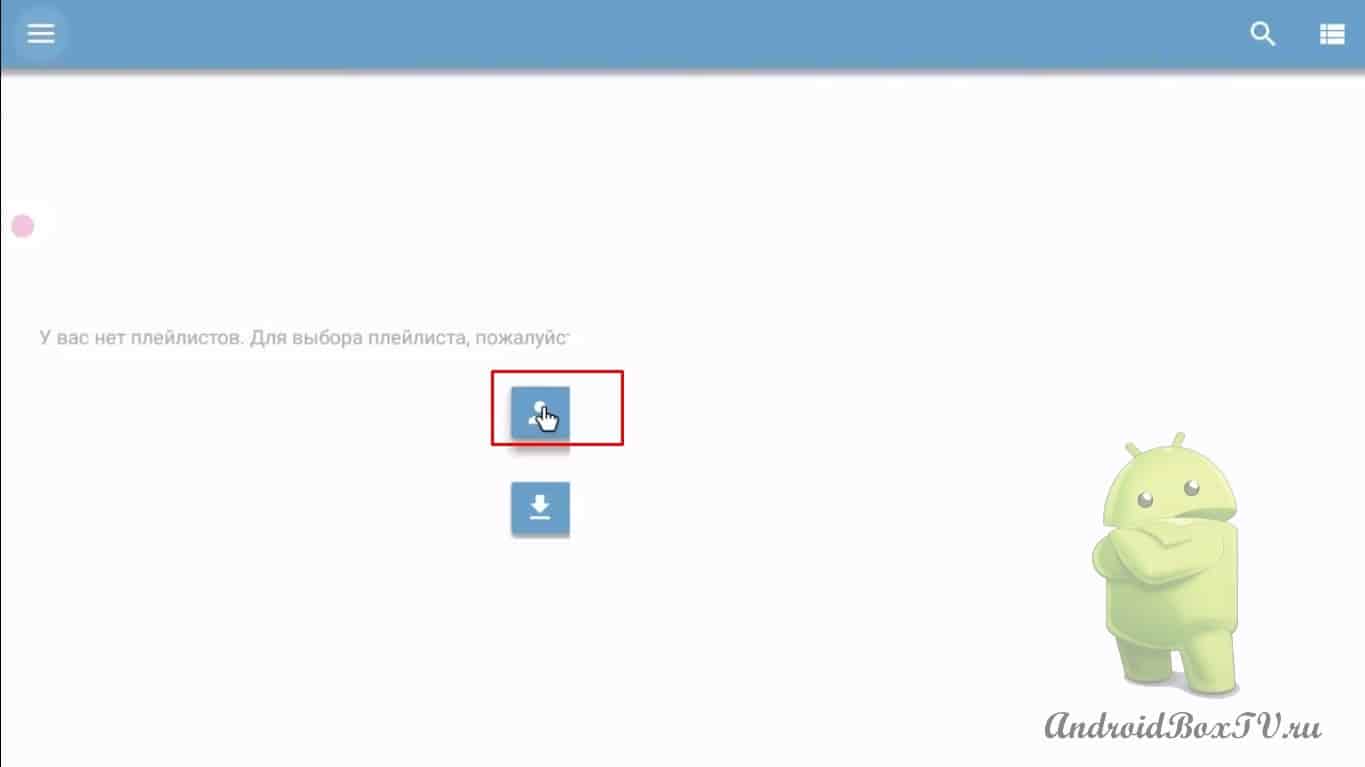
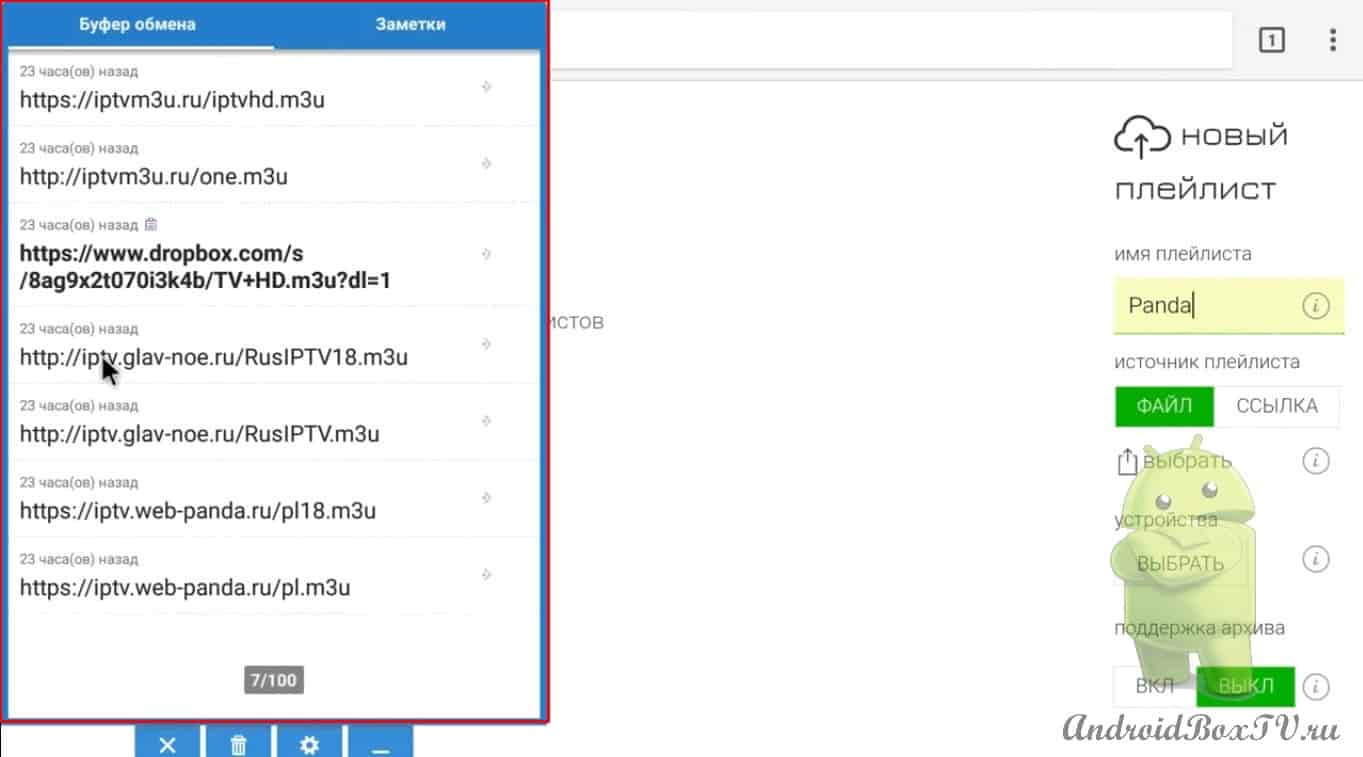
I already wrote this, I'm all set to open the clipboard:
Links to sites with playlists. Copy the link we need here, click the link, hold, paste:
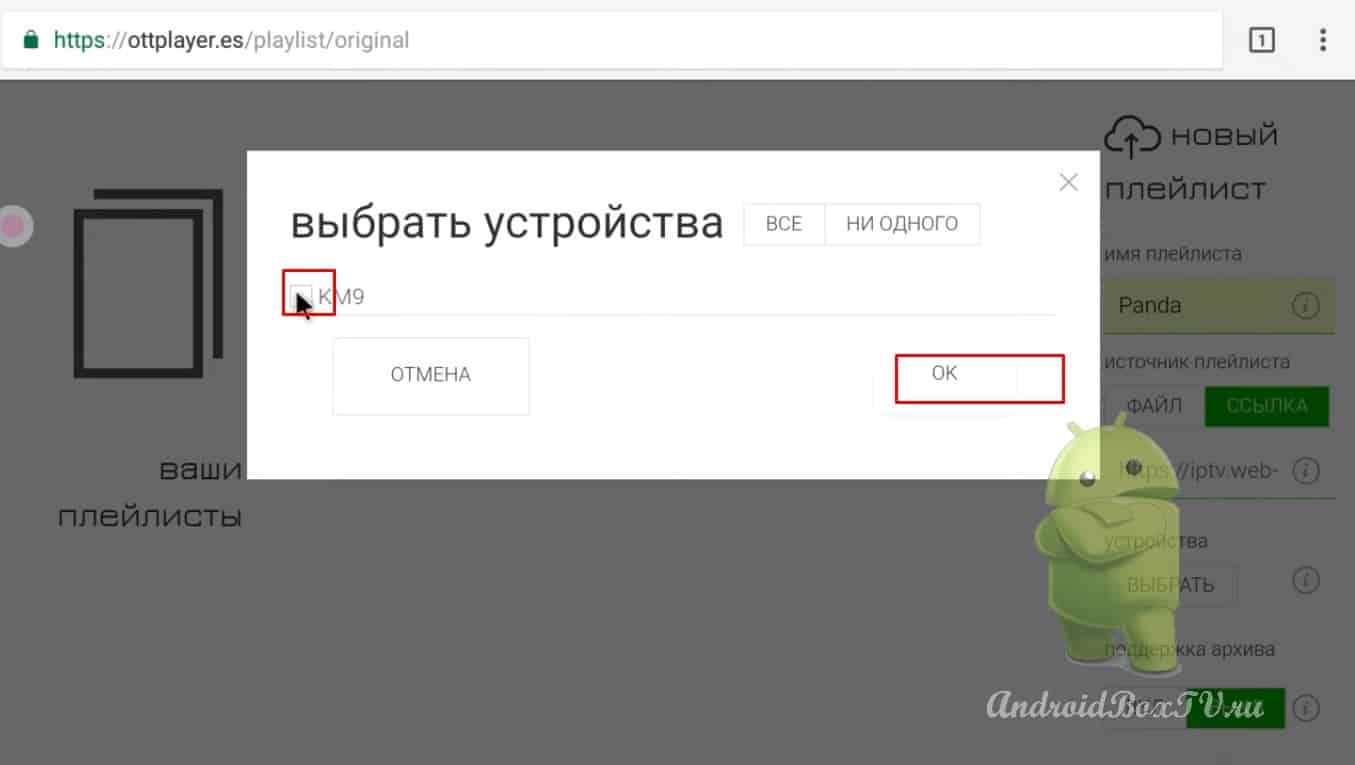
We add a playlist to the device, we have only one device:
If the playlist has support for archives, enable it, click send:
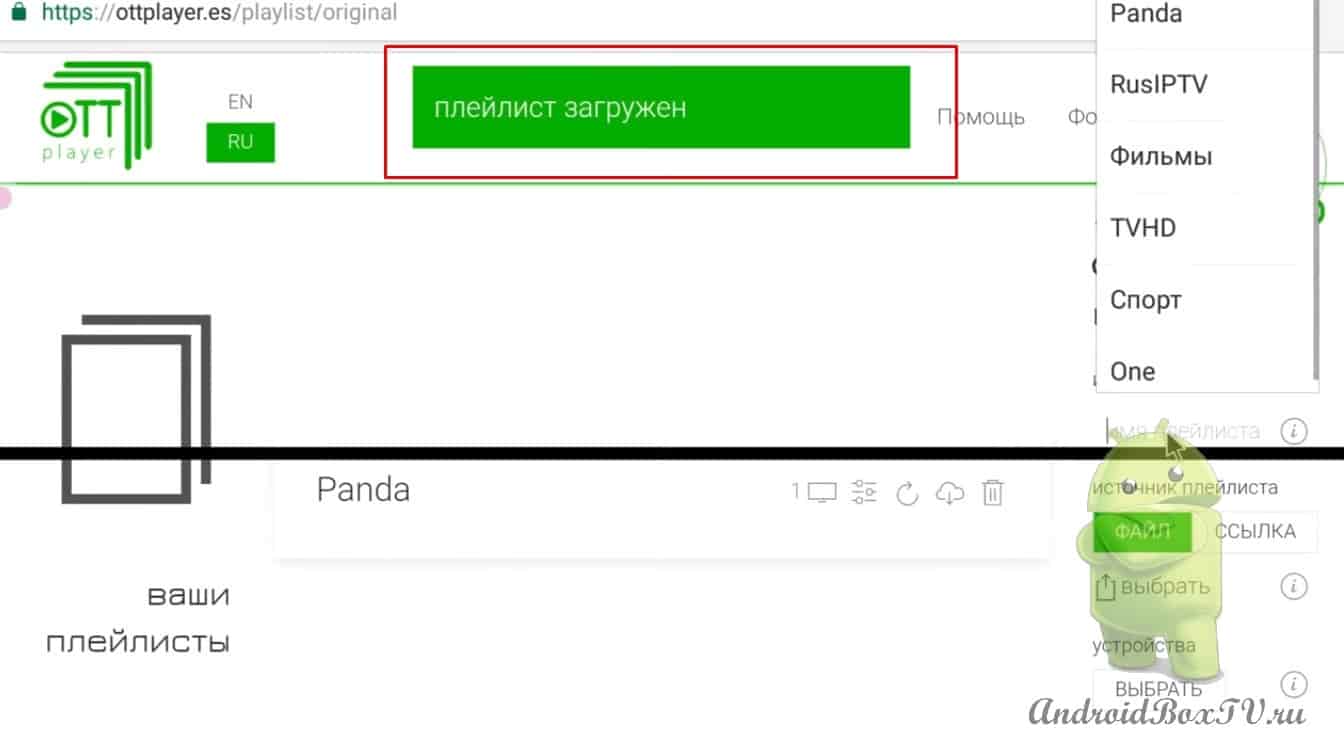
Playlist uploaded and added:
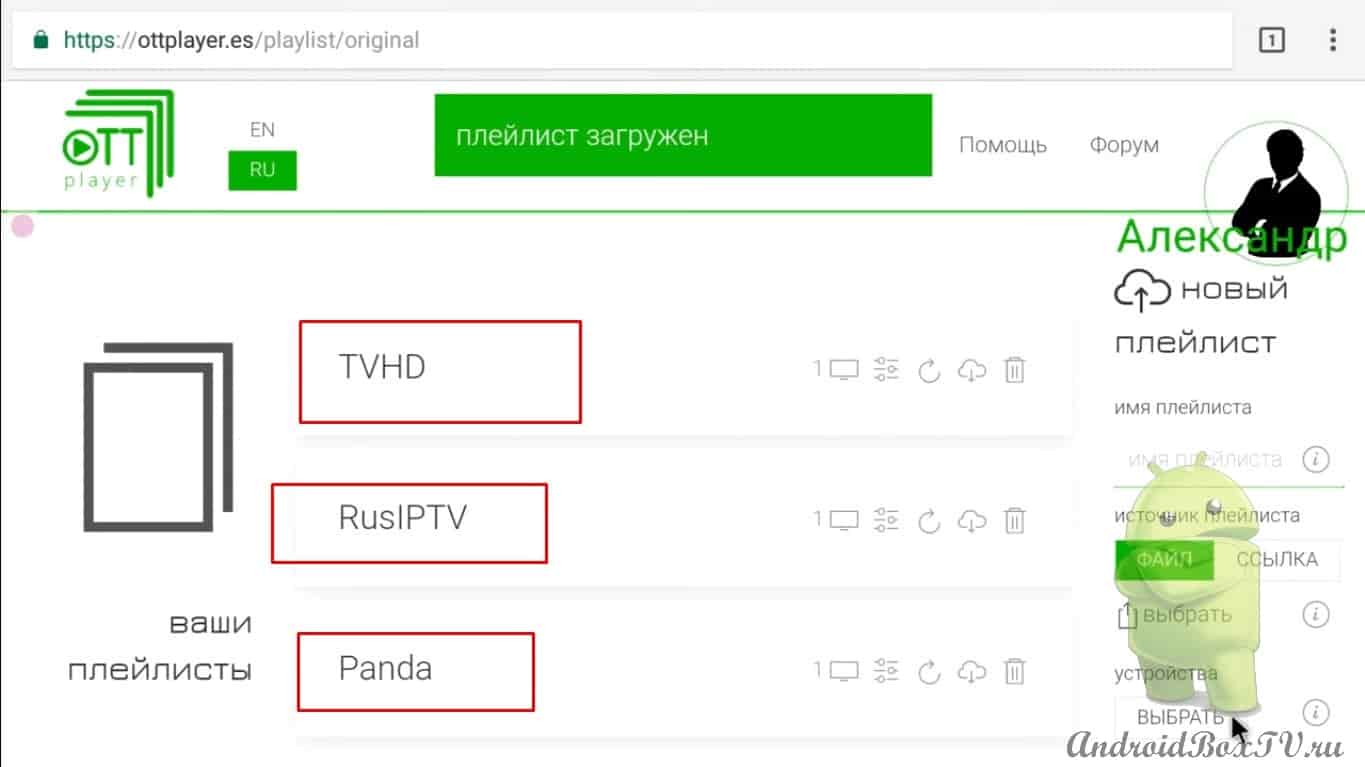
We do everything the same - add two more playlists. You can also copy from one link if the PRO clipboard is not installed, or you can generally enter it manually to someone as it is more convenient. Please note that we are adding the same device - an Android set-top box.
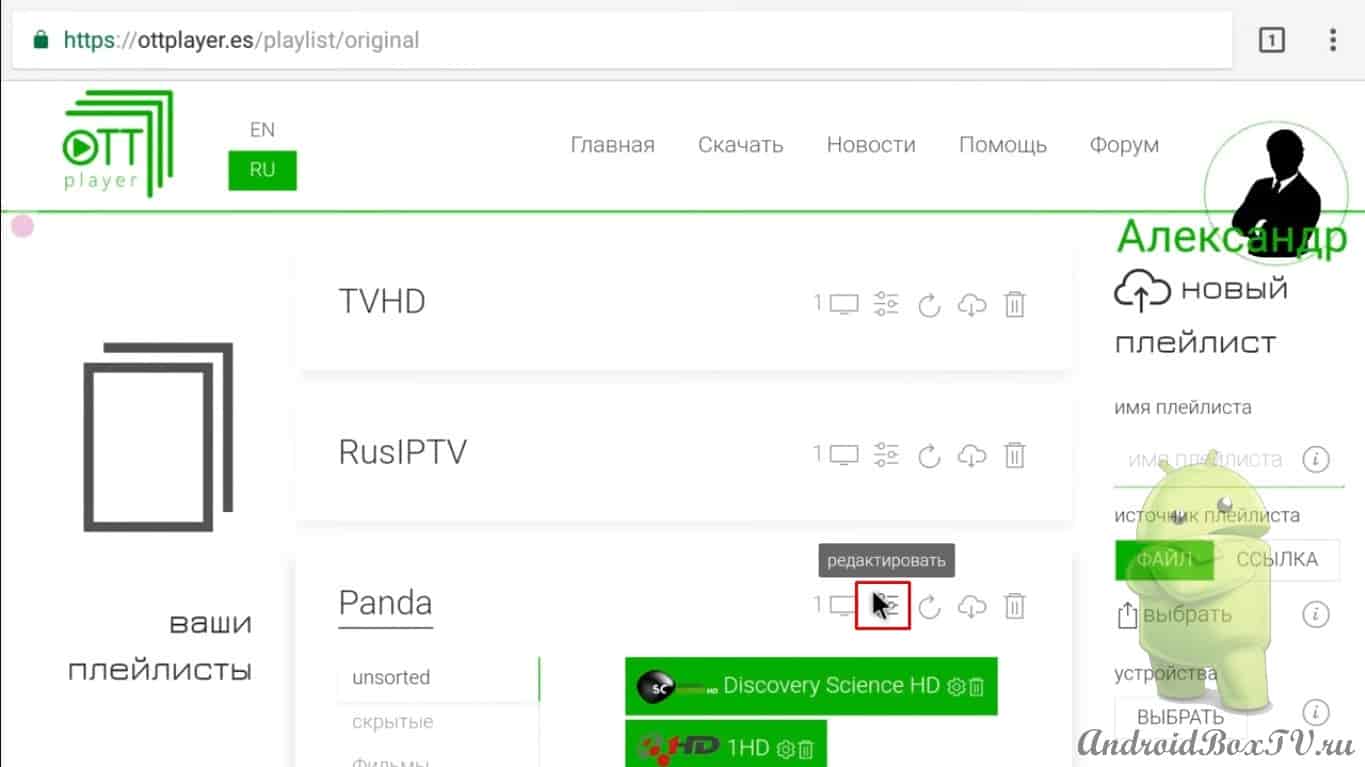
Added playlists:
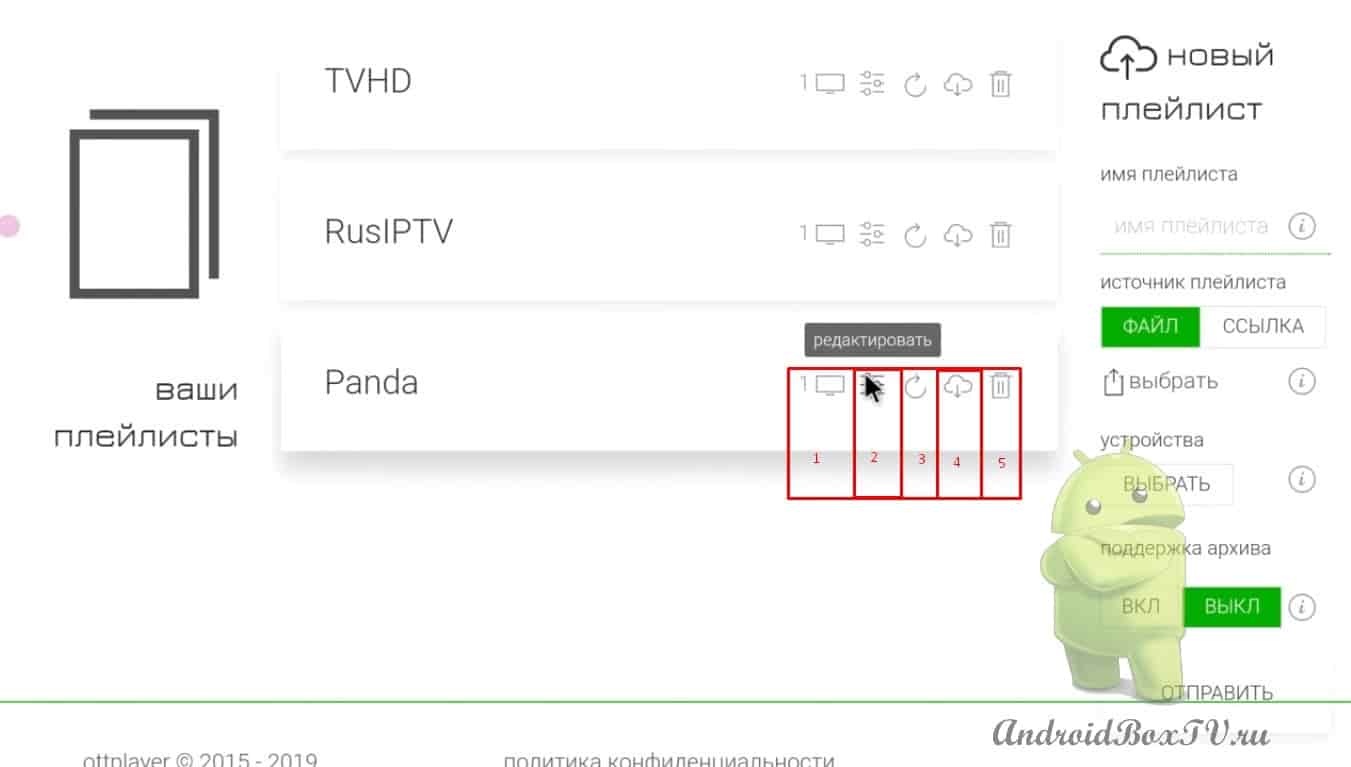
We look:
this device;
edit;
update playlist ;
share can be sent to someone;
delete:
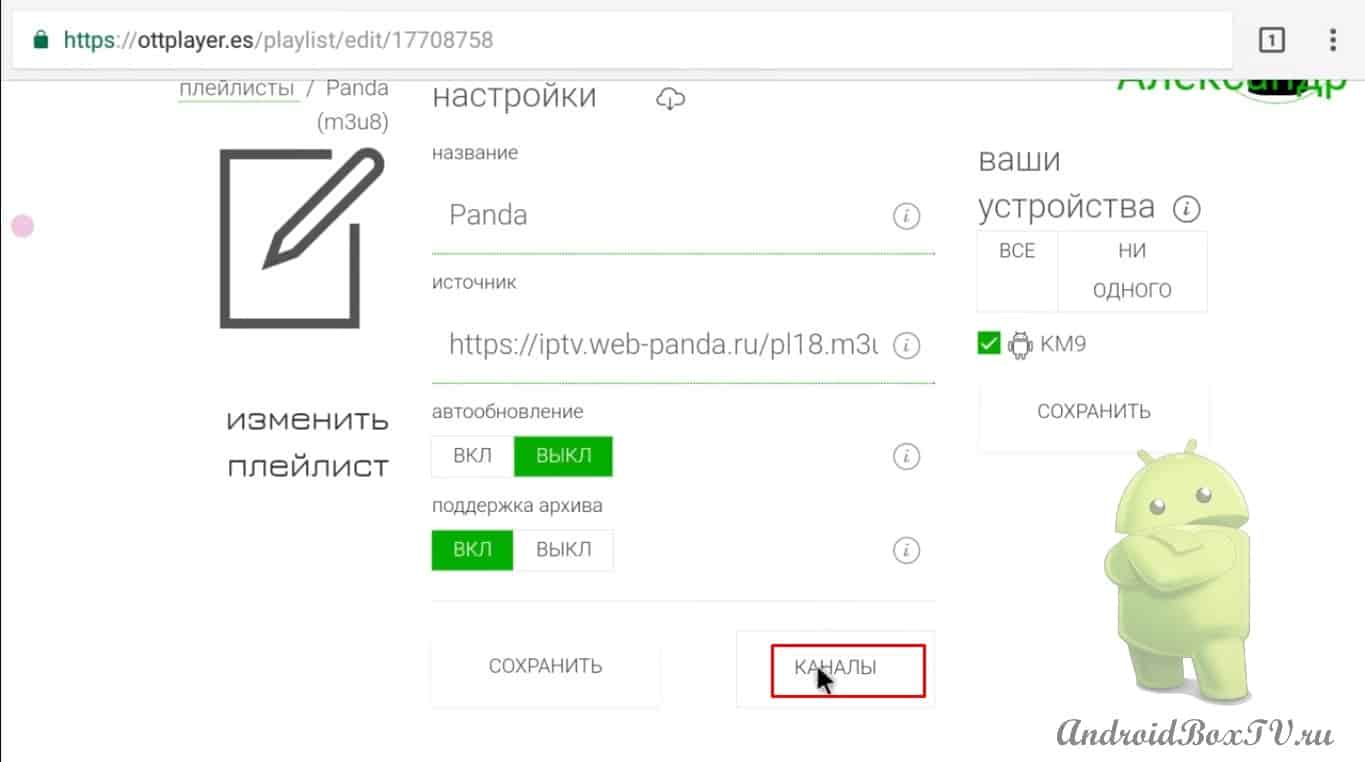
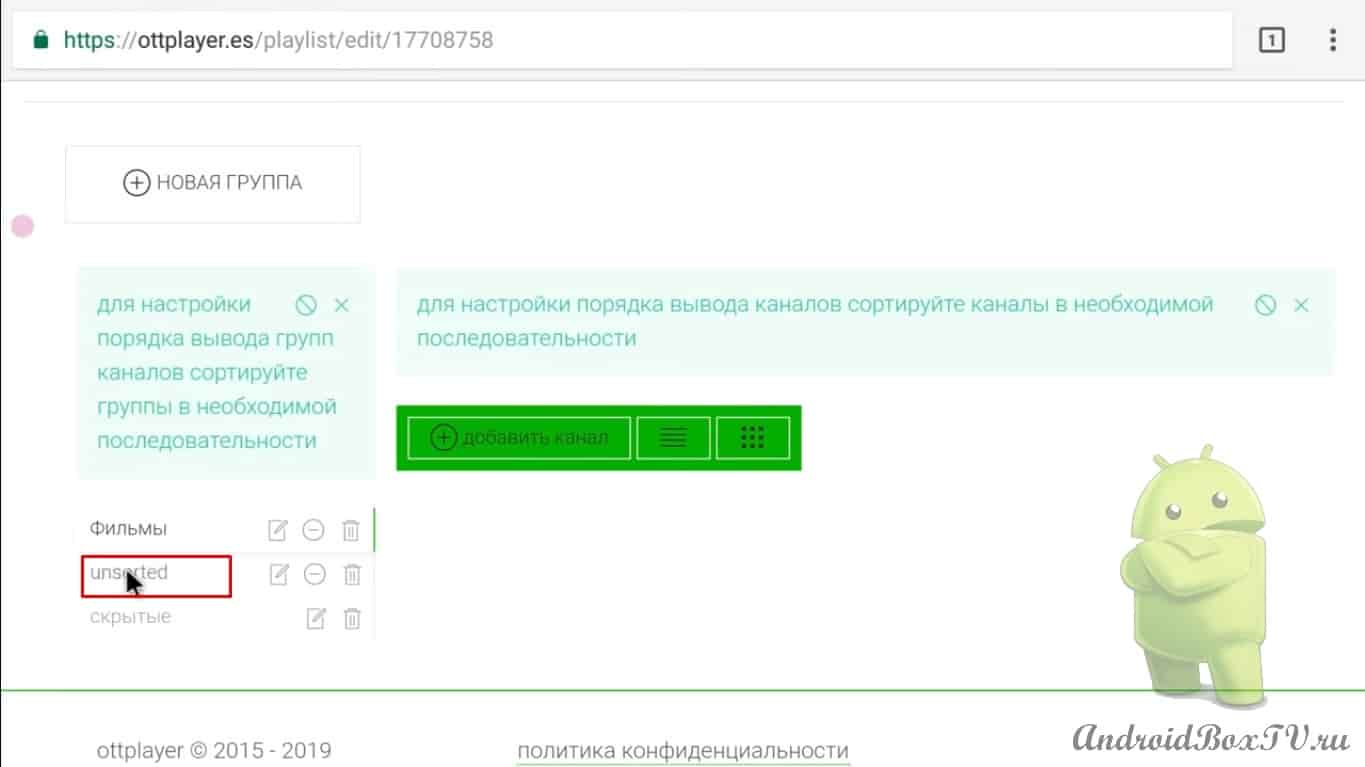
Let's go to edit (number 2 in the screenshot above, let's see how to add groups.
Click on channels:
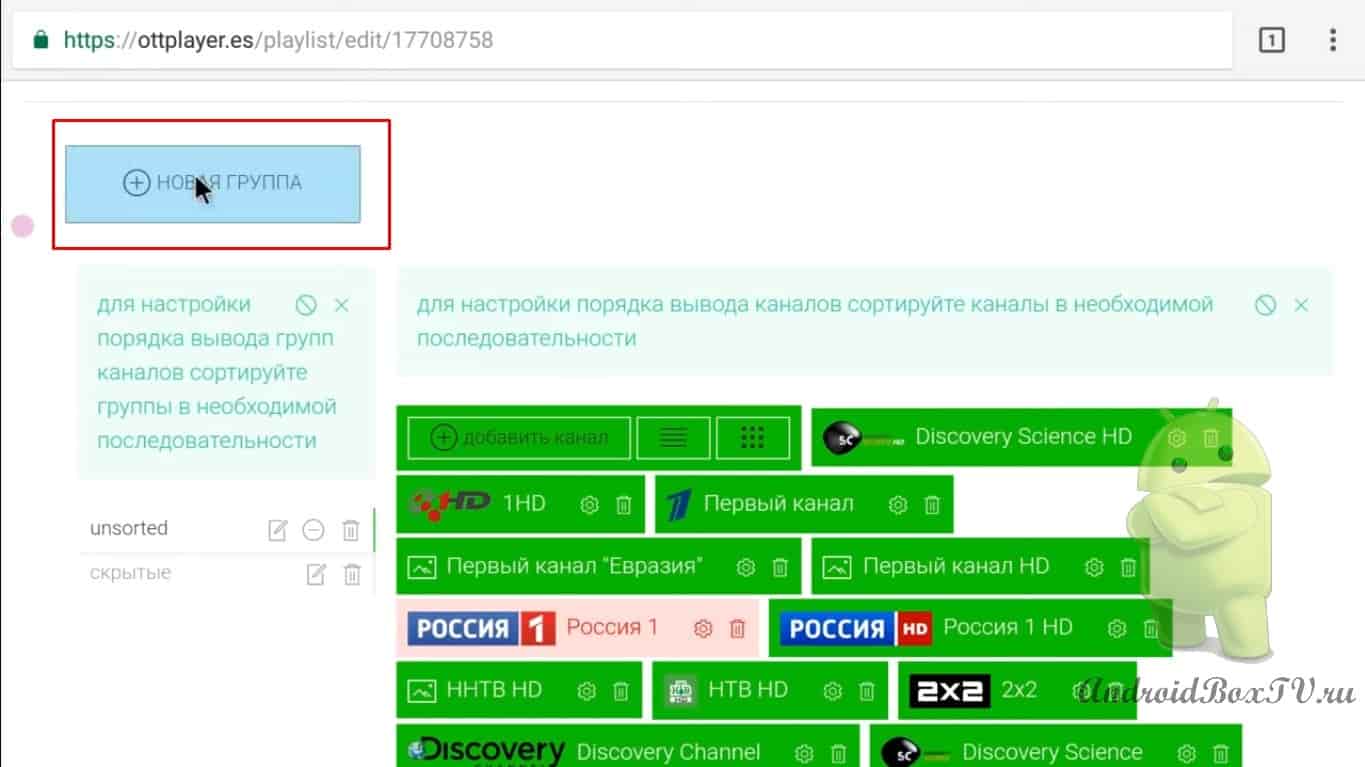
Now "New Group":
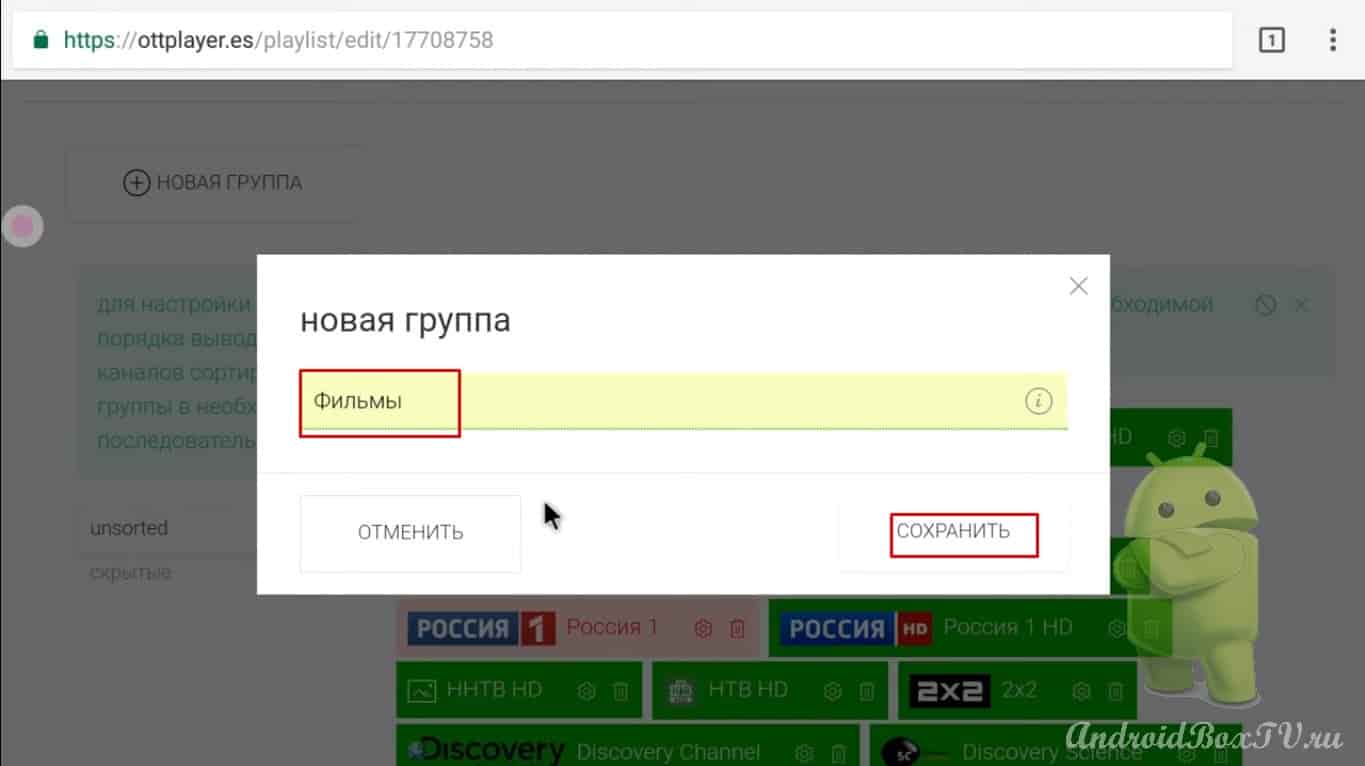
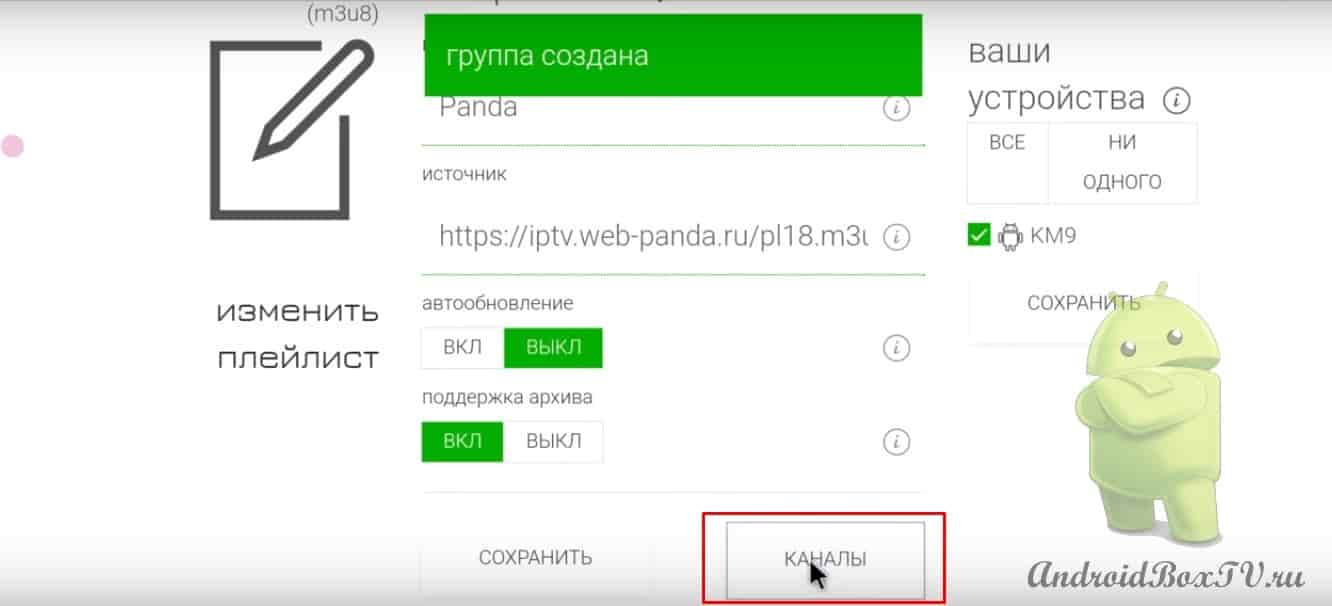
Write the name of the group and click save:
We are waiting for a while to load.
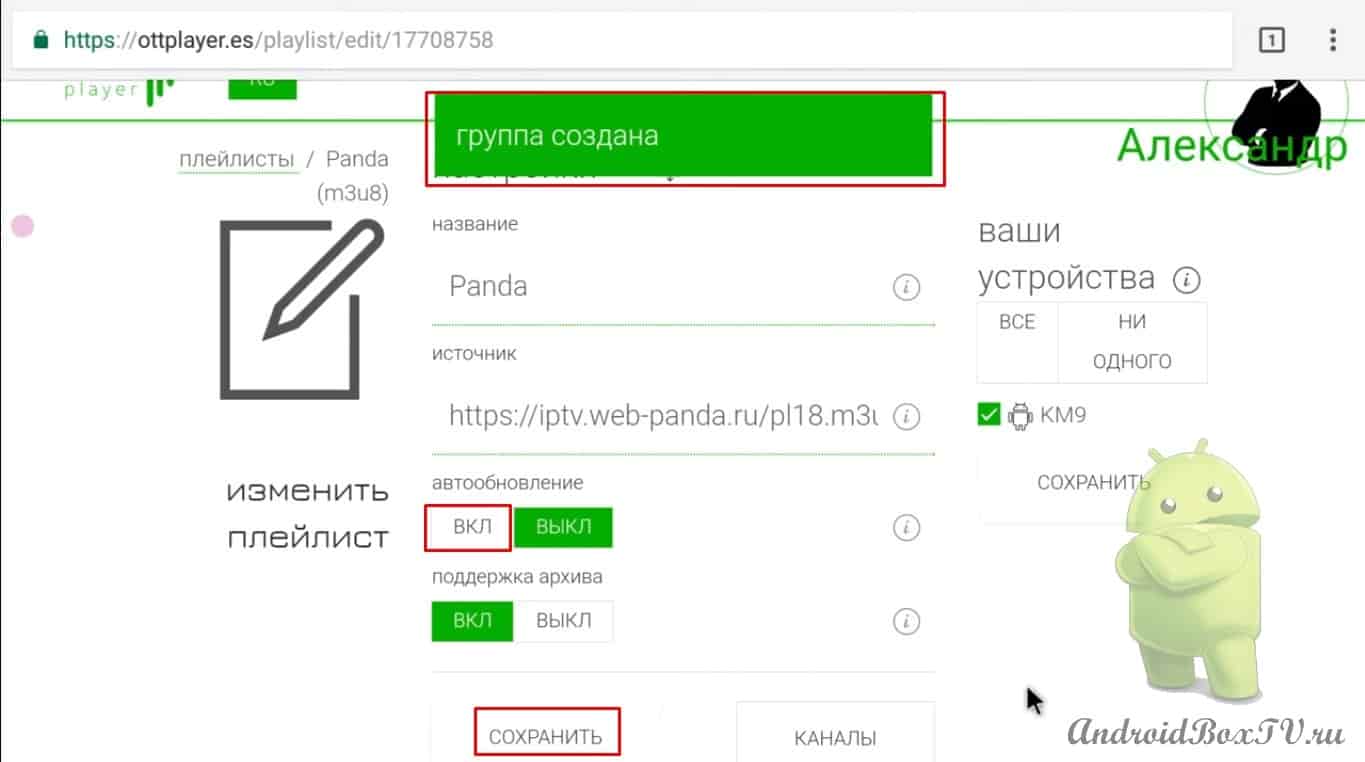
Don't forget to enable auto-updates!
Group added:
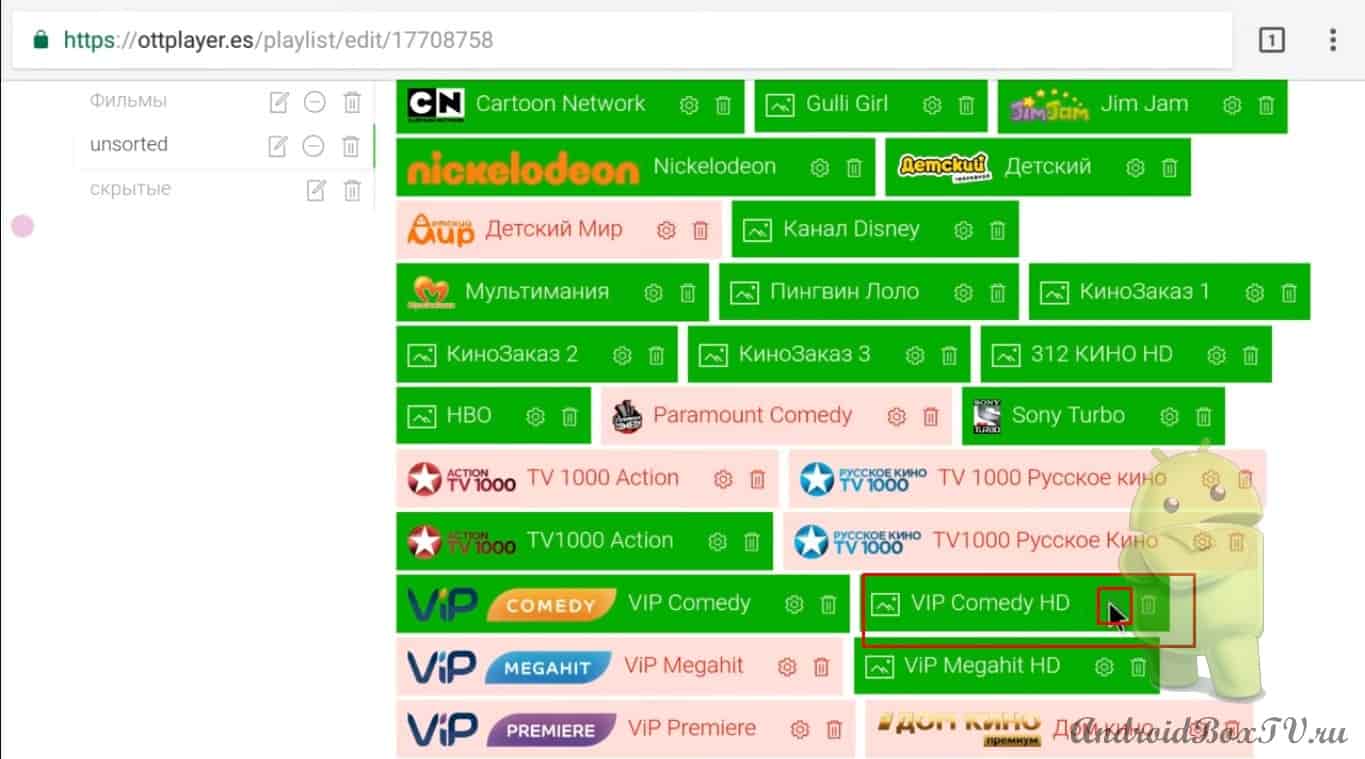
Now let's see how to add a channel to a group. Click on the channel on the android console:
Empty group push to unsorted:
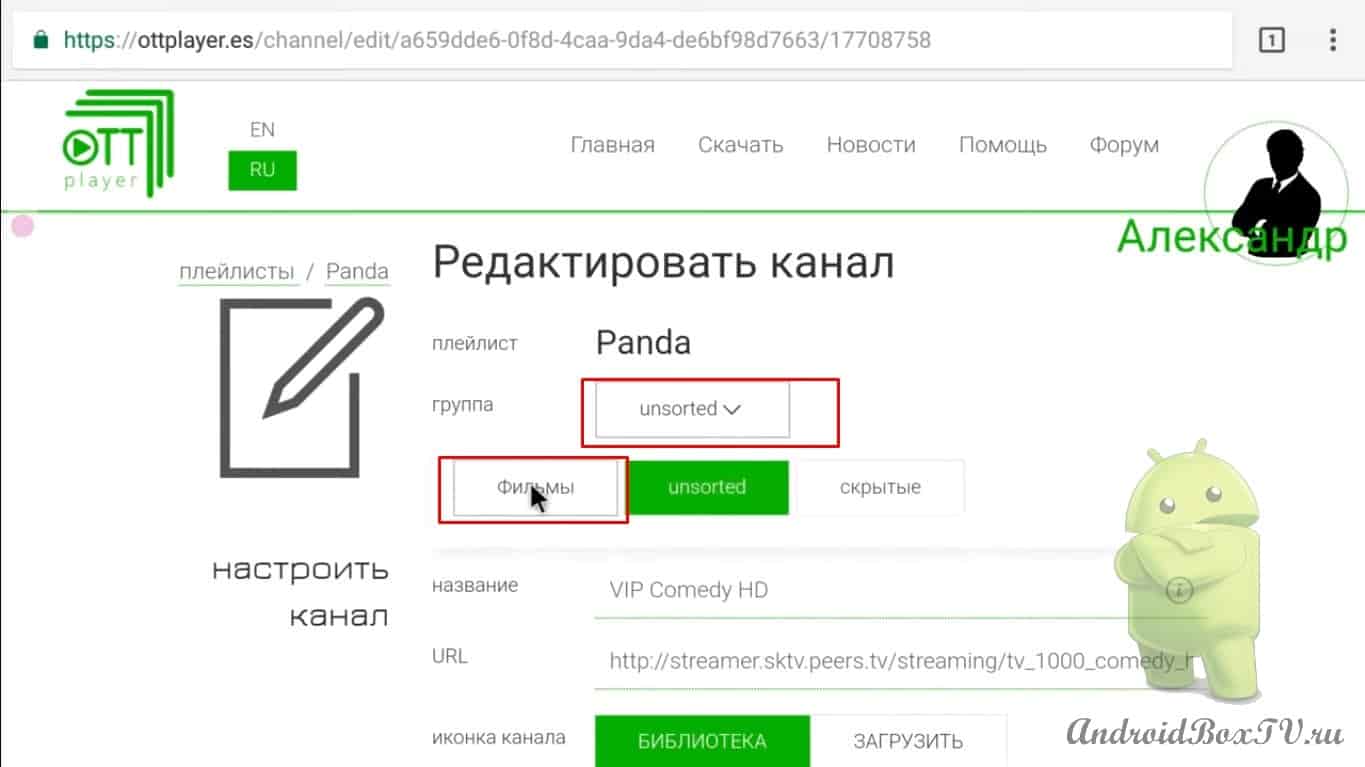
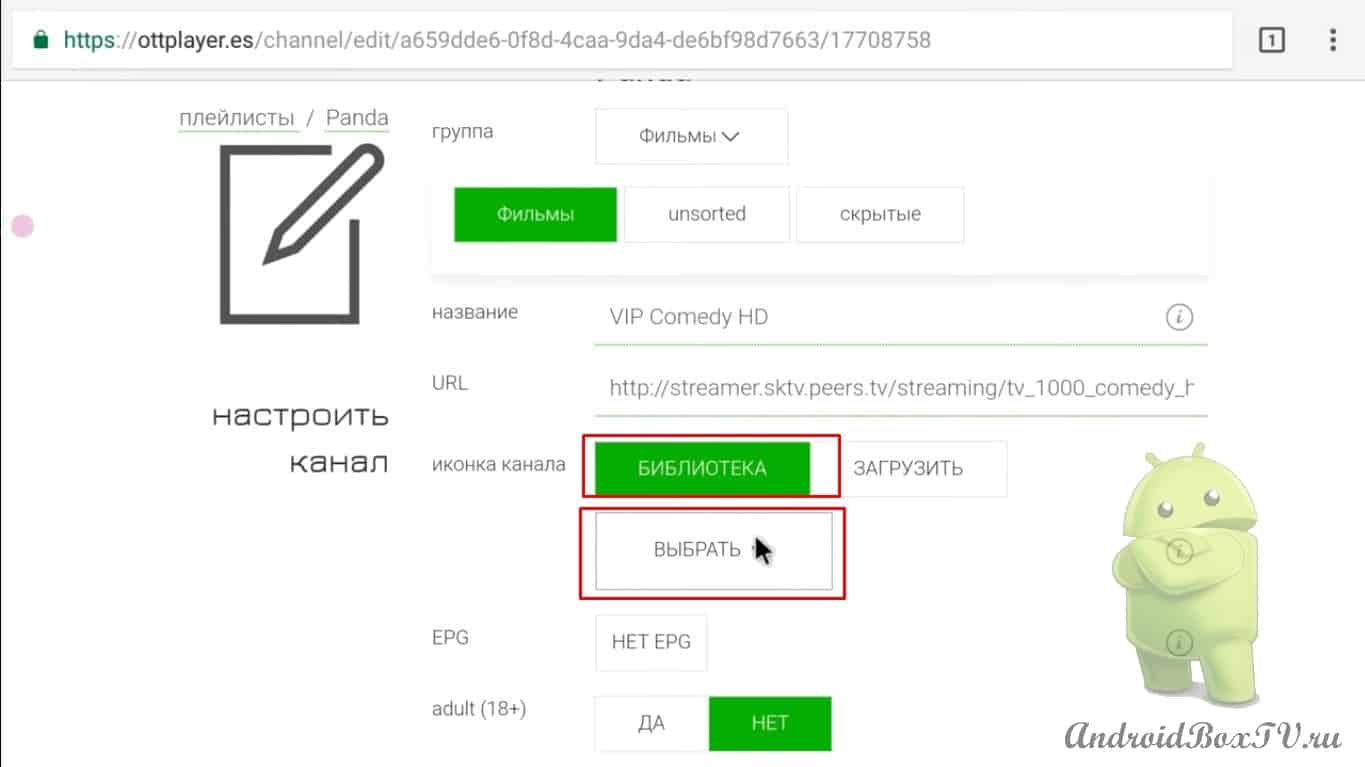
Now let's select some channel without a logo, at the same time we'll see how to add a logo on a set-top box. Let's VIP COMEDY HD. Click on the gear:
And select the created group "movies":
From the library:
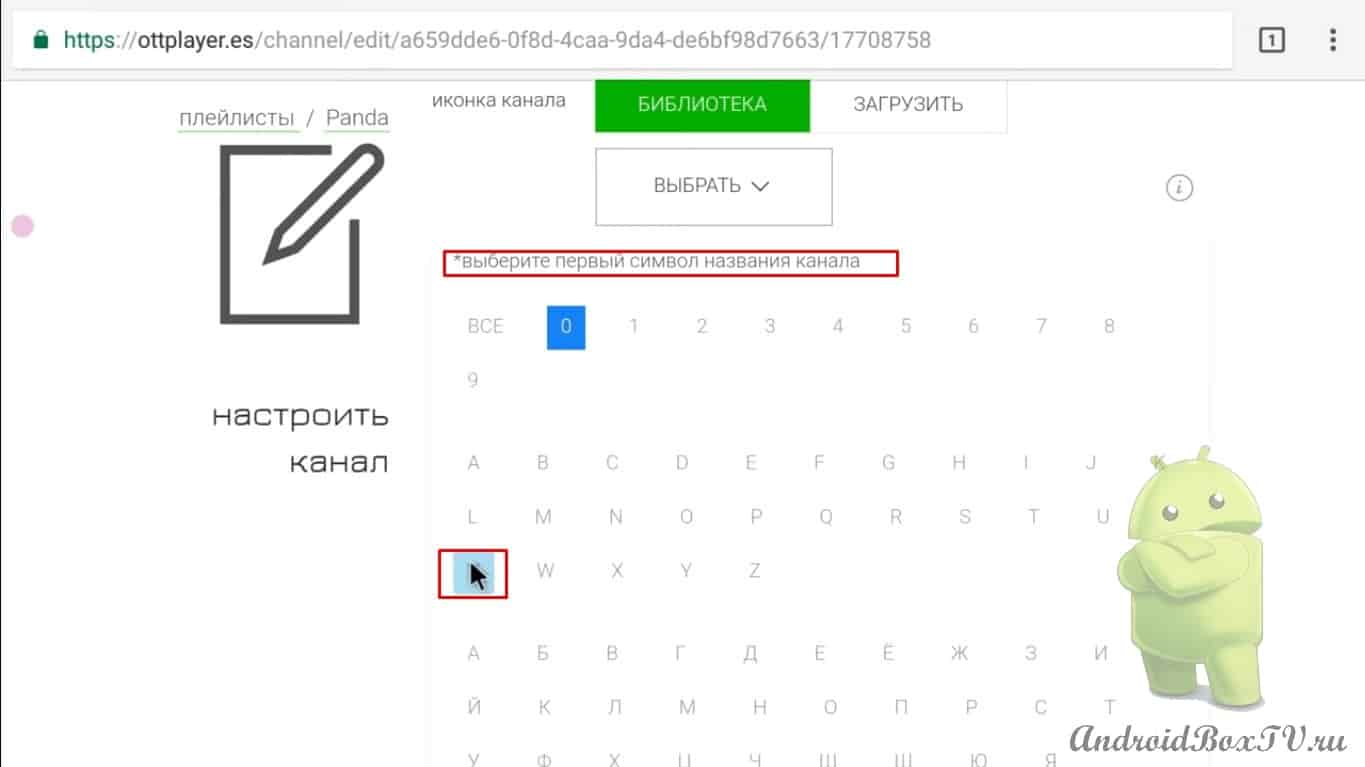
Let's add a logo, for this we specify the first group of the channel name (V):
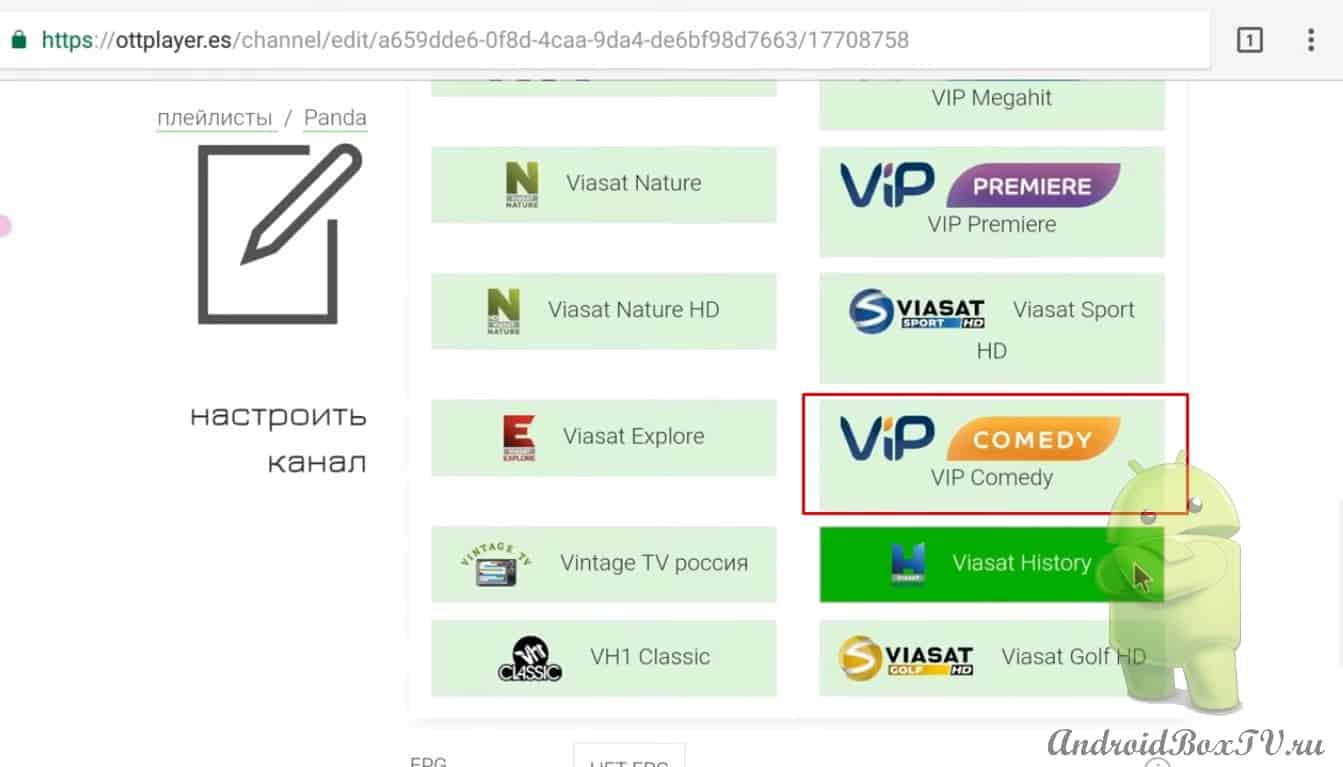
Here it is VIP COMEDY HD:
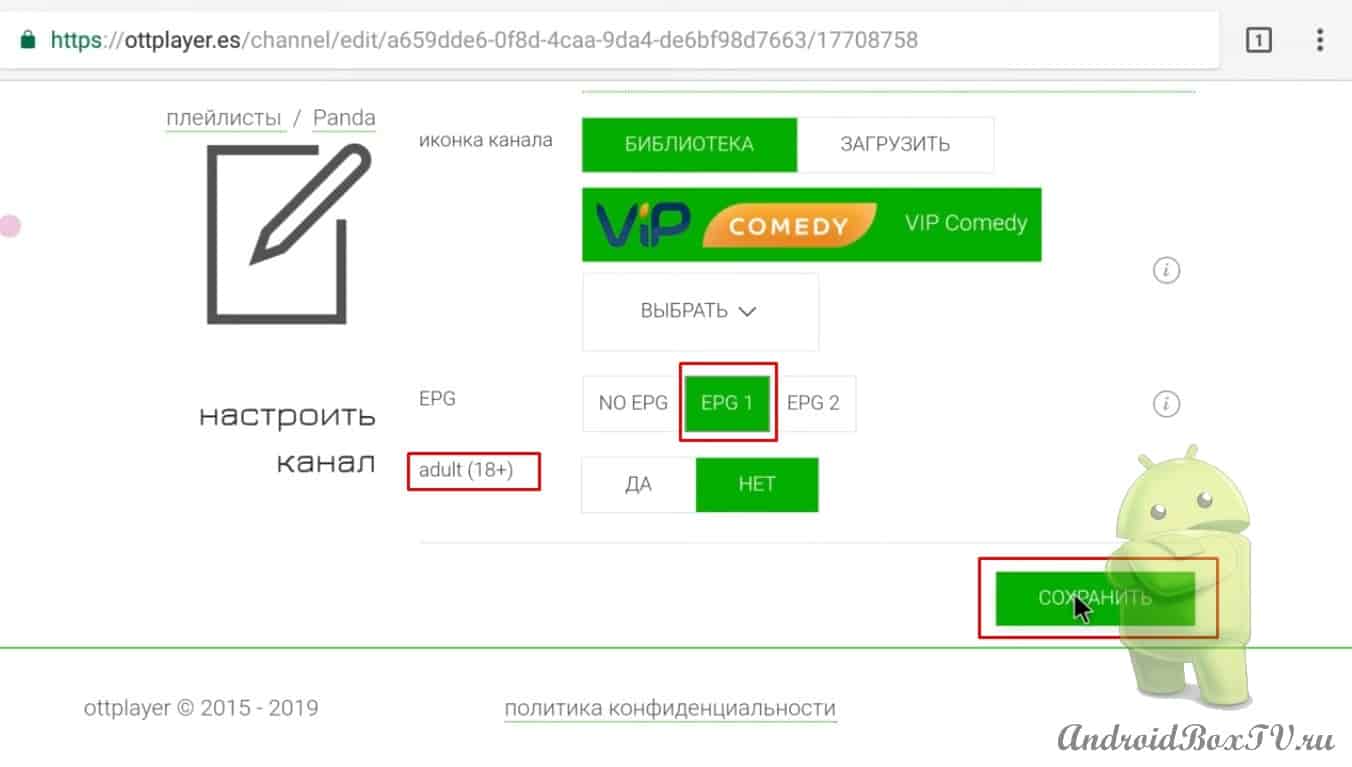
A logo was added and immediately it became possible to turn on the TV guide and add an age limit. Click save:
You can also add a channel to a group here. It seems even more convenient here if you have already created groups. Let's go edit:
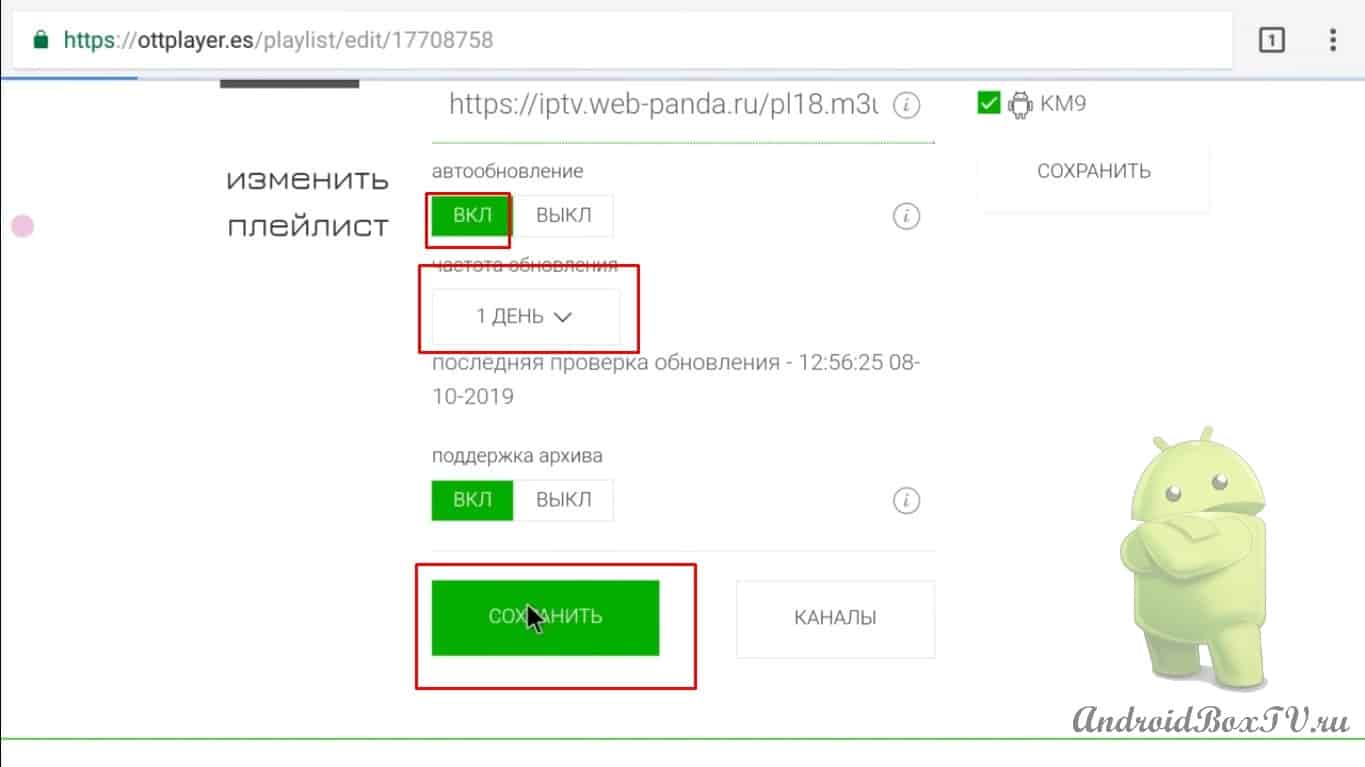
Turn on auto-updates. Otherwise, the playlist will not be updated. Let's leave one day and "Save":
All included auto-update. Let's close everything and get out of here.
Open the application, click on the KM9 device. Playlists added:
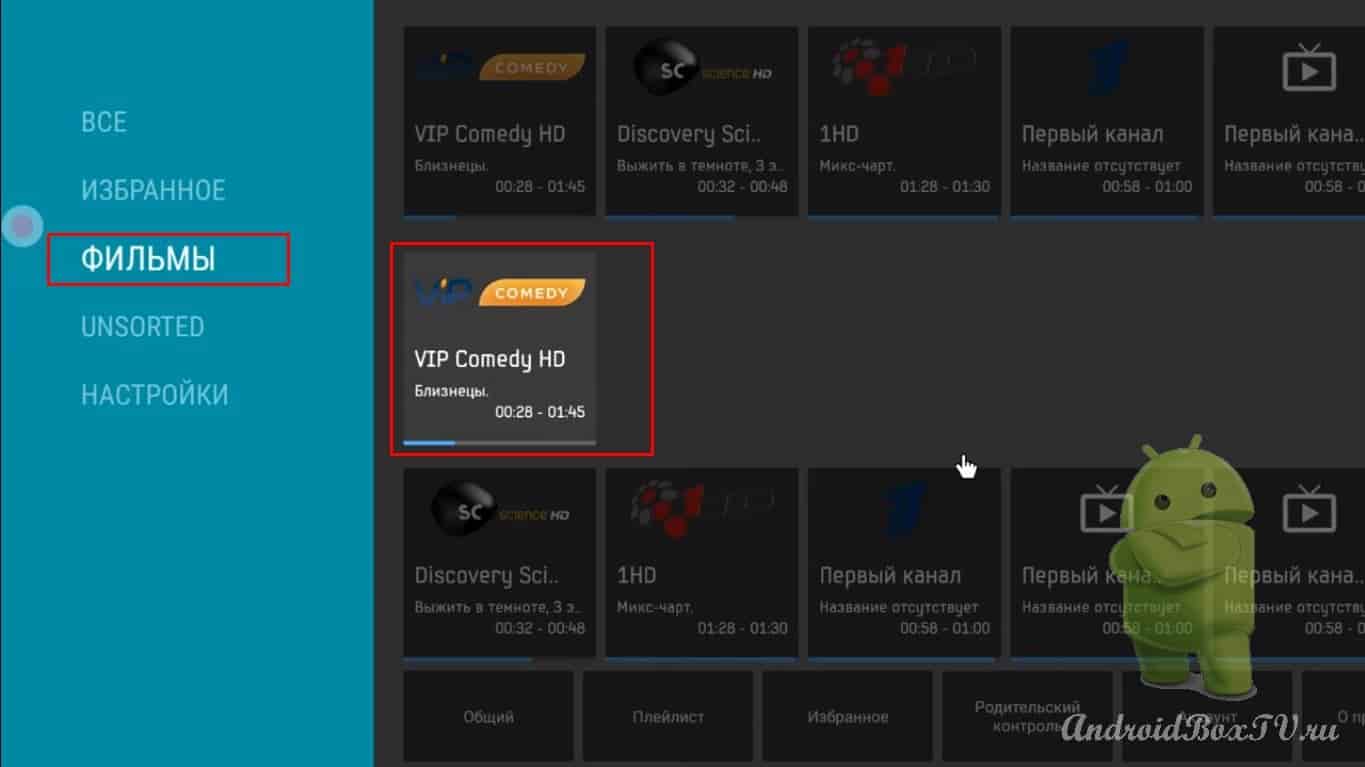
We choose a playlist. It has loaded and back in "TV mode" the playlist is loaded:
Here's the channel we've added:
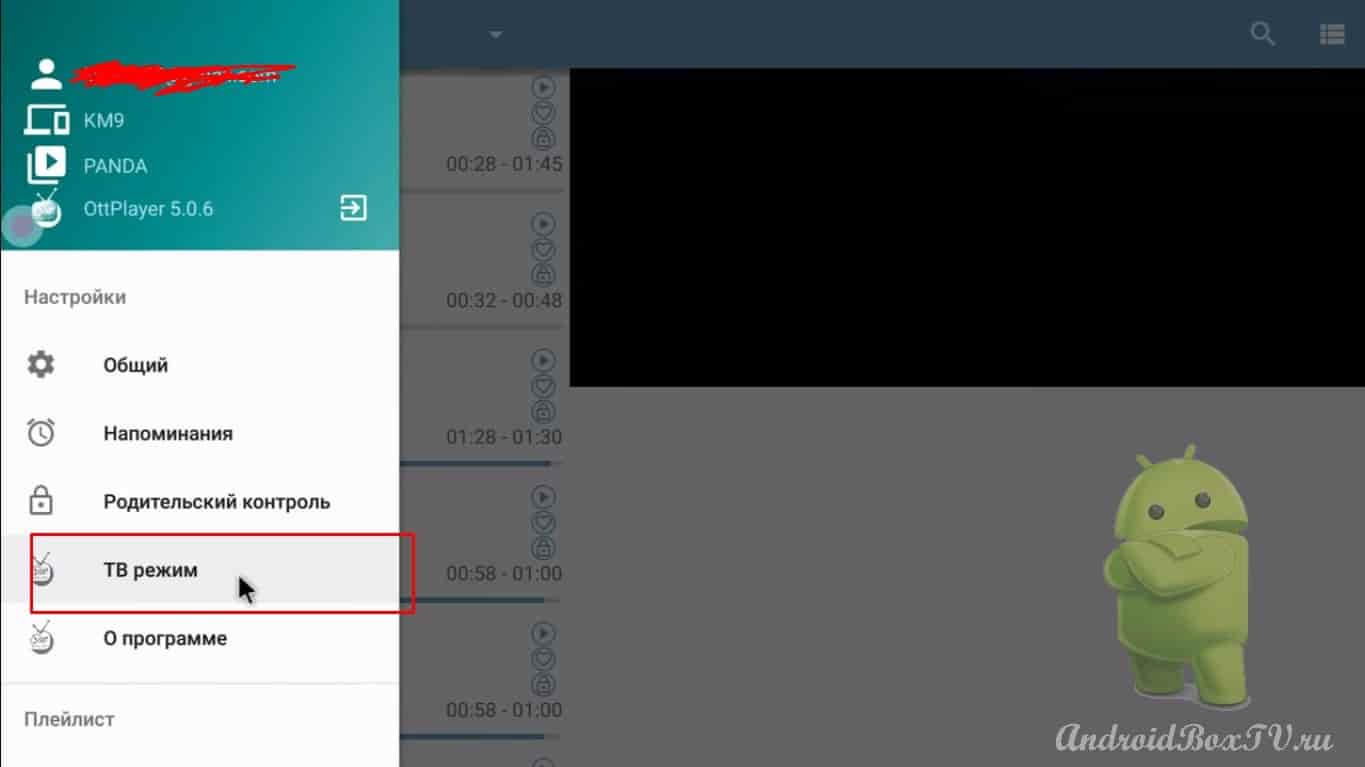
Let's go to the settings. Here you can do a lot, for example, choose a player:
Change screen scale:
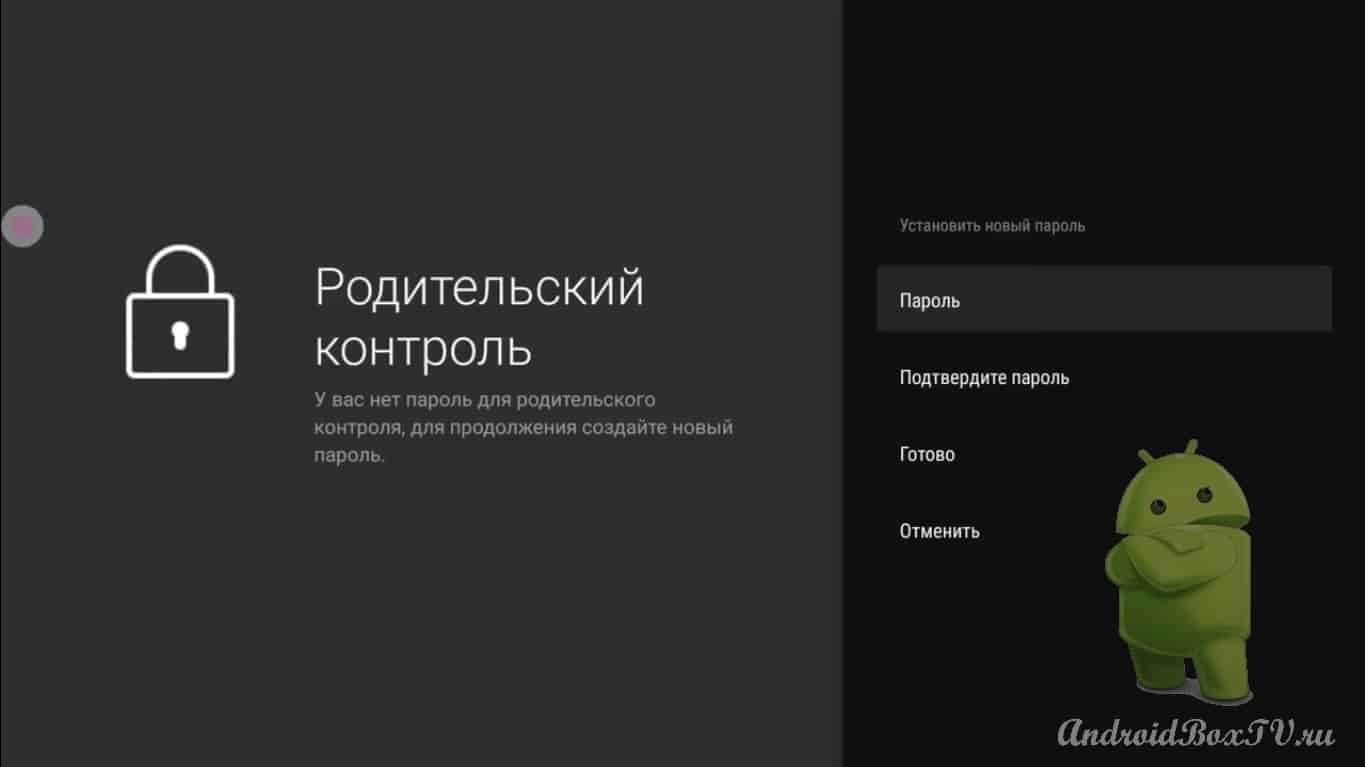
Parental control:
You can also change the playlist here.
Further, you will understand the views yourself, discussed the main nuances when working with free playlists of the android console.
Here is such an article. If you have any questions or would like to extend it, write below.


”")