In this article, we will consider an application that creates screensavers from photos, pictures and videos that can be downloaded from the Internet, or you can use your own files. The program is called “ Video Screensaver ”.
You can install this application from the Play Store . Also, install the program “Wallpapers and Screensavers 7FON”, so that later you can download pictures from there.
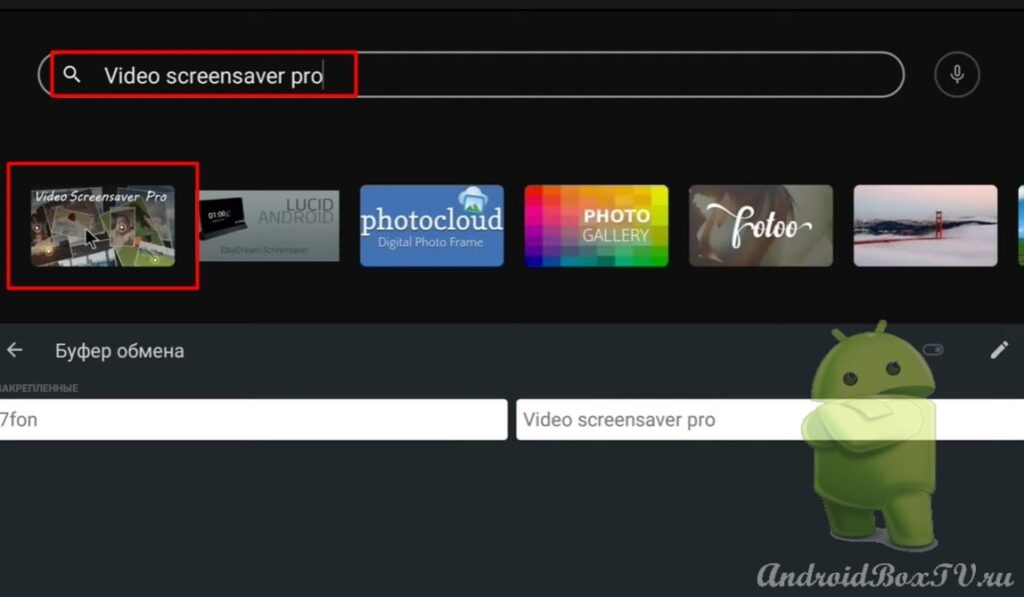
Consider the paid version of the application. We go to the Play Store and enter the name of the program in the search bar:
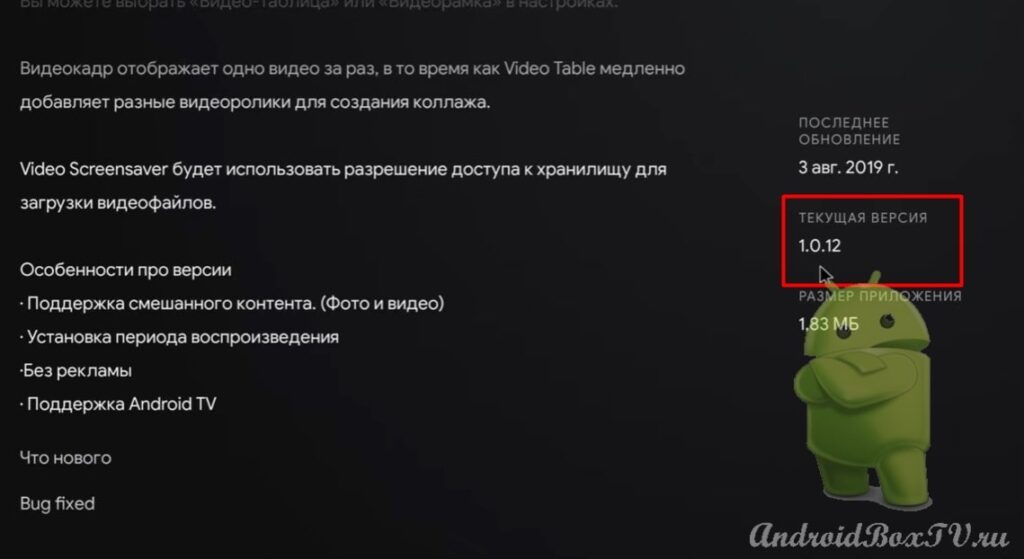
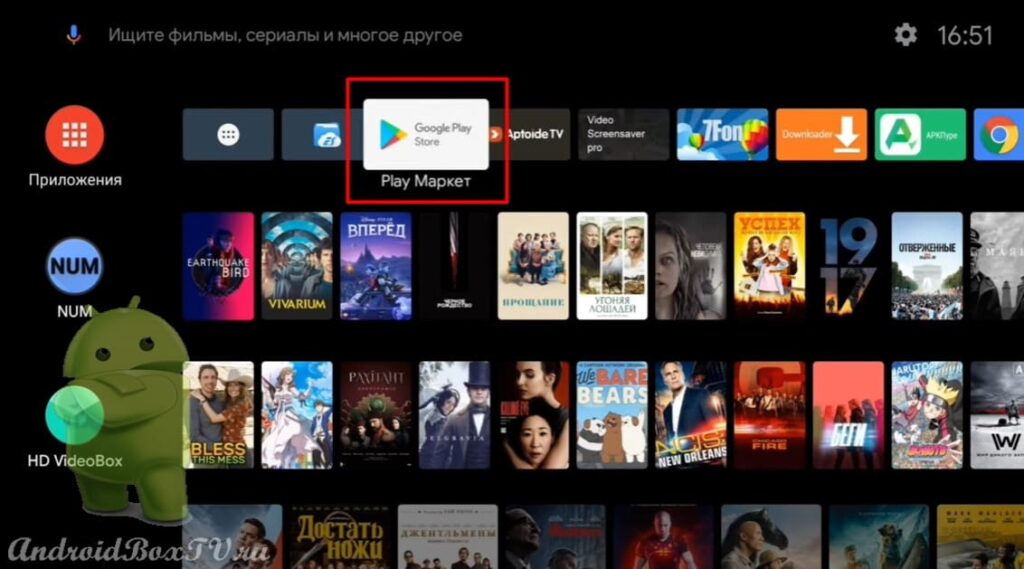 Version 1.0.12 . If you wish, you can purchase a paid version, if you don’t like it, you can refuse and the money will be returned to the card:
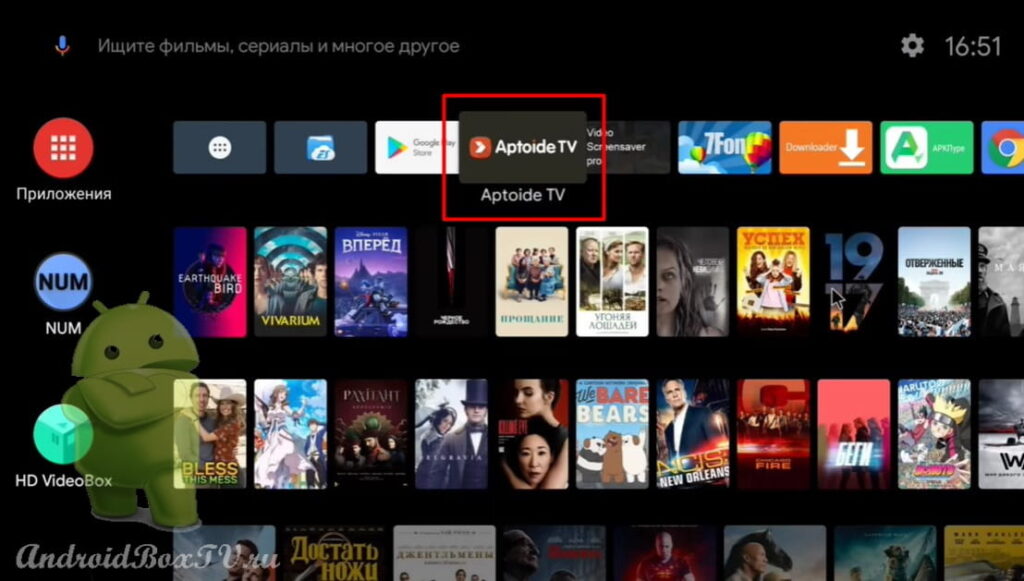
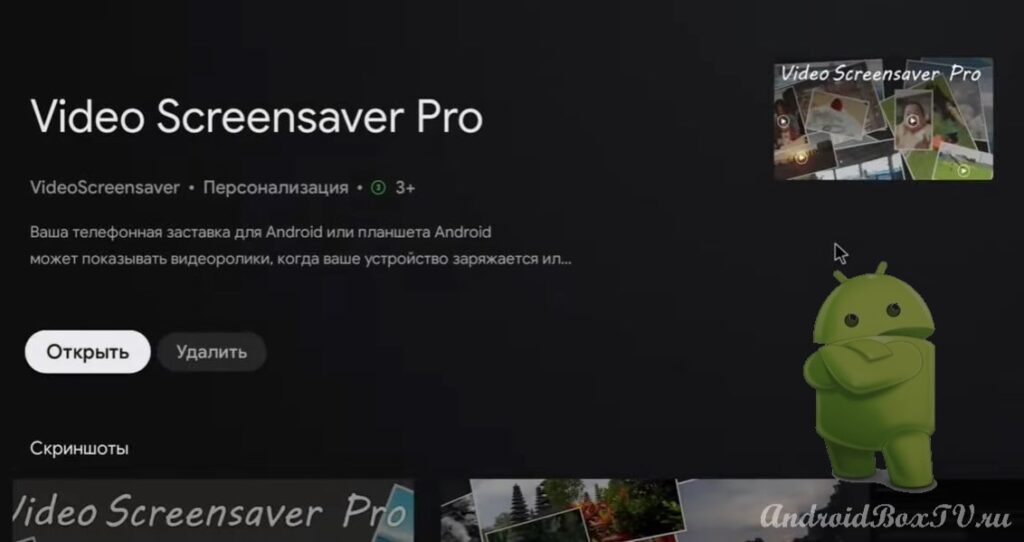 Now let's take a look at the free version of this app in "Aptoide TV". For those who have not installed this application store, follow the link - Aptoide TV .
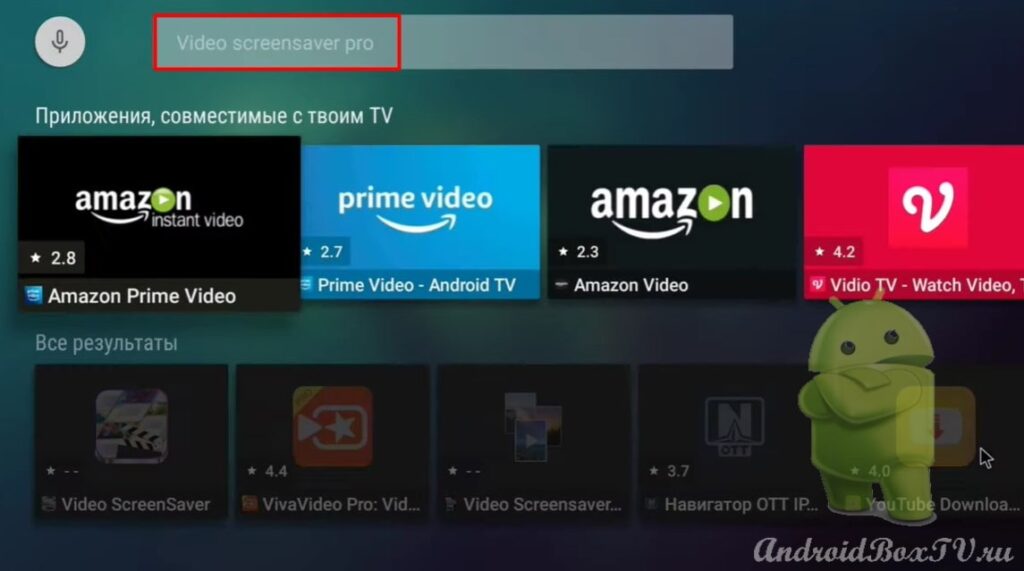
We go to “Aptoide TV” and in the search bar we type the name of the application:
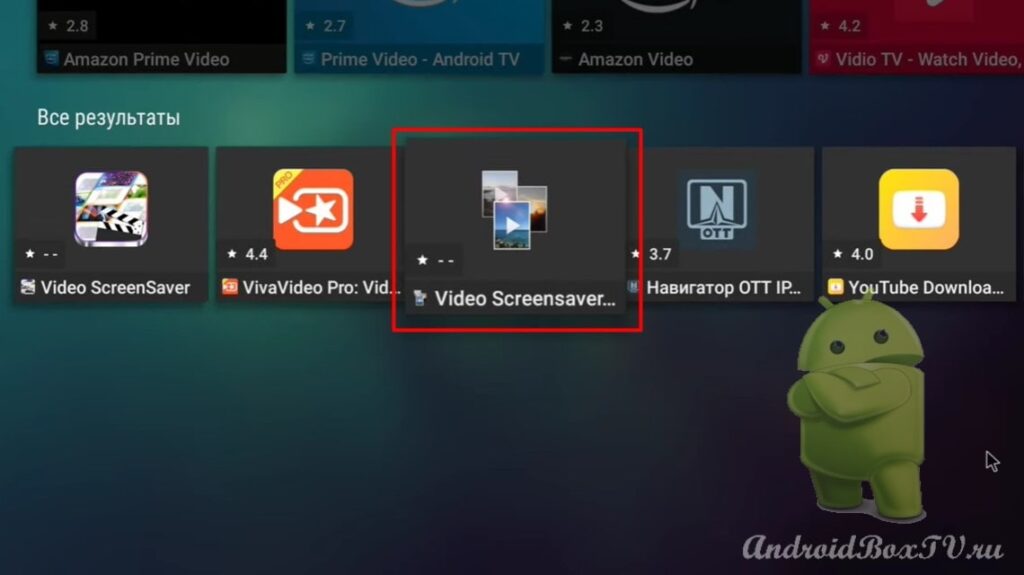
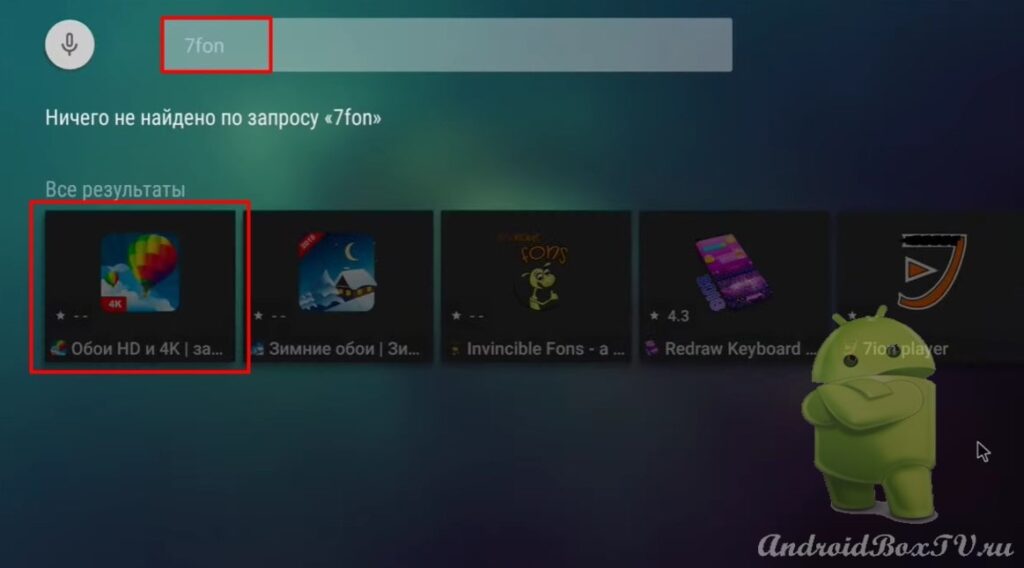
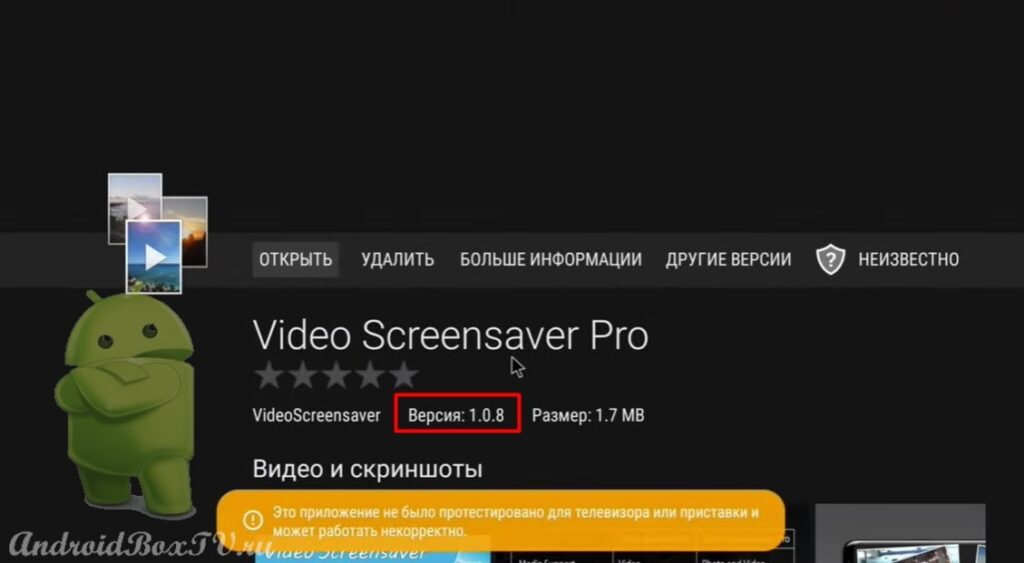 Now install the "Wallpapers and Screensavers" program. In the search, we type “7FON”:
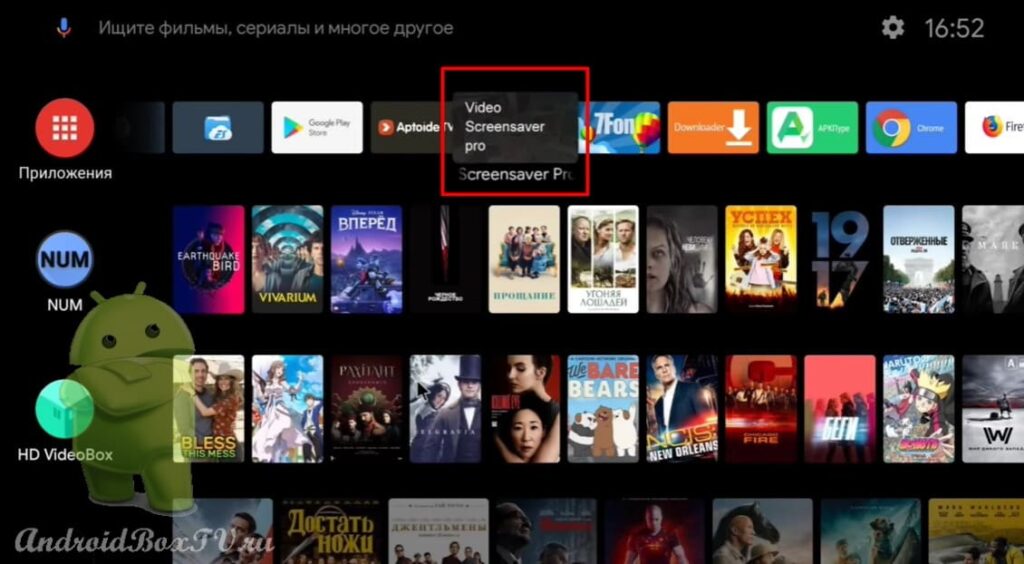
 Next, open the “ Video Screensaver ” application:
 Here you can get into the device settings:
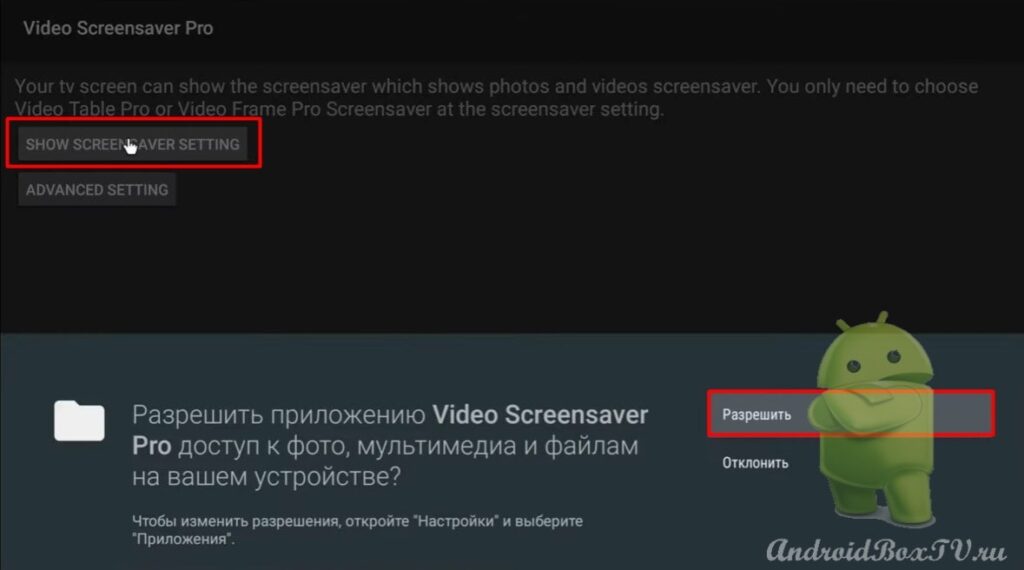
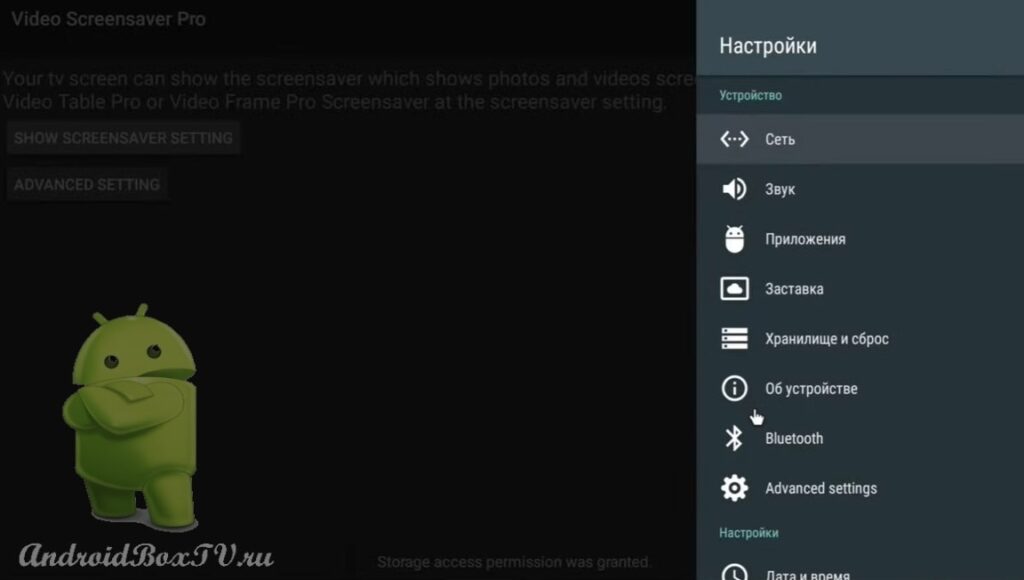 We go to the application settings:
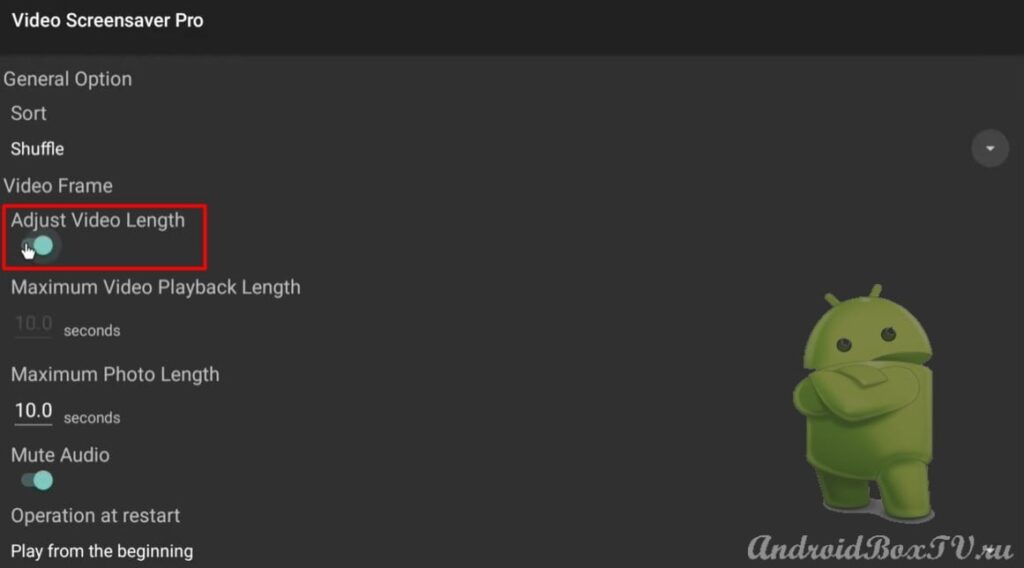
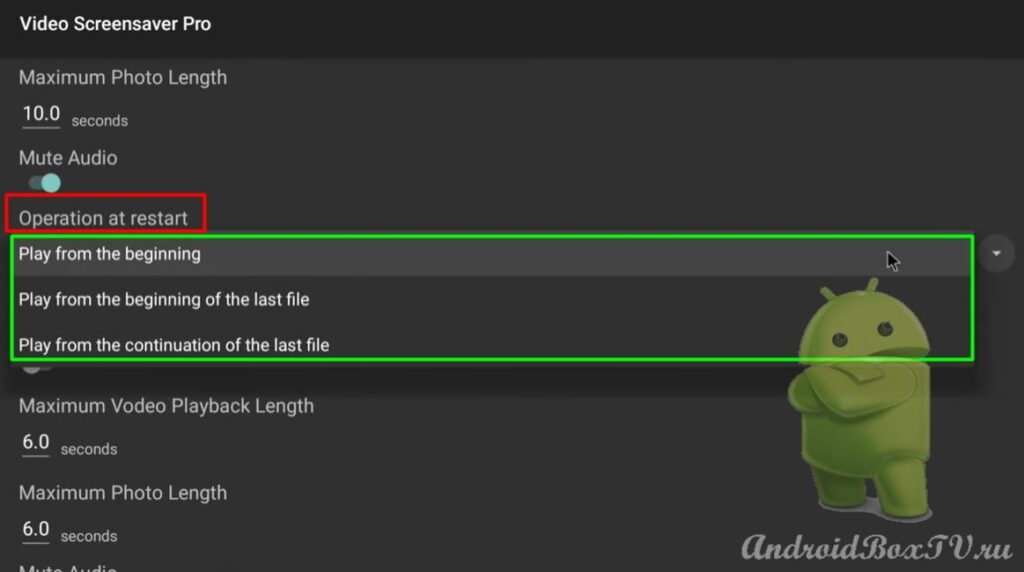
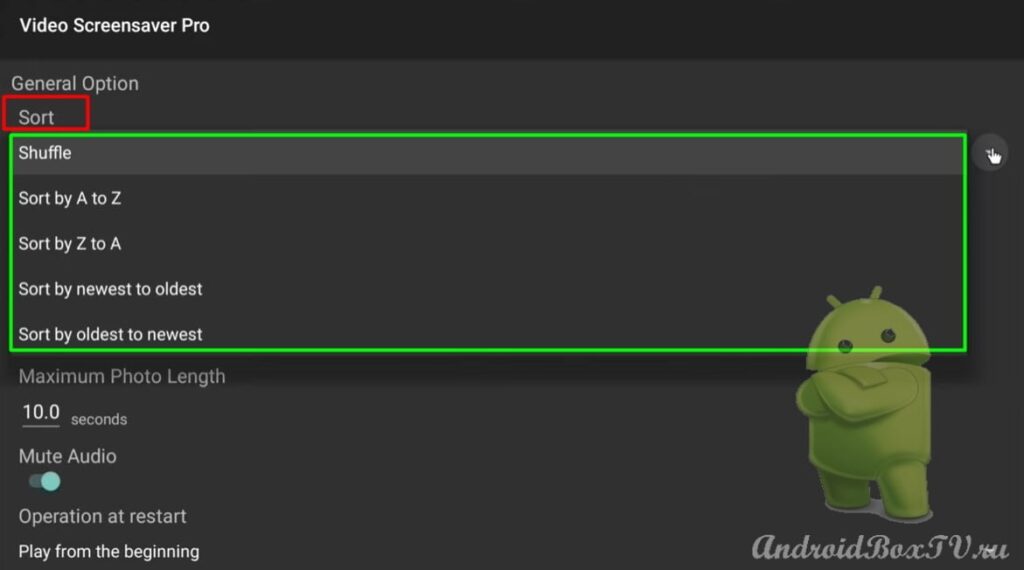
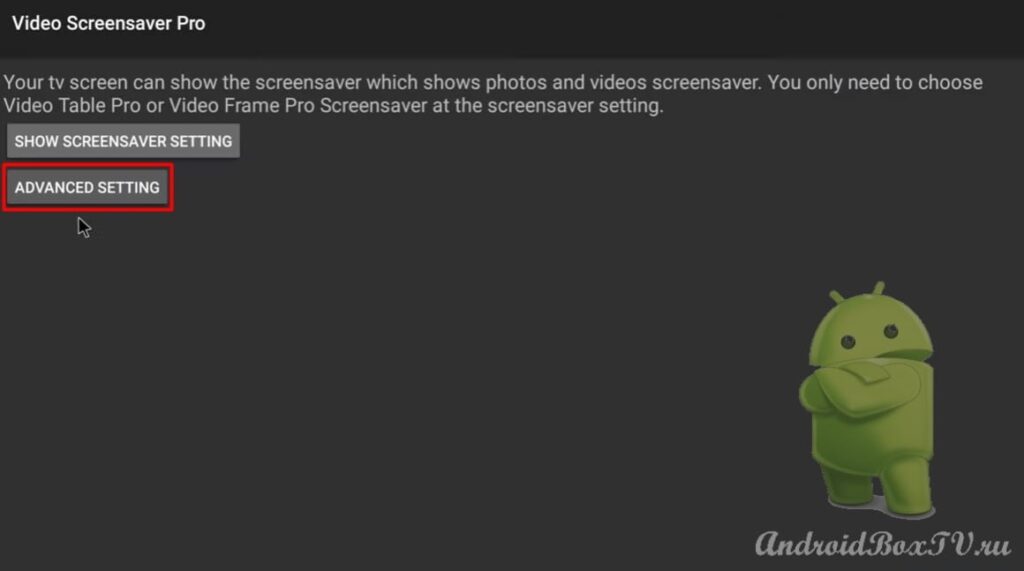 In the settings you can sort files:
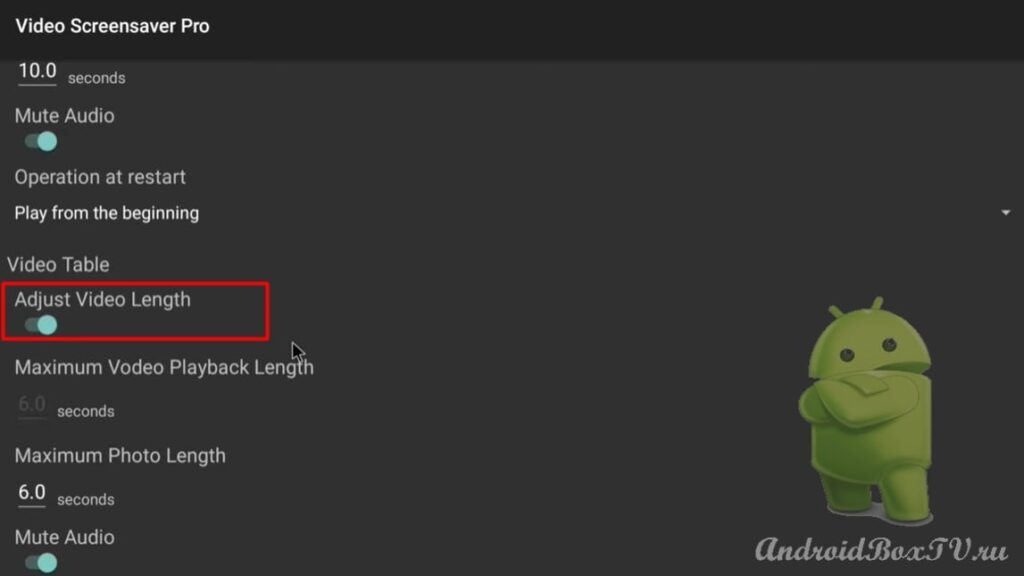
 Turning on “ Adjust Video Length ”:
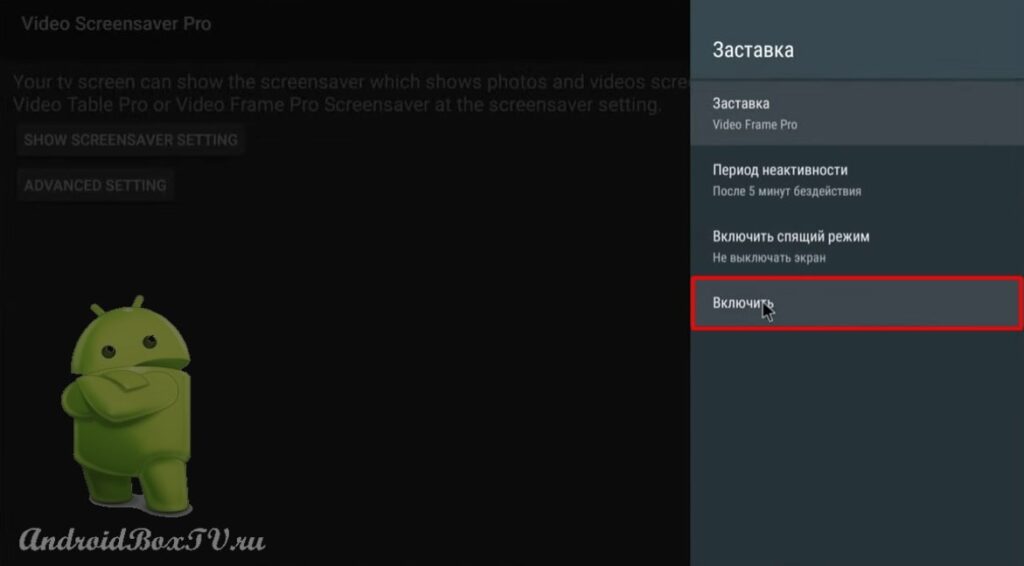
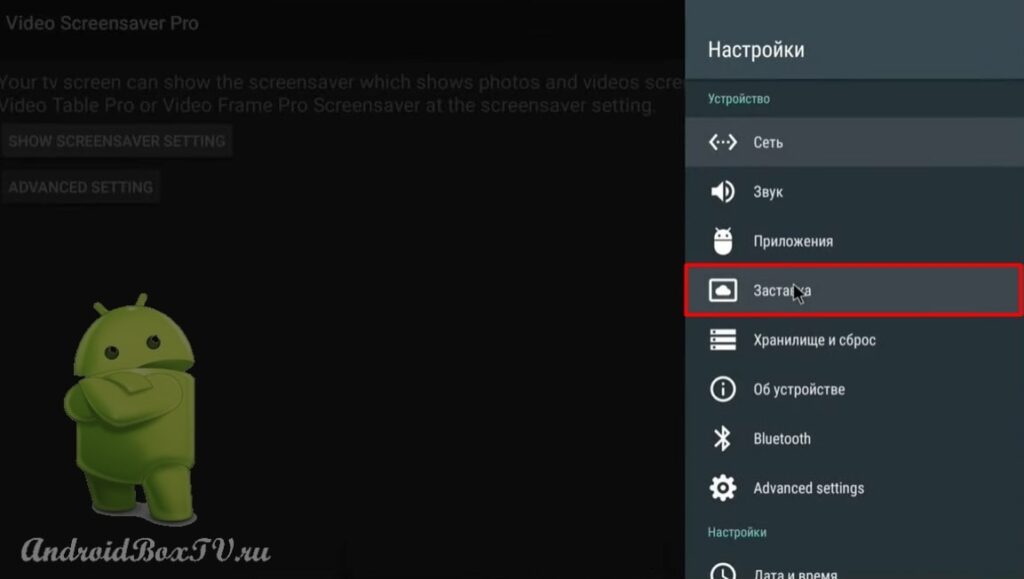
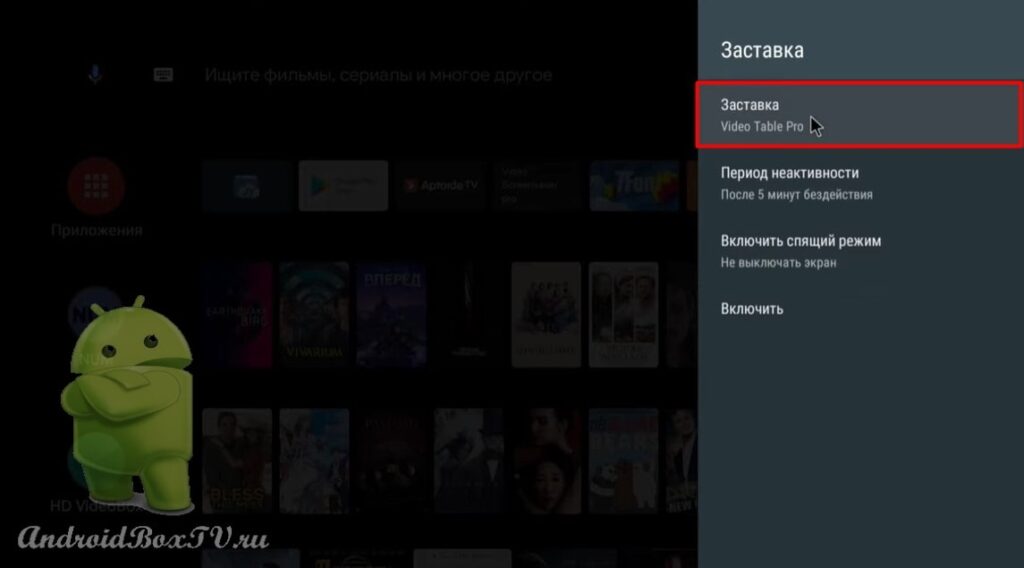
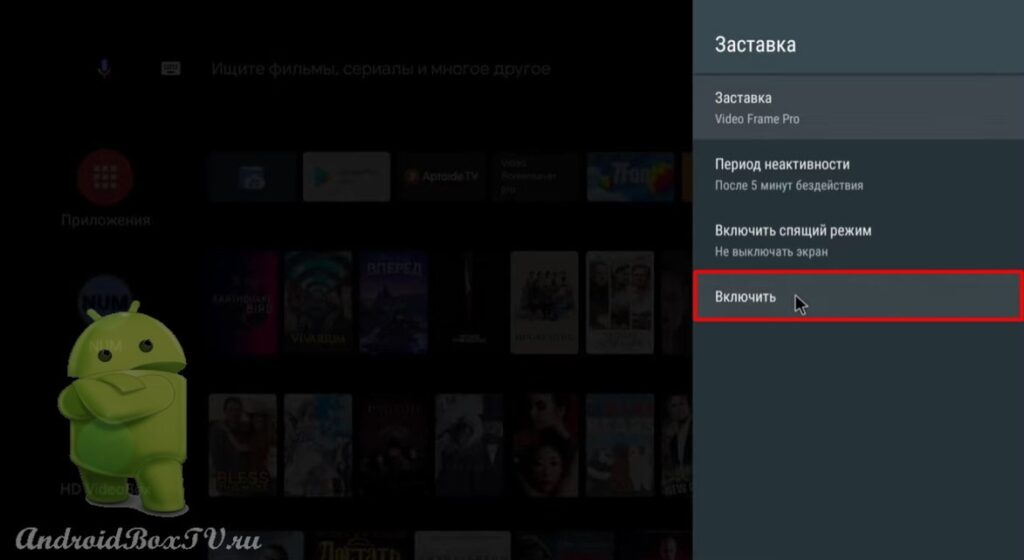
 Open the device settings and select the “Screensaver” section:
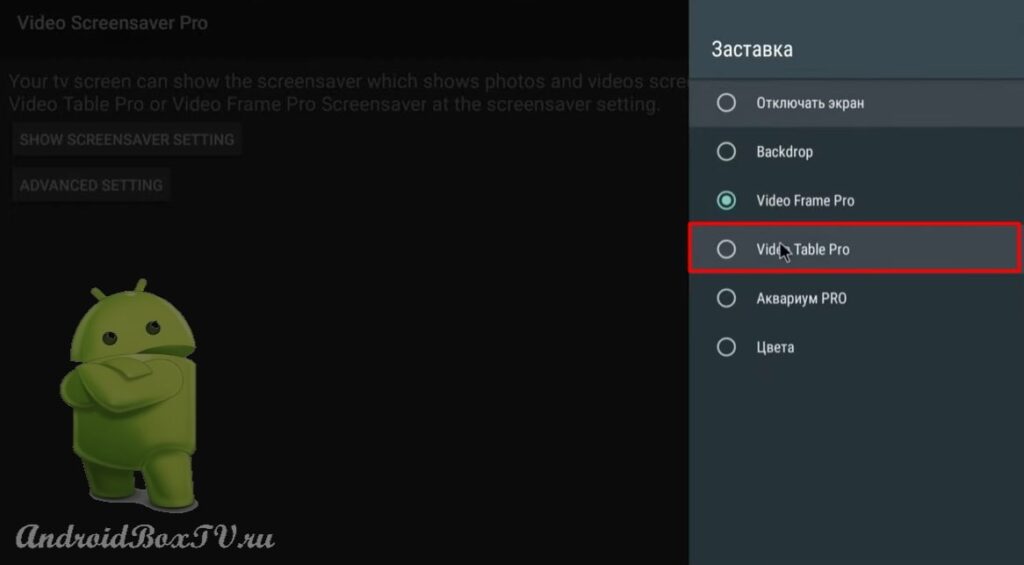
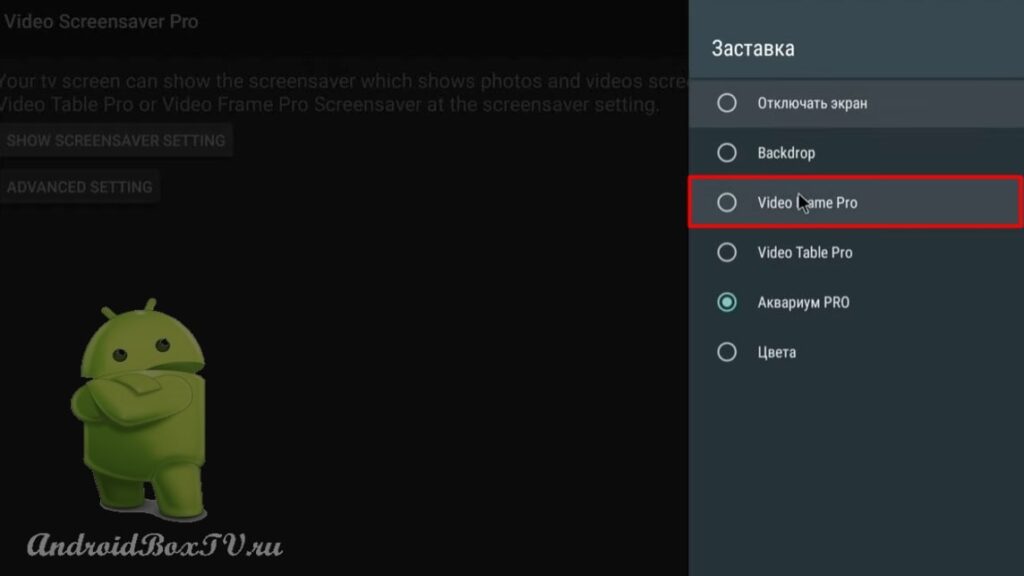
 Open “Screensaver” and select “ Video Frame Pro ”:
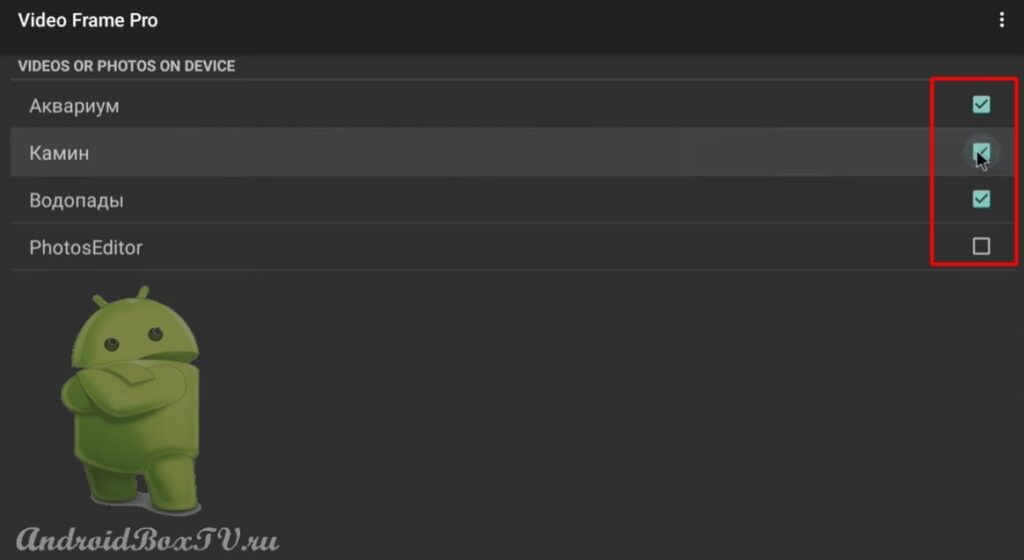
 We see the files that are on the device:
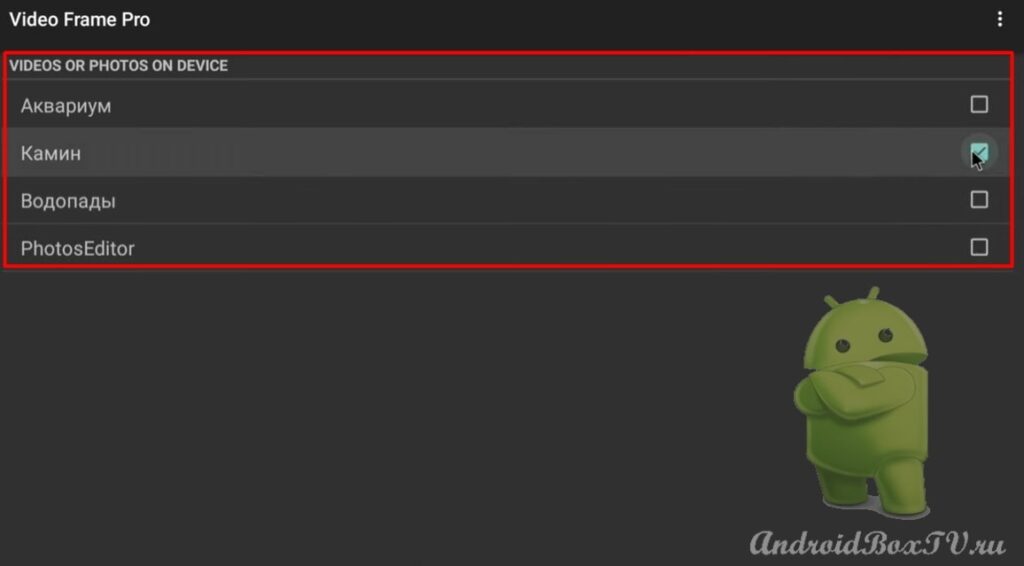 Also, you can store files on a USB flash drive so as not to occupy the device's memory.
Select, for example, “Waterfalls” and click “Enable”:

 The frequency of changing pictures can be changed in the settings. Also, you can mark all files and everything will be played in turn.
Switch to “ Video Table Pro ” and select the desired files:
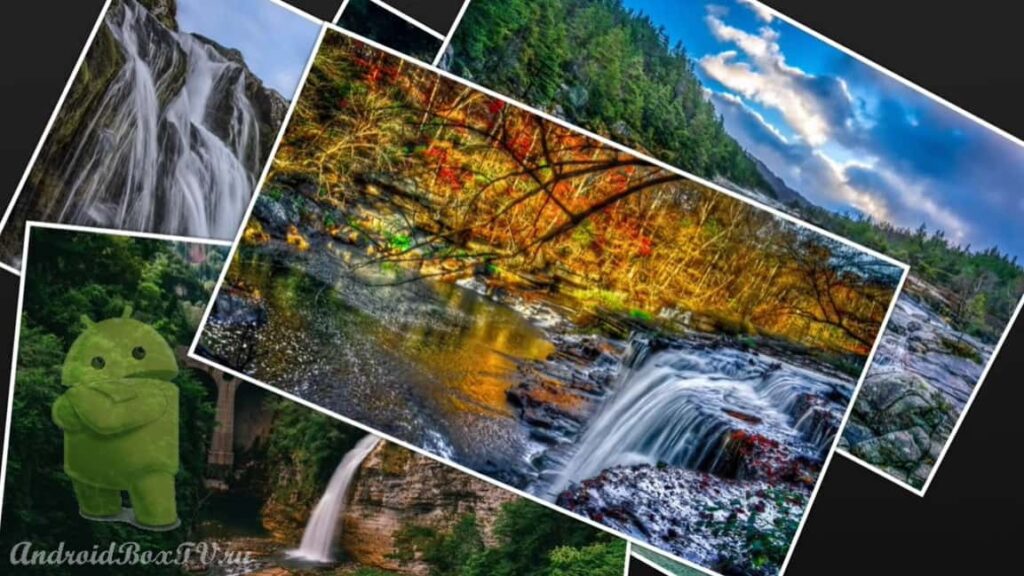 These wallpapers were downloaded from the Internet, if someone has not installed the Google Chrome browser yet, follow the link - Google Chrome .
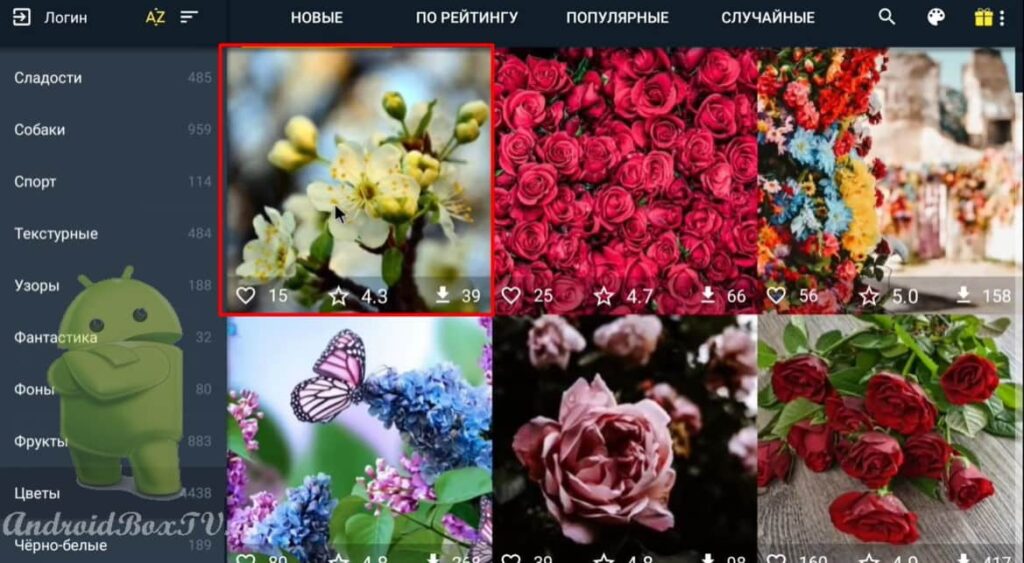
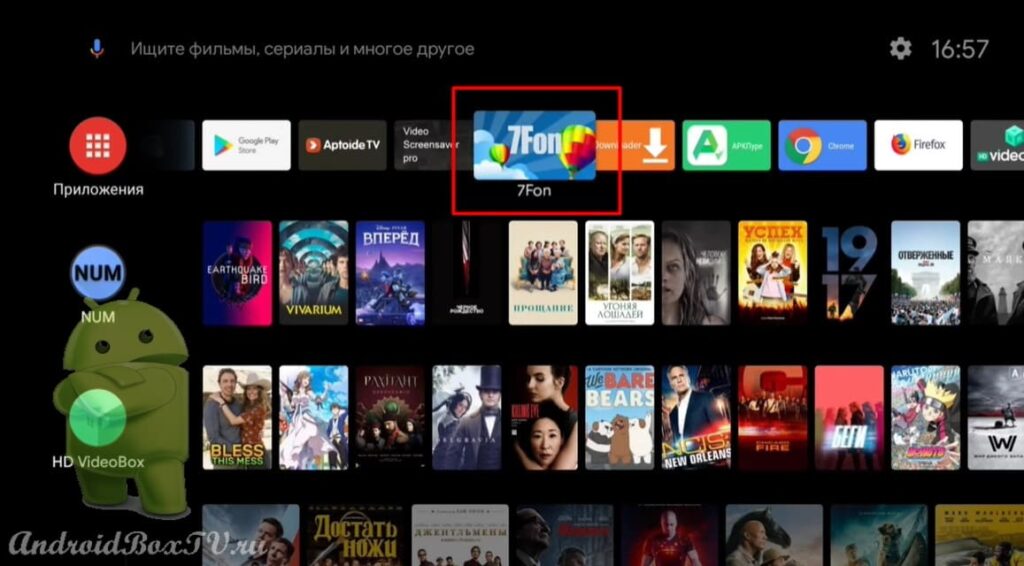
Next, let's look at how to download the necessary themes into the Wallpapers and Screensavers application. Open the application "7FON":
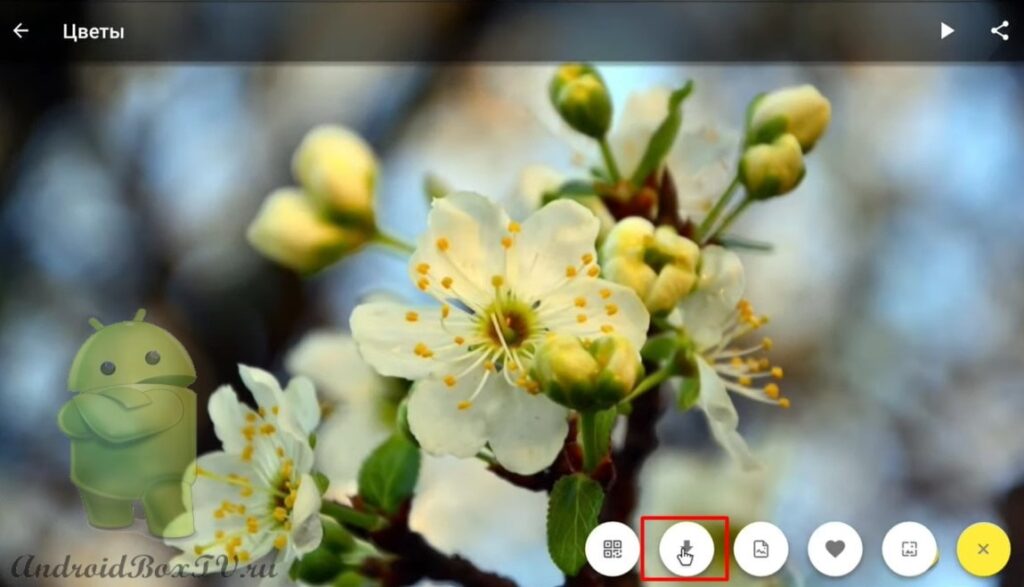
 Let's choose, for example, the section "Flowers":
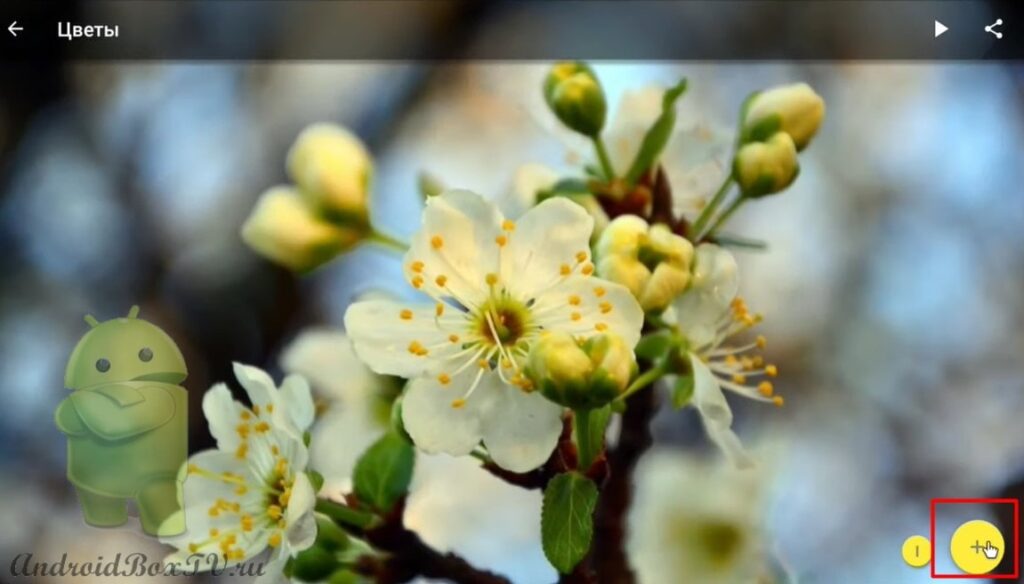
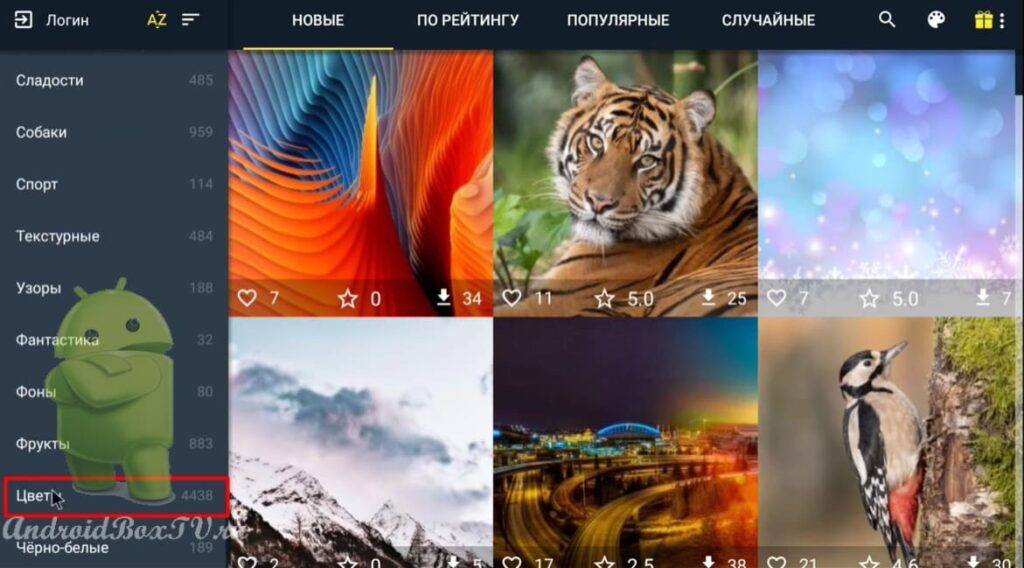 Open the image and click on the plus:
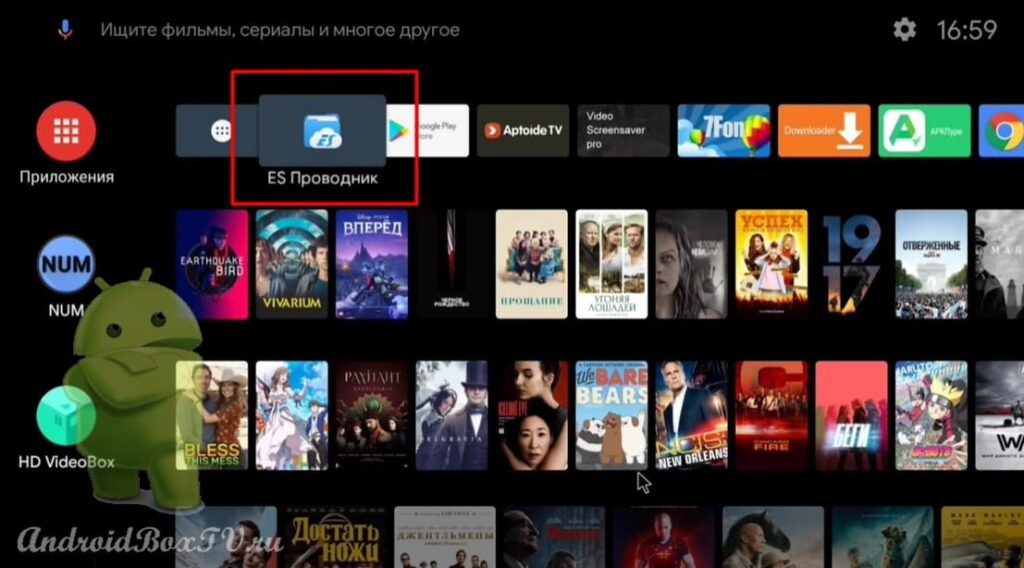
 Go to ES Explorer :
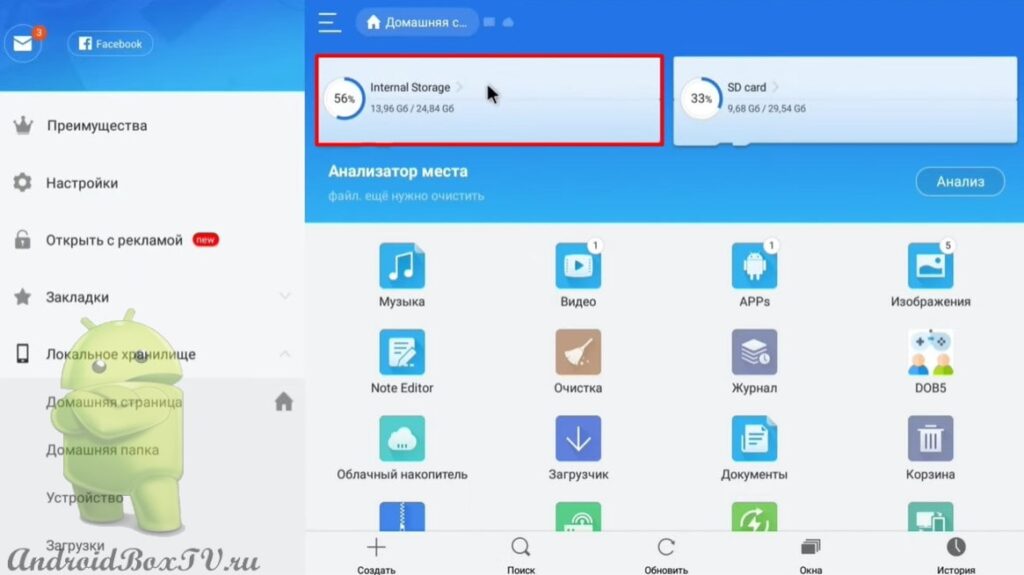
 Select a device and make folders for each section of pictures:
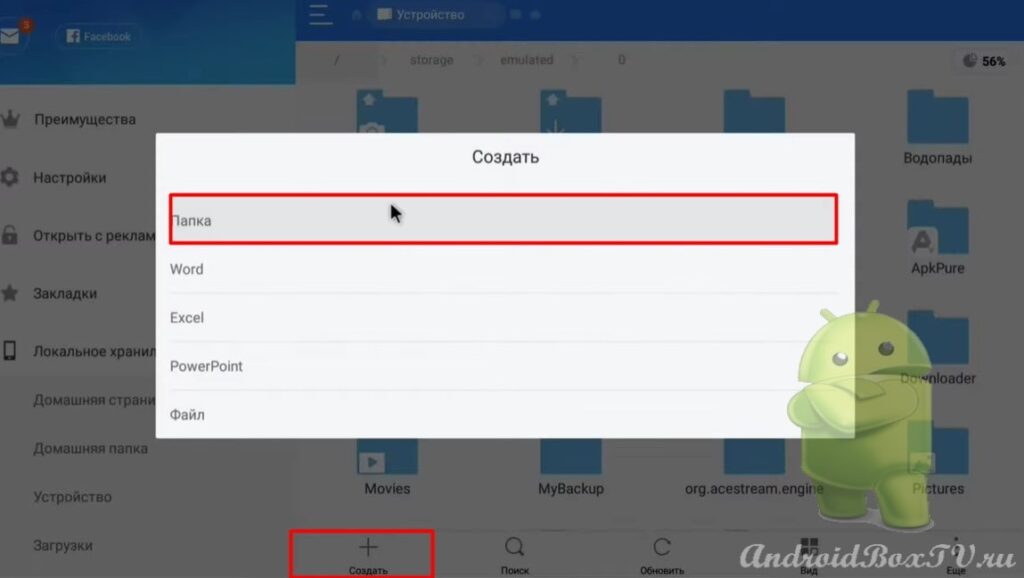
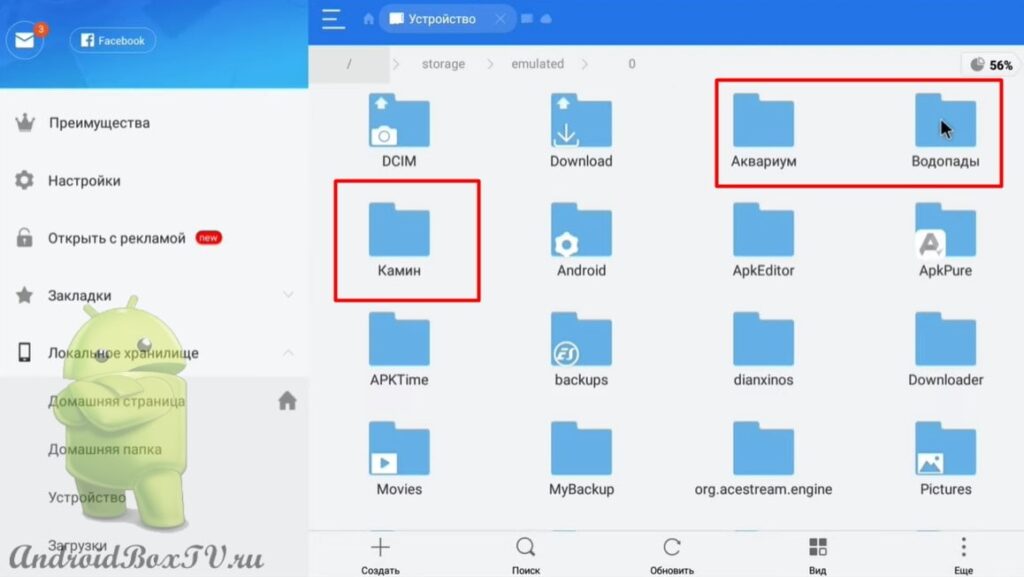 Let's see how to create a folder.
Click "Create" and select "Folder":
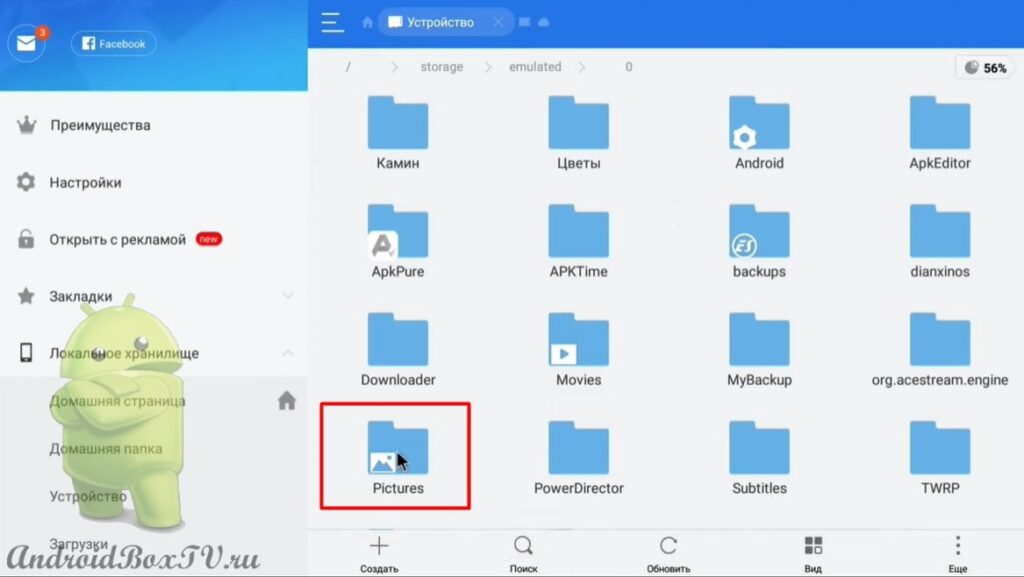
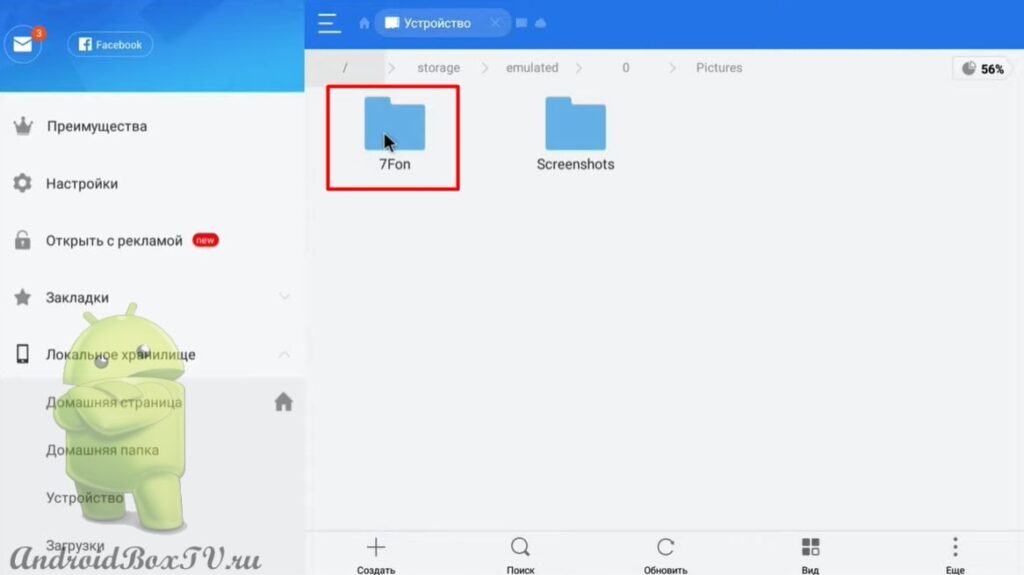
 Open the folder with pictures, select the folder “7FON”:
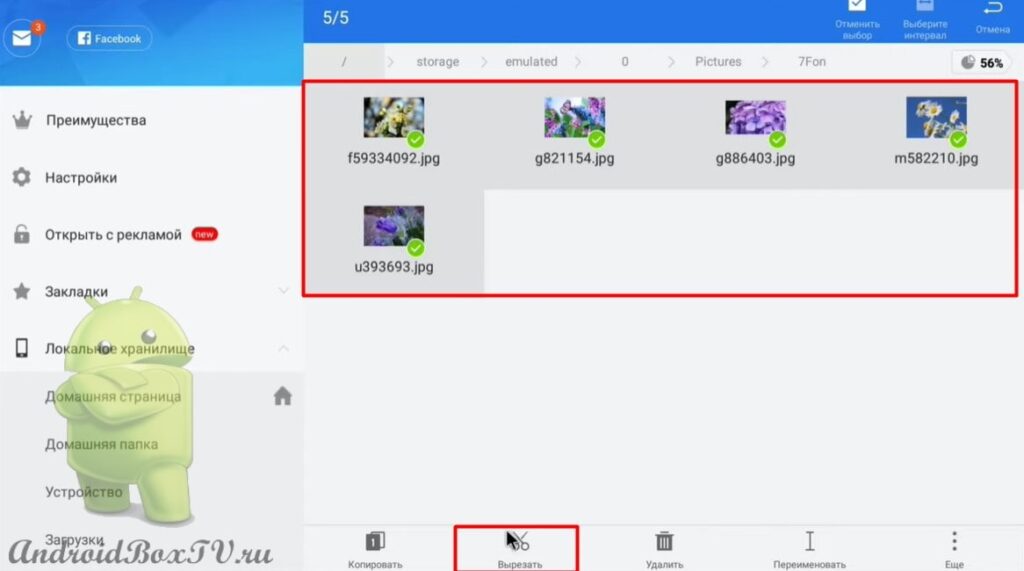
 Select the pictures and click "Cut":
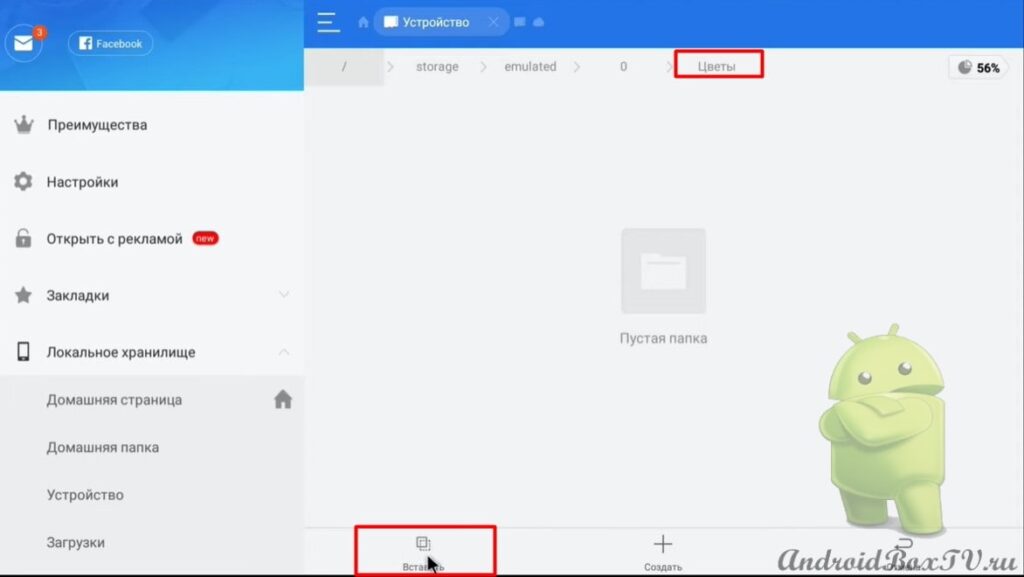
 Open the created folder and click "Paste":
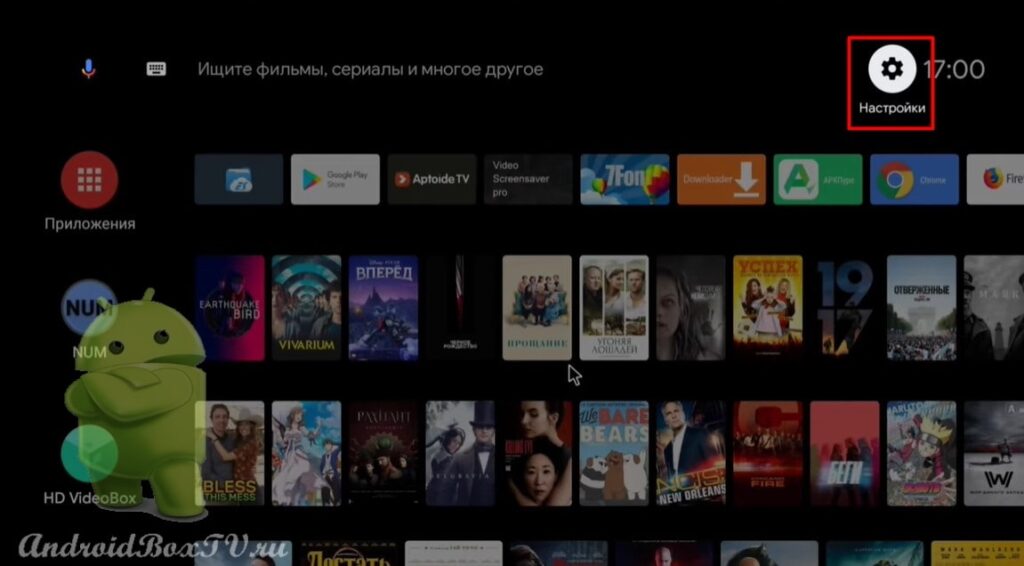
 Next, go to the device settings and select “Screensaver”:
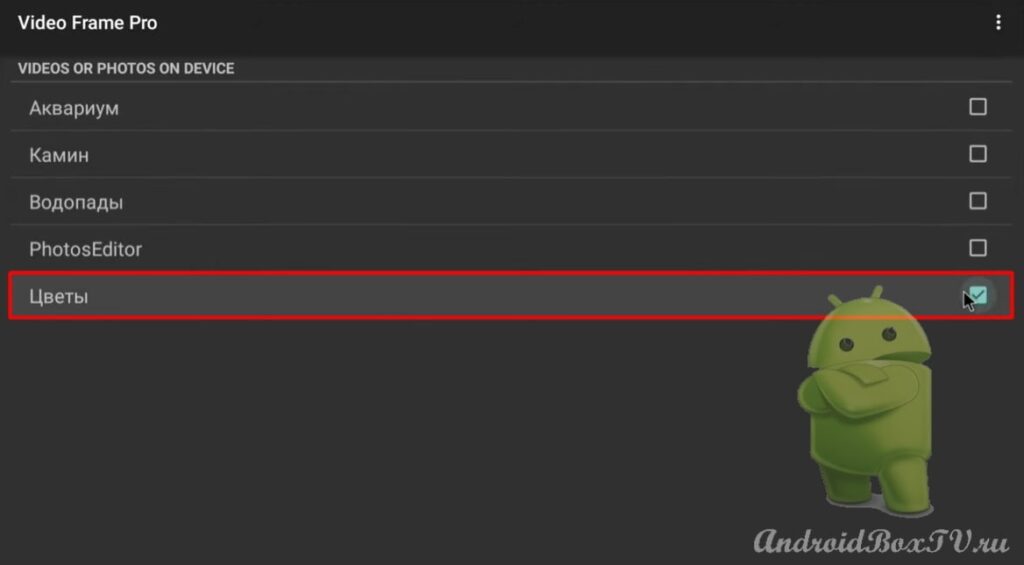
 Mark the created folder and click "Enable":
 This is what the screensaver looks like:
 I did it!
And you? Check out other articles from the "Difficult tasks" category here .
PS Site support via the link 😉
